Sagaris Project returns to the UK
Discussion


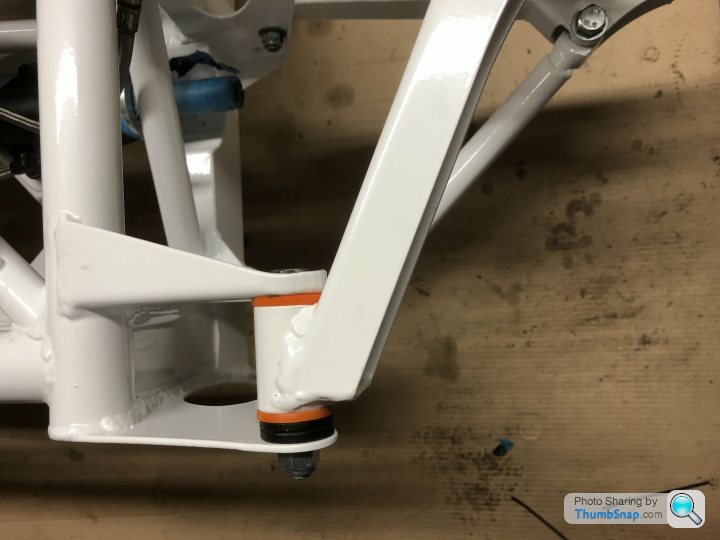
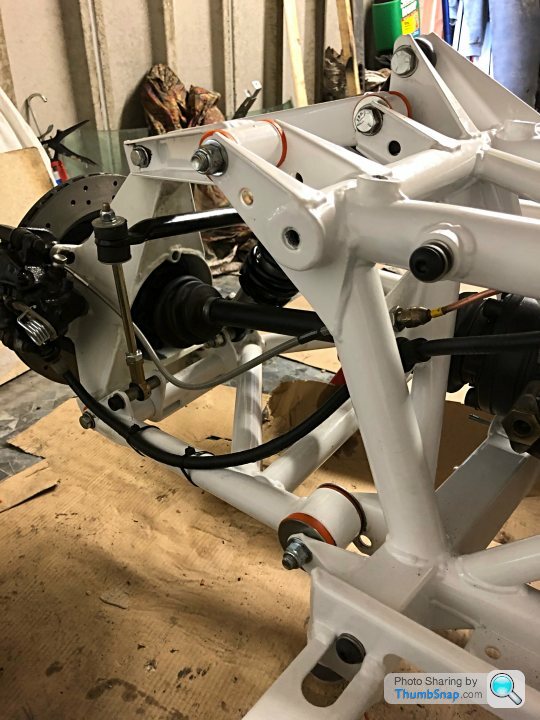
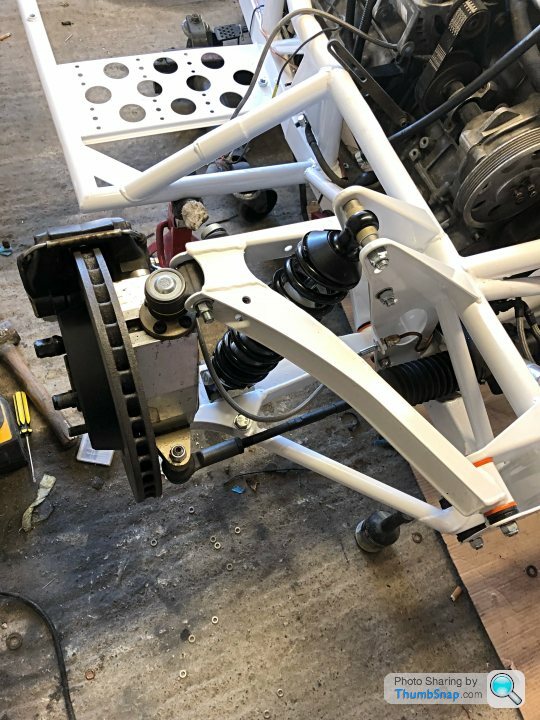
Could someone please confirm if this is correct for a Sagaris. The top front wishbone has the two spacers at the front of the bush. It has been pointed out to me that this may not be right as a T350 has them either side. This is how it was prior to dismantling but it may have been wrong to start with.
Many thanks Chris
I am assuming that you have the Speed Six bible already.
In the off chance that you do not (an absolute must for the fantastic work you are doing), http://www.varleyhyd.com/FJ062.asp may help.
Some of the pictures on the website show it but there are many, many more in the Varley handbook
In the off chance that you do not (an absolute must for the fantastic work you are doing), http://www.varleyhyd.com/FJ062.asp may help.
Some of the pictures on the website show it but there are many, many more in the Varley handbook
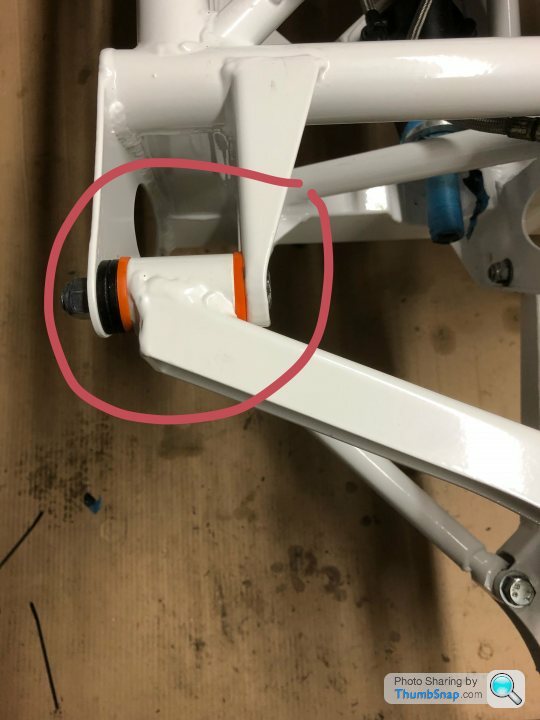
chris52 said:
Could someone please confirm if this is correct for a Sagaris. The top front wishbone has the two spacers at the front of the bush. It has been pointed out to me that this may not be right as a T350 has them either side. This is how it was prior to dismantling but it may have been wrong to start with.
Many thanks Chris
phoenixz said:
I am assuming that you have the Speed Six bible already.
In the off chance that you do not (an absolute must for the fantastic work you are doing), http://www.varleyhyd.com/FJ062.asp may help.
Some of the pictures on the website show it but there are many, many more in the Varley handbook
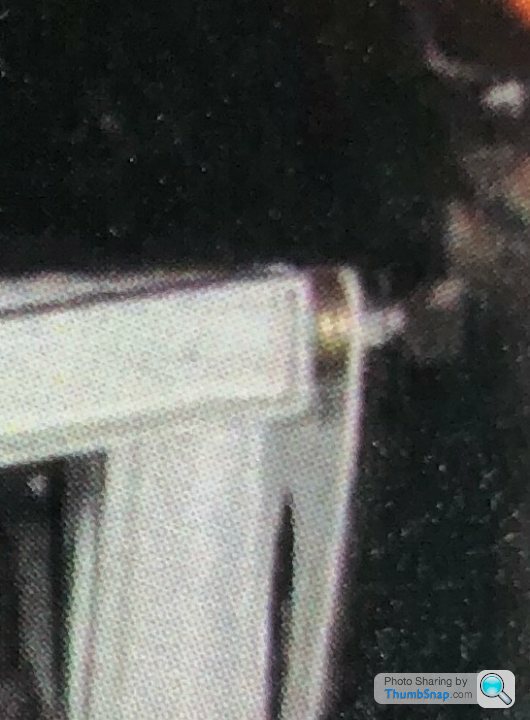
Yes I have the Sagaris book by GV and have tried to study the pictures but they are quite small so I took a picture of it and blew it up and it looks as if this is the correct way to do it. I must get better glasses. Thanks for the helpIn the off chance that you do not (an absolute must for the fantastic work you are doing), http://www.varleyhyd.com/FJ062.asp may help.
Some of the pictures on the website show it but there are many, many more in the Varley handbook
chris52 said:
Could someone please confirm if this is correct for a Sagaris. The top front wishbone has the two spacers at the front of the bush. It has been pointed out to me that this may not be right as a T350 has them either side. This is how it was prior to dismantling but it may have been wrong to start with.
Many thanks Chris
Just stuck my head under the wheel of my Sag..... washers look to be to the front as you have it

 IMG-0806 by Aaron Moyce, on Flickr
There are two seals on the rack one is at the end (drivers side the other is deep within the rack and is a pain to get to it without some sort of specialised tool. Luckily the one leaking on mine was near the end so all I had to do was drill a couple of small holes in it with a dremel screw a couple of long self tapping screws in and use a small slide hammer to pull the old seal out. There is a circlip to remove first then just press the new seal in and replace the circlip simples


Thanks STE VR this part is the most enjoyable. I have a query about the prop bolts on the car when I dismantled the car it had two odd bolts two that were fully threaded and two that were only partially threaded. None of them had lock washers on them. So I guess the fully threaded bolts were wrong but should they have had lock washers on or just thread lock?
Cheers Chris
Cheers Chris
Gassing Station | Tamora, T350 & Sagaris | Top of Page | What's New | My Stuff