What did you do in the garage yesterday?
Discussion


bobfather said:
My next project, thanks to Griffo400 for the kit of parts

...and here it is fitted (other side done too btw)Edited by bobfather on Saturday 22 July 16:47

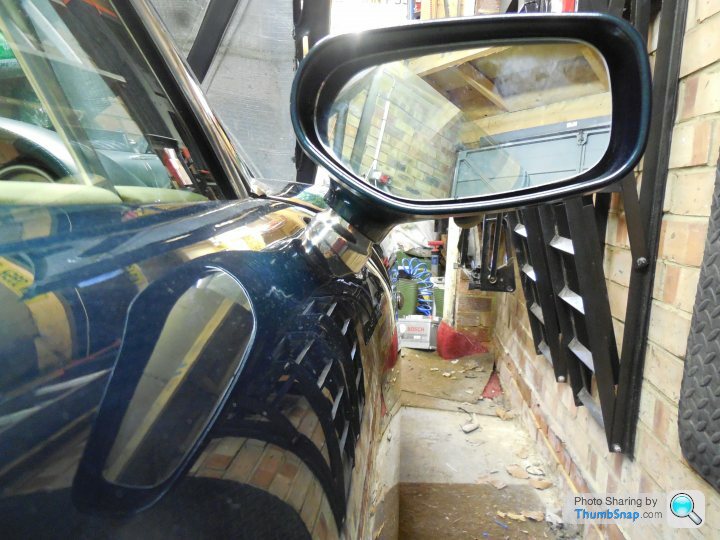
Allows the mirrors to fold fully into the window, grub screw now accessible, nice and firm, better view as the mirror has a higher perspective of the rear quarters. I replaced the turret shrouds with polished stainless steel as my old black plastic shrouds were tatty (stainless exhaust reducers cut down to fit)
So, after fitting a new seal all round the car, thought I'd nailed the persistent leak on the driver's side. But unfortunately no. So then read about making 'scallops' in the seal to allow water to drain away. So, cut the underside and glued together with superglue as suggested. After 2 nights of rain, a dry floor. 
But wait. After moving the car round the front of the house and more rain, the floor is soaking wet again
Sat in car and other half pours water around driver's door and bonnet. Water pours in and runs down the leather directly above the door speaker, around the speaker down on to the seal and sits in the groove. WTF?
Checking the seal and where it sits next to the bodge (where a screw goes through the bodywork and holds up the lower dash) there is a slight deformity in the seal. Tried everything to sort it and ended up cutting a slice on the underside of the rubber seal and inserting some plastic tubing. This firmed up and straightened the seal. 2 more watering cans later and dry as a bone. Thank f#ck.

I was hoping to have the Chim back from the body shop so I can fit my newly refurbished wheels, the bonnet badge and generally have a little bit of a faff around in the garage but alas it hasn't turned up!
So, alternative fiddling!
Wheel in the Vixen, ( wrong car for this thread I know!).
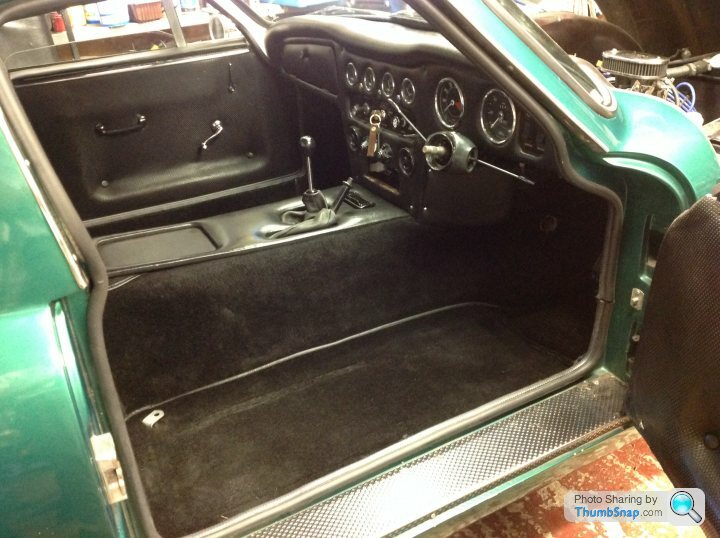
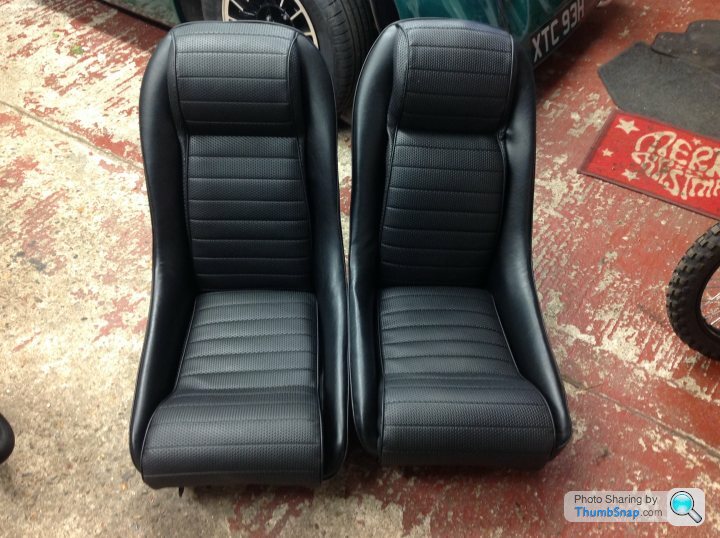
I picked the seats up on Thursday which have been refurbished by Mark, (Mrzigazaga).
I must say, he made a fantastic job of them and I will be sending my Elise seats from the Chim in the winter to him for recovering.
Fitted the seat runners to the refurbished seats.
Fitted the proper rear badges.
Sanded down the exhaust manifold ready to paint it with heat resistant black, ( probably won't last too long).
Fitted the TVR ID plate under the bonnet.
Stripped out the old seat belts ready to receive some inertia belts.
Fitted the missing chrome trims at the top of the door and inside the car.
Fitted the leatherette covered door cappings to the tops of the doors.
Pulled out bits of carpet, stuck them back in the correct position and gave everything a dam good vacuum clean.
Probably a few other bits and pieces along the way in between copious cups of tea!
Still waiting for the steering wheel which is being recovered, hopefully it will be available this week. It's a bit weird driving the car from one garage to the other using a pair of grips to steer it!
Excuse the ipad piccies.


So, alternative fiddling!
Wheel in the Vixen, ( wrong car for this thread I know!).
I picked the seats up on Thursday which have been refurbished by Mark, (Mrzigazaga).
I must say, he made a fantastic job of them and I will be sending my Elise seats from the Chim in the winter to him for recovering.
Fitted the seat runners to the refurbished seats.
Fitted the proper rear badges.
Sanded down the exhaust manifold ready to paint it with heat resistant black, ( probably won't last too long).
Fitted the TVR ID plate under the bonnet.
Stripped out the old seat belts ready to receive some inertia belts.
Fitted the missing chrome trims at the top of the door and inside the car.
Fitted the leatherette covered door cappings to the tops of the doors.
Pulled out bits of carpet, stuck them back in the correct position and gave everything a dam good vacuum clean.
Probably a few other bits and pieces along the way in between copious cups of tea!
Still waiting for the steering wheel which is being recovered, hopefully it will be available this week. It's a bit weird driving the car from one garage to the other using a pair of grips to steer it!
Excuse the ipad piccies.


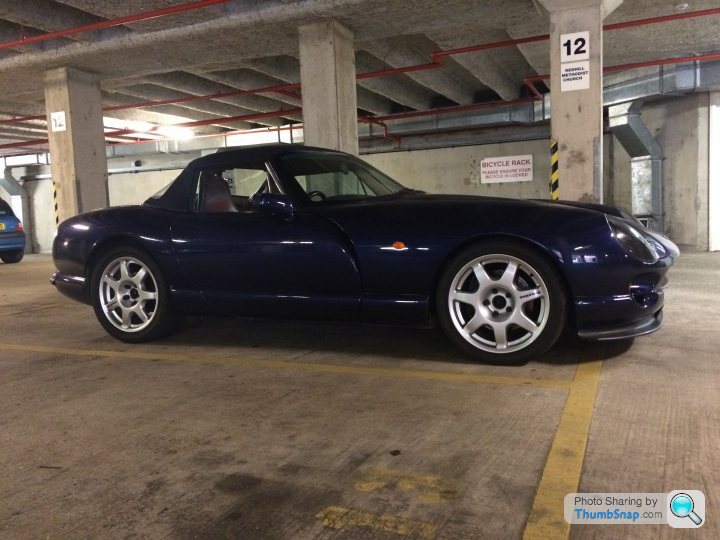
After the last few years of mechanical upgrades, tinkering and general faffing around, it was time for the exterior of the car.
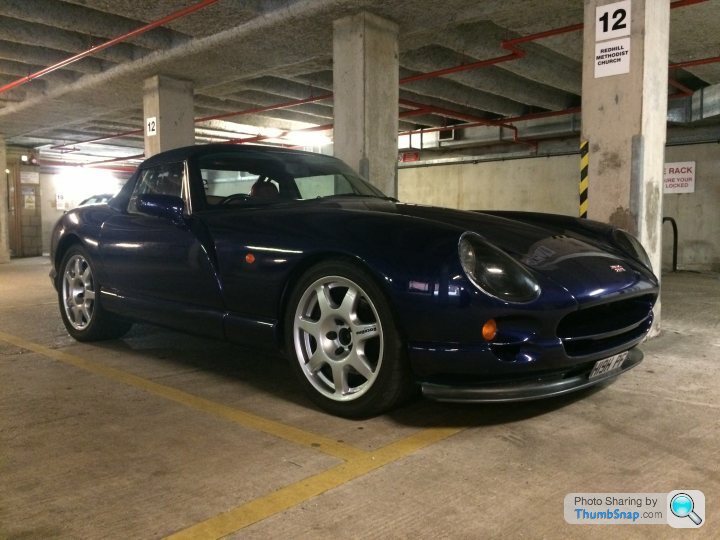
A £500 front-end respray from a local Indy and my road wheels which were black, now powder coated in a very bright silver.
I am very happy with the result and considering the car had about 1 million stone chips to the front, the result is a very nice looking car.
From this.
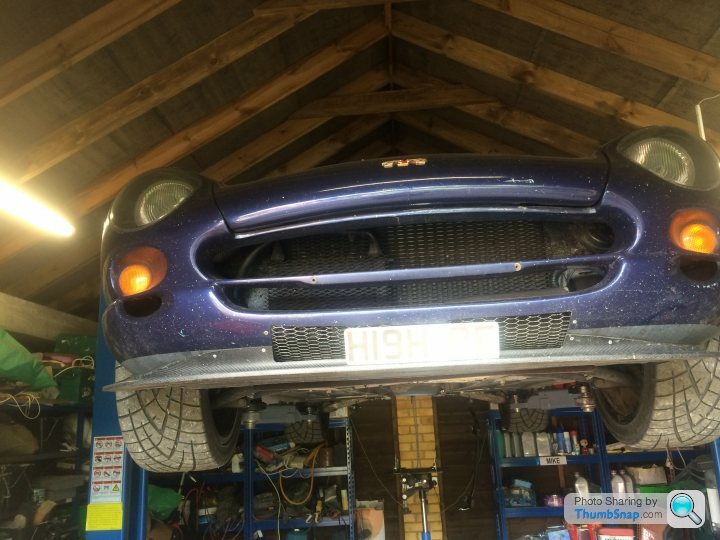
To this.
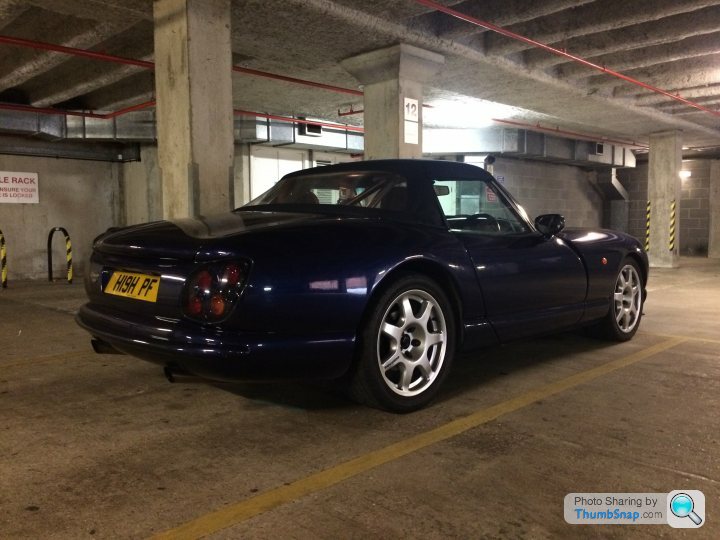


A £500 front-end respray from a local Indy and my road wheels which were black, now powder coated in a very bright silver.
I am very happy with the result and considering the car had about 1 million stone chips to the front, the result is a very nice looking car.
From this.
To this.
Edited by phazed 11.83 on Wednesday 9th August 08:54

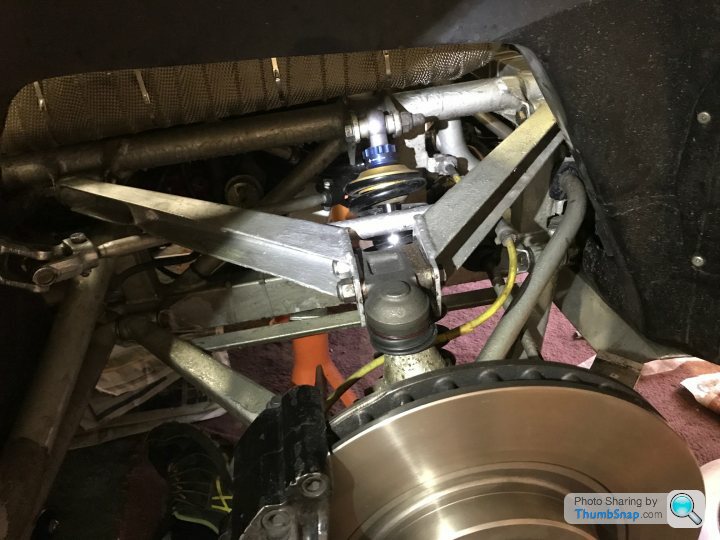
Following fitting a Impreza rack my steering is now a bit lighter than I'd like so I thought I'd have a go at increasing the castor angle. Its now got a 14mm of spacers in front and 4mm behind. If I've worked it out right it should be around 6degs now. The self centering is much improved but its still too light. Next up is tweaking the pressure relief spring in the pump.
I changed the headlight bulbs in my Saab.
Before you mock, you need to remove a good part of the induction system to change the offside one, and the battery to change the near side. I actually had to use a spanner and a srewdriver.
And then I discovered that a bloody fuse had blown....
Fuse 13....might have guessed
Before you mock, you need to remove a good part of the induction system to change the offside one, and the battery to change the near side. I actually had to use a spanner and a srewdriver.
And then I discovered that a bloody fuse had blown....
Fuse 13....might have guessed


BoostedChim said:
Following fitting a Impreza rack my steering is now a bit lighter than I'd like so I thought I'd have a go at increasing the castor angle. Its now got a 14mm of spacers in front and 4mm behind. If I've worked it out right it should be around 6degs now. The self centering is much improved but its still too light. Next up is tweaking the pressure relief spring in the pump.
Nice 
Am I missing something here,
I'm sure I have something like one 7 mm spacer in front of ball joint and not much space for anything else.
Do you have widened top wihsbones or have reduced ball joint size.
Gassing Station | Chimaera | Top of Page | What's New | My Stuff