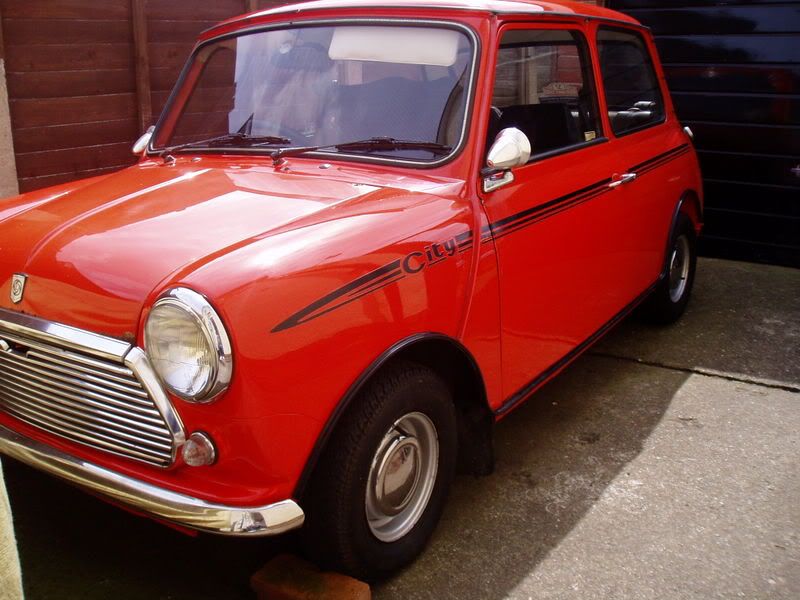
Mini City 1293
Discussion


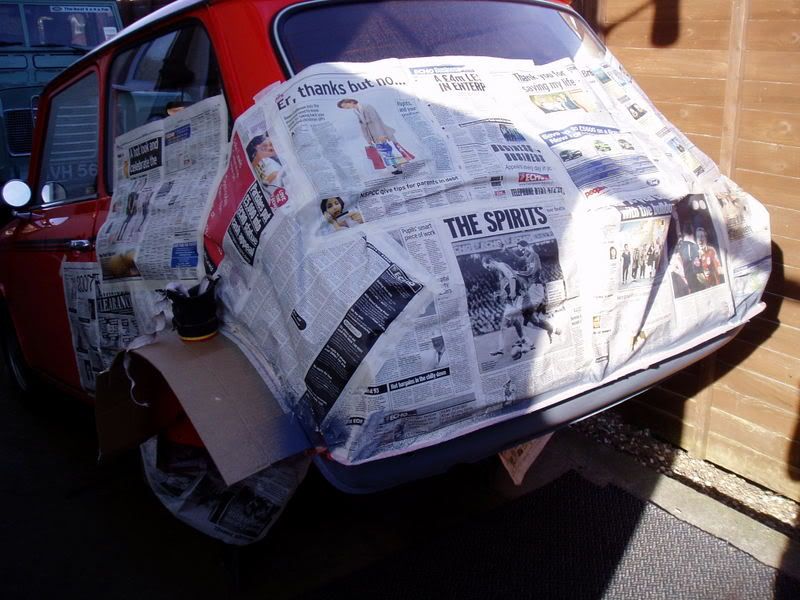
 Looks Great

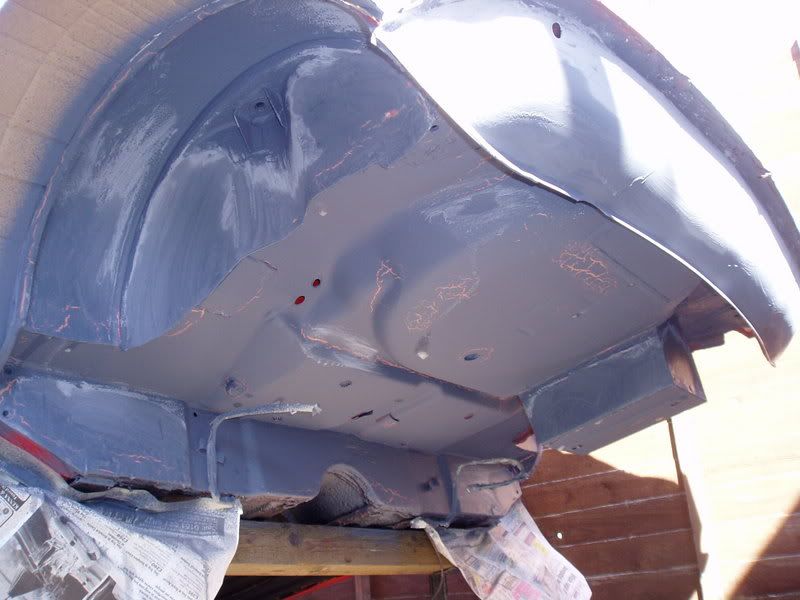
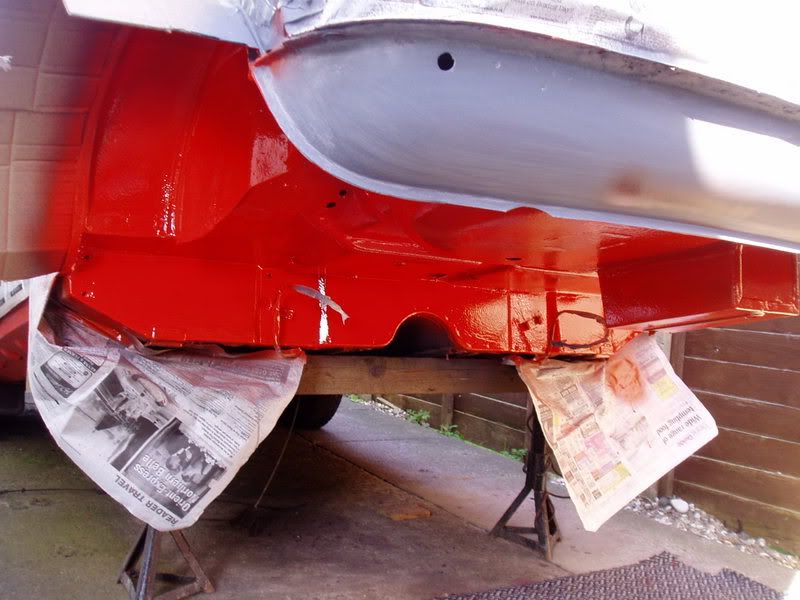
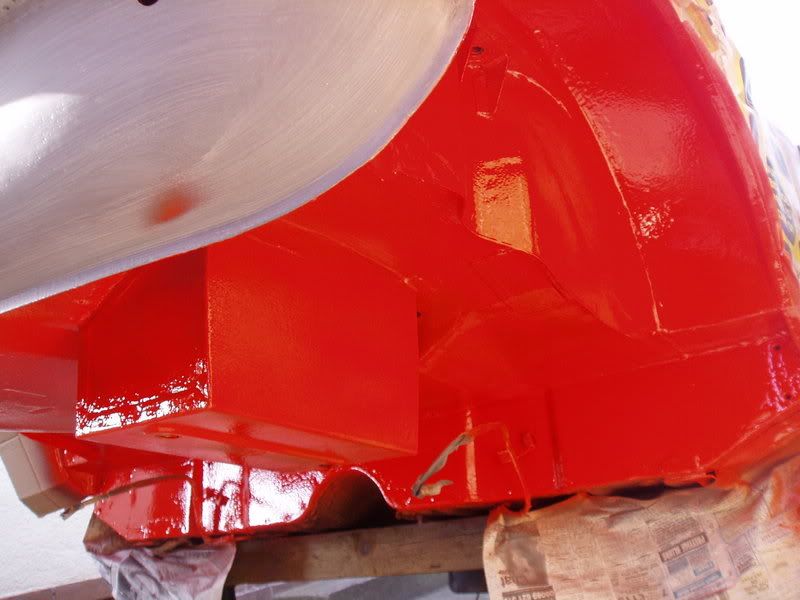
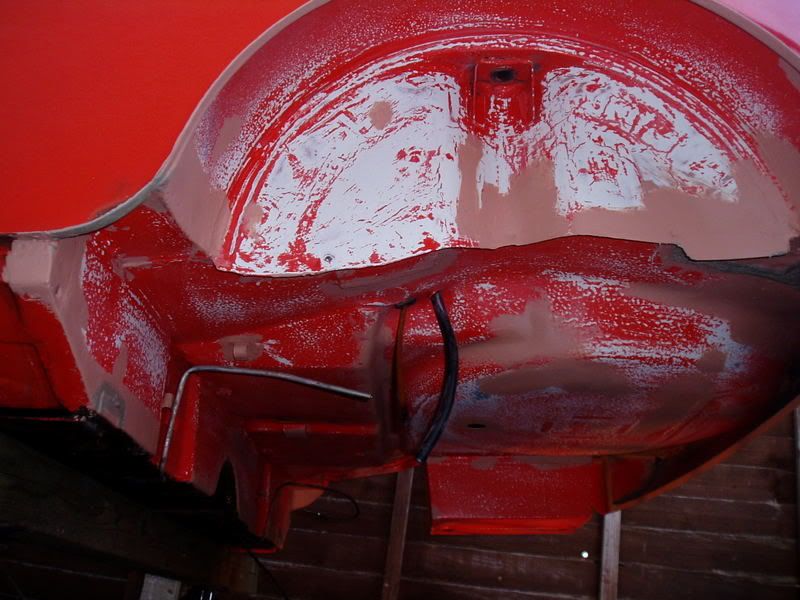
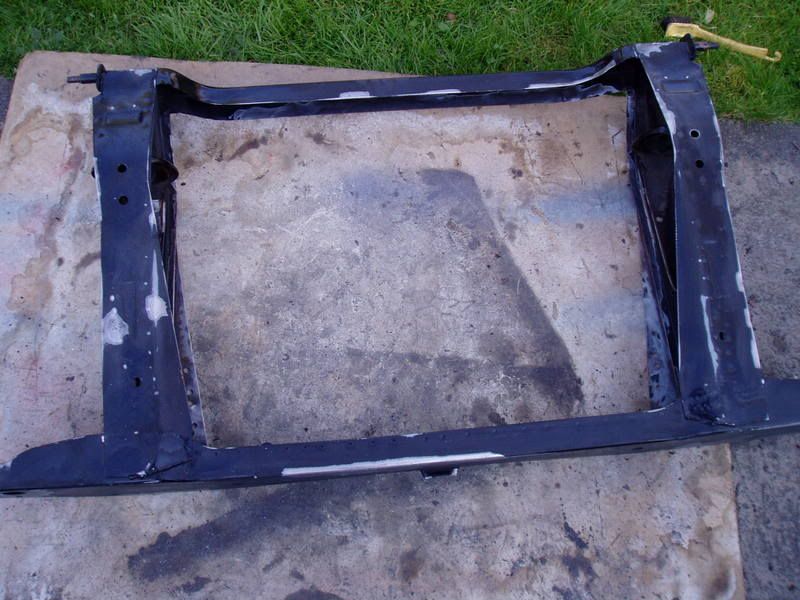
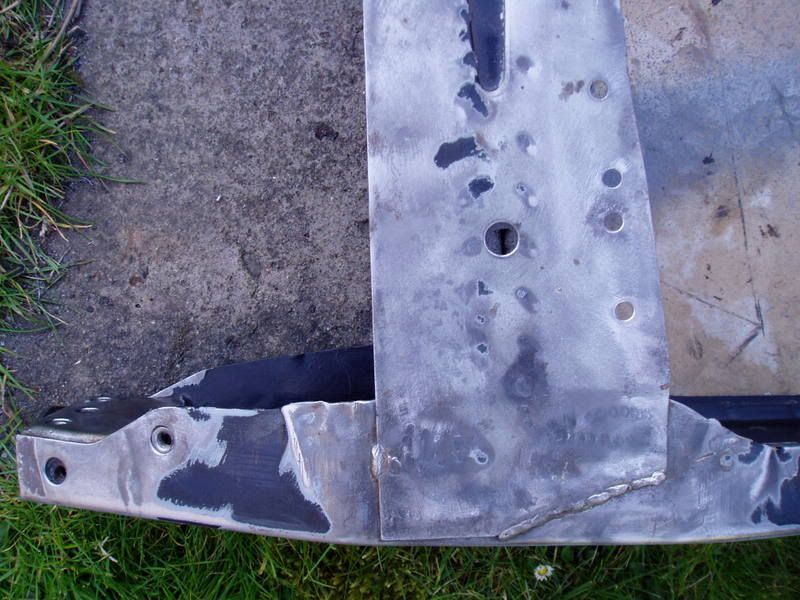
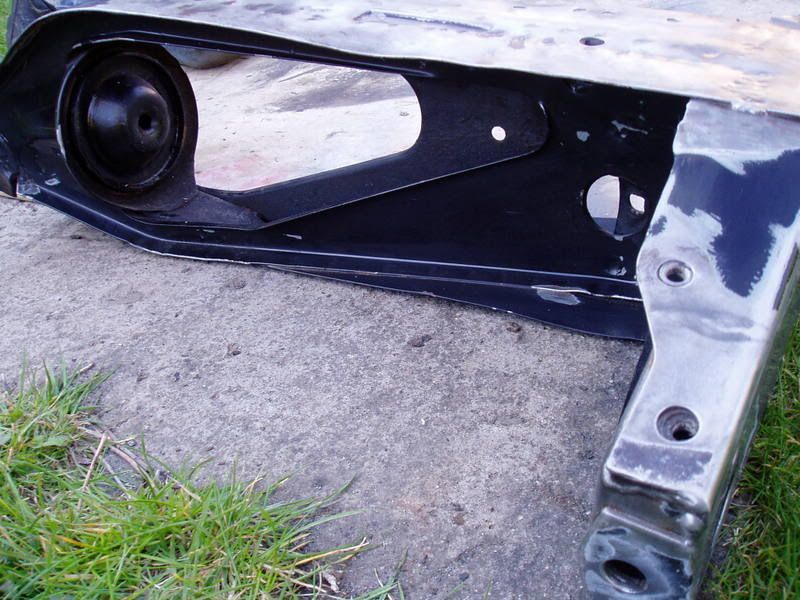
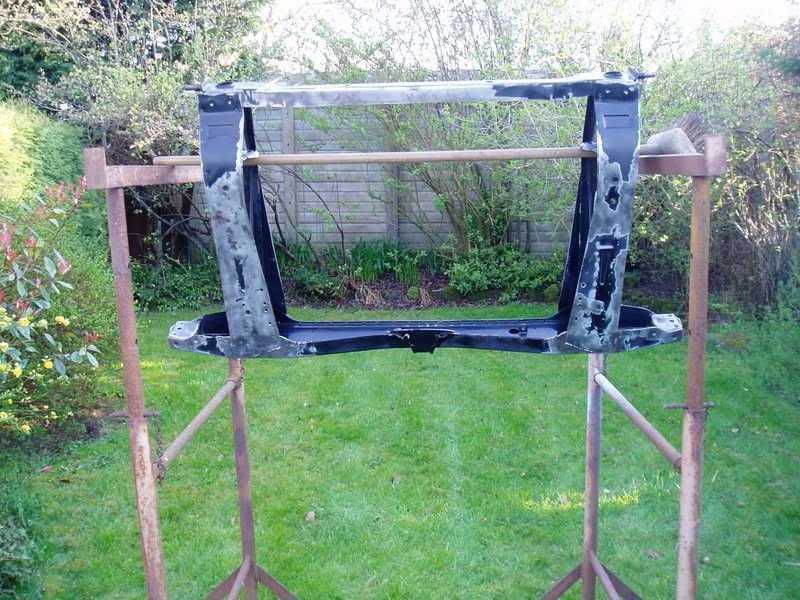
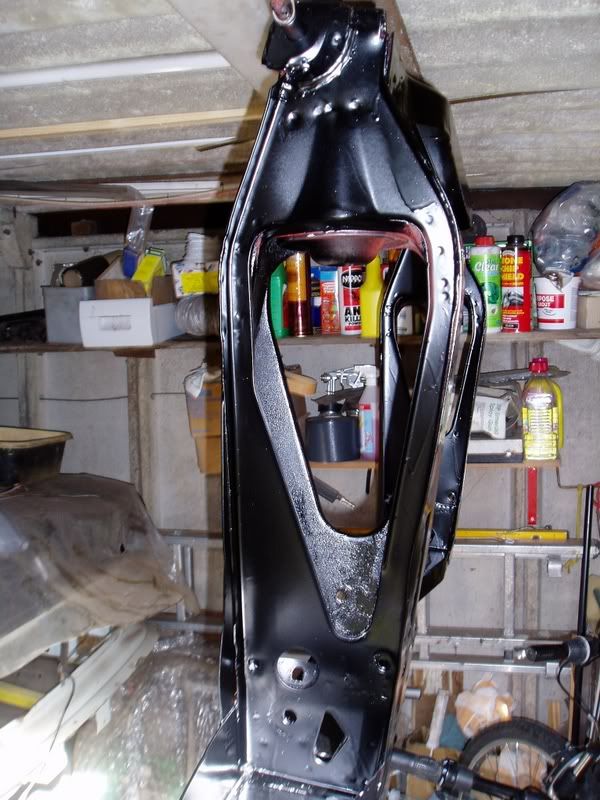
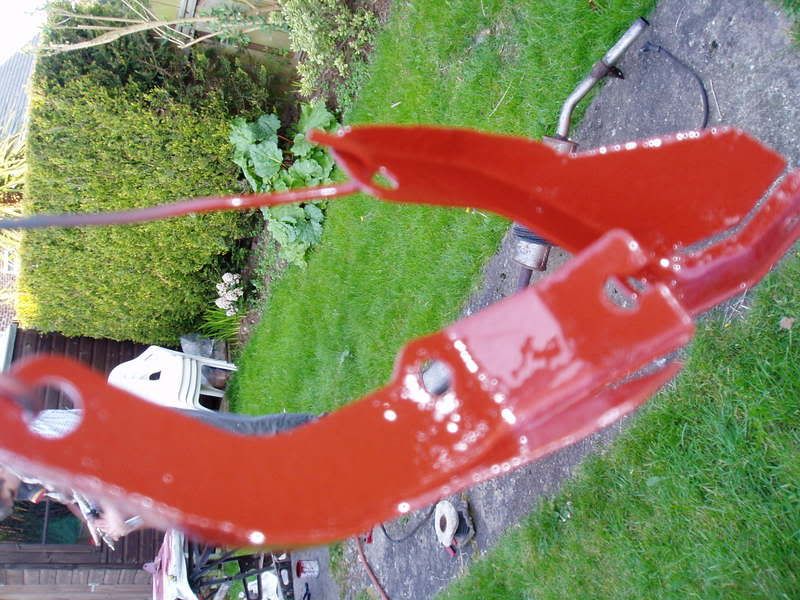
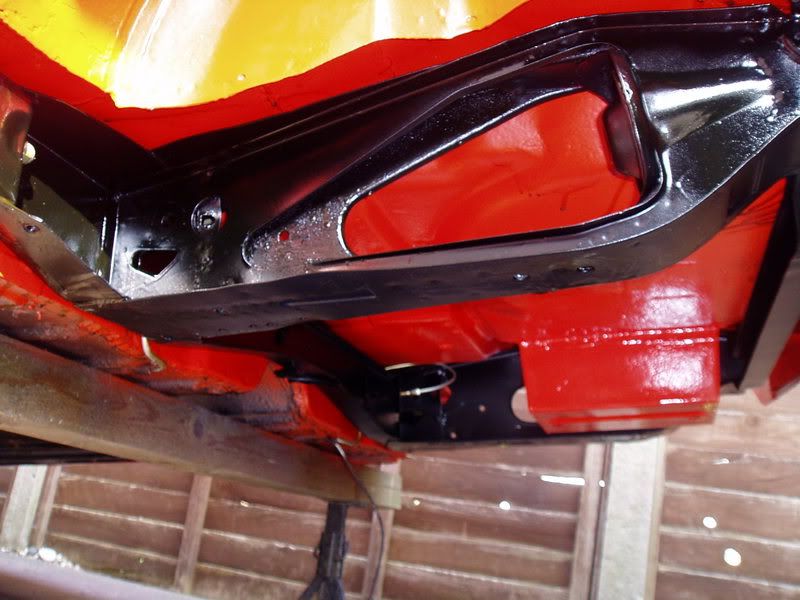
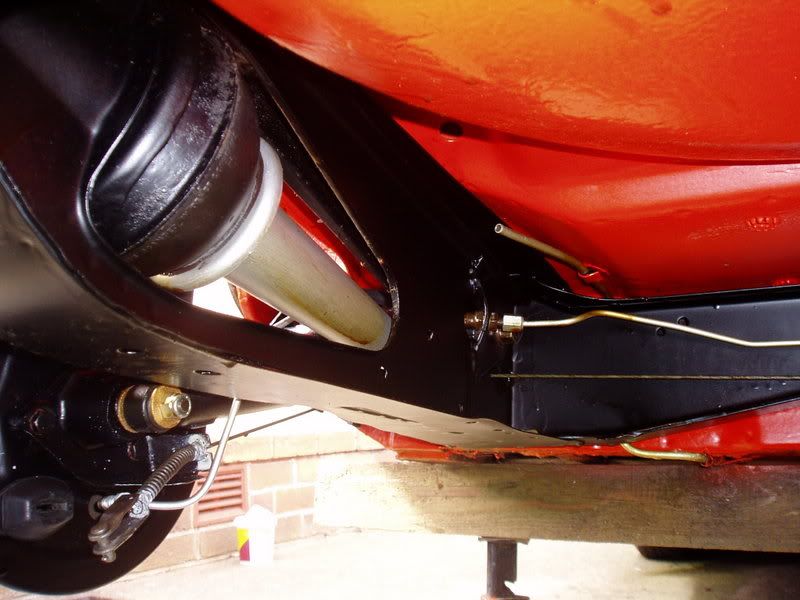
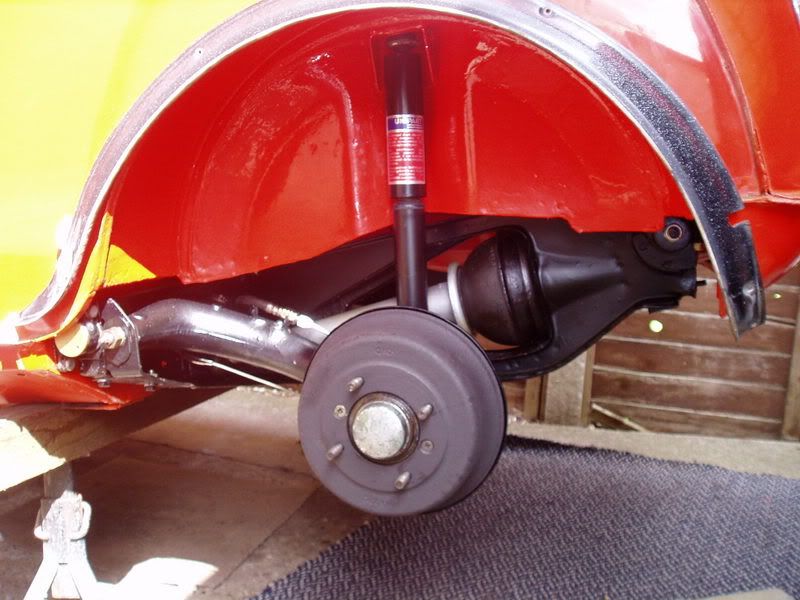
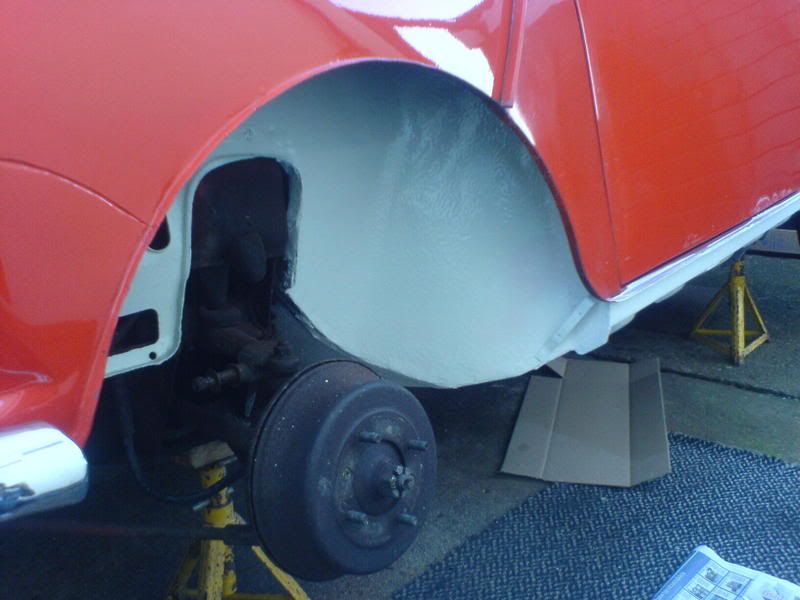
Sanded down the rear subframe, using a mouse sander, the bit which couldnt be reached had to be done by hand :teehee: Painted the subframe in a coating of red oxide paint
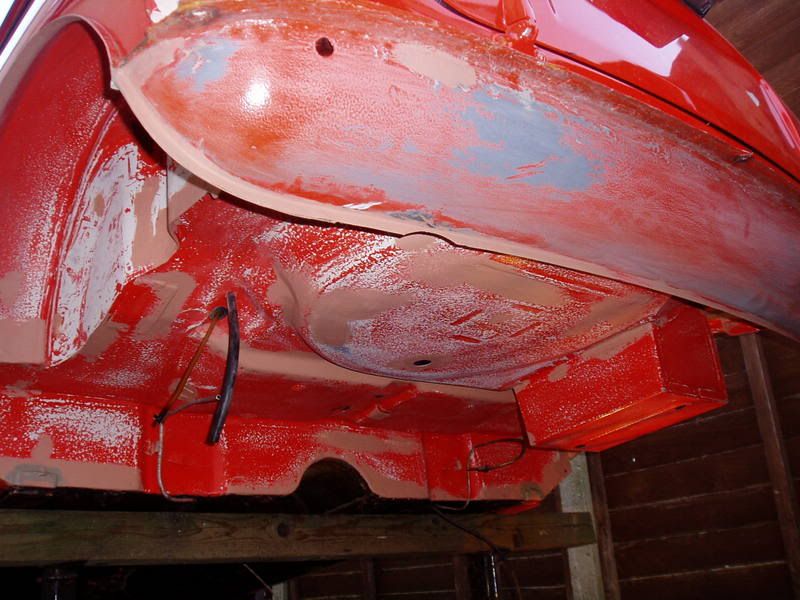
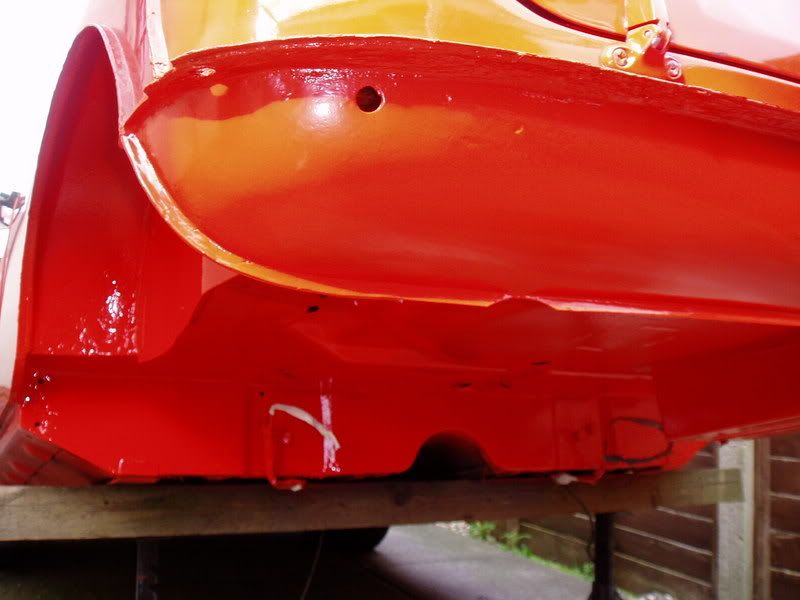
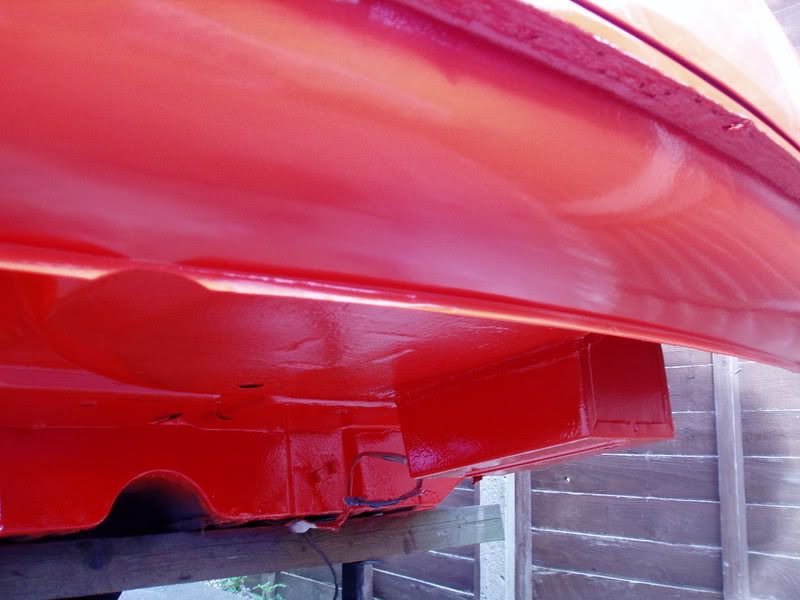
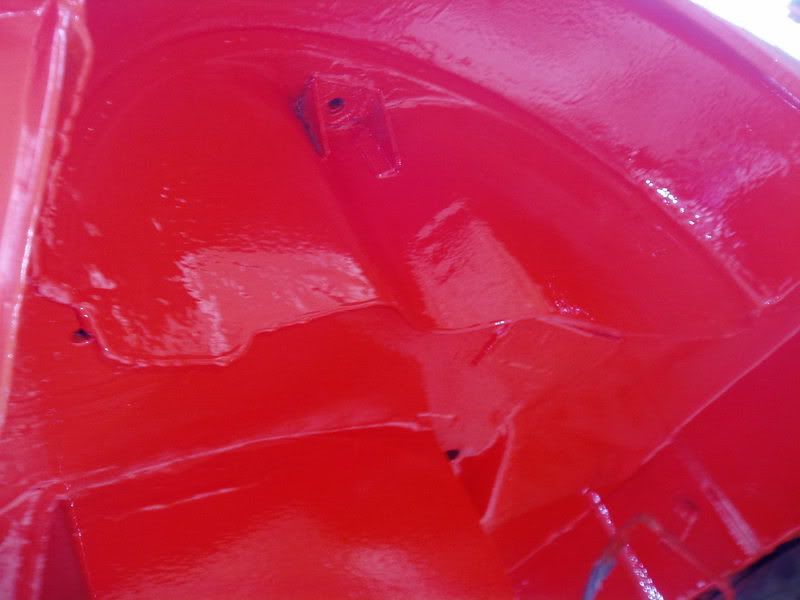
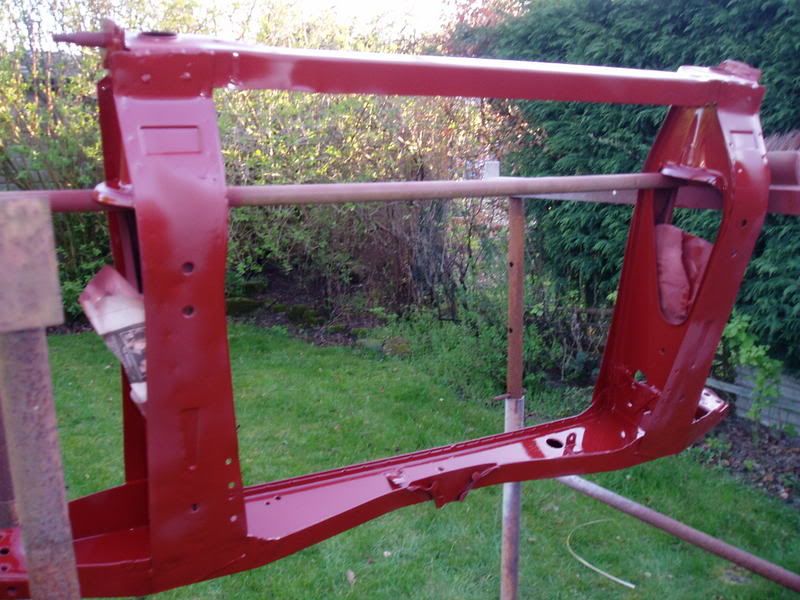
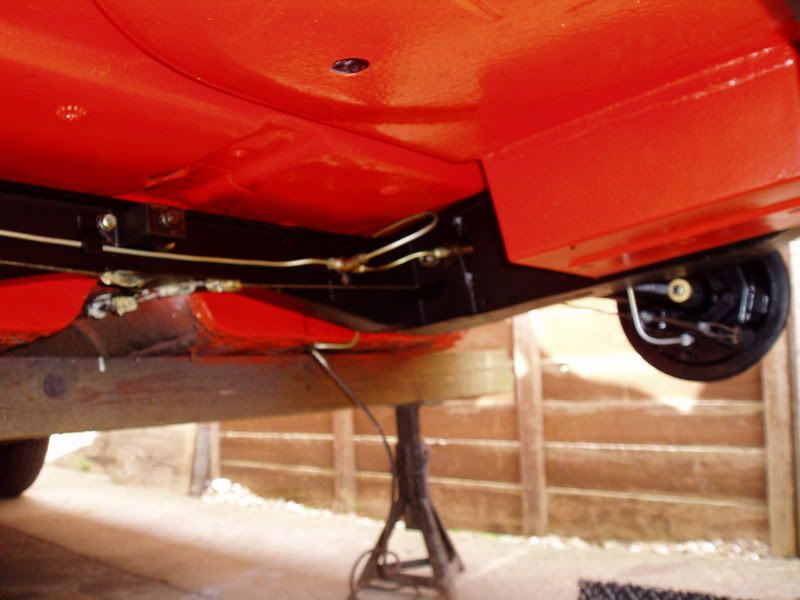
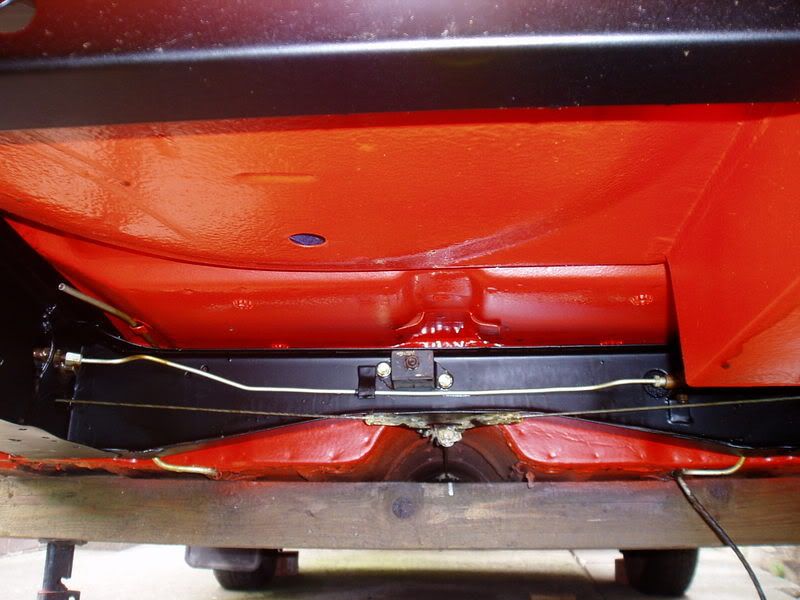
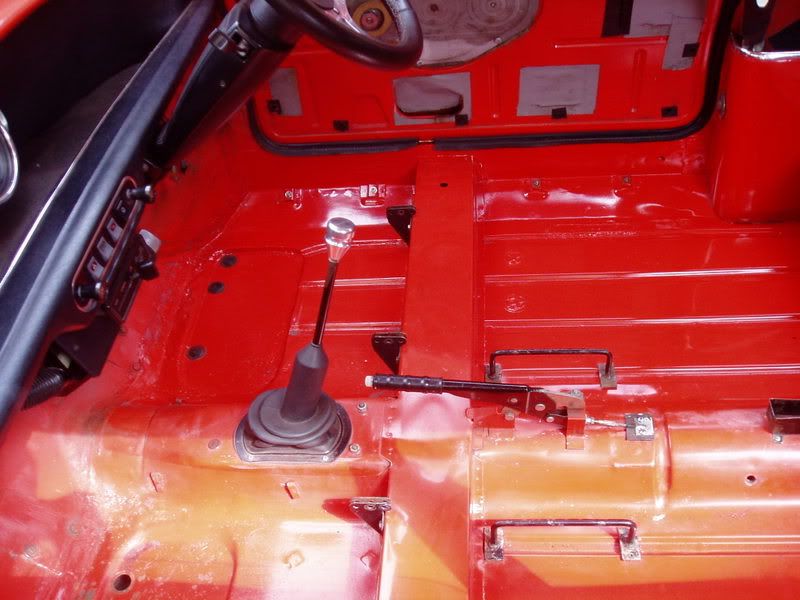
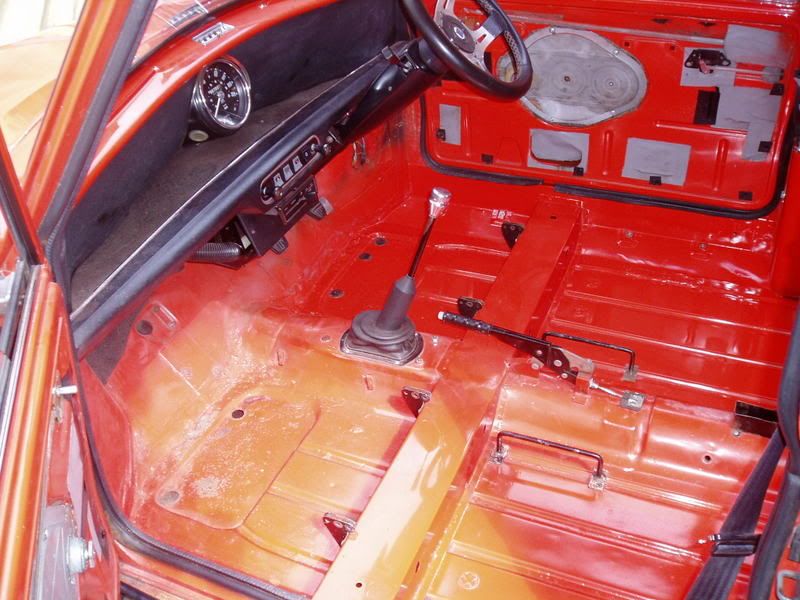
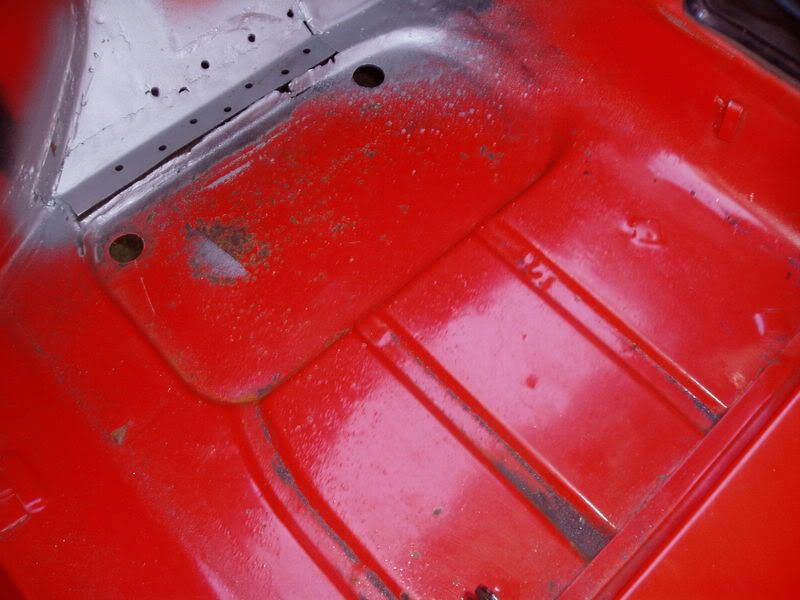
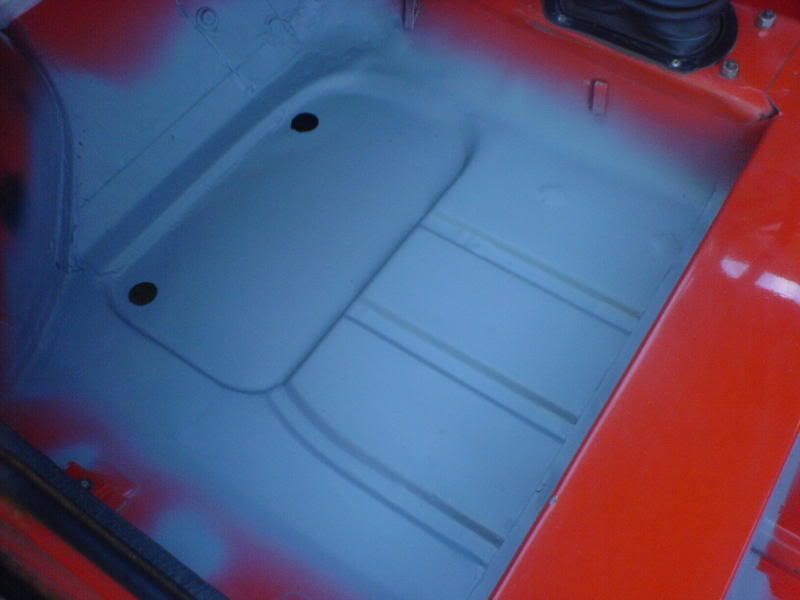
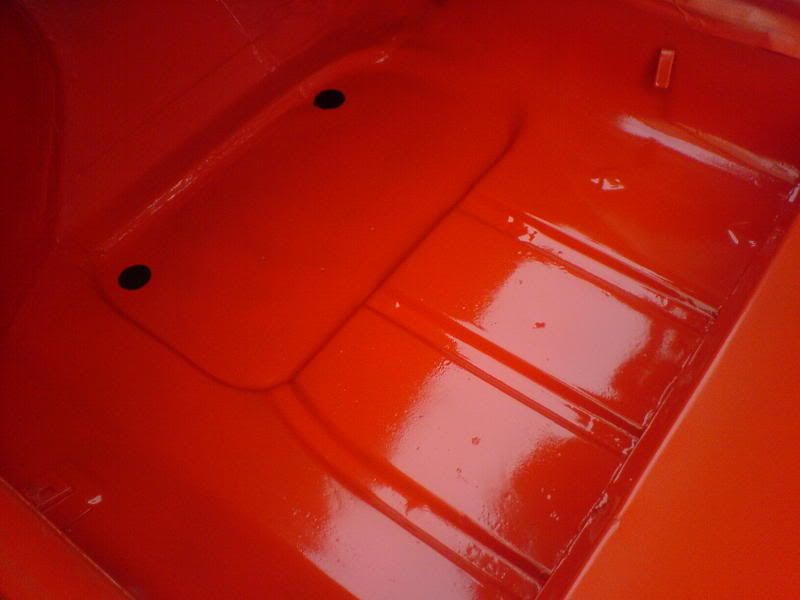
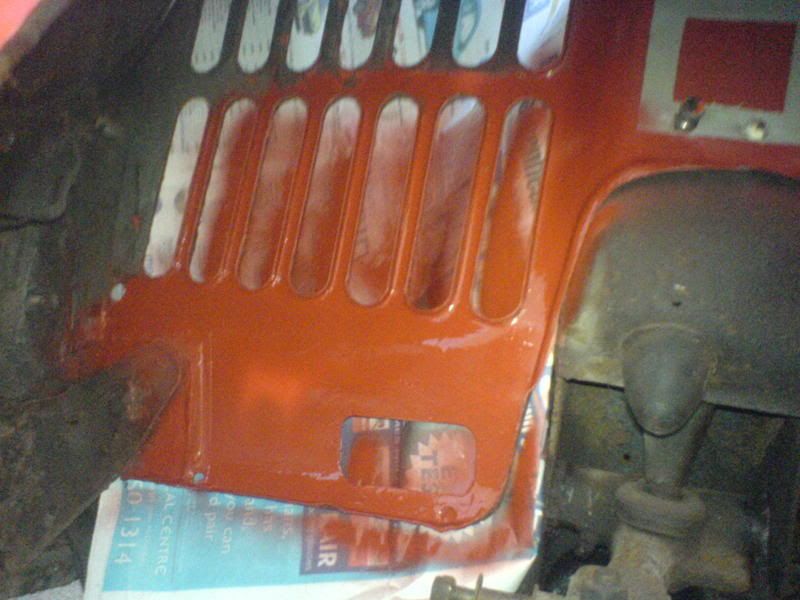
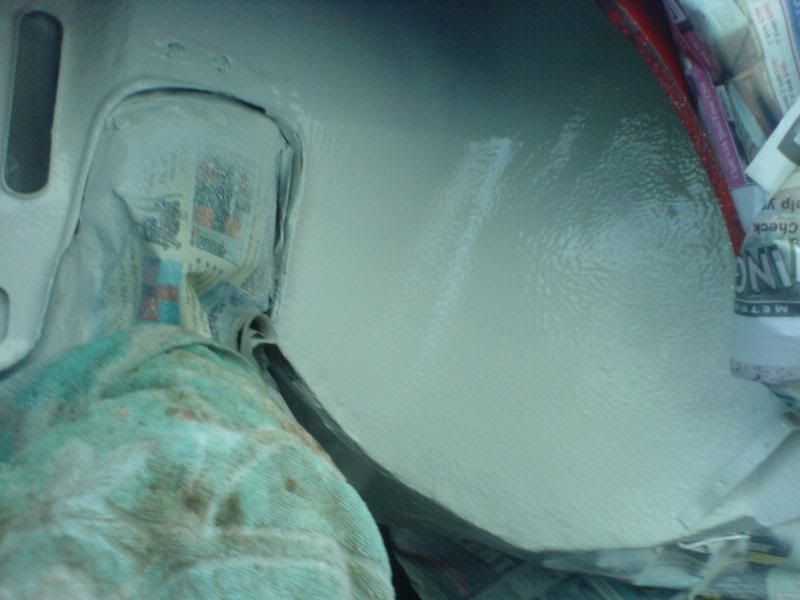
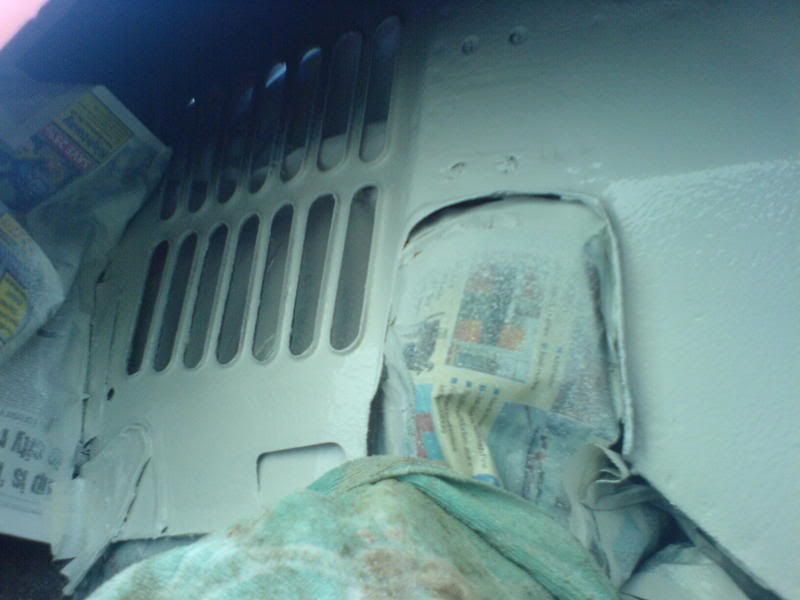
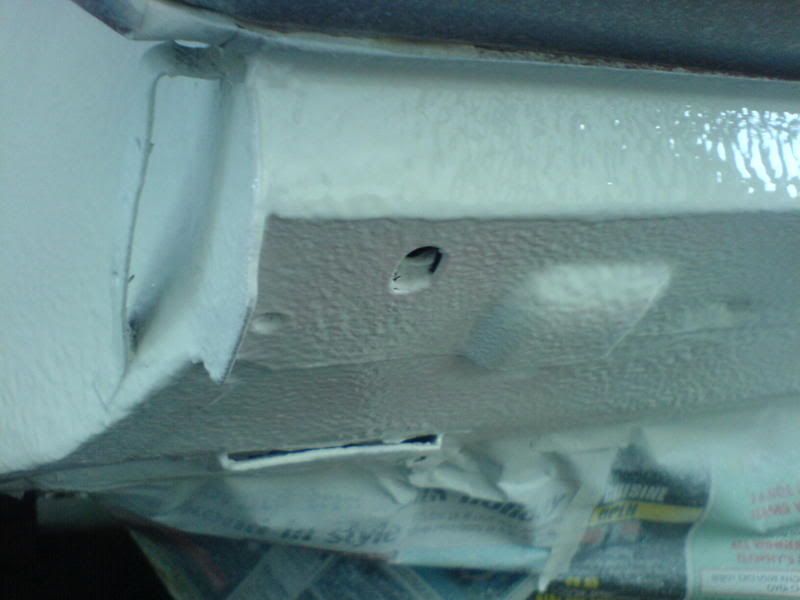
Also given the floor its top coating of vermillion red! roud: That grey stone chip takes alot of covering! Will use white stone chip next time I think, oh well, at least i know that its well protected underneath
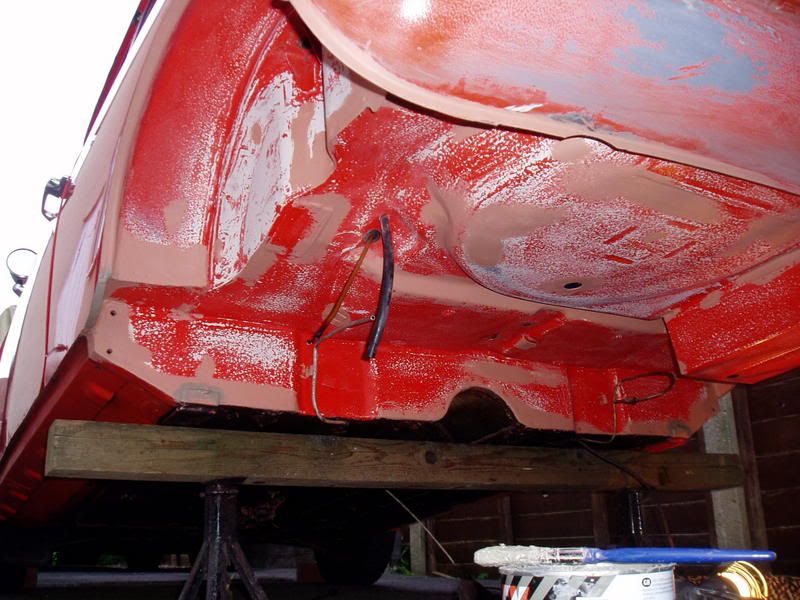
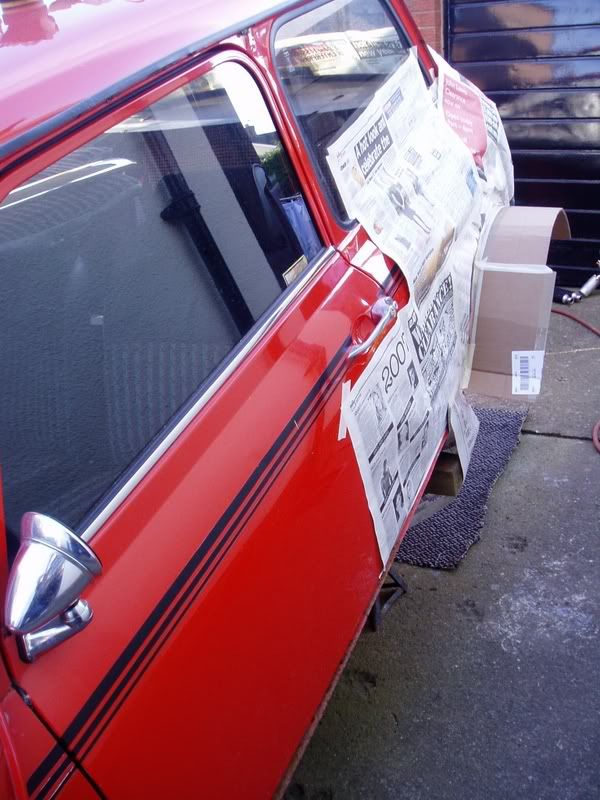
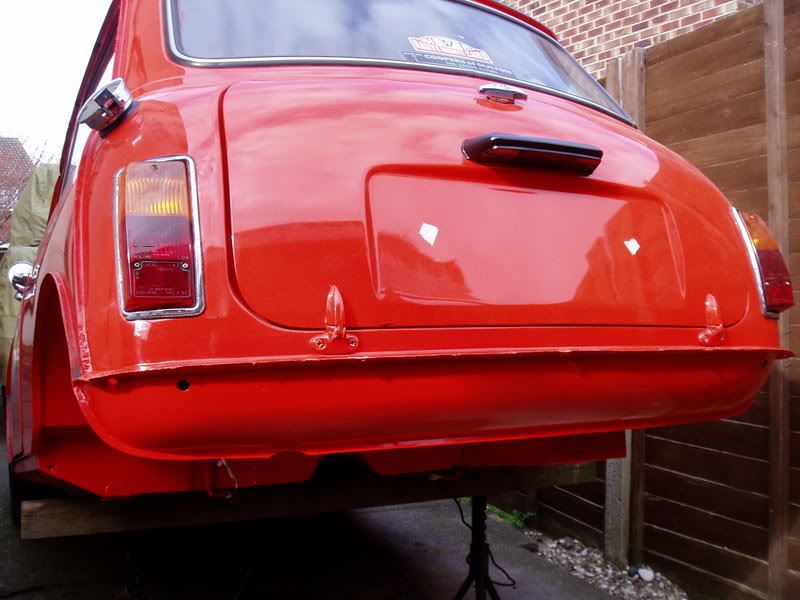
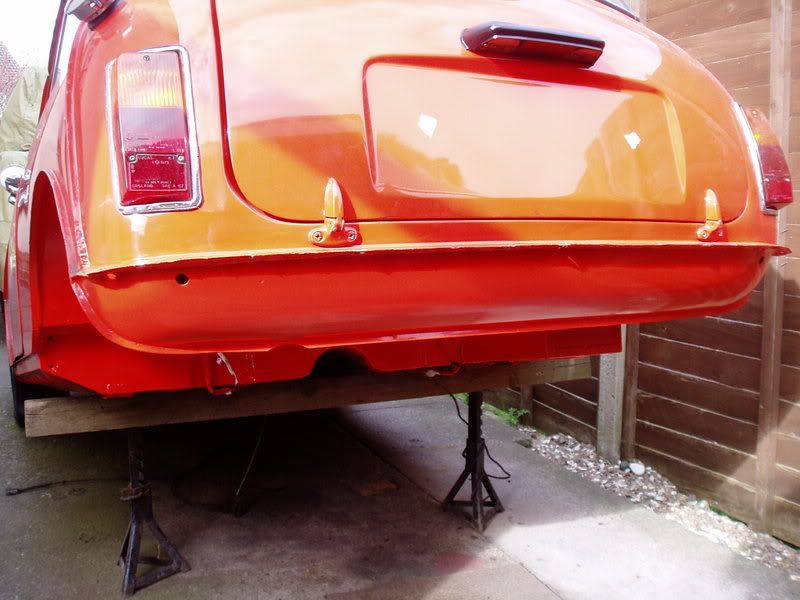
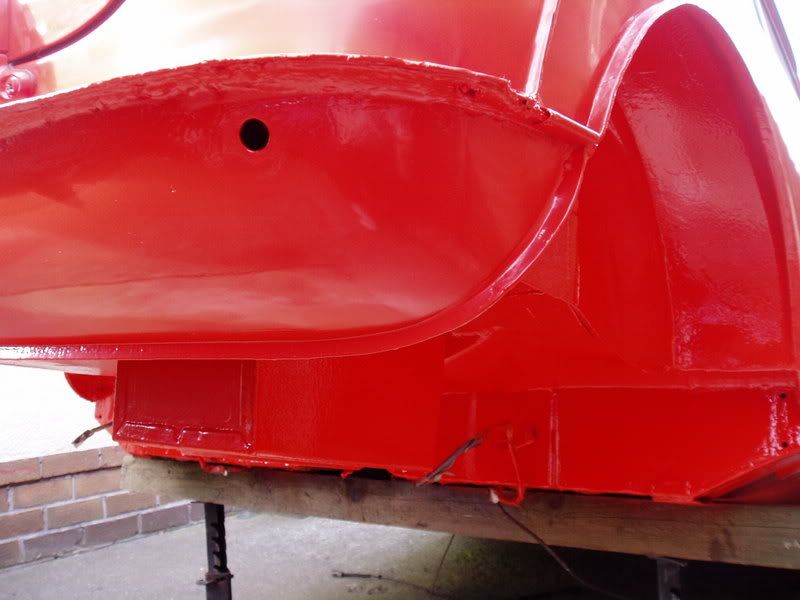
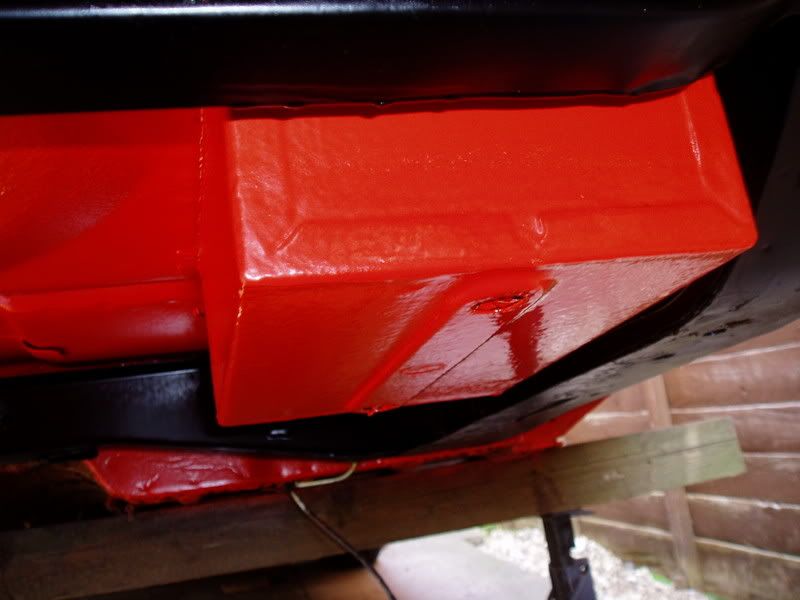
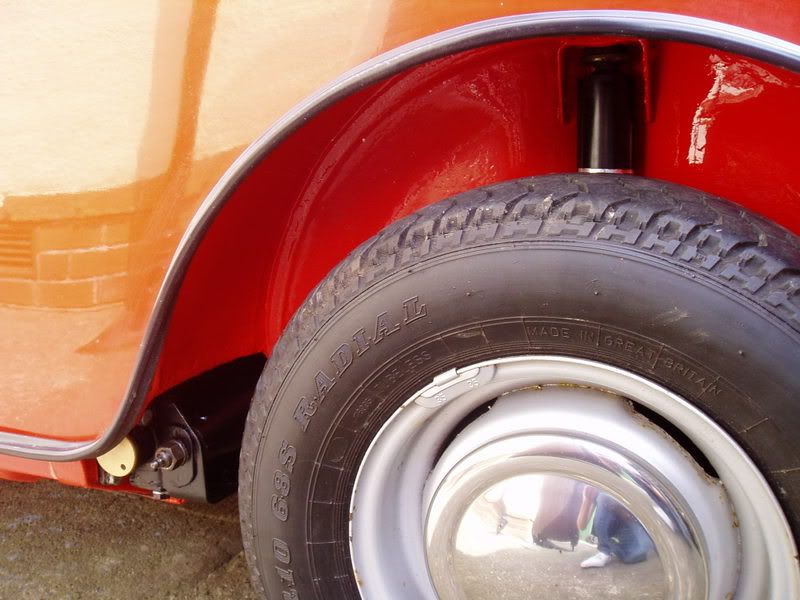
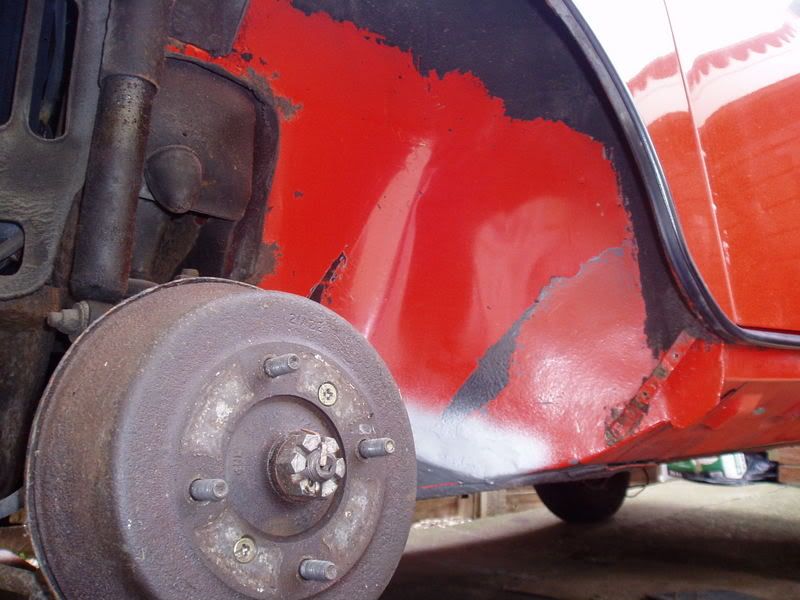
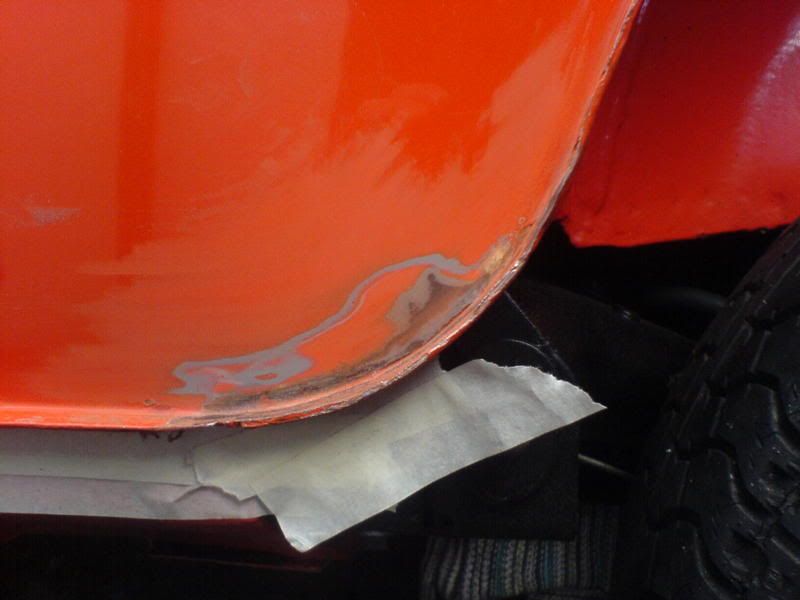
Rear Valance has also been painted in cellulose vermillion, can polish and buff it up nicely!
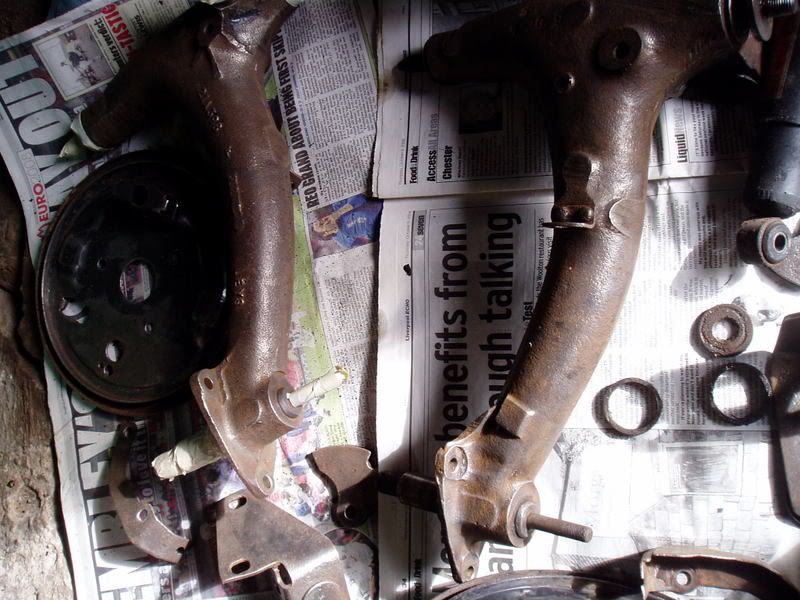
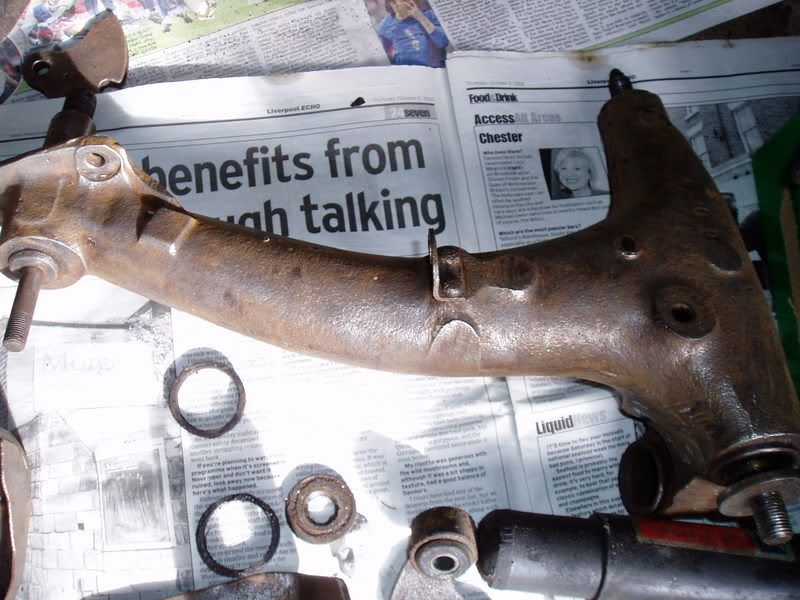
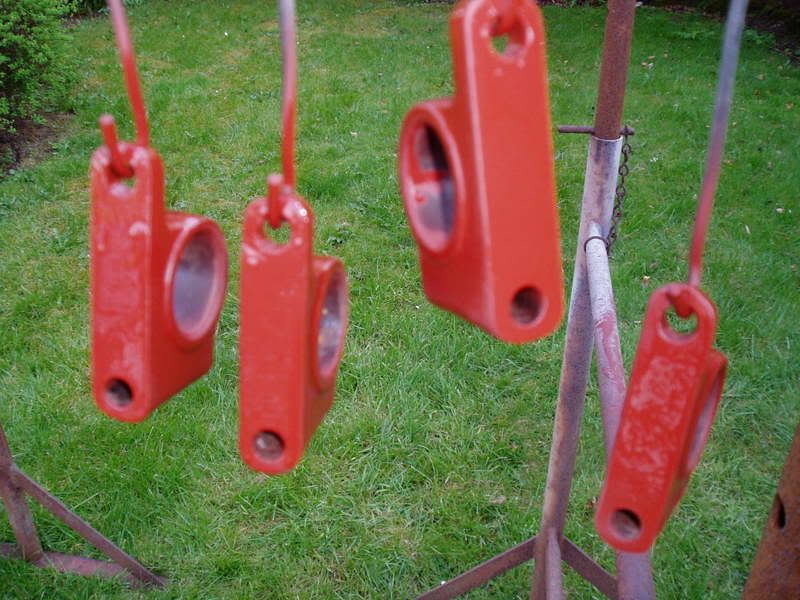
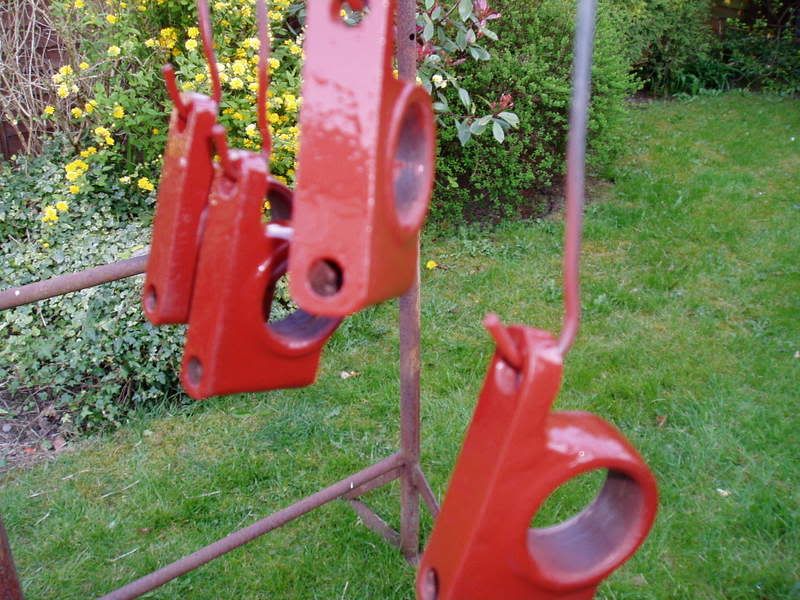
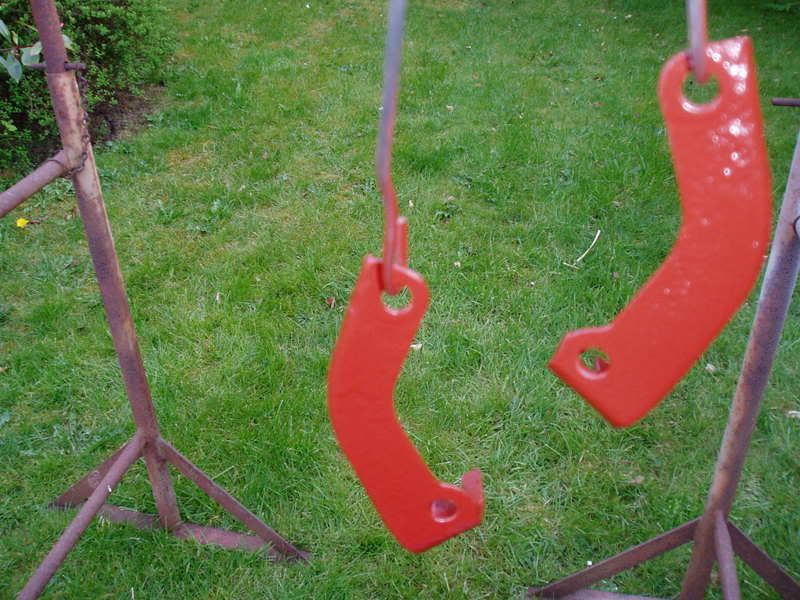
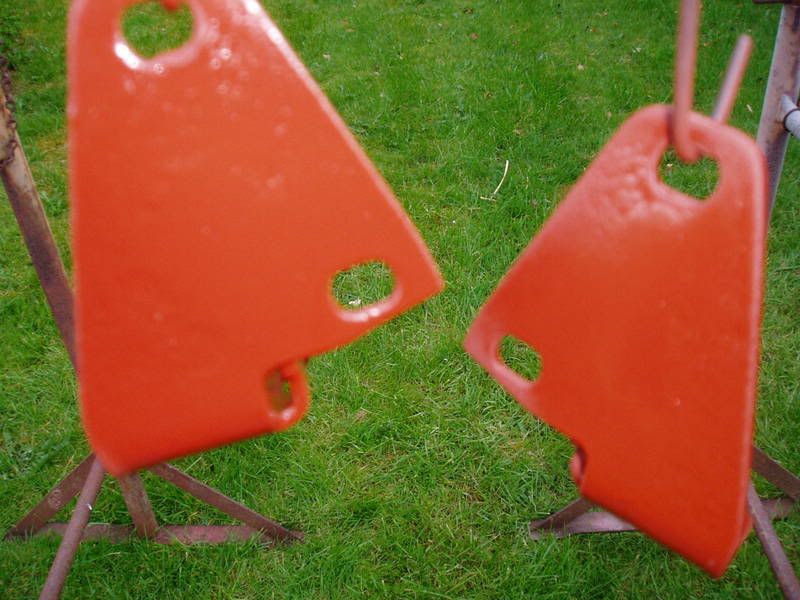
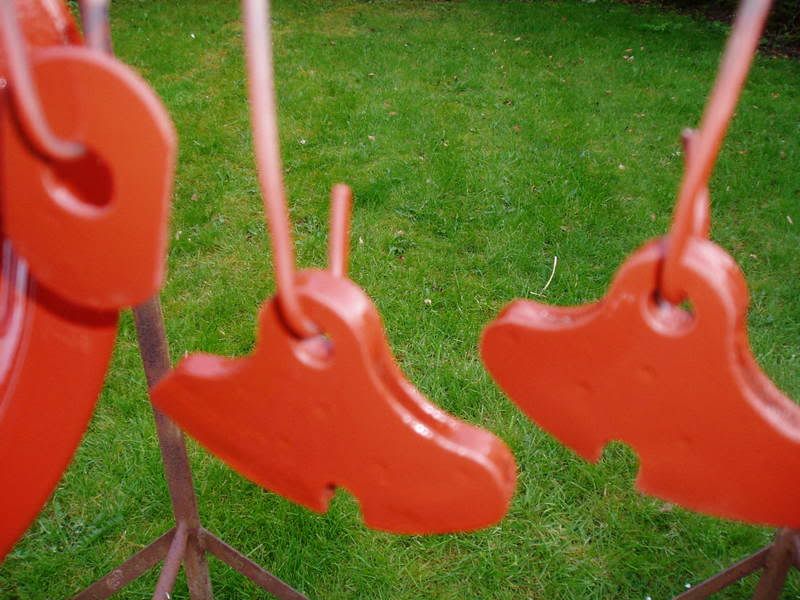
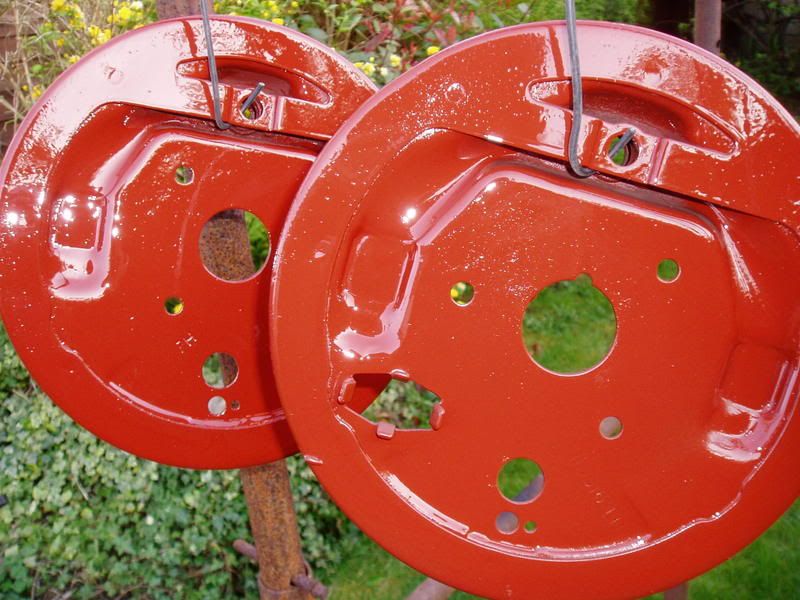
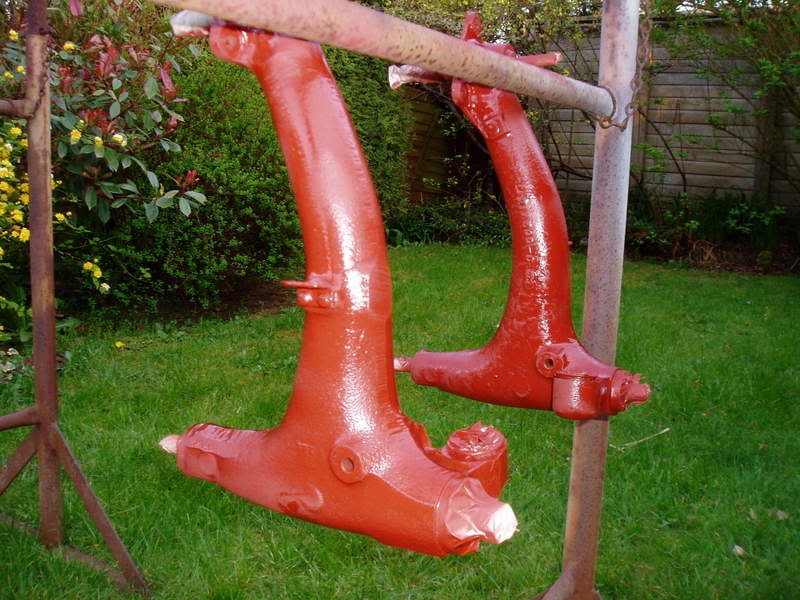
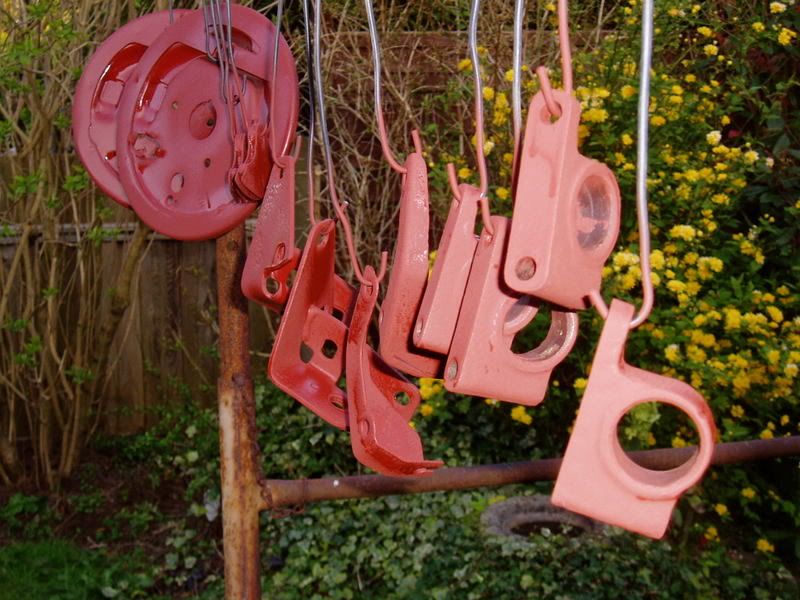
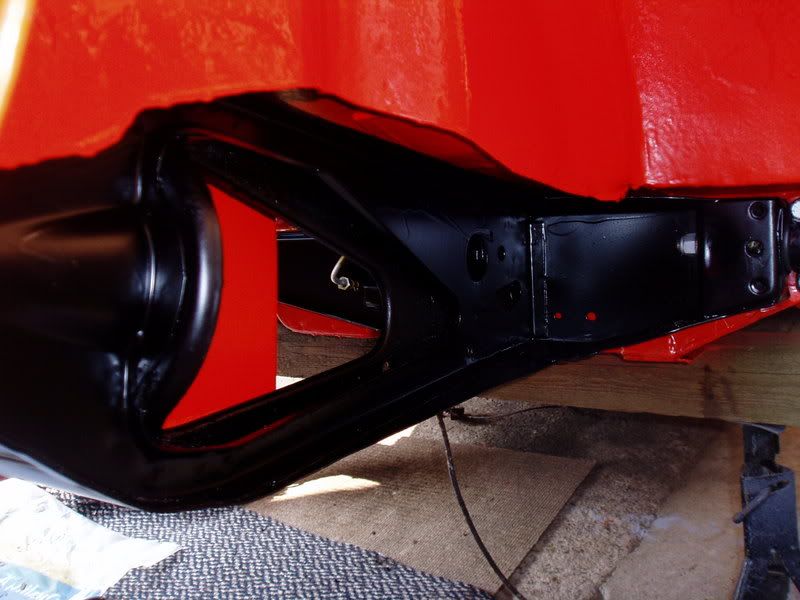
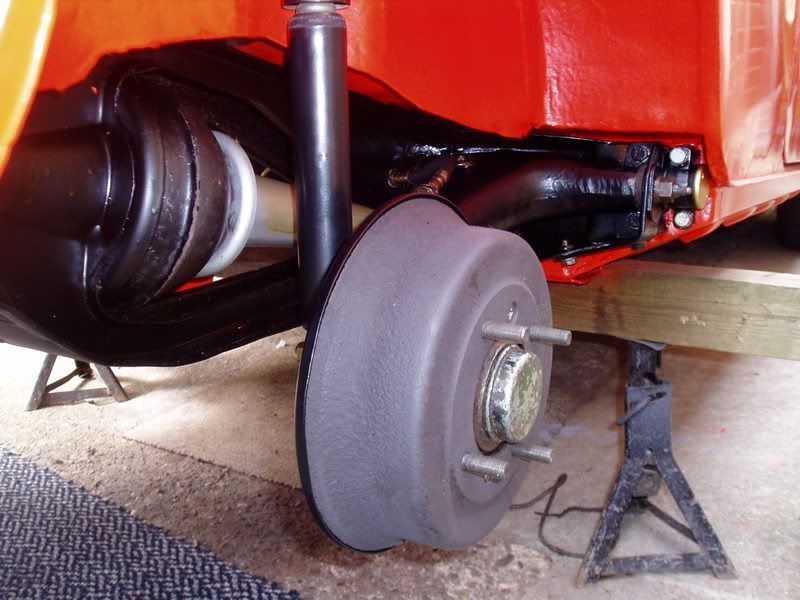
The radius arms have been cleaned up and restored ready for painting as with the brake backplates.
Here are the pictures of the progress so far


Also given the floor its top coating of vermillion red!
roud: That grey stone chip takes alot of covering! Will use white stone chip next time I think, oh well, at least i know that its well protected underneath Rear Valance has also been painted in cellulose vermillion, can polish and buff it up nicely!
The radius arms have been cleaned up and restored ready for painting as with the brake backplates.
Here are the pictures of the progress so far

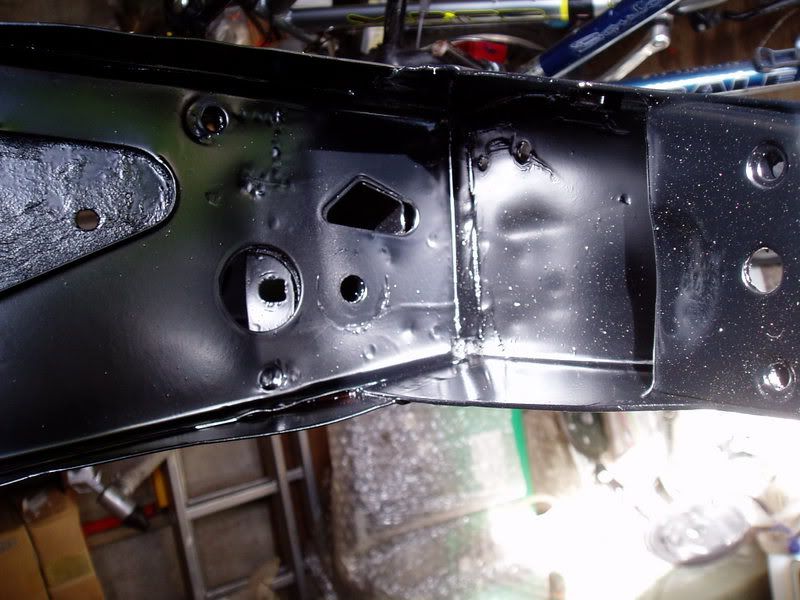
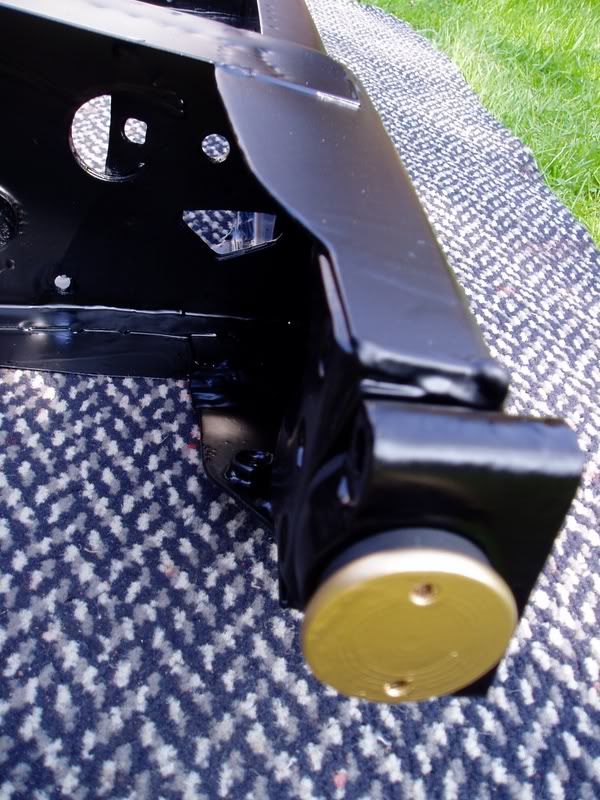
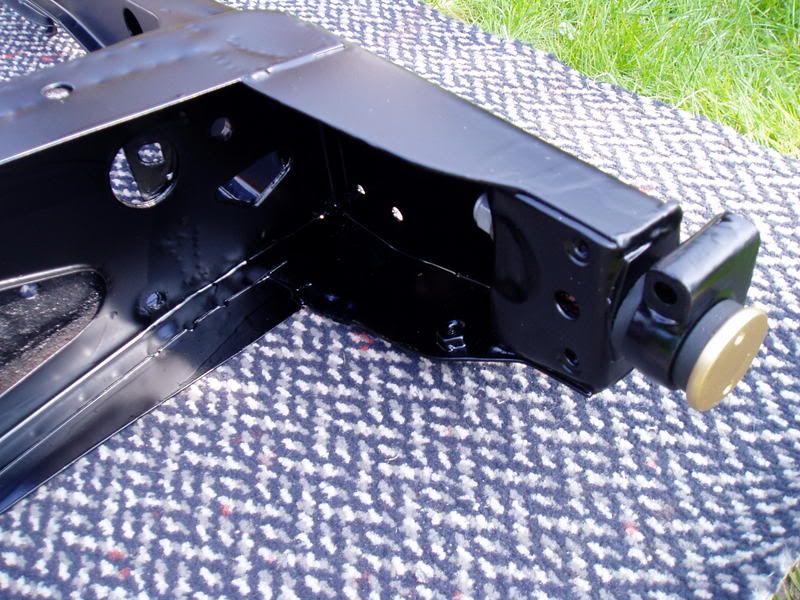
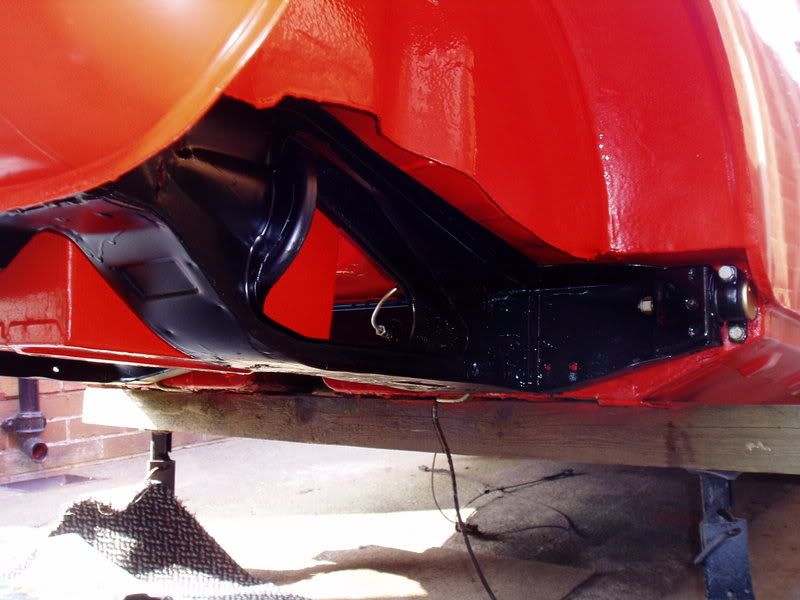
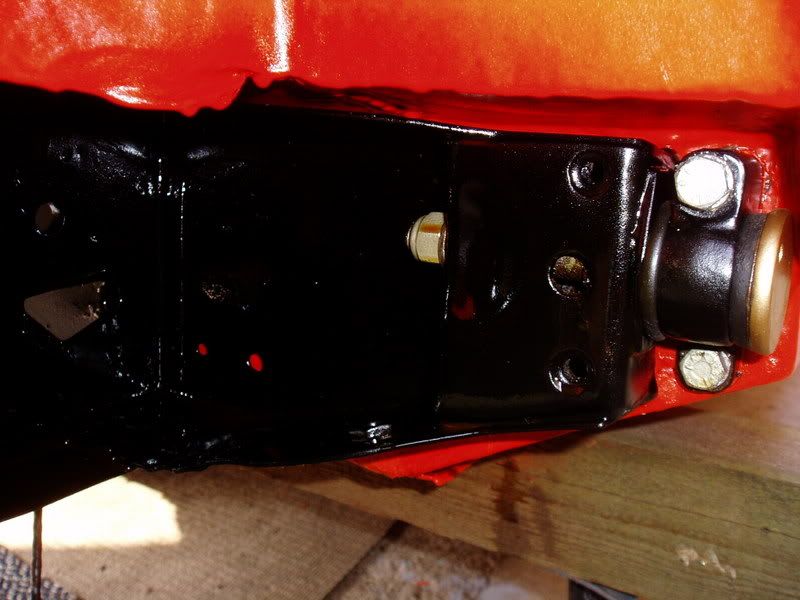
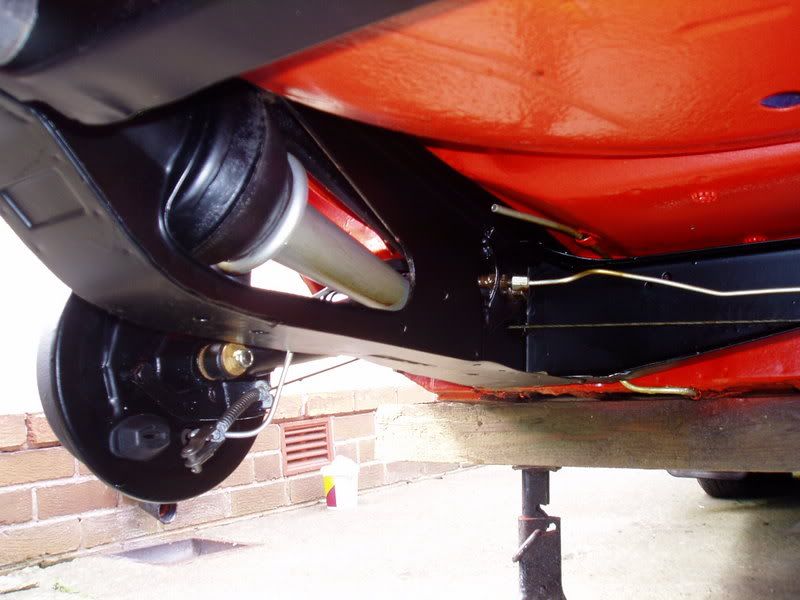
Fully wax-oiled the floor using '3M' attatched to the compressor. Also fully waxed the subframe and components, Its not as shiney now >_< , but it will protect it so I guess thats what matters! :thumbsup:
Here's the pics: (Note: Gold painted subframe pin, I had to do something different! ;D)
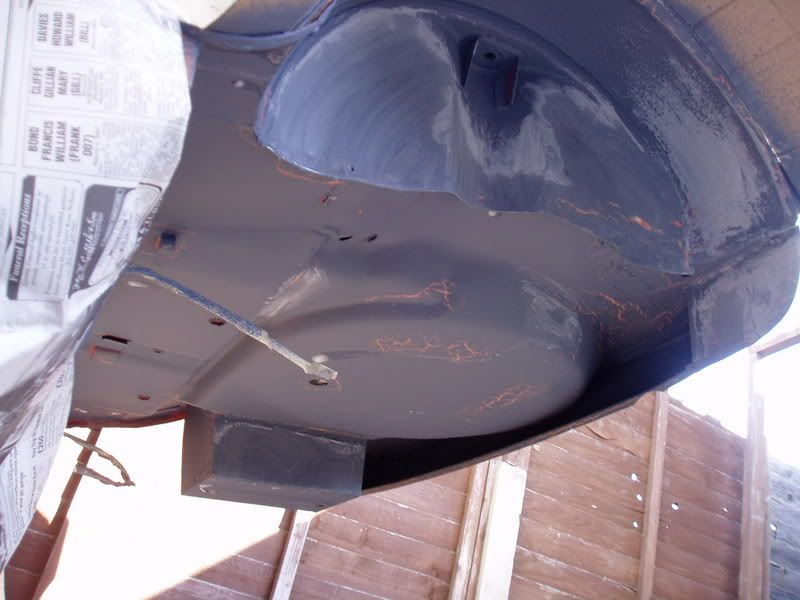
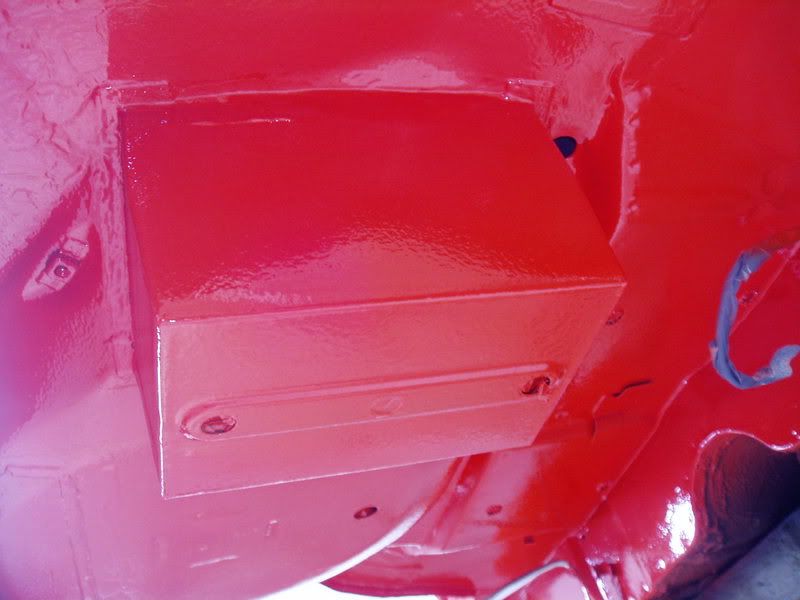
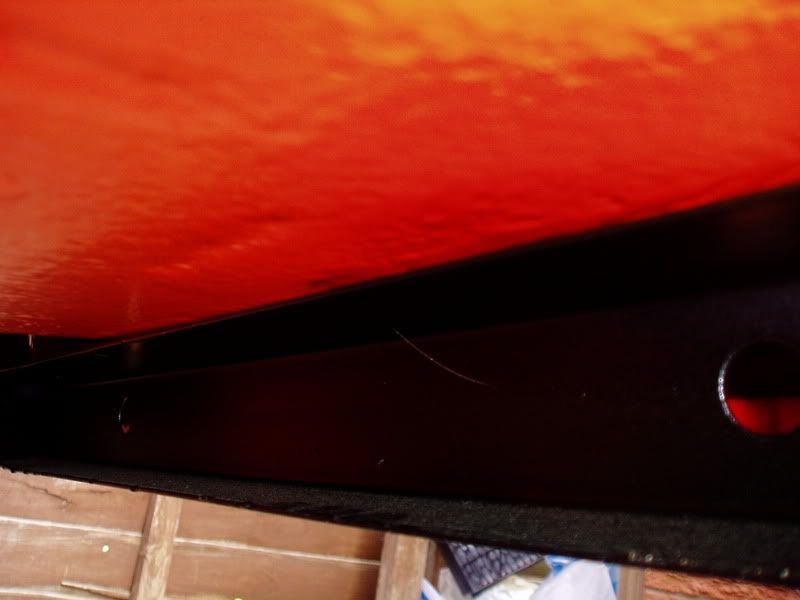
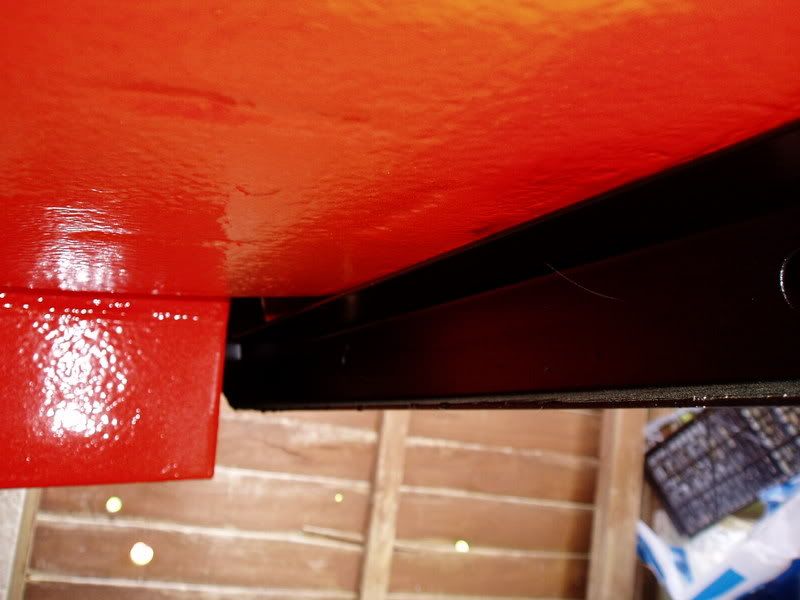
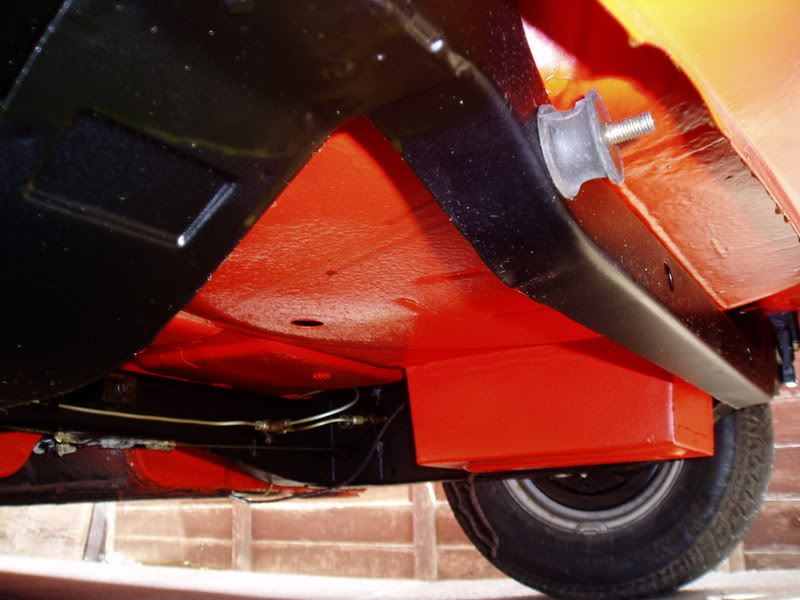
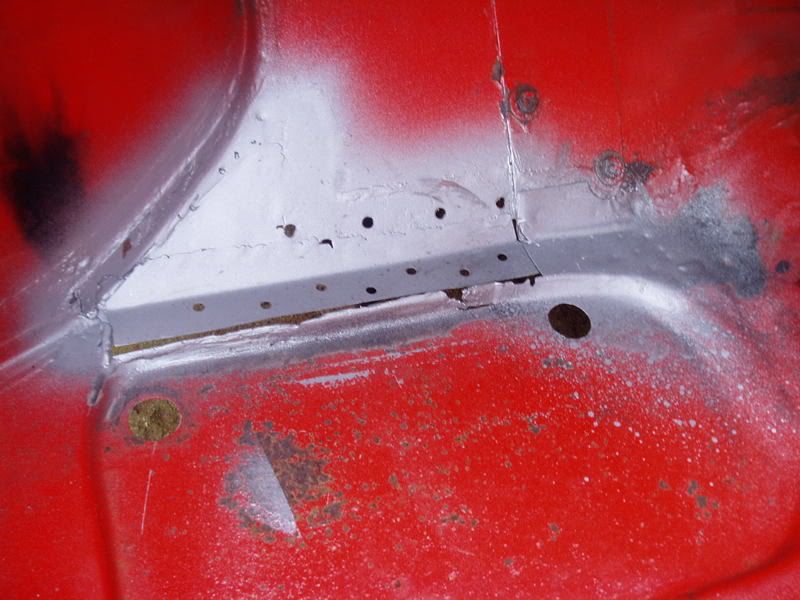
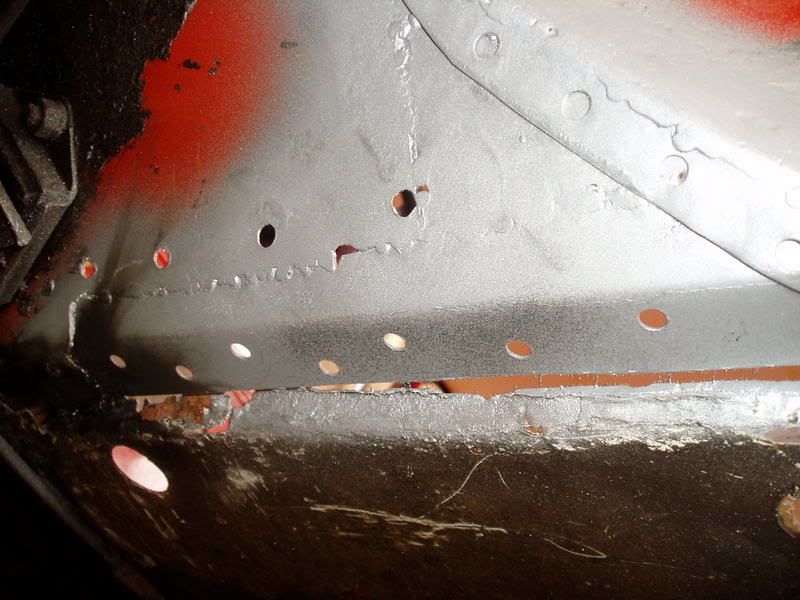
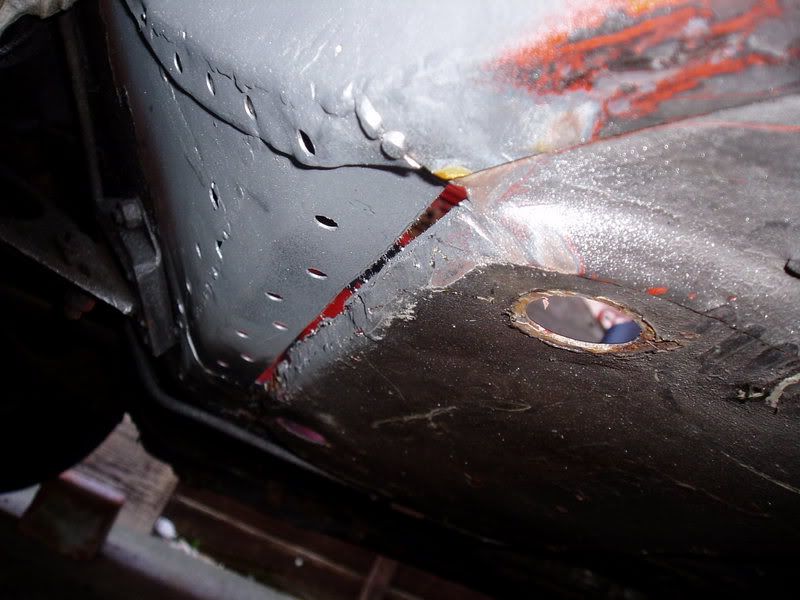
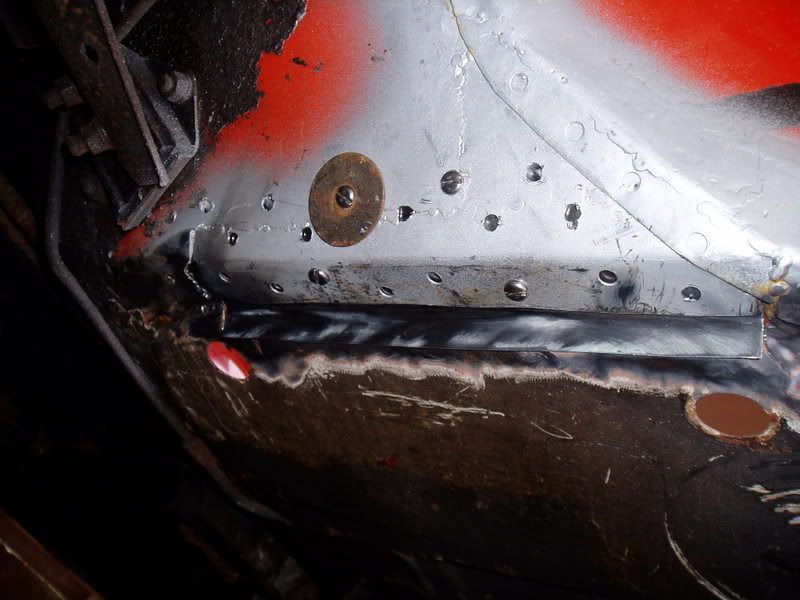
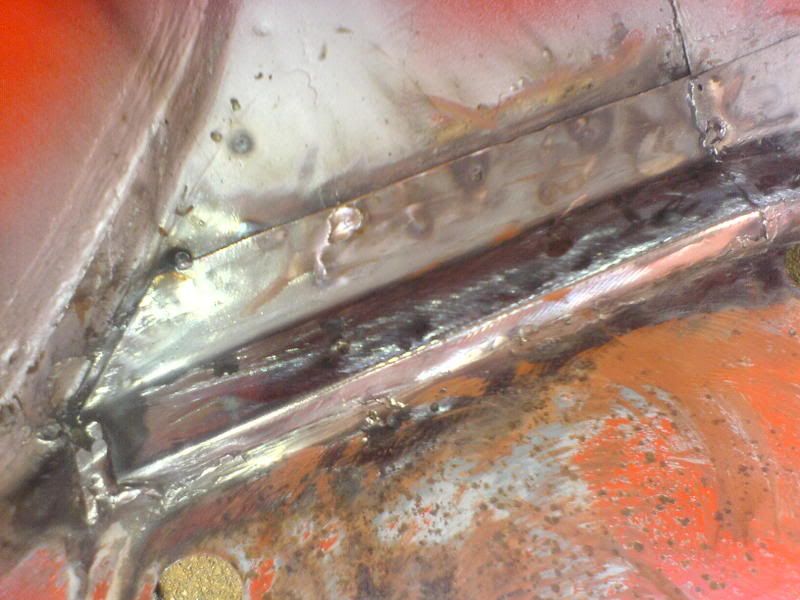
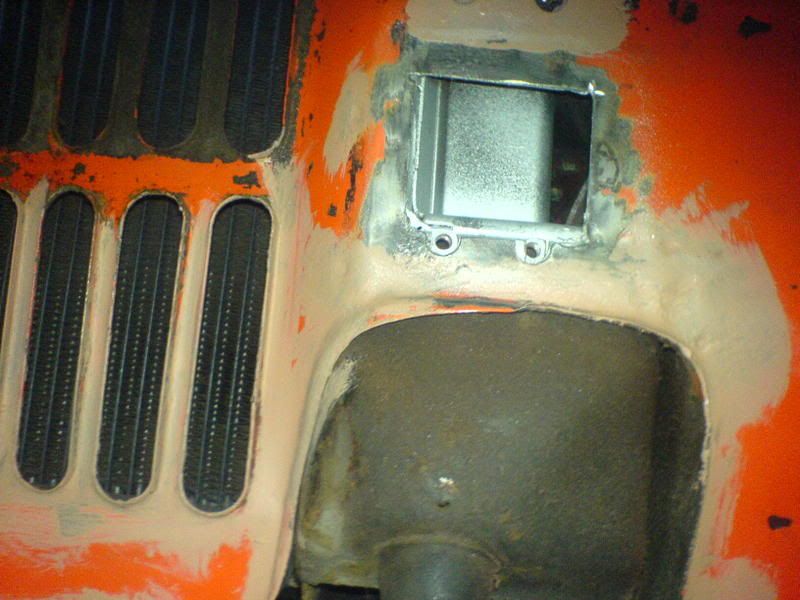
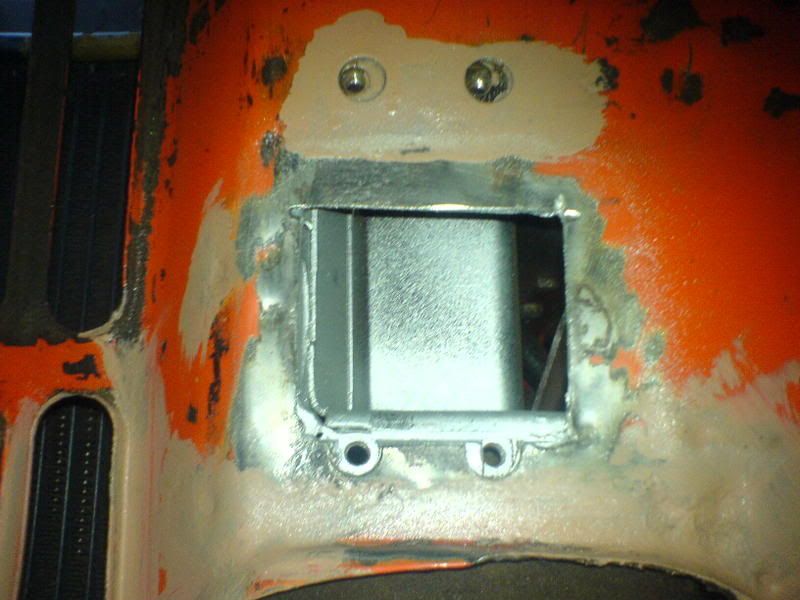
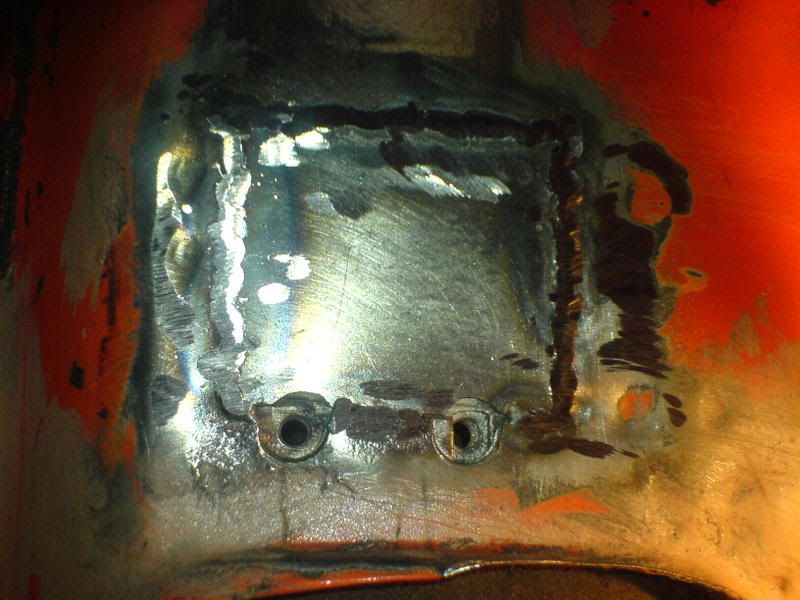
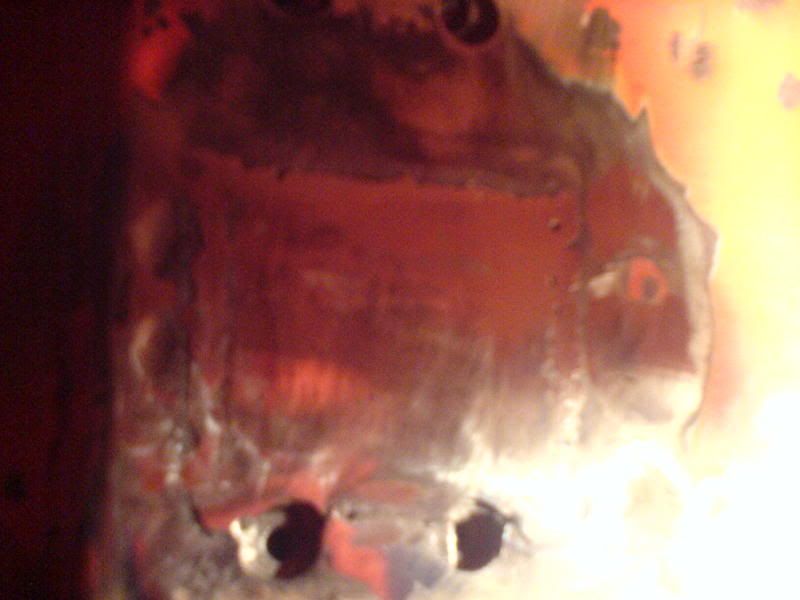
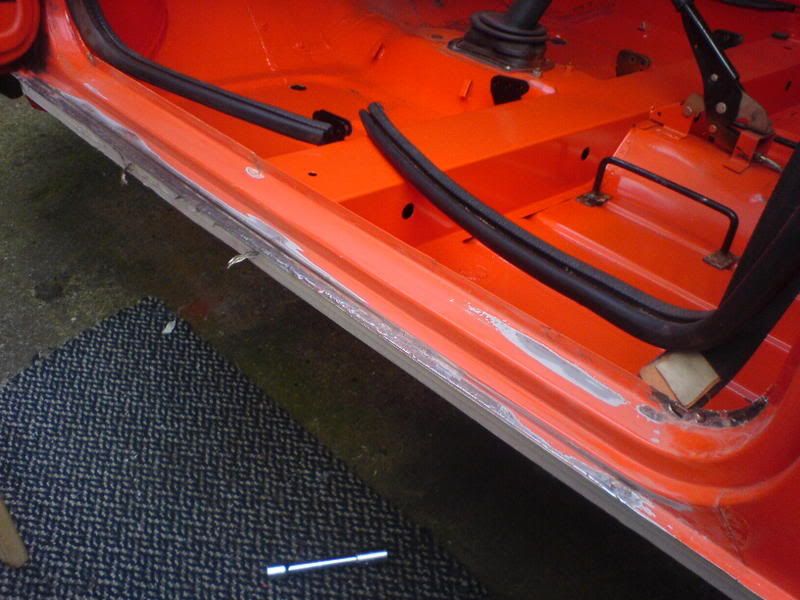
Subframe back in place:
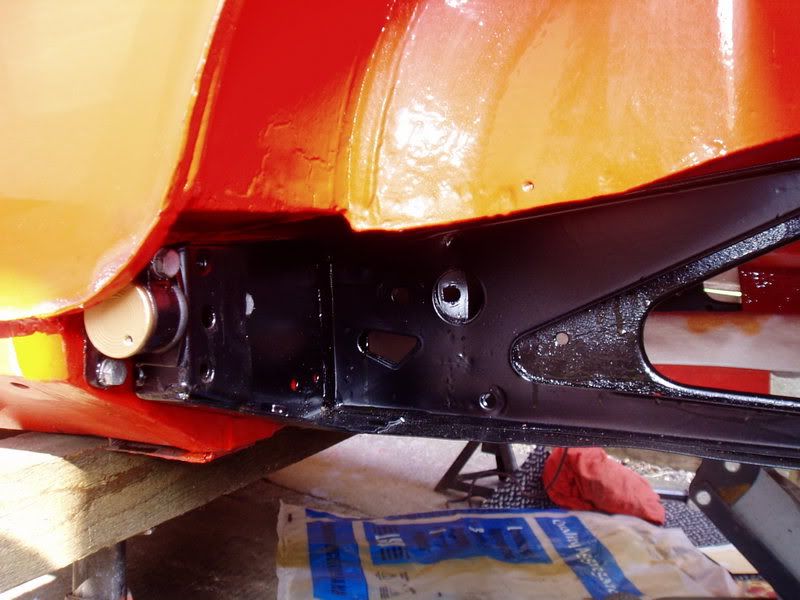
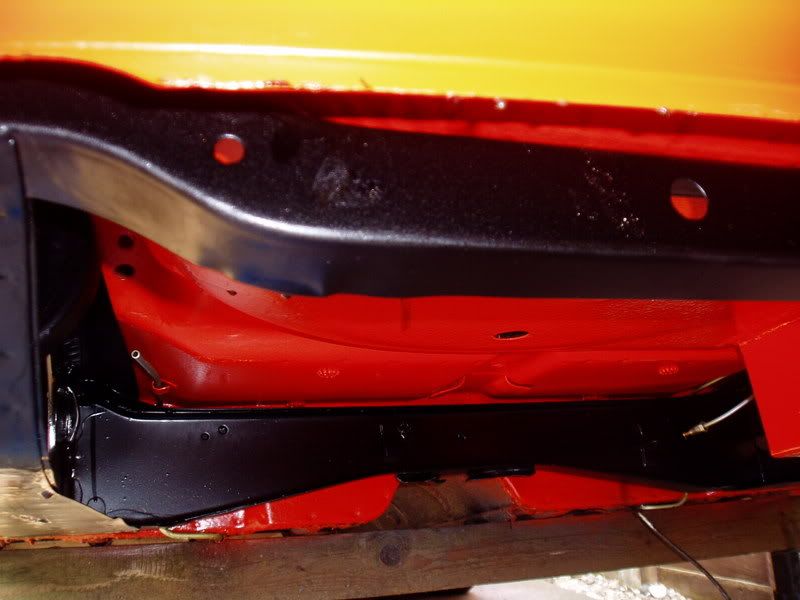
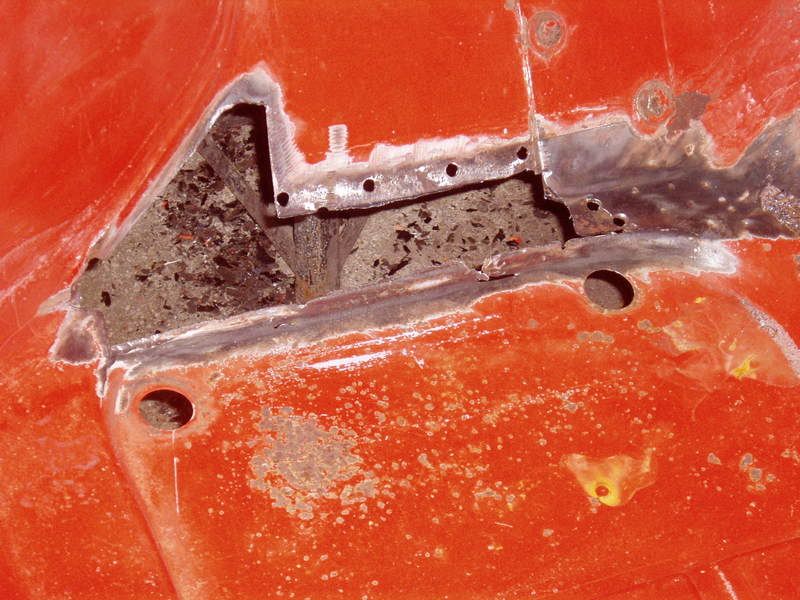
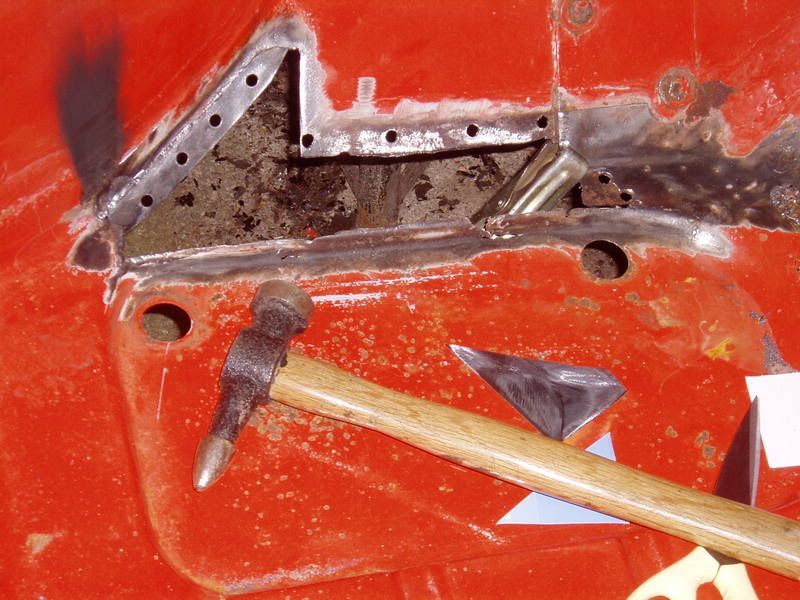
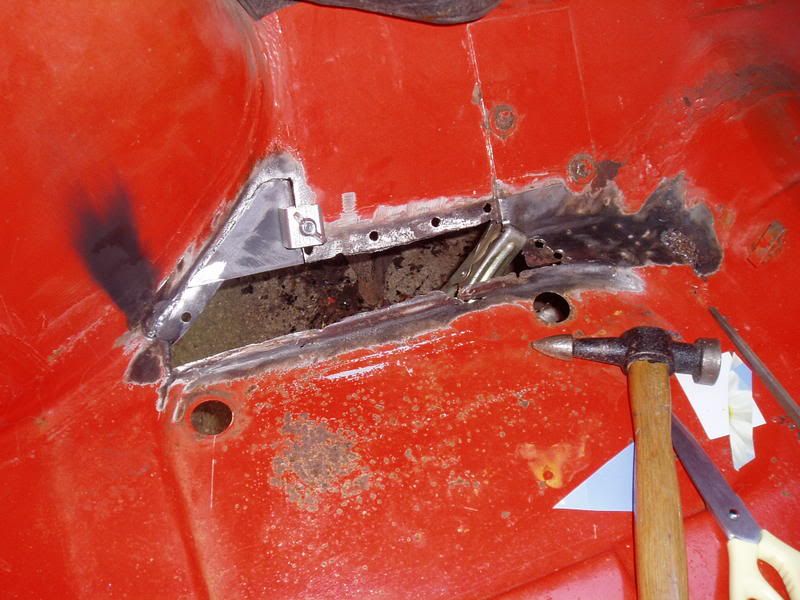
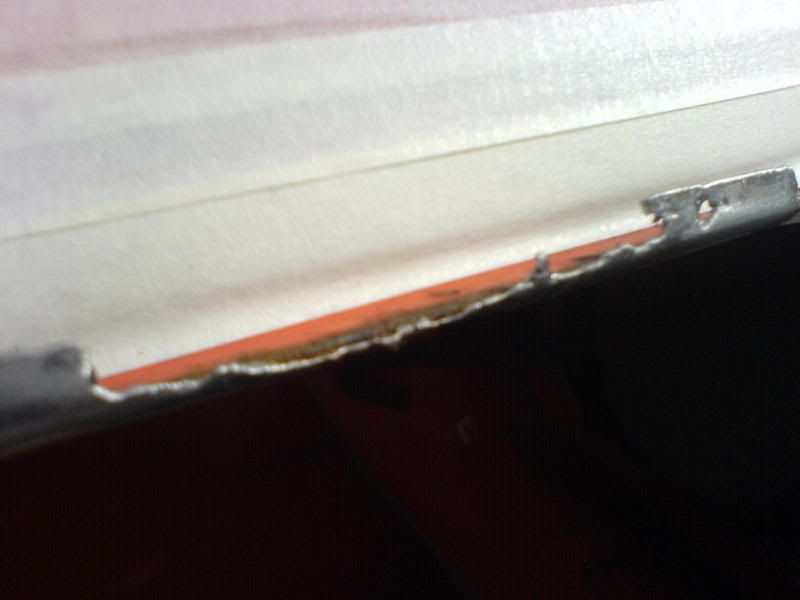
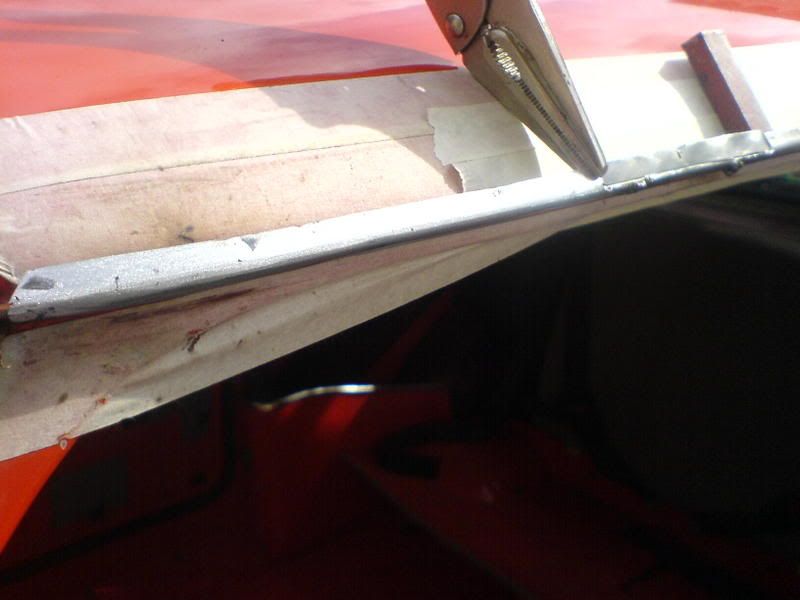
As you can see, the subframe touches the floor of the Mini, I guess this was [u]due to the accident[/u], when everything was thrown out of line:
>


Skyedriver said:
You missed a bit.......only joking. Top job, trust you aren't going to use it after all this work.
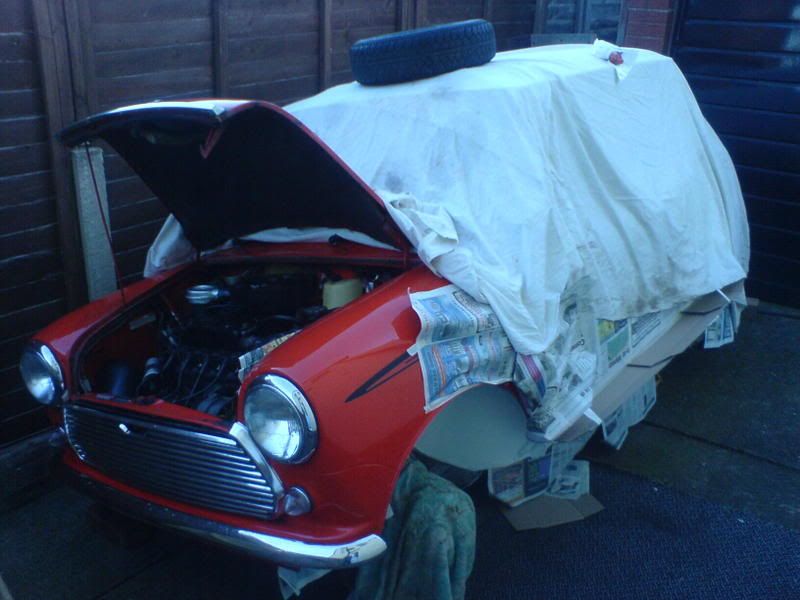
Everyday car when its complete  Will be carefully looked after and drived sensibly by me as its an 850 and this car deserves a nice relaxed easy life! Lots of family history, so im holding onto it and never letting to.
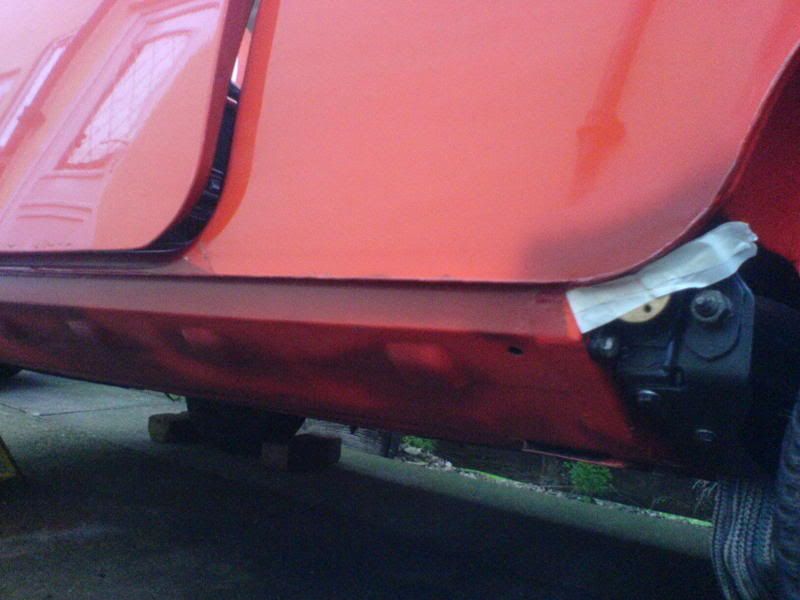
As it stands =]
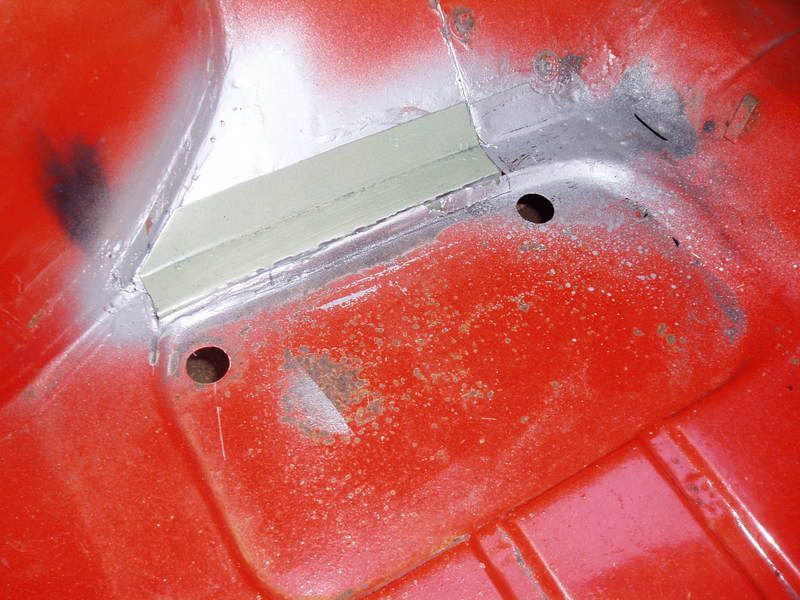
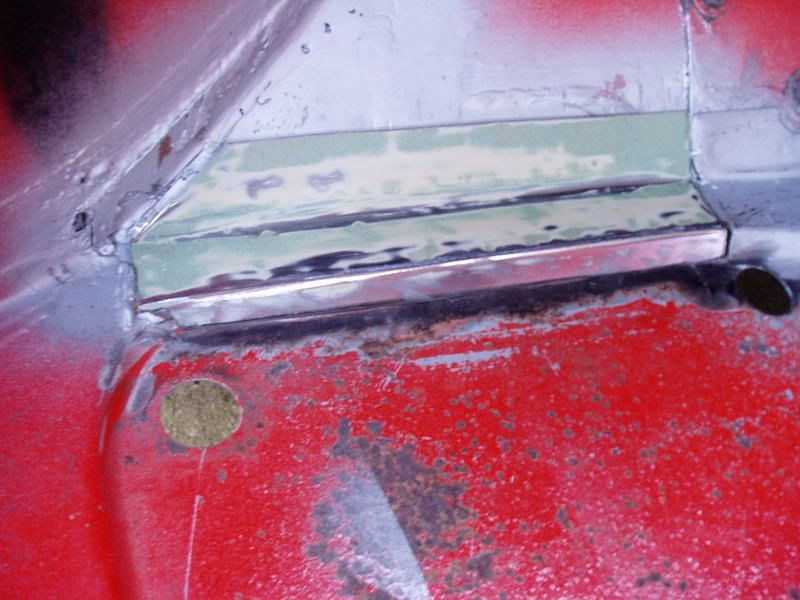
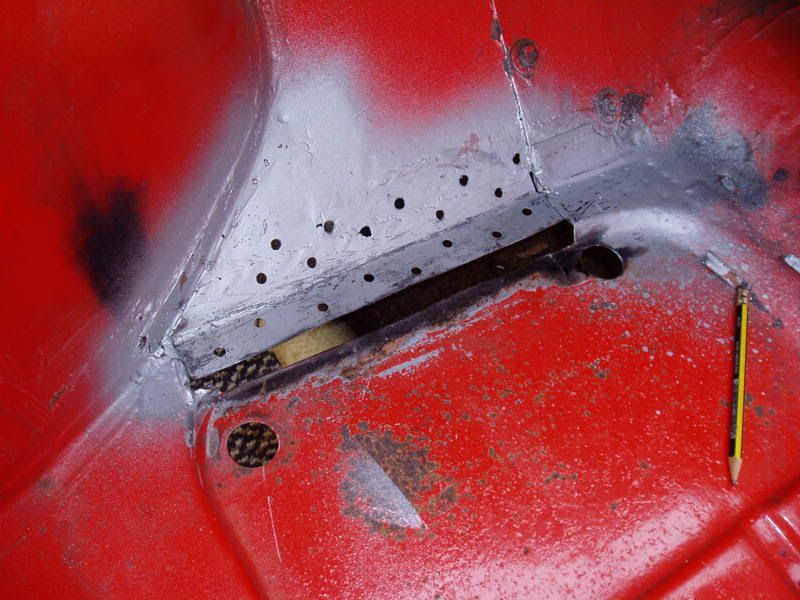
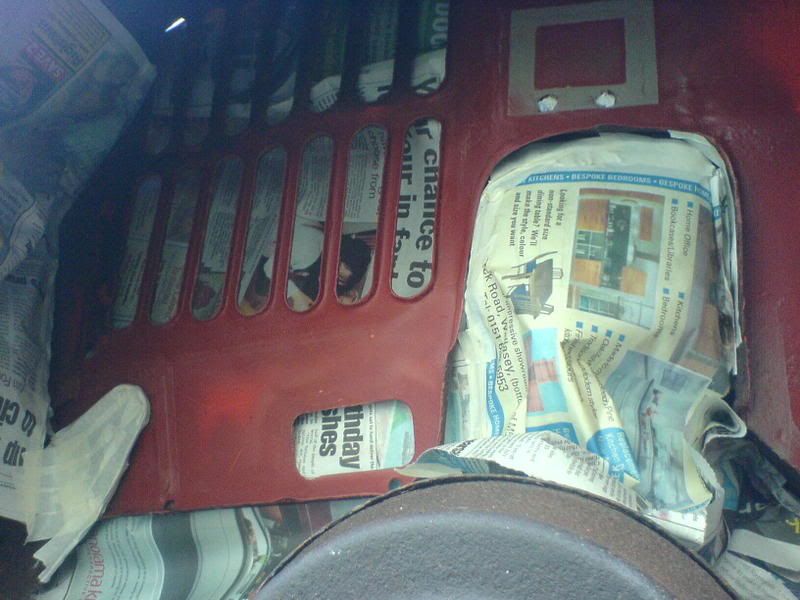
Passenger floors:

:thumbsup:
Pictures speak more than words...


Gassing Station | Classic Minis | Top of Page | What's New | My Stuff