1983 Austin Minivan Resto begins.
Discussion


Small update time.
Got some time in this evening in what seems like ages to do some tinkering.
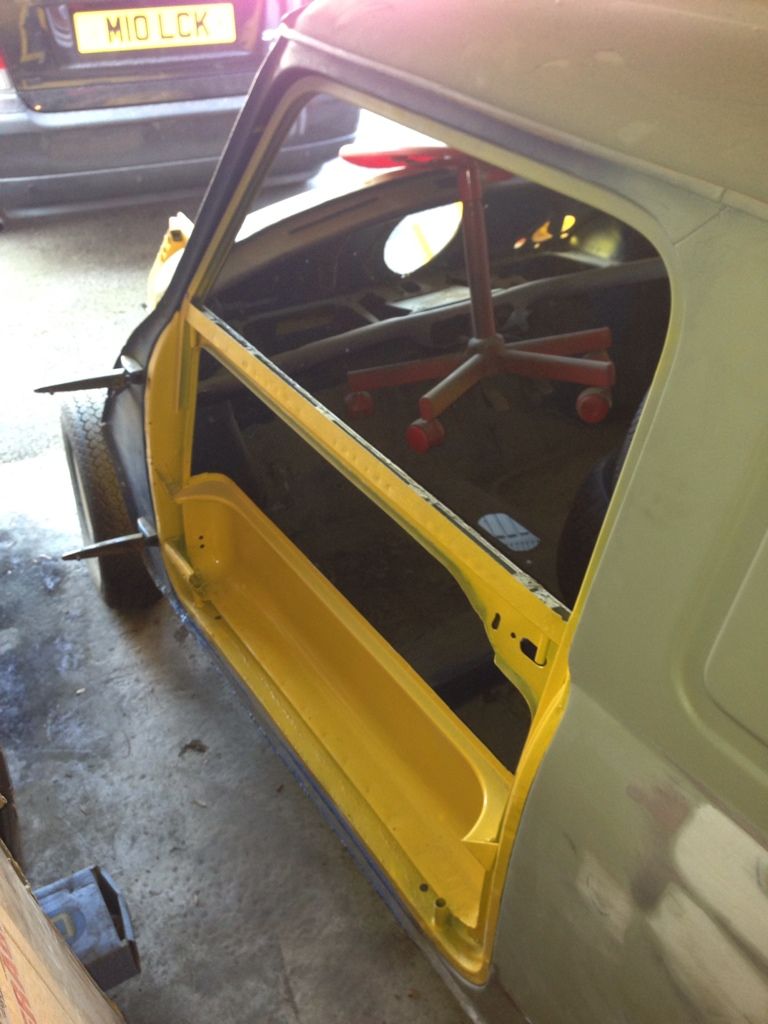
I've decided to leave the door skins for the time being and work mainly on the rear door repairs.
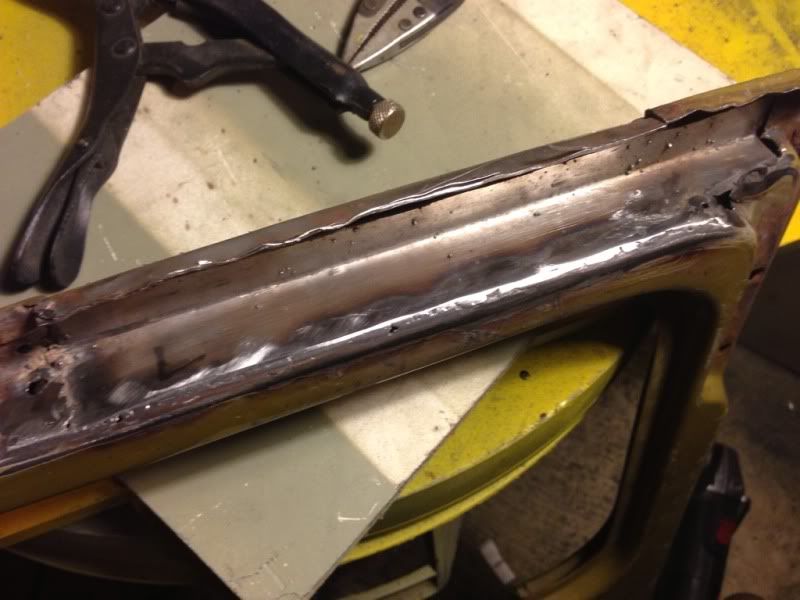
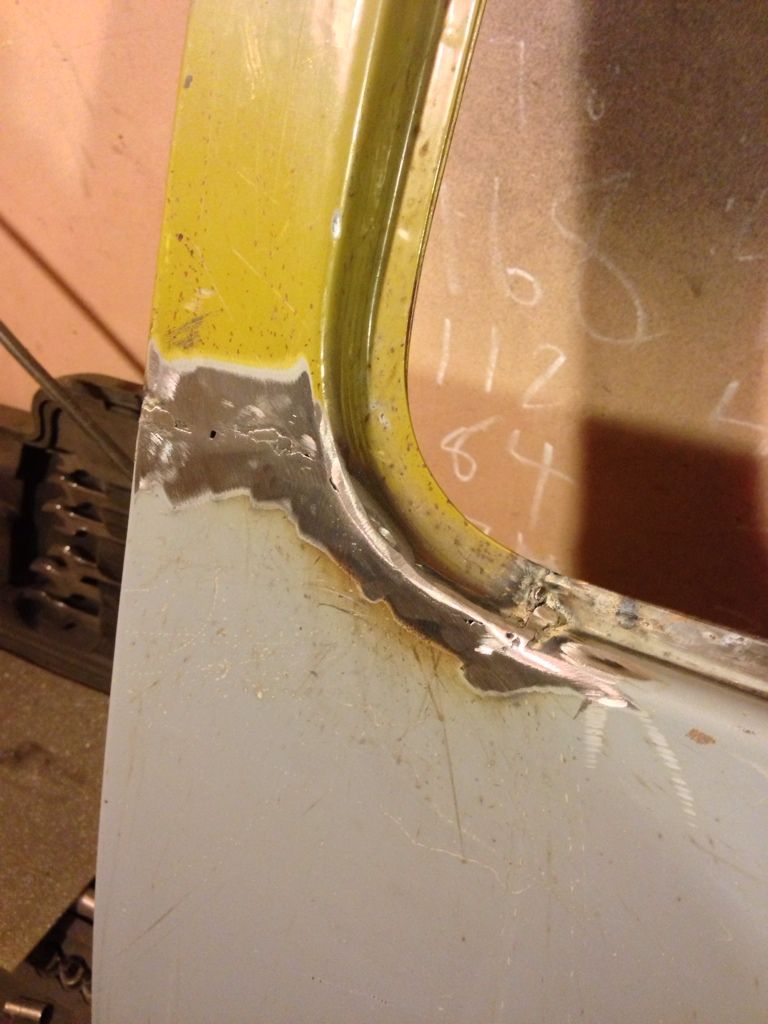
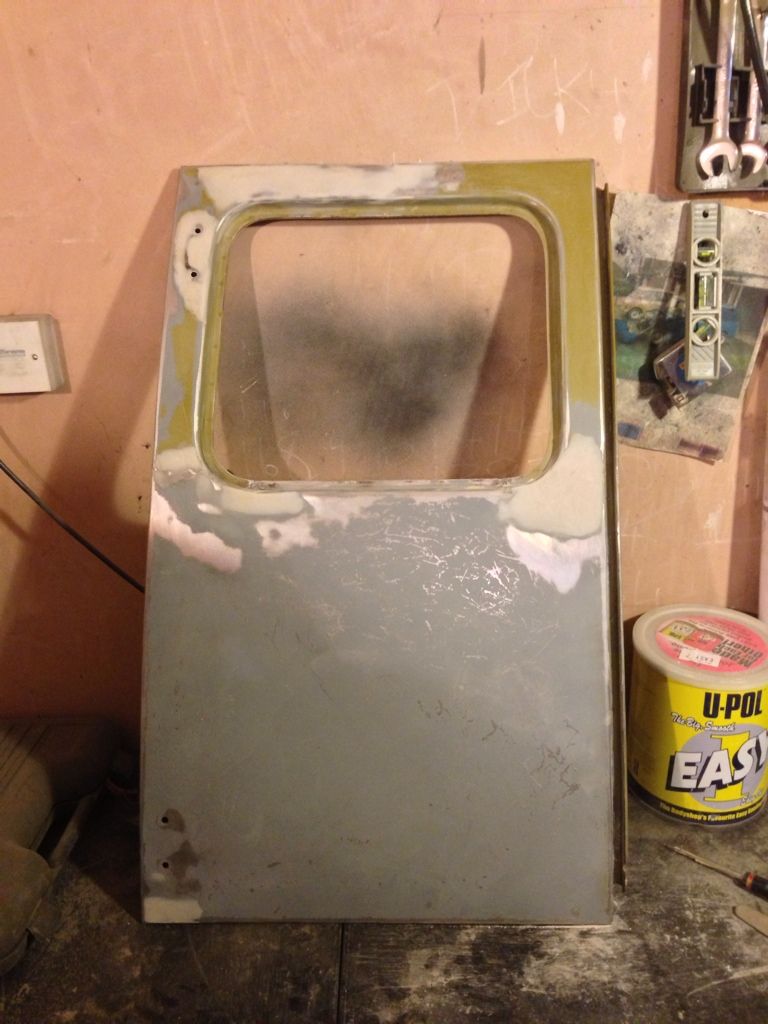
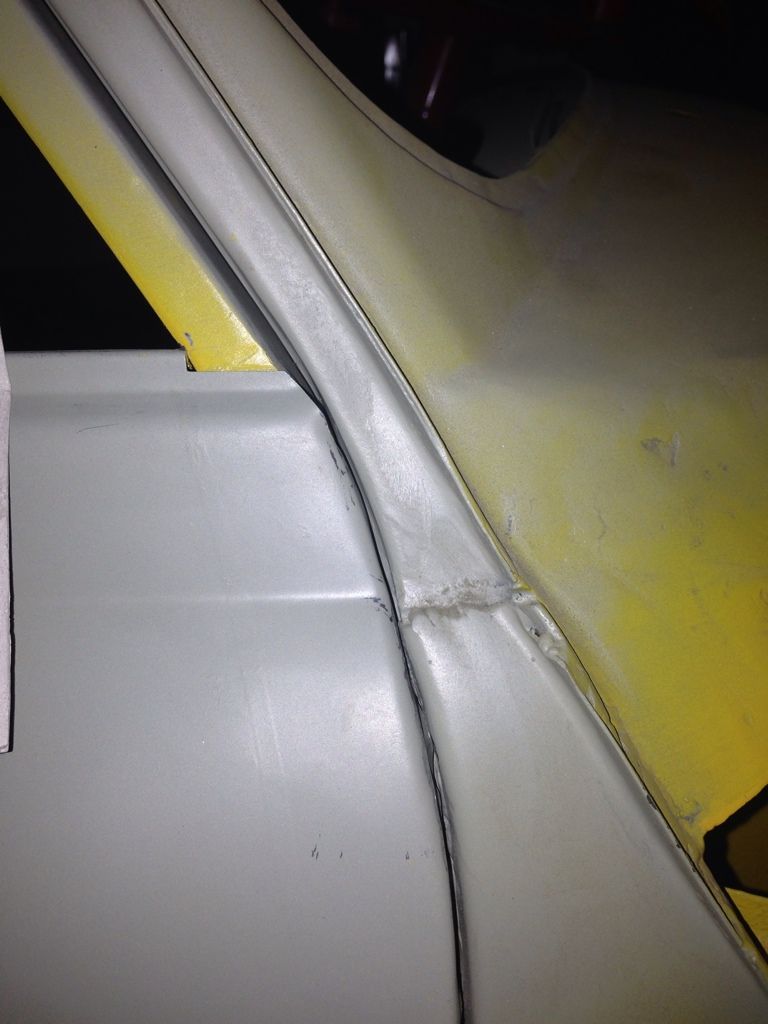
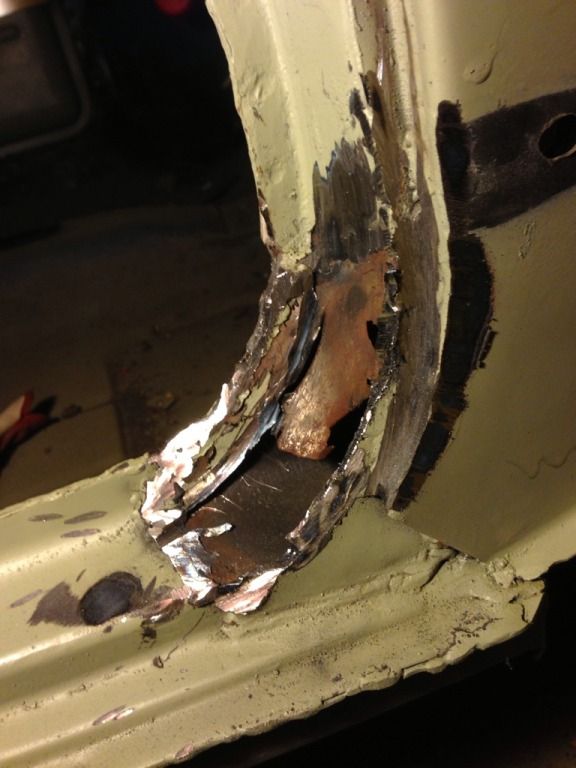
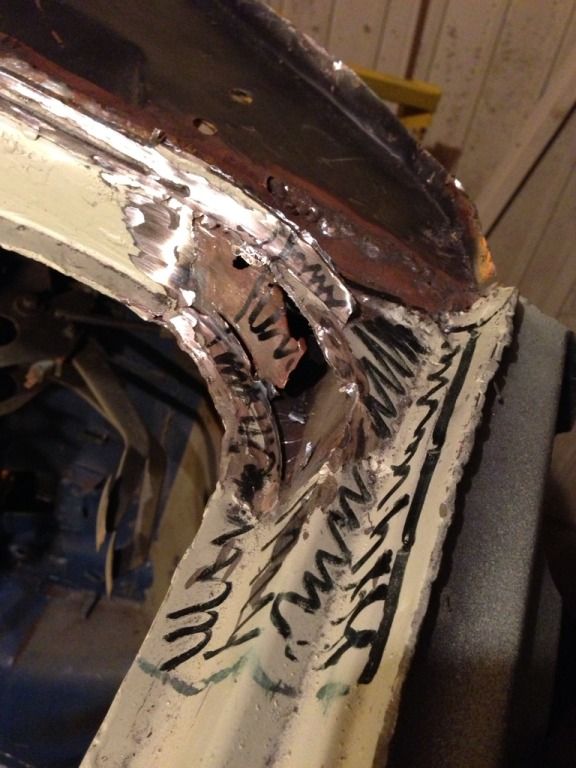
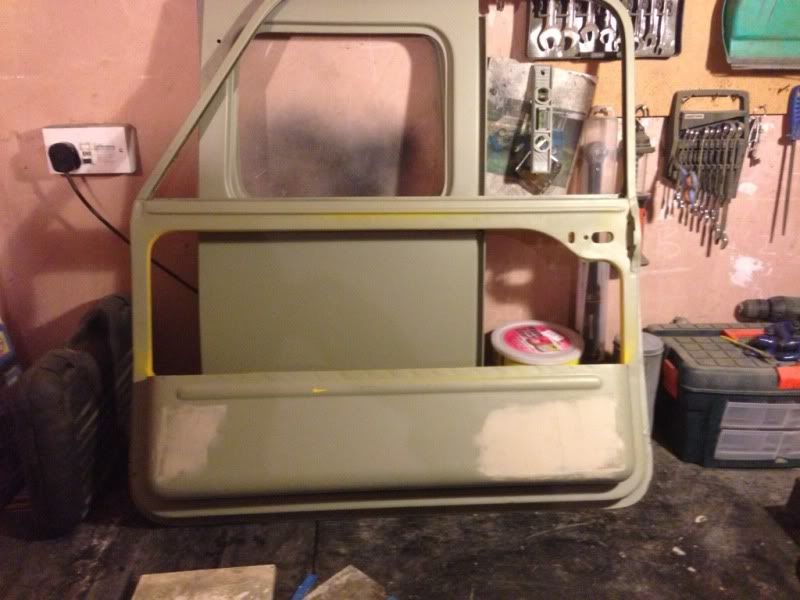
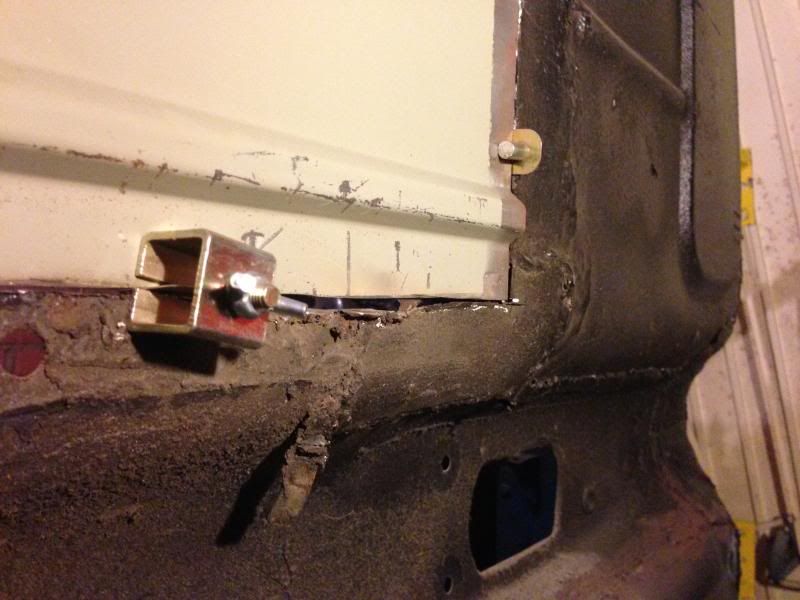
Top door frame repair.
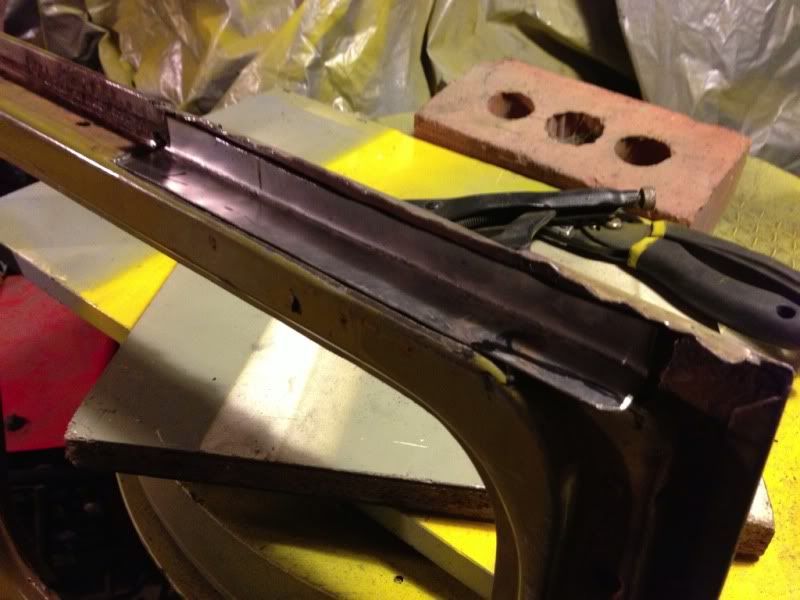
Tacked in needs some more work.
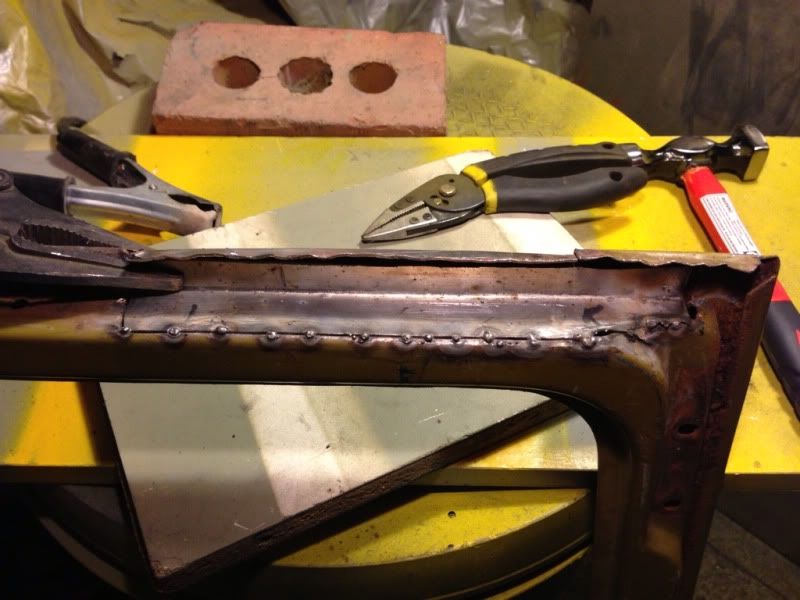
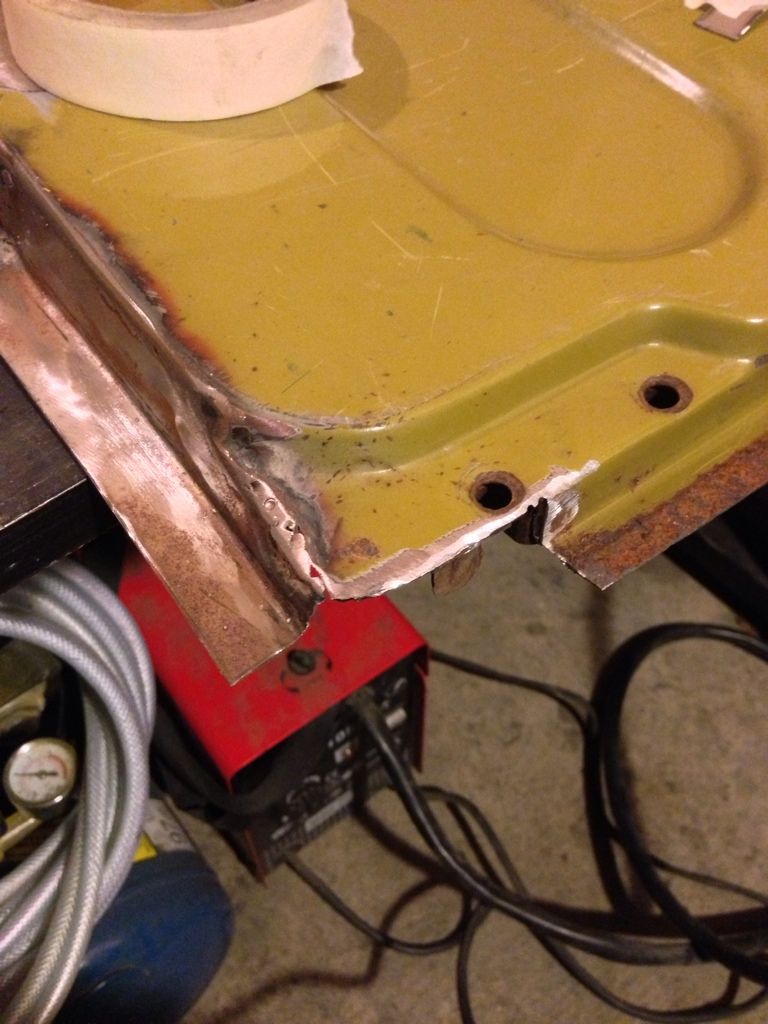
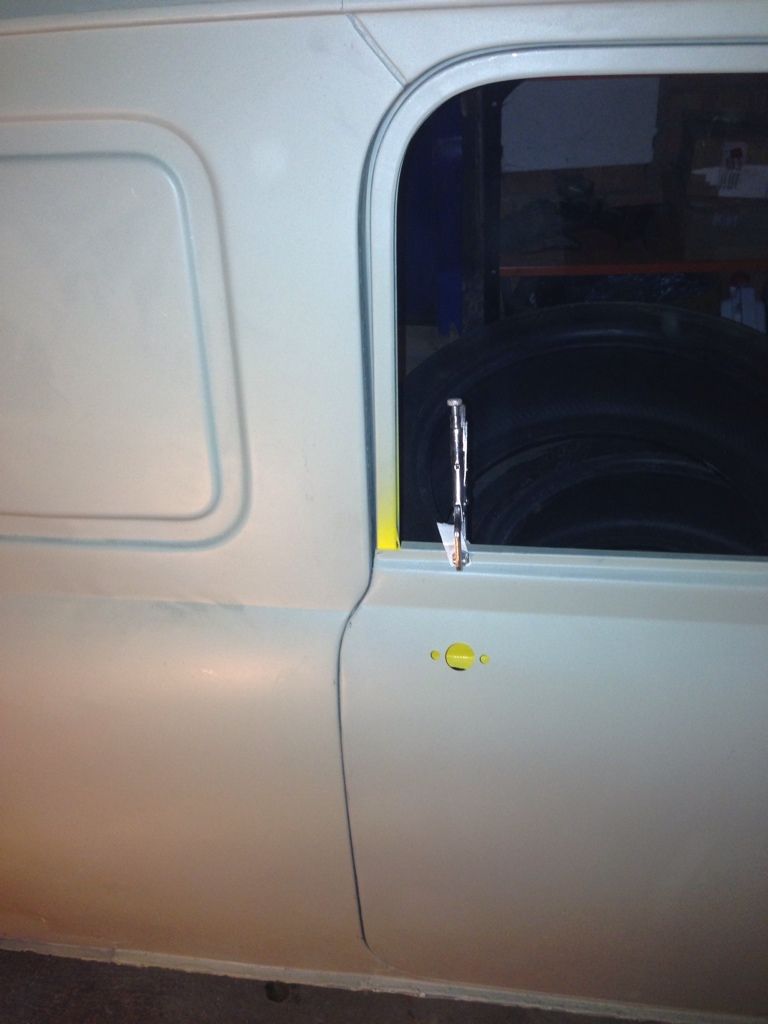
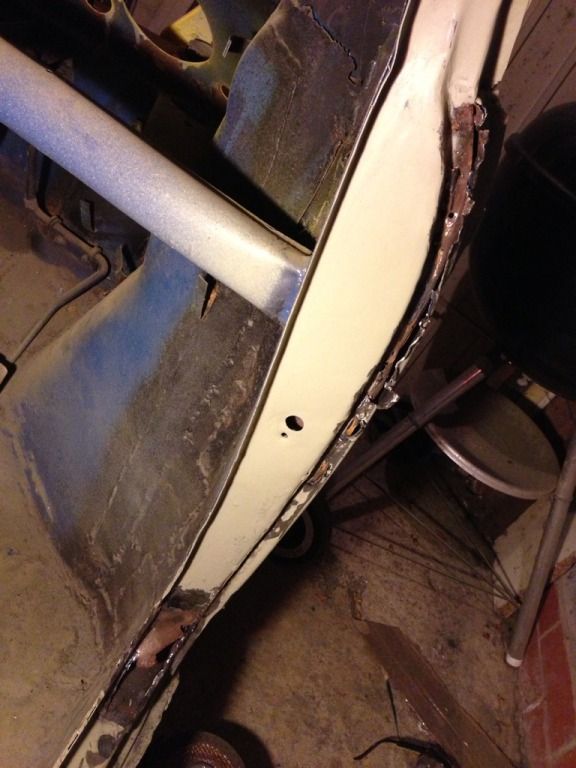
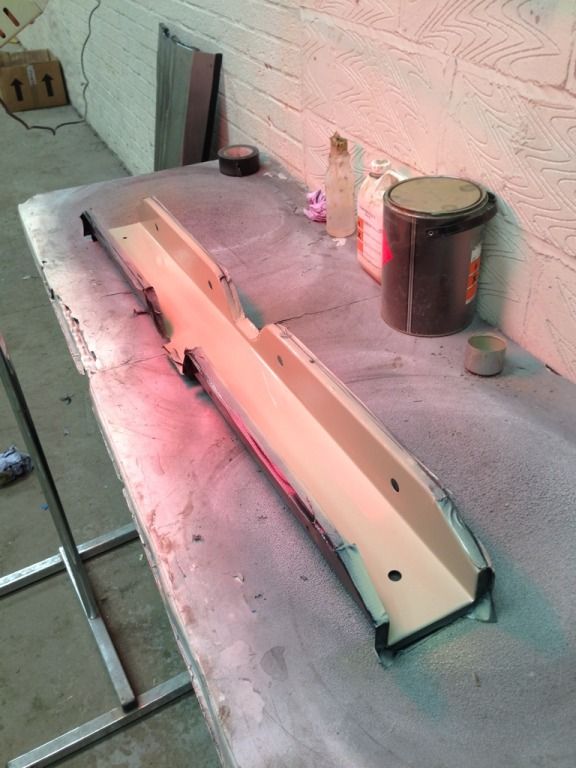
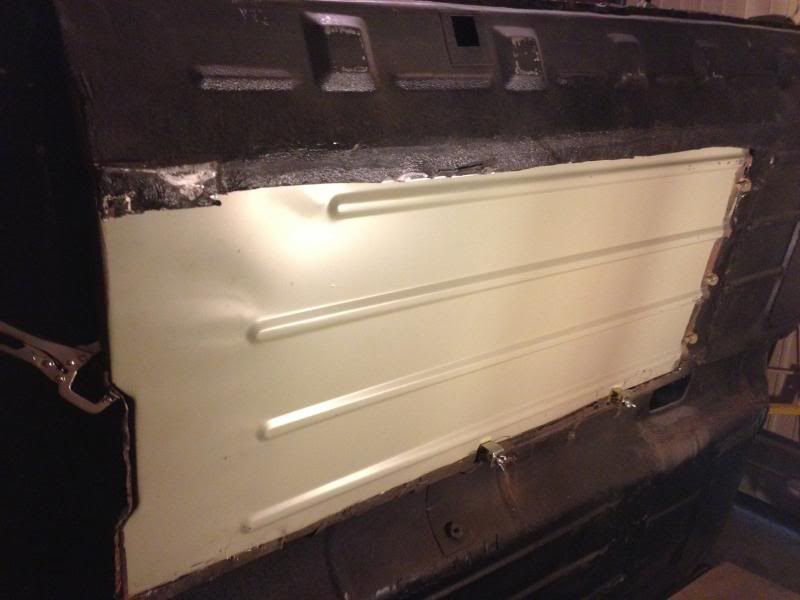
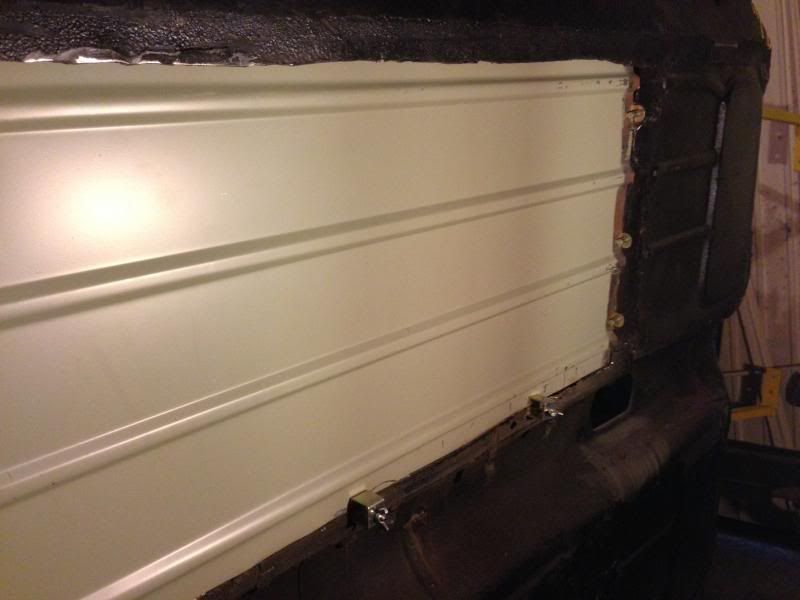
Outer skin.


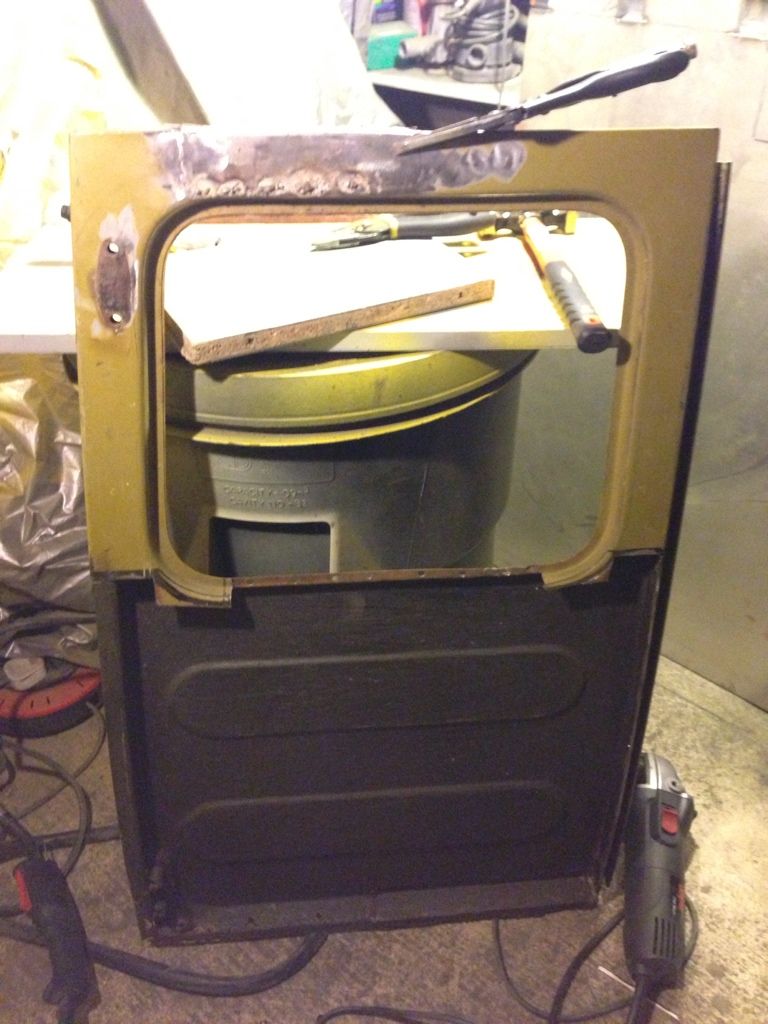
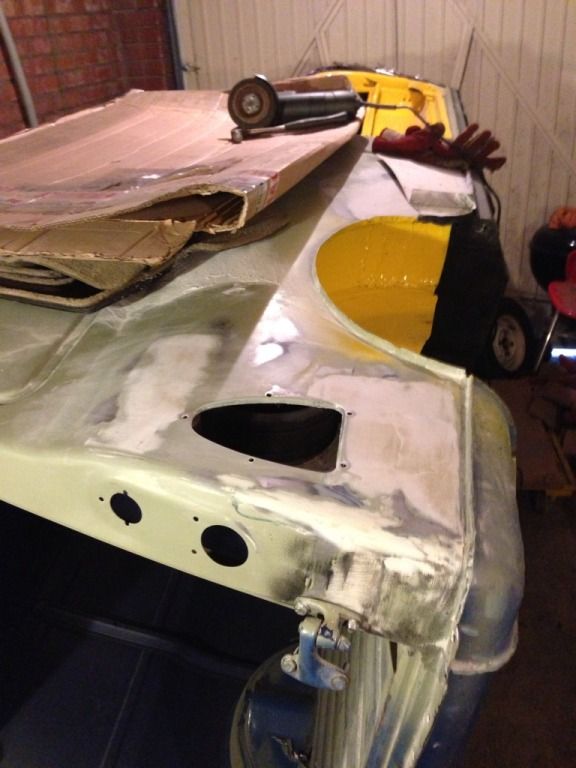
The door as it stands at the moment.
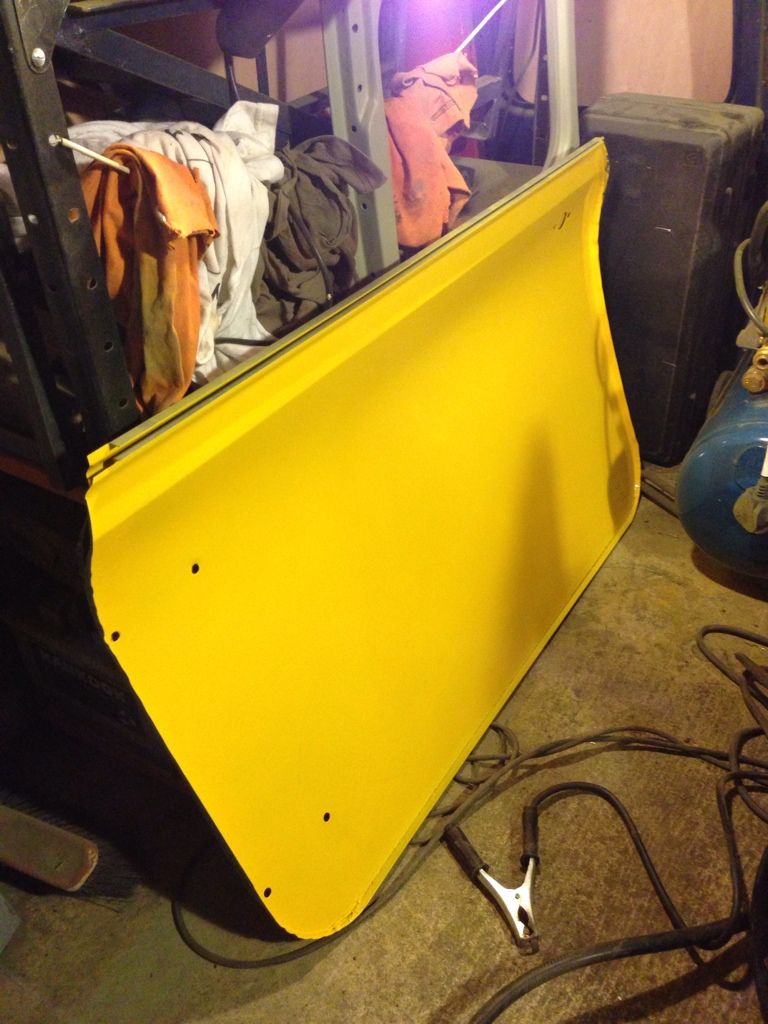
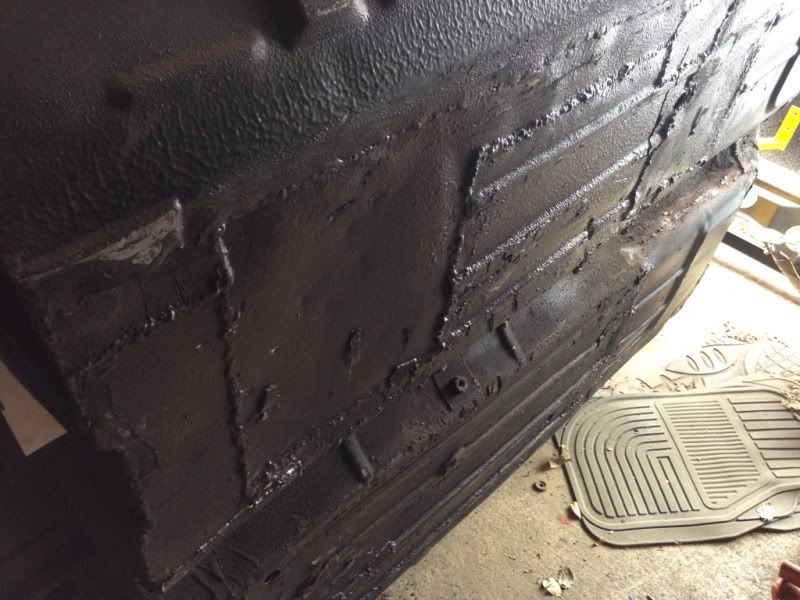
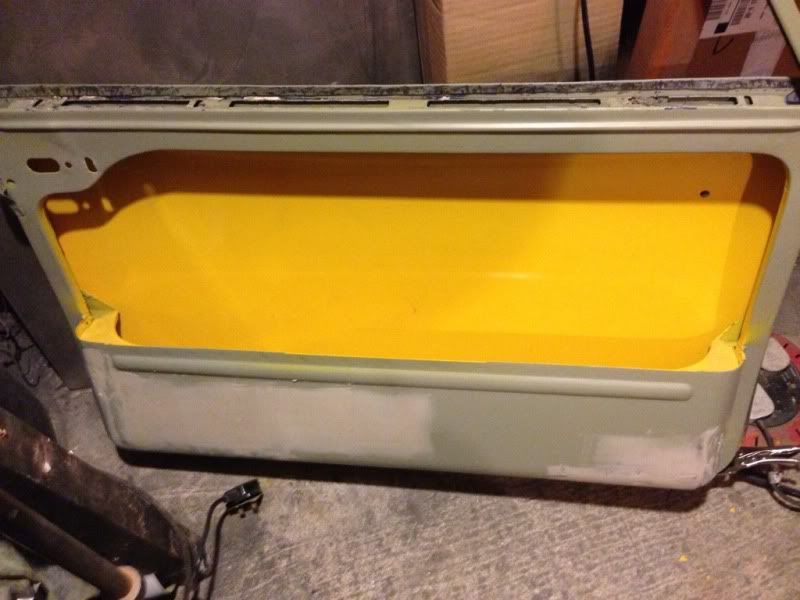
And a shot of the door again and how bright its going to look..... cant wait!
.
Got some time in this evening in what seems like ages to do some tinkering.
I've decided to leave the door skins for the time being and work mainly on the rear door repairs.
Top door frame repair.
Tacked in needs some more work.
Outer skin.
The door as it stands at the moment.
And a shot of the door again and how bright its going to look..... cant wait!
.


Long time no speak mini nuts has it really been that long!
Truth be told I haven't really touch the van since my last post... It's to bloody cold!!!
However I do have some new (to me) work tops in the garage now. Which means I can actually have a nice flat surface to work on rather than the old plastic dust bin I used to use as a bench.

Just need to get motivated into getting back on with the bodywork.
Truth be told I haven't really touch the van since my last post... It's to bloody cold!!!
However I do have some new (to me) work tops in the garage now. Which means I can actually have a nice flat surface to work on rather than the old plastic dust bin I used to use as a bench.
Just need to get motivated into getting back on with the bodywork.
Right then time for a massive update of not a lot really. When you look at it I've only just about finished off getting the door straight. I works slow me.
Lined the door up - noticed that I'd cut the window section out wrong. Good start I thought!

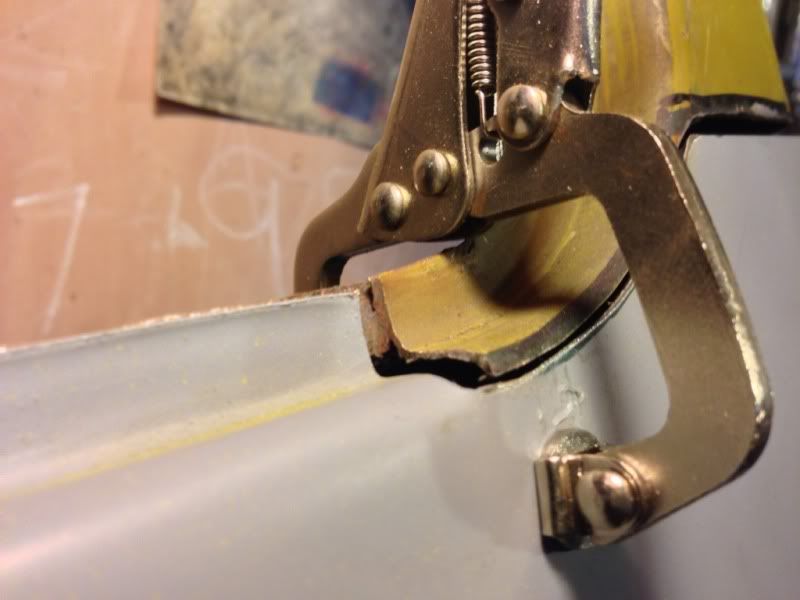
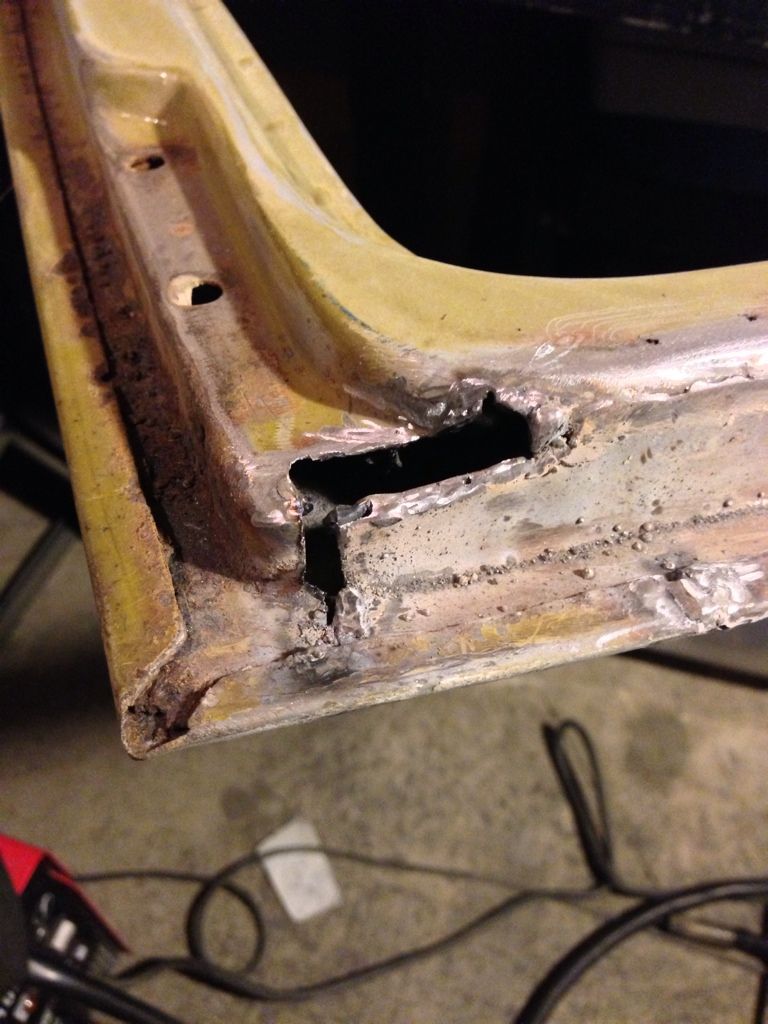
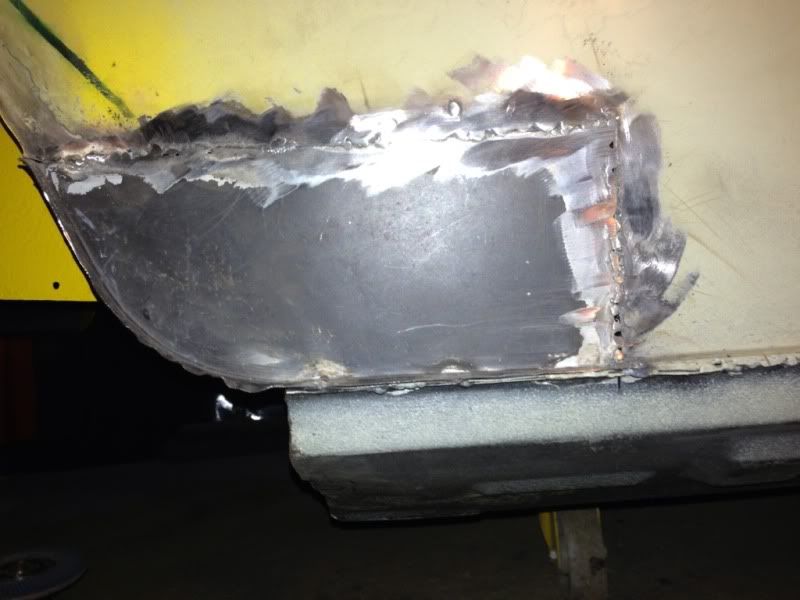
Cut the rot out the bottom hinge side.
New bit in.

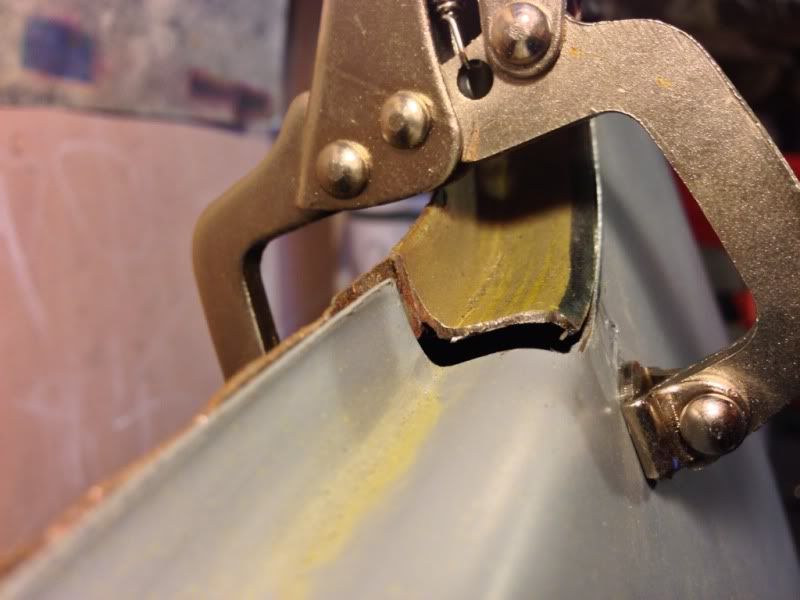
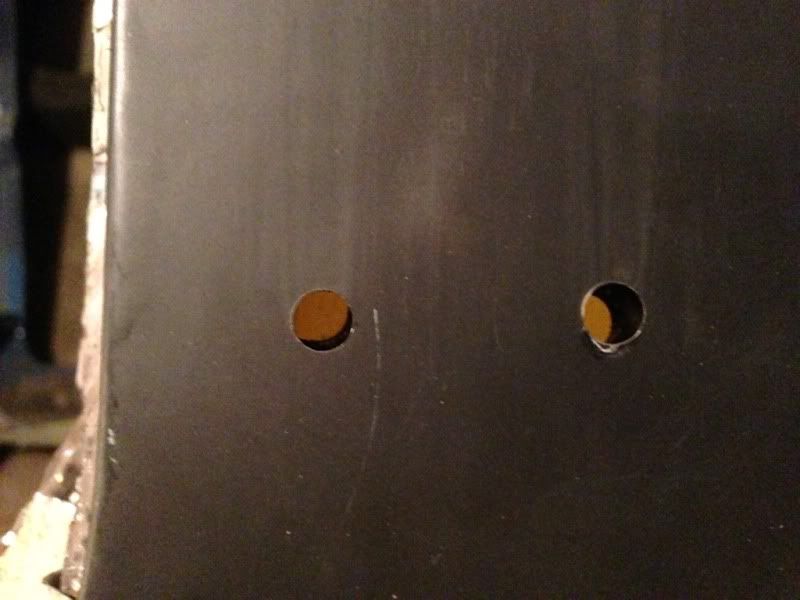
Then took me a while to getting round to ordering some proper C-clamps. Here you can see how much I balls'd up cutting the old skin off.

Next up was borking my welder after changing the reel for a new one. Took me another couple of days to work out what was up, turned out to be the copper nib in the end. With that fixed got back on to welding the door up.
That takes us up to this week.
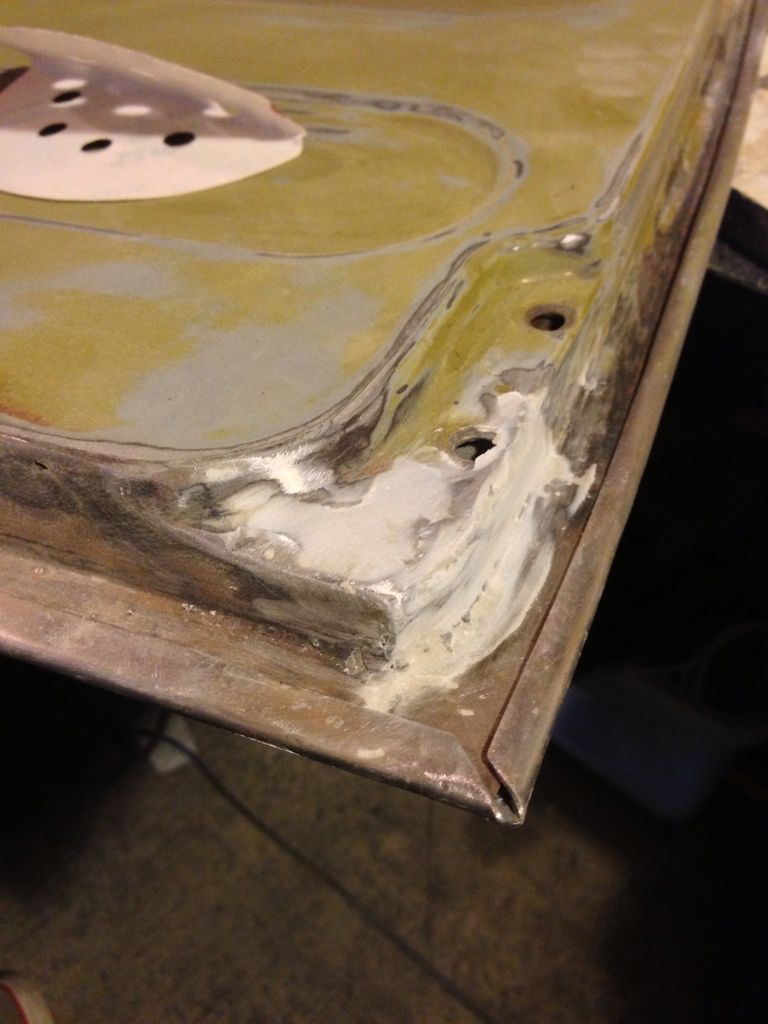
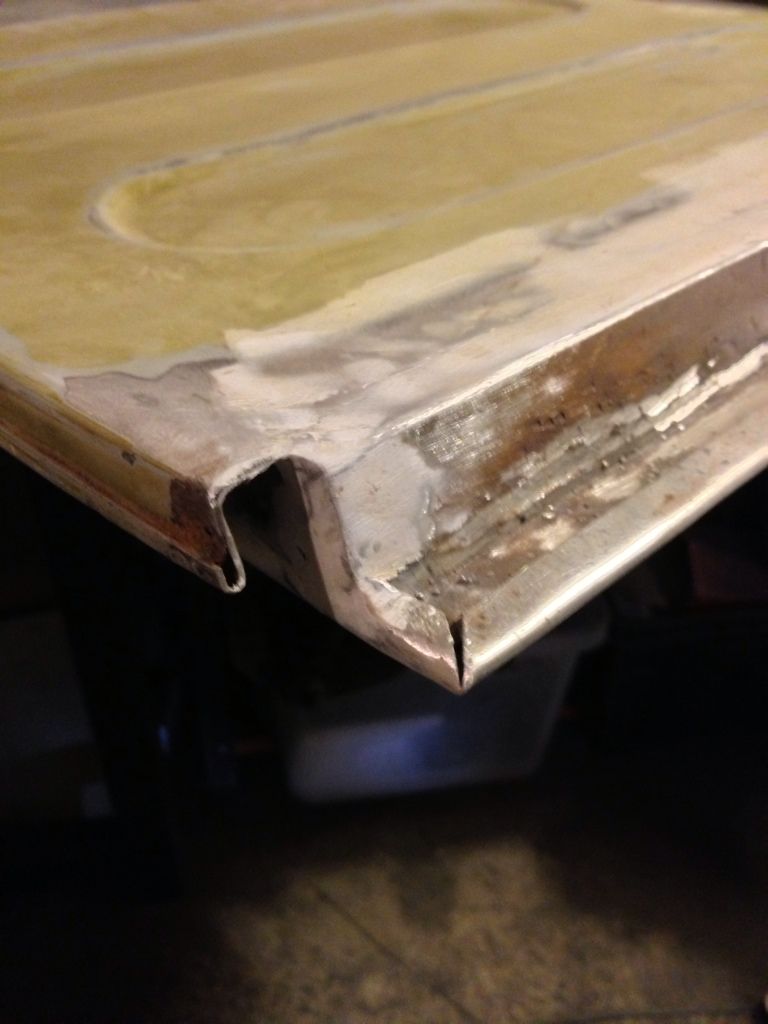
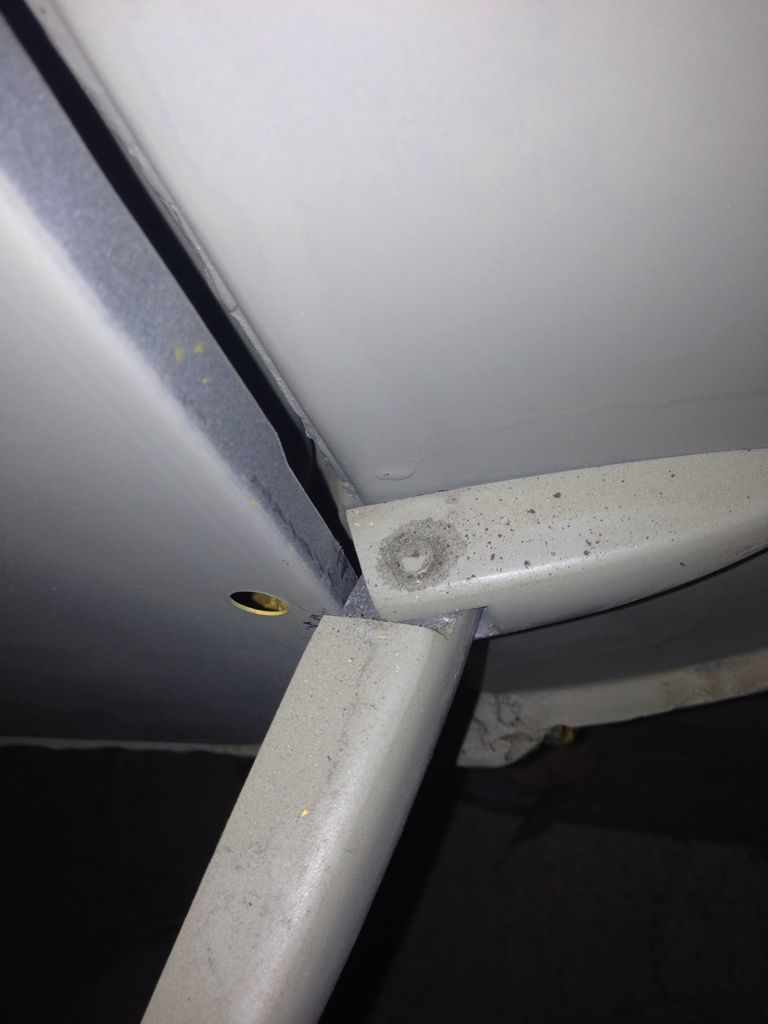
Had a small section to weld up on the door still.
Then skimmed some filler over the parts that I'd welded.

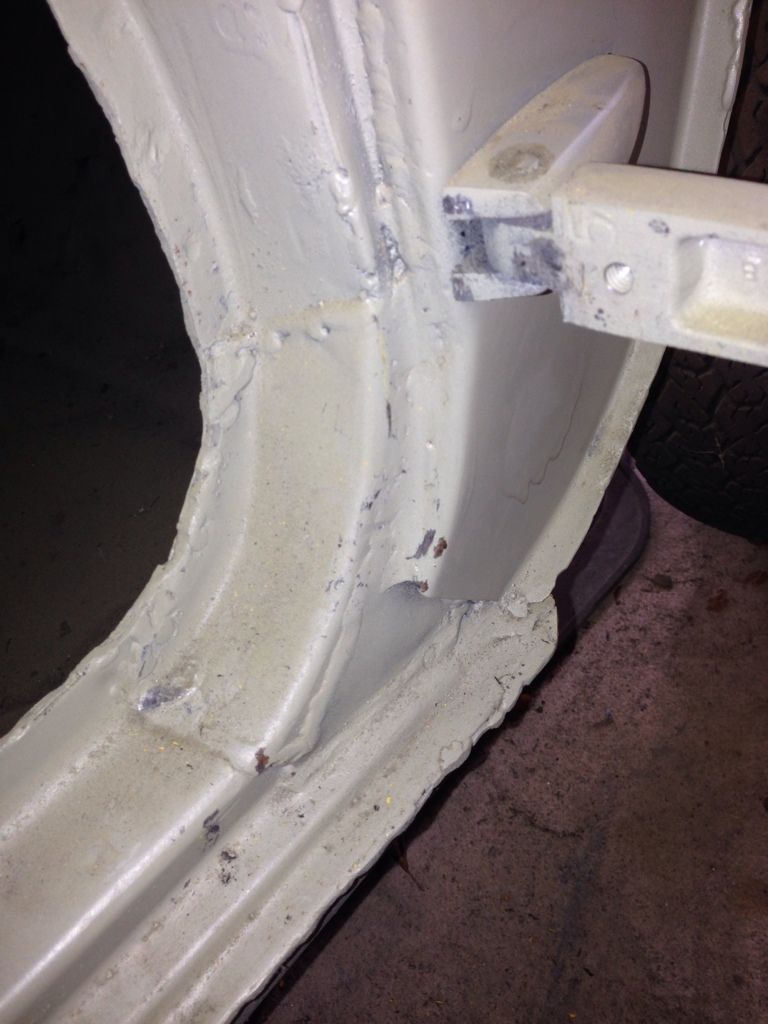
And that just about completes the rear door repairs.
Also started to fill the rear corner repairs but I'm not happy enough to take pictures of that yet.
Thanks for watching.
P-S
Lined the door up - noticed that I'd cut the window section out wrong. Good start I thought!
Cut the rot out the bottom hinge side.
New bit in.
Then took me a while to getting round to ordering some proper C-clamps. Here you can see how much I balls'd up cutting the old skin off.
Next up was borking my welder after changing the reel for a new one. Took me another couple of days to work out what was up, turned out to be the copper nib in the end. With that fixed got back on to welding the door up.
That takes us up to this week.
Had a small section to weld up on the door still.
Then skimmed some filler over the parts that I'd welded.
And that just about completes the rear door repairs.
Also started to fill the rear corner repairs but I'm not happy enough to take pictures of that yet.
Thanks for watching.
P-S
Get your cuppa and popcorn ready.
Blimey! has it been February since I've updated this thread. I must admit that my TMF forum thread gets updated more often than not.
Which can be found here if your a member.
http://www.theminiforum.co.uk/forums/topic/192197-...
The van and I have had a bit of a hard time of late. All I seem to be do at the moment is undoing work I've already done due to various reasons.
So here goes its a bit of a story in pictures but I'll details as much as I can.
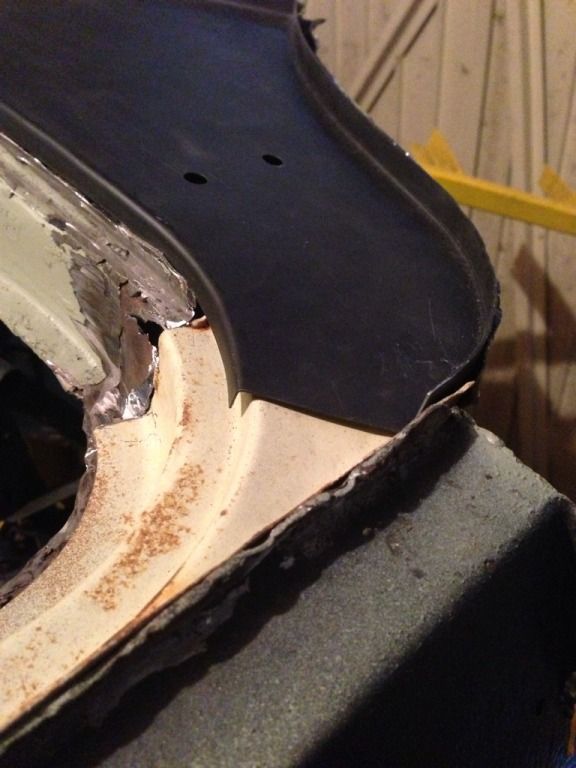
Peppered side panel.
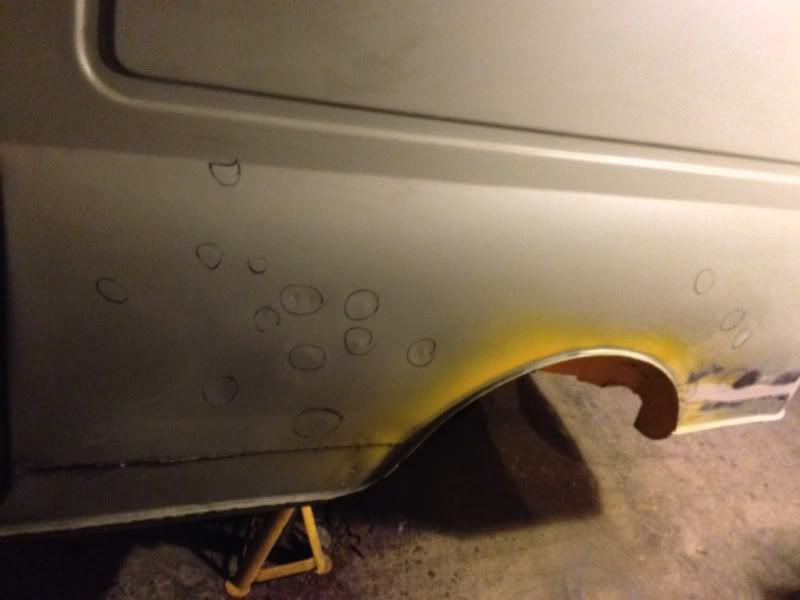
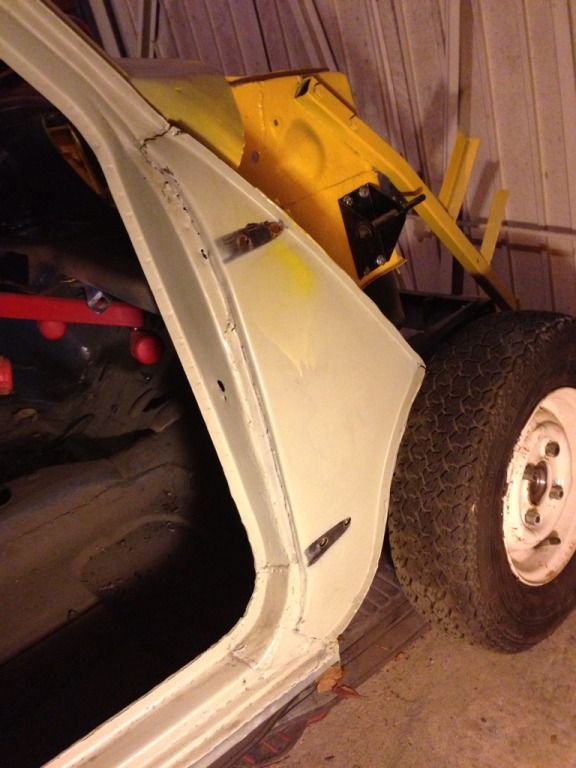
Realised that the off side step / door frame was totally wrong.
So fitted the door skin to check it and that didn't fit too well either.

Here you can see the patchwork quilt of a step.
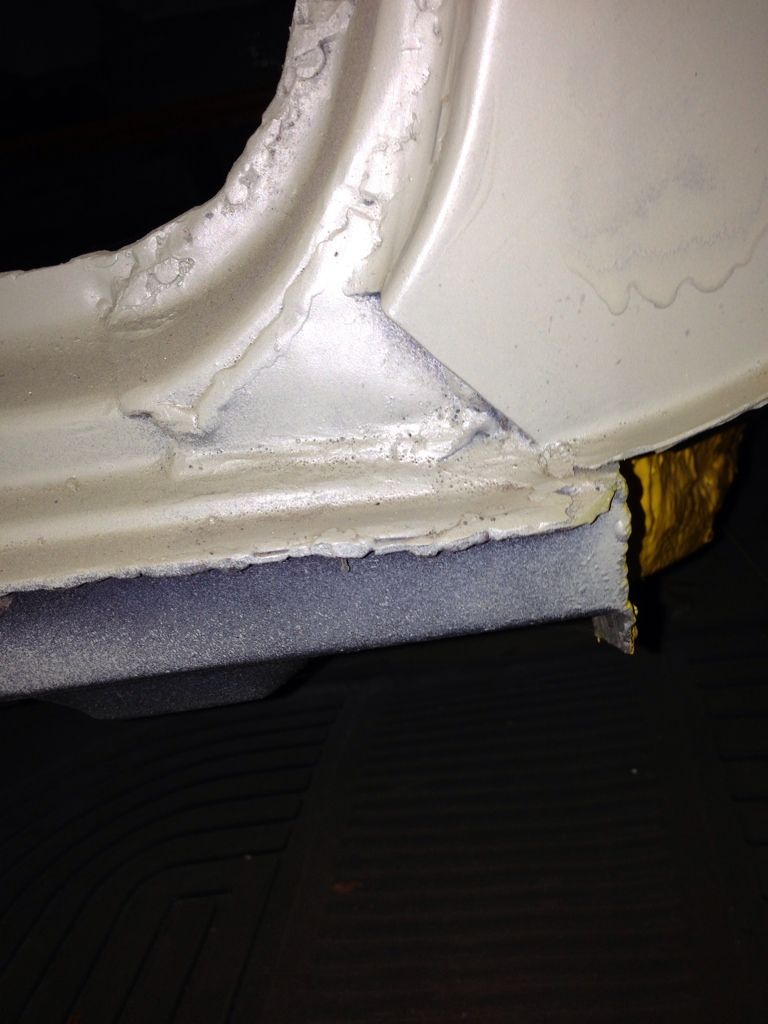
Nearside door frame seems to fit better but not put the skin on yet.
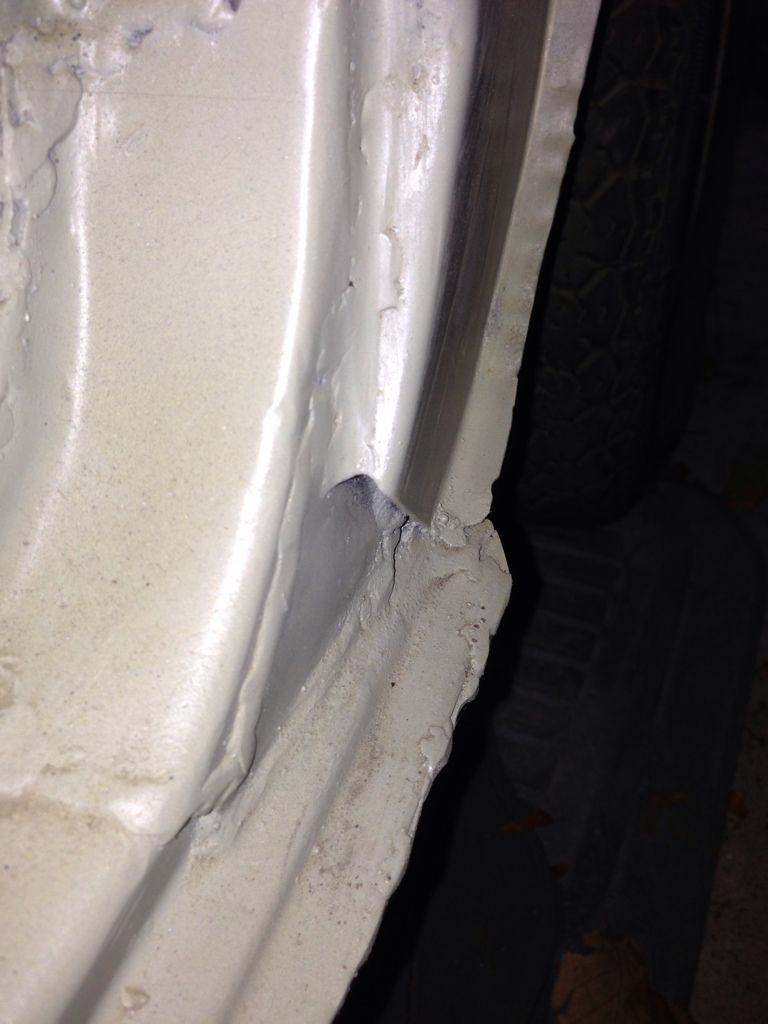
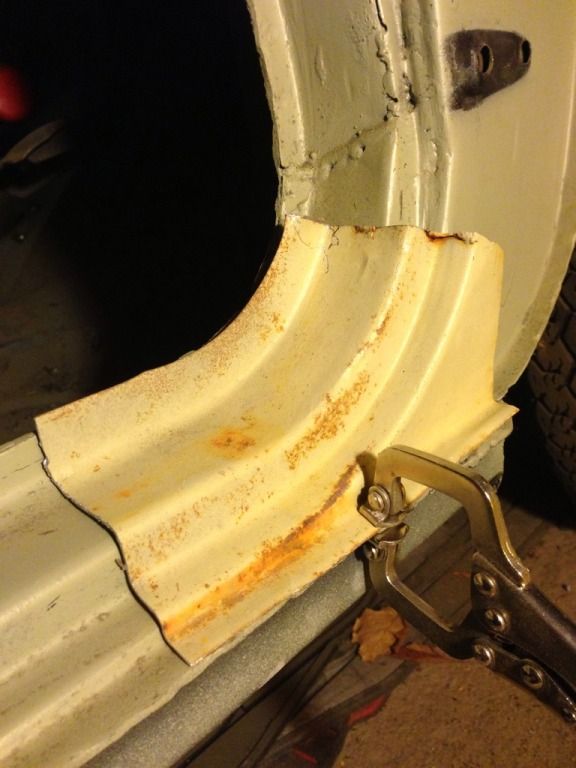
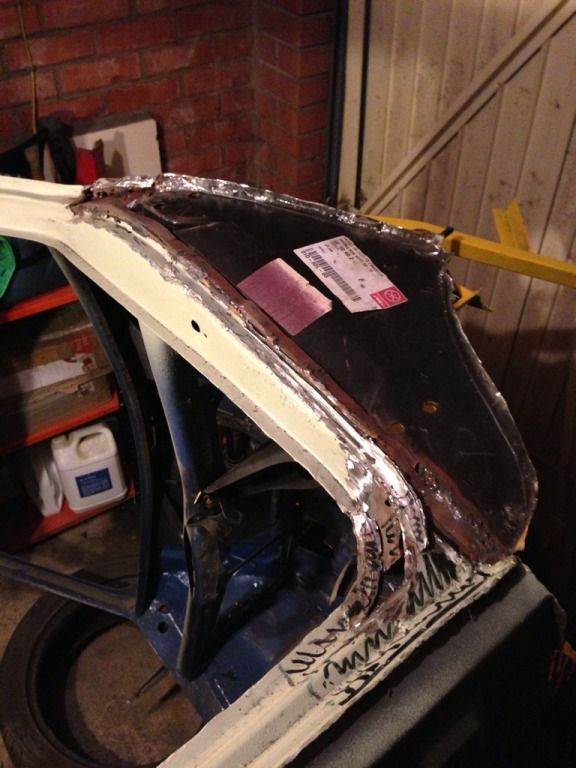
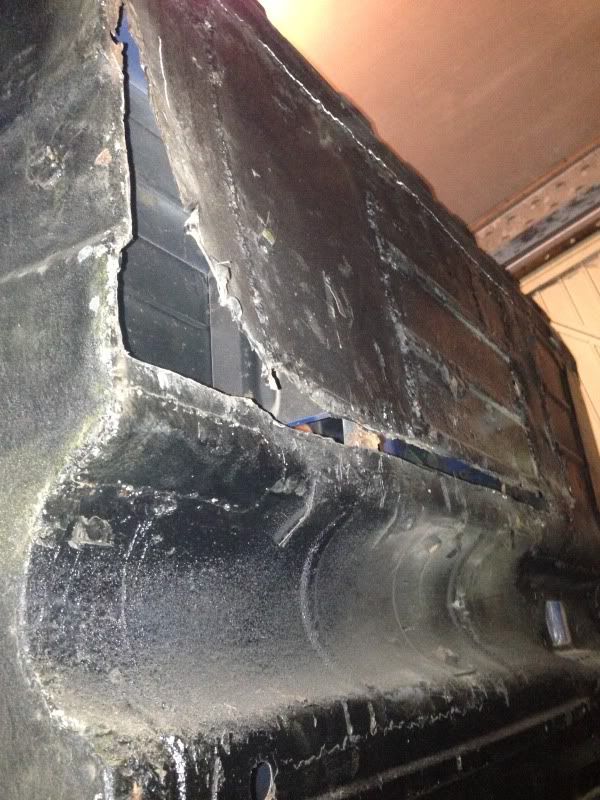
Had a break from door skins and did a off side rear quarter repair.

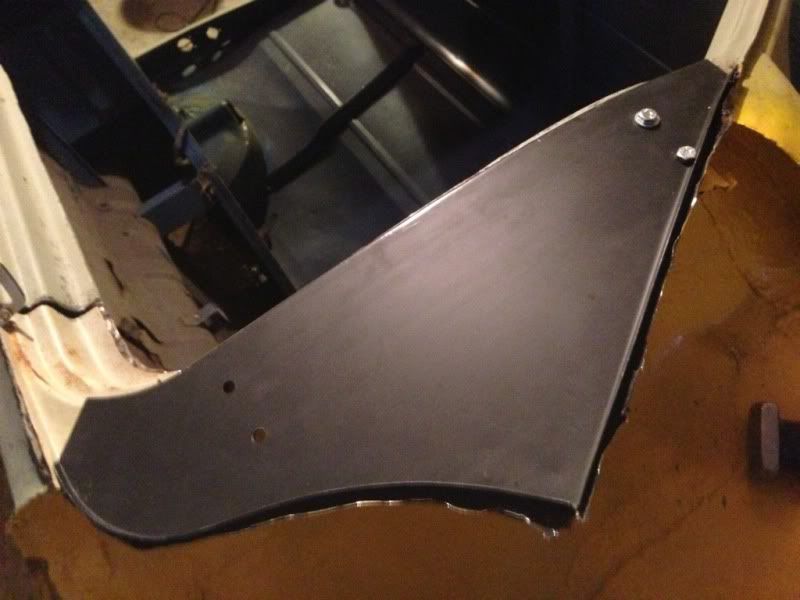
Realised that to fix the step I would have to pull the A panel off that had been put on.
Turned out someone has fitted a mk3 step which was missing the important extra shaped section that lines up with the A panel. I nice man is Switzerland sent me over the bit I needed.
Started cutting out the dross.
Peeling the A panel off.
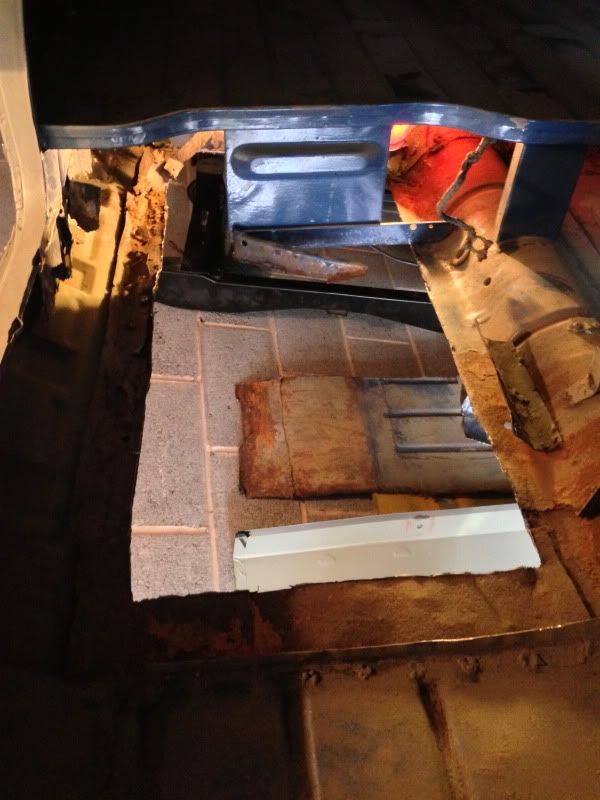
Got pissed off with the A panel so tipped the van on its side to start doing the floor.

Then the exhaust fell of my S60 daily so hard to fit a new one to that.

Patchwork floor. More on that later.
Back on the step / a panel marked out what I need to cut away.
Borrowed a mates unit to etch a couple of floor panels.

Bit of filler work for a change.
Order the new A panel which didnt line up either!!
Red line is the outer, green line is the inner A panel. I need to cut the inner down to meet the flange on the outer A panel.

So left that for the time being as the van is on its side its hard for me to reach as i'm a short arse.
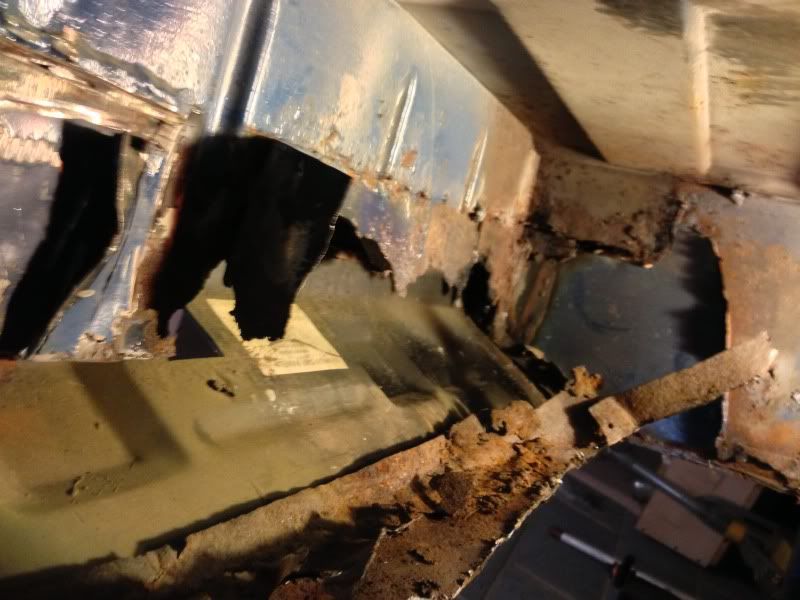
Moved onto cutting the floor out to be replaced by a new half floor. That was a bit nerve racking as I've not cut a hole in a car that big before.

Pretty rotten in there too.
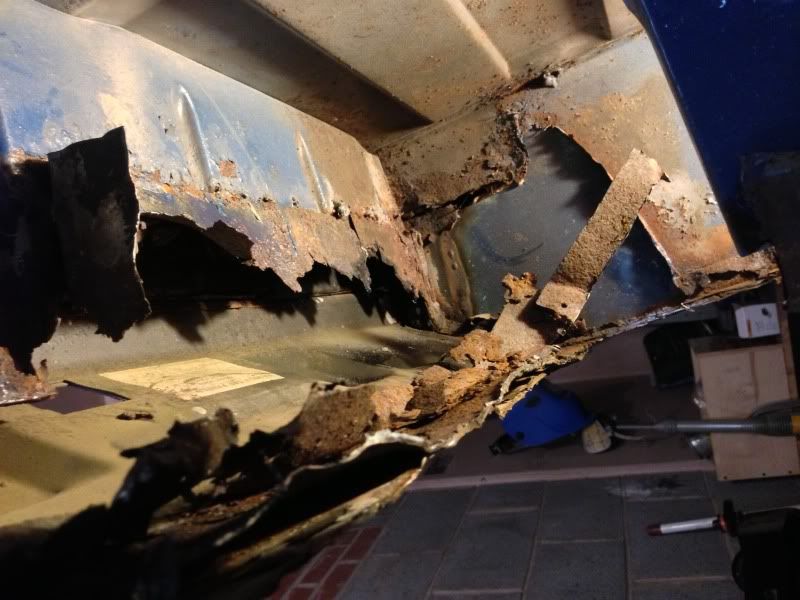
So that pretty much were I am at the moment. I've not touched it in about 2 weeks as been away and moving house. Hopefully I can get back on it again on Saturday and get the floor in so I can get it back on its wheels and rolling.
Blimey! has it been February since I've updated this thread. I must admit that my TMF forum thread gets updated more often than not.
Which can be found here if your a member.
http://www.theminiforum.co.uk/forums/topic/192197-...
The van and I have had a bit of a hard time of late. All I seem to be do at the moment is undoing work I've already done due to various reasons.
So here goes its a bit of a story in pictures but I'll details as much as I can.
Peppered side panel.

Realised that the off side step / door frame was totally wrong.


So fitted the door skin to check it and that didn't fit too well either.


Here you can see the patchwork quilt of a step.

Nearside door frame seems to fit better but not put the skin on yet.

Had a break from door skins and did a off side rear quarter repair.


Realised that to fix the step I would have to pull the A panel off that had been put on.

Turned out someone has fitted a mk3 step which was missing the important extra shaped section that lines up with the A panel. I nice man is Switzerland sent me over the bit I needed.

Started cutting out the dross.

Peeling the A panel off.

Got pissed off with the A panel so tipped the van on its side to start doing the floor.

Then the exhaust fell of my S60 daily so hard to fit a new one to that.

Patchwork floor. More on that later.

Back on the step / a panel marked out what I need to cut away.


Borrowed a mates unit to etch a couple of floor panels.


Bit of filler work for a change.


Order the new A panel which didnt line up either!!


Red line is the outer, green line is the inner A panel. I need to cut the inner down to meet the flange on the outer A panel.

So left that for the time being as the van is on its side its hard for me to reach as i'm a short arse.
Moved onto cutting the floor out to be replaced by a new half floor. That was a bit nerve racking as I've not cut a hole in a car that big before.


Pretty rotten in there too.


So that pretty much were I am at the moment. I've not touched it in about 2 weeks as been away and moving house. Hopefully I can get back on it again on Saturday and get the floor in so I can get it back on its wheels and rolling.
its certainly a crusty badboy!
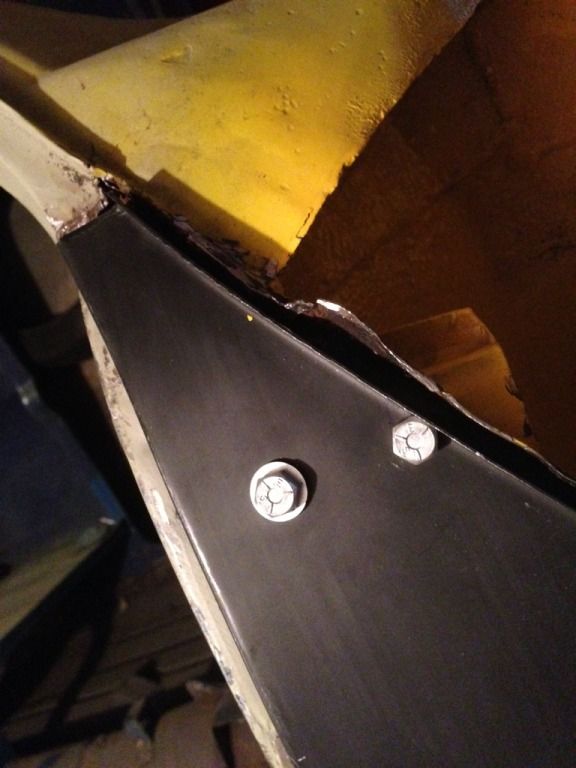
one thing to check is that when you refit the outer a panel, don't be tempted to shove it inwards too far, people often do this as the return edge looks as if it should butt up to the return of the door post (if you see what I mean), in reality it actually stands off a good few mm.
when/if the a panel is welded too far in the seal wont fit and will then distort the door when you try and shut it.
its quite a good practice to use a seal to check and confirm the door fit / a panel location before you weld it.

Spent 3-4 hours on Saturday cutting, grinding and shaving the floor down to ending up in a massive Cock it moment and gave up!
Brick walls been well and truly hit hard again.
The floors still not in and I'm beginning to realise that I'm going to have to pull the sills and heelboard off and replace. Not something I can really afford at the moment.
The heelboards been repaired (badly) before and nothings really lining up with the subframe mount holes. I've tried to line up the heelboard end repair panels but I think its just going to be easier if I replace the whole thing.

That might be all you hear from me till I can get the panels together to finish it off.
Brick walls been well and truly hit hard again.
The floors still not in and I'm beginning to realise that I'm going to have to pull the sills and heelboard off and replace. Not something I can really afford at the moment.
The heelboards been repaired (badly) before and nothings really lining up with the subframe mount holes. I've tried to line up the heelboard end repair panels but I think its just going to be easier if I replace the whole thing.


That might be all you hear from me till I can get the panels together to finish it off.
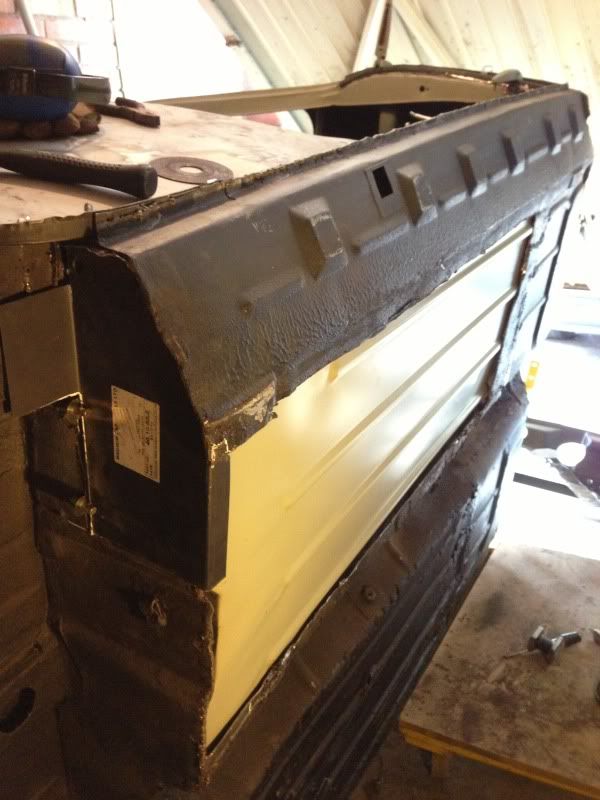
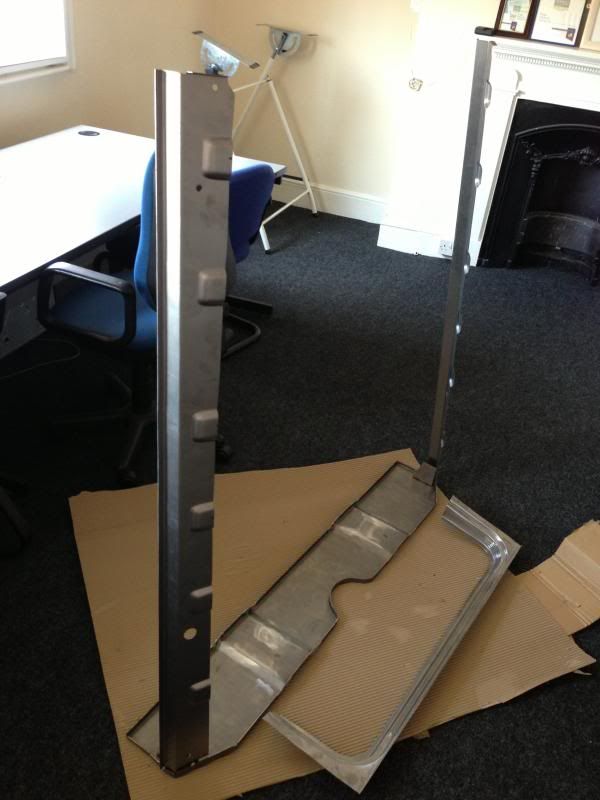
Not a lot been happening recently, so to spur things on this lot just arrived!
So that's what £139 quids worth of panels looks like then.
Again though credit to M-Machine, placed my order at about 11am weds and arrived at 10:30am this morning, they had to press the step for me as they had ran out.
Heelboard outside.
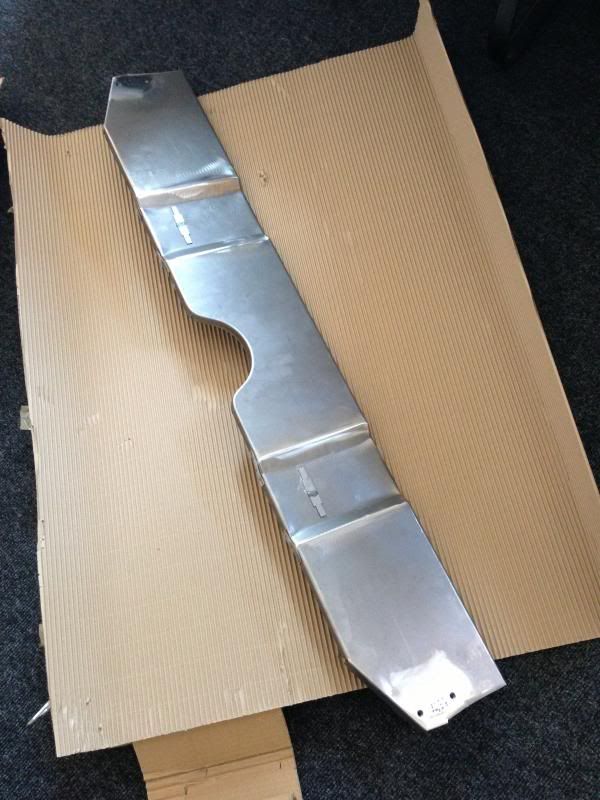
Mount plate.
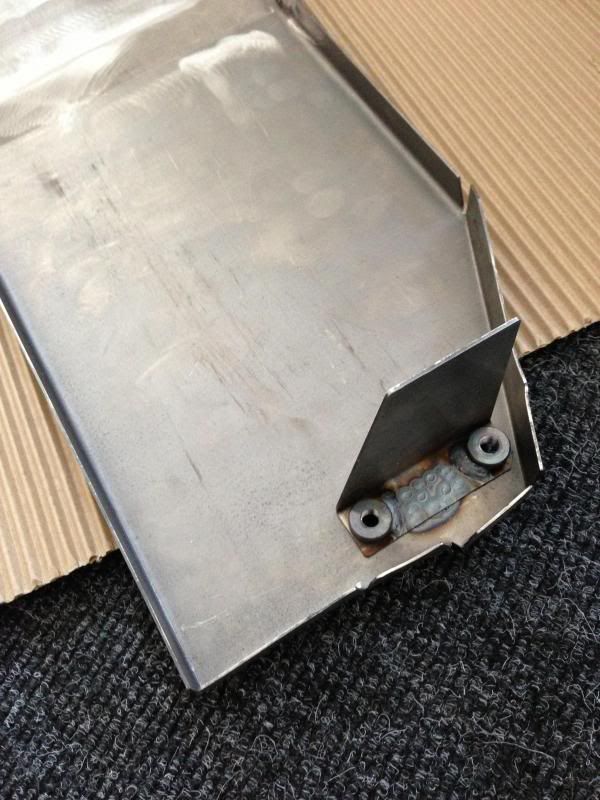
Drivers side step.
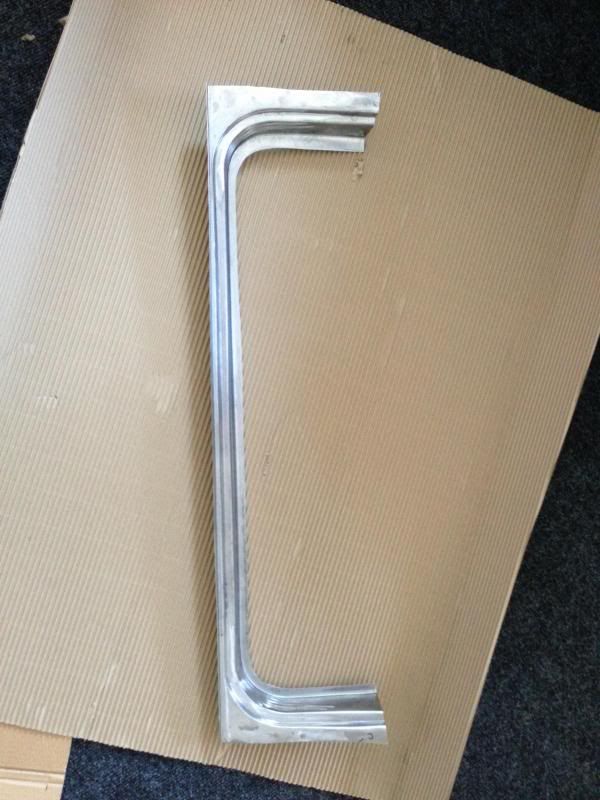
Decided to replace the hole thing in the end instead of just doing the corner. Great thing is these come 3-4" up the side, so should also cover the hole in the door frame.
Went with a pair of proper sills in the end.
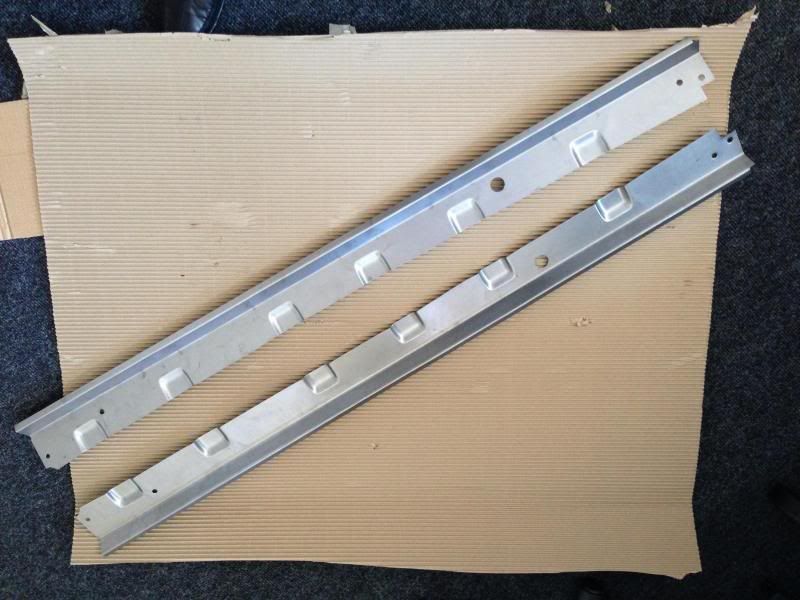
Just hope when I come to pulling the wide sill off the passenger side its not too bad.
Heelboard sill mock up.
So that's what £139 quids worth of panels looks like then.

Again though credit to M-Machine, placed my order at about 11am weds and arrived at 10:30am this morning, they had to press the step for me as they had ran out.
Heelboard outside.

Mount plate.

Drivers side step.

Decided to replace the hole thing in the end instead of just doing the corner. Great thing is these come 3-4" up the side, so should also cover the hole in the door frame.
Went with a pair of proper sills in the end.

Just hope when I come to pulling the wide sill off the passenger side its not too bad.
Heelboard sill mock up.


Thanks chaps it's very much a learning learning curve but I feel I've learnt so much already.
Was hoping to have it on the road by August to drive to my mates wedding in it, unfortunately, that is looking less likely as life speeds on by. I'm determined to have it on the road by my 30th this April! What better present to myself.
Slowly, slowly, catchy monkey!
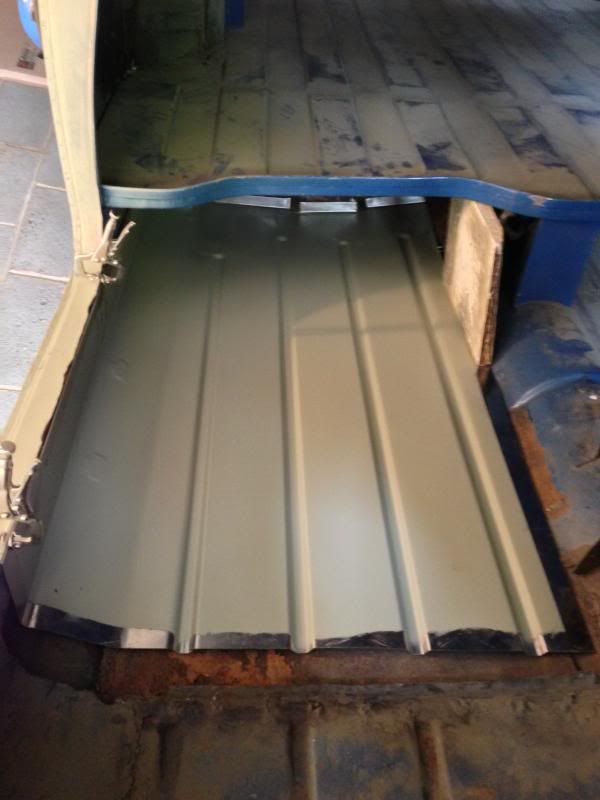
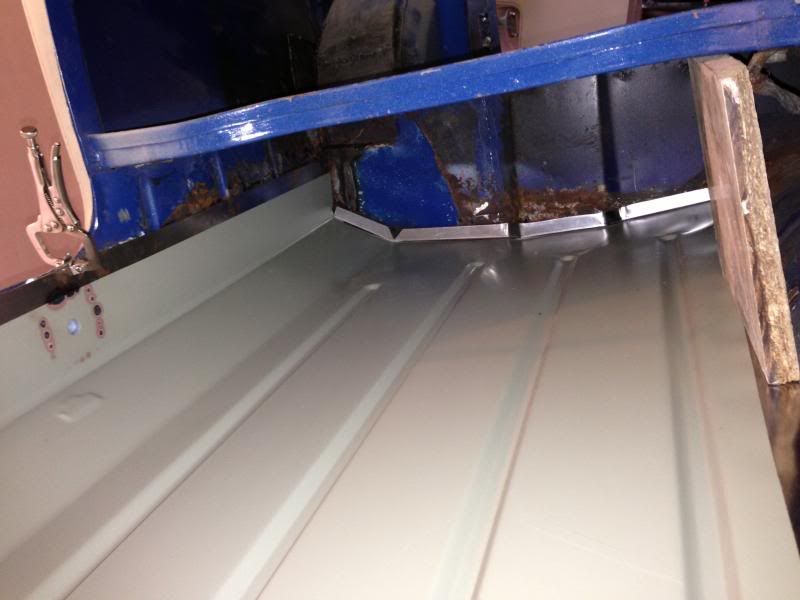
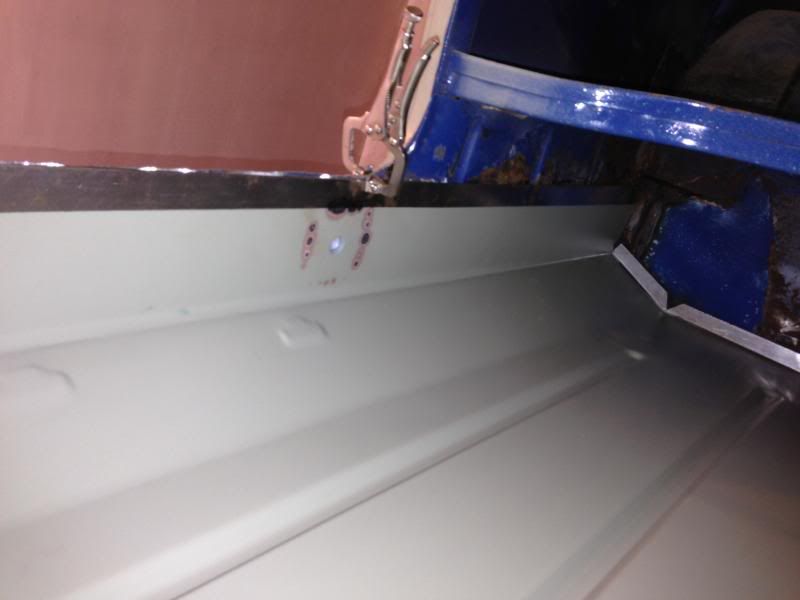
Managed to get an hour in last night and double cut the floor in.
Got a bit of a gap here somehow when I cut it so hopefully I can bridge it with weld.
Ignore the over sills there next to come off then the heelboard.
it's very much a learning learning curve but I feel I've learnt so much already. Was hoping to have it on the road by August to drive to my mates wedding in it, unfortunately, that is looking less likely as life speeds on by. I'm determined to have it on the road by my 30th this April! What better present to myself.
Slowly, slowly, catchy monkey!
Managed to get an hour in last night and double cut the floor in.


Got a bit of a gap here somehow when I cut it so hopefully I can bridge it with weld.

Ignore the over sills there next to come off then the heelboard.


Gassing Station | Classic Minis | Top of Page | What's New | My Stuff