90 Retro restoration project
Discussion


That really is cracking!
How much of the work are you doing yourself? Is there anyone good over there at restoring, I have a place in Jersey, and I've always thought about getting some old farmers defender defender for a laugh, not sure I could follow it through though, I enjoyed the day dreaming until you came along to give a prod with this!
How much of the work are you doing yourself? Is there anyone good over there at restoring, I have a place in Jersey, and I've always thought about getting some old farmers defender defender for a laugh, not sure I could follow it through though, I enjoyed the day dreaming until you came along to give a prod with this!
BullyB said:
Love it!
Less really is more
The mats are great
Cheers!Less really is more
The mats are great
HotJambalaya said:
That really is cracking!
How much of the work are you doing yourself? Is there anyone good over there at restoring, I have a place in Jersey, and I've always thought about getting some old farmers defender defender for a laugh, not sure I could follow it through though, I enjoyed the day dreaming until you came along to give a prod with this!
Thanks. I used Cartech up in St Lawrence for the bodywork and paint - Alex there is a Defender owner and therefore had a keen enthusiasm for the job. How much of the work are you doing yourself? Is there anyone good over there at restoring, I have a place in Jersey, and I've always thought about getting some old farmers defender defender for a laugh, not sure I could follow it through though, I enjoyed the day dreaming until you came along to give a prod with this!
What motivated me to get mine sorted was the fact that they're about to stop making them. My involvement (aside from dismantling the easy bits) was "vision"
 and sourcing all the new bits!
 ZOLLAR said:
OP,
If you don't mind me asking what were the costs for the full respray?
I'm considering it on the Discovery in the next 5 years or so once I've done everything else to it.
I wasn't willing to do any of the prep other than taking he easy bits off, and the estimate that they gave me for the job when I pitched up in the horrible brush painted car was £2K for a full 2pack respray on the exterior only. To be honest, given the layers of paint everywhere, I thought this was optimistic. In the end the prep work (there was a lot!) and respray (on the inside too, including the load bay) together cost £3K, which given the results I was happy with. This included refurbing / respraying the original seat runners and seat belt bar and some other bits and pieces. If you don't mind me asking what were the costs for the full respray?
I'm considering it on the Discovery in the next 5 years or so once I've done everything else to it.
I didn't shop around and it probably could have been done cheaper had I put some elbow in first, but I'd used these guys before and was pleased with their work, plus Alex being a land rover man sealed the deal for me.
Edited by CY88 on Monday 18th January 20:56
CY88 said:
I wasn't willing to do any of the prep other than taking he easy bits off, and the estimate that they gave me for the job when I pitched up in the horrible brush painted car was £2K for a full 2pack respray on the exterior only. To be honest, given the layers of paint everywhere, I thought this was optimistic. In the end the prep work (there was a lot!) and respray (on the inside too, including the load bay) together cost £3K, which given the results I was happy with. This included refurbing / respraying the original seat runners and seat belt bar.
I didn't shop around and it probably could have been done cheaper had I put some elbow in first, but I'd used these guys before and was pleased with their work, plus Alex being a land rover man sealed the deal for me.
That's the sort of ball park figure I was thinking of, good to know!I didn't shop around and it probably could have been done cheaper had I put some elbow in first, but I'd used these guys before and was pleased with their work, plus Alex being a land rover man sealed the deal for me.
Finish looks great


Cfnteabag said:
Do you have a link for them please?
When I go LED for the rear of mine I didn't know what to do with the fog and reverse and these loook perfect
http://www.carbuildersolutions.com/uk/led-rear-lamps-rear-fog-and-reverseWhen I go LED for the rear of mine I didn't know what to do with the fog and reverse and these loook perfect
They seem to fit on the circular 95mm land rover plinths (I've ordered a 5mm o-ring seal to go between the lamp and the plinth.)
not yet sure of the intensities, will post some pics when they are working.

JodesT said:
Defender looks awesome!!
I'm currently doing a bit of a 'Defender 50th Anniversary' project and love your grill badge (it matches the 50th Anniversary Plaque on the rear).....
Would you mind letting me know where you got it as i can't seem to find anything similar!
Thanks
Cheers! The badges were from Gavin at Artmin Design. Top quality, and completely customisable. http://www.artmindesign.co.uk/I'm currently doing a bit of a 'Defender 50th Anniversary' project and love your grill badge (it matches the 50th Anniversary Plaque on the rear).....
Would you mind letting me know where you got it as i can't seem to find anything similar!
Thanks
I should add that - it order to mount it, I customised the plastic plinth for a normal grille badge by sanding it flat, and then bonded the new alloy badge to it.
Edited by CY88 on Thursday 21st January 17:20
Looking good CY…
You just need the trailer now
http://www.coolnvintage.com/portfolio-item/the-ult...
Cheers Jon
You just need the trailer now
http://www.coolnvintage.com/portfolio-item/the-ult...
Cheers Jon
JONLINE said:
Looking good CY…
You just need the trailer now
http://www.coolnvintage.com/portfolio-item/the-ult...
Cheers Jon
Just wow, that looks fantastic!You just need the trailer now
http://www.coolnvintage.com/portfolio-item/the-ult...
Cheers Jon
Although I'd get the urge to drive it through a big muddy ditch

JONLINE said:
Looking good CY…
You just need the trailer now
http://www.coolnvintage.com/portfolio-item/the-ult...
Cheers Jon
Cheers Jon! That trailer looks ace. Food for thought!You just need the trailer now
http://www.coolnvintage.com/portfolio-item/the-ult...
Cheers Jon
Little update on various bits and pieces:
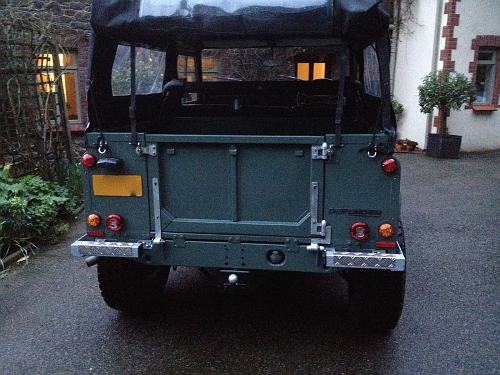
Fogs / reverse are all wired up and and look like this ----> really pleased with the intensity and neat look:
Fog pattern using DSLR:
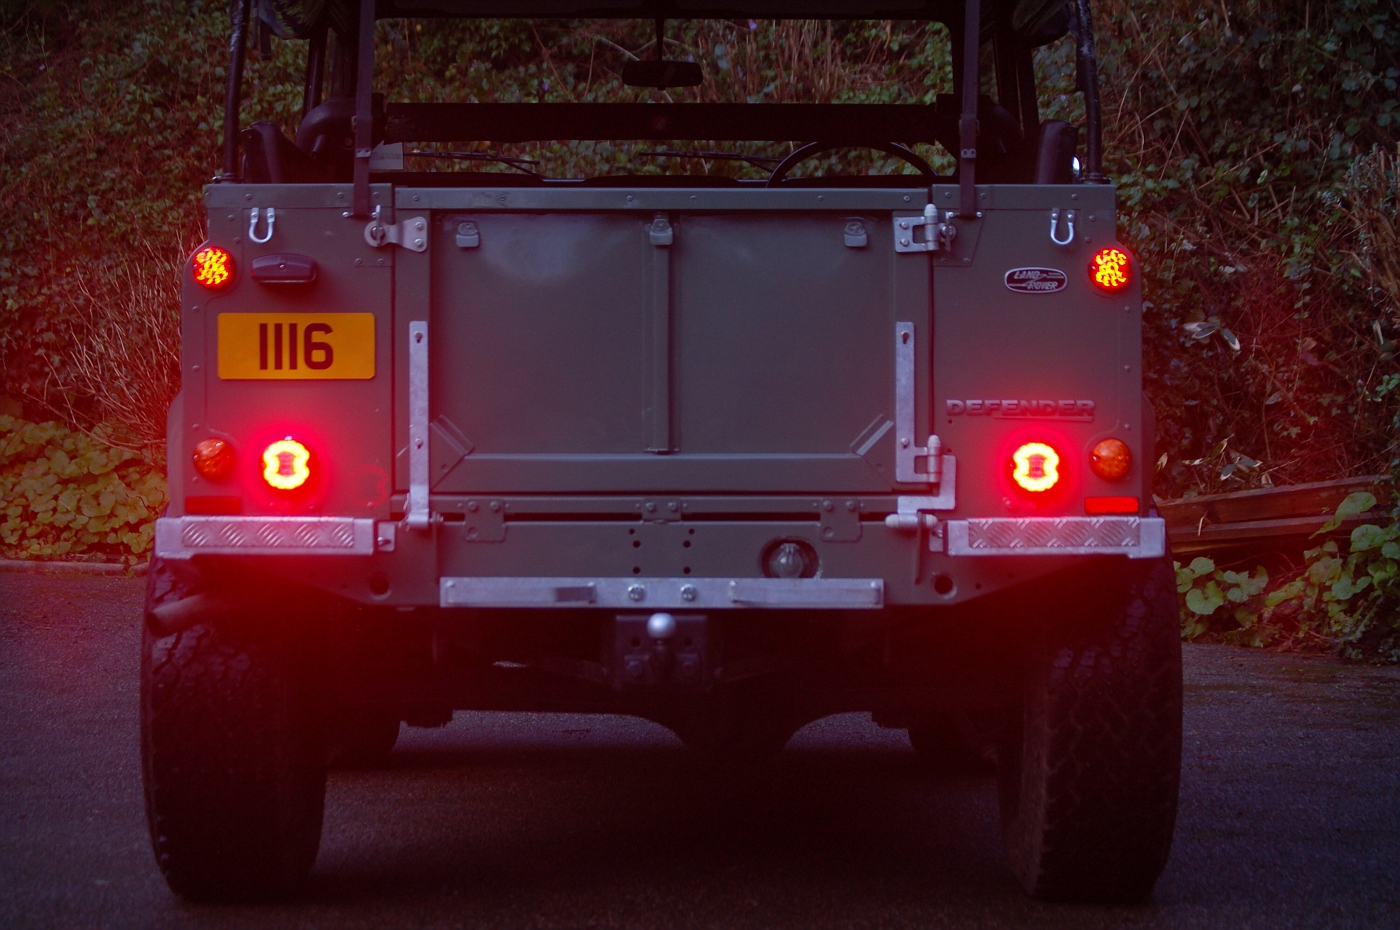
Iphone perhaps gives better idea of brightness:

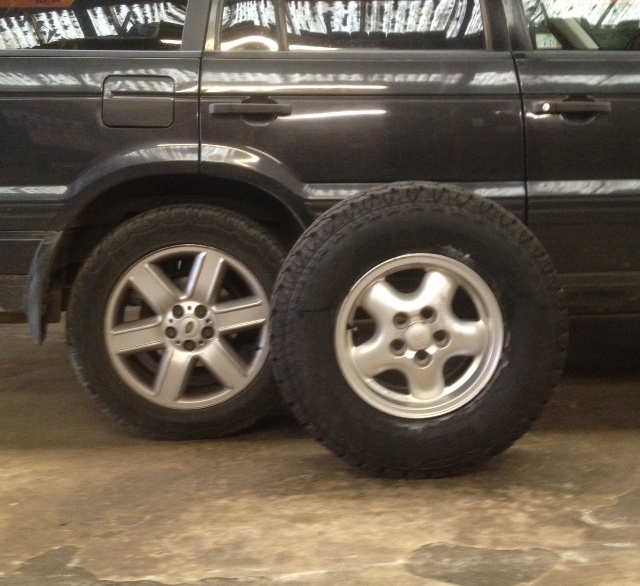
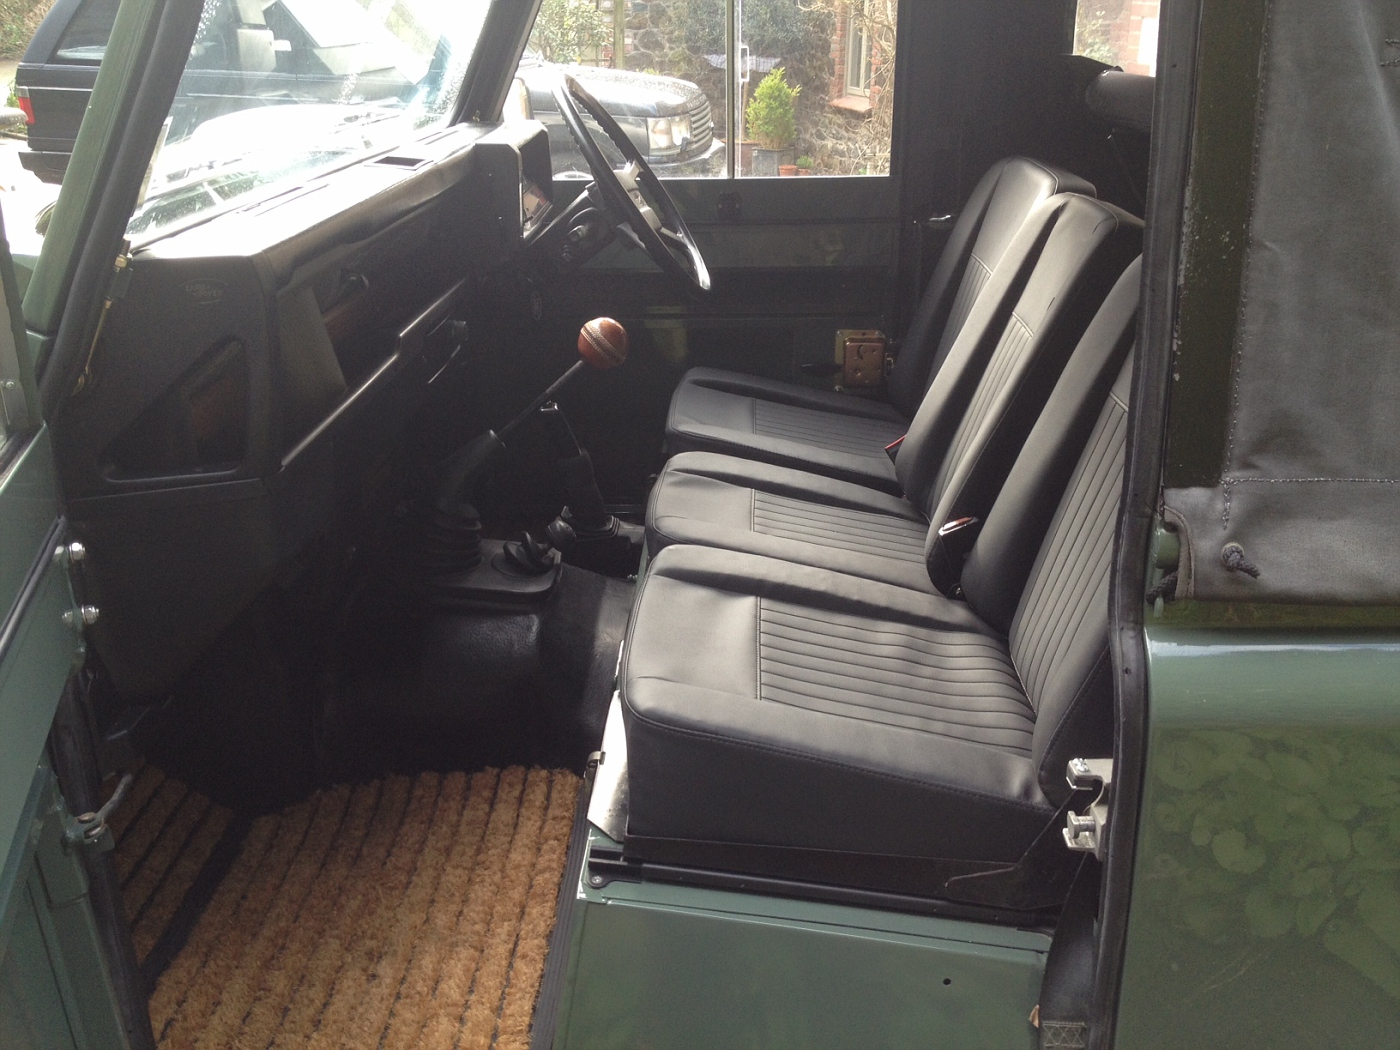
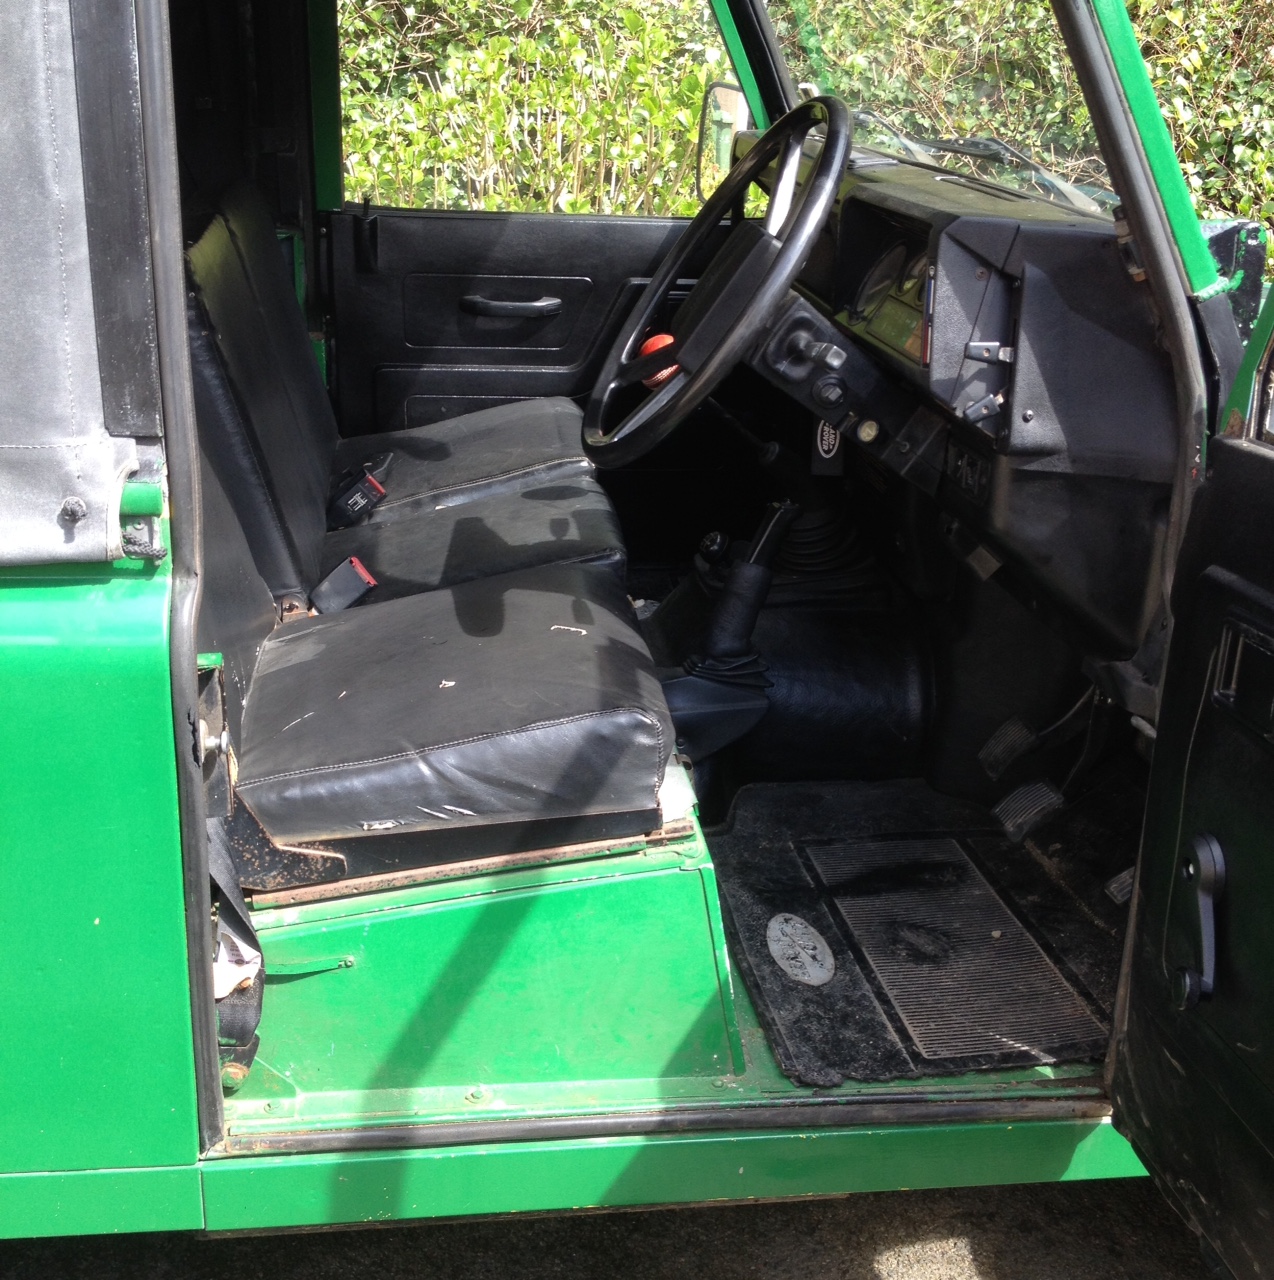
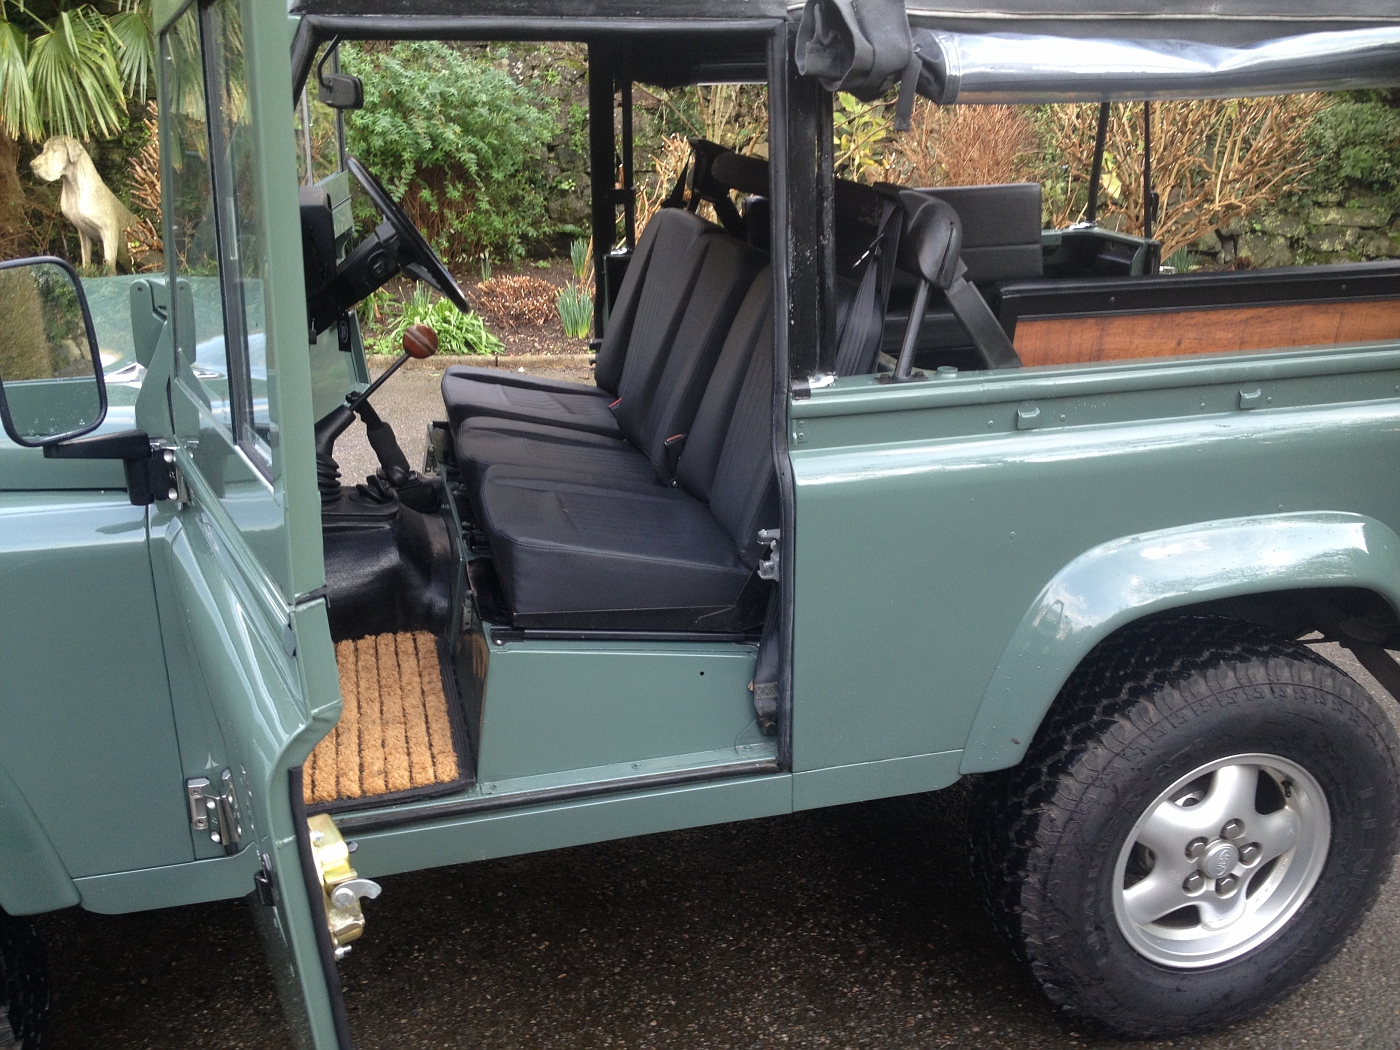
Replaced old ripped vinyl seats with a Deluxe set of series seats from Exmoor trim, which slotted pretty much straight into the existing frames. Not sure the uprights are quite as sturdy as the originals - time will tell - but the bases are far firmer and higher too, so no need for seat risers!
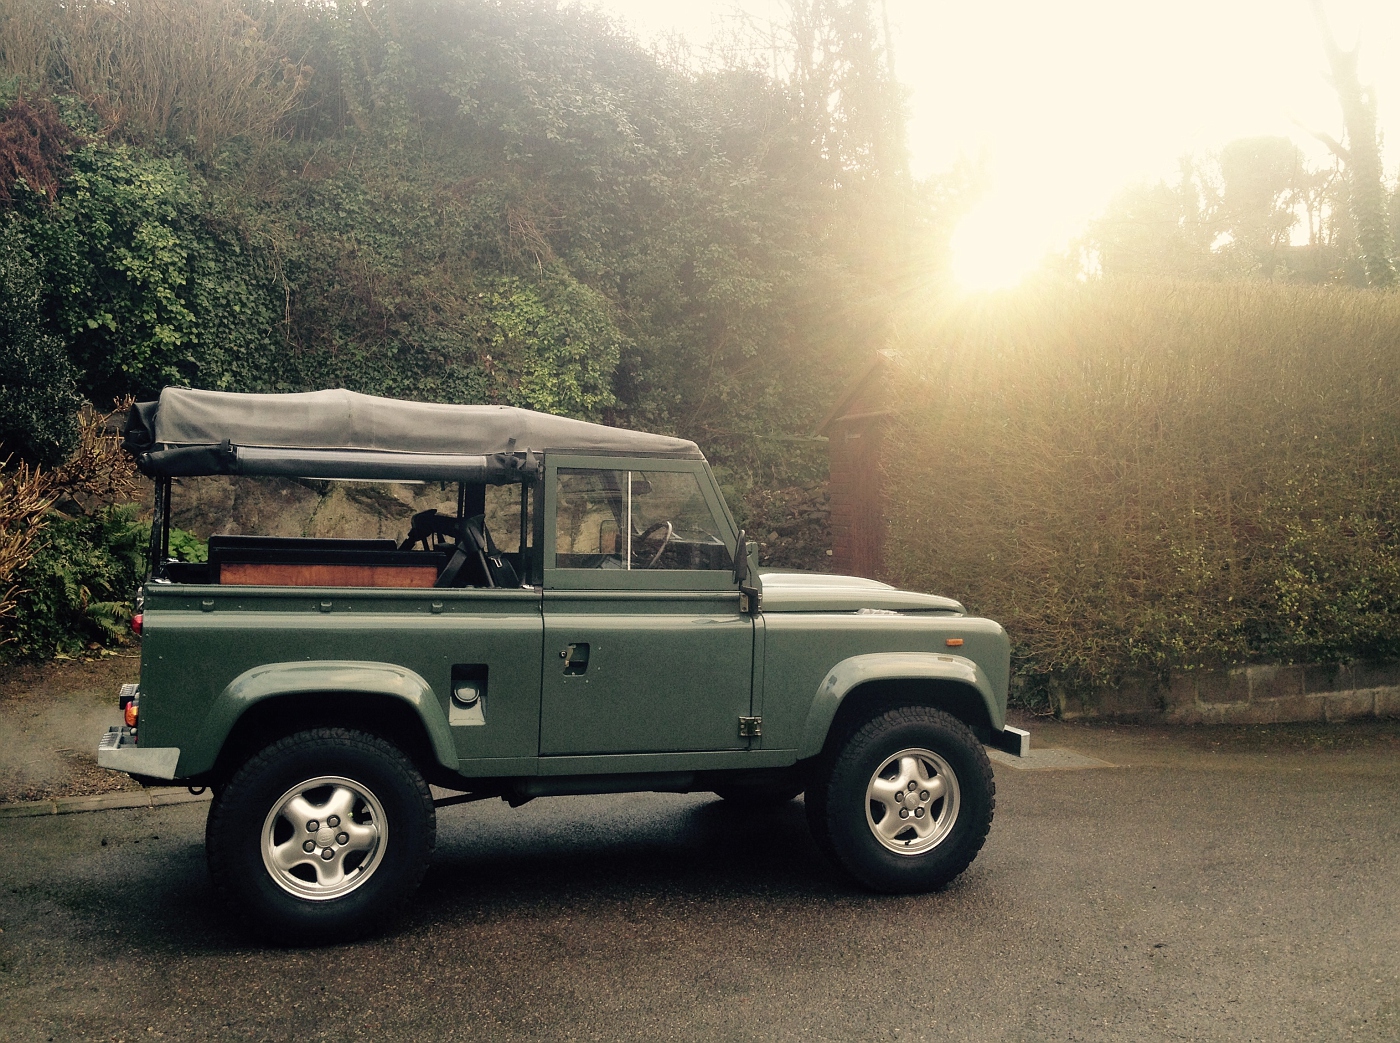
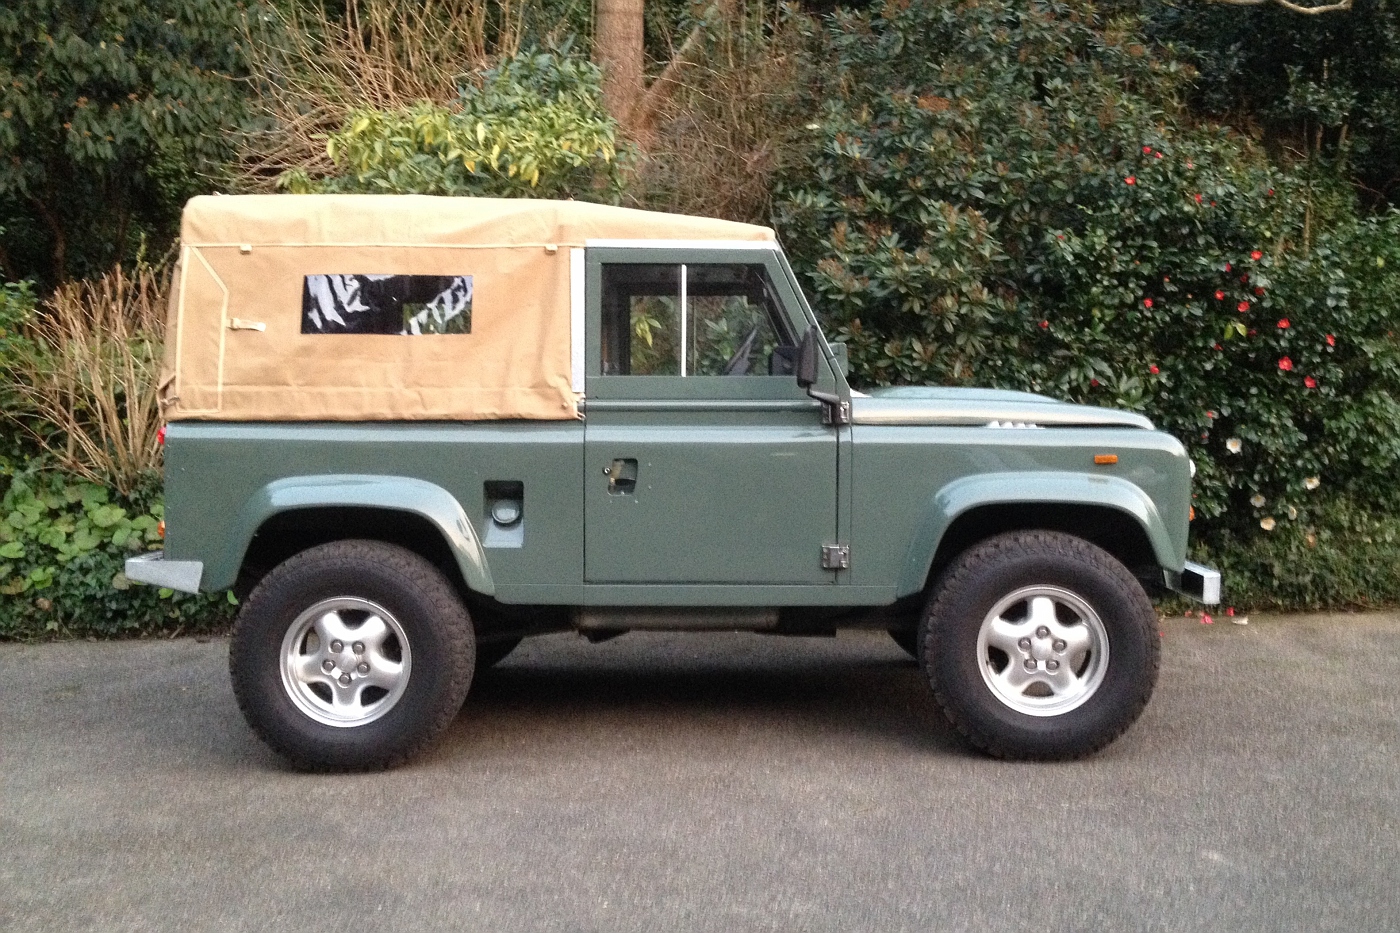
And a comparison with last year:
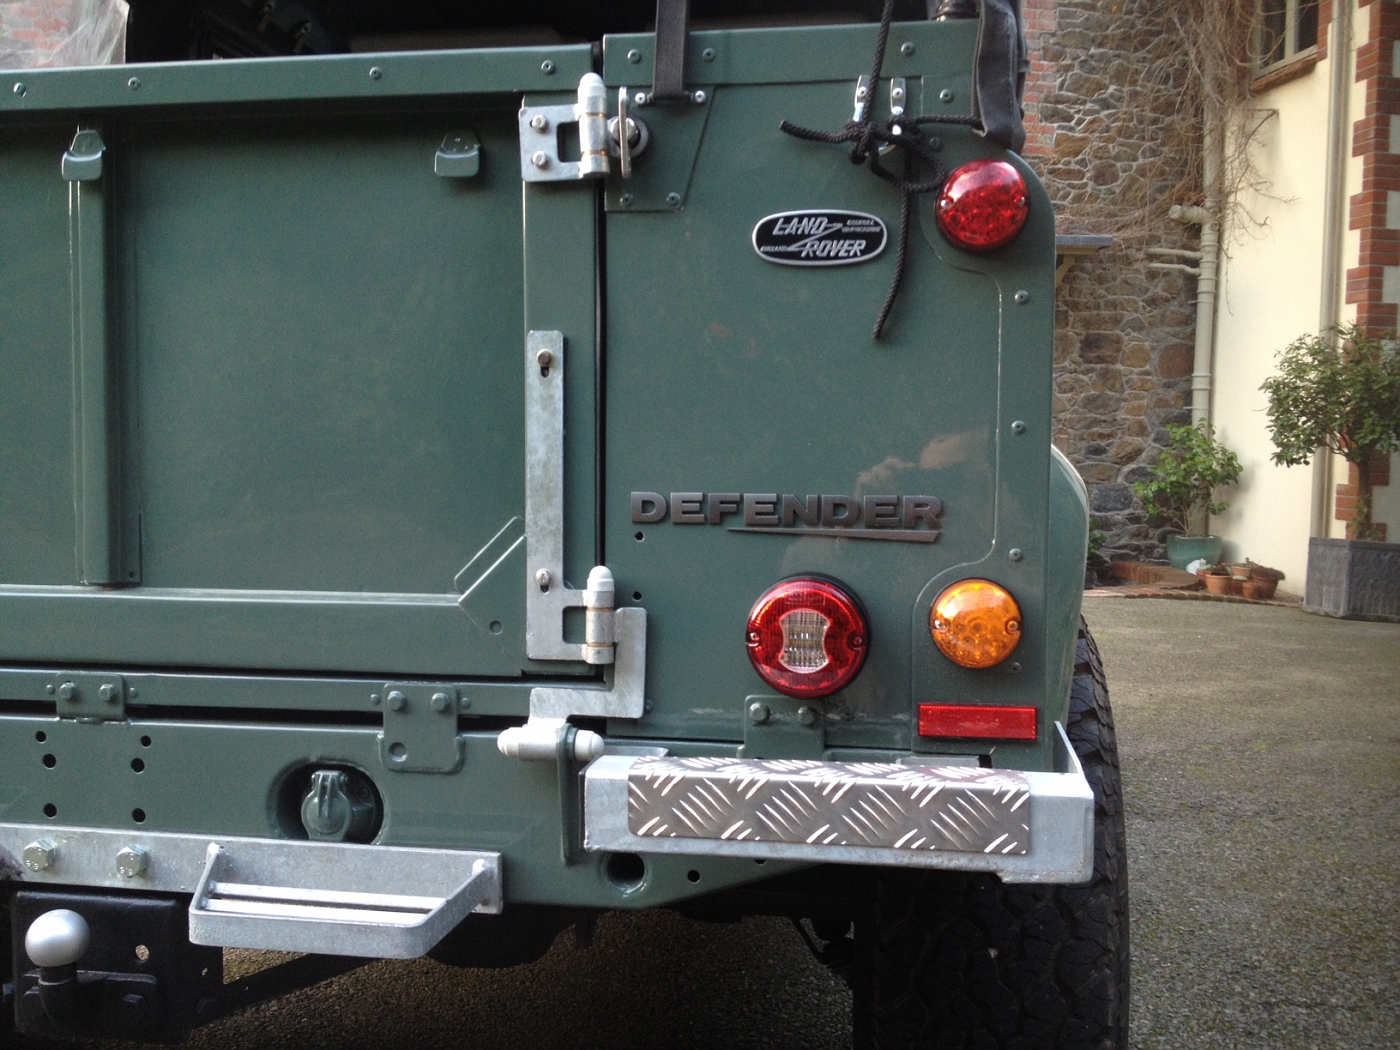
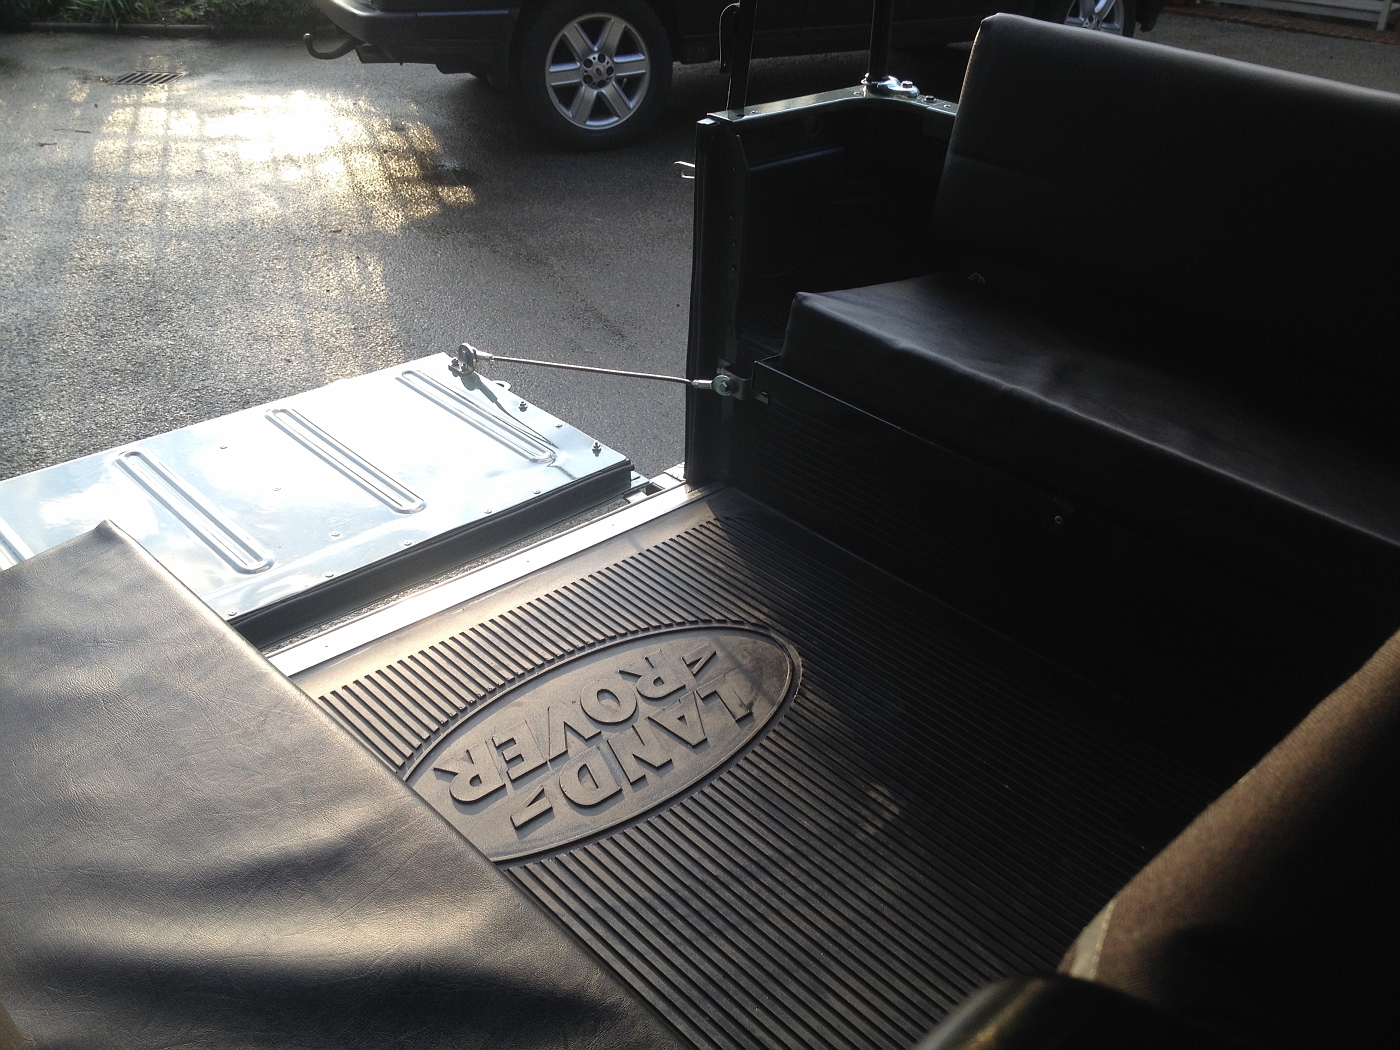
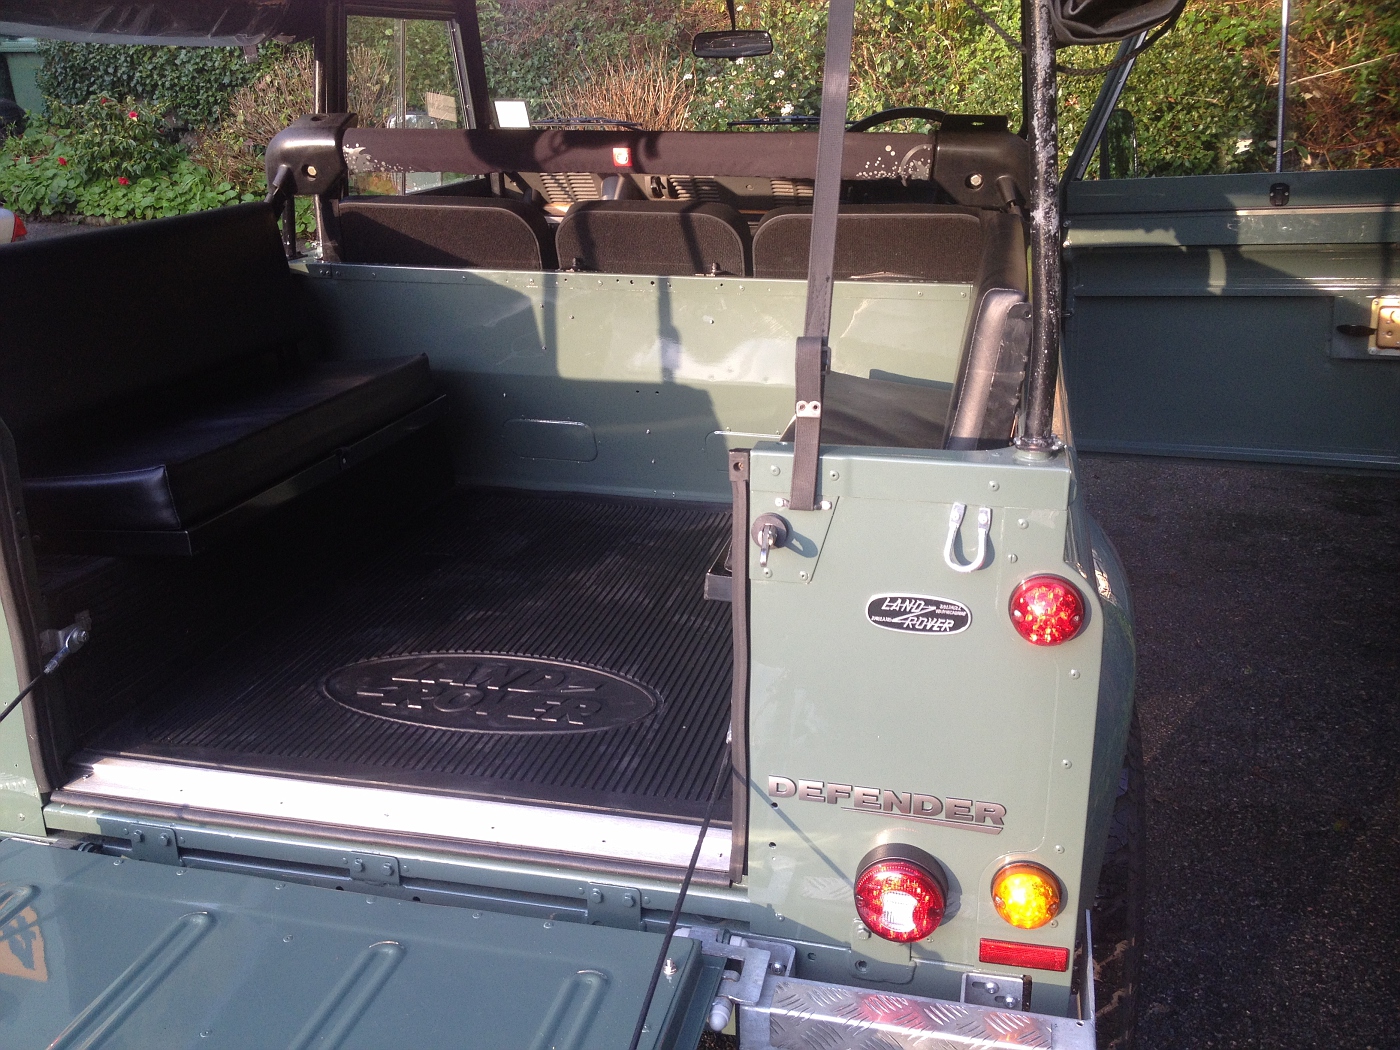
All the seals around tailgate done, with stainless steel retainer plate, and a set of bench seats added.

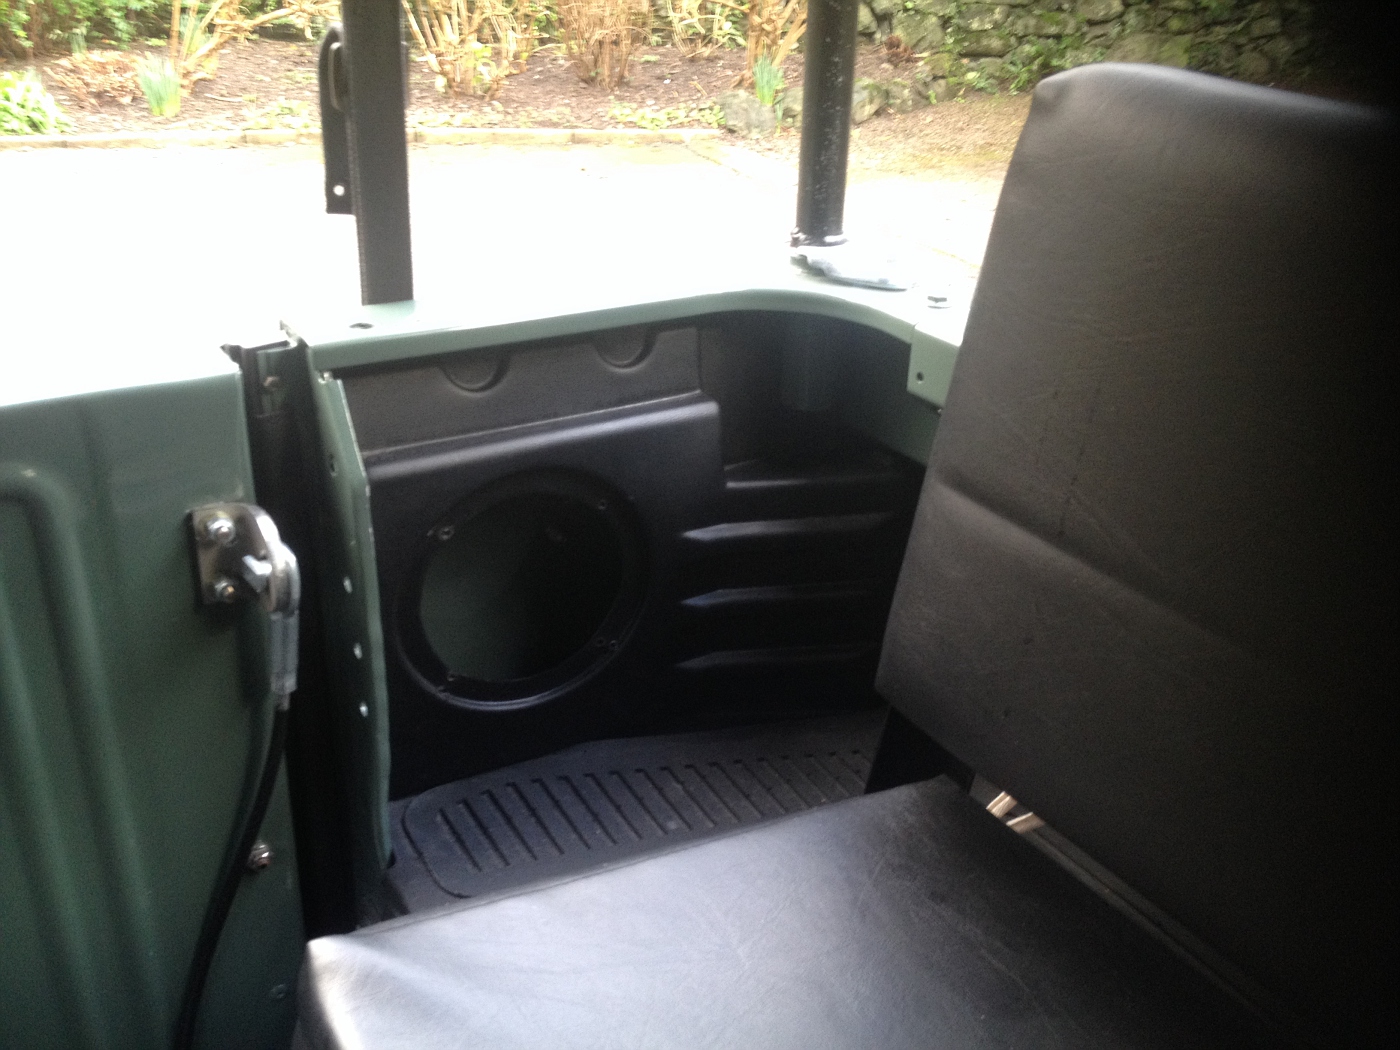
Speaker pods for upcoming music install
The Exmoor bench seats had an exposed MDF backboard, which I decided on the spur of the moment to cover with wood, but now they're on I'm not liking the effect, so am going to recover the backs in black vinyl or more likely black rubber next week.
Gratuitous arty shot
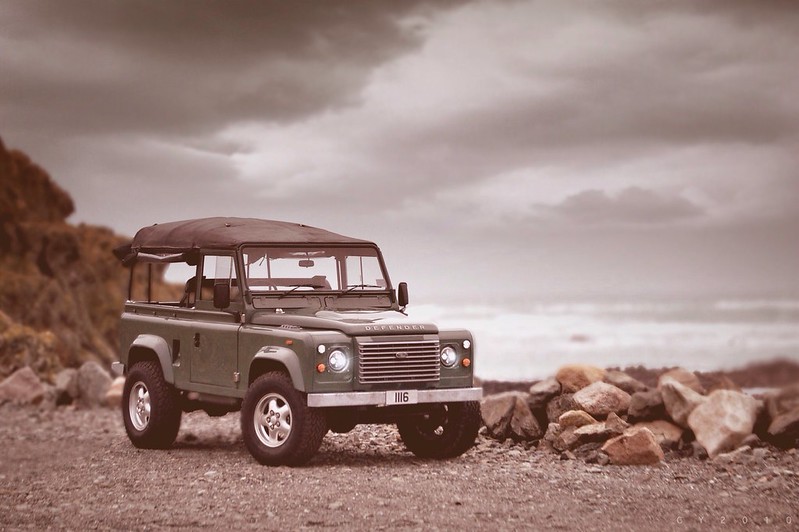
End Credits ( * explore * ) by CY2010, on Flickr
Now waiting for the new hood frame and canvas!
Fogs / reverse are all wired up and and look like this ----> really pleased with the intensity and neat look:
Fog pattern using DSLR:
Iphone perhaps gives better idea of brightness:
Replaced old ripped vinyl seats with a Deluxe set of series seats from Exmoor trim, which slotted pretty much straight into the existing frames. Not sure the uprights are quite as sturdy as the originals - time will tell - but the bases are far firmer and higher too, so no need for seat risers!
And a comparison with last year:
All the seals around tailgate done, with stainless steel retainer plate, and a set of bench seats added.
Speaker pods for upcoming music install
The Exmoor bench seats had an exposed MDF backboard, which I decided on the spur of the moment to cover with wood, but now they're on I'm not liking the effect, so am going to recover the backs in black vinyl or more likely black rubber next week.
Gratuitous arty shot
End Credits ( * explore * ) by CY2010, on Flickr
Now waiting for the new hood frame and canvas!
Gassing Station | Land Rover | Top of Page | What's New | My Stuff