Discussion


 Sorry, would probably have helped if I'd mentioned that! Yes I have Photoshop V7.0....
Home and dry then.
1) Make the image monochrome:
Image/Adjust/Channel mixer/check monochrome box/OK
2) Add new colour as required:
Image/Adjust/Colour balance/adjust sliders to taste.
I found that Red +15 Magenta -25 Yellow -50 give a sepia effect.
Doubtless other people will have their own ways of doing the same thing!
What Mr Two said.
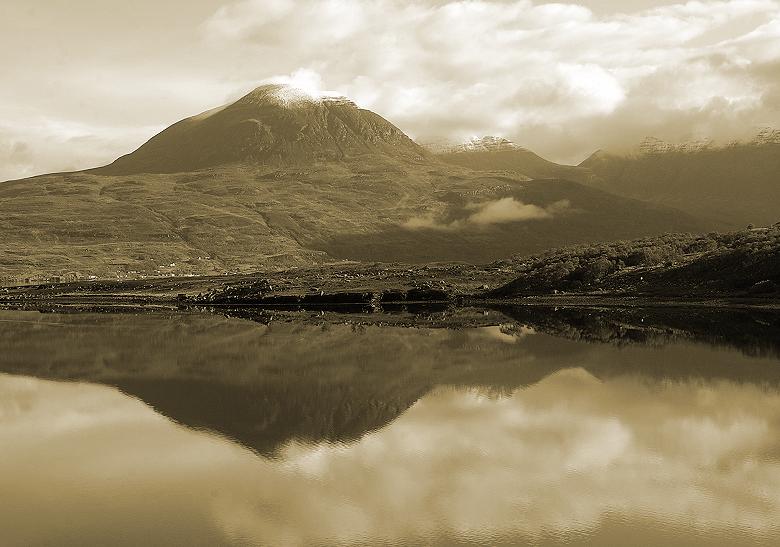
... not that it matters, but as a matter of interest the pic looks more orange than sepia (unless my monitor is having a bad hair day) - this is the colour I use (on landscapes) to make the pic look 'old'
Steve
>> Edited by GetCarter on Sunday 4th July 08:42
>> Edited by GetCarter on Sunday 4th July 08:47
GetCarter said:
What Mr Two said.
... not that it matters, but as a matter of interest the pic looks more orange than sepia (unless my monitor is having a bad hair day) - this is the colour I use (on landscapes) to make the pic look 'old'
Steve
>> Edited by GetCarter on Sunday 4th July 08:42
>> Edited by GetCarter on Sunday 4th July 08:47
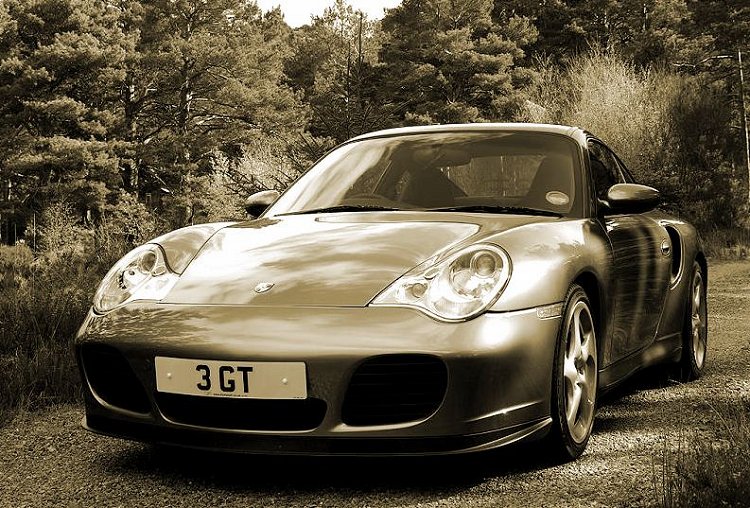
ah, ye olde Porsche GT3


There's another really good method I learnt off the net for turning colour into black and white.
They key advantage I have found is that;
a) original colour image remains in the file and
b) you can mimic the effect of different filters if used for shooting with black & white film.
Steps
1) Load original colour image
2) create a new blank layer as an adjustment layer (DL1)
3) create another blank layers as an adjustment layer (DL2)
4) Now just select DL1 to work with. In DL1 adjust the colour saturation to 0 and hey presto your colour image now becomes balck and white.
5) You can now play with the levels and saturation of the individual channels in DL2 and you start to mimic the effect of using filters when shooting with black and white film and also to get the sepia effect.
The thing I like about this method is you can just delete DL2 if it's all gone horribly wrong and you're still left with your clean original.
Chris
Message Board | Photography & Video | Top of Page | What's New | My Stuff