Provence Moulage Lister Storm 1:43
Discussion


A bit of a labour of love this one and has so far taken since April 2009 to get to this stage. It's rather an every now and again model when I get time.
It came to me in this condition, painted with what looked like a 2" brush and thick paint. The decals that defined the black stripes were also a touch special.
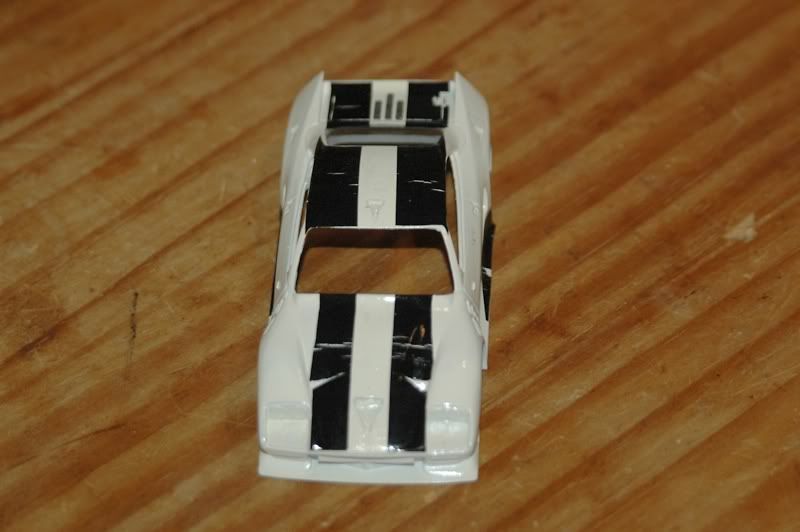
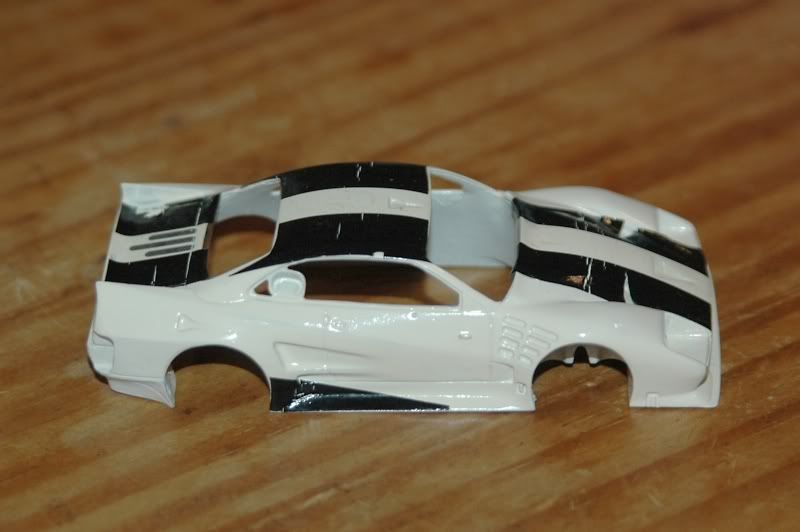
As you can see, a bit of a challenge. It also came with the rest of the original decals and a box of unused parts.
A lack of pictures now occurs as to be honest I wasn't sure if I'd ever finish it, so it didn't occur to me to take any. The model was fully stripped, which wasn't to bad as acrylic paint had been used. No need to get the nasty chemicals out and risk the bodyshell. Once stripped and painted in Zero white, I masked up the bodyshell to paint the stripes in Zero black. Once dry this was given a coat of clear ready for the decals and then was put away for a while. The rear wing did get a coat of carbon decal film though, which is interesting to use for the first time. Practice definitely does make it easier though.
The interior got some paint and light detailing on an ad-hoc basis.
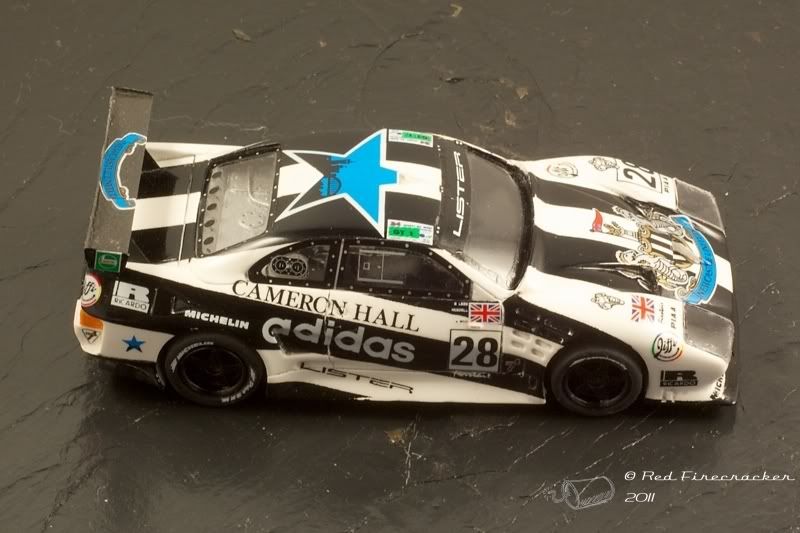
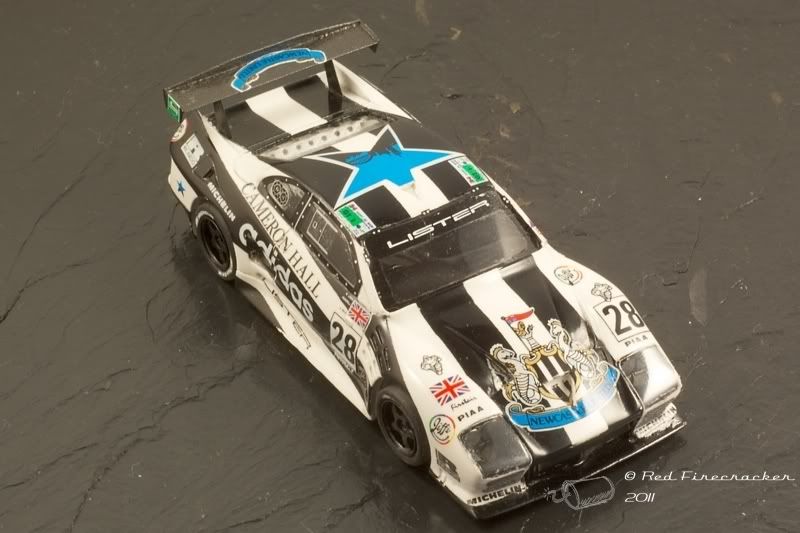
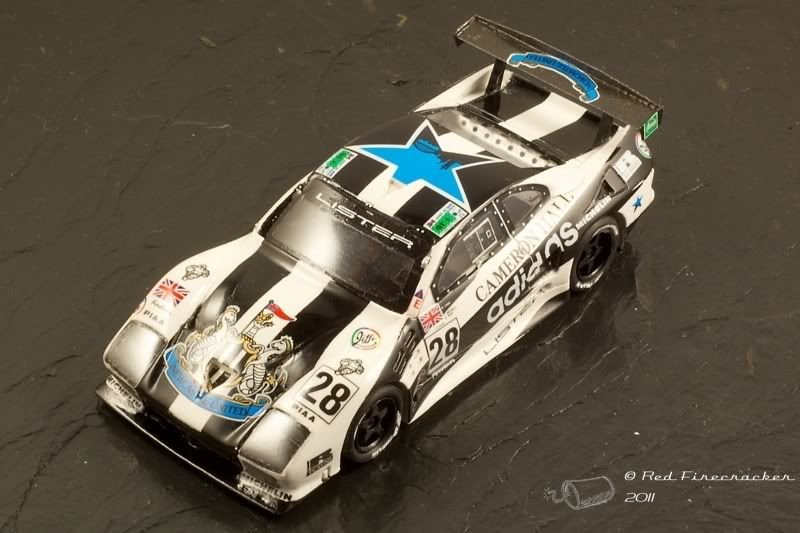
To cut a long story short and to jump forward a couple of years, I have recently had a bit of a surge of enthusiasm and have near enough finished it. The decals were an absolute nightmare, truly utterly awful. Even after a coat of Microscale Decal Coat they still fell apart. Once all decaled, more clear coats and then once hardened a bit of sanding and polishing with the pads and Tamiya pastes. Throw all the bits up in the air and they all stuck together and it is how it is seen in the pics.
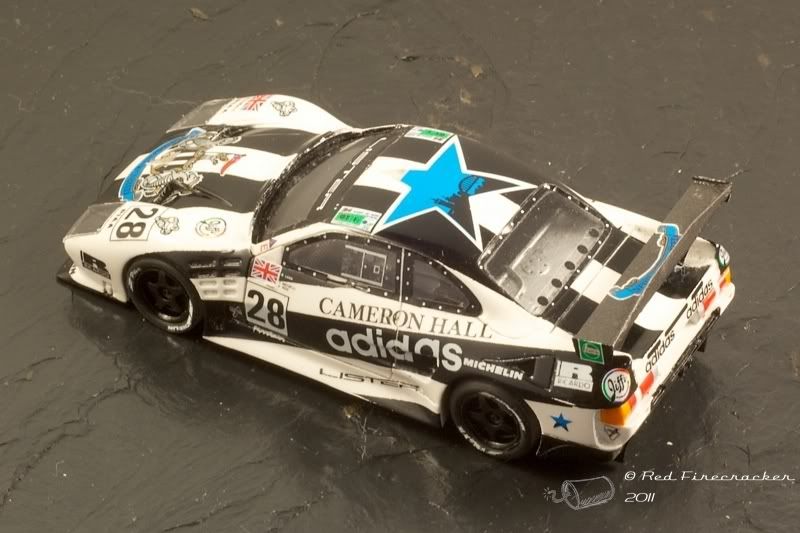
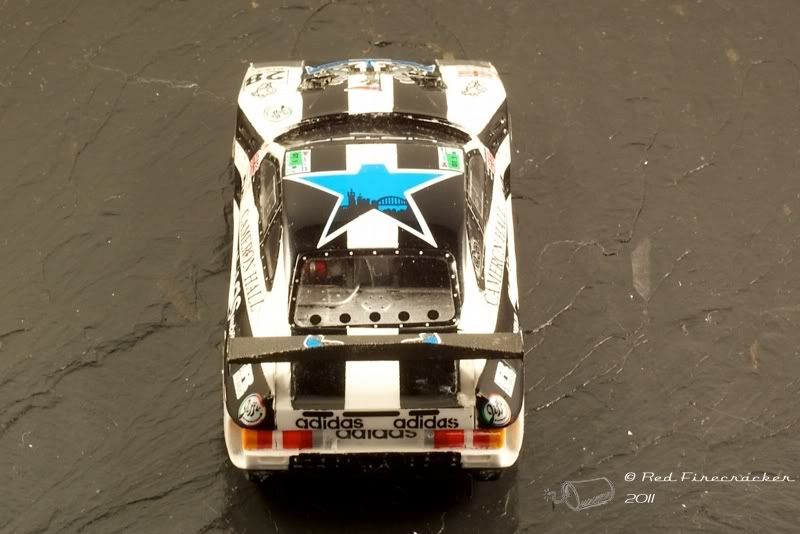
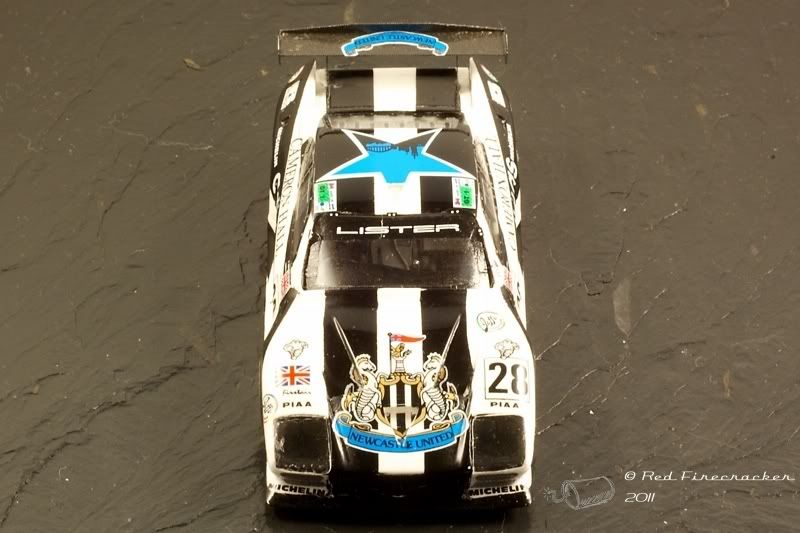
Not bad, but not especially good either. I burned through the clear coat in a couple of places, rather annoyingly. The decals, especially those on the windows, mock me constantly. The carbon decal on the rear wing is rough, but it was a first attempt. I've learnt some tricks now. I've left the wing mirrors off for now as they really are just blobs. The headlight cover on drivers right will be coming off sometime as well to clean up the joint.
Definitely a distance model though, but I guess it shows that even a pretty distressed model can be saved and made better. The pictures do show that it needs a blooming good clean though.
It came to me in this condition, painted with what looked like a 2" brush and thick paint. The decals that defined the black stripes were also a touch special.
As you can see, a bit of a challenge. It also came with the rest of the original decals and a box of unused parts.
A lack of pictures now occurs as to be honest I wasn't sure if I'd ever finish it, so it didn't occur to me to take any. The model was fully stripped, which wasn't to bad as acrylic paint had been used. No need to get the nasty chemicals out and risk the bodyshell. Once stripped and painted in Zero white, I masked up the bodyshell to paint the stripes in Zero black. Once dry this was given a coat of clear ready for the decals and then was put away for a while. The rear wing did get a coat of carbon decal film though, which is interesting to use for the first time. Practice definitely does make it easier though.
The interior got some paint and light detailing on an ad-hoc basis.
To cut a long story short and to jump forward a couple of years, I have recently had a bit of a surge of enthusiasm and have near enough finished it. The decals were an absolute nightmare, truly utterly awful. Even after a coat of Microscale Decal Coat they still fell apart. Once all decaled, more clear coats and then once hardened a bit of sanding and polishing with the pads and Tamiya pastes. Throw all the bits up in the air and they all stuck together and it is how it is seen in the pics.
Not bad, but not especially good either. I burned through the clear coat in a couple of places, rather annoyingly. The decals, especially those on the windows, mock me constantly. The carbon decal on the rear wing is rough, but it was a first attempt. I've learnt some tricks now. I've left the wing mirrors off for now as they really are just blobs. The headlight cover on drivers right will be coming off sometime as well to clean up the joint.
Definitely a distance model though, but I guess it shows that even a pretty distressed model can be saved and made better. The pictures do show that it needs a blooming good clean though.
Evangelion said:
Best way to remove paint from resin is with cellulose thinners on a piece of soft cloth. Just don't be tempted to leave the part(s) in a container of the stuff or it will eat it all away. Brief exposure (isn't that a film?) is OK though.
Indeed.Luckily though as the original coat was acrylic my old friend Mr Muscle did the job for me.
Gassing Station | Scale Models | Top of Page | What's New | My Stuff