Minimodels 'Scalex' Jag XK120 Restoration
Discussion


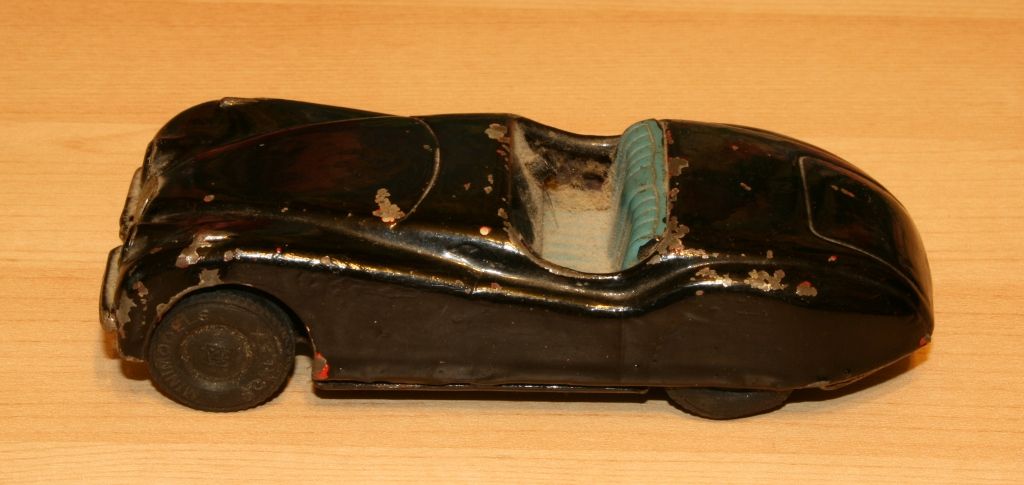
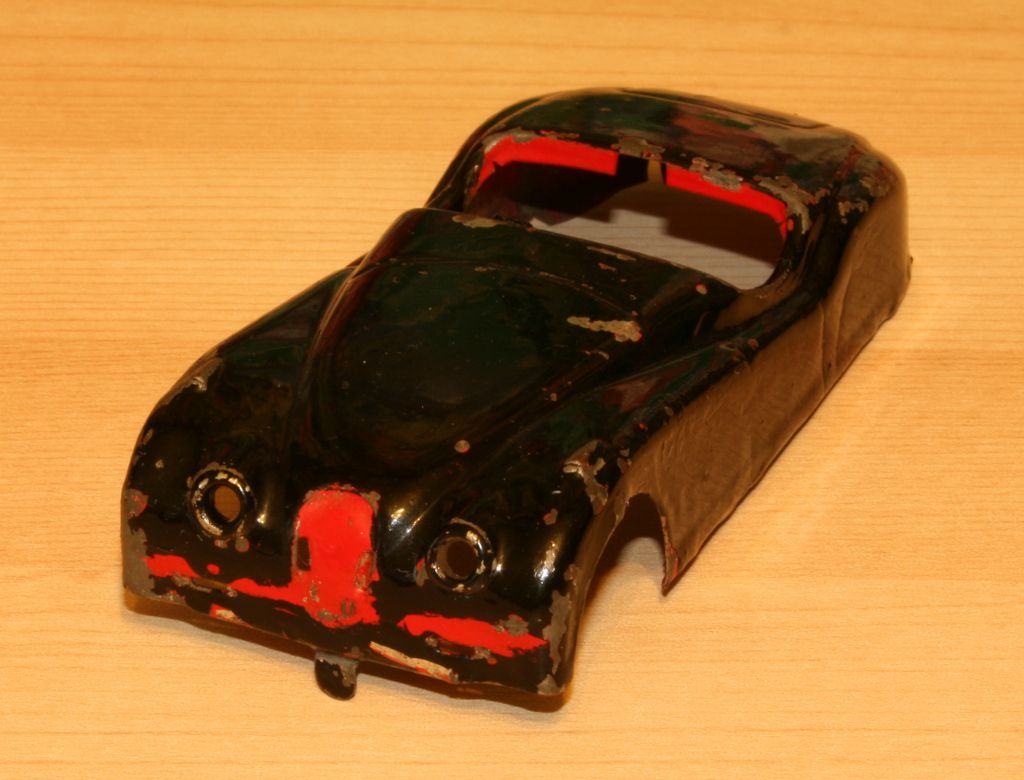
I thought I'd try something a little different while my other models are on hold for the moment.
My father has a small collection of Minimodels 'Scalex' cars, two of which require some restoration, so it occurred to me to document the process and get some help from some of the pros on here at the same time.
Some photos...

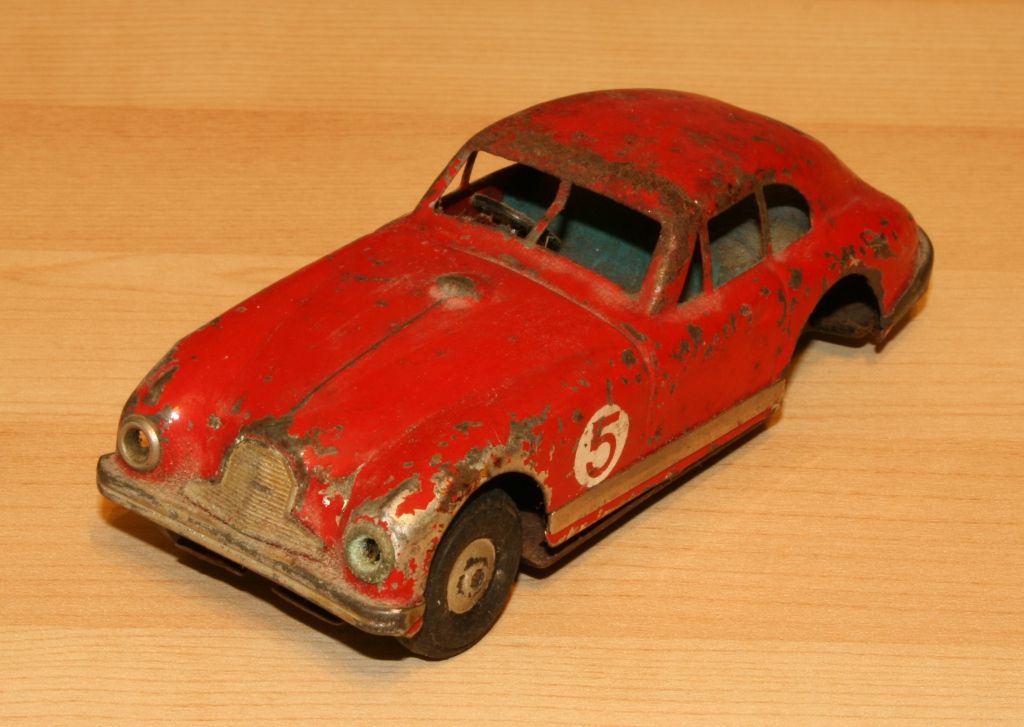
There's also a nice Aston do be done sometime...
They are tinplate and have a clockwork based mechanism within them to drive the front wheels.
Some small tabs on the underside hold the body on, so I will carefully start to take the Jag apart and get some more photos up soon.
First stage is going to be a lot of cleaning I suspect!
My father has a small collection of Minimodels 'Scalex' cars, two of which require some restoration, so it occurred to me to document the process and get some help from some of the pros on here at the same time.
Some photos...
There's also a nice Aston do be done sometime...
They are tinplate and have a clockwork based mechanism within them to drive the front wheels.
Some small tabs on the underside hold the body on, so I will carefully start to take the Jag apart and get some more photos up soon.
First stage is going to be a lot of cleaning I suspect!


Apologies for taking a while updating this, I am getting there though! I've been disassembling and cleaning, next stage will be paint removal.
You sure? 
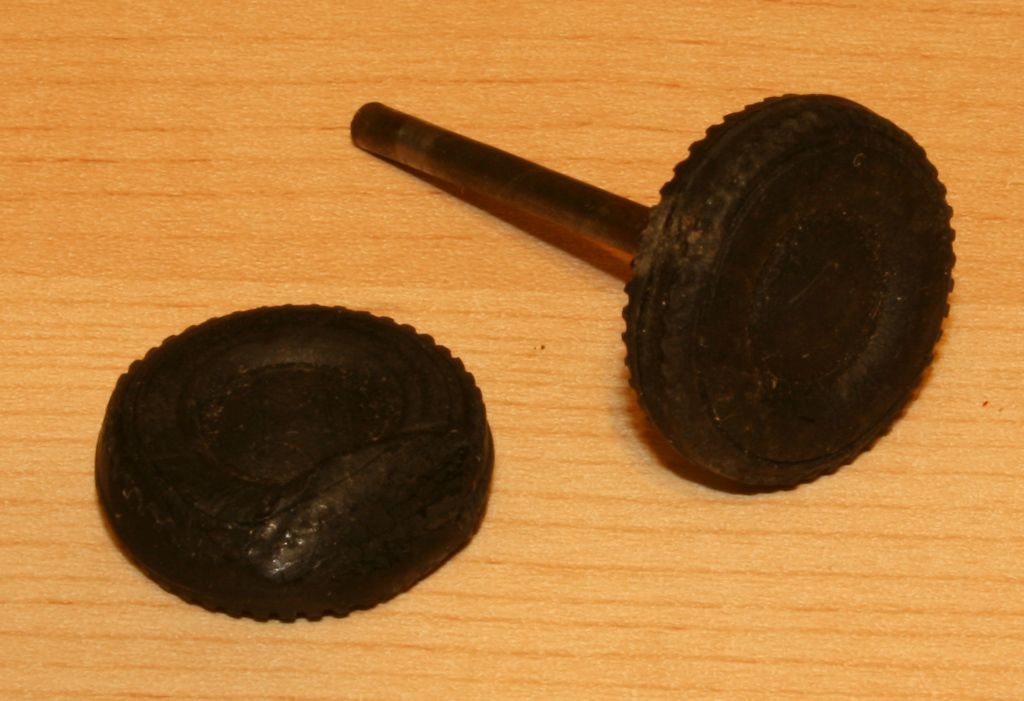
Not sure how to fix this tyre yet, maybe cut away what shouldn't be there and build it up with filler.
If I rolled one of the good tyres through some blutack, leaving a tread pattern, I wonder if the wet filler could be rolled through the blutack to give it the tread pattern back..
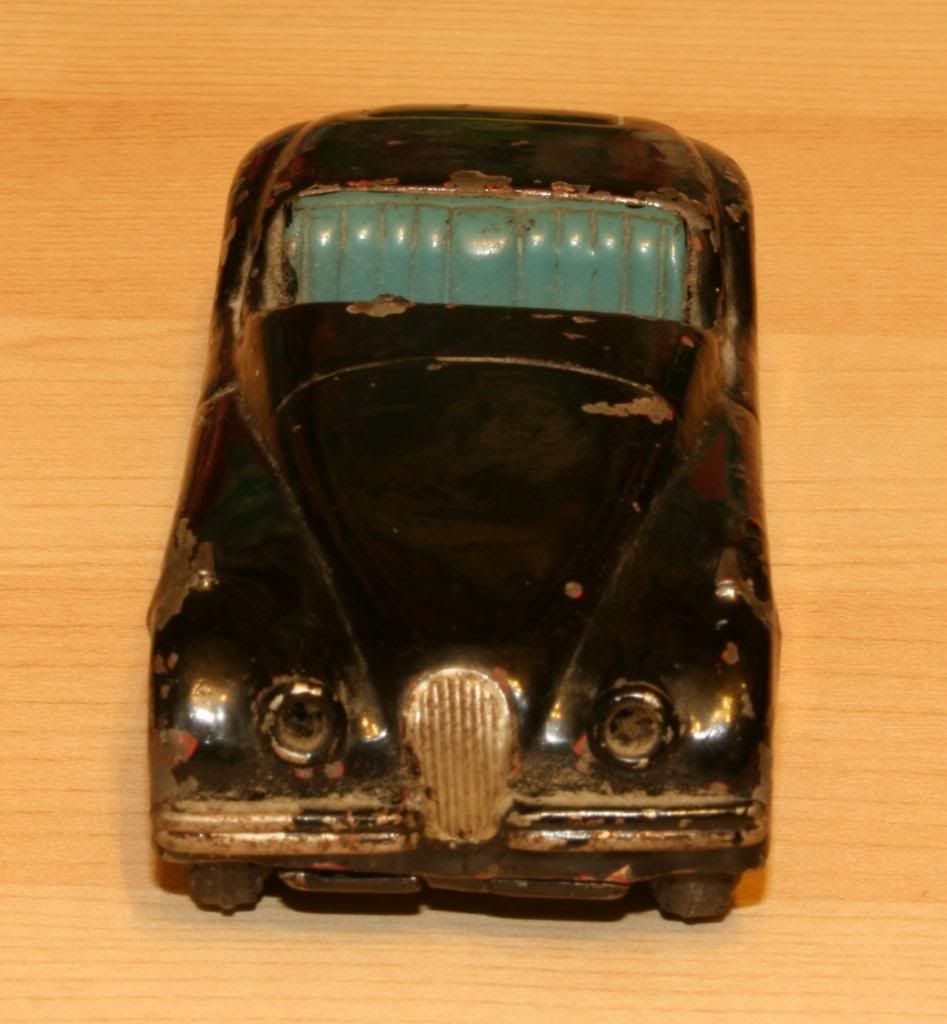
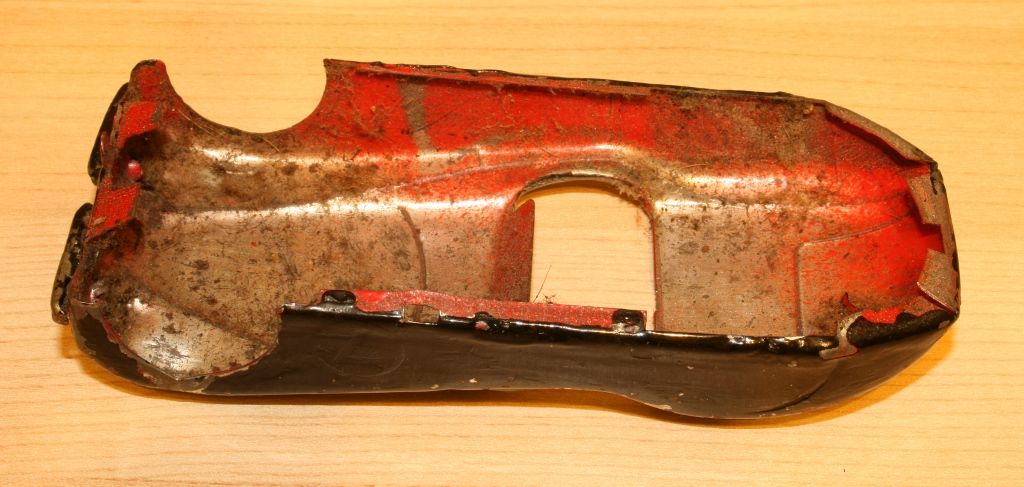
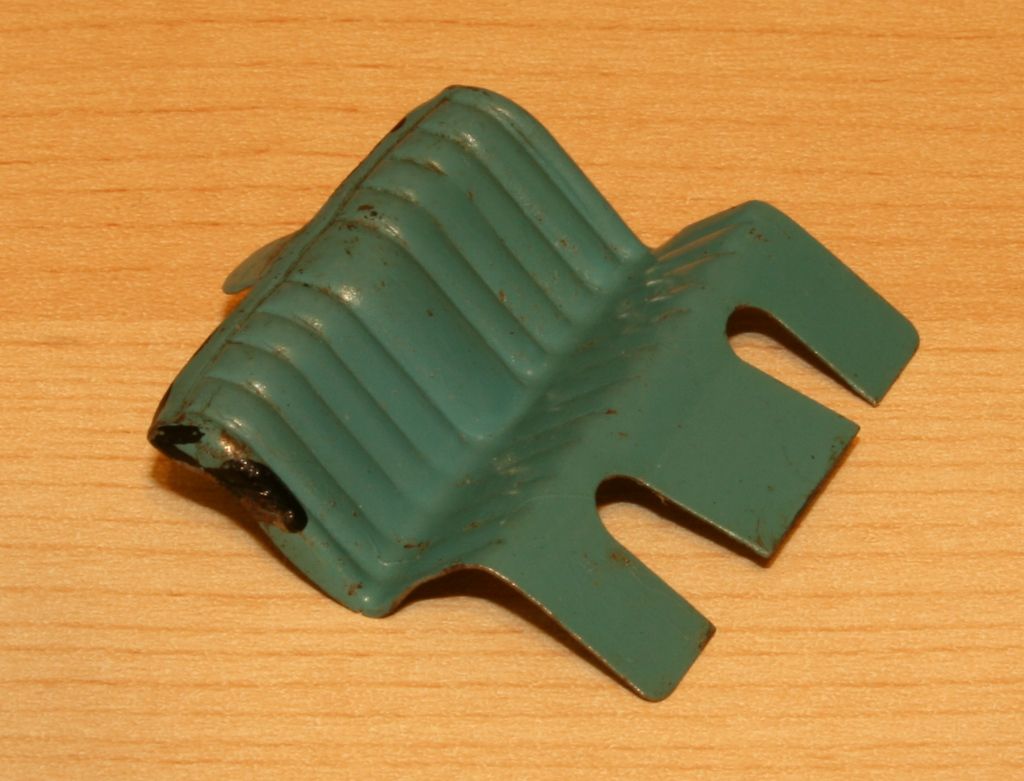
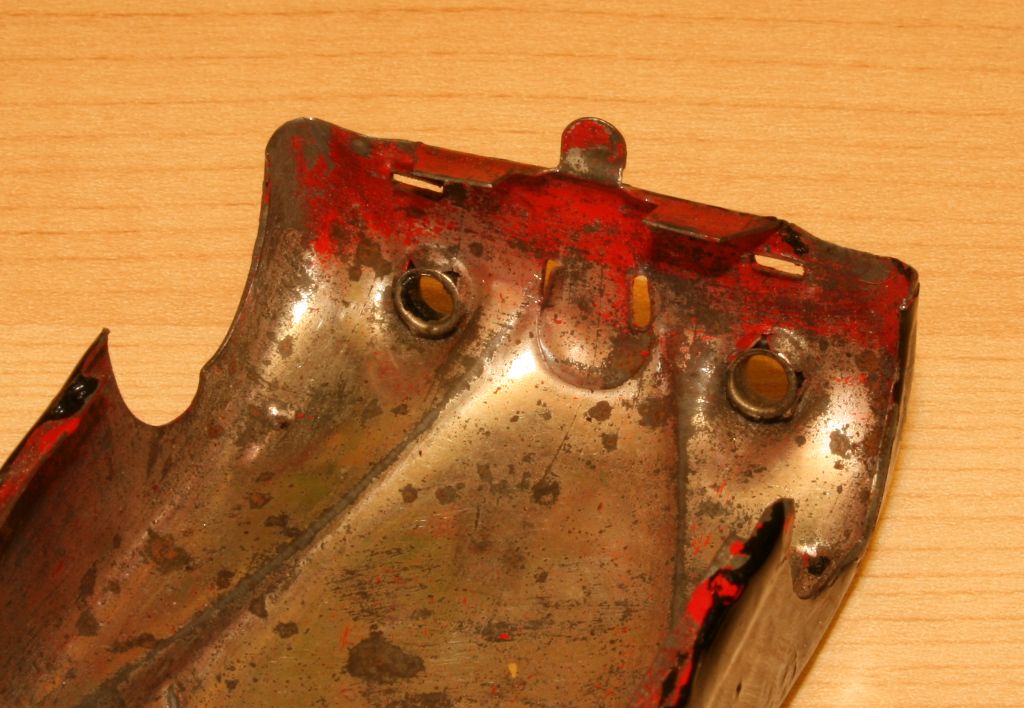
I've removed the radiator and bumpers, they were in one piece and fitted to the front using tabs mounted through holes in the bodywork.
Here're the removed rad and bumpers..
Seats actually look pretty good, I'm hoping I can get the black paint off with very gentle sanding using high grit paper.
The headlights are represented by rivet like fixings, I might be able to remove these and polish them, it would be better than having to mask them...
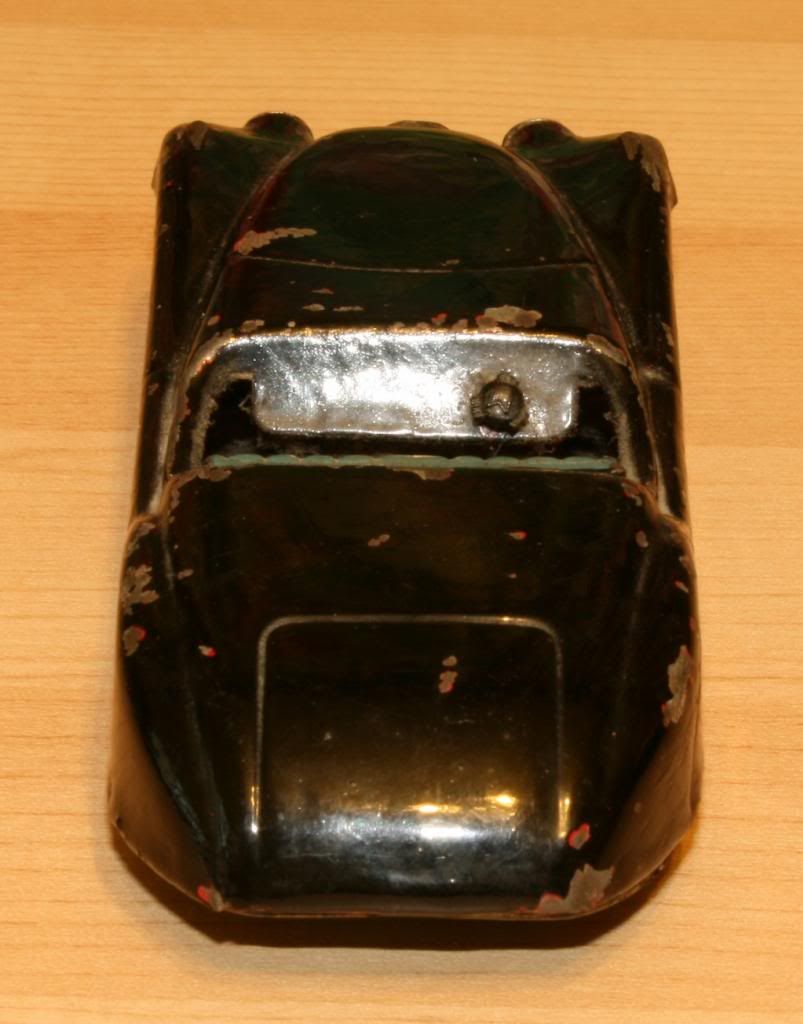
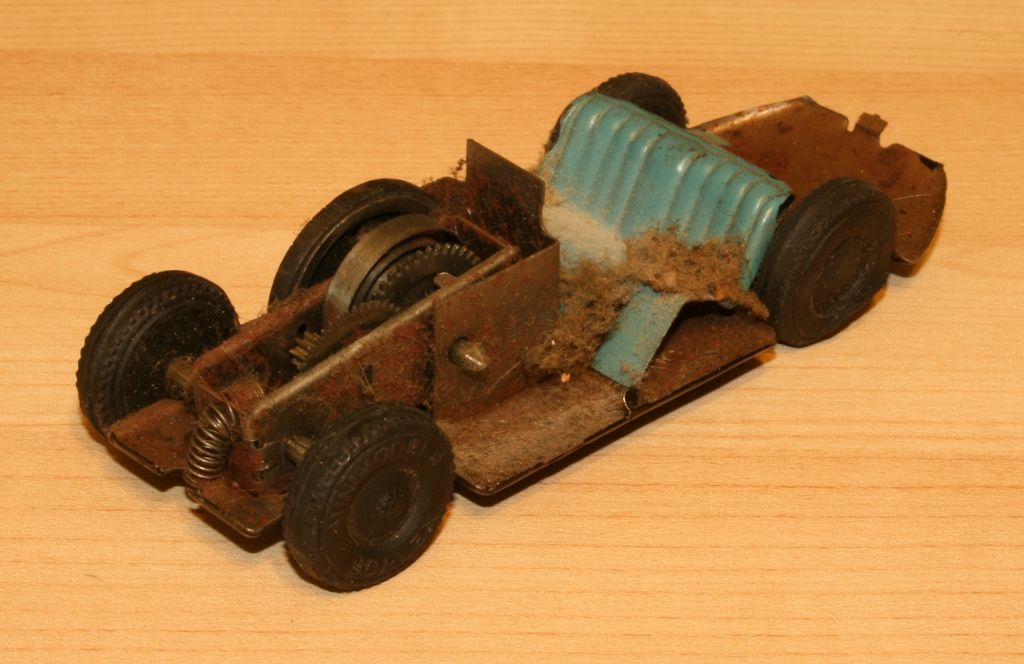
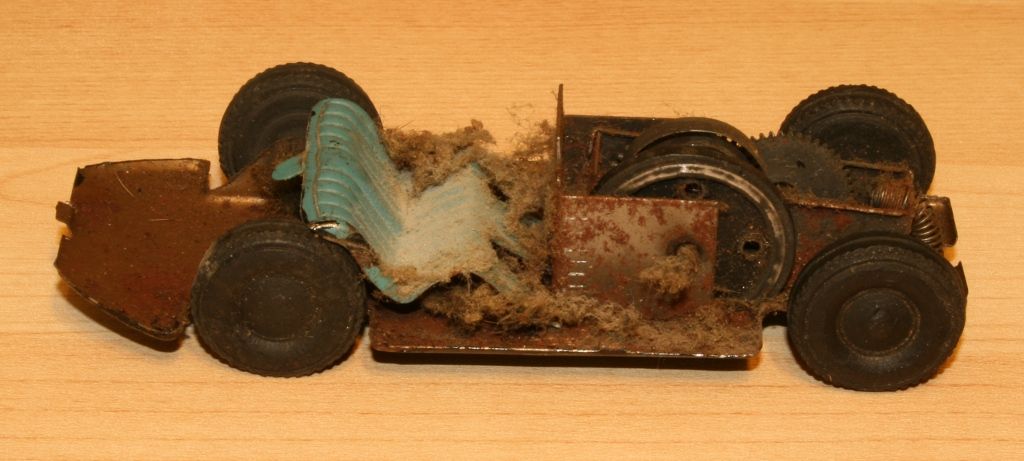
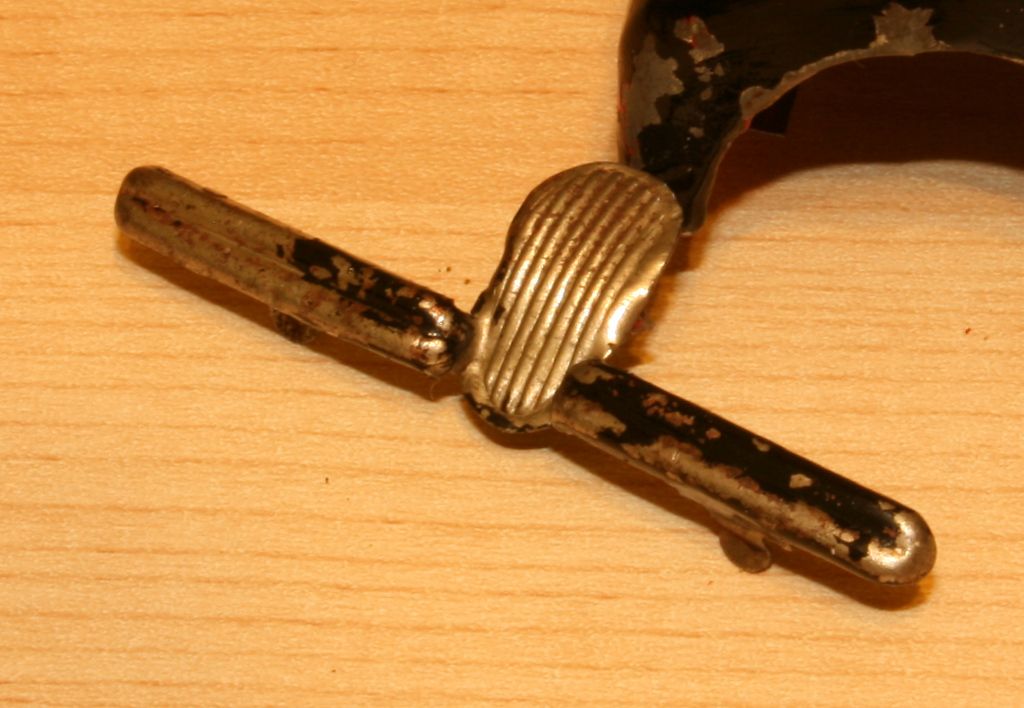
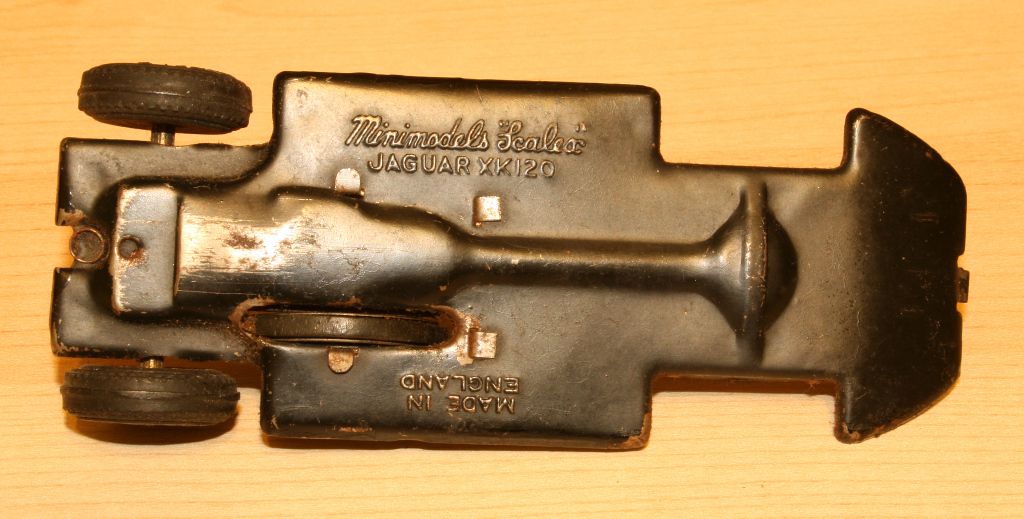
I've just tidied the chassis up a little, I don't intend on doing much to it apart from a little lubricating oil to the mechanism.

Here's a shot of the bottom of the chassis, showing the wheel used to wind the clockwork mechanism.
I'm trying to decide whether to restore it to exactly the way it was, or enhance it with aeroscreens and a photo based dashboard decal...
Le Mans Visitor said:
dr_gn said:
Tyres look OK too?
I have taxed worse!Not sure how to fix this tyre yet, maybe cut away what shouldn't be there and build it up with filler.
If I rolled one of the good tyres through some blutack, leaving a tread pattern, I wonder if the wet filler could be rolled through the blutack to give it the tread pattern back..
I've removed the radiator and bumpers, they were in one piece and fitted to the front using tabs mounted through holes in the bodywork.
Here're the removed rad and bumpers..
Seats actually look pretty good, I'm hoping I can get the black paint off with very gentle sanding using high grit paper.
The headlights are represented by rivet like fixings, I might be able to remove these and polish them, it would be better than having to mask them...
I've just tidied the chassis up a little, I don't intend on doing much to it apart from a little lubricating oil to the mechanism.
Here's a shot of the bottom of the chassis, showing the wheel used to wind the clockwork mechanism.
I'm trying to decide whether to restore it to exactly the way it was, or enhance it with aeroscreens and a photo based dashboard decal...
I'd restore 'as is', personally, as they have a lovely charm all of their own.
With regards to the tyre, it'll be a right bugger to fix well short of casting a new wheel (easy enough). However, never overlook getting original spares, so something such as this auction;
http://www.ebay.co.uk/itm/Vintage-Tinplate-Minimod...
might be of interest.
I'd also leave the headlight rivets in place if they are even slightly tight. You can strip the paint, polish up the headlights and then carefully mask them with PVA glue which can be easily peeled off after painting.
Forum | Scale Models | Top of Page | What's New | My Stuff