Blade Runner Police Car 27
Discussion


Hi all, first time posting here although I've been lurking for some time so thought I'd share some of my modelling projects here....
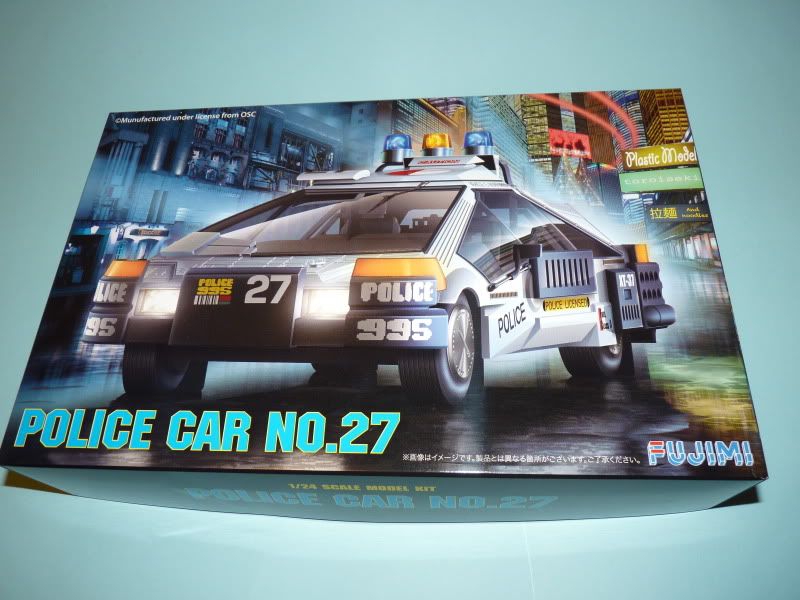
First up is the Fujimi kit of the Police Sedan from Blade Runner....this is the grounded Spinner that is seen a lot in the murky streets of future Los Angeles.
Thought I'd tackle this one pretty much straight from the box with some minor additions and tweaks....
So first a breakdown of the parts....
Boxart...
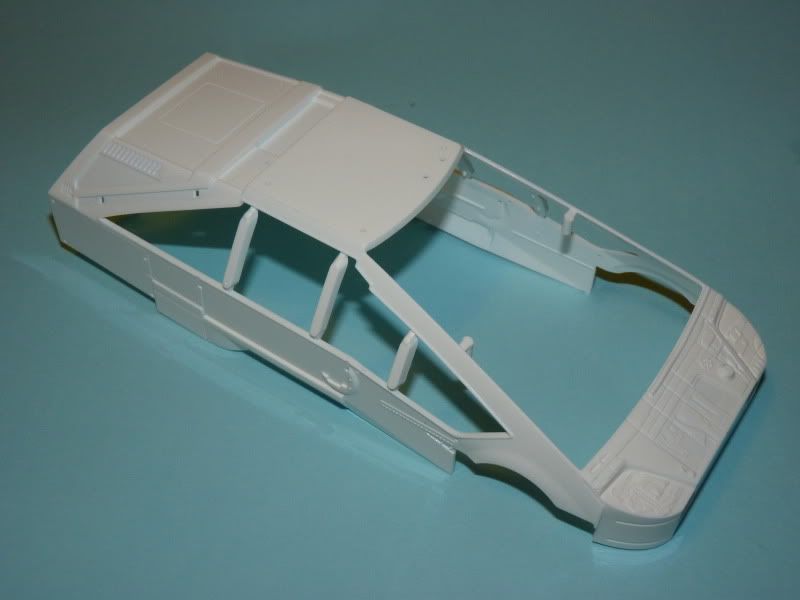
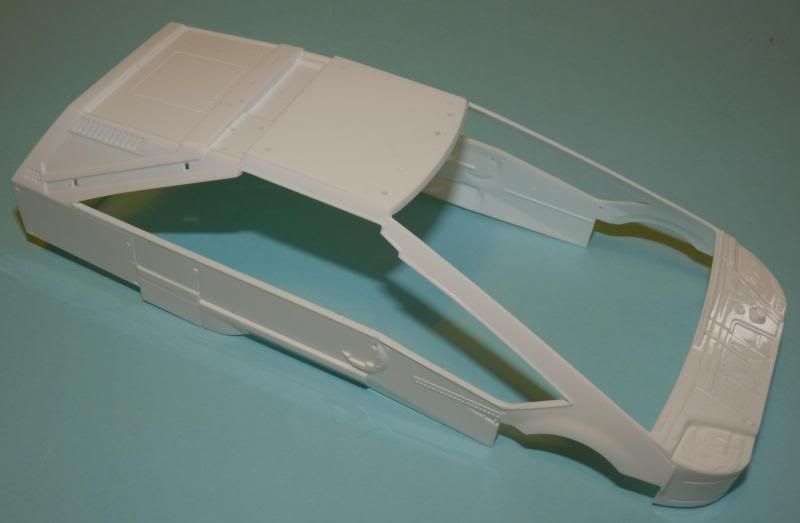
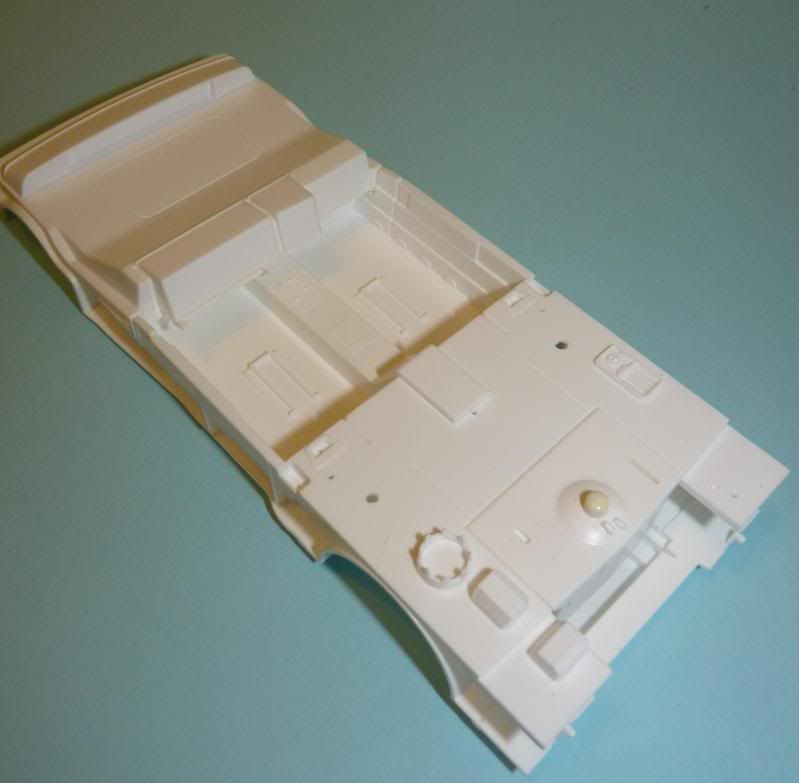
Bodyshell has sprue struts that require careful removal from the windows...
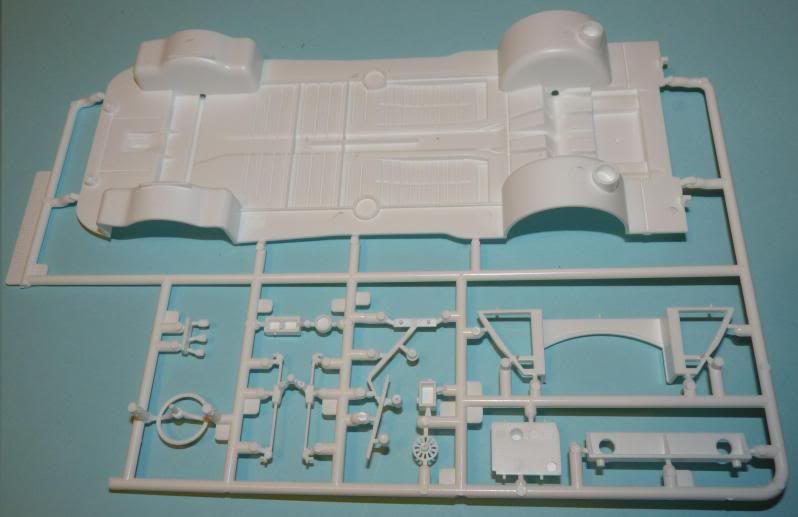
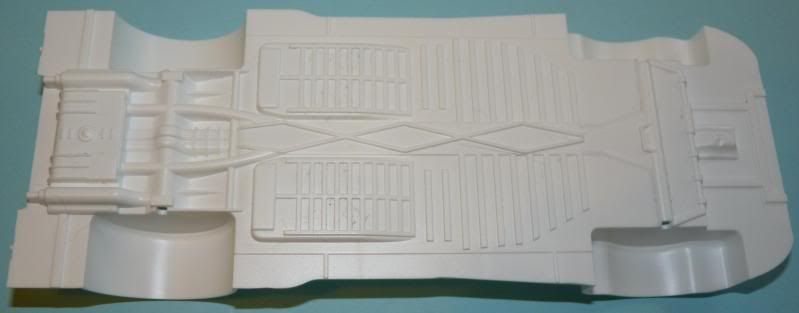
Floorpan is in one piece...
Bumpers, cladding and mirrors...these all need painting black...

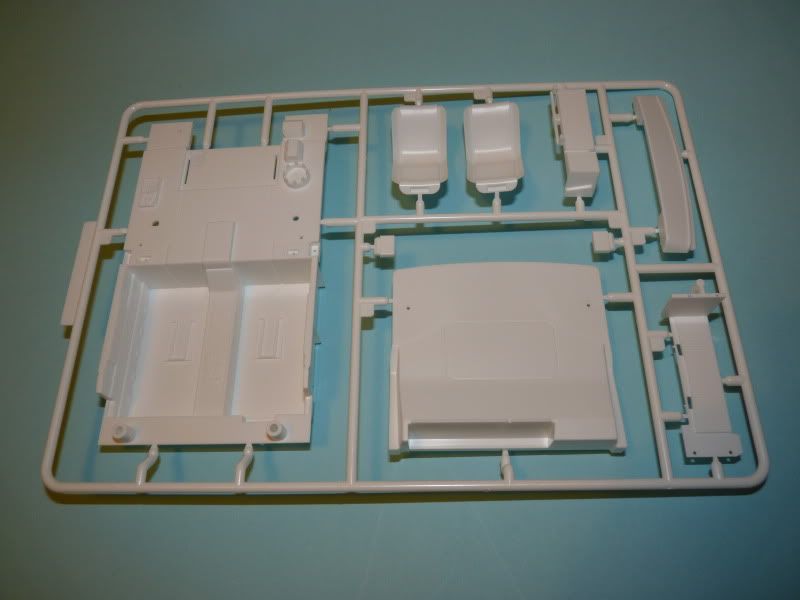
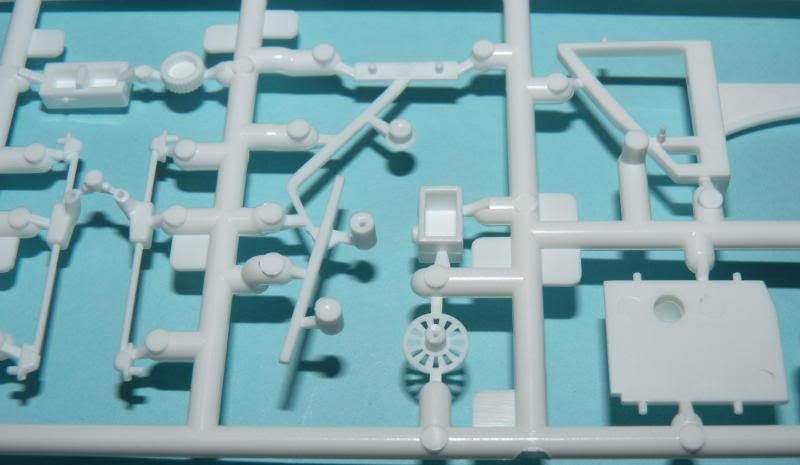
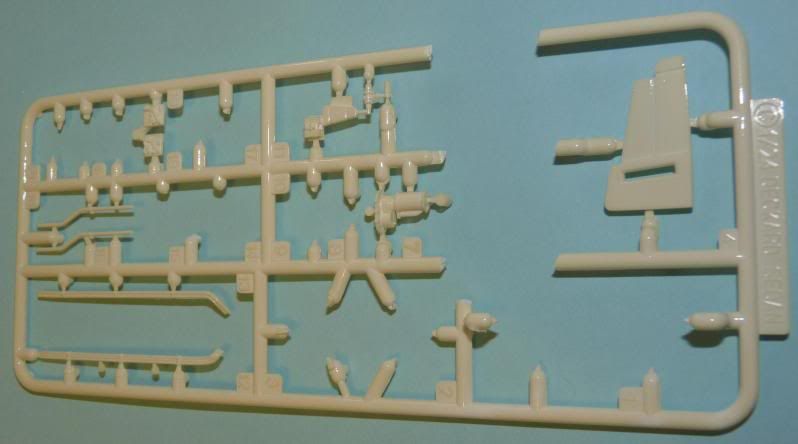
Interior parts...
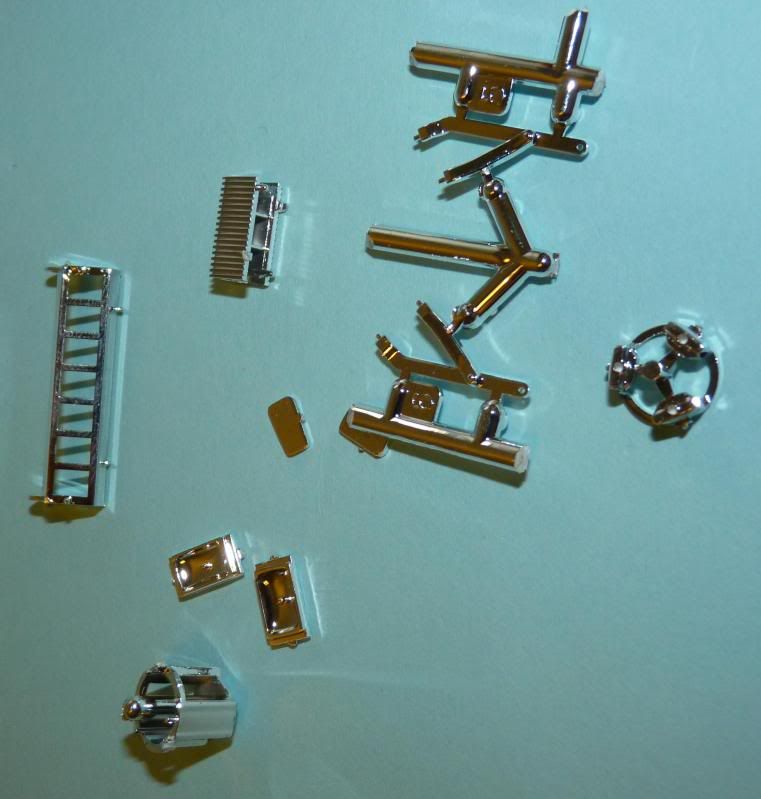
Chrome sprue...much of this I'm going to de-chrome and paint...
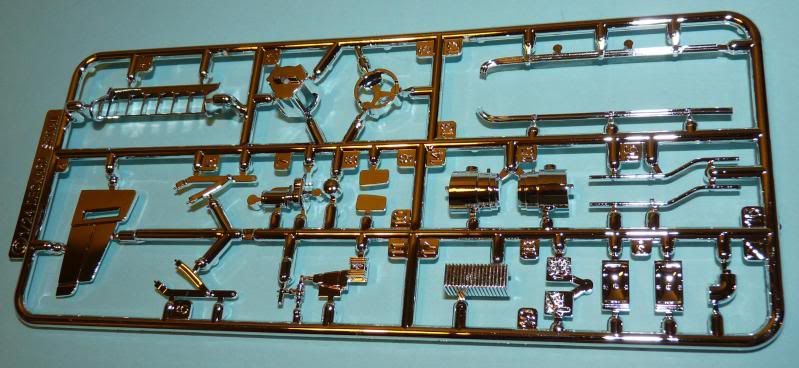
Some great detail on the parts....
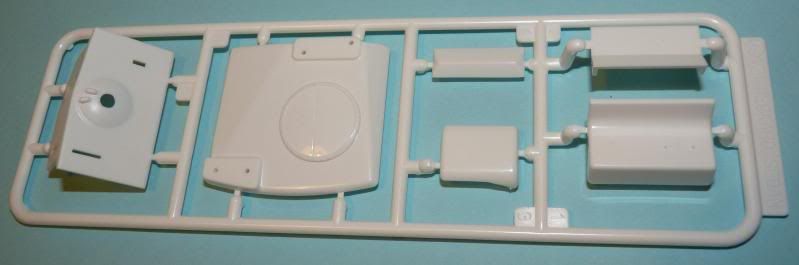
Roof parts....
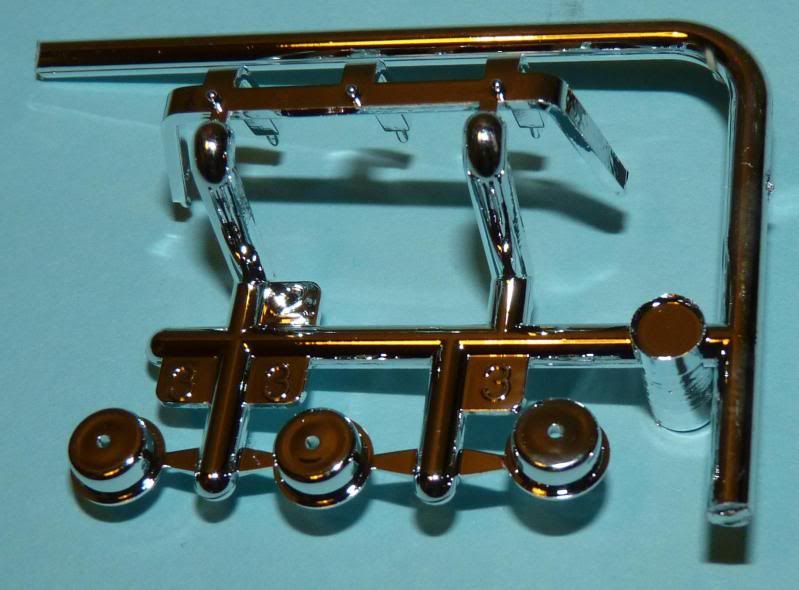
Roof lightbar....all chrome although the frame should be black....
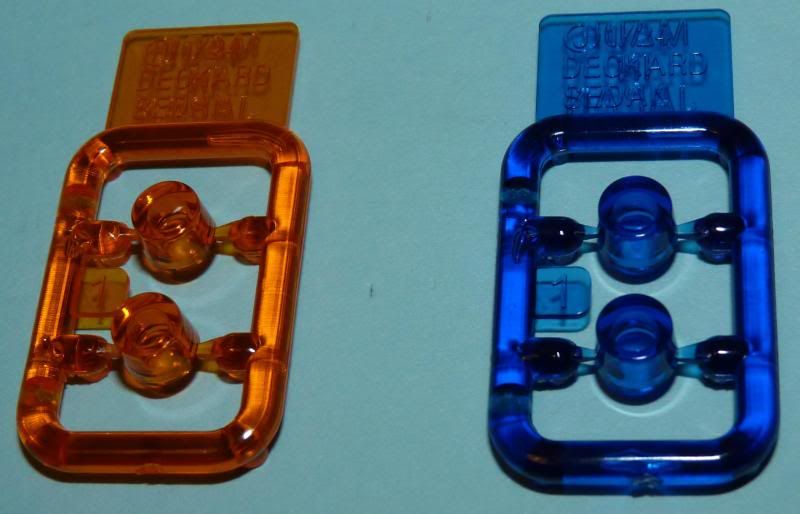
Roof light lenses....
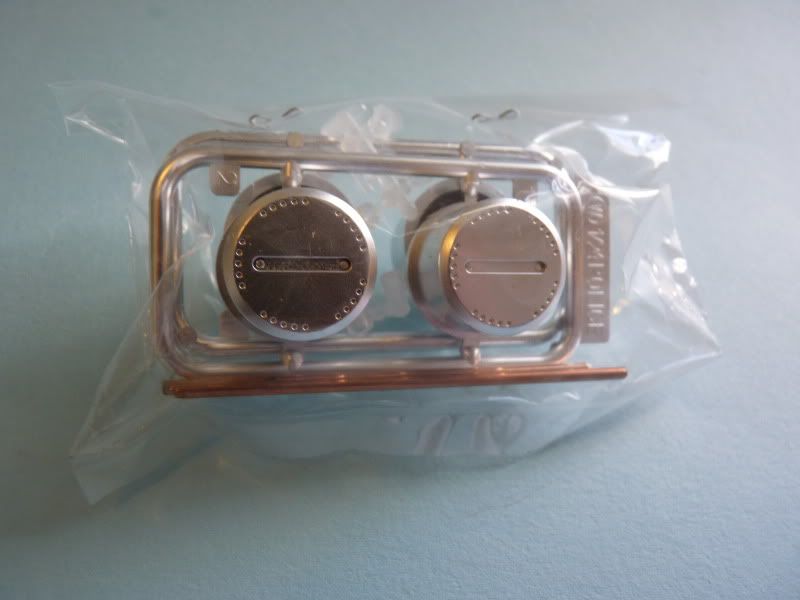
Wheels and axles...
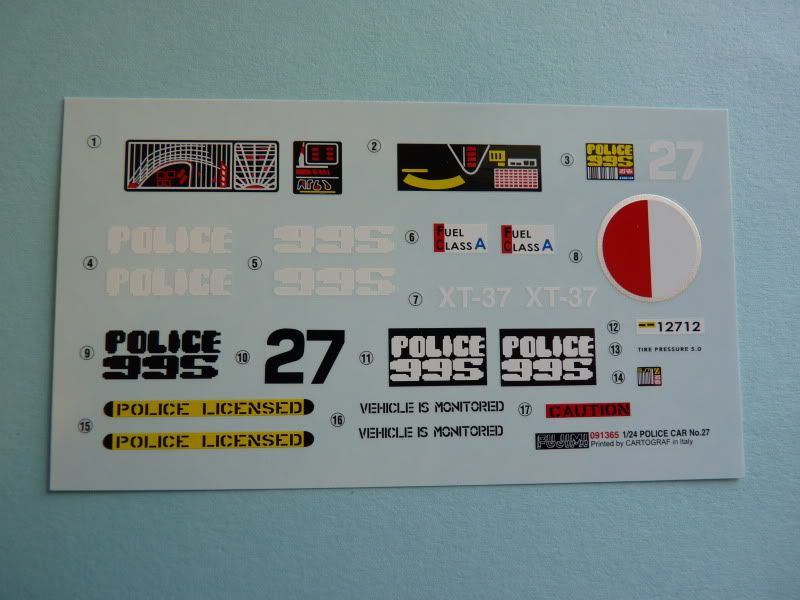
Decals....
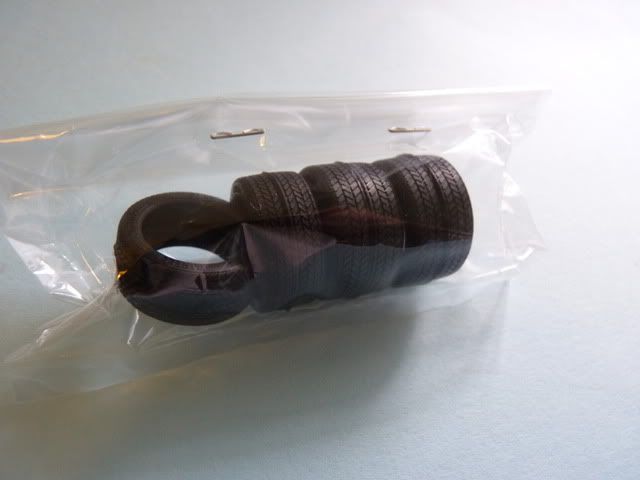
Tyres...
I started by carefully removing the sprue from the bodyshell....
I also chose the parts I wanted to remain chrome....
...the rest were dunked in some household bleach to remove the chrome....
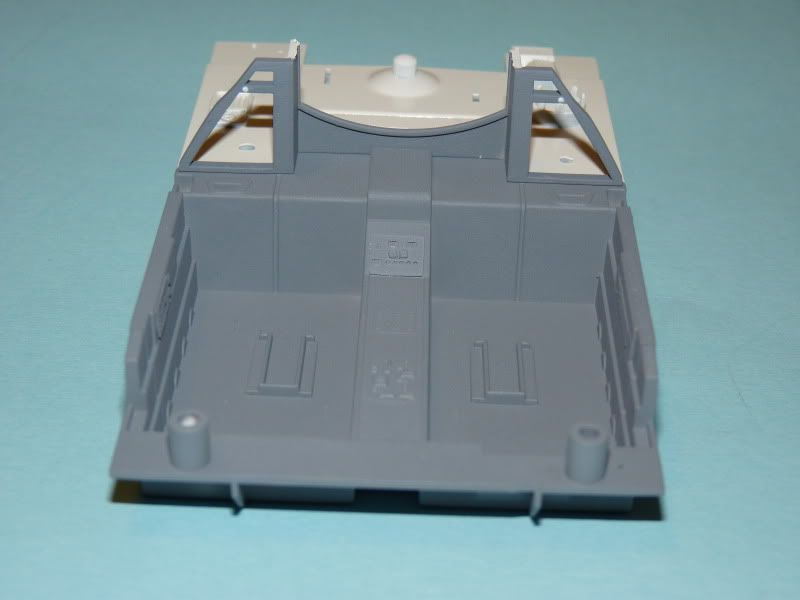
The rear engine bulkhead was attached, parts fit is excellent...

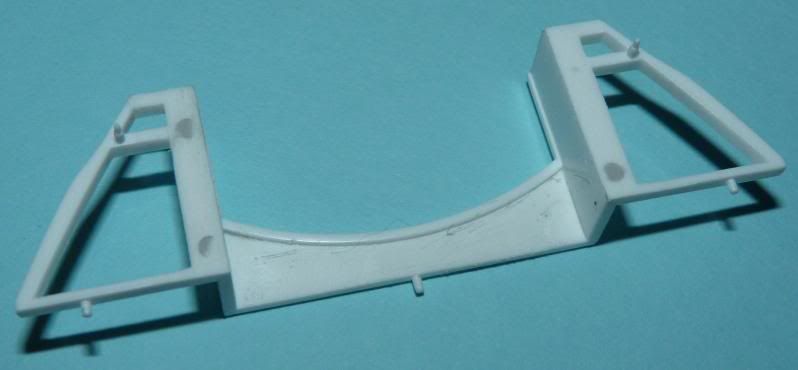
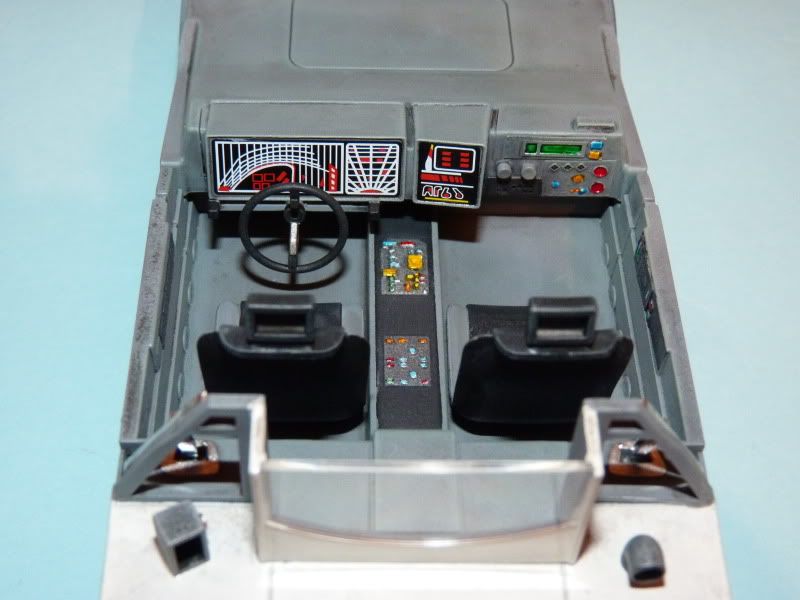
The dashboard assembly is just three parts....
Dashboard assembly and engine compartment test fitted to floorpan...
Underside of floorpan features some nice detail...
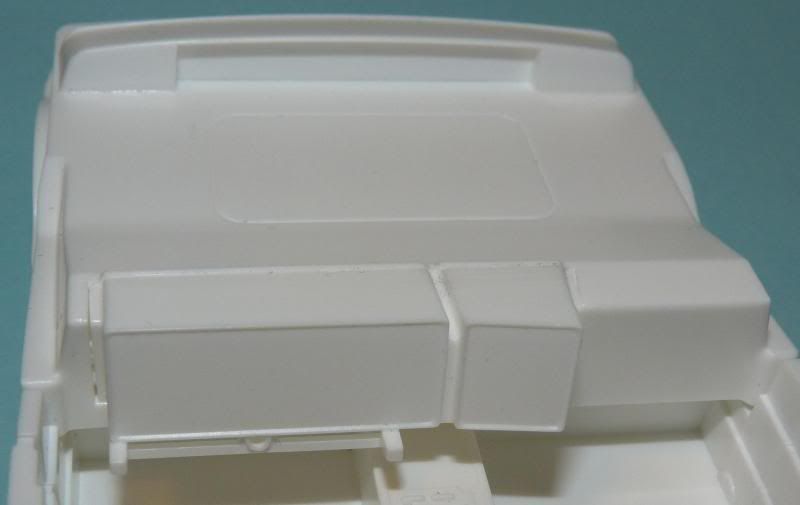
There are some minor ejector marks to fill on the rear bulkhead in the cabin...
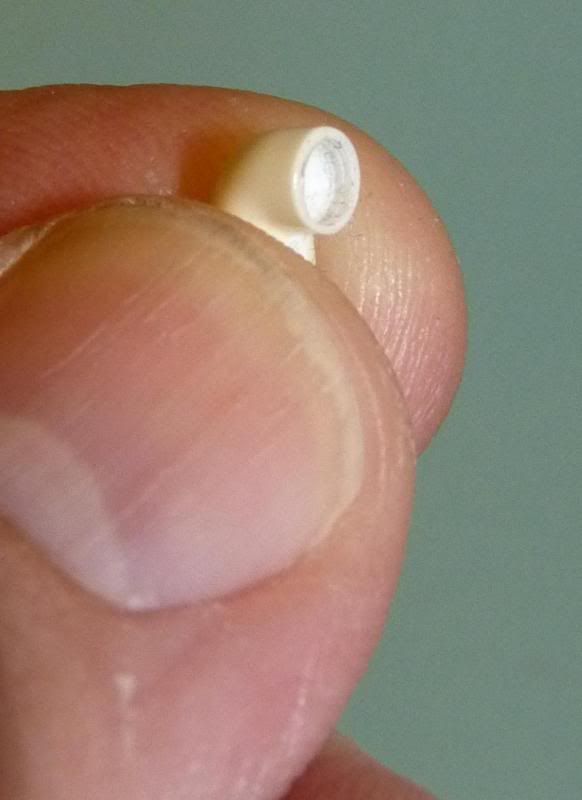
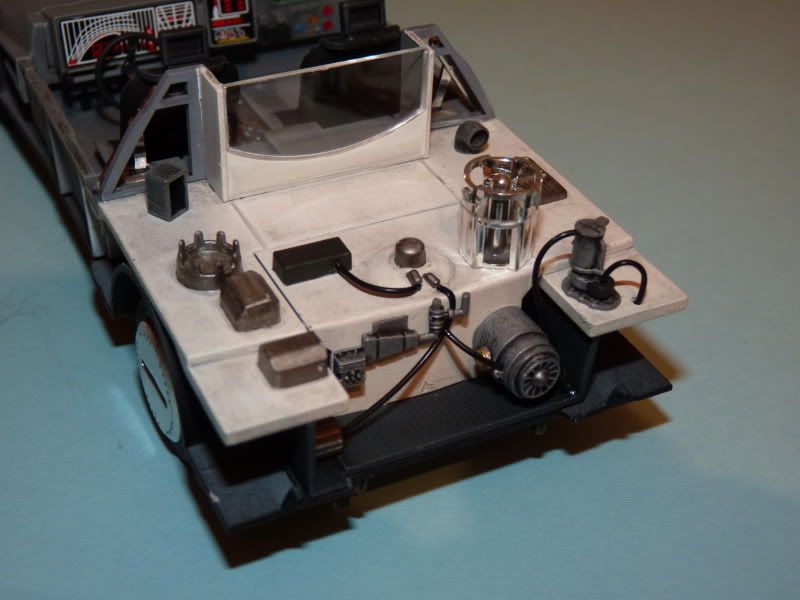
I also hollowed out the end of engine part C21...
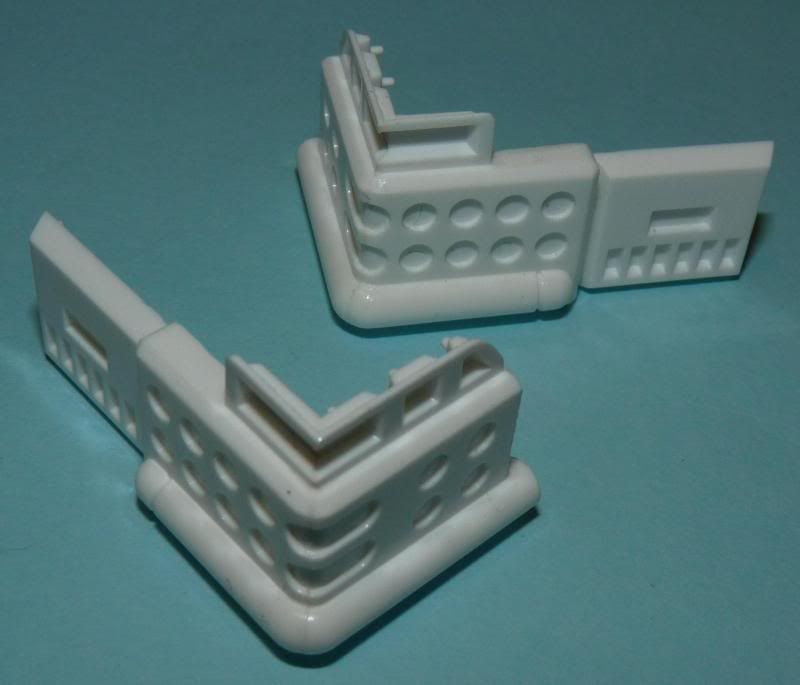
The rear bumper parts are in two pieces which Fujimi tell you to attach separately to the bodywork. This would leave a seam on the corner and also I intend to paint these prior to fixing. I therefore cemented them together...
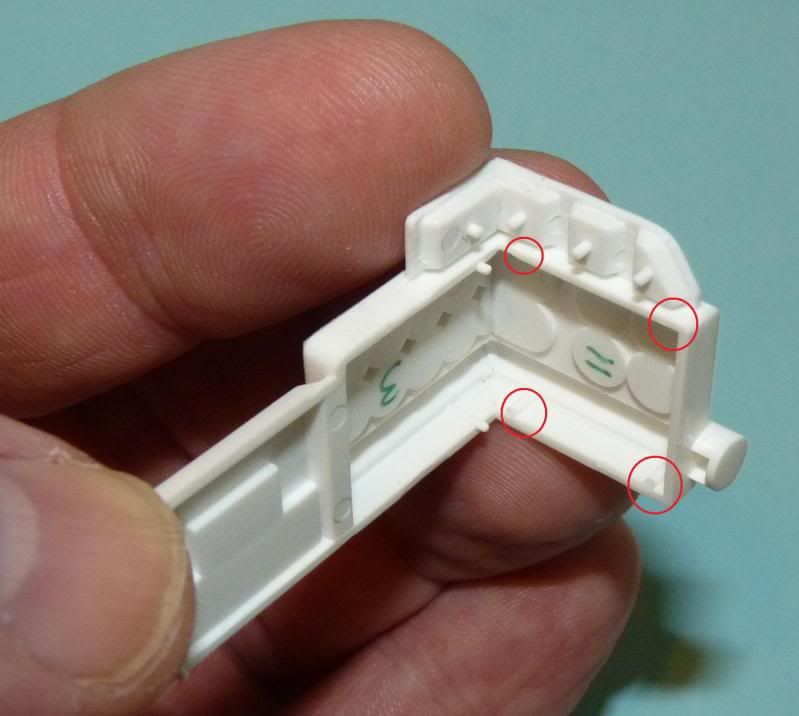
...by removing the location pins (circled) from the rear part, the bumper assembly can be slid on from each side...
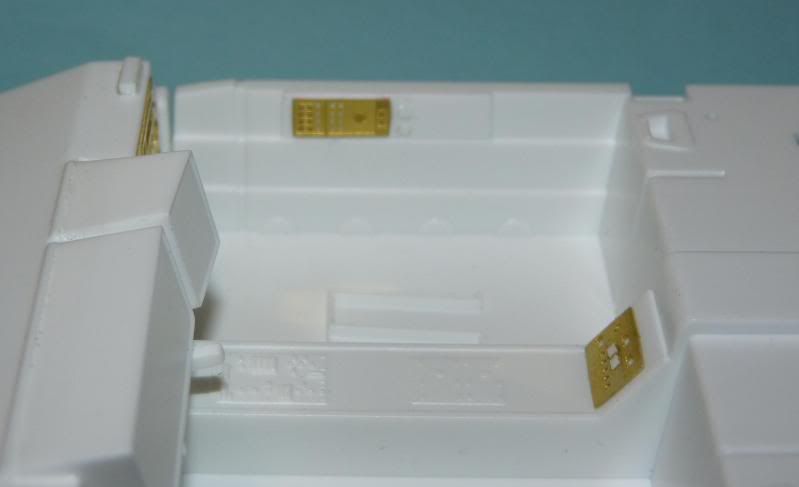
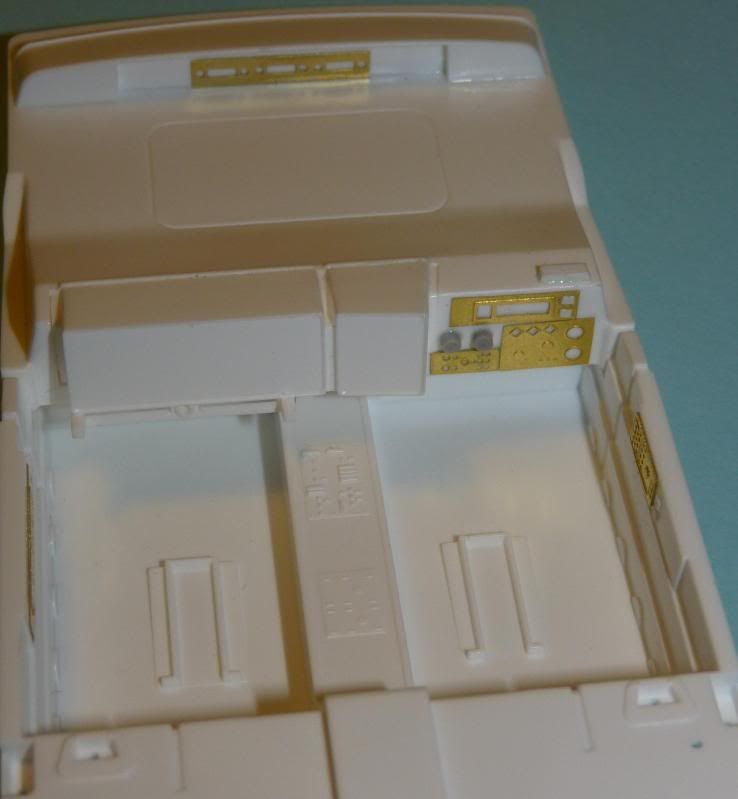
Aside from the two monitors on the dash and a couple of panels on the centre console the interior was looking a little bare so I dressed it up a little with some spare etched brass components....
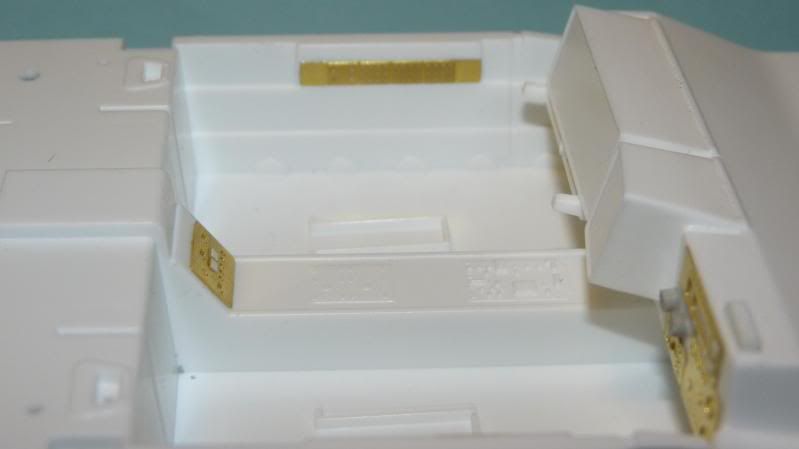
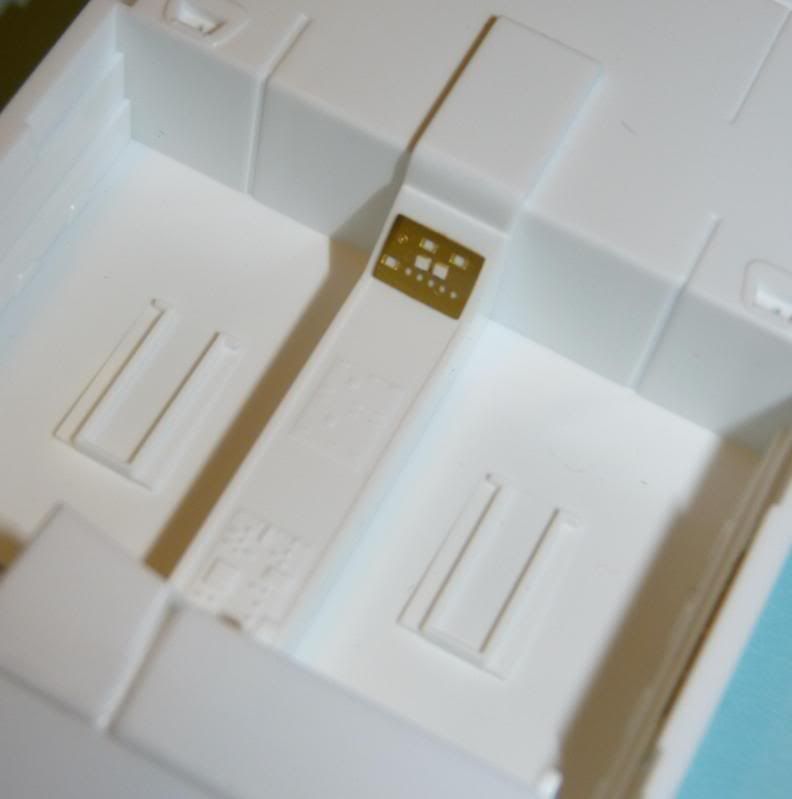
One oversight on Fujimi's part is that they supply a clear part for the centre of the rear bulkhead in the cabin but not for the triangular sections on either side meaning the cabin would still be open to the engine...

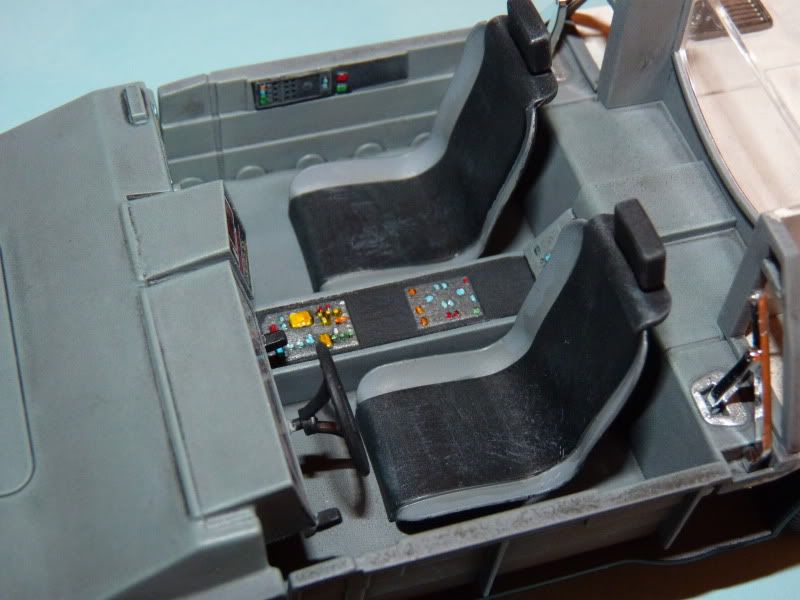
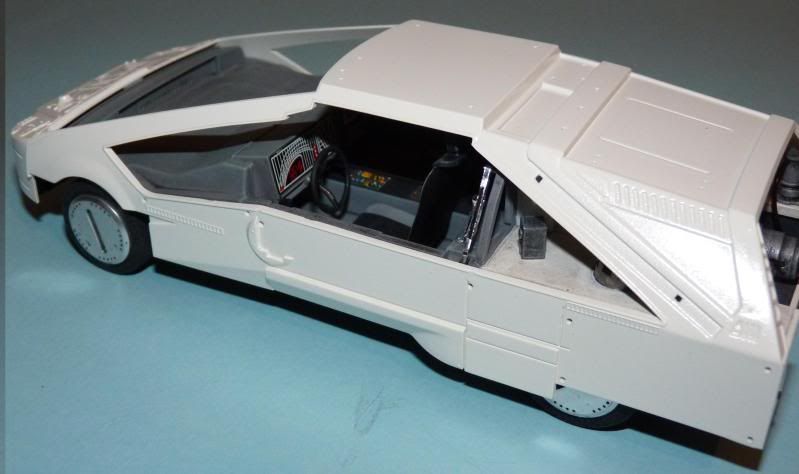
The passenger compartment was given a wash of dirty black over the grey primer basecoat then drybrushed with various shades of grey enamel...the various panels were then picked out in black and aluminium. The seats were sprayed grey, masked, then sprayed matt black. The various switches were first painted matt white then Tamiya clear colours used to give the impression of being lit...
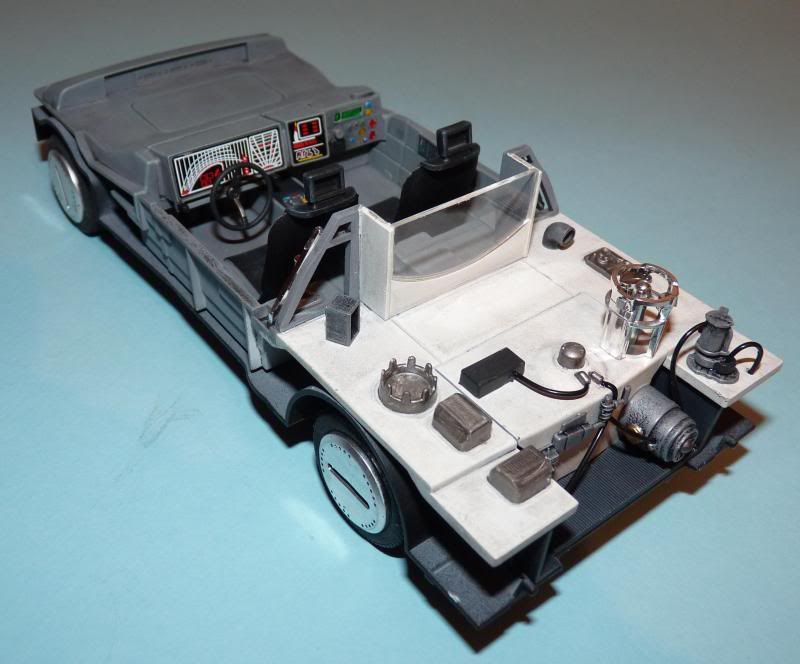
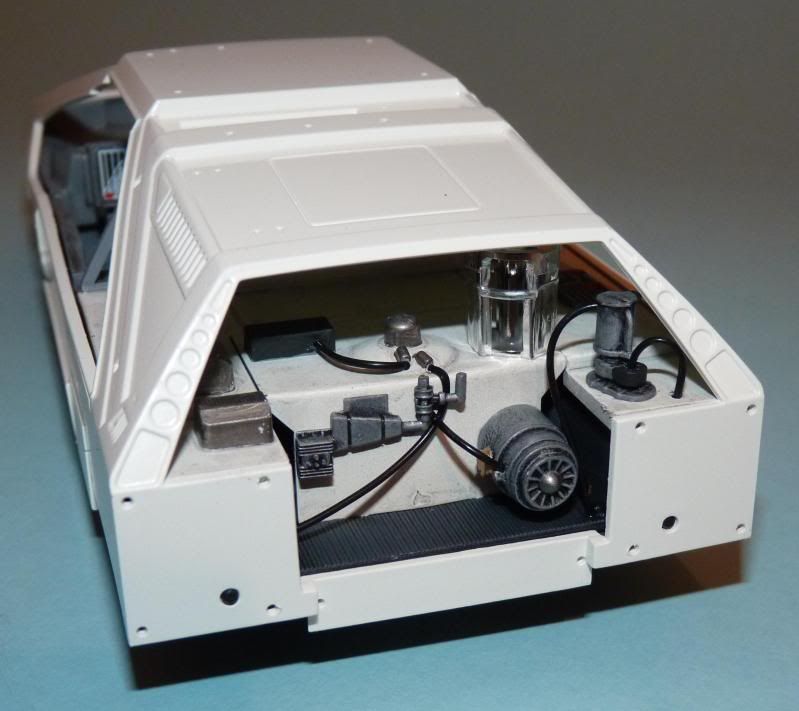
The engine bay was given the same dirty wash then drybrushed with matt white. The various engine and fan components were painted and weathered separately before fixing using CA glue....
Underside is matt black, drybrushed with a little grey and khaki then parts picked out in aluminium...
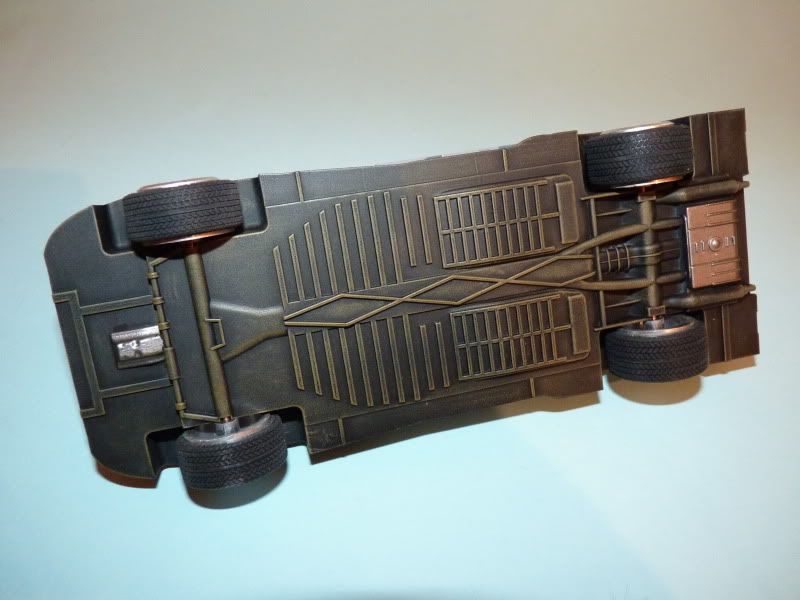
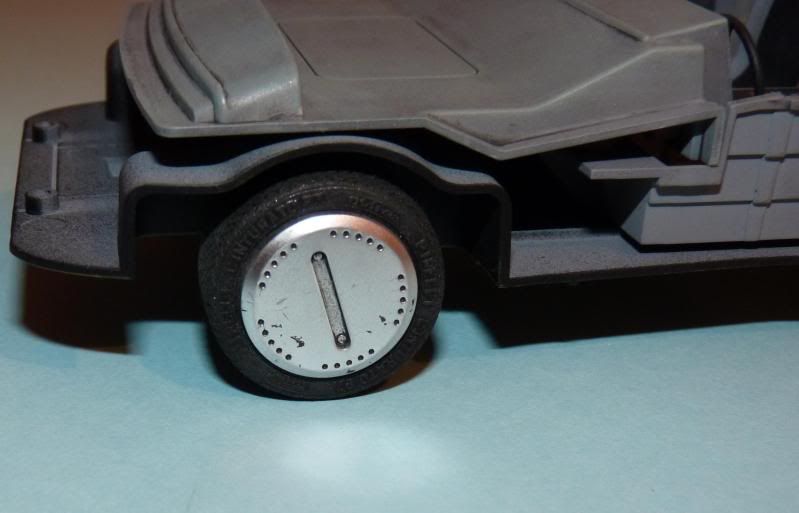
The satin chrome wheels were painted on the faces with matt black enamel, left for ten minutes, then the paint was rubbed off with a dry paper kitchen towel. This left the paint in the recesses giving a nice worn look....
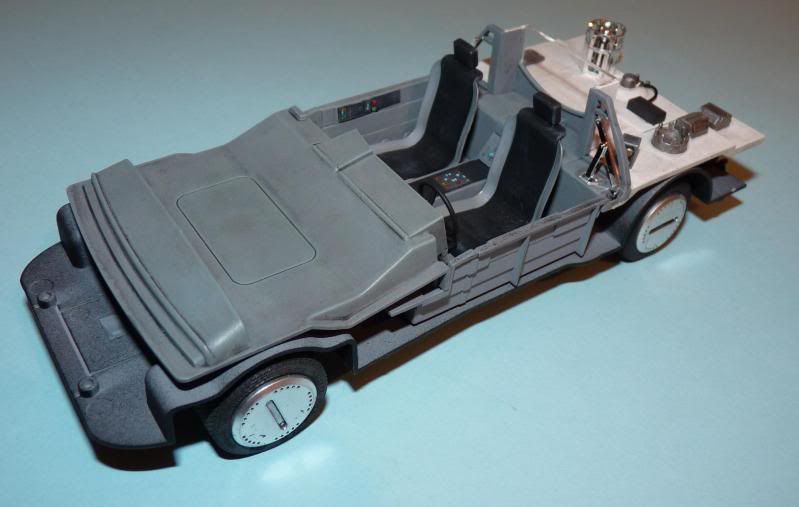
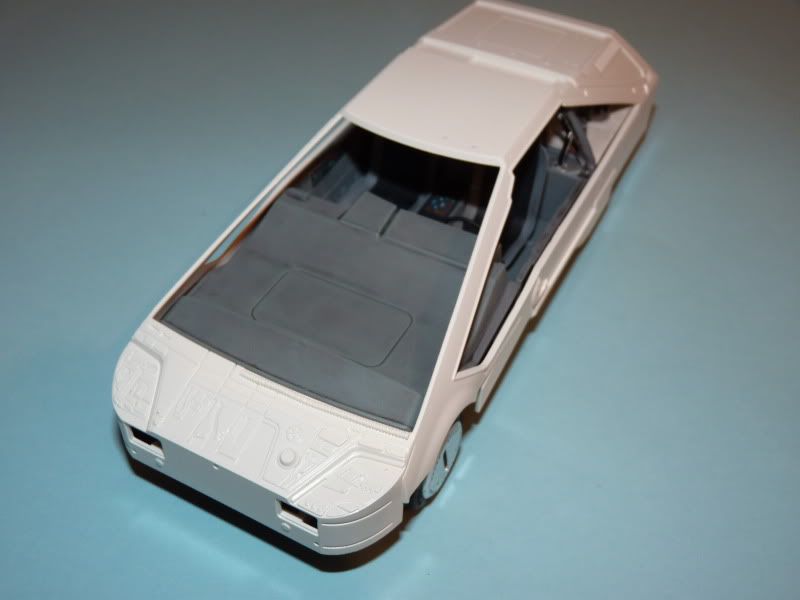
A test fit of the bodyshell minus the windows to check what part of the body is visible inside the cabin....just the pillars and roof needed painting grey....the fit of the body onto the chassis is exceptionally good...
First up is the Fujimi kit of the Police Sedan from Blade Runner....this is the grounded Spinner that is seen a lot in the murky streets of future Los Angeles.
Thought I'd tackle this one pretty much straight from the box with some minor additions and tweaks....
So first a breakdown of the parts....
Boxart...
Bodyshell has sprue struts that require careful removal from the windows...
Floorpan is in one piece...
Bumpers, cladding and mirrors...these all need painting black...
Interior parts...
Chrome sprue...much of this I'm going to de-chrome and paint...
Some great detail on the parts....
Roof parts....
Roof lightbar....all chrome although the frame should be black....
Roof light lenses....
Wheels and axles...
Decals....
Tyres...
I started by carefully removing the sprue from the bodyshell....
I also chose the parts I wanted to remain chrome....
...the rest were dunked in some household bleach to remove the chrome....
The rear engine bulkhead was attached, parts fit is excellent...
The dashboard assembly is just three parts....
Dashboard assembly and engine compartment test fitted to floorpan...
Underside of floorpan features some nice detail...
There are some minor ejector marks to fill on the rear bulkhead in the cabin...
I also hollowed out the end of engine part C21...
The rear bumper parts are in two pieces which Fujimi tell you to attach separately to the bodywork. This would leave a seam on the corner and also I intend to paint these prior to fixing. I therefore cemented them together...
...by removing the location pins (circled) from the rear part, the bumper assembly can be slid on from each side...
Aside from the two monitors on the dash and a couple of panels on the centre console the interior was looking a little bare so I dressed it up a little with some spare etched brass components....
One oversight on Fujimi's part is that they supply a clear part for the centre of the rear bulkhead in the cabin but not for the triangular sections on either side meaning the cabin would still be open to the engine...
The passenger compartment was given a wash of dirty black over the grey primer basecoat then drybrushed with various shades of grey enamel...the various panels were then picked out in black and aluminium. The seats were sprayed grey, masked, then sprayed matt black. The various switches were first painted matt white then Tamiya clear colours used to give the impression of being lit...
The engine bay was given the same dirty wash then drybrushed with matt white. The various engine and fan components were painted and weathered separately before fixing using CA glue....
Underside is matt black, drybrushed with a little grey and khaki then parts picked out in aluminium...
The satin chrome wheels were painted on the faces with matt black enamel, left for ten minutes, then the paint was rubbed off with a dry paper kitchen towel. This left the paint in the recesses giving a nice worn look....
A test fit of the bodyshell minus the windows to check what part of the body is visible inside the cabin....just the pillars and roof needed painting grey....the fit of the body onto the chassis is exceptionally good...
Edited by Jargonking on Saturday 17th August 16:56
Approaching completion....mainly just some touching up to do on the window surrounds....
I applied all bar two decals and most of the exterior components, here it's basically just missing the wing mirrors and the piece at the bottom left of the windscreen....
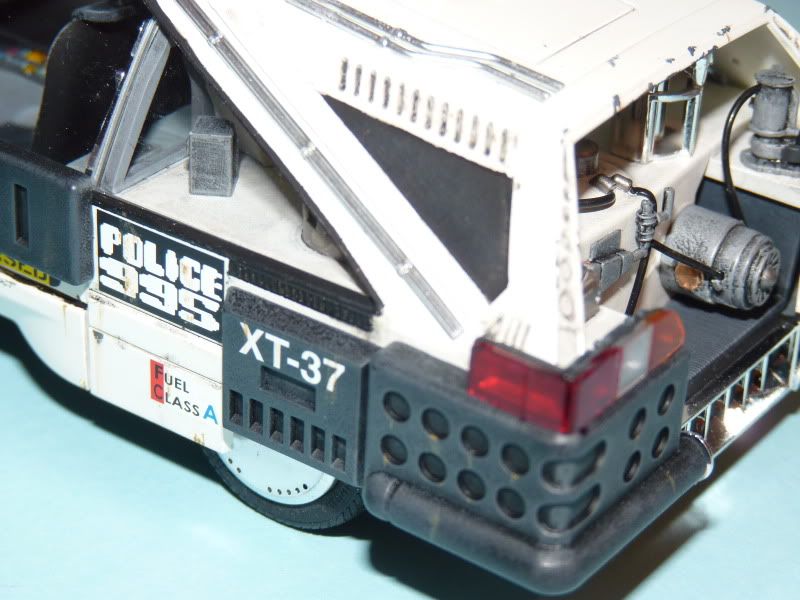
It doesn't show up too well with the flash but the black bumpers were subtly weathered using very dark greys to give some definition. These parts would be given a coat of matt varnish after decalling...
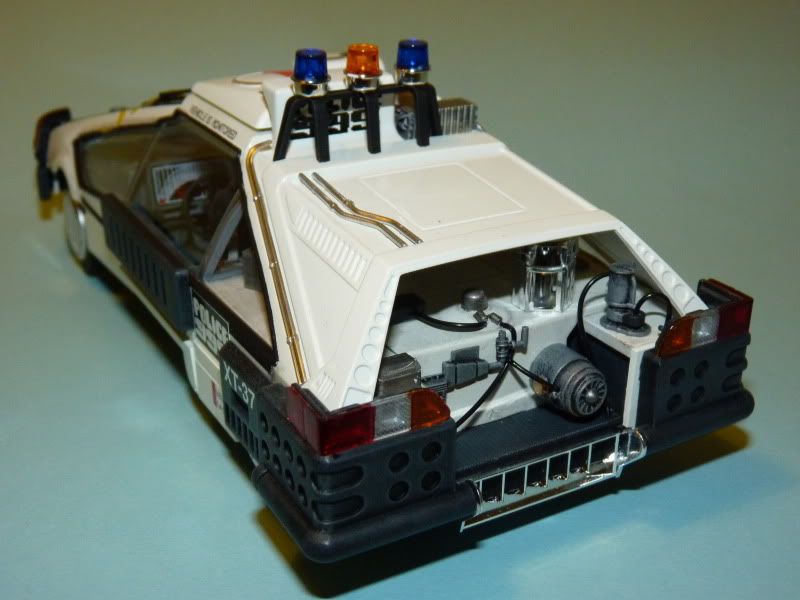
The front and rear lamp assemblies were first painted the appropriate orange and red using Tamiya clear colours then attached using Humbrol Clearfix adhesive...
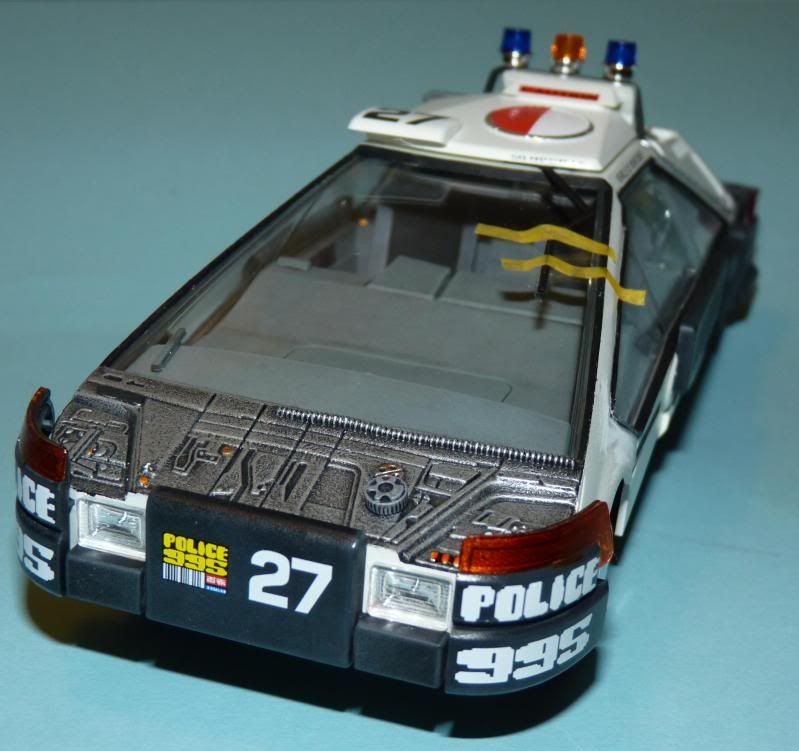
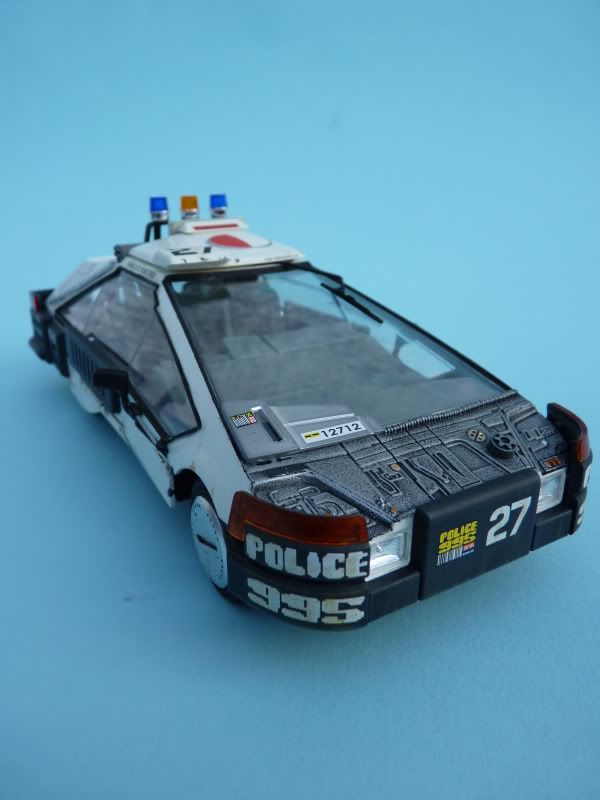
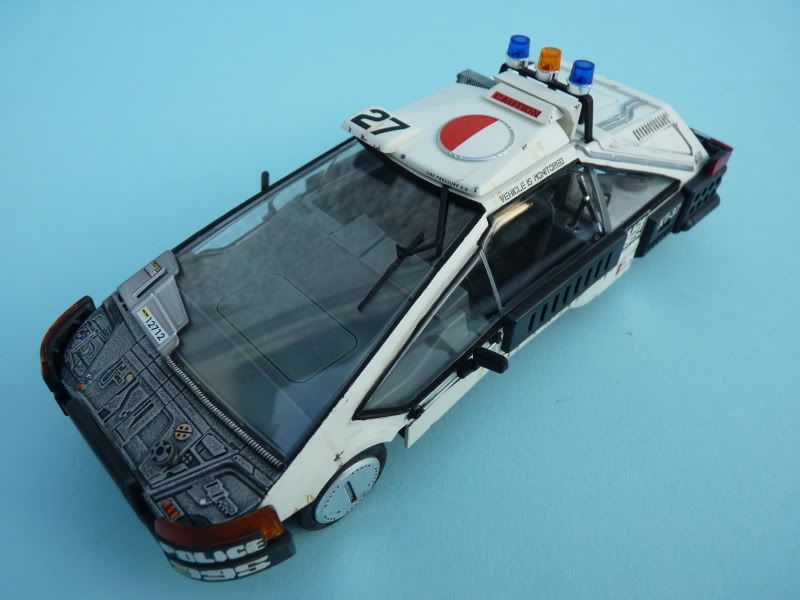
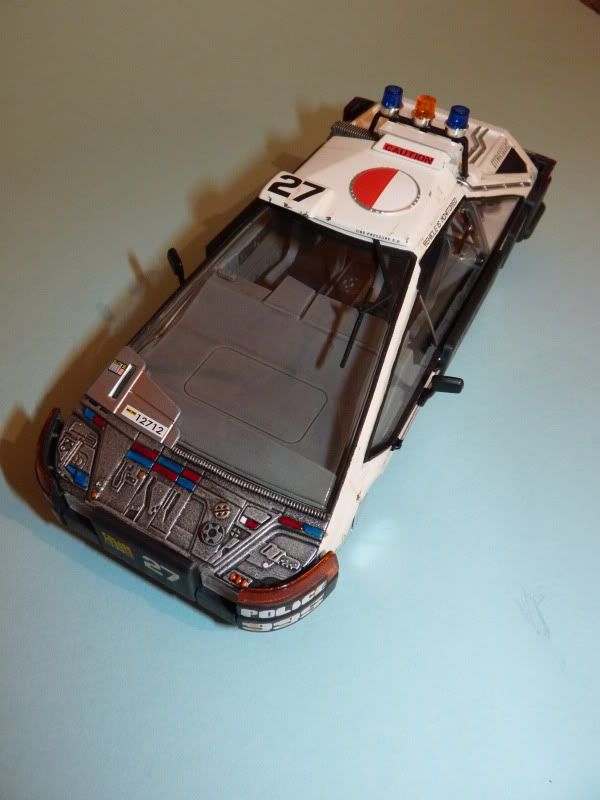
The nose section is shown as bright silver in the instructions but I elected to paint it matt black which was then drybrushed with aluminium. I then picked out various components with gold and some colours...

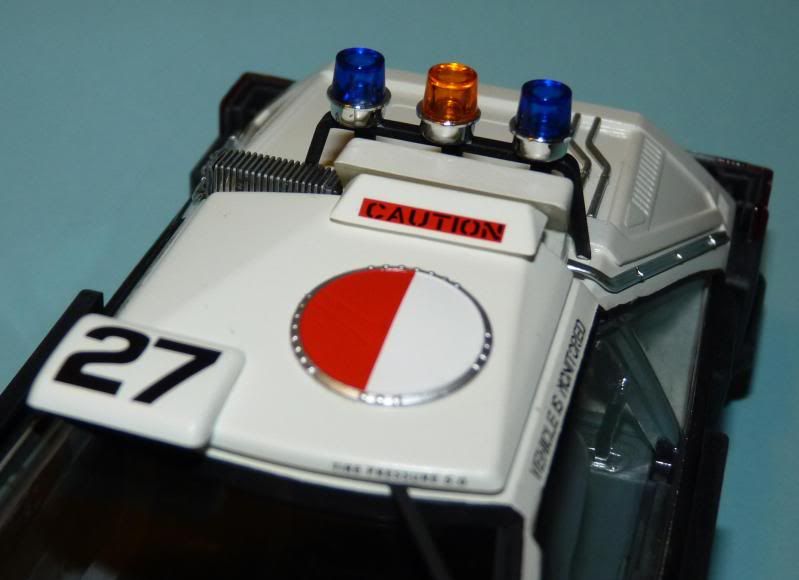
The red and white decal on the roof was the most difficult to apply....not only do you need to locate the colour break exactly over the scribed centreline, but the silver edge has to be aligned precisely with the moulded edge of the part. I used Microset and Microsol to shrink it down over the kit detail...
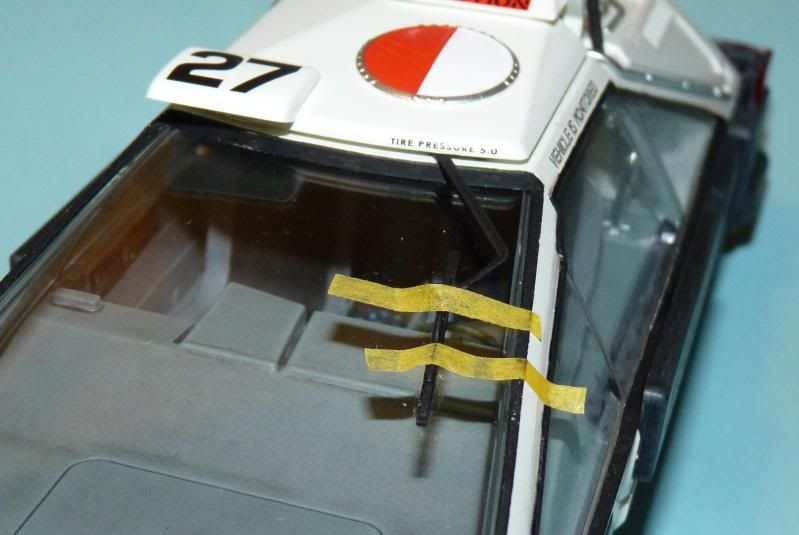
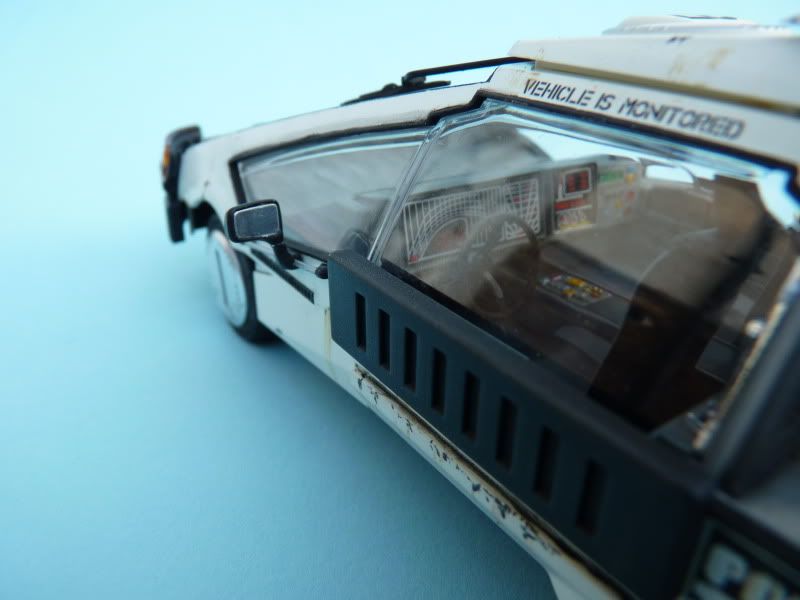
Tape was used to hold the wiper blade to the glass and a tiny drop of Humbrol Clearfix applied to ensure it remained in contact with the surface...
Just needed to sort out some black decal stripes for the vents on the pillars which Fujimi missed despite showing them on the boxart...
I attached the wing mirrors remembering to angle the passenger side mirror further towards the driver....and fitted the metal plate to the corner of the windscreen along with it's decals.
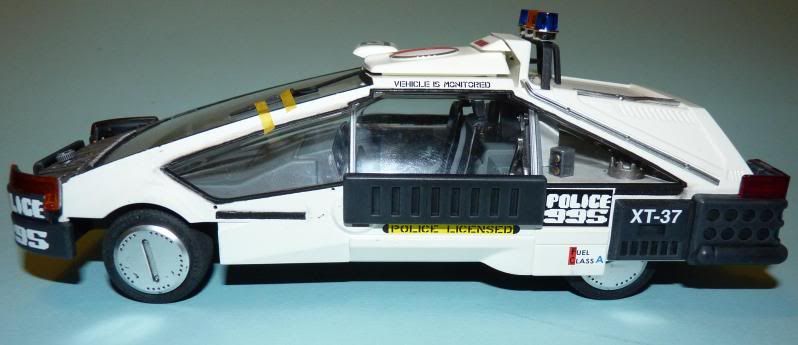
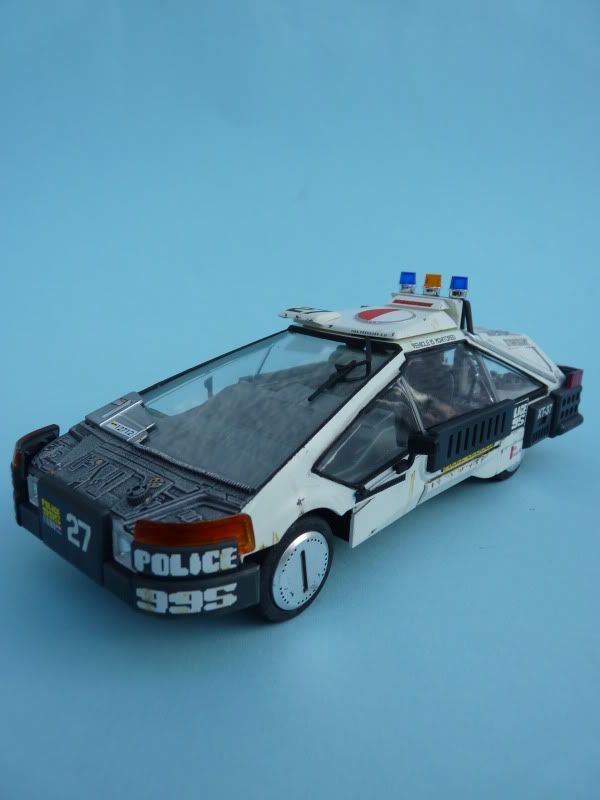
All the decalled areas were given a coat of matt varnish and I applied a dark pin wash to all the panel shut lines. I added some weathering and chipping here and there as I figureed something as rugged as a police car would still be made of steel and would take a battering in the acid rain-drenched streets of LA. Also it looks too toy-like if left a pristine white....
Here are some shots I took outside one evening in slightly fading daylight....
I applied all bar two decals and most of the exterior components, here it's basically just missing the wing mirrors and the piece at the bottom left of the windscreen....
It doesn't show up too well with the flash but the black bumpers were subtly weathered using very dark greys to give some definition. These parts would be given a coat of matt varnish after decalling...
The front and rear lamp assemblies were first painted the appropriate orange and red using Tamiya clear colours then attached using Humbrol Clearfix adhesive...
The nose section is shown as bright silver in the instructions but I elected to paint it matt black which was then drybrushed with aluminium. I then picked out various components with gold and some colours...
The red and white decal on the roof was the most difficult to apply....not only do you need to locate the colour break exactly over the scribed centreline, but the silver edge has to be aligned precisely with the moulded edge of the part. I used Microset and Microsol to shrink it down over the kit detail...
Tape was used to hold the wiper blade to the glass and a tiny drop of Humbrol Clearfix applied to ensure it remained in contact with the surface...
Just needed to sort out some black decal stripes for the vents on the pillars which Fujimi missed despite showing them on the boxart...
I attached the wing mirrors remembering to angle the passenger side mirror further towards the driver....and fitted the metal plate to the corner of the windscreen along with it's decals.
All the decalled areas were given a coat of matt varnish and I applied a dark pin wash to all the panel shut lines. I added some weathering and chipping here and there as I figureed something as rugged as a police car would still be made of steel and would take a battering in the acid rain-drenched streets of LA. Also it looks too toy-like if left a pristine white....
Here are some shots I took outside one evening in slightly fading daylight....
Edited by Jargonking on Friday 16th August 20:45
Edited by Jargonking on Saturday 17th August 16:59
Thanks to a link provided on a website to photos of the real car, I added some small changes ....
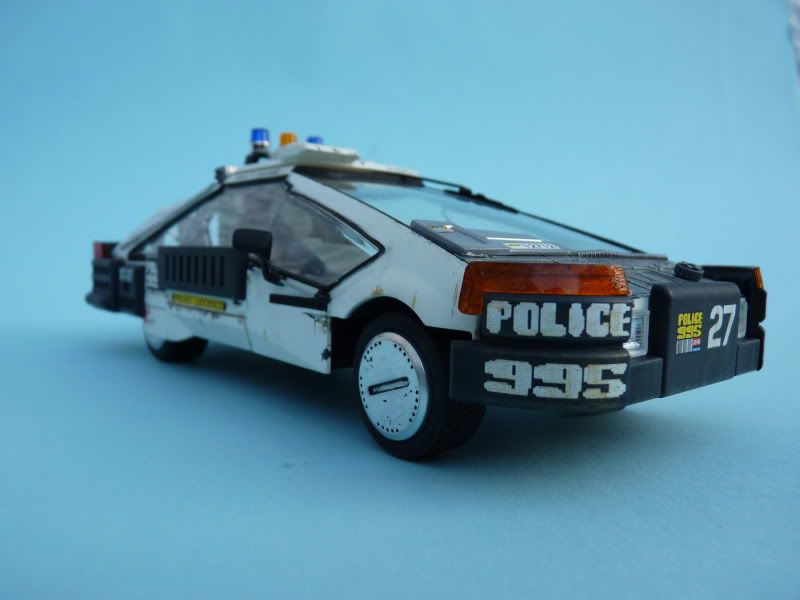
I painted in the red and blue lights on the front....first painting them matt white then giving them two coats of Tamiya Clear Red and Blue....
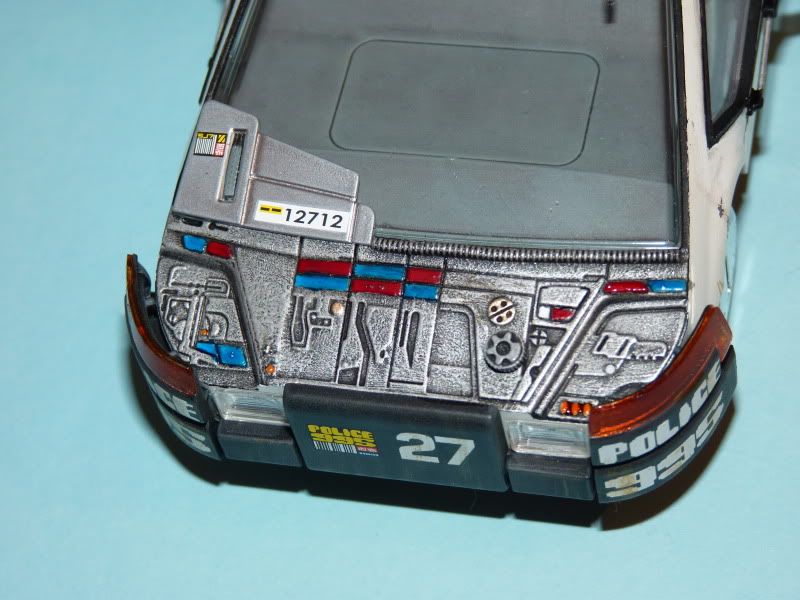
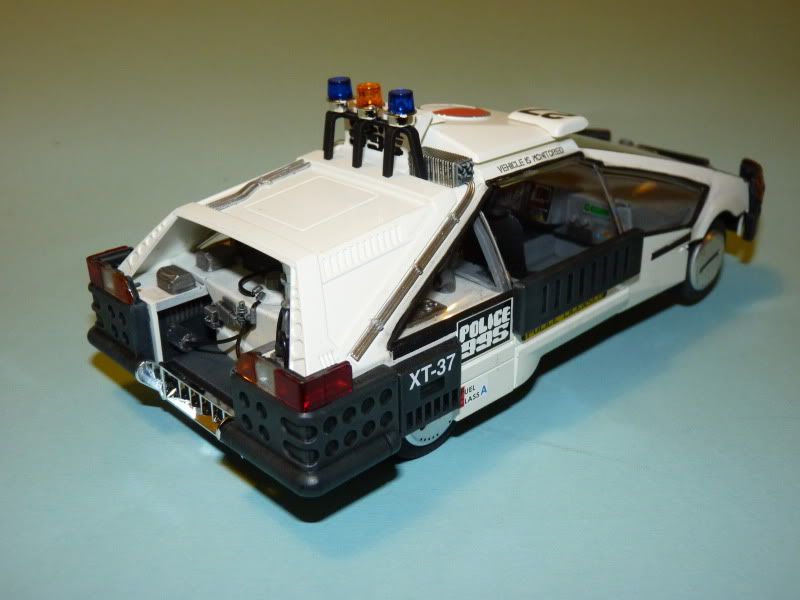
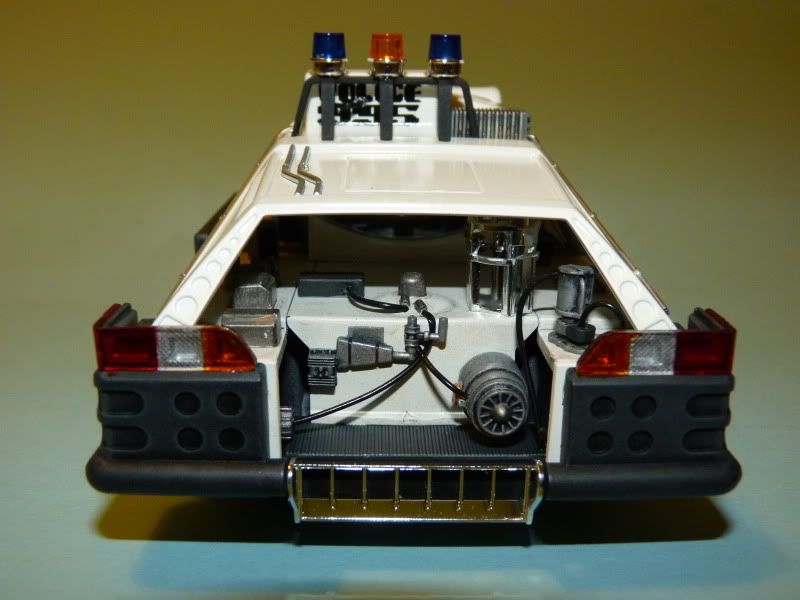
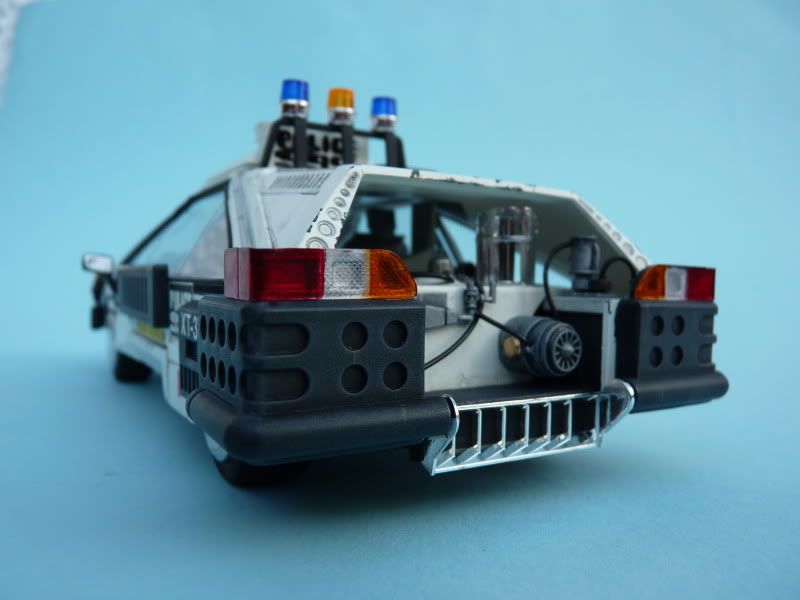
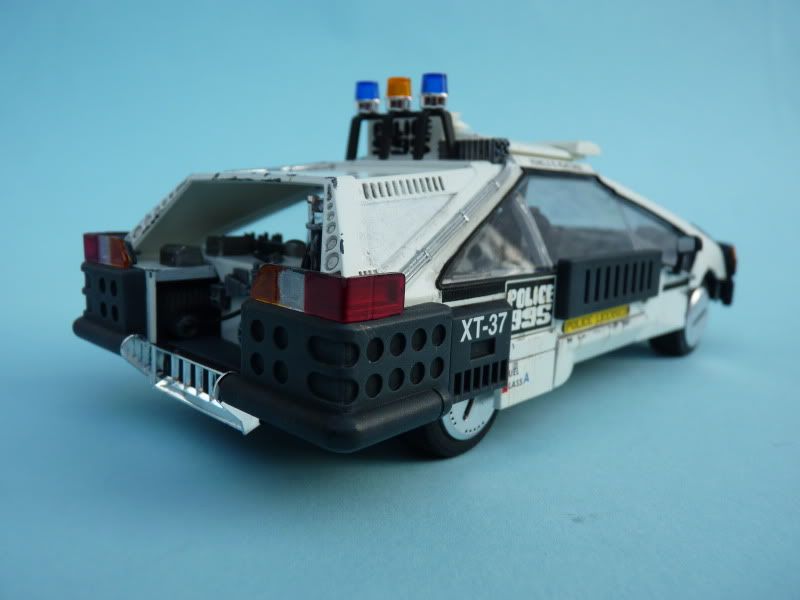
I also painted the triangular panels on the rear quarters matt black. I'm still undecided whether to paint the rearmost 'bar' above the engine opening Aluminium to match the real car as I quite like it white....
One thing I have noticed is that Fujimi got the colours wrong on the rear light cluster...the end light on each side of the rear of the car...ie the ones closest to the doors...should be orange, not red, but it's too late for mine now.....
I painted in the red and blue lights on the front....first painting them matt white then giving them two coats of Tamiya Clear Red and Blue....
I also painted the triangular panels on the rear quarters matt black. I'm still undecided whether to paint the rearmost 'bar' above the engine opening Aluminium to match the real car as I quite like it white....
One thing I have noticed is that Fujimi got the colours wrong on the rear light cluster...the end light on each side of the rear of the car...ie the ones closest to the doors...should be orange, not red, but it's too late for mine now.....
Edited by Jargonking on Saturday 17th August 17:01
Forum | Scale Models | Top of Page | What's New | My Stuff