
Supercharged Mustang
Discussion


Here's the story of my '05 Mustang GT.
I bought the car in January '06 from Atlantic Sports Cars in Luton. It is a manual GT and had 300 bhp stock at the time.
The first mod was a Hurst shifter which shortened the throw of the shift by 50%, and meant 3rd would never be missed again.
The second mod was a CAI and remap at Litchfield Imports where it made a rather optimistic 370 bhp on their dyno. I had it re-dyno'd at Dyno Demon where it made a more realistic 325 bhp.


Next up was a full Roush suspension kit which really sharpened up the handling. It wasn't that bad stock but was definitely more cruiser than sports car. The Roush suspension comprises new shocks, springs and anti-roll bars.

I bought the car in January '06 from Atlantic Sports Cars in Luton. It is a manual GT and had 300 bhp stock at the time.
The first mod was a Hurst shifter which shortened the throw of the shift by 50%, and meant 3rd would never be missed again.
The second mod was a CAI and remap at Litchfield Imports where it made a rather optimistic 370 bhp on their dyno. I had it re-dyno'd at Dyno Demon where it made a more realistic 325 bhp.
Next up was a full Roush suspension kit which really sharpened up the handling. It wasn't that bad stock but was definitely more cruiser than sports car. The Roush suspension comprises new shocks, springs and anti-roll bars.
Edited by benny.c on Friday 28th August 10:12
Next up was new wheels and a billet aluminium grille. The wheels are made by US company Axis and are 8.5x10 up front and 9.5x10 at the back. Going from 17's to 18's combined with the 1" drop from the Roush suspension helps fill the arches and gives the car less of that 4x4 look. Tyres are 255/45ZR18 at the front and 285/40ZR18 at the back. 20's are popular on new Mustangs but I didn't want to hurt performance.

The search for more power then led me to this - the Whipple 500 bhp supercharger kit. It comprises the blower itself along with the dual fuel pump from the Shelby GT500, new injectors from the Ford GT and an intercooler system. More of the install later - it's kind of boring unless you're interested in getting your hands dirty.

Edited by benny.c on Friday 29th August 17:45


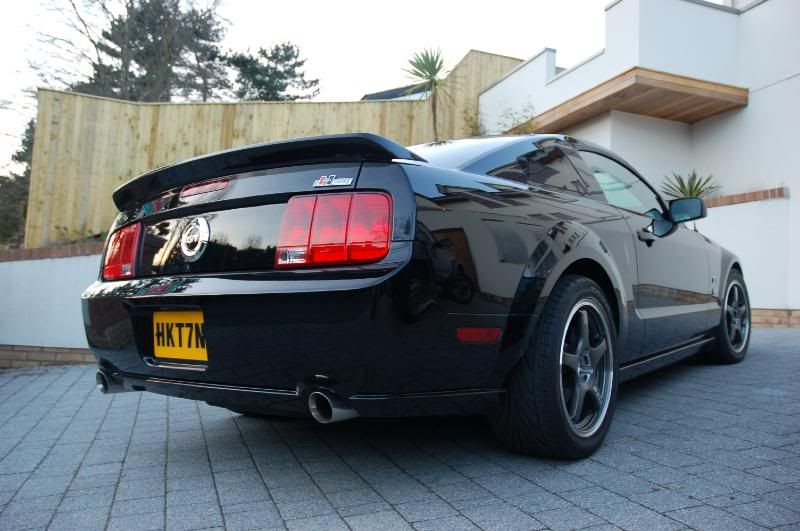
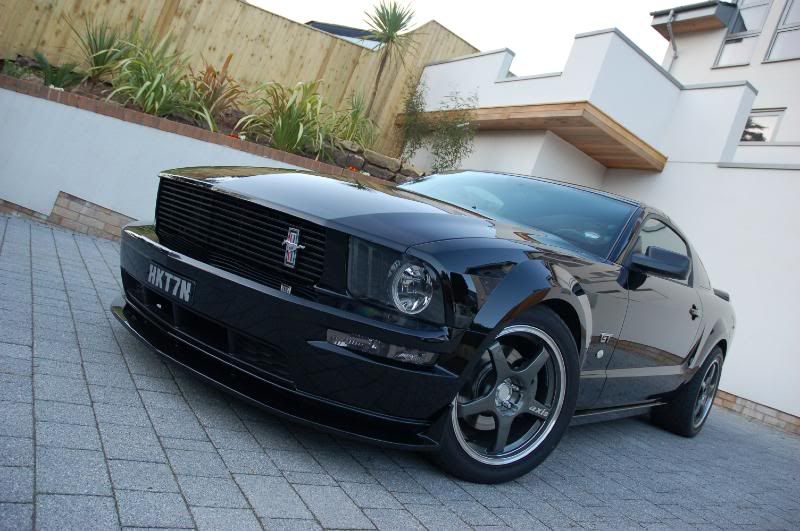
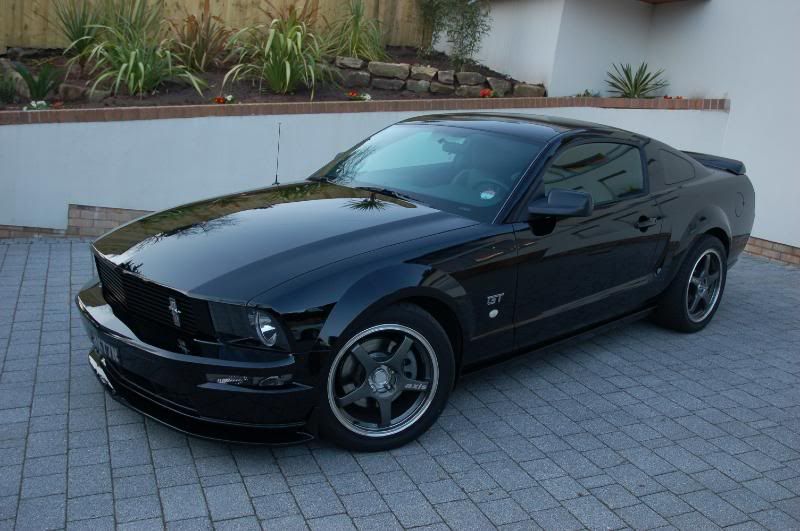
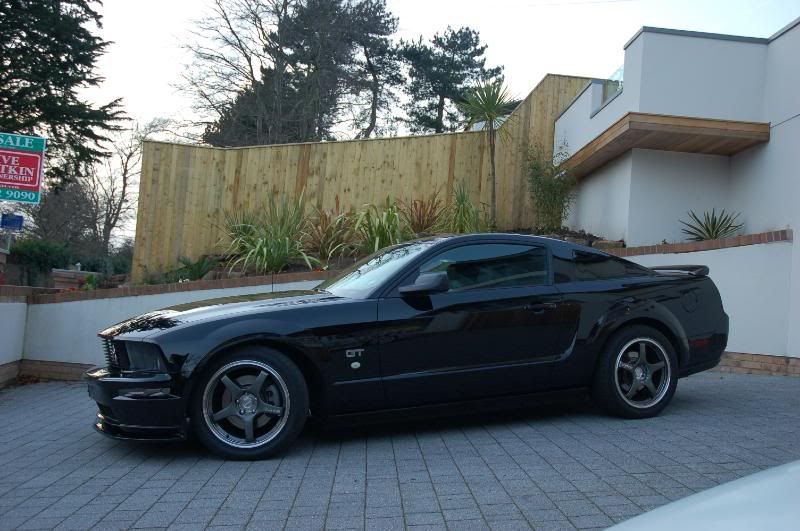


The final cosmetic mod was some "Agent 47" mirrors to replace the Ford part bin stock ones. The Agent 47's are more sleek and resemble those of the 60's cars. I also fitted some tinted indicators on the front to complement my full "black on black" look. Not got a close up but you can see the new mirrors here.


Edited by benny.c on Friday 29th August 18:23
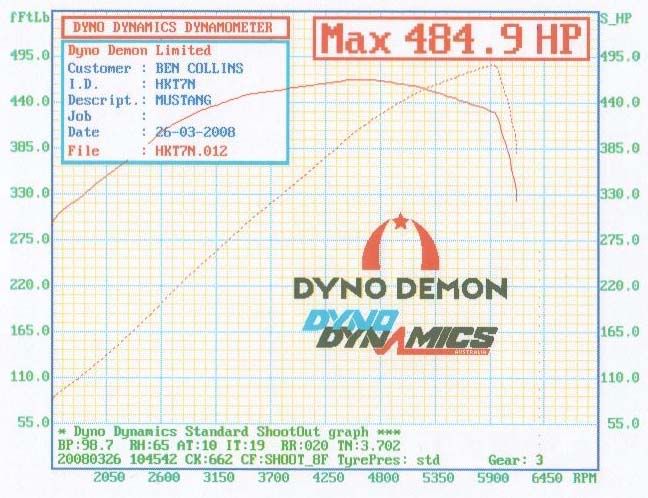
OK, back to the blower. I'll post the full installation on here but for those that can't be bothered reading it, the upshot was 485 bhp at the crank with peak torque around the 465 ft/lbs mark. The AFR was pretty much consistent at 10.5:1 and at no point was above 11:1. Whipple recommend 11:1 for 10-12 psi so I'd like to think that's a good conservative tune. Peak boost was 0.685 Bar which equates to 9.94 psi, so about spot on for the 10 psi pulley. The blower is good for 750 bhp but I'd have to build the engine internals to accommodate this.
Video of one of the dyno runs here
http://s74.photobucket.com/albums/i272/bennydotc/?...
Video of one of the dyno runs here
http://s74.photobucket.com/albums/i272/bennydotc/?...
Now onto the supercharger install. I'll start by saying that the last engine work I'd done to a car before this was changing the cylinder head gasket on my mini when I was 18. As I said previously, this will be a little dull for those that don't like getting their hands dirty 
Step 1
Remove hood and front end. Not required but it doesn’t take that long and makes it easier to work around the car.


Step 1
Remove hood and front end. Not required but it doesn’t take that long and makes it easier to work around the car.
Step 3
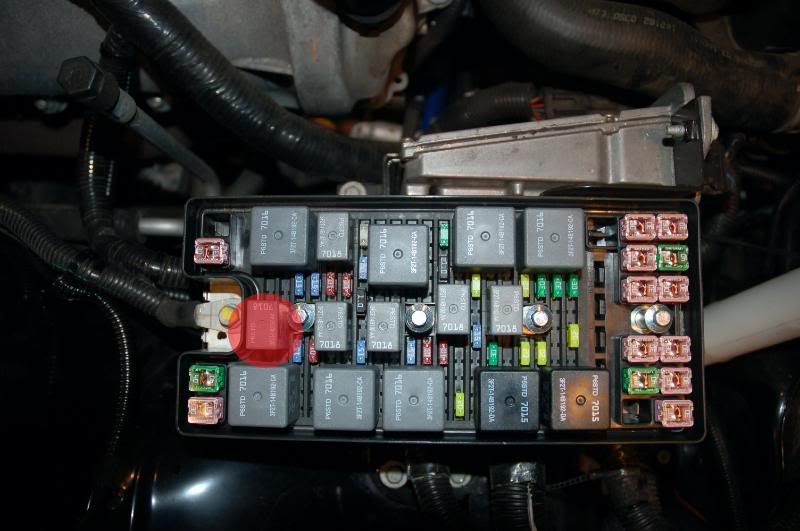
Disconnect the battery and then drain the coolant down. The drain plug is located on the bottom passenger side of the rad. I assumed that this would drain the whole system down but it actually doesn’t drain that much. The coolant that drains out later when removing other hoses is actually difficult to catch cleanly so I am going to replace the coolant rather than re-use it.

Disconnect the battery and then drain the coolant down. The drain plug is located on the bottom passenger side of the rad. I assumed that this would drain the whole system down but it actually doesn’t drain that much. The coolant that drains out later when removing other hoses is actually difficult to catch cleanly so I am going to replace the coolant rather than re-use it.


Step 7
Replace spark plugs. The coils simply unbolt and lift off the plugs and I had no problem removing the plugs after 20K miles. Note that the plugs are imperial despite the rest of the car being metric. Before removing the plugs I cleaned around the head area and plug recesses with my ingenious hoover attachment, made from a fuel filler hose.


Replace spark plugs. The coils simply unbolt and lift off the plugs and I had no problem removing the plugs after 20K miles. Note that the plugs are imperial despite the rest of the car being metric. Before removing the plugs I cleaned around the head area and plug recesses with my ingenious hoover attachment, made from a fuel filler hose.
Step 8
Remove the fuel rail. This was a right pain due the clever fuel line connection. There is a flared male end which is pushed into a female “cup”, and this is retained by a spring which gets tighter as you try to pull the sections apart. The tool I bought to do the job was useless and in the end I used 2 small screwdrivers to push the spring over the male flared end, in much the same way as you fit a tyre to a bike. The rails just pull out of the intake manifold after unbolting.
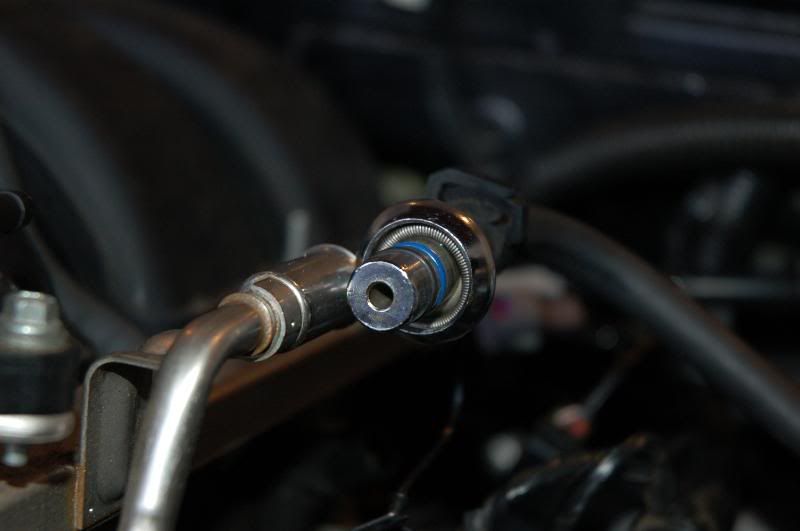

Remove the fuel rail. This was a right pain due the clever fuel line connection. There is a flared male end which is pushed into a female “cup”, and this is retained by a spring which gets tighter as you try to pull the sections apart. The tool I bought to do the job was useless and in the end I used 2 small screwdrivers to push the spring over the male flared end, in much the same way as you fit a tyre to a bike. The rails just pull out of the intake manifold after unbolting.


Gassing Station | Readers' Cars | Top of Page | What's New | My Stuff