
A good light for light painting?
Discussion


The big mistake lots of people make at first (myself included) is to use something that's too dim. You need a lot of light!
I dare say that if Luc had made that shot an hour later using the same settings/ tools/ technique it would have appeared too dark - his light is creating the highlights but it looks like the ambient light is helping with the subject definition.
If you're in a dark place with a light car you can get away with something like a LED worklamp. £10 at Robert Dyas or B&Q should see you good. This will give you hard highlights as opposed to the softer appearance in Luc's shot.
If you like the more diffuse look, get yourself a 12"-15" tupperware cake tin or similar to create a makeshift softbox. Cut the top off and cover it with white ripstop nylon/ sailcloth (think kite fabric or shower curtain). Line it with foil to limit light spill and fill it with a bunch of identical lights (or one very bright lamp). You won't be able to turn it on and off easily so there'll be a lot of trial and error on location. Obviously if you spend more you can avoid the ghetto approach but this should get you running for £35-40.
My arsenal of lights covers most eventualities. For speed in a suburban location at twilight I might use either of the above; to lift the car's dark areas when I'm also trying to capture the sky at high ISO it could be the LED on my iPhone; whilst to get an effective amount of light on the subject from a distance of 10ft in a city centre at f/10 I'd roll out the homebuilt "ShadowKiller 3300" - that number being the light's power in lumens.
Remember, the darker your subject car, the more light you need. The brighter your surroundings, the more light you need. If you need to learn the basics, pick a mid-coloured car in a dark location under a full moon for the easiest set of circumstances.
Start at f/8 and a distance of 8-10ft from the car - this gives your light room to spread evenly and helps avoid your shadows appearing in shot. Walk parallel to the car, starting your lighting a car-length away from the front and continuing a car-length beyond the rear - the highlight is a reflection so needs that extra distance to cover the full length of the car.
You can do all your lighting in a single frame but I (and I think most others, once they've sampled it) prefer to composite several frames for lighting and background. If you get it right on location, PP is very much the easy part.
I dare say that if Luc had made that shot an hour later using the same settings/ tools/ technique it would have appeared too dark - his light is creating the highlights but it looks like the ambient light is helping with the subject definition.
If you're in a dark place with a light car you can get away with something like a LED worklamp. £10 at Robert Dyas or B&Q should see you good. This will give you hard highlights as opposed to the softer appearance in Luc's shot.
If you like the more diffuse look, get yourself a 12"-15" tupperware cake tin or similar to create a makeshift softbox. Cut the top off and cover it with white ripstop nylon/ sailcloth (think kite fabric or shower curtain). Line it with foil to limit light spill and fill it with a bunch of identical lights (or one very bright lamp). You won't be able to turn it on and off easily so there'll be a lot of trial and error on location. Obviously if you spend more you can avoid the ghetto approach but this should get you running for £35-40.
My arsenal of lights covers most eventualities. For speed in a suburban location at twilight I might use either of the above; to lift the car's dark areas when I'm also trying to capture the sky at high ISO it could be the LED on my iPhone; whilst to get an effective amount of light on the subject from a distance of 10ft in a city centre at f/10 I'd roll out the homebuilt "ShadowKiller 3300" - that number being the light's power in lumens.
Remember, the darker your subject car, the more light you need. The brighter your surroundings, the more light you need. If you need to learn the basics, pick a mid-coloured car in a dark location under a full moon for the easiest set of circumstances.
Start at f/8 and a distance of 8-10ft from the car - this gives your light room to spread evenly and helps avoid your shadows appearing in shot. Walk parallel to the car, starting your lighting a car-length away from the front and continuing a car-length beyond the rear - the highlight is a reflection so needs that extra distance to cover the full length of the car.
You can do all your lighting in a single frame but I (and I think most others, once they've sampled it) prefer to composite several frames for lighting and background. If you get it right on location, PP is very much the easy part.
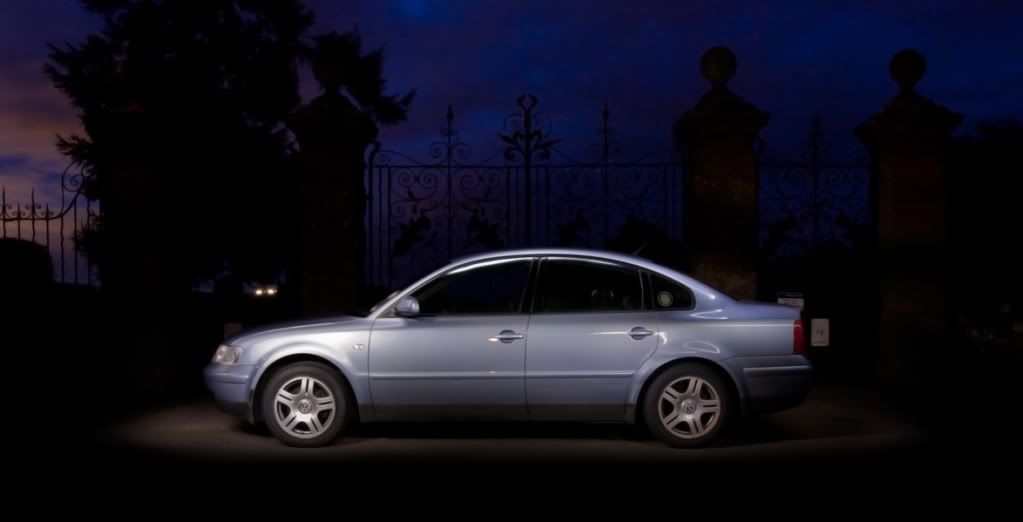
Here is an example (although not a good one) of my first attempt at light painting.
This was using a 210 lumen LED Torch I bought at B&Q.
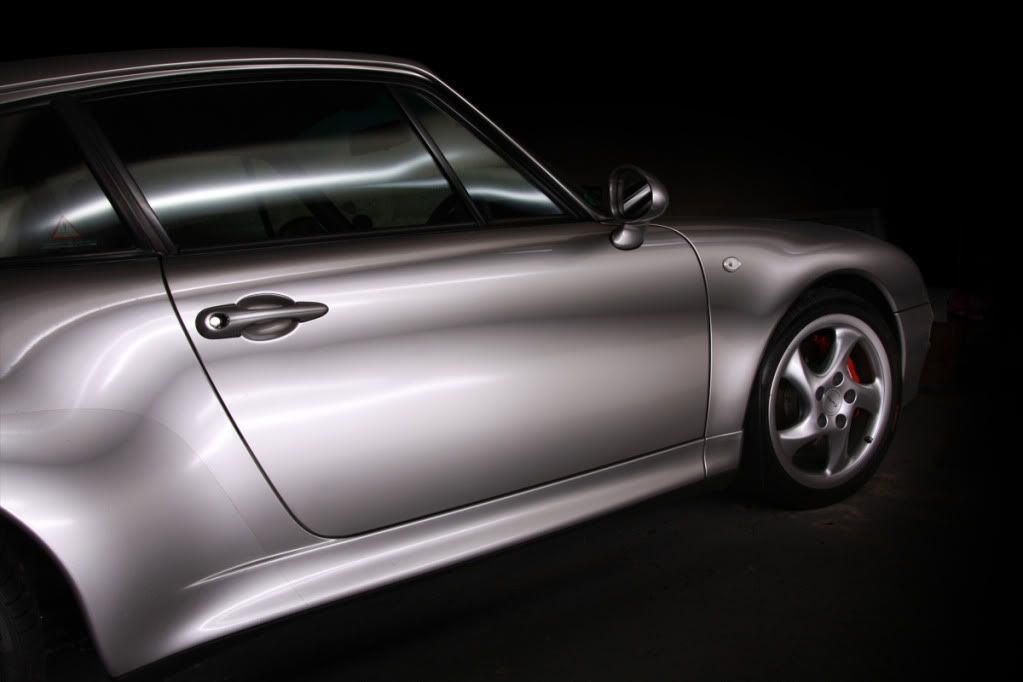
Here is an example after I made myself a softbox from a cardboard box and thin packing material stuff for a diffuser.
Sorry it's a rubbish photo, but it was in my garage and I didn't have much room to move about...
I can't fault or add to the advice AndWhyNot has just given, so i'll leave it at that
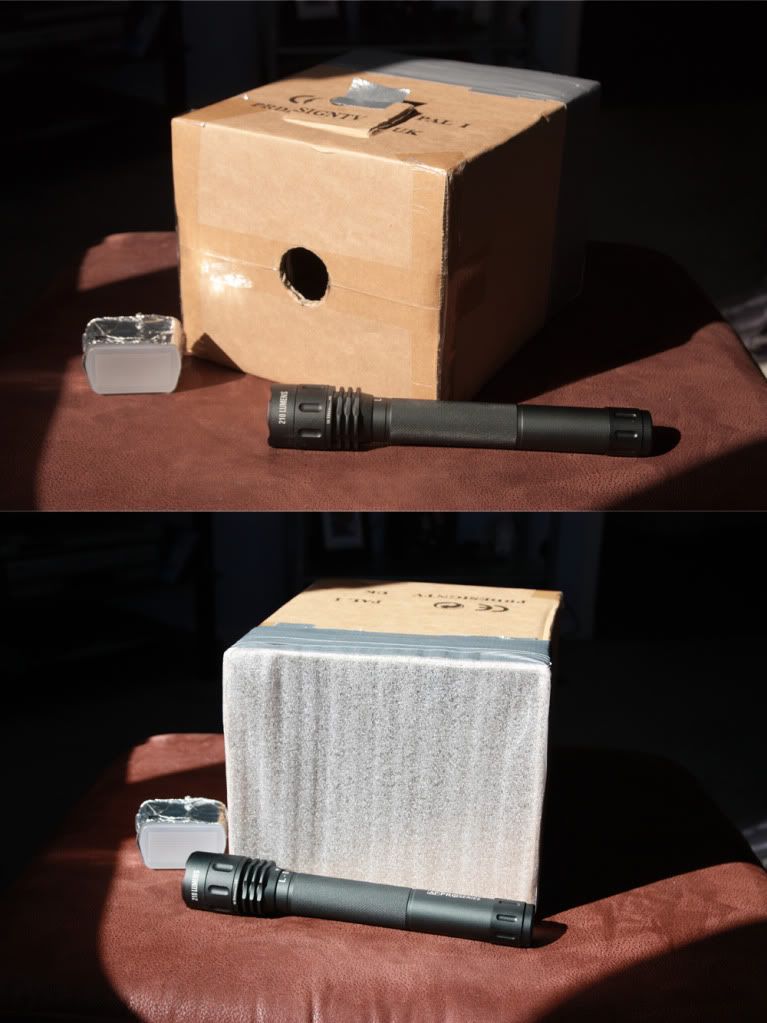
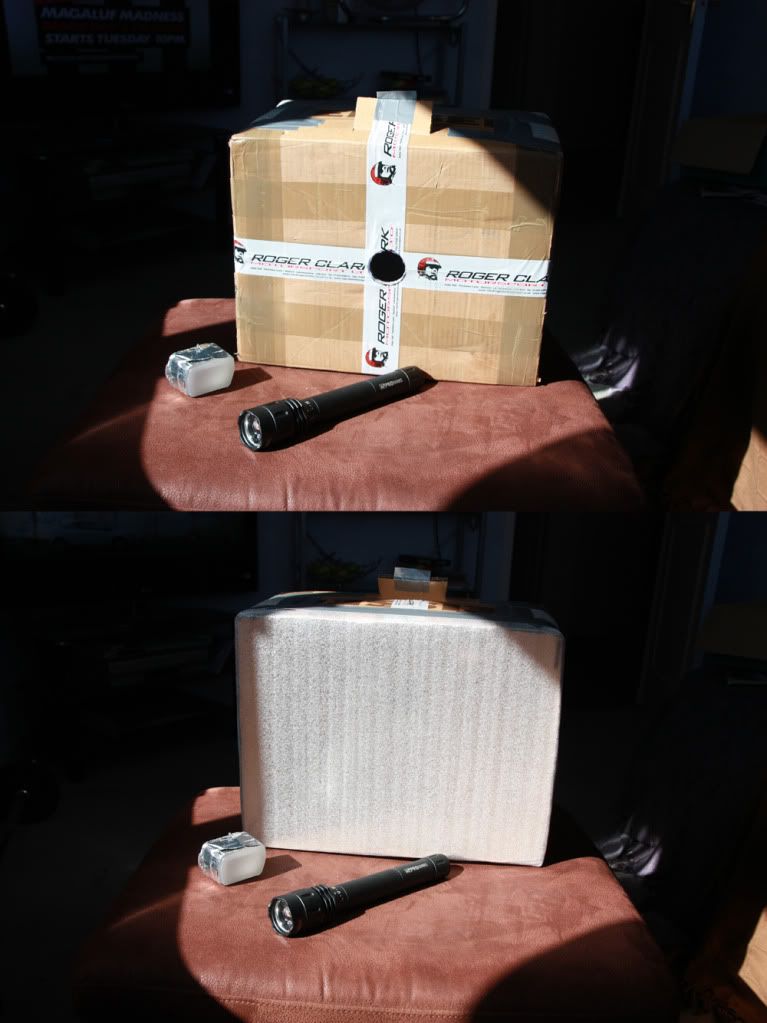
Here are the softboxes I made.
Here's another example I found. This was made of a few exposures blended together.
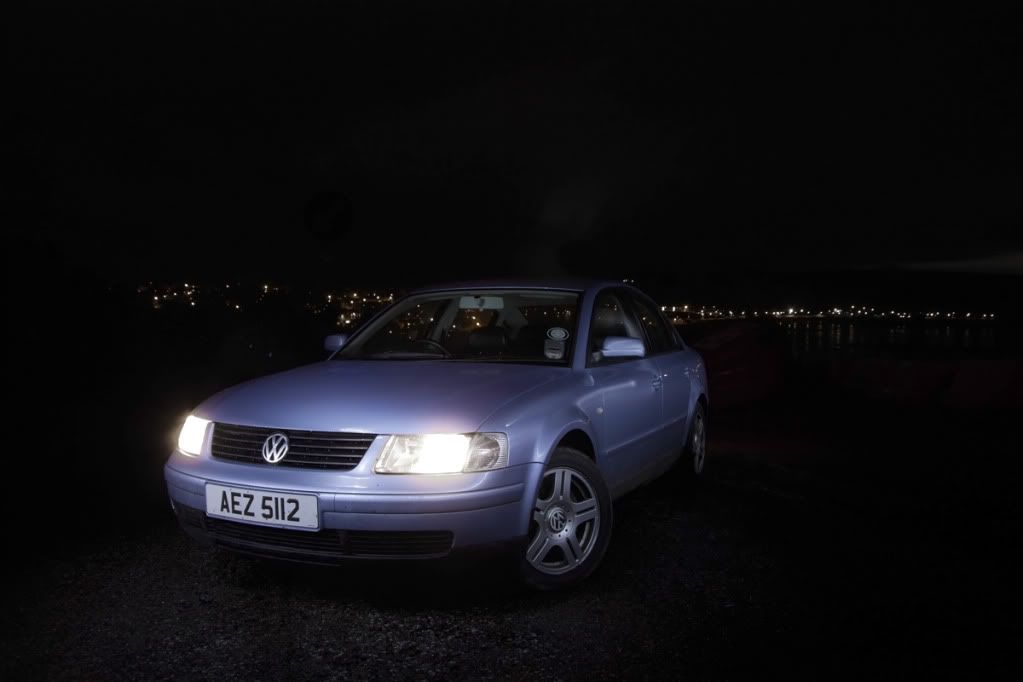
This was using a 210 lumen LED Torch I bought at B&Q.
Here is an example after I made myself a softbox from a cardboard box and thin packing material stuff for a diffuser.
Sorry it's a rubbish photo, but it was in my garage and I didn't have much room to move about...
I can't fault or add to the advice AndWhyNot has just given, so i'll leave it at that
Here are the softboxes I made.
Here's another example I found. This was made of a few exposures blended together.
Edited by Blukoo on Thursday 19th July 17:44


Gassing Station | Photography & Video | Top of Page | What's New | My Stuff