Advice please - heater matrix replacement
Discussion


Finally going to start this, so I feel some questions coming on.
I've seen some posts on dash removal etc. but cant quite get my head around what I'm removing. The 'Centre console bit is easy, but then for dash removal is it just the 'wooden bit' I need to get out or does the 'frame' of the dash come out as well?
Anybody know which of the two options of heater matrix I need for a 91 S3?
I think the complete dash has to come out Ray? The heater box must have been about the very first bit that went into a new shell.
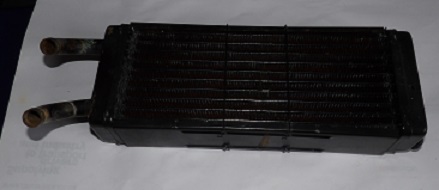
This is my spare, from an S2, I think?
As you can see it has the 90 degreee bends in the pipes as per the description of the more expensive one on TVR Parts.
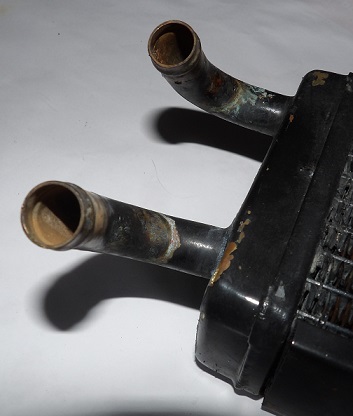
Measurements match up apart from the 44mm, I'd say this is more like 55mm thick ....

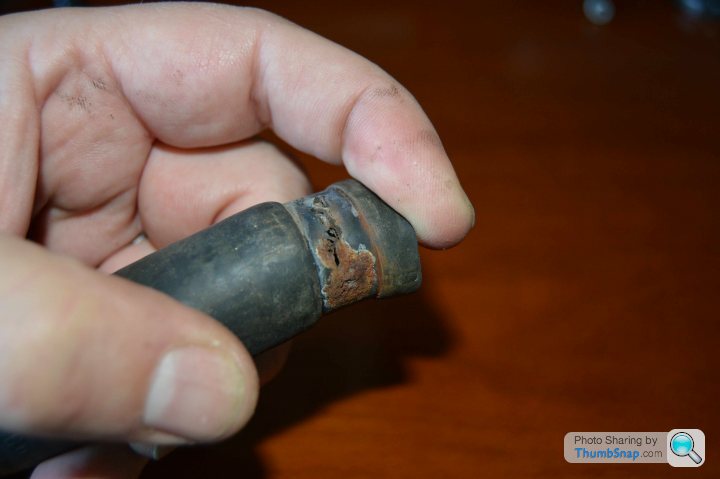
Don't know how cost would compare but may be get yours repaired?
Right, Finally made a start.
After a bit of wrestling I've taken about 10 nuts off the back of the main wooden dash panel, but still can't budge it.
Ends appear to be free, but still fastened at the heater controls. Can't get anywhere near the back of them and I'm guessing I need the wooden panel out completely to get at the top fixings for the main upholstered part of the dash..
Any clues?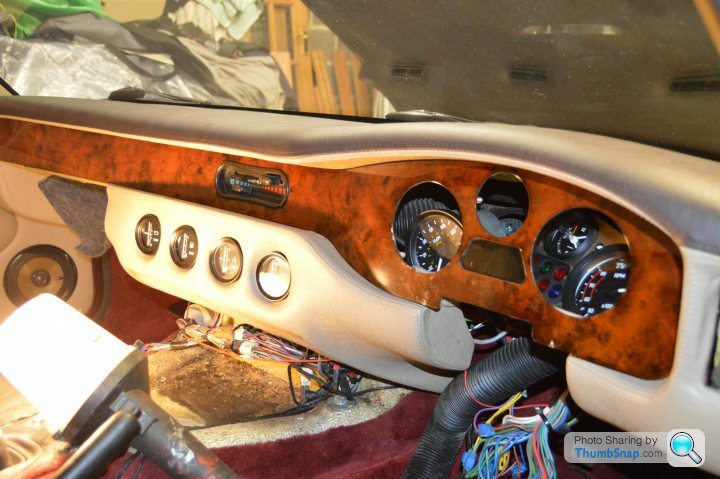
Ray,
I encountered the same problem when I refurbished my Dash plate a few years ago.
There will no doubt be people who know the correct method of disconnecting the heater controls, but I simply used brute force to pull the heater panel out, which bends the two retaining U clamps which are currently holding it against the dash plate (I simply couldn't see any way of getting access to the retaining bolts, even with my endoscope to show the clearance).
Once you get the heater panel far enough forward, you can disconnect the 2 bowden cables.
Installation was modified for future ease. I discarded the U clamps, connected the two bowden cables, and drilled a small hole at either side of the heater panel. Inserted two small screws to prevent heater control from popping out of dash panel, then a couple of drips of black paint on the screw heads, and it looks fine, to me anyway!
Like I said, there will be no doubt be a "correct" way, but I will now be able to remove the dash panel in a fraction of the time, should I ever need to get it out again.
Good luck
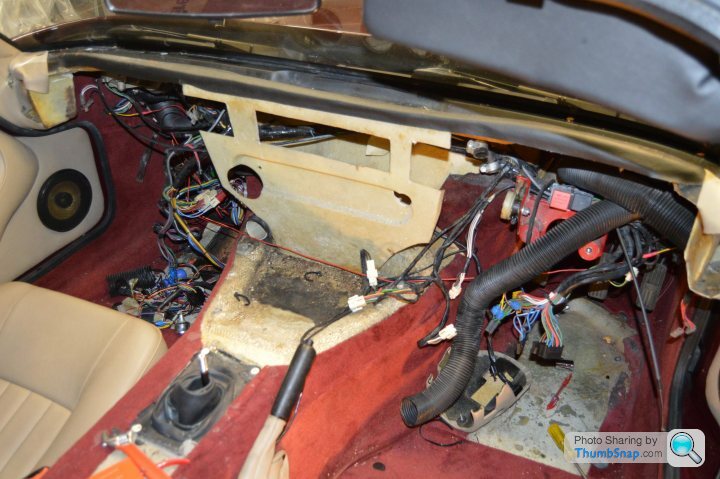
OK - Second night at it and better progress.
By taking out the speedo and tacho I was able to lie on my back with my head in the footwell and see the sodding little posidrive screw which secures the top of the dash. Once out, one good pull and we have separation.
You can then pull forward a few inches and disconnect the bowden cables form the back of the heater controls, so I didn't need entirely remove the wooden dash panel.
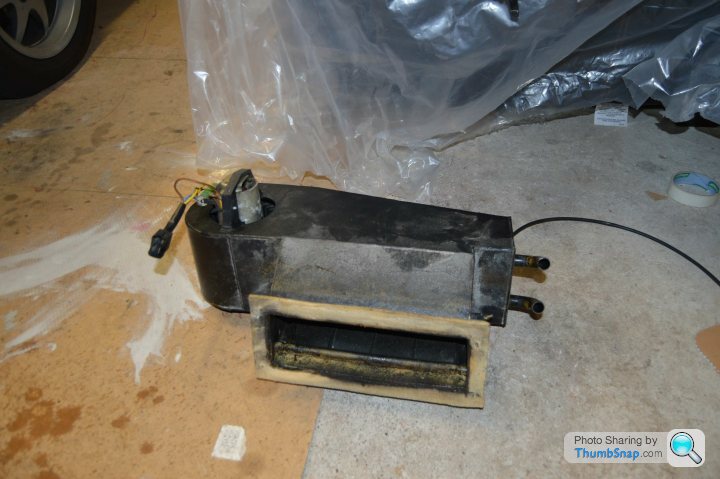
Once the dash is out of the way just a bit of a fiddle to get the heater box out but finally success.
Of course, now I'm in this state, might as well do some other jobs while I'm in.so;
Get rid of the (non electronic) immobiliser which is just taped into some joints in the main loom.
Get rid of that odd red wire - looks as though it may be added wiring for the mirror heater circuit as it goes into both doors?
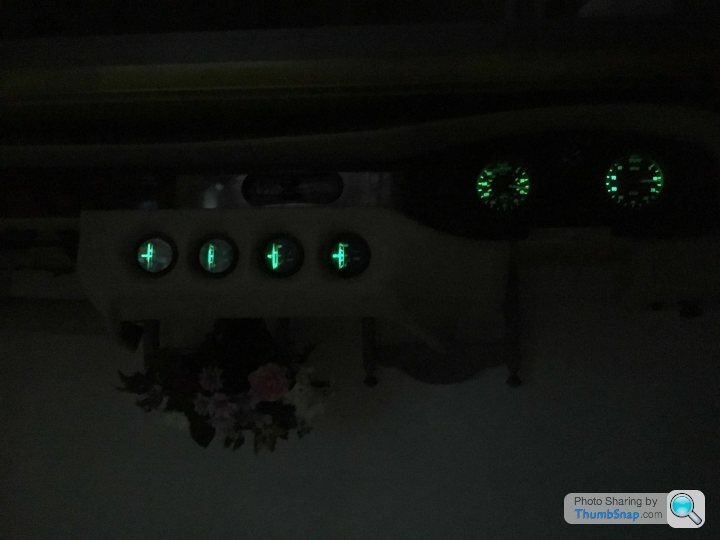
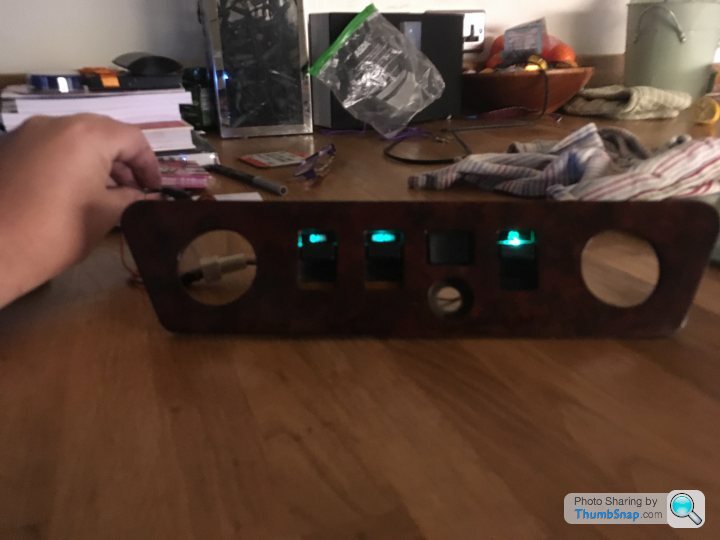
Probably put some brighter backlights into speedo/tacho - LED types?
Anything else make sense while I'm in this state?
And no blood yet!
By taking out the speedo and tacho I was able to lie on my back with my head in the footwell and see the sodding little posidrive screw which secures the top of the dash. Once out, one good pull and we have separation.
You can then pull forward a few inches and disconnect the bowden cables form the back of the heater controls, so I didn't need entirely remove the wooden dash panel.
Once the dash is out of the way just a bit of a fiddle to get the heater box out but finally success.
Of course, now I'm in this state, might as well do some other jobs while I'm in.so;
Get rid of the (non electronic) immobiliser which is just taped into some joints in the main loom.
Get rid of that odd red wire - looks as though it may be added wiring for the mirror heater circuit as it goes into both doors?
Probably put some brighter backlights into speedo/tacho - LED types?
Anything else make sense while I'm in this state?
And no blood yet!

phillpot said:
This is my spare, from an S2, I think?
As you can see it has the 90 degreee bends in the pipes as per the description of the more expensive one on TVR Parts.
[]
That looks exactly like mine - Unfortunately the one from TVR parts has the outlets coming straight out from the front face, so doesnt match.As you can see it has the 90 degreee bends in the pipes as per the description of the more expensive one on TVR Parts.
[]
I have found one elsewhere - just waiting for it to arrive....
Good news and bad news a usual
Dash back in, and after a bit of prattling about and bleeding air locks, new heater seems fine.
Unfortunately while sorting a couple of bulb issues, seem to have developed some electrical gremlins, currently the ignition warning light is on even though the key is out.
No MOT at this point
Dash back in, and after a bit of prattling about and bleeding air locks, new heater seems fine.
Unfortunately while sorting a couple of bulb issues, seem to have developed some electrical gremlins, currently the ignition warning light is on even though the key is out.
No MOT at this point
Gassing Station | S Series | Top of Page | What's New | My Stuff