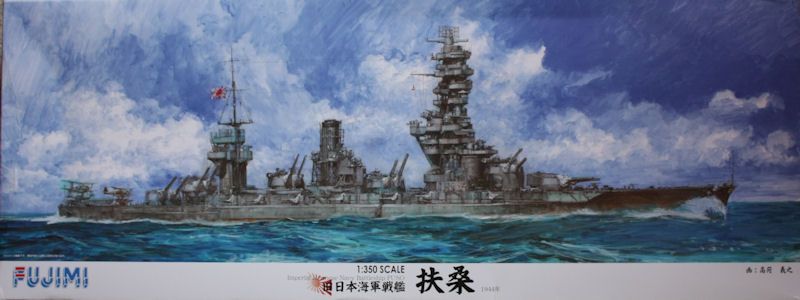
IJN battleship Fuso
Discussion


I've started this WIP on Britmodeller, but thought I'd bung it up here as well, in case anyone was interested. The kit is the Fujimi 1/350 IJN Fuso, built in 1914 she was reconstructed several times and I'll be building her in her final form. She was sunk at the battle of Suriago Strait in 1944 along with her sister ship Yamishiro.
I forgot I had all the Fujimi add-on sets, so this is what I'm working with. The hull, built up in the last picture has plenty of bulkheads which makes it very strong and rigid, I can't stand floppy hulls.
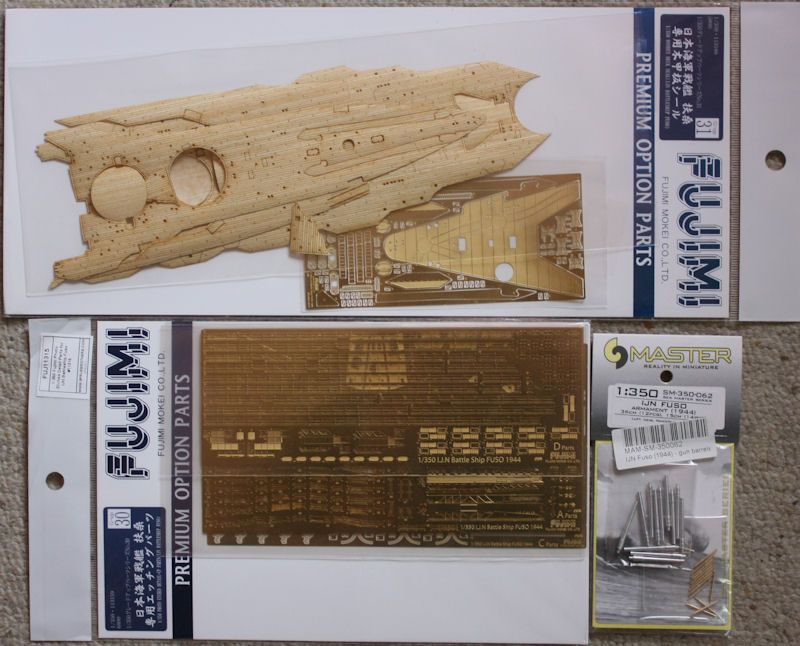
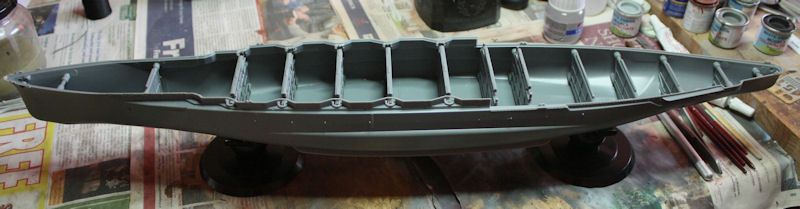
I forgot I had all the Fujimi add-on sets, so this is what I'm working with. The hull, built up in the last picture has plenty of bulkheads which makes it very strong and rigid, I can't stand floppy hulls.
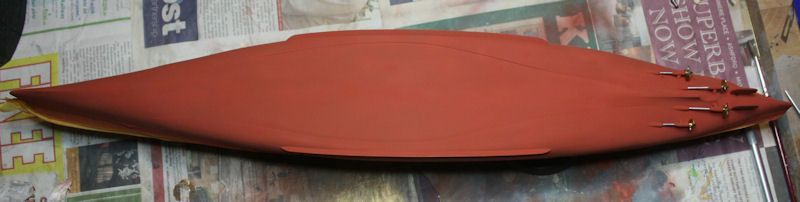
Lower hull anti-fouled, propshafts, props and rudders fitted.
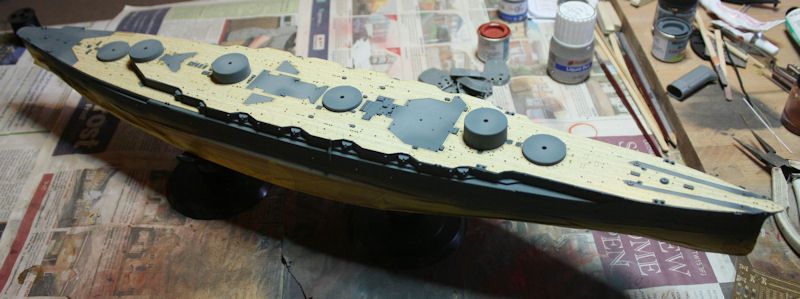
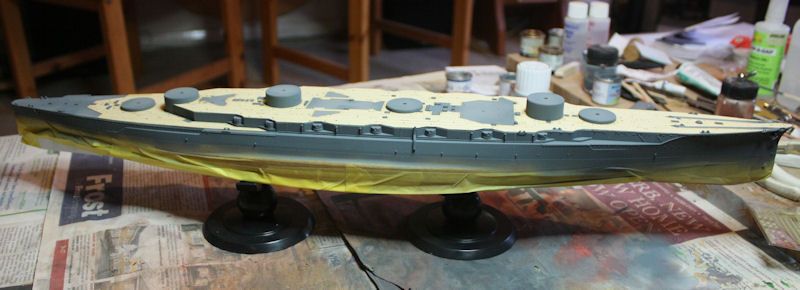
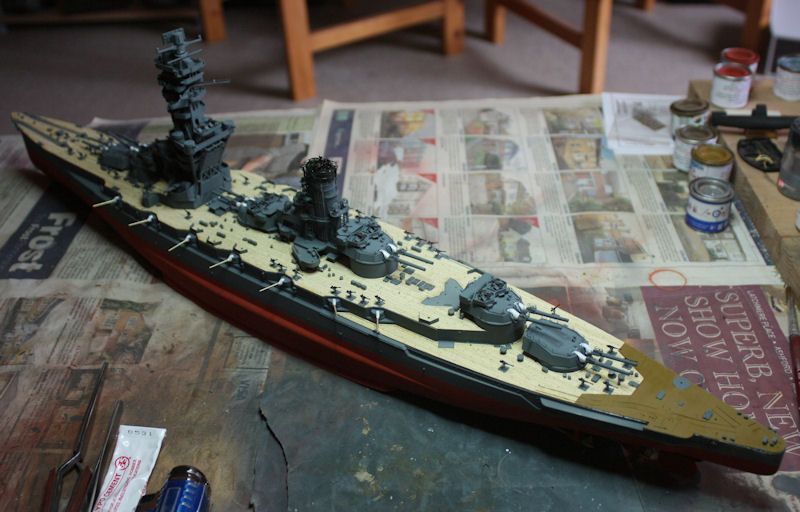
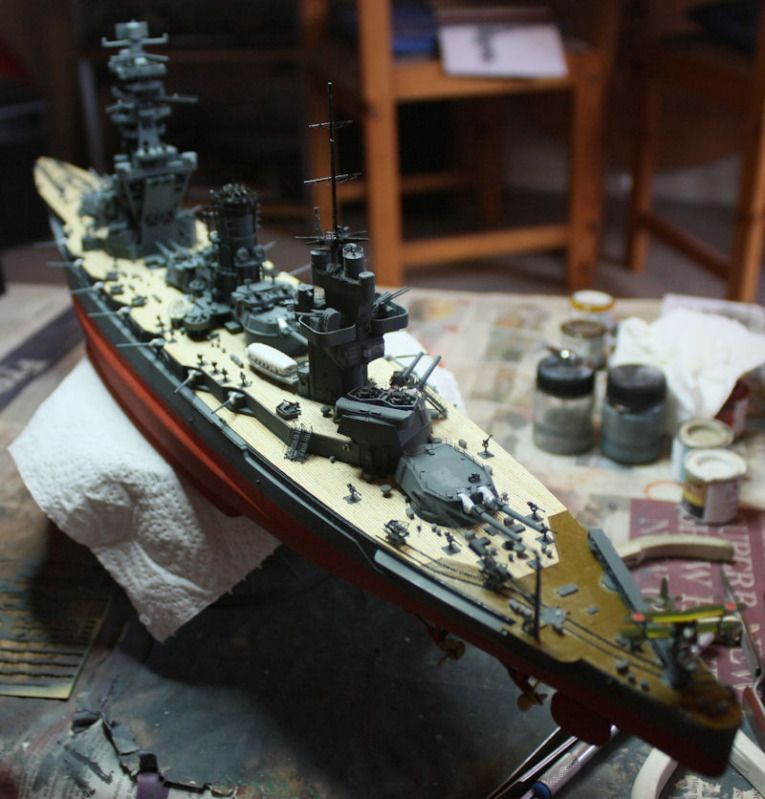
Hull painted and wooden deck fitted.
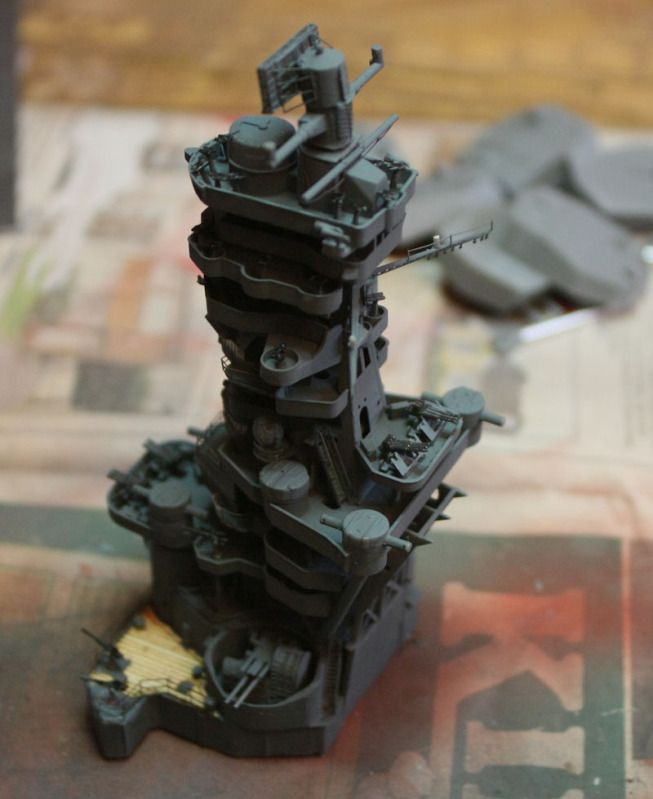
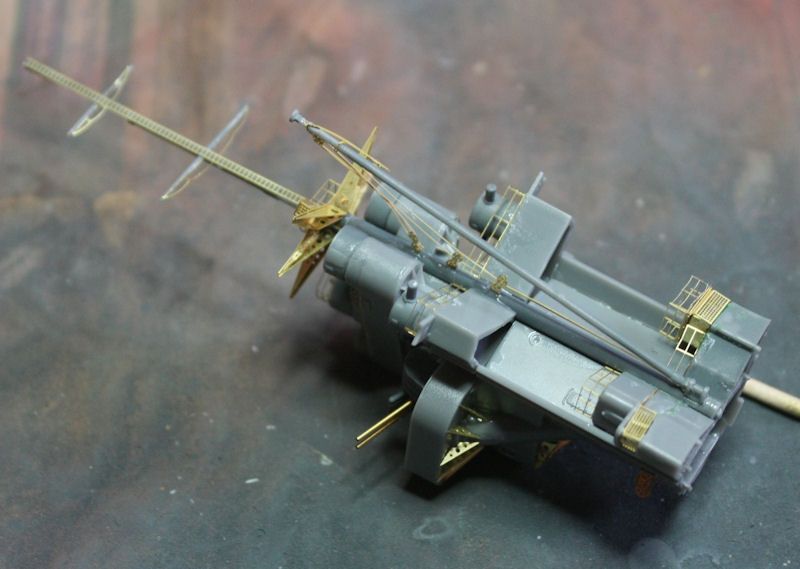
Pagoda mast in build. Now for some paint and add the AA weapons.
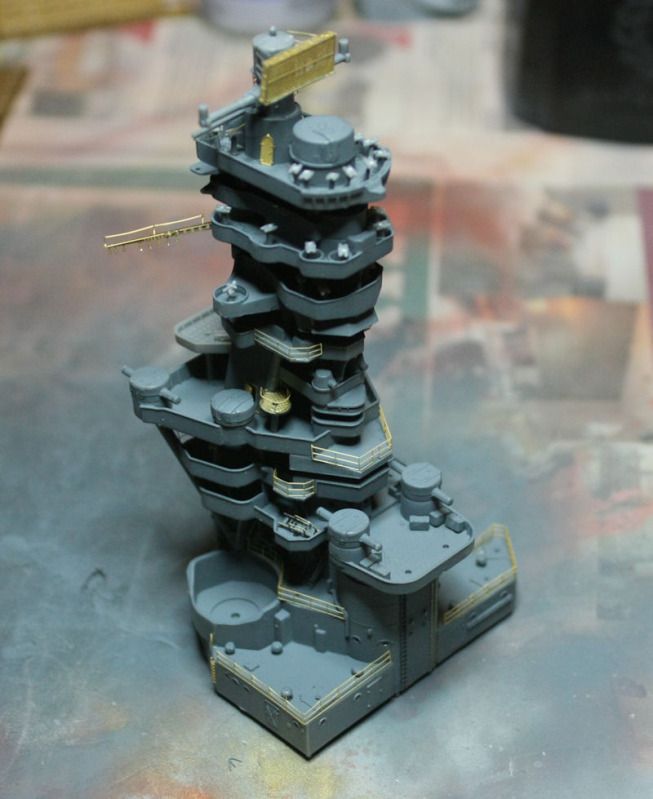
If you're going to build this model with all the add-ons, make sure you read not only the kit instructions, but the separate sheets with the etch sets carefully too as they are not very clear, and being separate you have to have all four instruction sheets near to hand at all times. Anyway, the pagoda is finished with only the rigging to be done before adding to the hull. I've now started on the rear superstructure.
Hull painted and wooden deck fitted.
Pagoda mast in build. Now for some paint and add the AA weapons.
If you're going to build this model with all the add-ons, make sure you read not only the kit instructions, but the separate sheets with the etch sets carefully too as they are not very clear, and being separate you have to have all four instruction sheets near to hand at all times. Anyway, the pagoda is finished with only the rigging to be done before adding to the hull. I've now started on the rear superstructure.
Edited by Shar2 on Monday 9th July 08:25
Yeah it is a bit scary and the s t instructions don't help matter. The carpet monster has tried it's best to stop the build too.
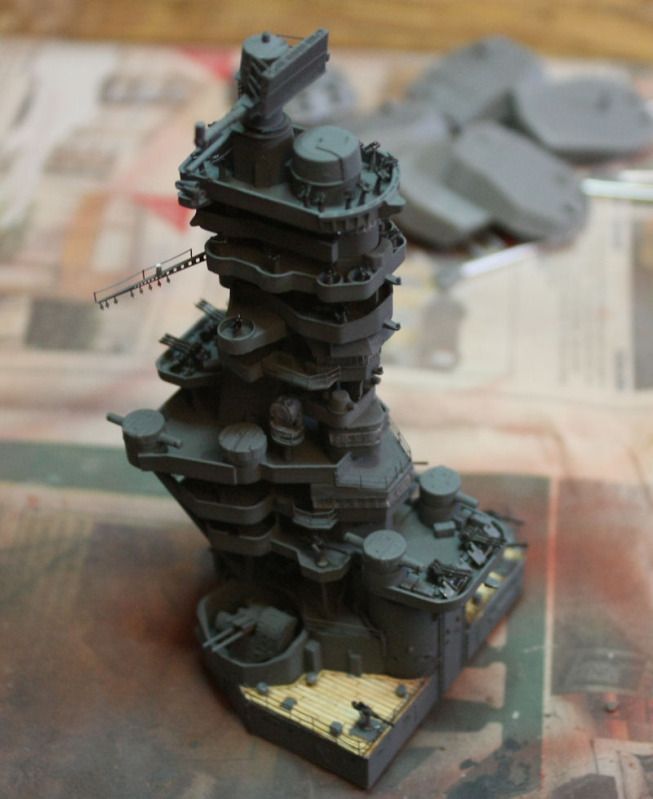
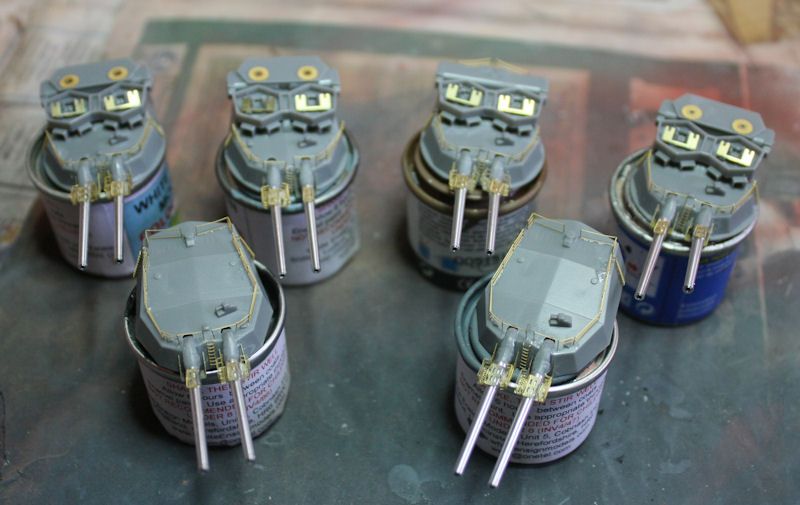
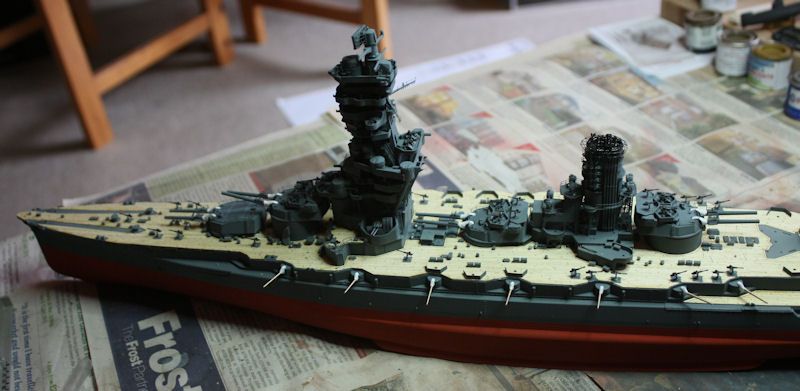
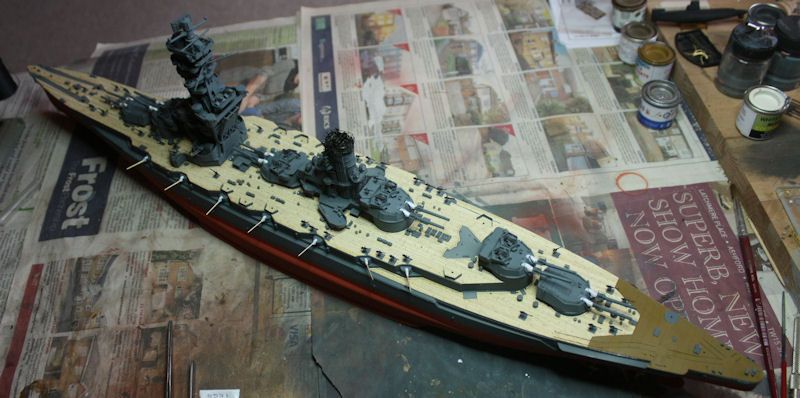
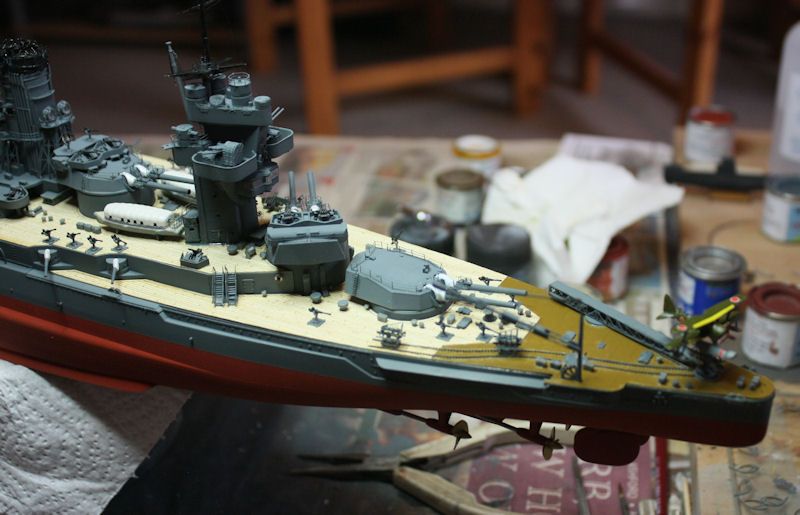
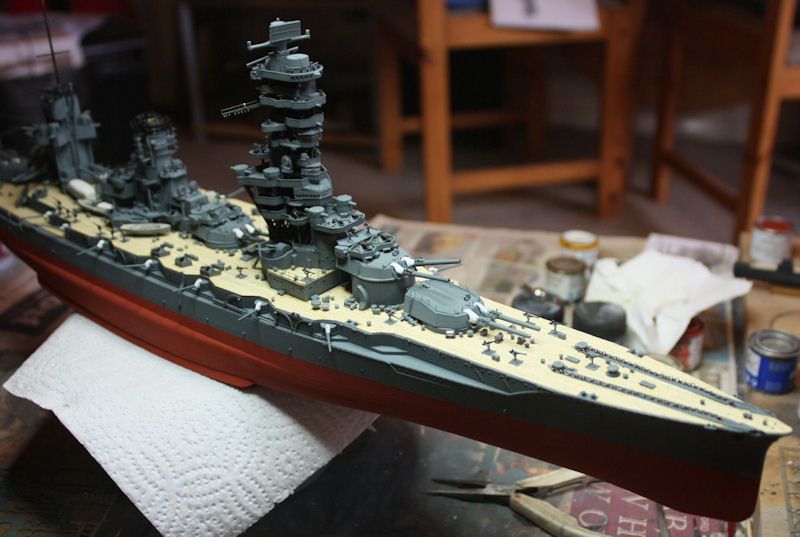
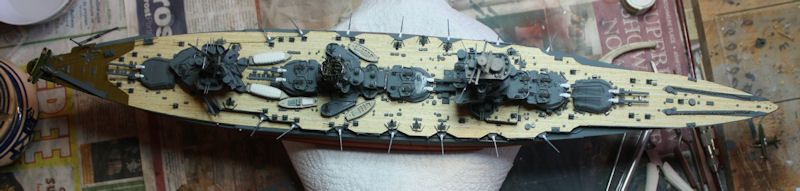
Turrets complete ready for paint and fitting of AA guns.
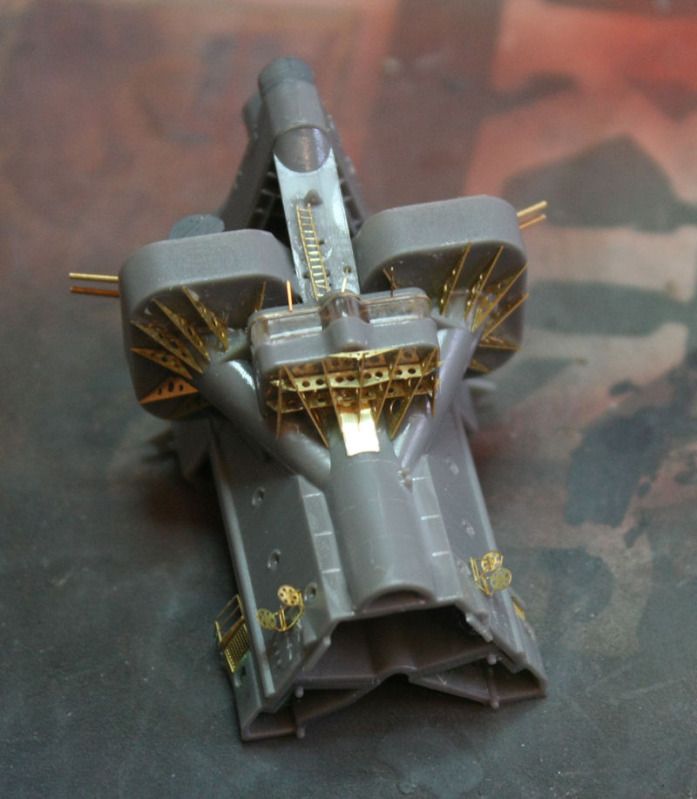
I've also finished the rear superstructure. I'm building all the sub-assembilies before painting them all in one hit.
t instructions don't help matter. The carpet monster has tried it's best to stop the build too.Turrets complete ready for paint and fitting of AA guns.
I've also finished the rear superstructure. I'm building all the sub-assembilies before painting them all in one hit.


As my dad's mates used to say.
Crivens! (I think he grew up in a Broon's cartoon as a lad, or he was Oor Wullie)
That is definitely summat else, but a thing of beauty too.
Is painting going to obliterate much of the exquisite detail? That would be bad news.
Anyway, I AM going to learn lots from it, you never know.I may take to etch myself one day.
1st question of a techy nature, do you have to use a "device" to form the etch units or do they drop into shape when detached from the sheet?
Cheers.
No the paintwork shouldn't hide too much of the detail.
Parts in most of the etch sets have weak spots where they are to bend, but you still need a something to bend them. Some people spend quite a bit of money on bending tools, but I find them a bit of a faff, so generally use a pair of snipe nosed instrument pliars.


My best effort was catching a piece with my eye, which is particularly impressive seeing as I wear glasses. The thought process was along the lines of;
'bugger, where did that go?'
Luckily it was just resting on my lower eyelid, but could have been interesting.
'bugger, where did that go?'
- blink*
Luckily it was just resting on my lower eyelid, but could have been interesting.
Shar2 said:
dr_gn said:
I bought some Xuron precision photo-etch scissors last week - excellent.
It's not the cutting from the frest that's the problem, it's when you've just added a bit of glue and are about to attach the part when it pings out of the tweezers to gawd knows where.For small pieces I pick and place them with a tiny blob of BluTac squidged around the end of a cocktail stick. It's just sticky enough to pick up the parts, but not so sticky that it keeps hold of the part once in place.

Gassing Station | Scale Models | Top of Page | What's New | My Stuff