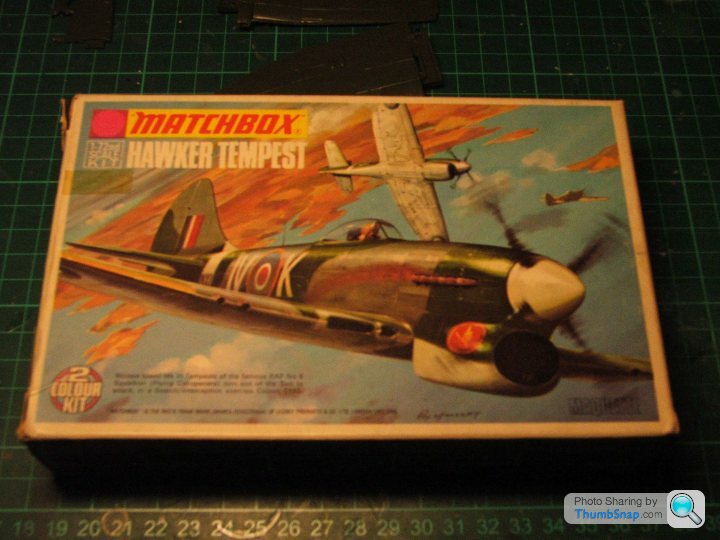
Matchbox Hawker Tempest
Discussion


I know we had a Tempest group build on here a while ago and at that time I built the Airfix/Heller Mk V.
However, I've always wanted to build a Mk II as well.
I picked up the ancient Matchbox kit at Scale Modeworld back in November and, now that I am through my massive Self Assessment workload, feel I have the time time to start on this.
It's a simple litle model (as many Matchbox kits were) and the idea is that it'll ease me back into building after an almost three month break.
Edited by Eric Mc on Sunday 20th January 10:06
Matchbox also had a fairly severe limit on the size of sprues they could produce. This is why, on a lot of their larger aircraft (Halifax, Lancaster, B-17 etc.), the fuselages are in multiple pieces - the injection moulding machine wasn't big enough to do them whole.
Obviously that limitation didn't apply to the Tempest, but interesting they made an option of two such dissimilar looking aircraft into one kit.
Obviously that limitation didn't apply to the Tempest, but interesting they made an option of two such dissimilar looking aircraft into one kit.
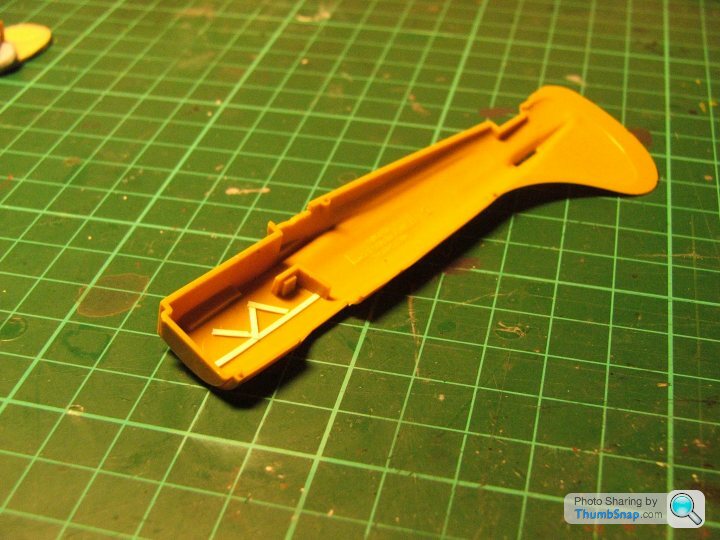
Most of today's effort was spent in kitting out the interior and ensuring the whole lot would close up without any issues.
The front end of the engine compartment is blighted by an unsightly seam. The easiest way to deal with this was to hide the front end behind a blanking plate made up of a thin disk of plasticard cut to the right diameter and inserted into the space.
I'll post a picture when I get Thumbsnap to work. It wasn't playing ball yesterday and even though it worked this morning, it appears to have gone on strike again.
The temptation to finish her as Matchbox intended/permitted just might overtake me Eric 
I do like what you are doing here
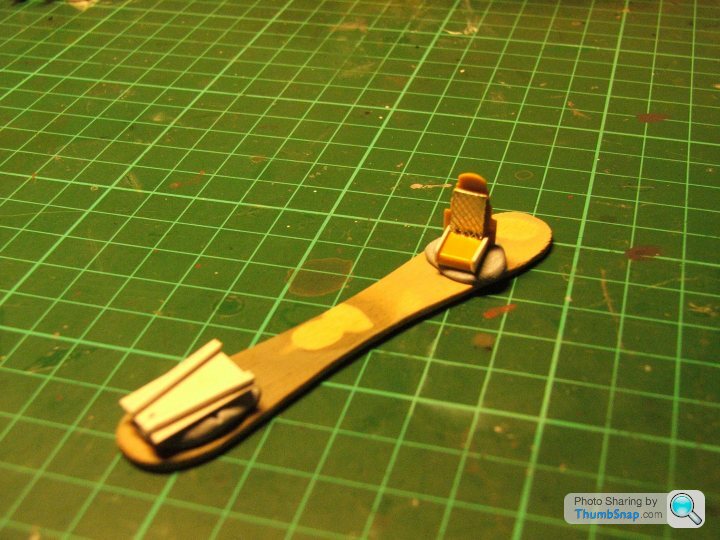
Using a photograph reduced in size, perfect scale modelling technique. I like it, I'm using a similar technique to make the IPs for my latest, printing transfers from a set of photos
b
I do like what you are doing here
Using a photograph reduced in size, perfect scale modelling technique. I like it, I'm using a similar technique to make the IPs for my latest, printing transfers from a set of photos
b
I bought this kit from a trader at Scale Modeworld and when I opened it I found a couple of problems.
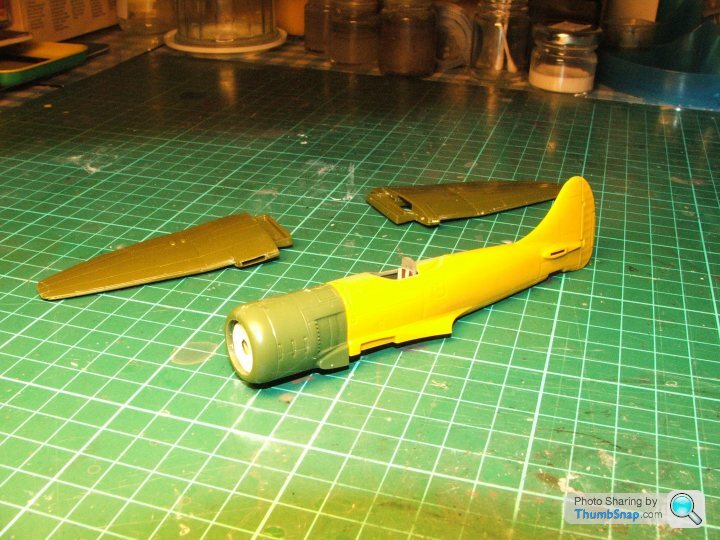
Firstly, it had already been started, always a possibility with a second-hand (or perhaps third/fourth/fifth-hand in this case) kit. And the bits that had been glued together (the wings) had not been put together very well with lots of hardened cement in evidence on the exterior.
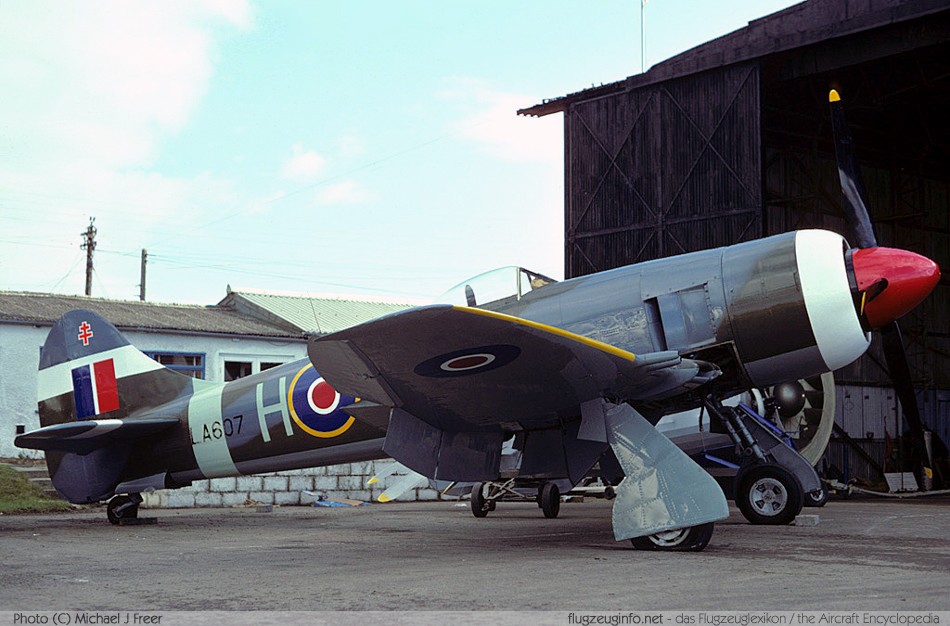
Secondly, one half of the Centaurus nose was missing - which was a bit of a bummer as the reason I bought the model was to do a Centaurus powered Tempest II. Luckily, a very kind modeller on the Unofficial Airfix Modellers' Forum solved my problem by sending me a spare Centaurus nose.
The glue damage has been rubbed down and polished out.
Matchbox were unusual in the early 70s in that they often depicted panels with recessed lines rather than the raised lines which were much more common then. However, the recessed lines were rather deep and crude by modern standards. Even the modern. Airfix lines have more finesse than the lines on the Tempest.
The previous "builder" had cut away the slot in the underside for the stand to be inserted. This has now been filled in with good old Humbrol model filler.
As ever, I'm not going to try and remedy these lines with filler or any other technique. I'll just live with them and do my best not to emphasise them in the painting process.
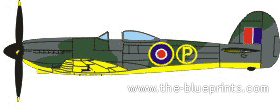
The kit decals are old and yellowed so I won’t be using them. I have the Special Hobby Tempest II in my stash as well and it offers three decal options. I will use one of these options on the Matchbox kit.
Firstly, it had already been started, always a possibility with a second-hand (or perhaps third/fourth/fifth-hand in this case) kit. And the bits that had been glued together (the wings) had not been put together very well with lots of hardened cement in evidence on the exterior.
Secondly, one half of the Centaurus nose was missing - which was a bit of a bummer as the reason I bought the model was to do a Centaurus powered Tempest II. Luckily, a very kind modeller on the Unofficial Airfix Modellers' Forum solved my problem by sending me a spare Centaurus nose.
The glue damage has been rubbed down and polished out.
Matchbox were unusual in the early 70s in that they often depicted panels with recessed lines rather than the raised lines which were much more common then. However, the recessed lines were rather deep and crude by modern standards. Even the modern. Airfix lines have more finesse than the lines on the Tempest.
The previous "builder" had cut away the slot in the underside for the stand to be inserted. This has now been filled in with good old Humbrol model filler.
As ever, I'm not going to try and remedy these lines with filler or any other technique. I'll just live with them and do my best not to emphasise them in the painting process.
The kit decals are old and yellowed so I won’t be using them. I have the Special Hobby Tempest II in my stash as well and it offers three decal options. I will use one of these options on the Matchbox kit.

Gassing Station | Scale Models | Top of Page | What's New | My Stuff