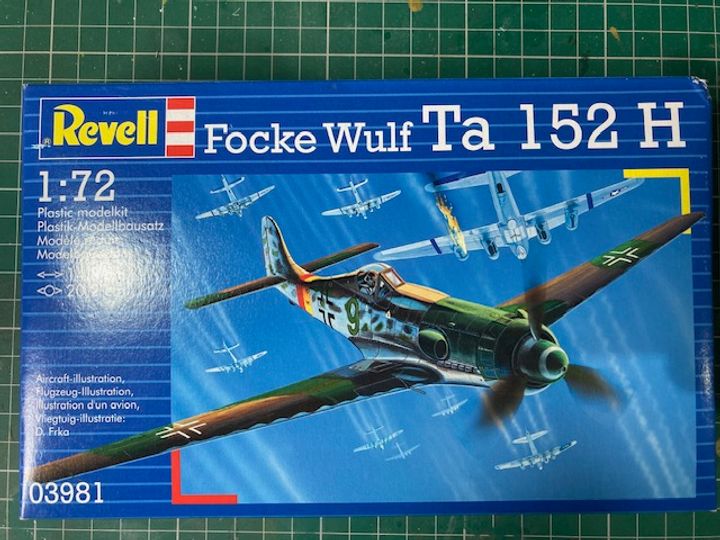
Focke Wulf Ta152 1/72 Revell (ex-Frog)
Discussion


Yes - another project started.
This one is a bit of an experiment.
I was looking at another 1/72 build on a modelling website where the builder had used a cut down paintprush to achieve what to me looked like a very good mottle effect. I though this cheap and cheerful "oldie" might be a good test bed for me to try out his technique. German mottle camouflage is normally done with an airbrush but my airbrushing skills are too crude to get a realistic effect in this scale.
As for the kit itself, it's a 2000s Revell boxing of a kit originally issued by Frog way back in 1970 so is pretty basic and crude in many areas. There is no interior detail of any note apart from a very unrelaistic representation of the pilot's seat. I don't intend to make any attempt to improve matters so to fill the space, I am painting the pilot and popping him in the cockpit. The detailing of the pilot figure is a bit blobby so there isn't much that can be done to make him look any better. However, you won't be able to see much of him anyway under the thick plastic of the canopy.
None of this bothers me as the aim here is to get to the main painting stage as quickly as possible so I can try out the mottling.
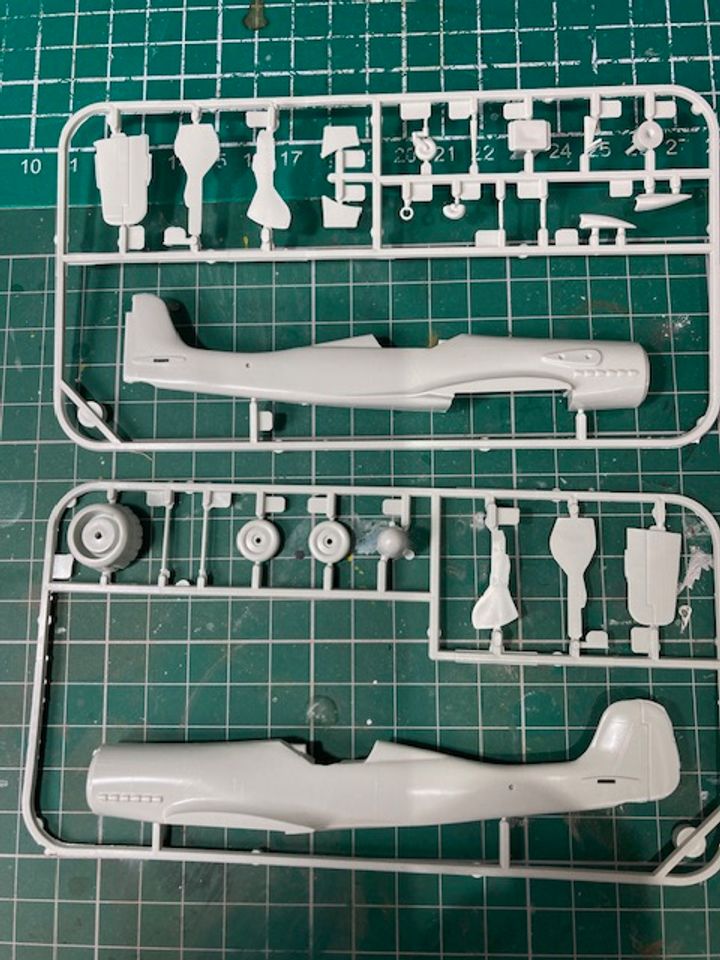
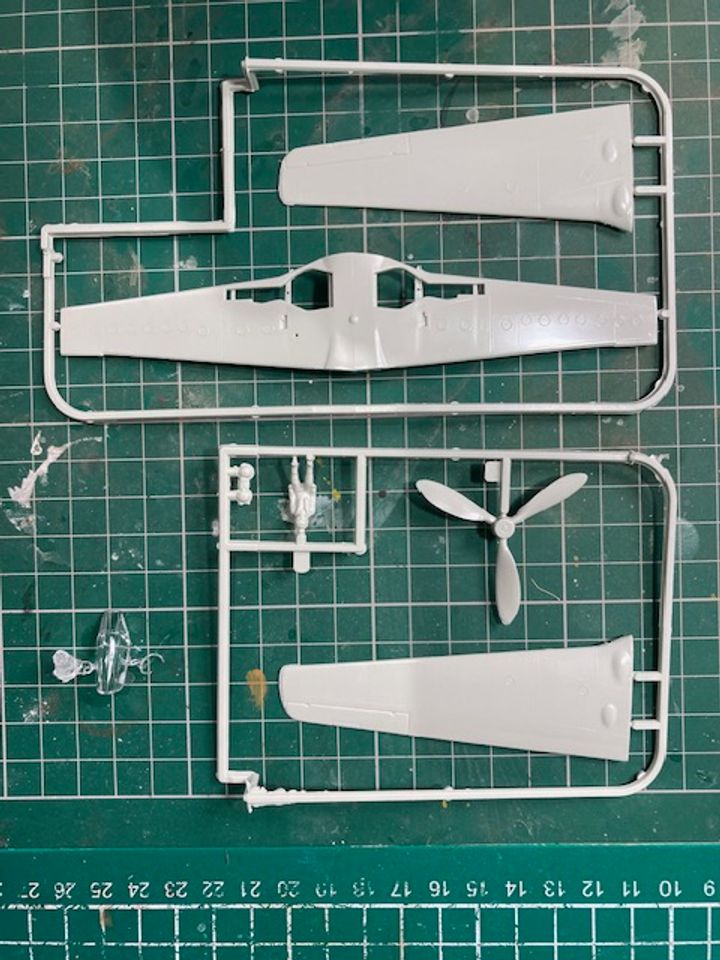
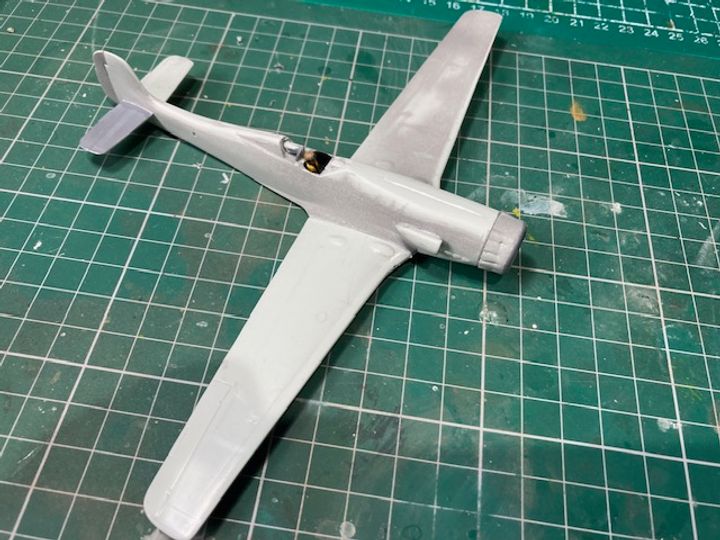
And basic assembly already accomplished. On to the painting -

This one is a bit of an experiment.
I was looking at another 1/72 build on a modelling website where the builder had used a cut down paintprush to achieve what to me looked like a very good mottle effect. I though this cheap and cheerful "oldie" might be a good test bed for me to try out his technique. German mottle camouflage is normally done with an airbrush but my airbrushing skills are too crude to get a realistic effect in this scale.
As for the kit itself, it's a 2000s Revell boxing of a kit originally issued by Frog way back in 1970 so is pretty basic and crude in many areas. There is no interior detail of any note apart from a very unrelaistic representation of the pilot's seat. I don't intend to make any attempt to improve matters so to fill the space, I am painting the pilot and popping him in the cockpit. The detailing of the pilot figure is a bit blobby so there isn't much that can be done to make him look any better. However, you won't be able to see much of him anyway under the thick plastic of the canopy.
None of this bothers me as the aim here is to get to the main painting stage as quickly as possible so I can try out the mottling.
And basic assembly already accomplished. On to the painting -
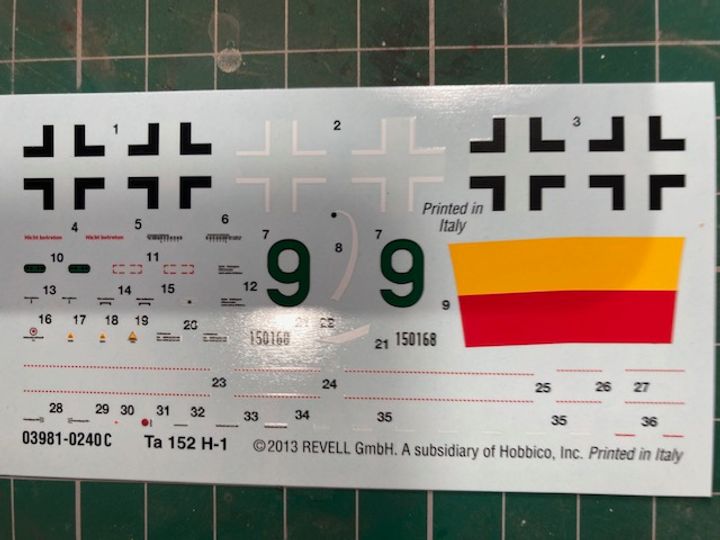
They are hardly ever on anybody's decal sheets these days although some kit manufacturers such as Hobby Boss will supply them in split format on the sheet so you can join the two halves together to make the insignia whole.
I have a stock of various after-market decal sheets which provide me with most of the swastikas I need. Scale Aircraft Modelling magazine did a free sheet way back in 1982. I still have a number of those sets which still come in very handy. Xtradecal also supply a swastika set which is where I got the ones used on the Ta152.
I never finnish my World War 2 Luftwaffe subjects without adding the swastikas unless for some reason the real aircraft didn't carry them (which did occur from time to time).
Eric Mc said:
They are hardly ever on anybody's decal sheets these days although some kit manufacturers such as Hobby Boss will supply them in split format on the sheet so you can join the two halves together to make the insignia whole.
I have a stock of various after-market decal sheets which provide me with most of the swastikas I need. Scale Aircraft Modelling magazine did a free sheet way back in 1982. I still have a number of those sets which still come in very handy. Xtradecal also supply a swastika set which is where I got the ones used on the Ta152.
I never finnish my World War 2 Luftwaffe subjects without adding the swastikas unless for some reason the real aircraft didn't carry them (which did occur from time to time).
Talking of which they must be a bit stumped if they ever want to produce a Finnish Hurricane, Gladiator, Blenheim or whatever.I have a stock of various after-market decal sheets which provide me with most of the swastikas I need. Scale Aircraft Modelling magazine did a free sheet way back in 1982. I still have a number of those sets which still come in very handy. Xtradecal also supply a swastika set which is where I got the ones used on the Ta152.
I never finnish my World War 2 Luftwaffe subjects without adding the swastikas unless for some reason the real aircraft didn't carry them (which did occur from time to time).
Yertis said:
Talking of which they must be a bit stumped if they ever want to produce a Finnish Hurricane, Gladiator, Blenheim or whatever.
Same solutions apply - i) don't provide the option in the kit
ii) provide the option but offer split swastikas
iii) be damned and provide the proper insignia
iv) go after-market
The pre-war Latvian Air Force also used the swastika as their main insignia - in this case a red one.

I believe it's the law in Germany that swastikas are 'verboten' but is it really the same everywhere else or is it just PC so as not to offend anyone?
Sell them in two halves just shows what a nonsense it is. If it's for historical accuracy they should be permitted because that's how it was.
Sell them in two halves just shows what a nonsense it is. If it's for historical accuracy they should be permitted because that's how it was.
Simpo Two said:
I believe it's the law in Germany that swastikas are 'verboten' but is it really the same everywhere else or is it just PC so as not to offend anyone?
Sell them in two halves just shows what a nonsense it is. If it's for historical accuracy they should be permitted because that's how it was.
Unfortunately a lot of kits imported into Europe, including the UK, come through Germany, so German rules apply. Germany is also fairly strict on applying the rules on swasticas to anything that might appeal to kids, and model kits come under that category.Sell them in two halves just shows what a nonsense it is. If it's for historical accuracy they should be permitted because that's how it was.
Mind you if you want to model a Battle of Britain me109 and don’t want a swastica, chose one from JG.53,
They flew without for a bit in 1940.
Lack of swastikas in kits is not that big a deal as it is very easy to source swastika decal sheets or make use of the 50:50 swastikas sometimes supplied.
The rules in Germany regarding swastikas are fairly complex in that genuine museum artefacts can still show them - so a Messerschmott 109 or an SS ceremonial dagger containing a swastika can be shown in a museum display. Books on the history of the Third Reich and World War 2 are also allowed to show historic pictures or artwork containing swastikas.
However, in more public areas, such as shops and maybe air displays, the showing of swastikas is much more restricted and sometimes even banned. That is why none of the airworthy World War 2 era aircraft flying in Germany tend to show the swastika on the tailfin. And, has been mentioned, objects that can be sold to children, such as model kits, will not contain swastikas in their decal sheets or box art.
Other European countries also have similar restrictions.
So, as a result, most if not all kit manufactuers take the least line of resistance and do not include the insignia either in their decal sheets or in their box art.
At my last visit the Deutsches Museum in Munich had no Swastikas on their aircraft, while they were proudly displayed at the Technik Museum in Sinsheim. Mind you I did find that a rather spooky place - the mannequins of German troops were immaculate examples of the Aryan race, while Russians were really evil-looking, bedraggled zombies.
Eric Mc said:
It was only a year or so ago that the Finnish Air Force finally removed the swastika from some of their uniform badges.
yes our aircraft changed to a White-Blue-White roundel after the war but the swastika was still used on unit badges, flags etc. Our swastika was Blue and positioned differently to the Nazi one. It was the personal good luck symbol of Count Rosen who had it painted on the first aircraft delivered to Finland, and the Finns adopted it from there. Many people especially at military events still wear the Swastika, but I think it's not to respectful of other peoples feelings in public. At home and in cases of historically accuracy, it's a very personal choice. Great model of a great aircraft. Considering the restrictions in materials and fuel, the Germans made some very capable aircraft late in the war. Kurt Tank was an especially gifted engineer with a long career in Argentina and India amongst other places post war.Eric Brown test flew the exact aircraft depicted in my model (this is the one brought to the UK). He said it was an extremely capable aeroplane and was superior at high altitude to the Spitfire IX and XIV and the P-51D Mustang. Luckilly for us, theGermans never managed to build too many of them.
Eric Mc said:
Eric Brown test flew the exact aircraft depicted in my model (this is the one brought to the UK). He said it was an extremely capable aeroplane and was superior at high altitude to the Spitfire IX and XIV and the P-51D Mustang. Luckilly for us, theGermans never managed to build too many of them.
And didn't have too many lads left to fly them. War is Hell.Gassing Station | Scale Models | Top of Page | What's New | My Stuff