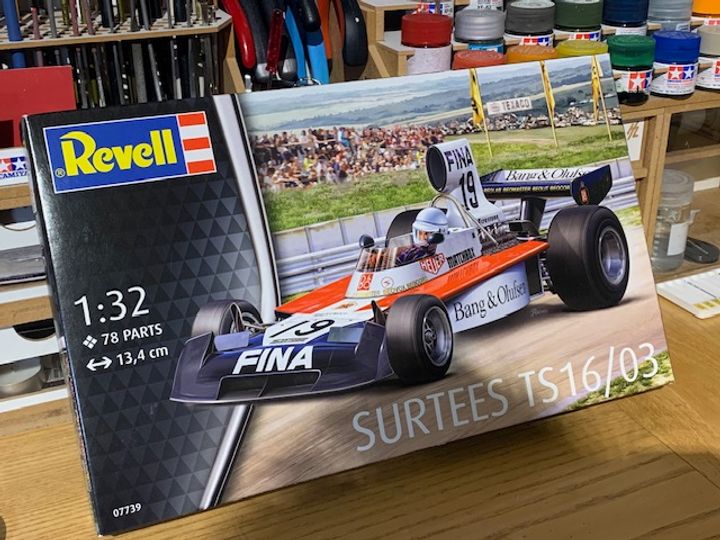
Surtees TS16/03 - Revell (Matchbox) - 1:32
Discussion


I first built one of these in the 1970s, and - predictably - it didn't turn on that well. It's a complicated kit, and many parts are rather soft and don't have positive locations. Also, the original kit had vacuum plated parts, and I'd never removed the plating from them, making effective glueing impossible with Britfix.
Anyway, I noticed recently that Revell had re-released it. I initially looked, but resisted on the assumption that it would need too much work to get upto a good standard. Then on Saturday at the Telford show, I saw one built-up on the Revell stand; I thought it looked really nice, and immediately went to find one. This I did, and here we are £20 lighter:
There are some parts that need immediate attention, such as the tyres and rear wheels. I'll model some new tyres and print them. Also the engine could do with some wiring, and p/e fasteners. I'll wind some separate springs, and also substitute tube for the exhaust pipes and any other bits that are easy to fabricate. Maybe lose the driver figure and add some cockpit detail such as a gear linkage, and that should do it.
It'll never be a stunner, but I hope it will get me back into my 1:12 MP4/6 build; I've just seen the best representation of the male-mould tub on that model that I've ever seen. After contacting the builder, I've now got a way forward at last on that one.
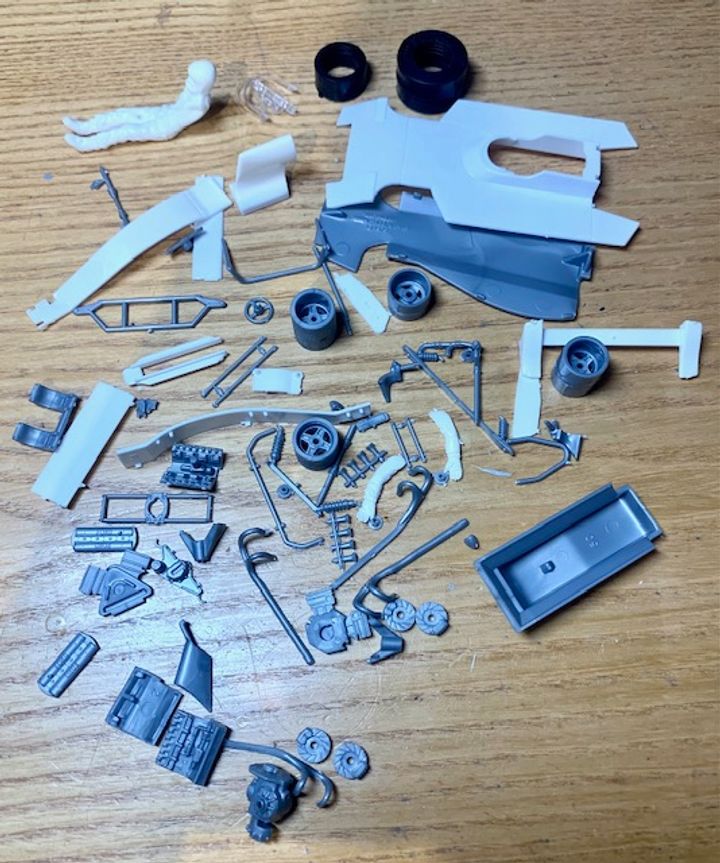
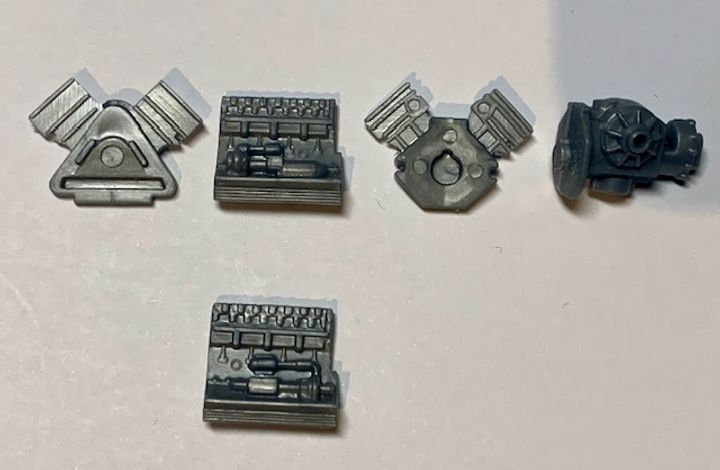
Started on a bit of clean-up - there are a lot of parts for a Matchbox kit:
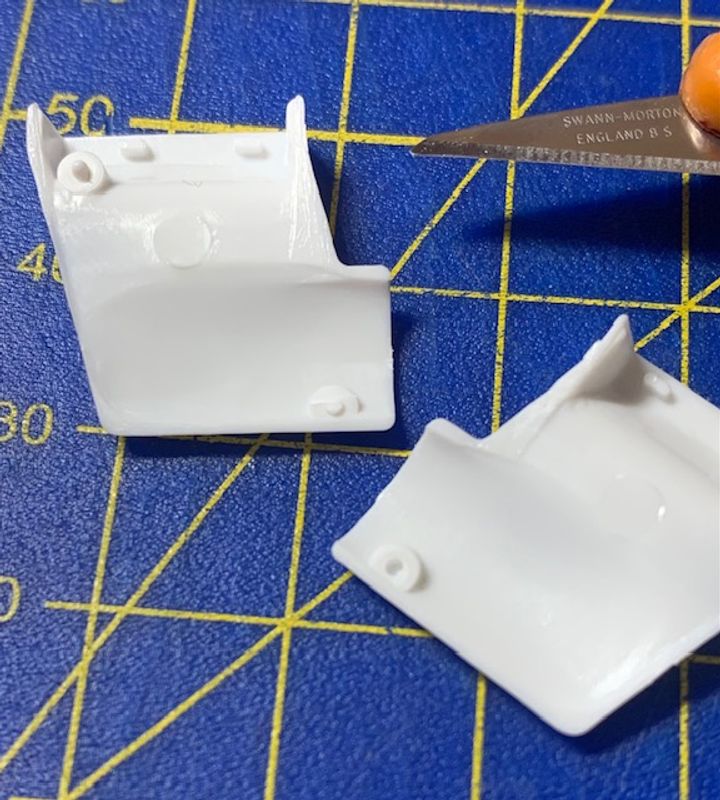
Removed the visible location points inside the airbox:
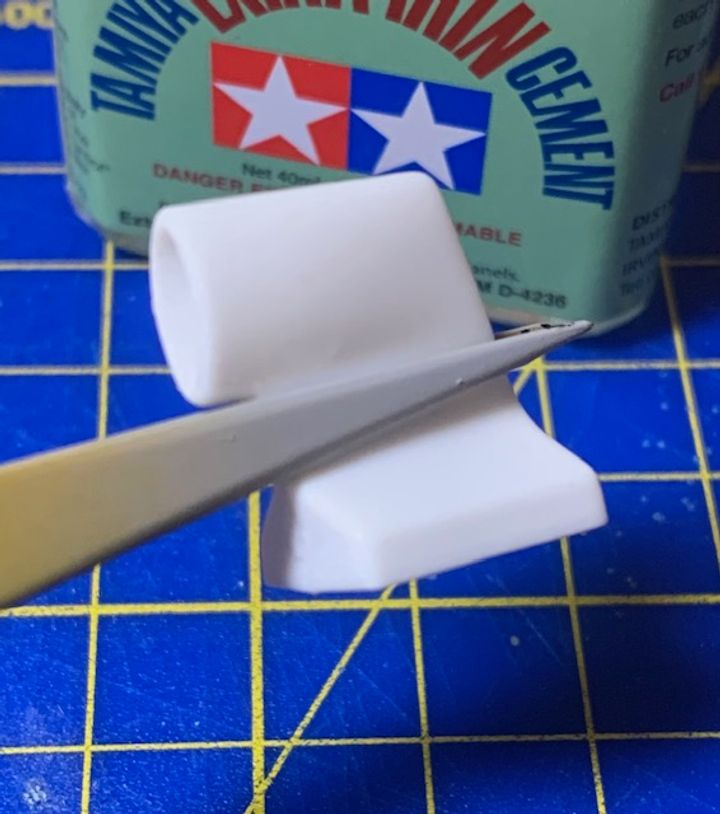
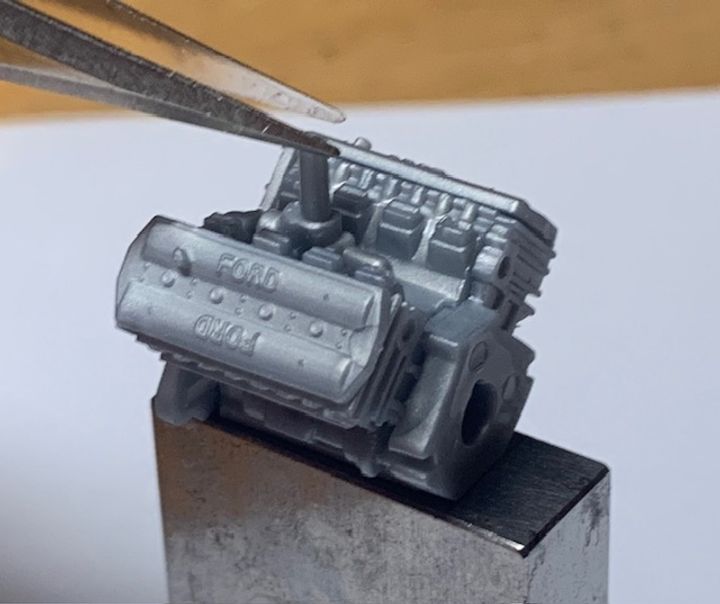
And stuck it together:
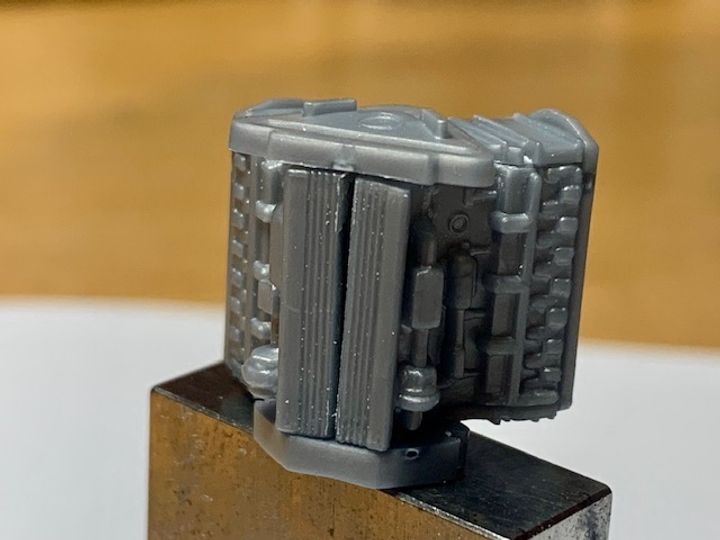
Now the first problem: the engine. Judging by the position of the coolant pipes and where the disappear into the block, I think there's an error in the instructions in that the engine sides are the wrong way around. As shown below is how I think it should be (lower side fits on the right side of the engine). Luckily the location points (not that they amount to much) are identical left-to-right, so it's possible to swap them without much hassle:
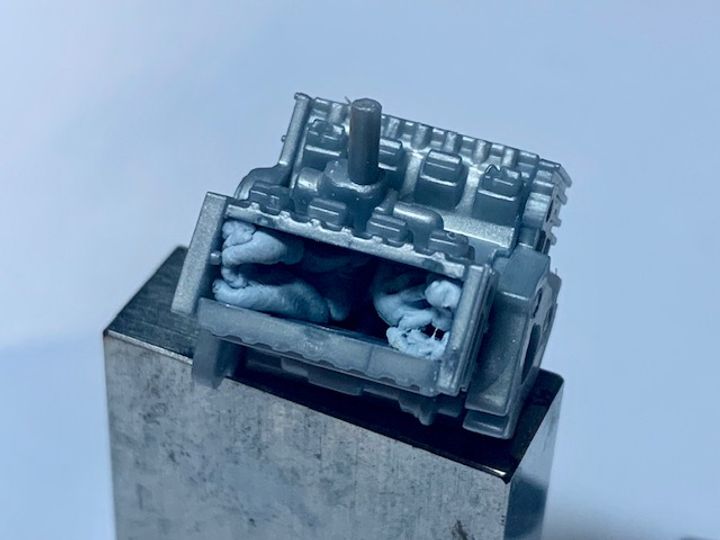
The real issue is that the assembly fits where it touches (which isn't in many places). I've ended up sticking them around blobs of Blu-Tack in the hope that where they do touch - when aligned and glued with Tamia Extra Thin wicked into the joints - will be enough to hold everything in place until I can get some dissolved sprue or plastic shim in place to strengthen everything:
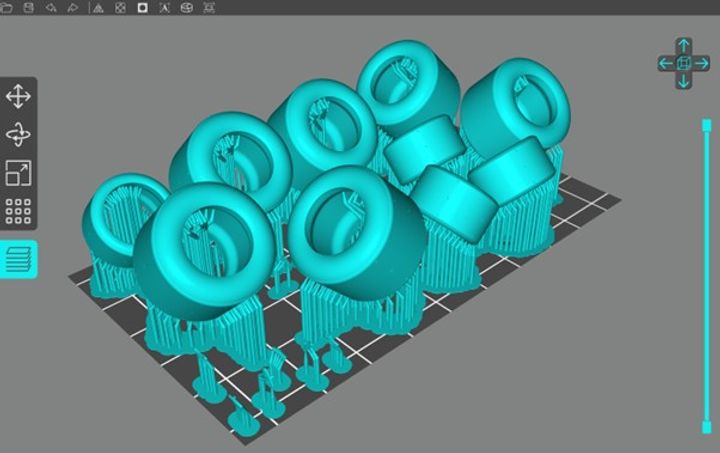
I modelled some new tyres with a more realistic profile and some wear grooves. This is the file ready for slicing (with some Viggen rear view mirrors on the plate too for good measure):
Removed the visible location points inside the airbox:
And stuck it together:
Now the first problem: the engine. Judging by the position of the coolant pipes and where the disappear into the block, I think there's an error in the instructions in that the engine sides are the wrong way around. As shown below is how I think it should be (lower side fits on the right side of the engine). Luckily the location points (not that they amount to much) are identical left-to-right, so it's possible to swap them without much hassle:
The real issue is that the assembly fits where it touches (which isn't in many places). I've ended up sticking them around blobs of Blu-Tack in the hope that where they do touch - when aligned and glued with Tamia Extra Thin wicked into the joints - will be enough to hold everything in place until I can get some dissolved sprue or plastic shim in place to strengthen everything:
I modelled some new tyres with a more realistic profile and some wear grooves. This is the file ready for slicing (with some Viggen rear view mirrors on the plate too for good measure):
tangerine_sedge said:
The most important thing is that it's produced in 2 colour plastic. I'm almost tempted to get one as a Christmas build and make it entirely unpainted in 2 colour plastic Matchbox perfection! Looking forward to seeing what you make of this one!
If you want that look, you'd have to get an original matchbox version off EBay. The original was moulded in red, black and vacuum plated chrome. I would have got an original (marginally better moulded parts I'd assume), but the Revell decals are far better and newer.CanAm said:
I think what we are going to see is a silk purse made from a sow's ear. 
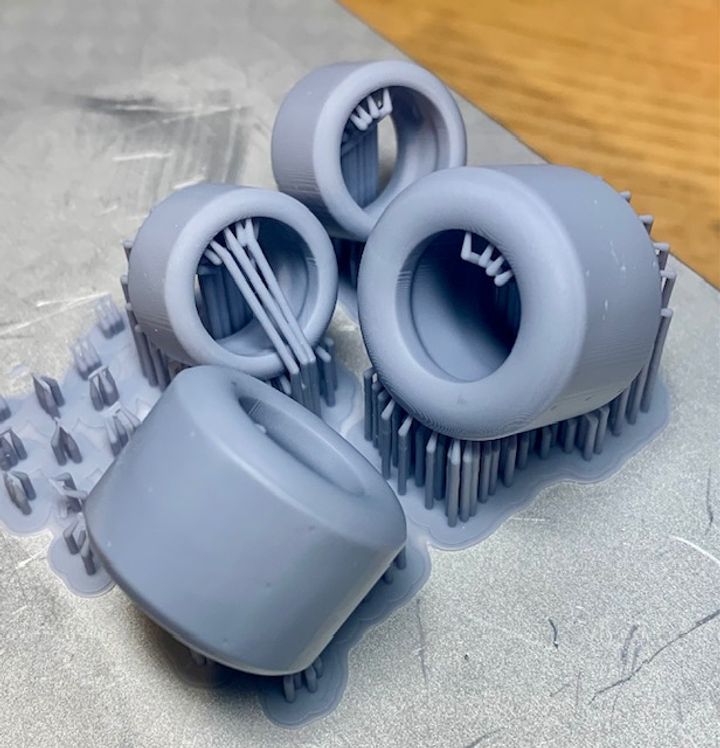
It's very difficult to know how this will turn out. The one on the Revell stand at Telford looked very nice, but looking at the actual parts here, and seeing how some of them only more or less fit together, I'm amazed it builds up as nicely as it appears to do.Printed the tyres:
And slightly modified the rear rims - I thought they looked to thick at the edges:
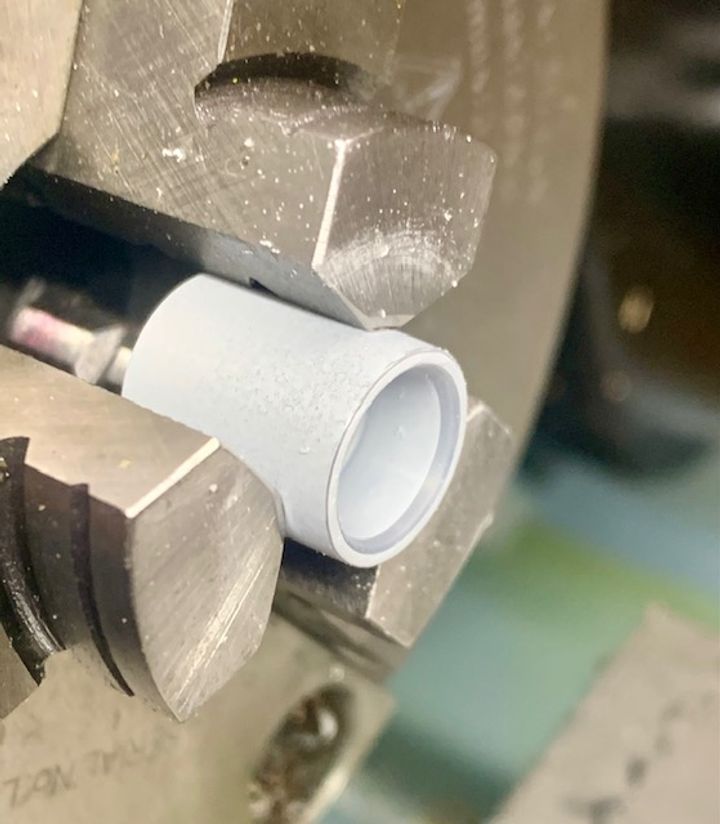
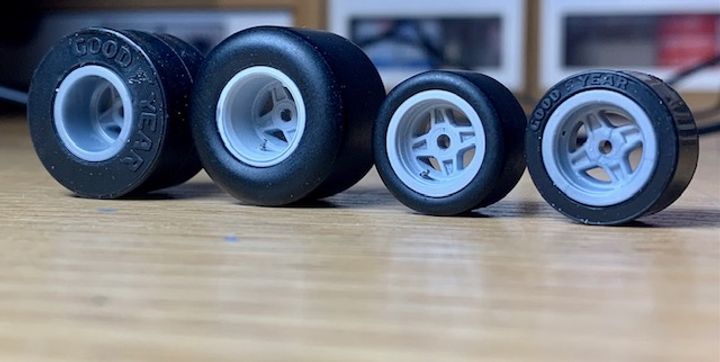
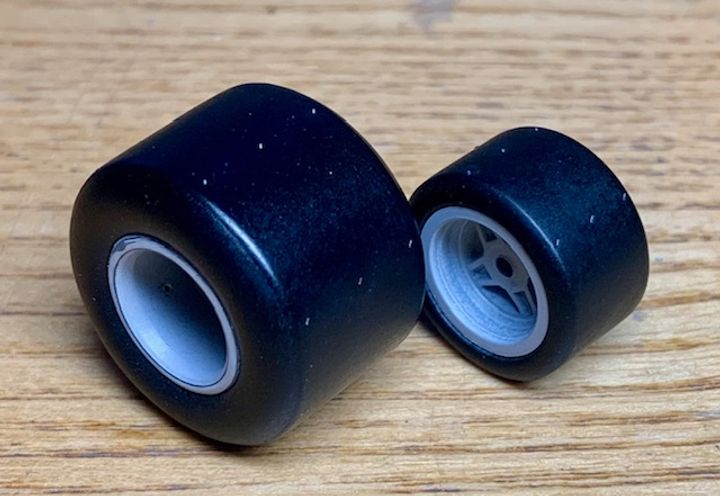
Also drilled them for vales (the front on has fallen over a bit). Here's a comparison with the kit originals:
Painted them with Citadel black primer and highlighted the grooves with some grey wash:
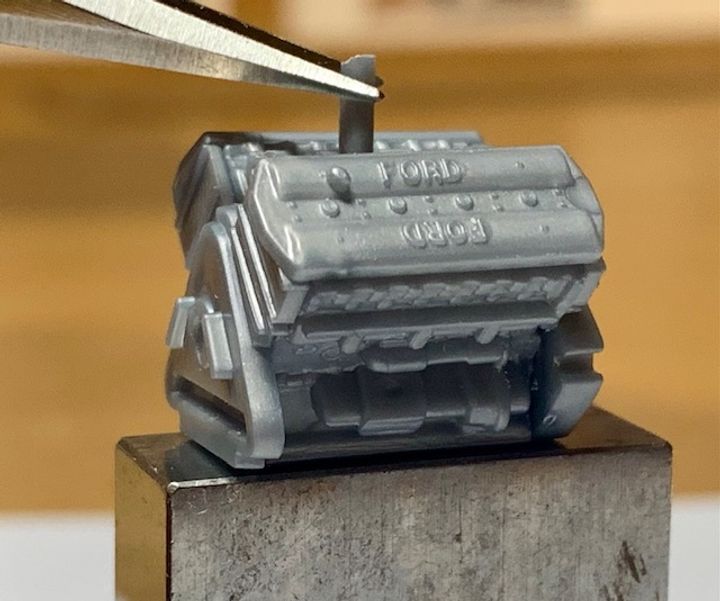
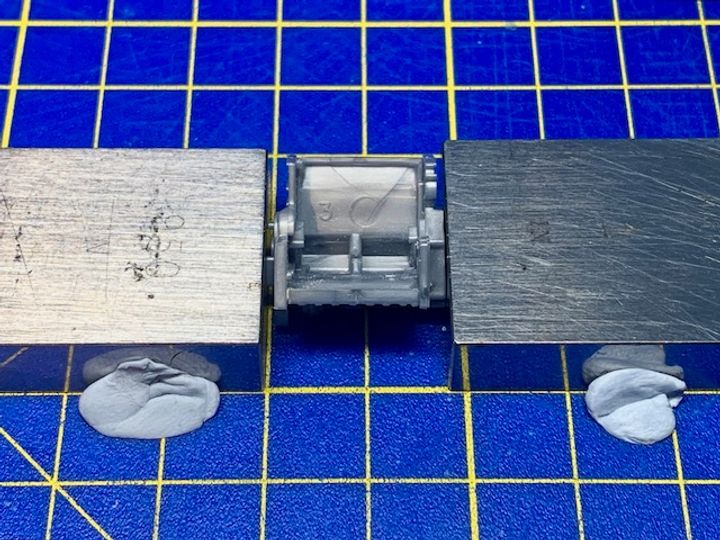
Then moved back to the engine and used some gauge blocks to align everything beofer applying more liquid cement. I can predict that if the front and rear engine faces are even a degree or so out, it will result in a bent car:
And slightly modified the rear rims - I thought they looked to thick at the edges:
Also drilled them for vales (the front on has fallen over a bit). Here's a comparison with the kit originals:
Painted them with Citadel black primer and highlighted the grooves with some grey wash:
Then moved back to the engine and used some gauge blocks to align everything beofer applying more liquid cement. I can predict that if the front and rear engine faces are even a degree or so out, it will result in a bent car:
dr_gn said:
It's very difficult to know how this will turn out. The one on the Revell stand at Telford looked very nice, but looking at the actual parts here, and seeing how some of them only more or less fit together, I'm amazed it builds up as nicely as it appears to do.
Even allowing for its age, the design and manufacture of that DFV block is appalling; I can see why you have your worries over the outcome. Good luck!Gassing Station | Scale Models | Top of Page | What's New | My Stuff