Getting behind the rad
Discussion


Hi all, we're decorating at the moment and have a bit of a problem with regards painting behind the Radiator.
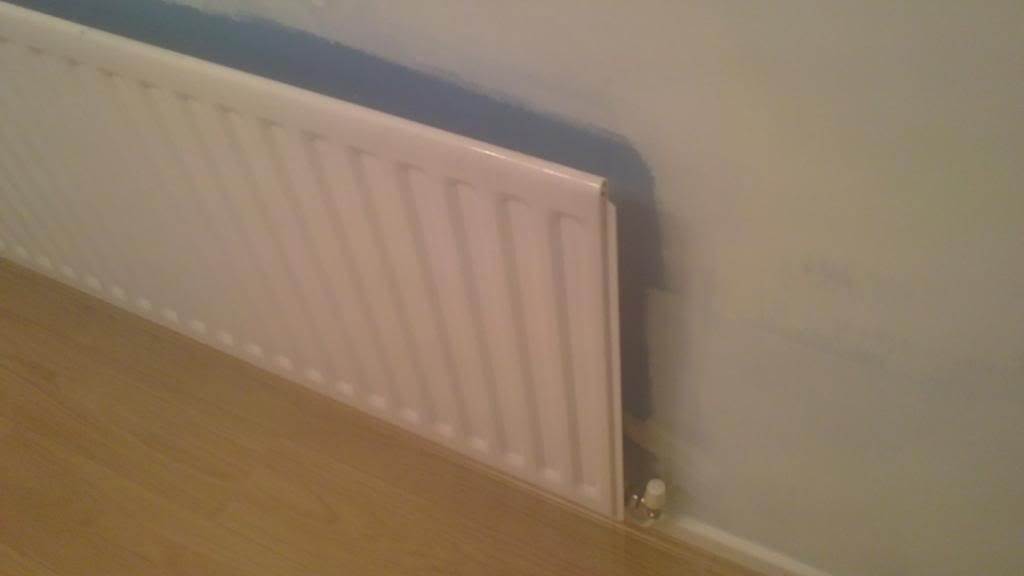
As you can see from the pic its such a huge colour change and we want to get it right.
So the question is can we get it off just enough for one of us to hold it with the other painting the wall?????
We have never done it before so if anyone has an advice on the easiest way to do it and what to avoid doing.
TIA
Mel
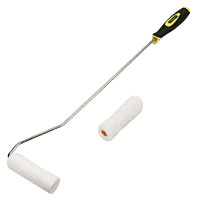
Easiest is probably to buy a radiator roller -
Alternatively, carefully slacken the valve nuts on both ends of the rad, lift the rad off its brackets & allow it to be tilted away from the wall. The nuts can be temporarily pinched back up whilst you paint the wall. Best have towels in place for this as the valves are bound to leak a little when loosened..
Alternatively, carefully slacken the valve nuts on both ends of the rad, lift the rad off its brackets & allow it to be tilted away from the wall. The nuts can be temporarily pinched back up whilst you paint the wall. Best have towels in place for this as the valves are bound to leak a little when loosened..
SS2. said:
Alternatively, carefully slacken the valve nuts on both ends of the rad, lift the rad off its brackets & allow it to be tilted away from the wall. The nuts can be temporarily pinched back up whilst you paint the wall. Best have towels in place for this as the valves are bound to leak a little when loosened..
This is really a recipe for disaster. It's not really normal for the pipework to have the 15mm required to lift off the brackets and in addition doing this risks damaging the pipe where the olive sits. Have a go, by all means, you might be lucky, but I would NEVER do this.Edited by Ferg on Thursday 3rd June 16:28
Ferg said:
SS2. said:
Alternatively, carefully slacken the valve nuts on both ends of the rad, lift the rad off its brackets & allow it to be tilted away from the wall. The nuts can be temporarily pinched back up whilst you paint the wall. Best have towels in place for this as the valves are bound to leak a little when loosened..
This is really a recipe for disaster. It's not really normal for the pipework to have the 15mm required to lift off the brackets and in addition doing this risks damaging the pipe where the olive sits. Have a go, by all means, you might be lucky, but I would NEVER do this.Edited by Ferg on Thursday 3rd June 16:28
SS2. said:
Easiest is probably to buy a radiator roller -

SS2. said:
Alternatively, carefully slacken the valve nuts on both ends of the rad, lift the rad off its brackets & allow it to be tilted away from the wall. The nuts can be temporarily pinched back up whilst you paint the wall. Best have towels in place for this as the valves are bound to leak a little when loosened..


I always just take them off completely - all of about five minutes work. Close both valves fully, place a tray under one end of the radiator and slowly undo one of the radiator nuts (not the nut holding the valve to the pipe!) until the water starts to drain out. As the radiator starts to drain and as your confidence improves you can further undo the nut and open the bleed valve at the top to speed up draining. Once it's fully drained undo both nuts and just lift the radiator off the brackets, possibly with the help of someone else to hold the valves clear. Job jobbed.

Trevelyan said:
I always just take them off completely - all of about five minutes work. Close both valves fully, place a tray under one end of the radiator and slowly undo one of the radiator nuts (not the nut holding the valve to the pipe!) until the water starts to drain out. As the radiator starts to drain and as your confidence improves you can further undo the nut and open the bleed valve at the top to speed up draining. Once it's fully drained undo both nuts and just lift the radiator off the brackets, possibly with the help of someone else to hold the valves clear. Job jobbed.
Don't forget to refil the rad when you re-attach it, and bleed it, and re-pressurise the system 
Dogwatch said:
SS2. said:
Alternatively, carefully slacken the valve nuts on both ends of the rad, lift the rad off its brackets & allow it to be tilted away from the wall. The nuts can be temporarily pinched back up whilst you paint the wall. Best have towels in place for this as the valves are bound to leak a little when loosened..
Just painting though, it has to be the roller..


Ferg said:
SS2. said:
Alternatively, carefully slacken the valve nuts on both ends of the rad, lift the rad off its brackets & allow it to be tilted away from the wall. The nuts can be temporarily pinched back up whilst you paint the wall. Best have towels in place for this as the valves are bound to leak a little when loosened..
This is really a recipe for disaster. It's not really normal for the pipework to have the 15mm required to lift off the brackets and in addition doing this risks damaging the pipe where the olive sits. Have a go, by all means, you might be lucky, but I would NEVER do this.

Gassing Station | Homes, Gardens and DIY | Top of Page | What's New | My Stuff