Mk1 Golf GTi 16v track car (strip down and rebuild)
Discussion


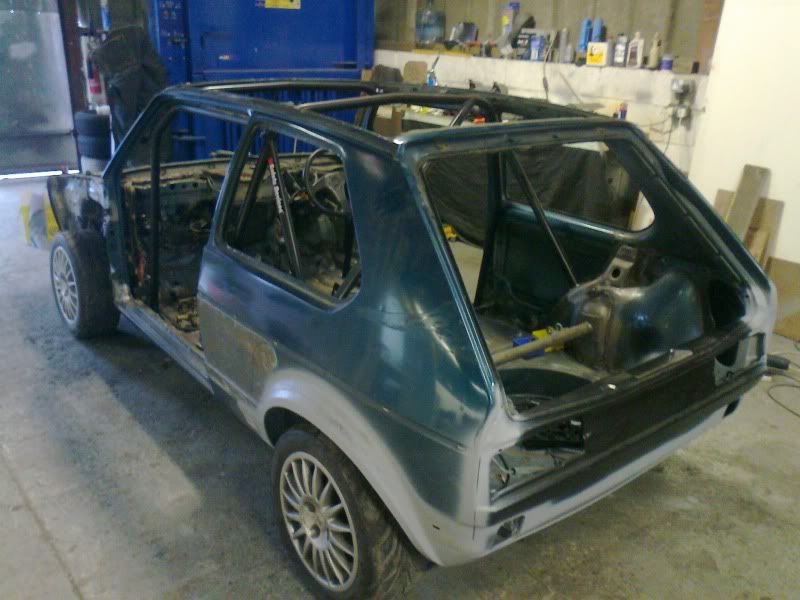
I've owned this car for around 10 years now and it's gone through various guises, I've mostly been using it on track and it looked like this -

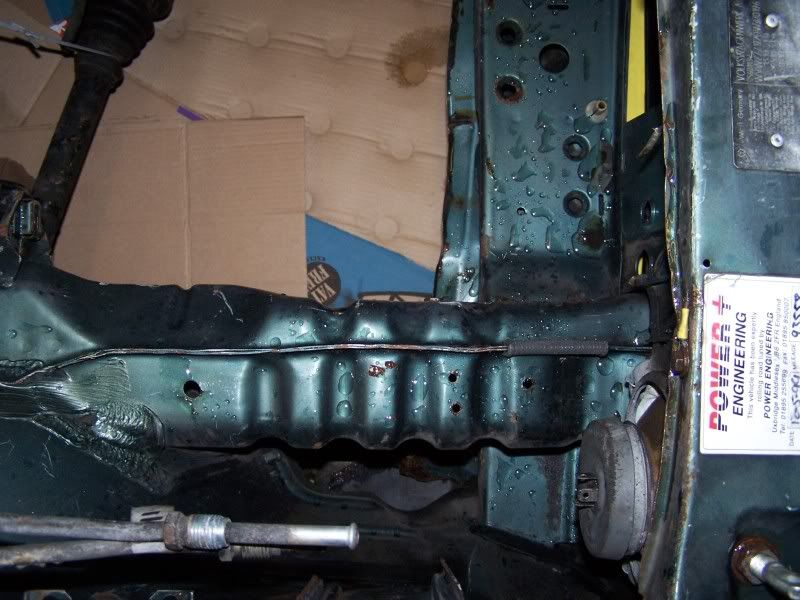
But as old cars tend too it got a bit tatty -

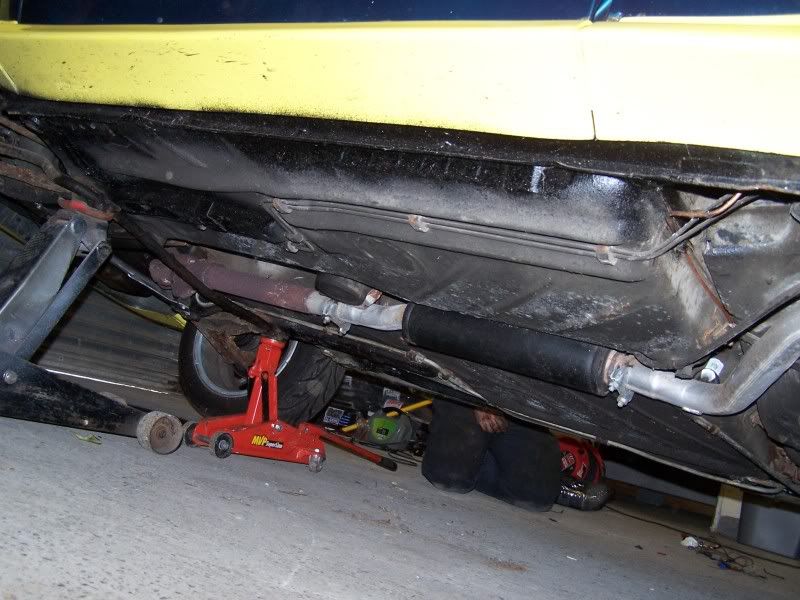
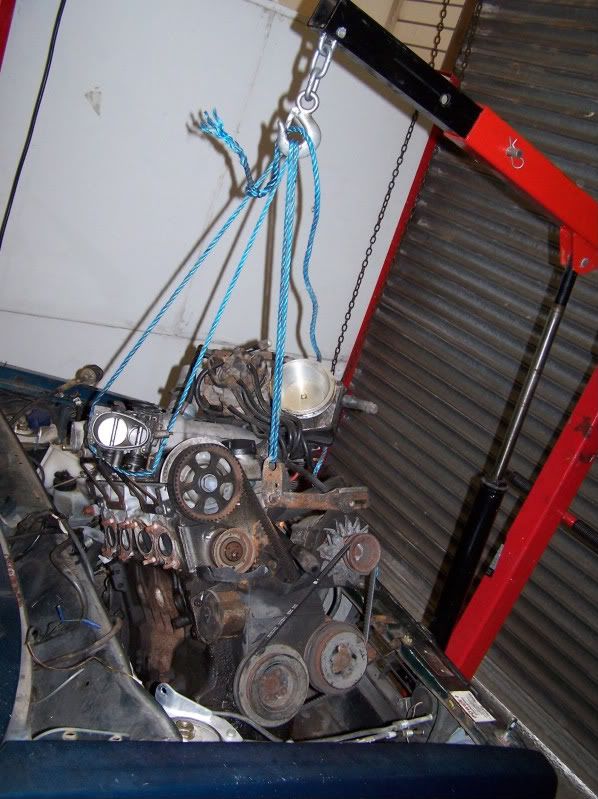
So the engine came out -

Was a little grubby in there -
Decided to give it a clean -
And it was at this point even being quite mechanically minded and able that other things became more of a priority (usual family/work compromises) and it sat in my unit forgotten. Realising that I'd never have the time or motivation now to get it finished, it was at this time that I came to know about a guy on the Evo Forum, Dave Flew, who had set up on his own and was doing a bit of work on an e30 M3 link here for both builds - click.
Continuing my build however...
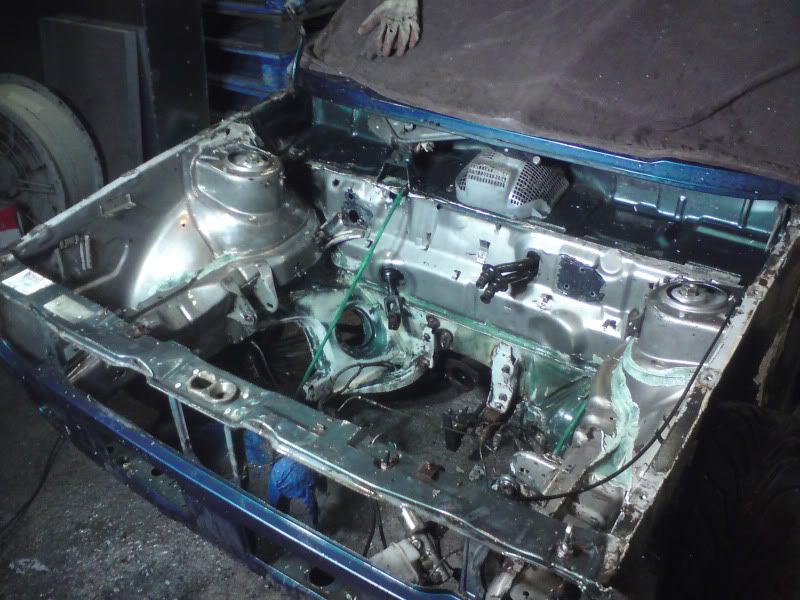


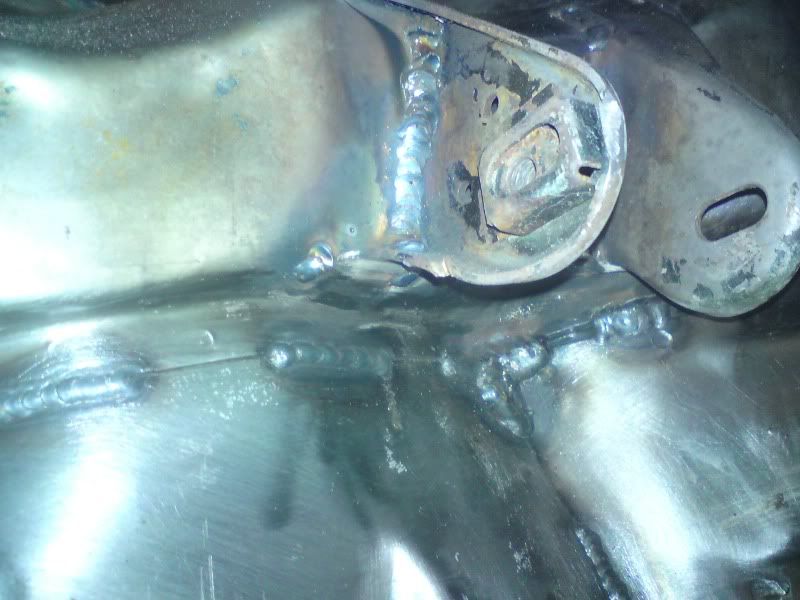


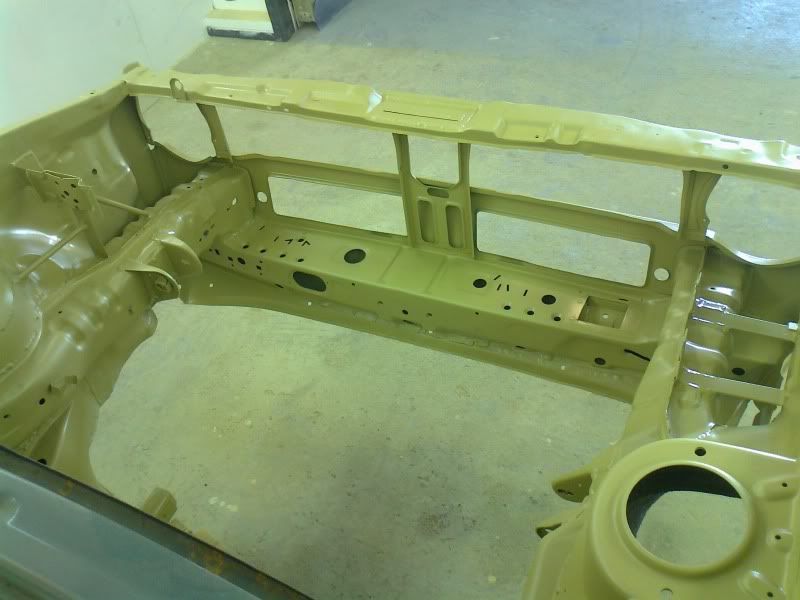
Engine bay was stripped, strengthened and seam welded.
More in a moment to keep the posts a reasonable size.
But as old cars tend too it got a bit tatty -
So the engine came out -
Was a little grubby in there -
Decided to give it a clean -
And it was at this point even being quite mechanically minded and able that other things became more of a priority (usual family/work compromises) and it sat in my unit forgotten. Realising that I'd never have the time or motivation now to get it finished, it was at this time that I came to know about a guy on the Evo Forum, Dave Flew, who had set up on his own and was doing a bit of work on an e30 M3 link here for both builds - click.
Continuing my build however...
Engine bay was stripped, strengthened and seam welded.
More in a moment to keep the posts a reasonable size.


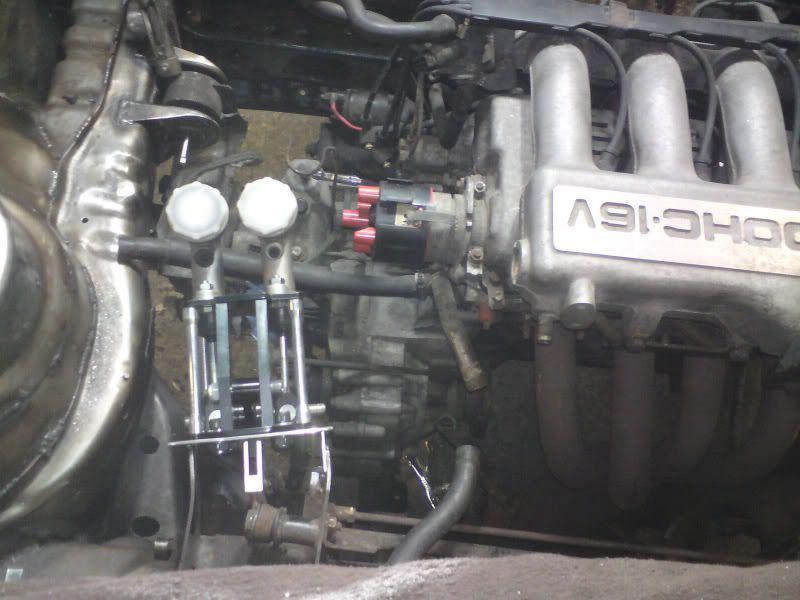


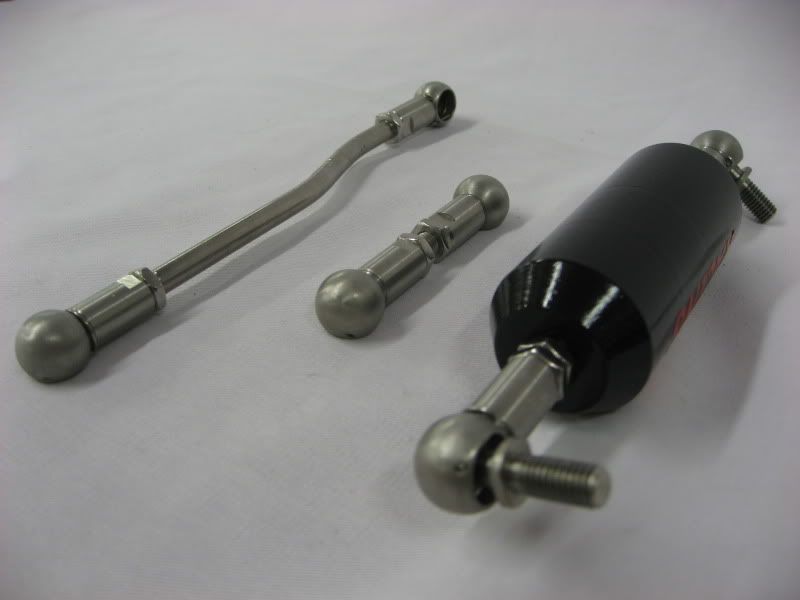
Last couple of picture show the engine reinstall to gauge for clearance and trial fitting a few components. The notorious weak point in a mk1 is the linkage for the brakes giving poor brake feel, this is my solution along with the linkage bar being replaced by a stainless steel one. It was cantered to one side to clear the dizzy, found out afterwards that an Integrale 16V one would saved us this issue, nevermind.
The original buckets had been mounted on these cross-rails.

The main rollcage mounts were also of poor quality, with very little penetration of the welds.


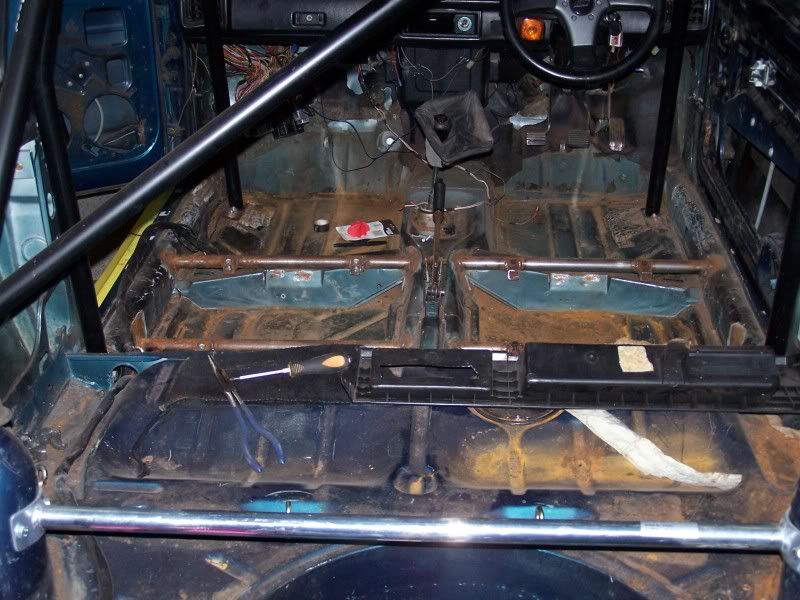
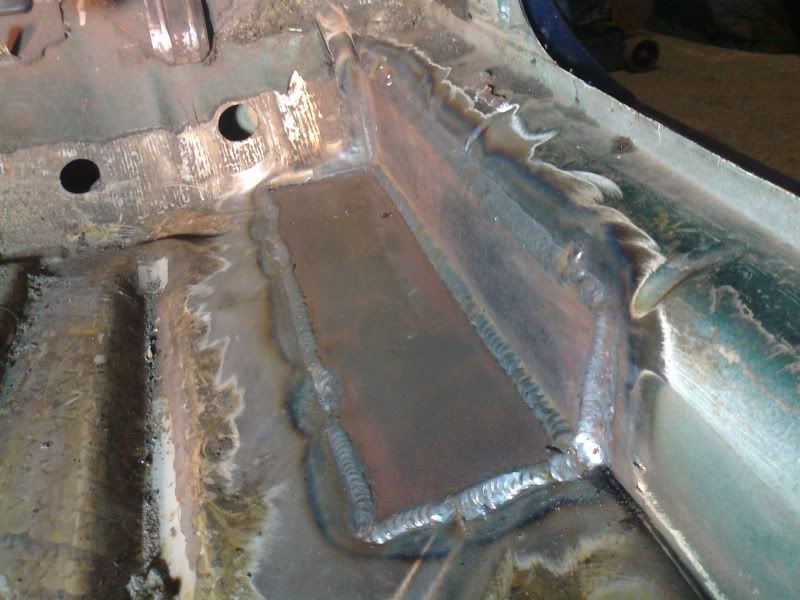
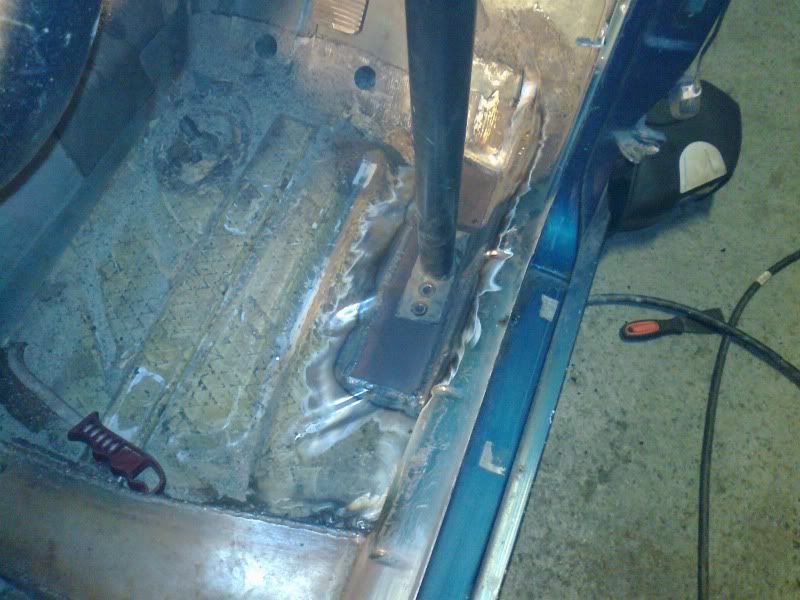
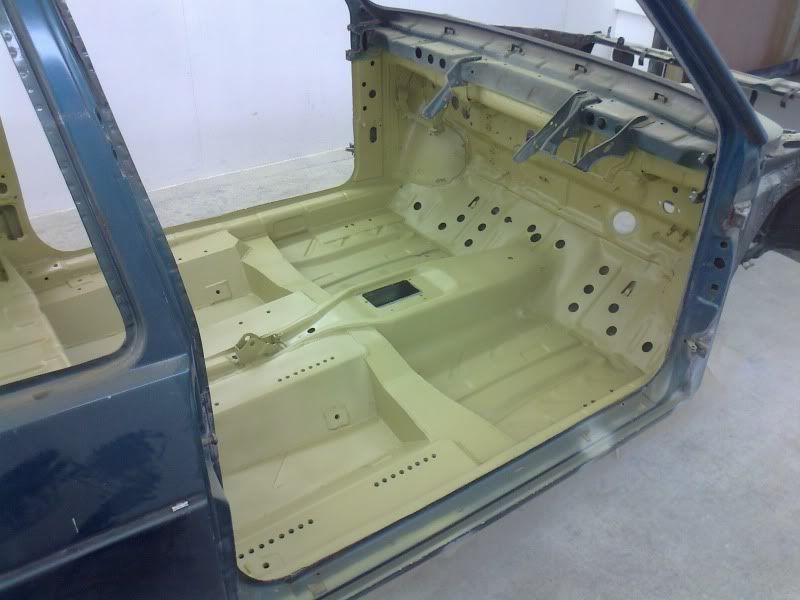
On with the new floor.
Stripped the whole drivers floor pan back to bare metal and etch primed the area with weld through primer. All the back surfaces of the metalwork were coated too. The finished box section will be waxed too.

The beginnings of the floor.


Checking seat alignment.

Dave welded in multiple captive nuts, so that we have my position, plus 4" forward adjustment and 2" further back.
The 8 allen bolts can be used in all of the positions.


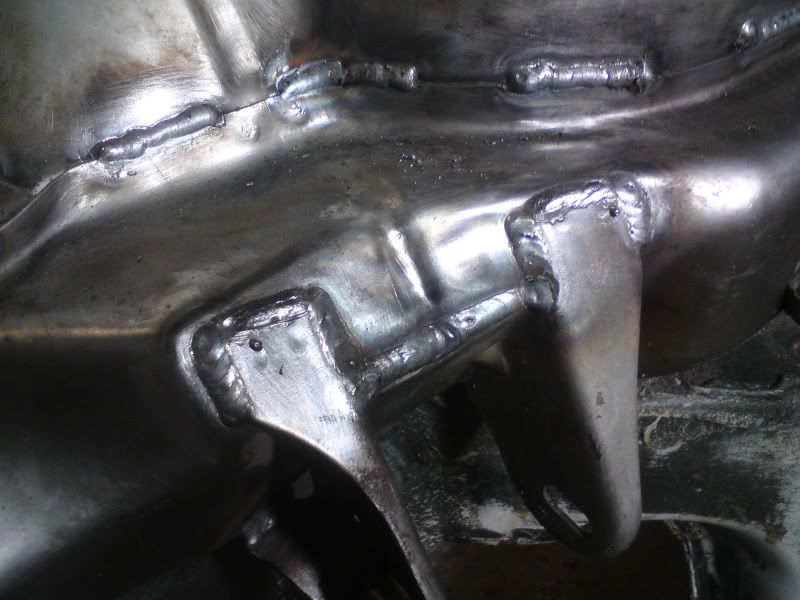
New improved cage mount.


Just need to add the harness fixings to finish that side of the floor.
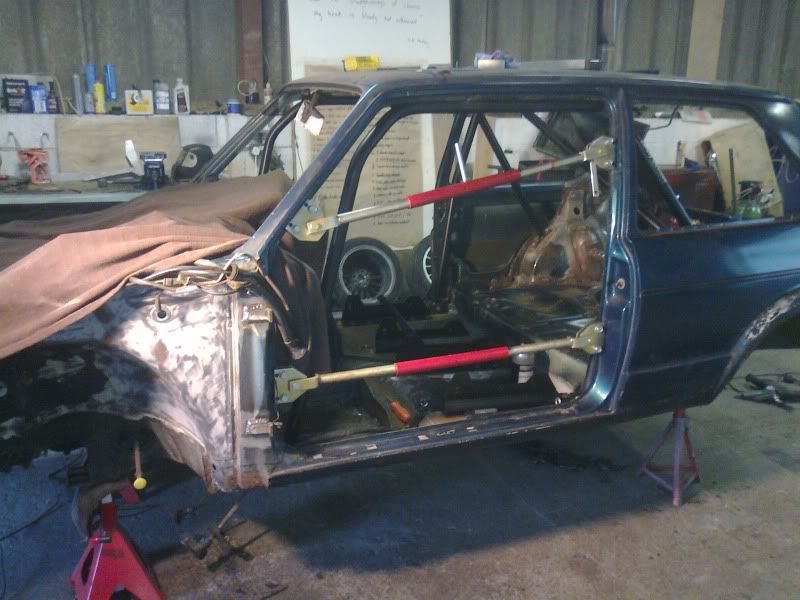
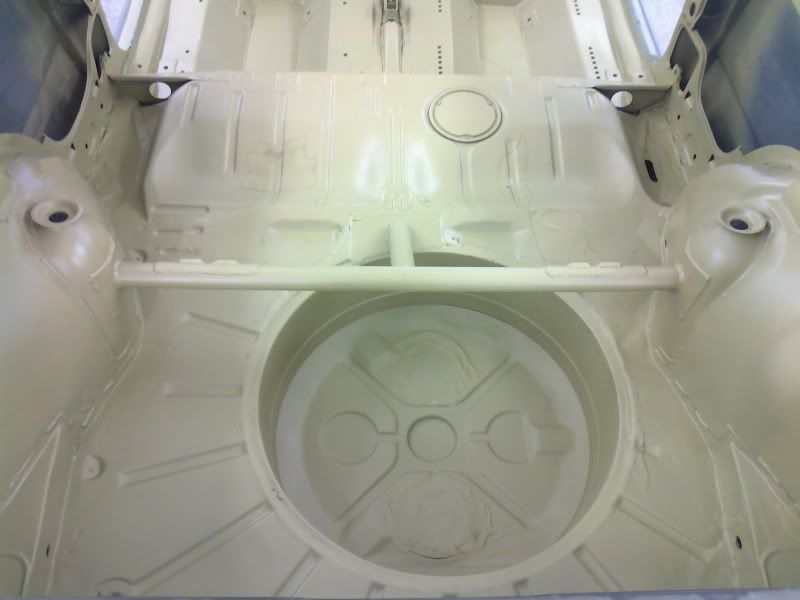
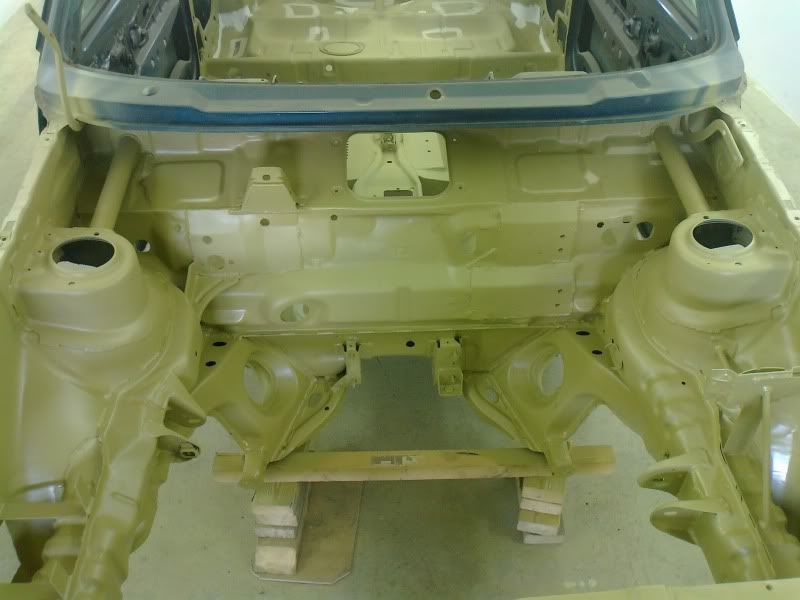
Also added a new rear strut brace, which will also provide the secure rear mounting point for the shoulder harnesses. While Dave was in there he seamed both rear turrets and reinforced the strut top mounting too, along with adding the new rear cage mounts.


Couple more mods to go with the strut brace.


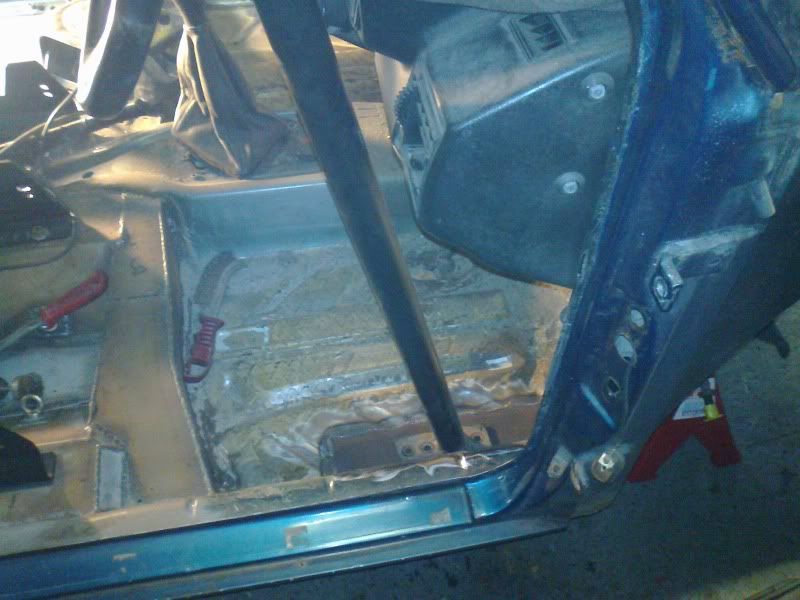
Finished floor pans.


Passenger rear harness mount in place.


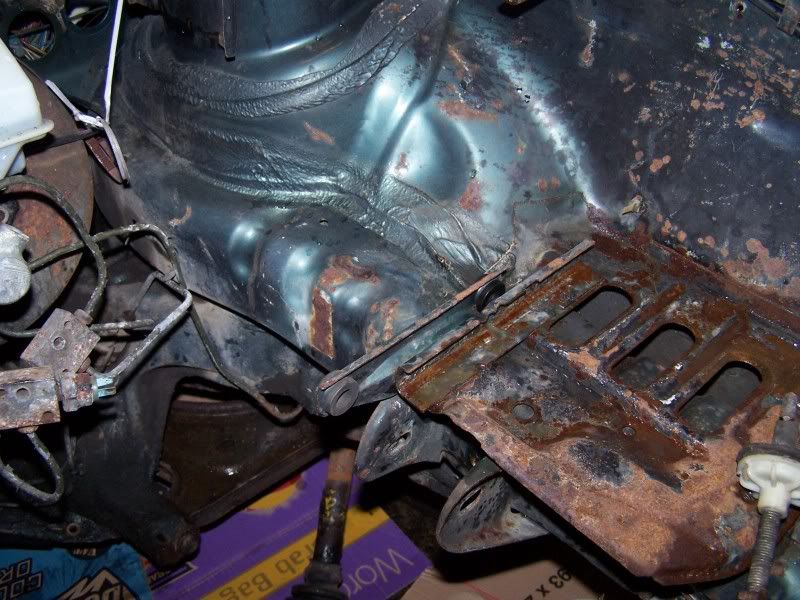
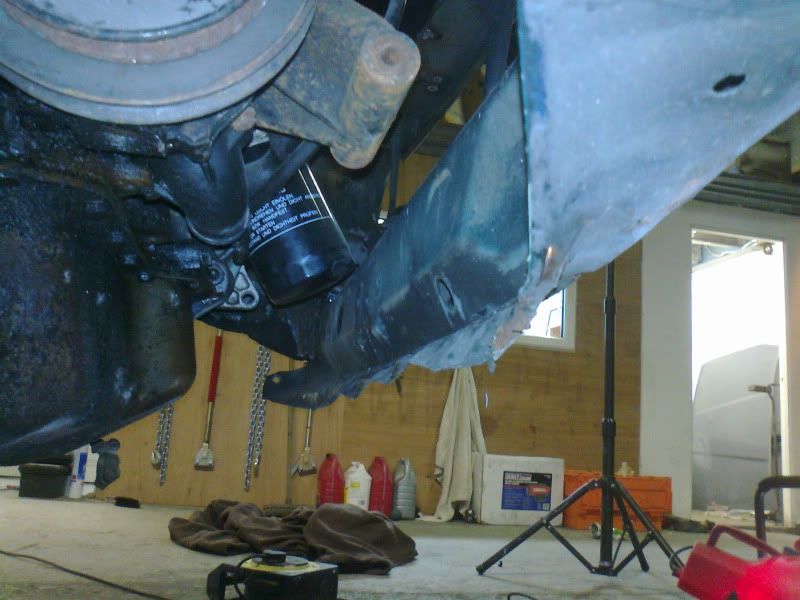
With that little lot done, Dave got on with the repair of the O/S/R chassis leg and boot floor.


Set up the Golf on the Dozer.


Made up a bracket to attatch to the chassis leg via the bumper mounting holes.


Added a weld either side as an edge for the Jig clamp to bite into.

Bolted in place.


Used the spreading ram after the initial pull to help reshape the leg from inside.


Almost complete repair. Also cunningly removed a crease on the quarter panel at the same time, as it was affected by the movement that had occured to the chassis leg.


Passenger rear harness mount in place.
With that little lot done, Dave got on with the repair of the O/S/R chassis leg and boot floor.
Set up the Golf on the Dozer.
Made up a bracket to attatch to the chassis leg via the bumper mounting holes.
Added a weld either side as an edge for the Jig clamp to bite into.
Bolted in place.
Used the spreading ram after the initial pull to help reshape the leg from inside.
Almost complete repair. Also cunningly removed a crease on the quarter panel at the same time, as it was affected by the movement that had occured to the chassis leg.

A little something special


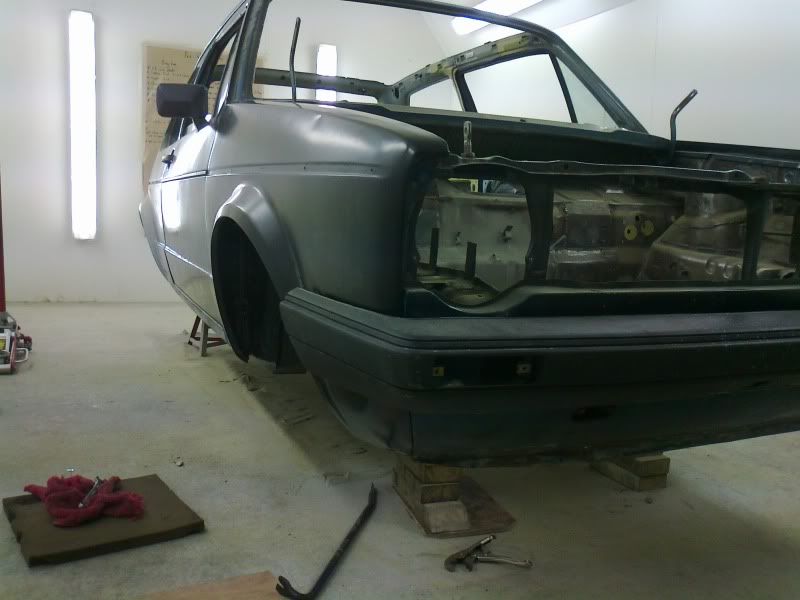
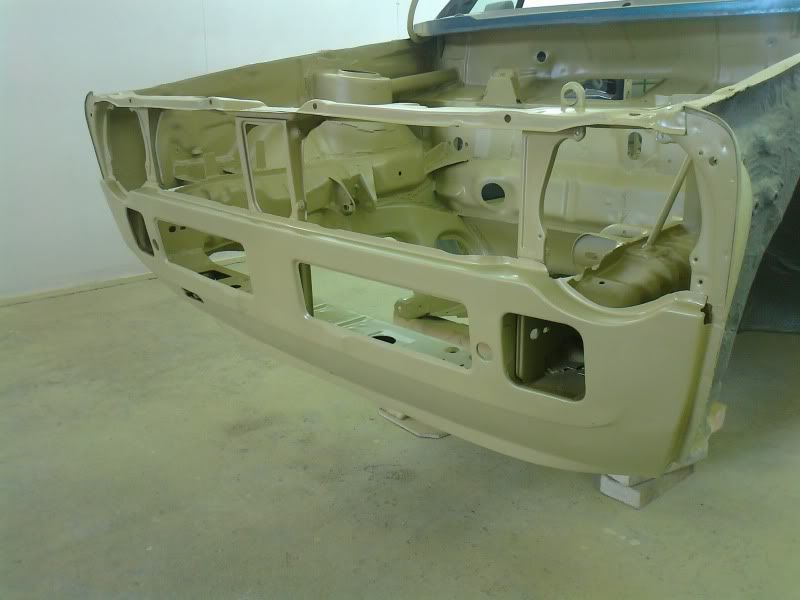
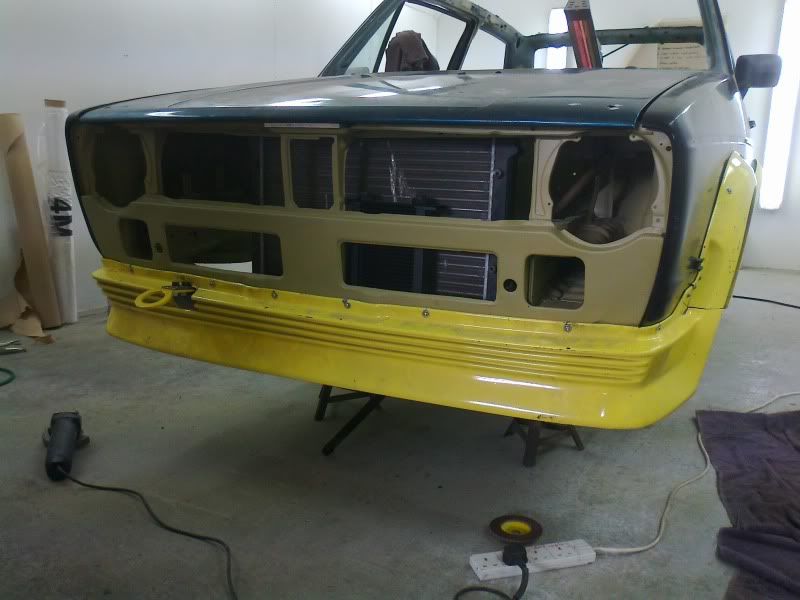
The first bit thats been done is the front valence.

Start of repairing the front panel.

Most of it done there, you can look at the first pic to see how it is now.
The air box used to sit on the chassis leg, this doesn't help it breathe properly.


The fuel filter is going to be relocated altogether but with the new airbox/,metering head support it allows the bonnet to close properly and increases air flow in. This hasn't been finished yet, bit more fabrication going in to this area yet.
Time for the new sill.


New sill going in -


The bottom picture shows a jacking plate, this allows me to push a trolley jack under and jack the car up quickly and easily without worrying about caving in the sills, common issue for most people I reckon.


Back panel removed neatly.

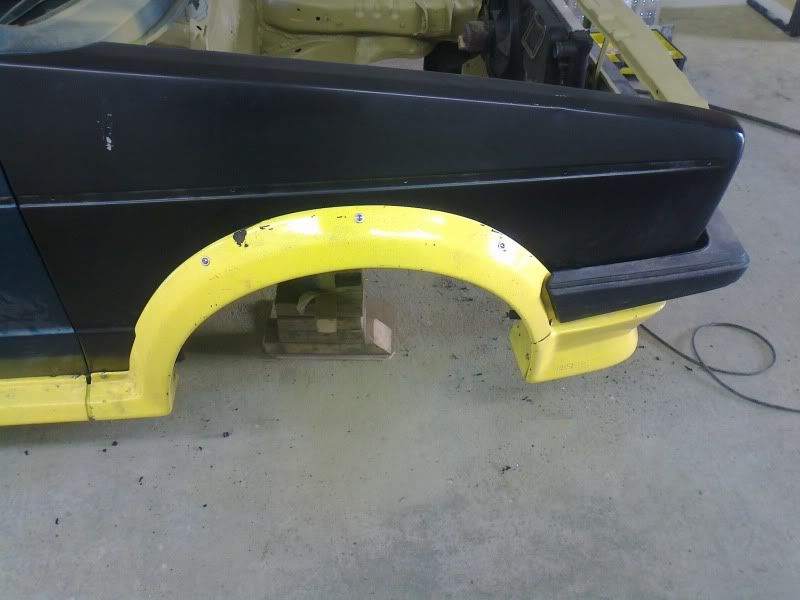
Rear arches being sorted, will now be capable of running proper low, arches will be fitted using motorsport esque bolts allowing quick removal without disturbing all the paint.

You can see the boot floor repair here, you'll not notice it once it's been painted.

Wheel well had a small patch of rot, it had been repaired previously (not very well!) but now its being done properly with metal put back in.
New sill going in -
The bottom picture shows a jacking plate, this allows me to push a trolley jack under and jack the car up quickly and easily without worrying about caving in the sills, common issue for most people I reckon.
Back panel removed neatly.
Rear arches being sorted, will now be capable of running proper low, arches will be fitted using motorsport esque bolts allowing quick removal without disturbing all the paint.
You can see the boot floor repair here, you'll not notice it once it's been painted.
Wheel well had a small patch of rot, it had been repaired previously (not very well!) but now its being done properly with metal put back in.


The doors had started sagging, the reason being the hinges had started to crack away from the shell so they've been welded too


Another area which had a repair in the past, look at that pile of filler on the floor! Thankfully this will now have the metal reworked, pushed out and made good, proper repair than a bodge.


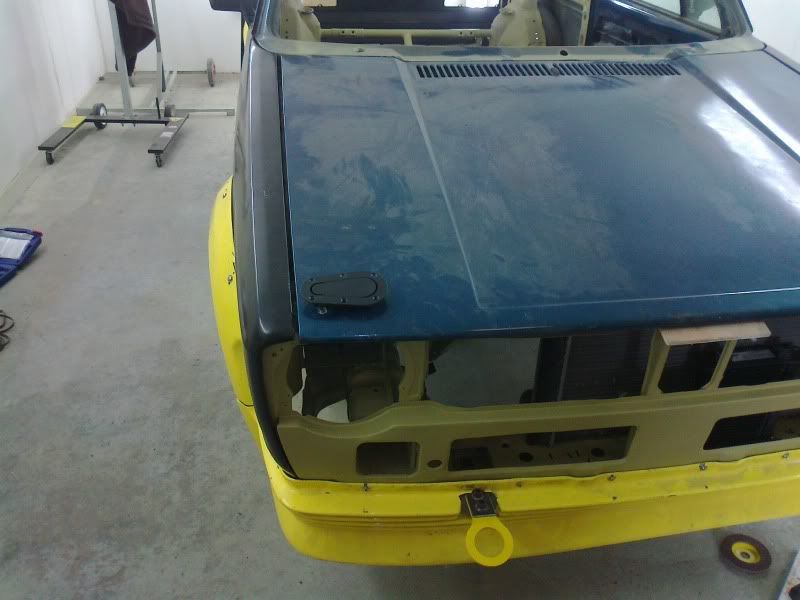
Carbon Fibre roof skin to replace the old one with sunroof mechanism, the little surprise mentioned earlier!


Wiring loom tidied up, thanks to very good mate Jon.
More shiney bits purchased...


From a chap on CGTi's entrepreneur section.
And also thanks to CGTi I've got a set of competition front and rear engine mounts coming my way...


Many thanks to Chris Eyre and Club GTi for organising these
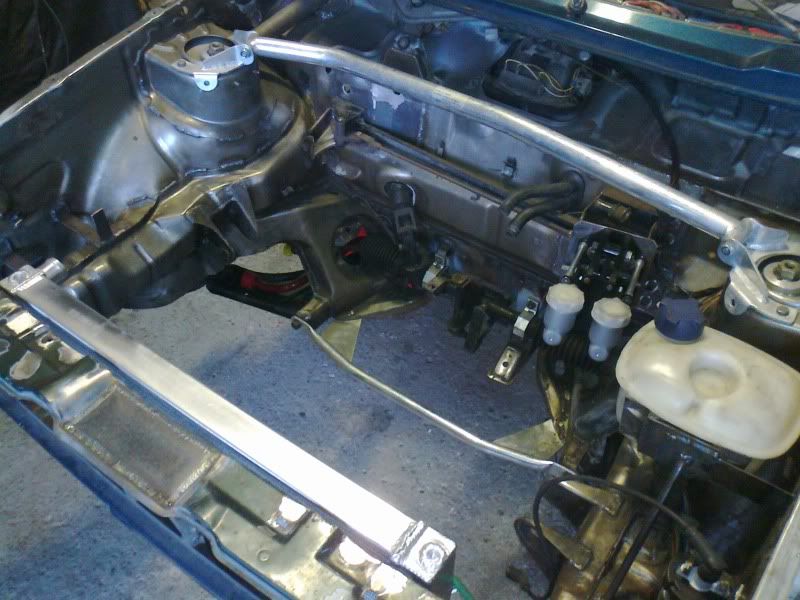
Close up of the bay with a few bits and pieces now refitted.

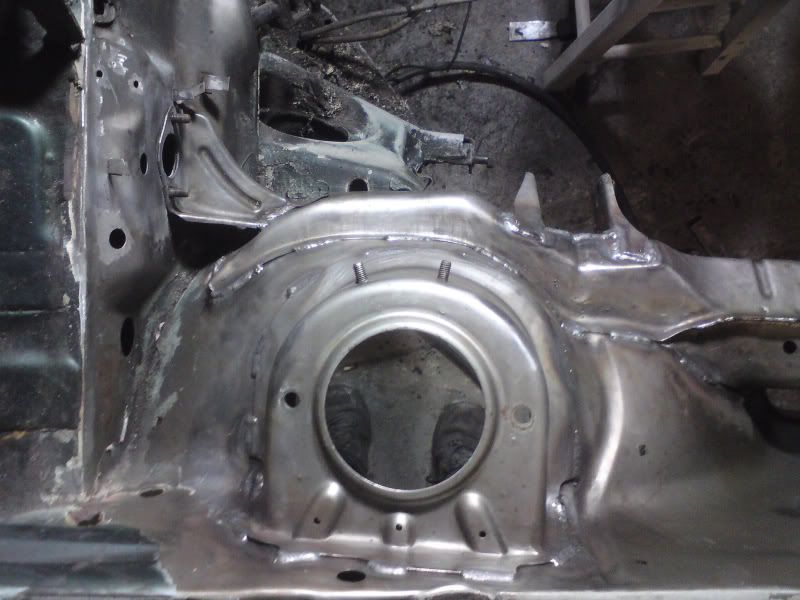
Header tank relocated, Coil relocated, solid steering rack mounts.
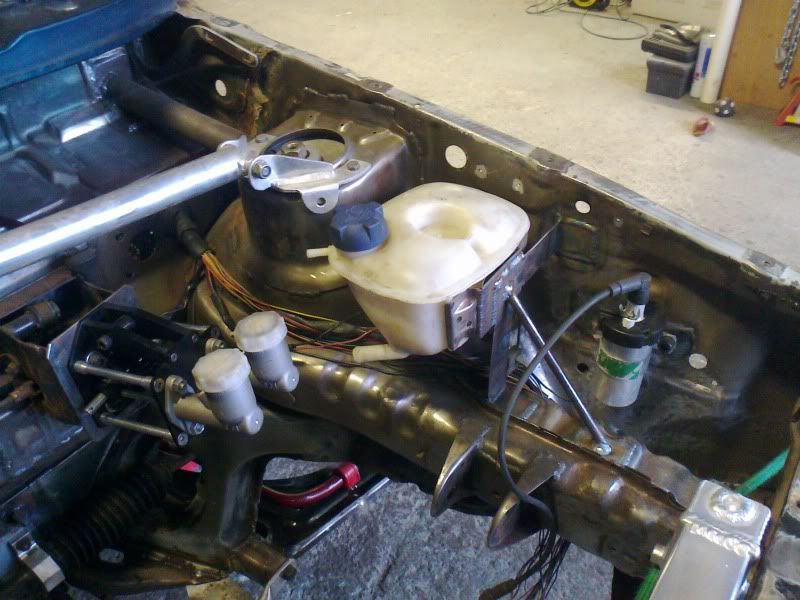


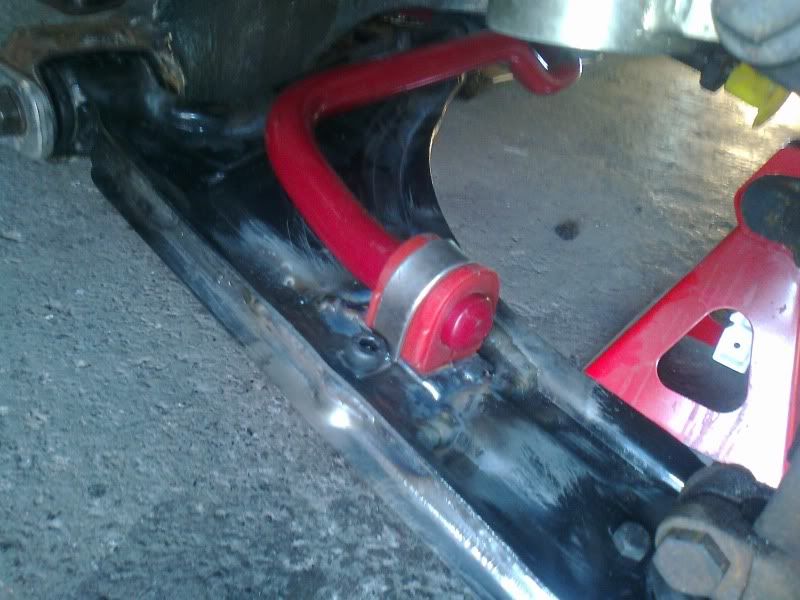
ARB mounts


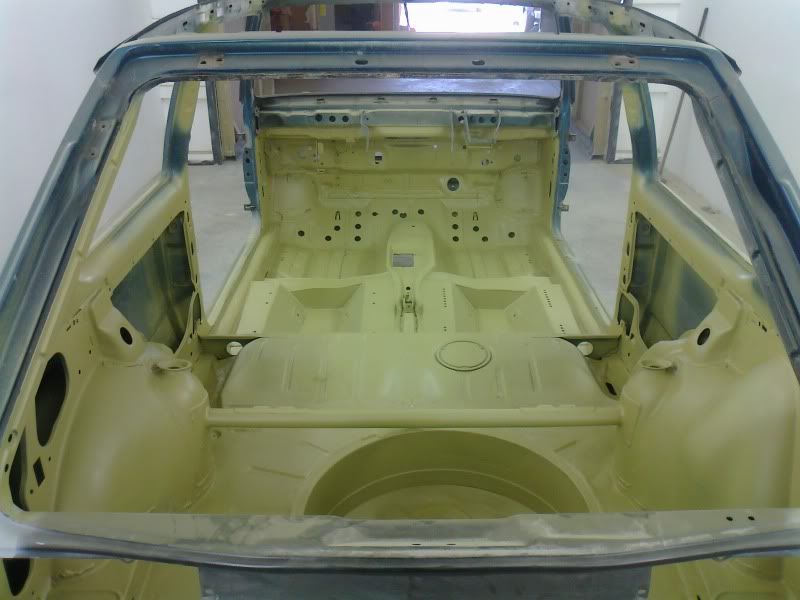


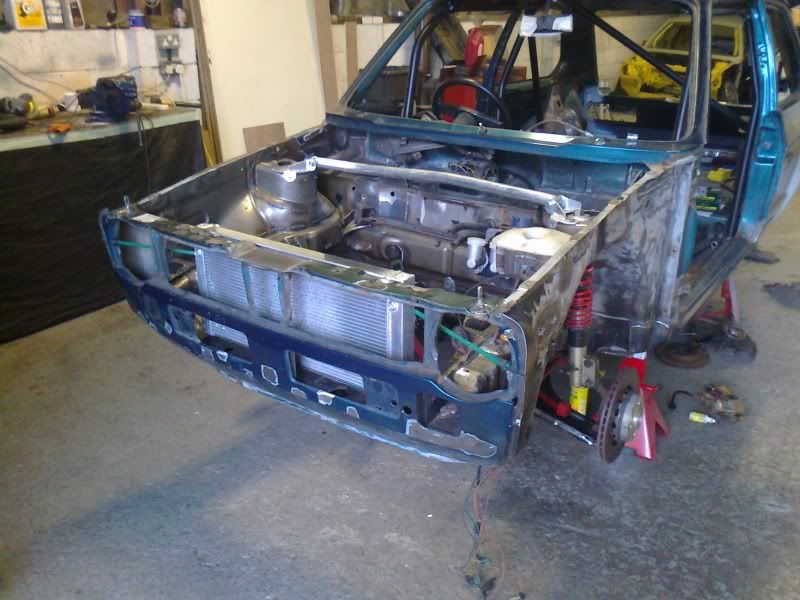
Here's the shell, finally prepped and ready for paint....


And here is the inside in its new VW Candy White finish (same colour as my T5 facelift transporter tow vehicle)


Engine bay and shell outside will be cleared of overspray and then all the shuts and window apertures will be masked off, then topcoat will go on.
And here is the inside in its new VW Candy White finish (same colour as my T5 facelift transporter tow vehicle)
Engine bay and shell outside will be cleared of overspray and then all the shuts and window apertures will be masked off, then topcoat will go on.


Ignore the gearbox, it's an unknown quantity, I broke a mk2 8v for this gearbox as it had a quaife diff in it, however not checking the codes means that its turned out to be CHE mk3 8v gearbox, which in my experience are notoriously poor, every single one has had a whine in reverse and eventually broken. So the plan is to run this box for the summer then strip down and rebuild the diff from the CHE box in to the mk2 16v box and adjust the ratios/FD to suit. New gearbox will be cleaned and sprayed to match the engine
Gassing Station | Readers' Cars | Top of Page | What's New | My Stuff