Porsche 993 - neverending project
Discussion


This stuff is all on my site but I had a request to post it here where other people can see it who wouldn't normally.
It started as life as me just wanting to fit some cat bypass pipes but of course soon as they rear PU came off it quickly descended into more and more jobs and then finally when access was so good as so much stuff was removed, I felt that I may as well do all my remaining RS suspension mods as well that were oringally planned for next year.
So here goes.

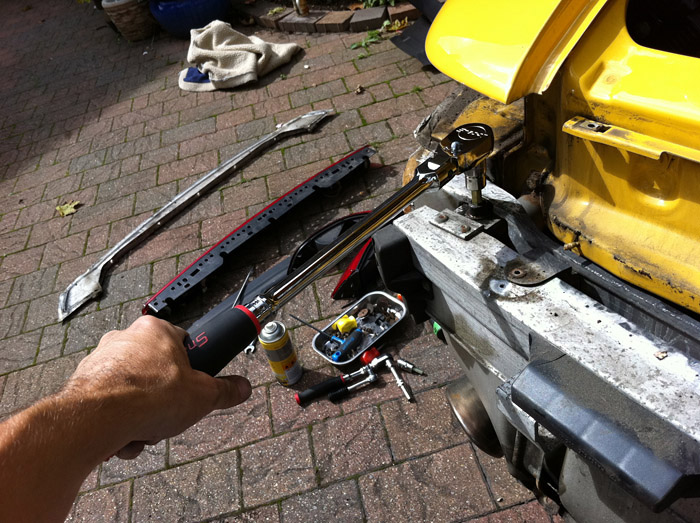
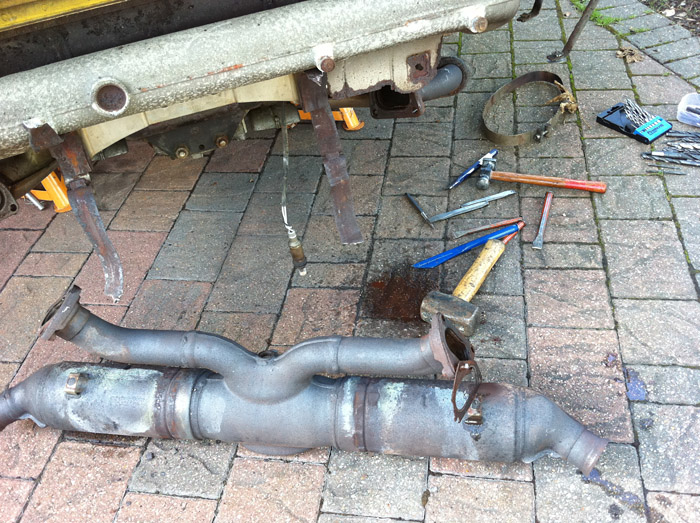
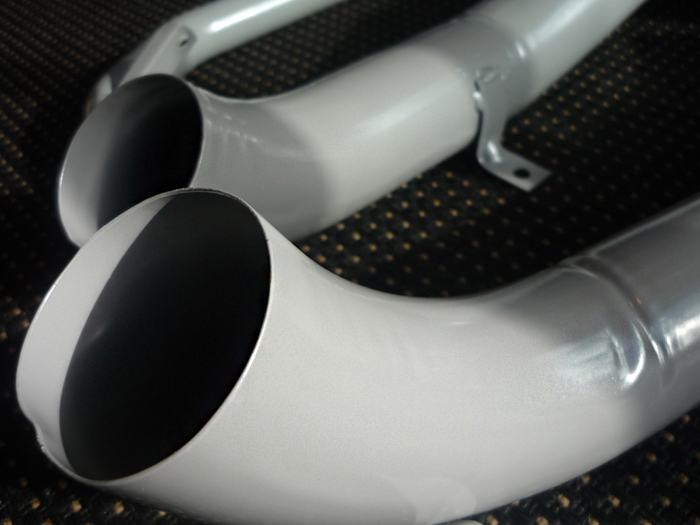
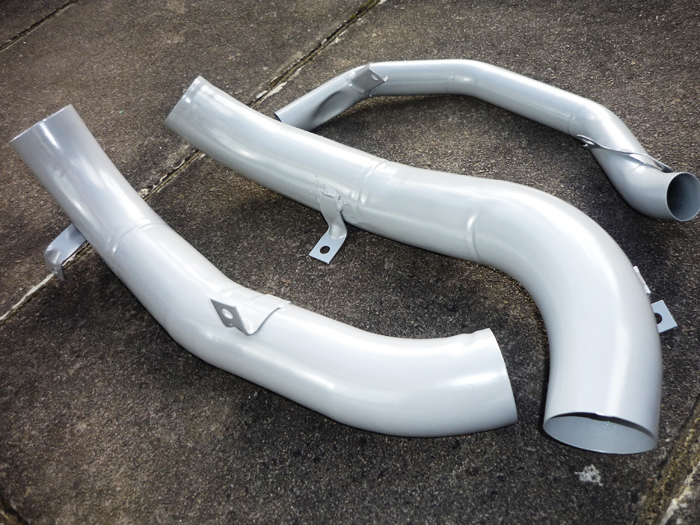
shiny new catbypass pipes
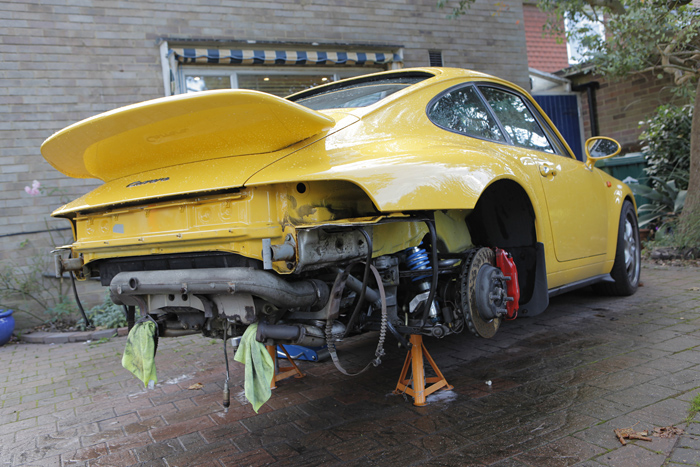
one 993 rs recreation
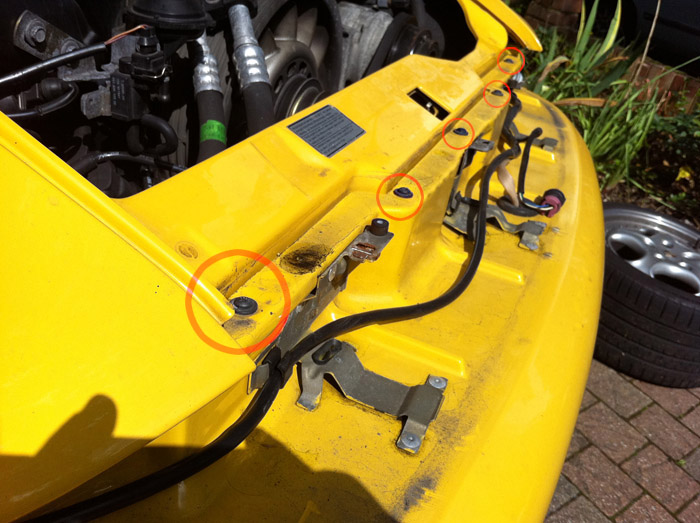
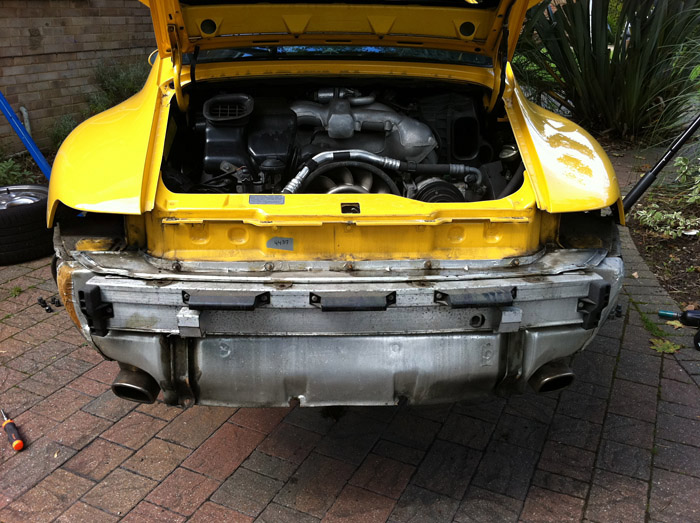
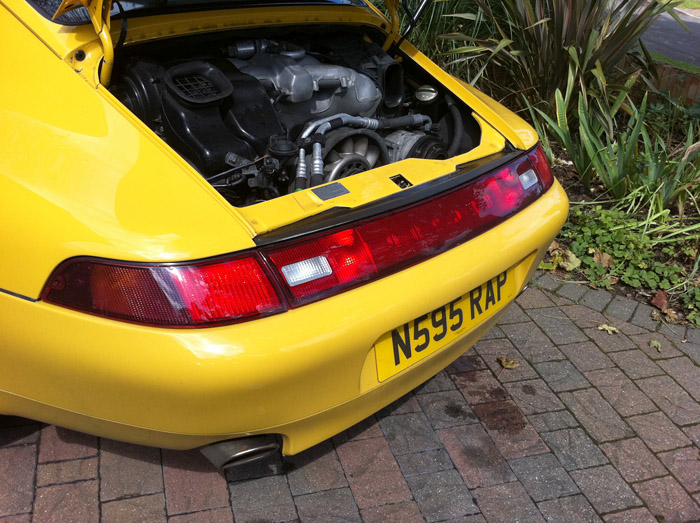
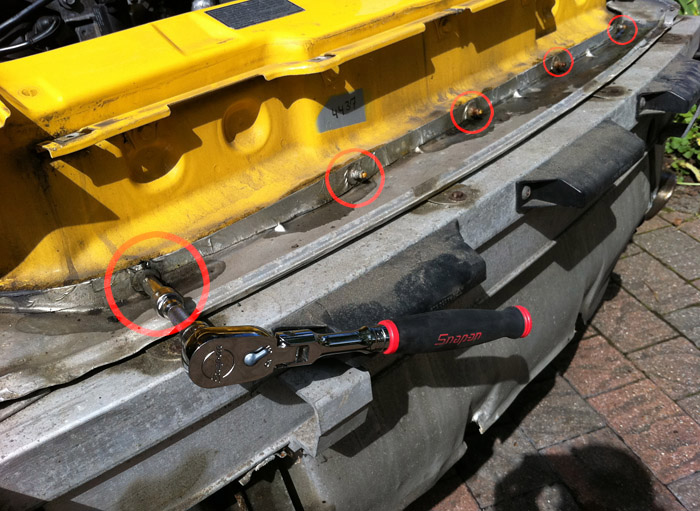
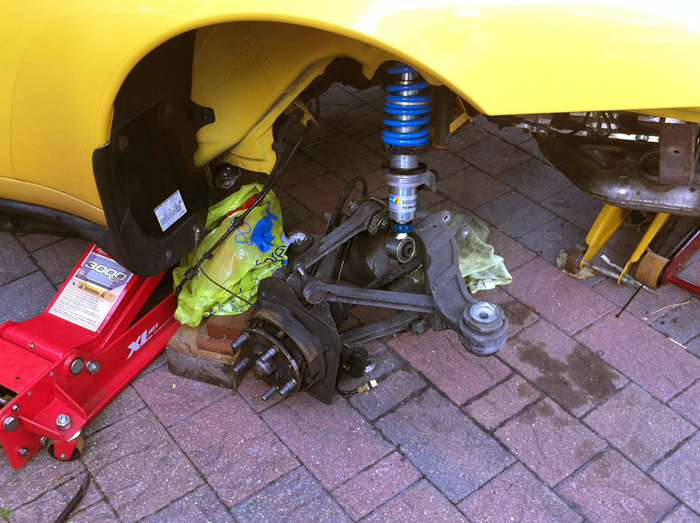
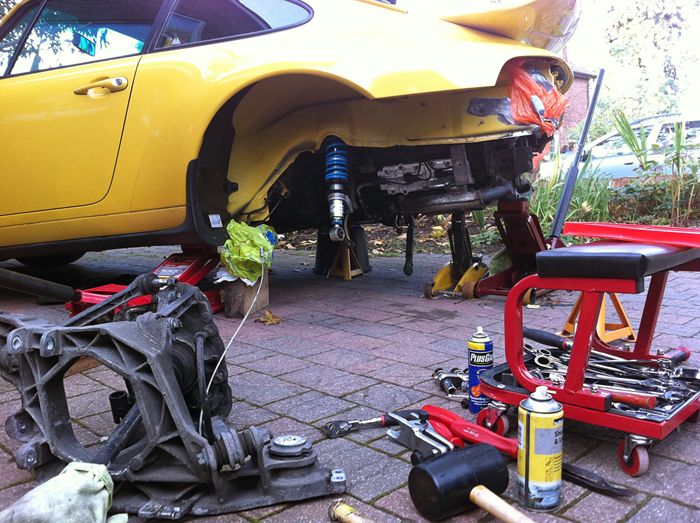
rear of the car in various states of undress
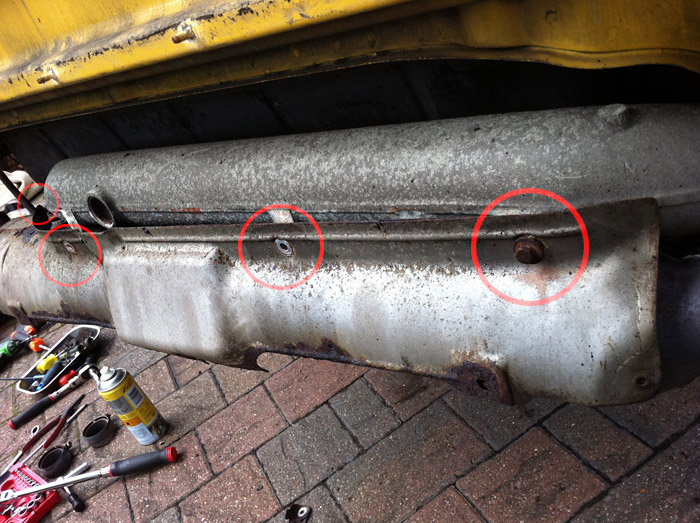
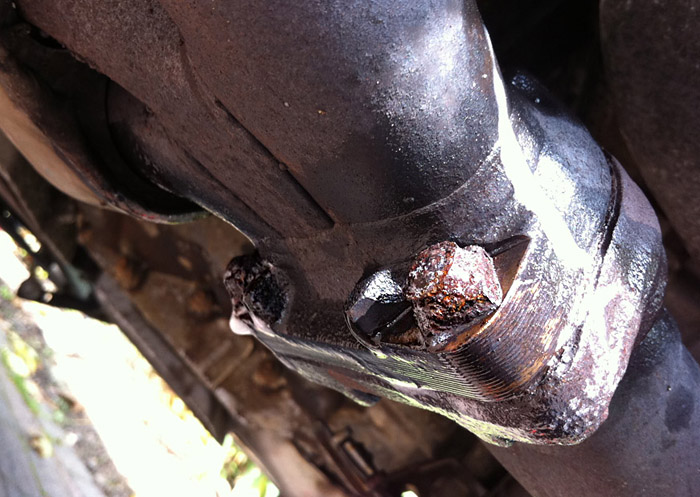
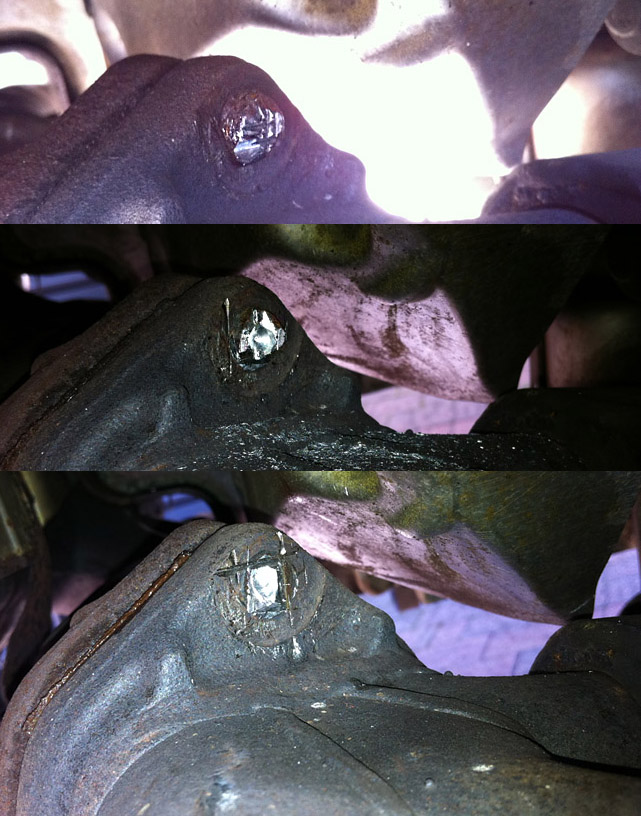
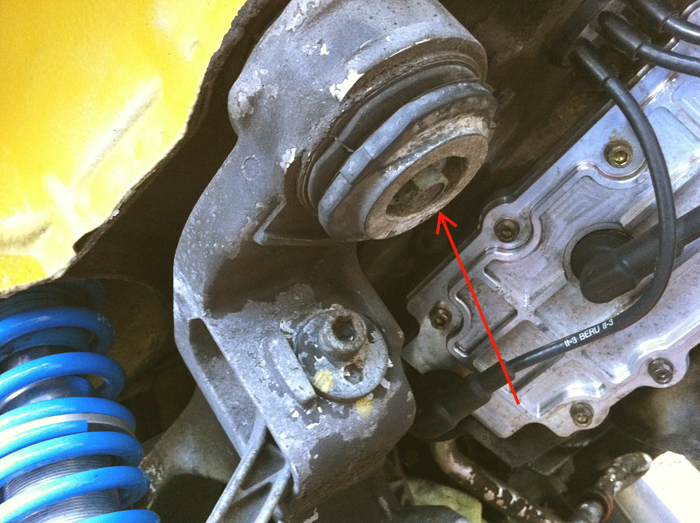
drilling out cat 15 year old bolts
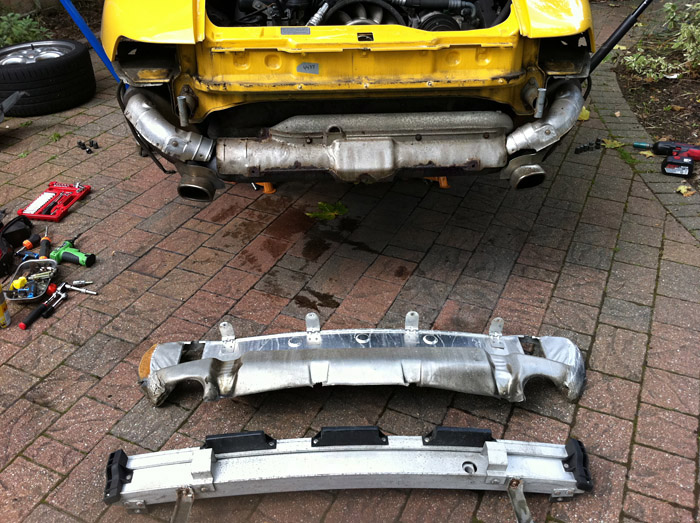
cat finally off
end of day 1
It started as life as me just wanting to fit some cat bypass pipes but of course soon as they rear PU came off it quickly descended into more and more jobs and then finally when access was so good as so much stuff was removed, I felt that I may as well do all my remaining RS suspension mods as well that were oringally planned for next year.
So here goes.
shiny new catbypass pipes
one 993 rs recreation
rear of the car in various states of undress
drilling out cat 15 year old bolts
cat finally off
end of day 1
Edited by jackal on Friday 16th September 18:43
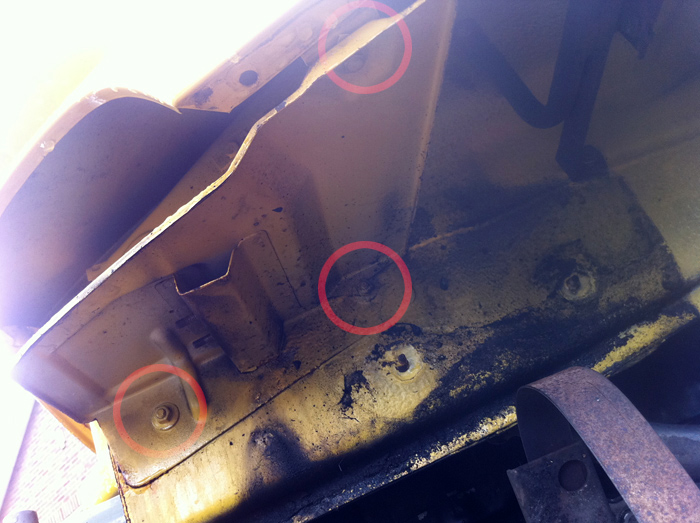
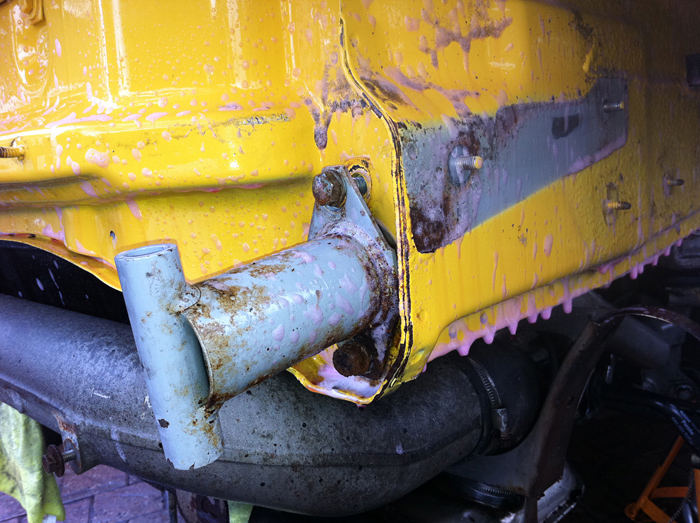
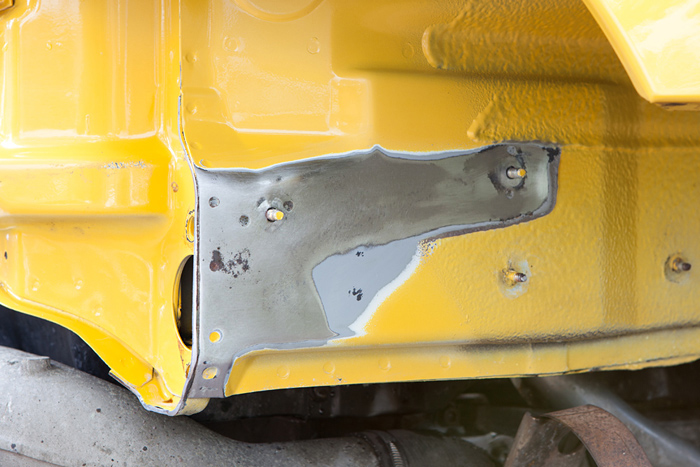
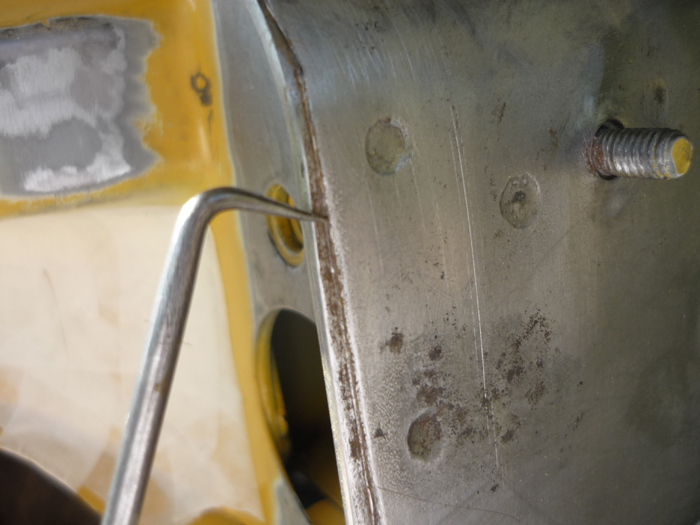
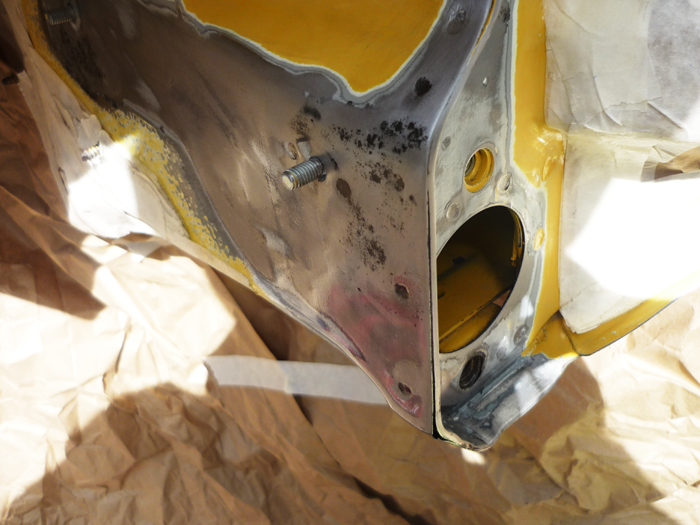
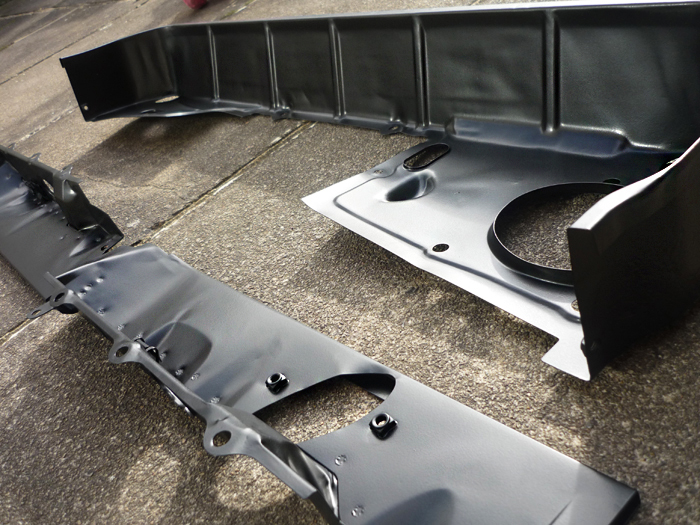
whilst i'm there ... i thought it wise to check for corrosion inbetween the rear chassis side support plates and the main chassis legs
this is something that's been talked about a lot recently over on 911uk and a lot of owners have been discovering lots of rust here and even hols in the chassis ! the factory decided not to paint inbetween when the cars were made so that's part of the problem
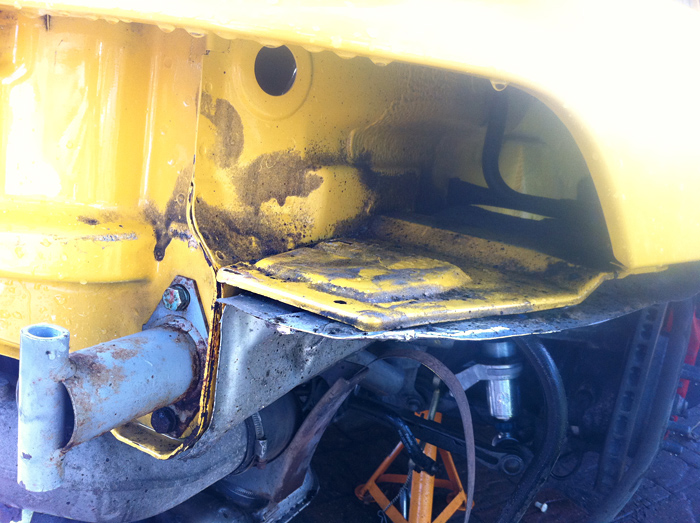
heres the OS rear lateral plate with a heatshield sitting underneath it

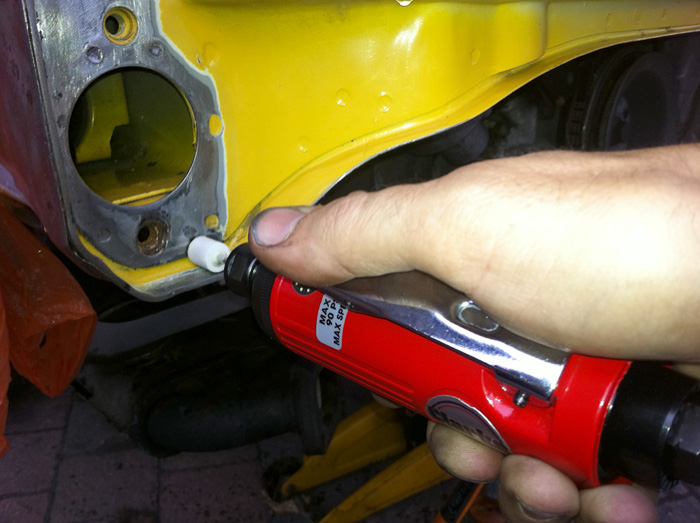
take the heatshiels off
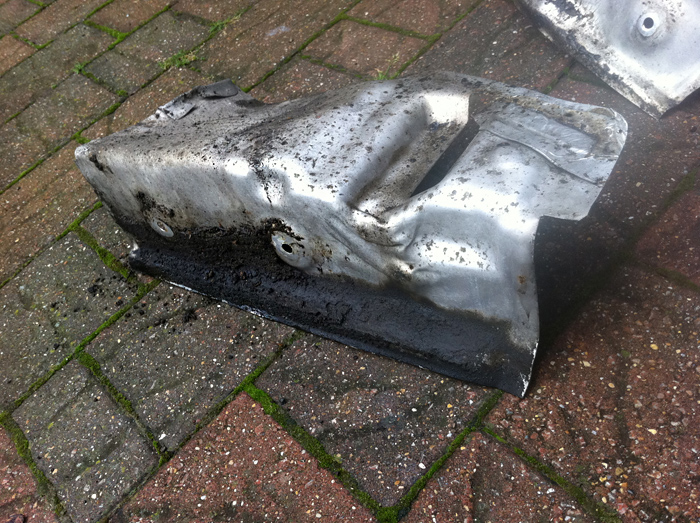
to find that its absolutely covered in gunk thats got wedged up there over the years
take off the support panel
to reveal rust ! but ive got off lightly here as its just surface stuff
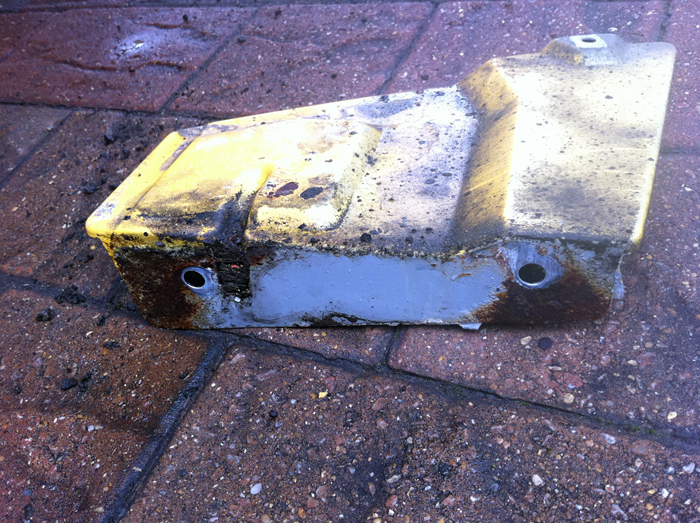
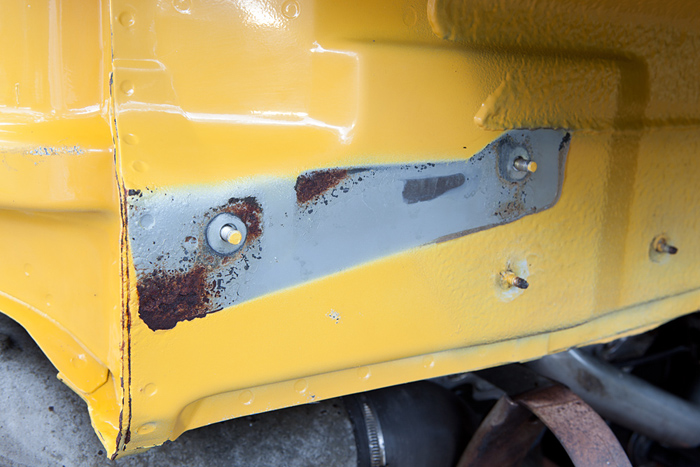
the support plate doesnt look too clever either
give it quick wash
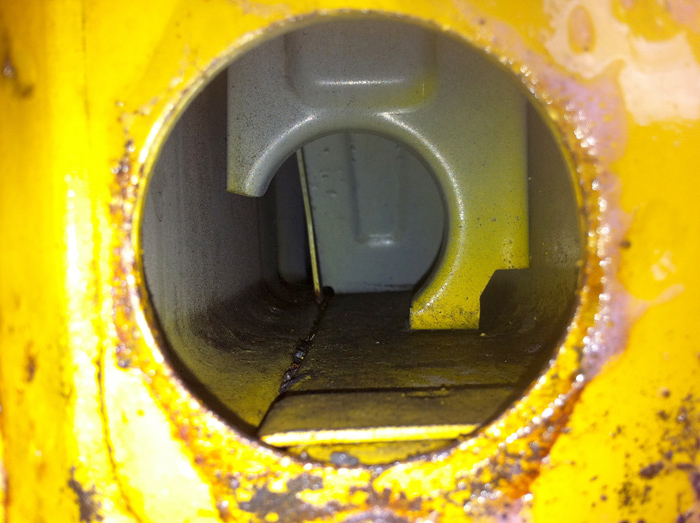
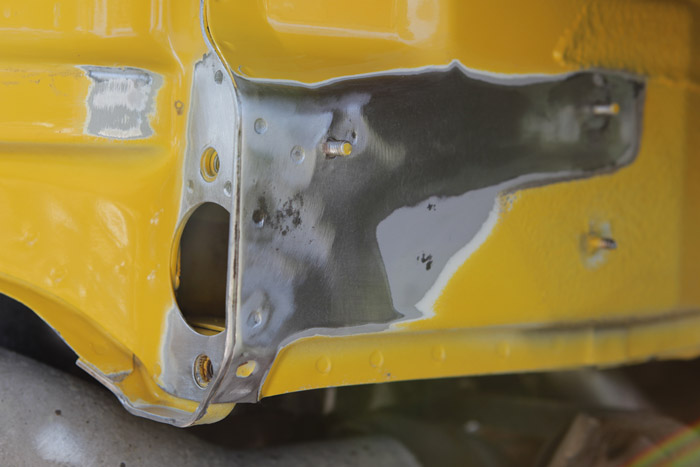
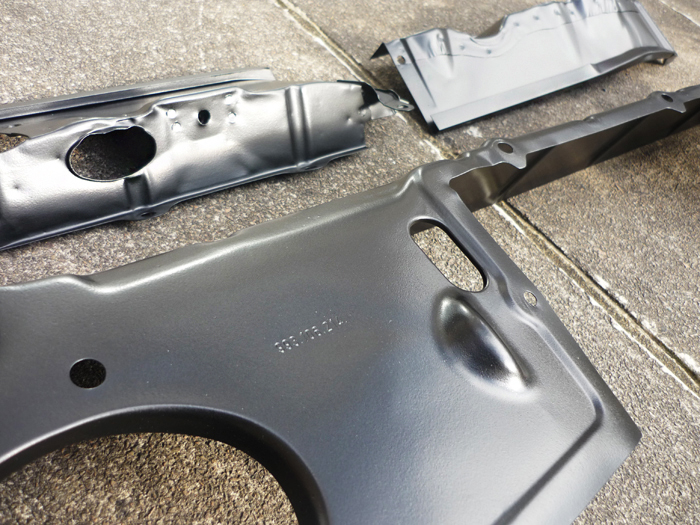
chassis legs inside ok
cleaned back, not too bad
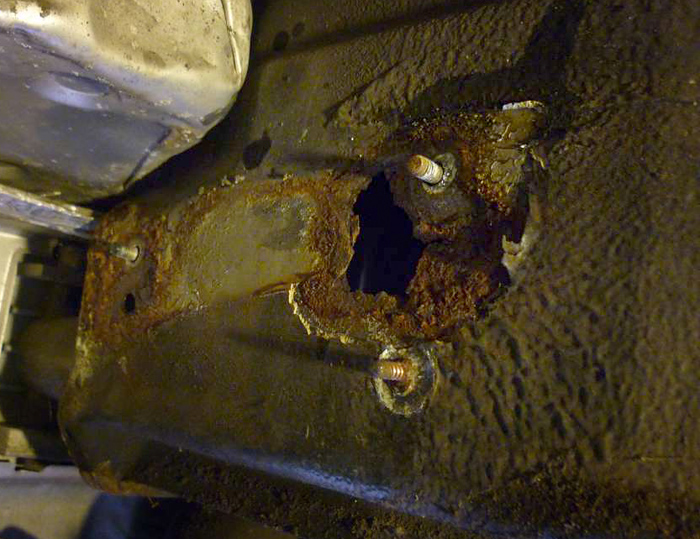
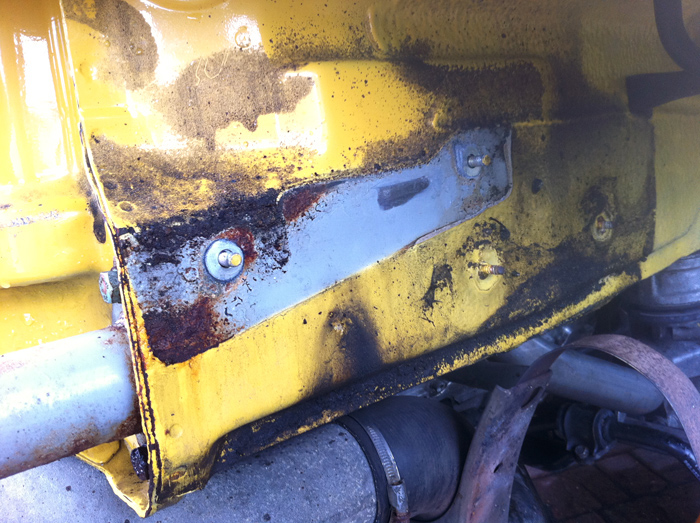
heres some other unlucky fella who fared a bit worse ! 993 owners, get this checked before its too late !
most of the rust removed now and back to bare metal
more prep
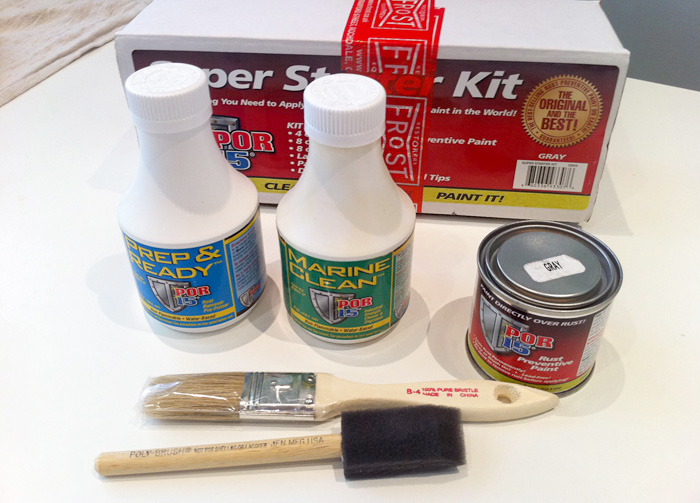
POR15 kit
final seam cleaning
2 layers of por15
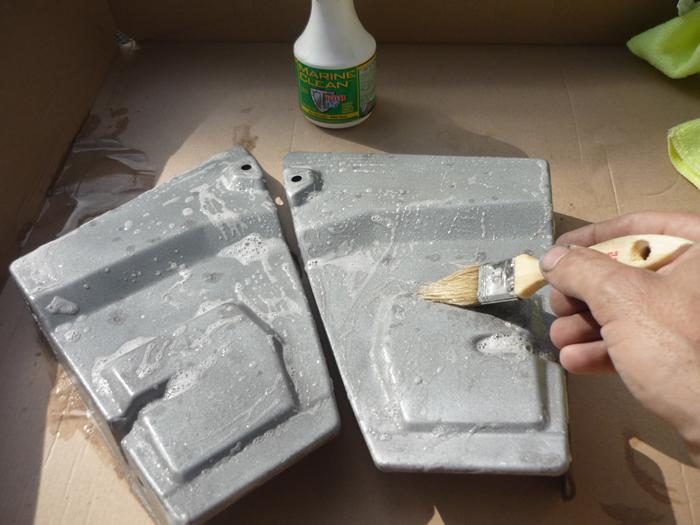
AL Oxide blasted support plates now getting prepped for POR15 with marine clean and surface ready
this is something that's been talked about a lot recently over on 911uk and a lot of owners have been discovering lots of rust here and even hols in the chassis ! the factory decided not to paint inbetween when the cars were made so that's part of the problem
heres the OS rear lateral plate with a heatshield sitting underneath it
take the heatshiels off
to find that its absolutely covered in gunk thats got wedged up there over the years
take off the support panel
to reveal rust ! but ive got off lightly here as its just surface stuff
the support plate doesnt look too clever either
give it quick wash
chassis legs inside ok
cleaned back, not too bad
heres some other unlucky fella who fared a bit worse ! 993 owners, get this checked before its too late !
most of the rust removed now and back to bare metal
more prep
POR15 kit
final seam cleaning
2 layers of por15
AL Oxide blasted support plates now getting prepped for POR15 with marine clean and surface ready
 I follow your updates on twitter. Massive like for this!
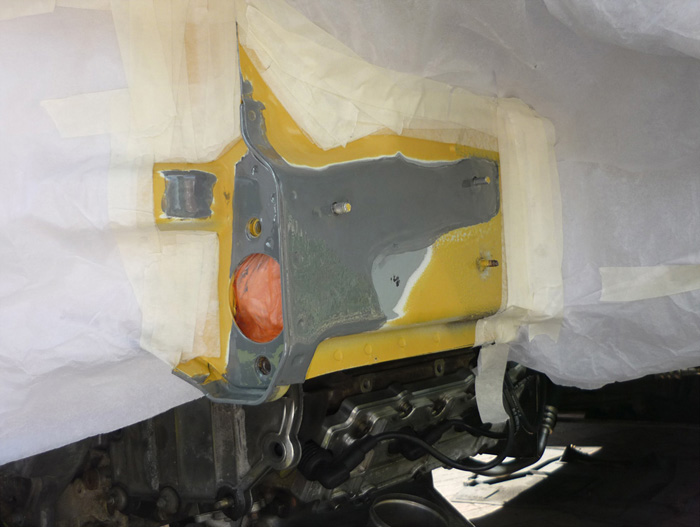
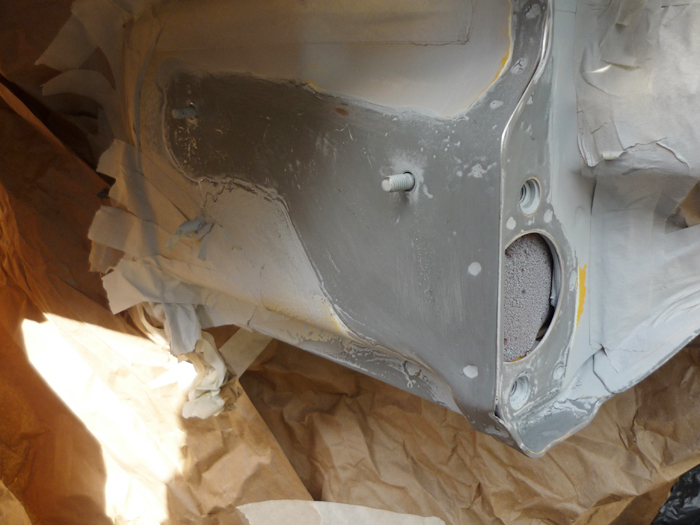
heres the nearside prepped with marine clean and surface ready prep
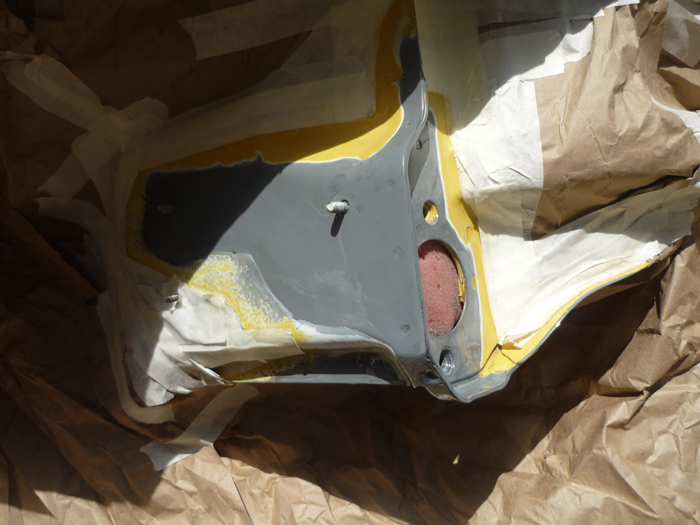
2 coats of POR15 left tacky

light dust of eatch primer
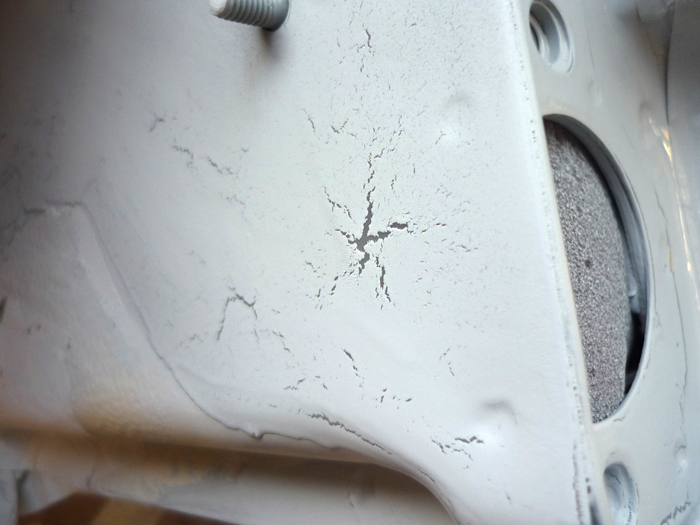
ohhh errr .. back to the drawing board !
in summary: never use anything other than por tie primer with POR15 despite what they say about it being compatable with other primers
primer now sanded back with 400 grit and some POR tie coat primer on order
Great write up. Good to see someone doing the graft themselves. How did you fine the por15 on the flat surface? I'm just about ready to paint the whole underside and arches of my car in por15 and have been told it sometimes doesn't like flat metal surfaces.
Not that it'll stop me as i've bought the paint now...lol.
Johnny.
Not that it'll stop me as i've bought the paint now...lol.
Johnny.
hiya, to be honest I find the POR15 a bit of a pain. I like things to just work fairly straightforwardly but the POR15 workflow is expensive, fiddly and feels a bit precarious. I have already had a problem trying to use a regular primer as you can see. I have now got a tin of their tie coat primer to use instead but when you flat the POR15 back you unearth a strange leathery pattern to it which kind of perturbes me a it. The POR tie coat primer is also a very thick high build primer so tricky to get on smooth and I just seemed to get a load of brush marks in it. The other thing I have found is when you rub the POR15 back before applying the tie coat primer you can easily rub edges back to metal again !!! This is obviously a real pain and doesn't feel very confidence inspiring to me. Still I am stuck with it now but wouldn't personally go this route again.
mwstewart said:
In my experience, there's nothing better than etch, 90% zinc primer, paint then a liberal application of Dinitrol.
yes, i have both dinitrols to go on later so the POR is a bit redundant .... still, its been kind of fun seeing it in action and learning about the stuffI do have some rust under one of the main leg seams and i think it will be very good for that area
ok
so whilst this is going on
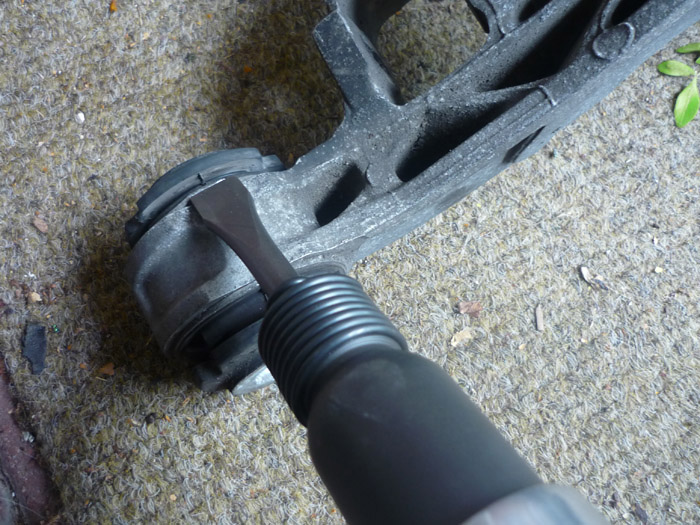
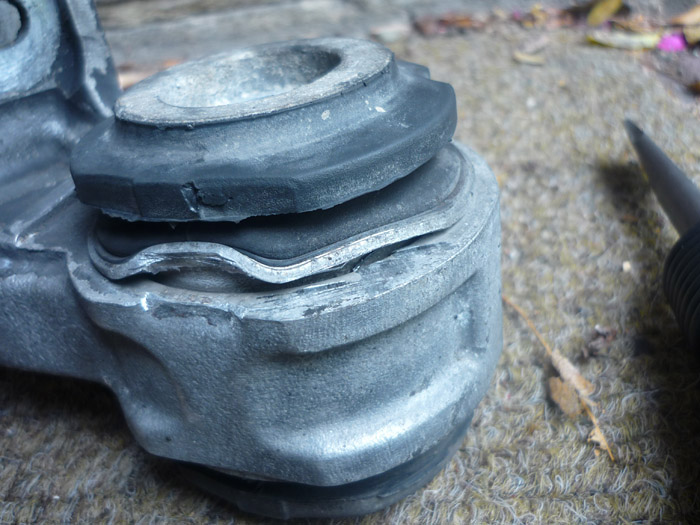
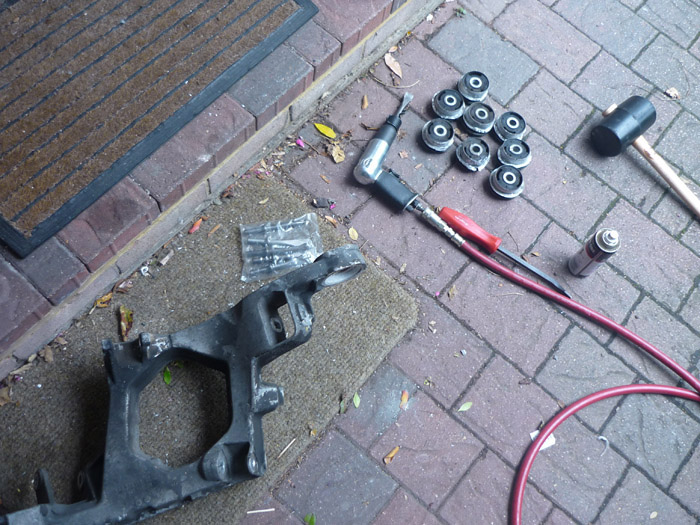
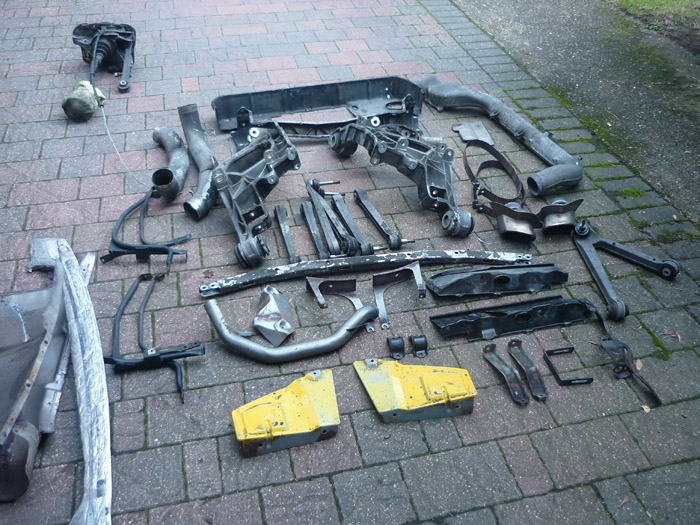
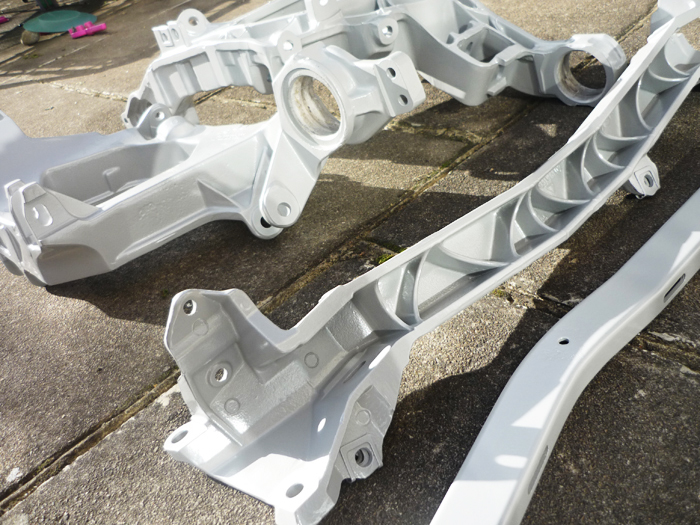
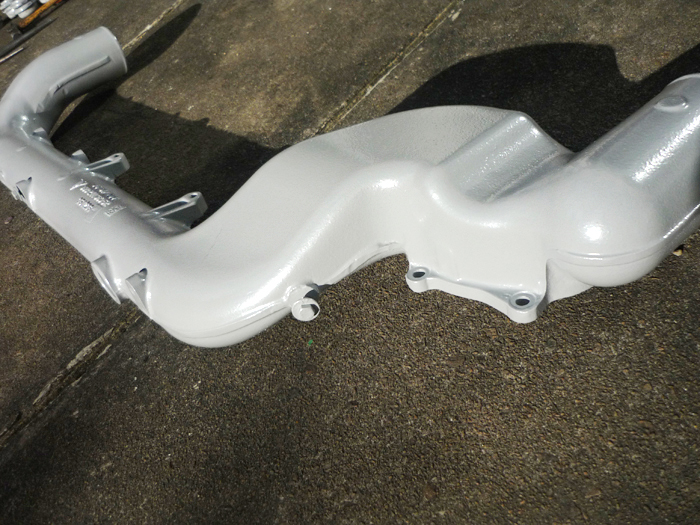
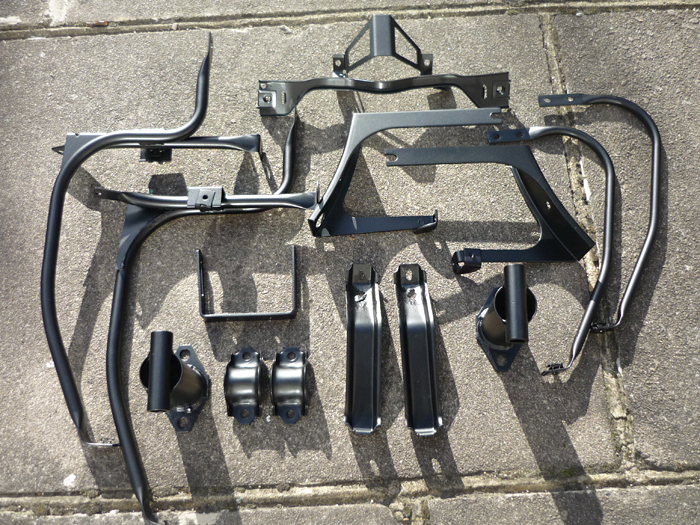
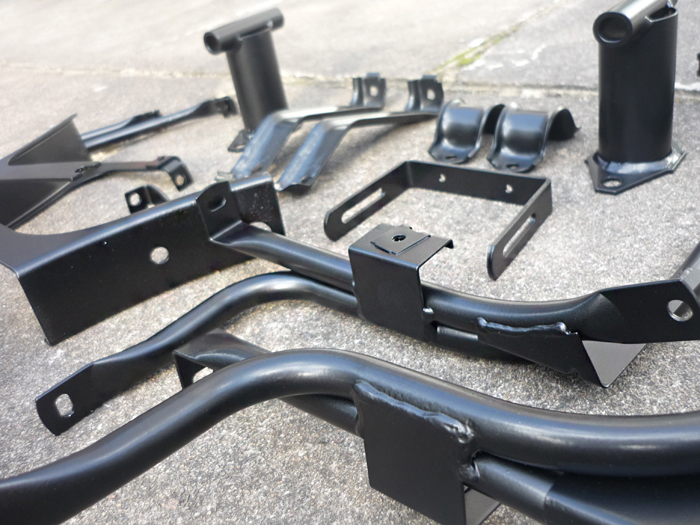
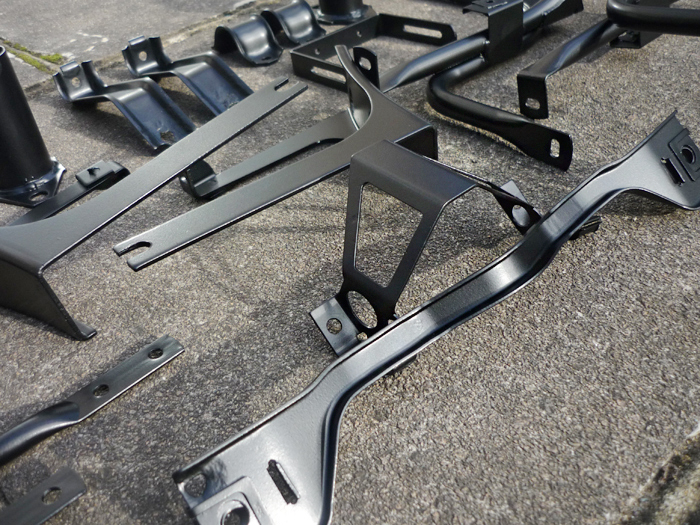
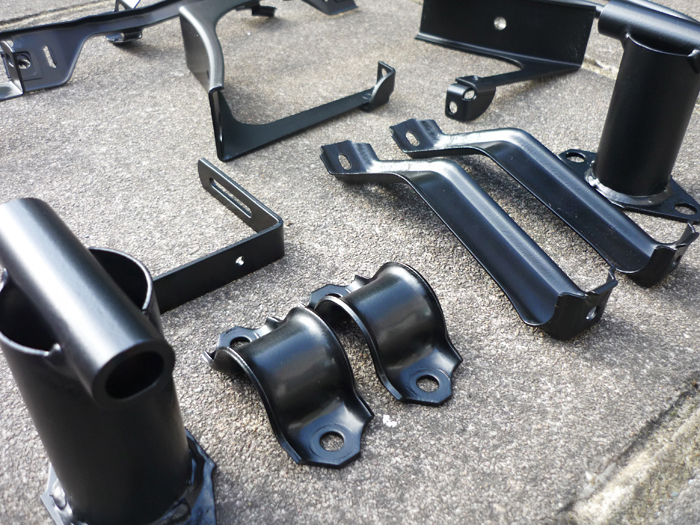
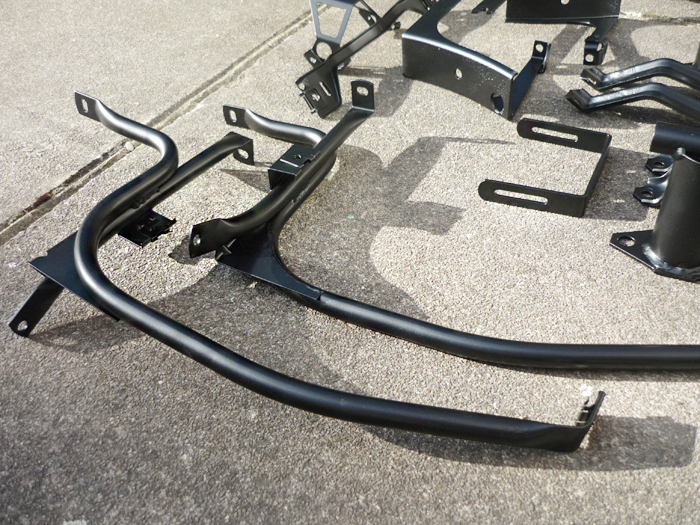
I am thinking of moving my final suspension mods forward. Was orignially going to do them next year but what the hell. They will complete the full RS suspension spec on the car and involve replacing the rear subframe bushes, rebushing 4 of the rear arms and whilst im there I may as well powder coat everything.
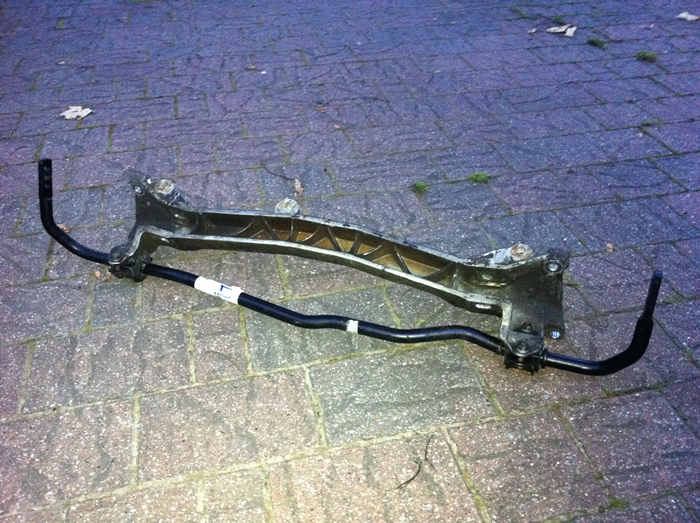
front crossmember off
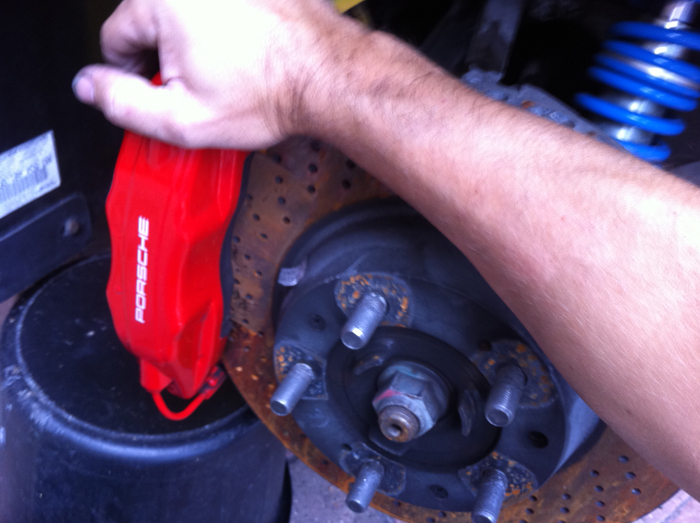
calipers off
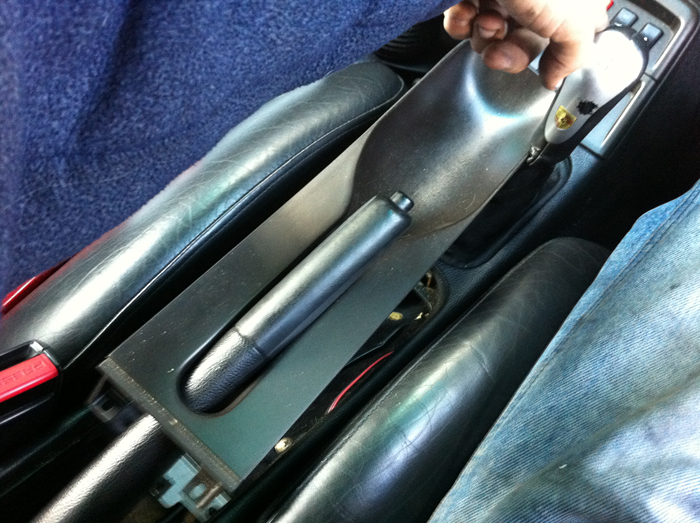
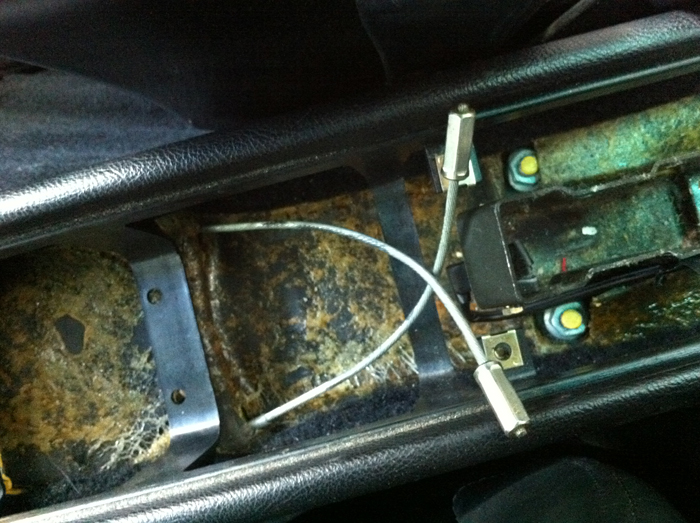
release handbrake cables
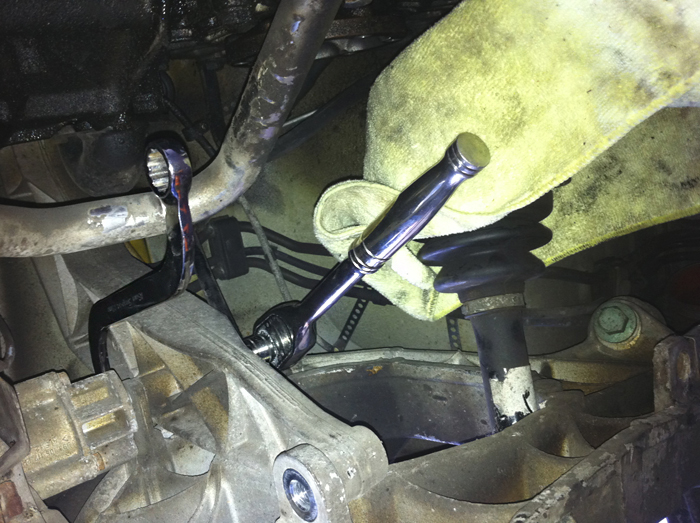

undo subframe front chassis and upper cross memmber
and drop it all down
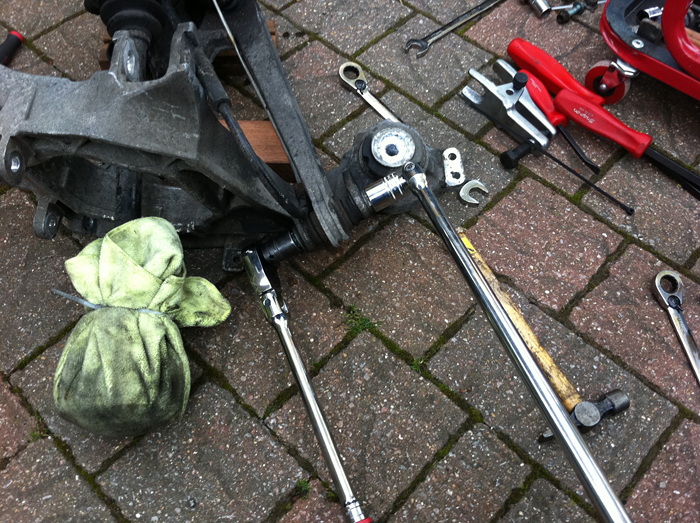
undo the various arms once its off
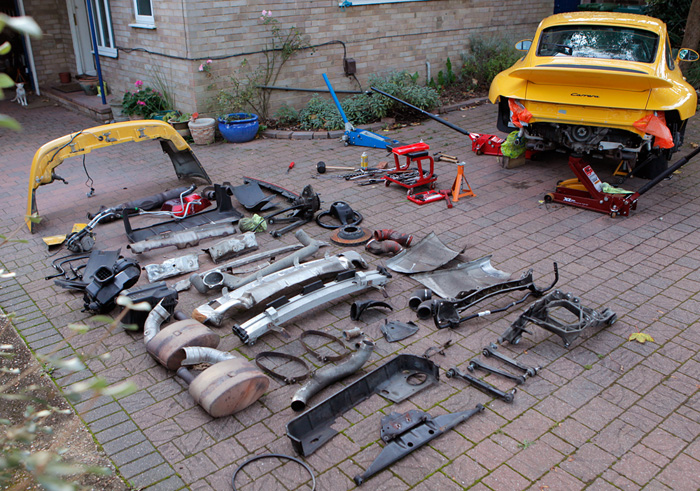
teh scene of devastation so far
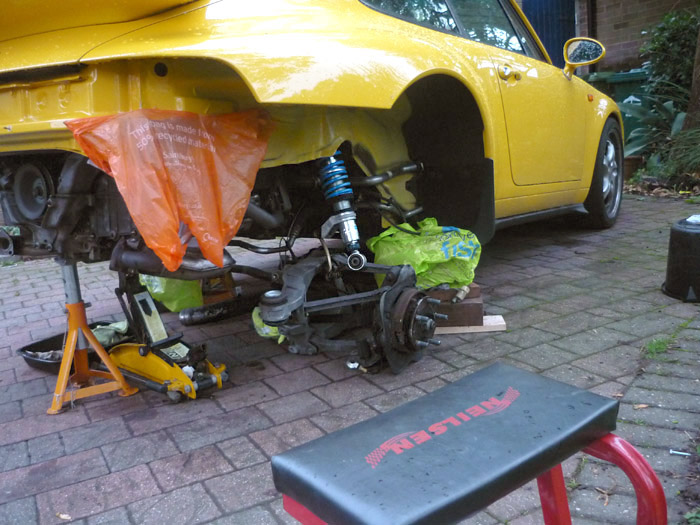
dropping the other side
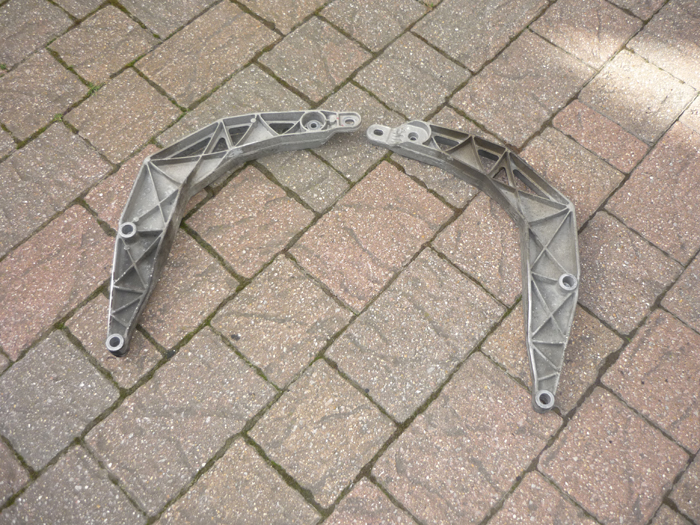
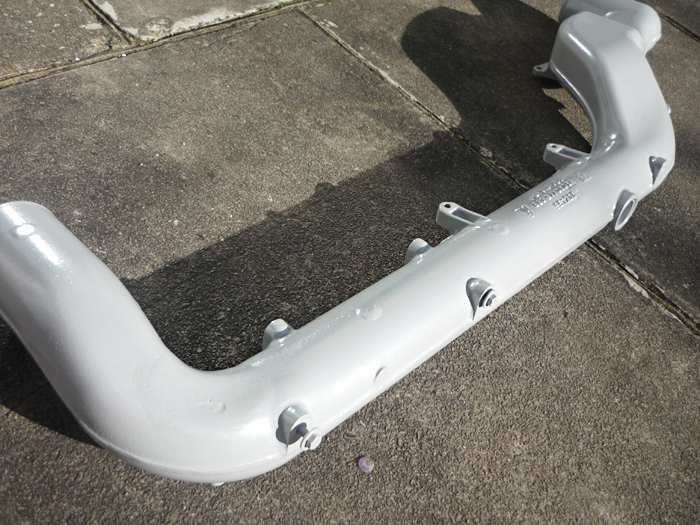
wiggling the top cross member out as well for a refurb
so whilst this is going on
I am thinking of moving my final suspension mods forward. Was orignially going to do them next year but what the hell. They will complete the full RS suspension spec on the car and involve replacing the rear subframe bushes, rebushing 4 of the rear arms and whilst im there I may as well powder coat everything.
front crossmember off
calipers off
release handbrake cables
undo subframe front chassis and upper cross memmber
and drop it all down
undo the various arms once its off
teh scene of devastation so far
dropping the other side
wiggling the top cross member out as well for a refurb


Gassing Station | Readers' Cars | Top of Page | What's New | My Stuff