
Replacing cabin/pollen filters.
Discussion


I decided to replace the cabin filters in the DB9 this afternoon and thought I would do a picture post on how its done for those willing and able to handle a screwdriver.
Tools required........a phillips head screwdriver and possibly a torch.
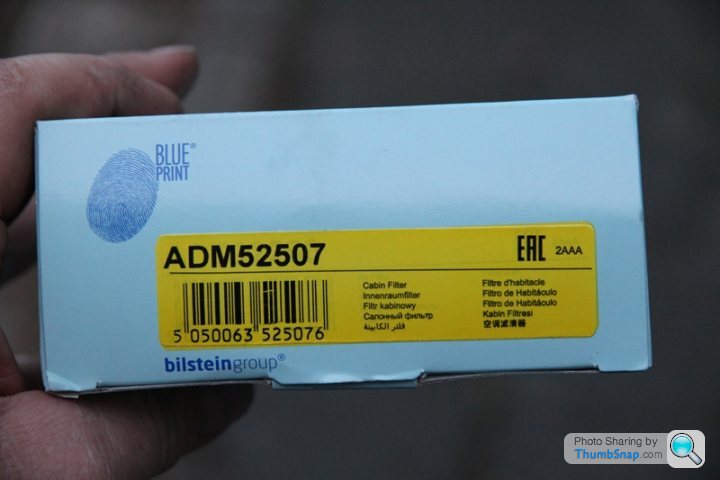
Firstly, instead of forking out almost £50.00 for OEM Aston Martin ones, I purchased some top quality Japanese filters, complete with the better charcoal inserts for a Mazda RX8 2003-2012 for the measly sum of £9.35 the pair.
You can see here just how much debris these have collected in the last 6000 miles as the car had a main dealer service done that long ago although I was surprised to see that the removed filters were "unbranded"?

Remove any contents from the glovebox.
Firstly, working from the left hand side, undo the 2 cross head screws shown holding the lower hinge of the glovebox lid.
One on the left here...

and the other on the right here...

If you made sure the glovebox was empty before starting, then the lid is now only supported by the catch, so taking the weight of the lid, release the catch and the complete glovebox will lower down. There is a small elasticated strap on the left hand side that requires unhooking from the side of the glovebox and then the unit will come off.
You will now see the most flimsey black plastic trim panel held up with double sided sticky tape that will pull down. See the superbly engineered sticky tape highlighted below.

The residue of the sticky tape can either be removed and replaced, or as in my case was sticky enough to be reused.
You will now see the filter cover which if gripped as shown, will pull straight back and unclip.

Here you can see the side clips of the lid, the sealing foam and the fact that it only fits one way up, and that is easily seen by the lettering on the cover.

This then reveals the ends of the old filter elements which will probably dump lots of debris on the floor as you remove them.

Removing the elements and you can see inside the filter casing ready for the installation of your new filters.

Re-assembly, as they say, is the reverse of removal and the total time taken, including stopping for these pics, was 10 minutes.
Tools required........a phillips head screwdriver and possibly a torch.
Firstly, instead of forking out almost £50.00 for OEM Aston Martin ones, I purchased some top quality Japanese filters, complete with the better charcoal inserts for a Mazda RX8 2003-2012 for the measly sum of £9.35 the pair.
You can see here just how much debris these have collected in the last 6000 miles as the car had a main dealer service done that long ago although I was surprised to see that the removed filters were "unbranded"?
Remove any contents from the glovebox.
Firstly, working from the left hand side, undo the 2 cross head screws shown holding the lower hinge of the glovebox lid.
One on the left here...
and the other on the right here...
If you made sure the glovebox was empty before starting, then the lid is now only supported by the catch, so taking the weight of the lid, release the catch and the complete glovebox will lower down. There is a small elasticated strap on the left hand side that requires unhooking from the side of the glovebox and then the unit will come off.
You will now see the most flimsey black plastic trim panel held up with double sided sticky tape that will pull down. See the superbly engineered sticky tape highlighted below.
The residue of the sticky tape can either be removed and replaced, or as in my case was sticky enough to be reused.
You will now see the filter cover which if gripped as shown, will pull straight back and unclip.
Here you can see the side clips of the lid, the sealing foam and the fact that it only fits one way up, and that is easily seen by the lettering on the cover.
This then reveals the ends of the old filter elements which will probably dump lots of debris on the floor as you remove them.
Removing the elements and you can see inside the filter casing ready for the installation of your new filters.
Re-assembly, as they say, is the reverse of removal and the total time taken, including stopping for these pics, was 10 minutes.
Gassing Station | Aston Martin | Top of Page | What's New | My Stuff