
DB9 undertray modification.
Discussion


So, having decided it was time for the bi-annual service, I decided to try and make life a little easier, and cleaner, by modifying that dreaded alloy undertray that really restricts access to the sump drain plug.
Anyone who has done this knows you either need to remove that undertray, together with endless Torx screws to access the drain plug or try and drain it through the silly small access hole in the undertray.
The problem with the second option, is if, like me, you get the oil hot to allow it to drain more effectively, collecting any sludge and holding it in suspension, and to a lesser extent, even if cold, as soon as the drain plug releases from the last thread, the oil drops onto your drain plug, socket, extension and ratchet like an umbrella fountain and covers the undertray in oil anyway!
My solution to this has been to remove the undertrays completely, (2 on my 2005 DB9 Volante), hopefully for the last time in a while, and open the access hole to 75mm diameter.
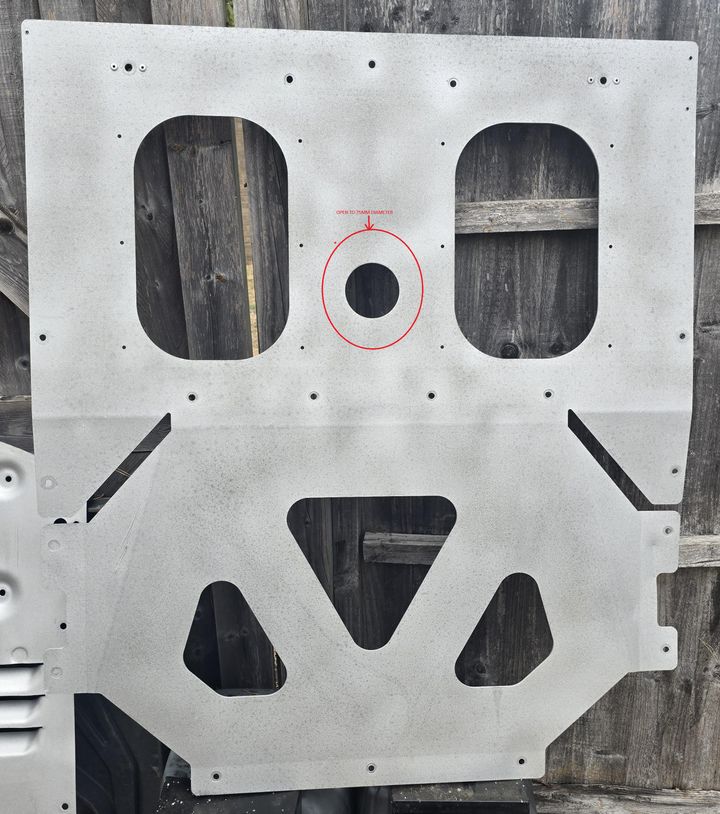
After a thorough de-greasing, off I went to my friendly sheet metal works.
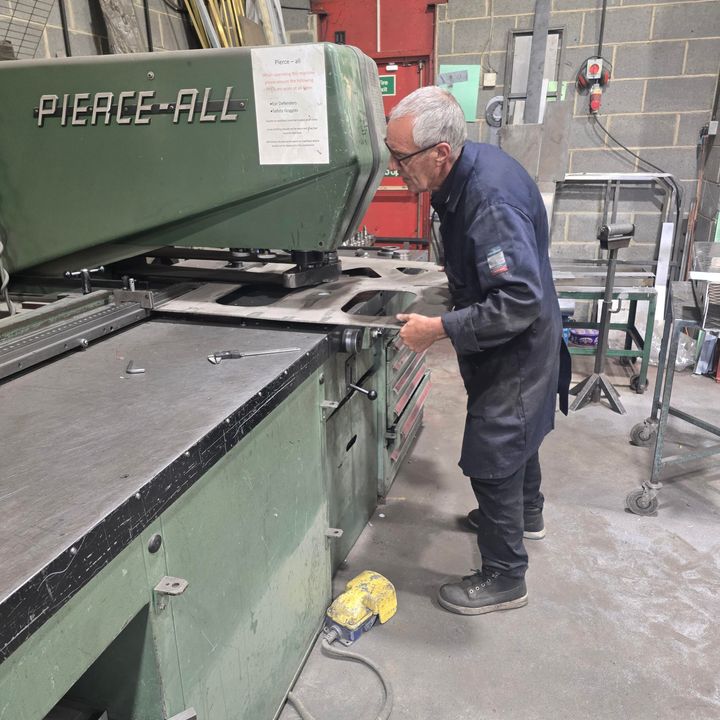
My local sheet metal works did this on a hydraulic hole punch that punched through the 3mm metal sheet easier than my hole punch puts holes in paper! I can assure you that you would not want to use it for a body piercing!
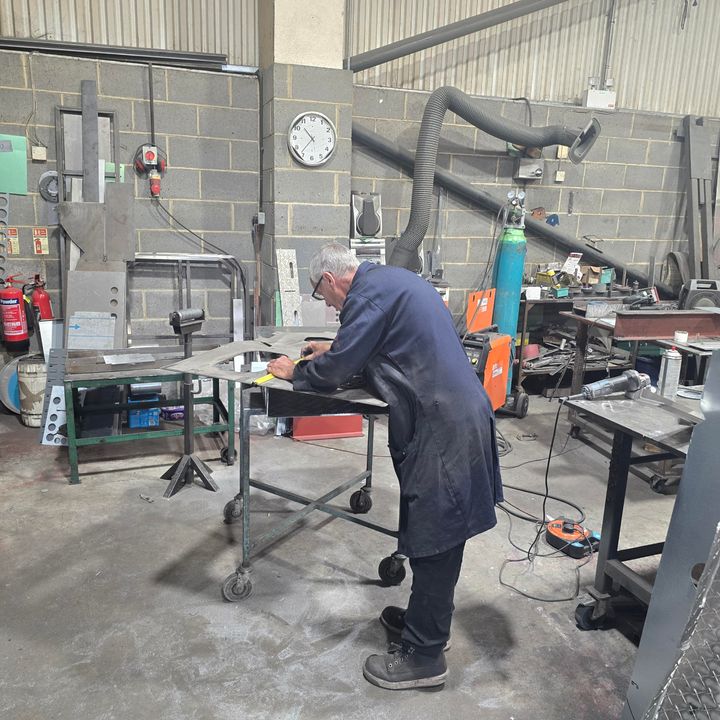
Neil carefully measured the position,
Then set the machine to position and clonk, it was done.
Whilst my de-greasing was not too bad, I couldn’t stand the thought of sitting there for ages with a wire brush, flapper wheel or abrasive paper, so off to my local surface treatment guys to have it all nicely cleaned by shot peening it.
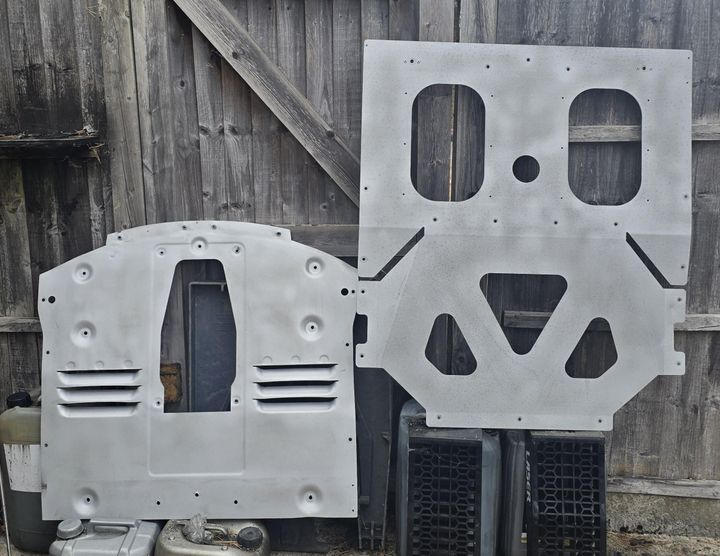
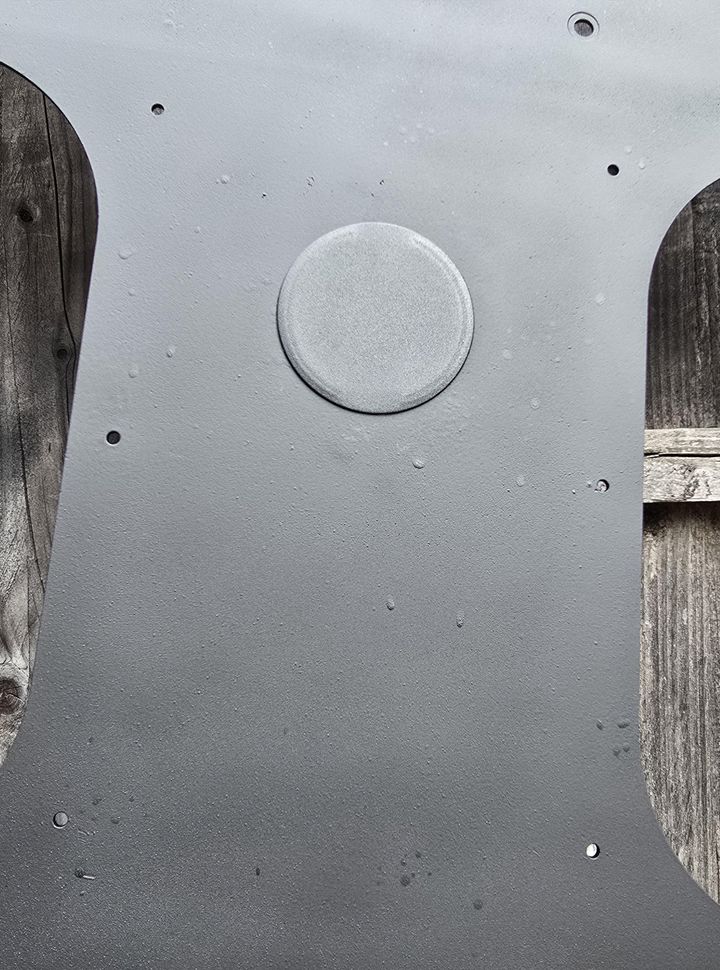
To prevent any corrosion setting-in on the now bare aluminium, I painted the surface with black stone chip paint, which both protects it, and as slightly rubberised, reduces the tinkling when getting hammered with road chips and debris. It should now sound like rain instead of a snail going through the lawn mower! Lighting on the pics make it look grey, but they really are a satin black. A bit patchy as they were still drying when the pics were taken!
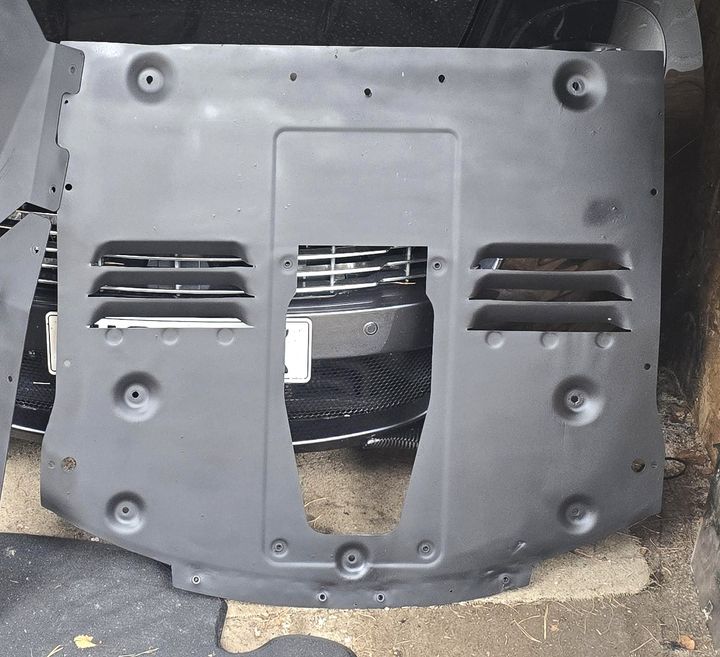
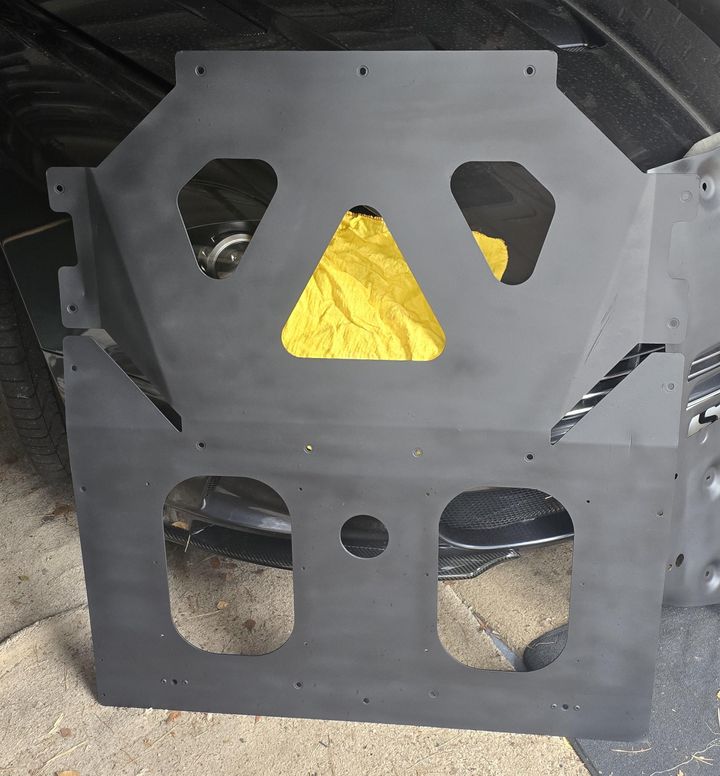
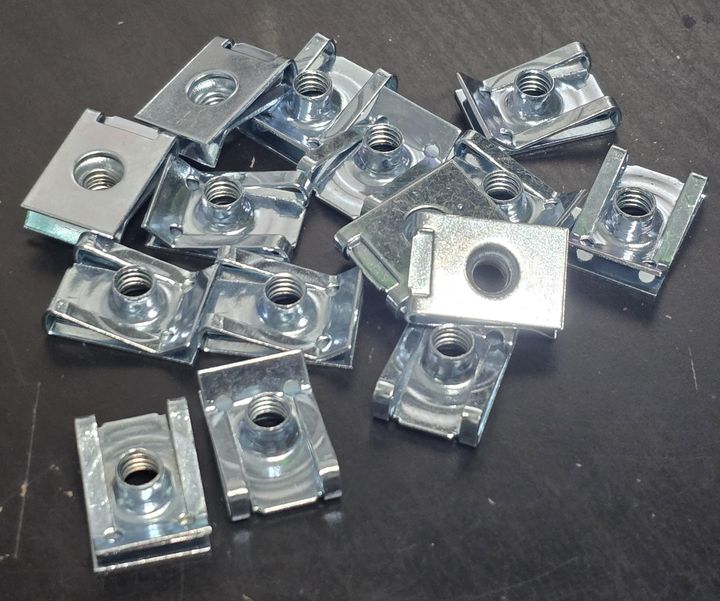
As the captive “chimney” nuts (U nuts or Spire clips) were showing their 21 years, and not in a good way, I replaced them all with new stainless steel ones. Strange name as they look nothing like a chimney but apparently resemble an external house chimney if you completely ignore the “C” part of the clip, stand 20 yards away and have a few beers beforehand!
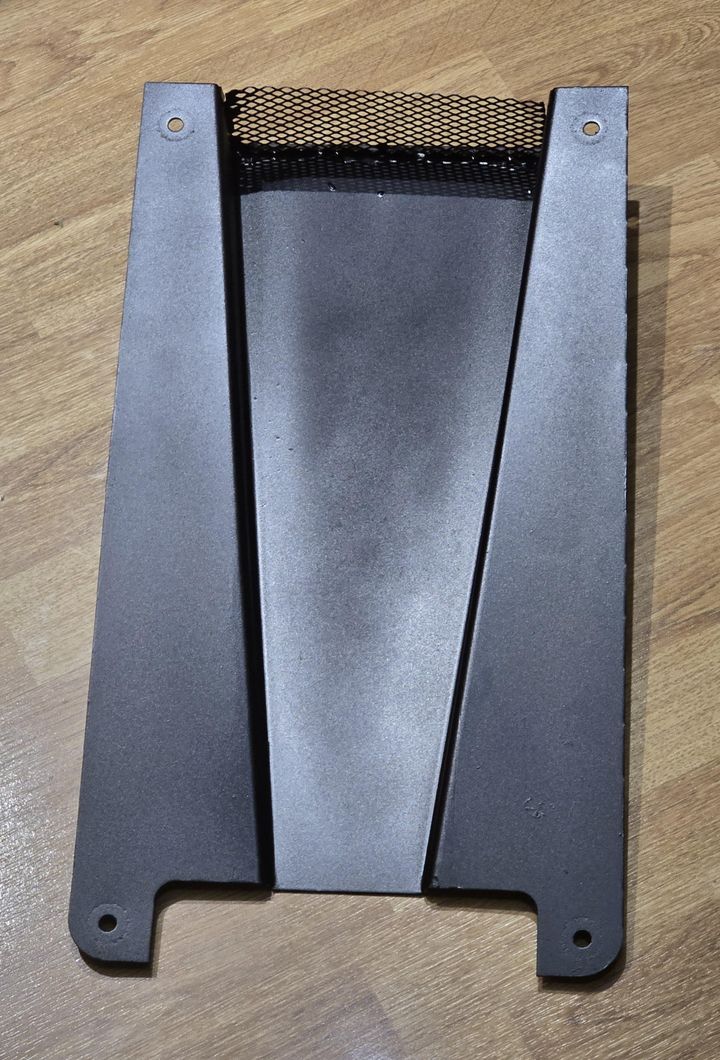
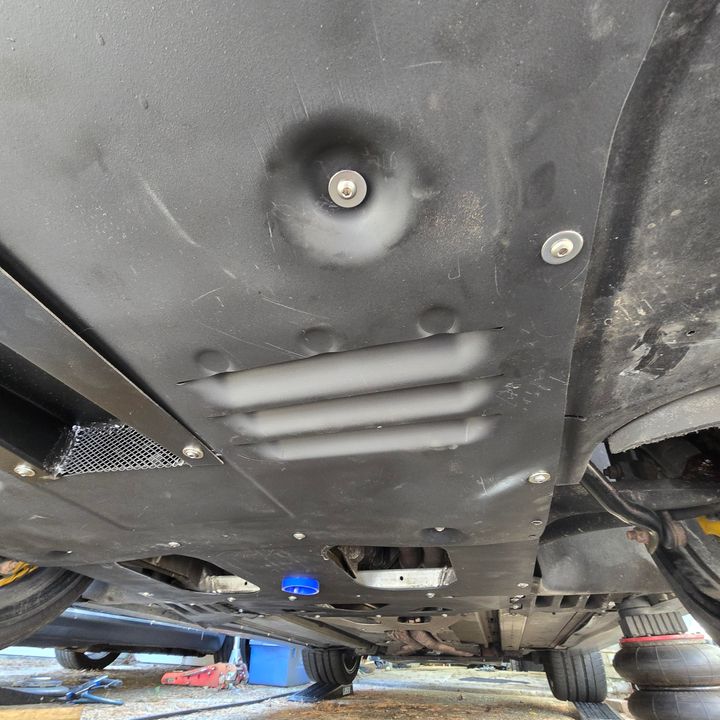
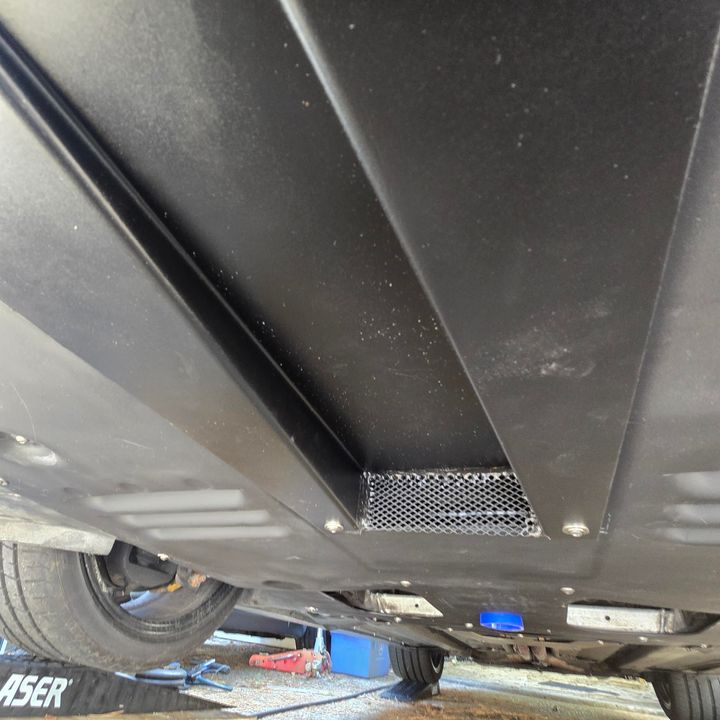
As my car has the early NACA duct in the front section, so as to prevent the ingress of stones, undergrowth and small free-range children getting trapped in the abyss between the undertray and engine area, I used a small piece of metal gauze to cover the gap, stuck in position with black RTV silicon.
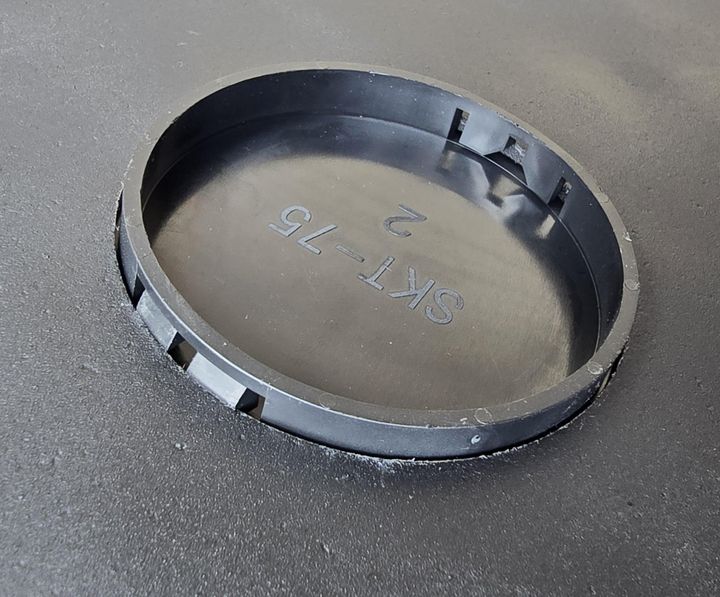
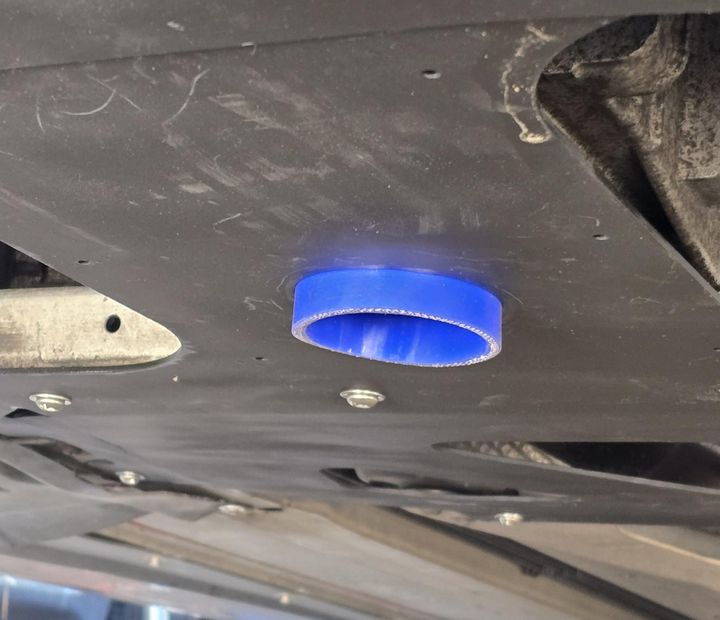
To cover the new 75mm hole, I am using a plastic furniture trim plate that snaps nicely into the hole..........
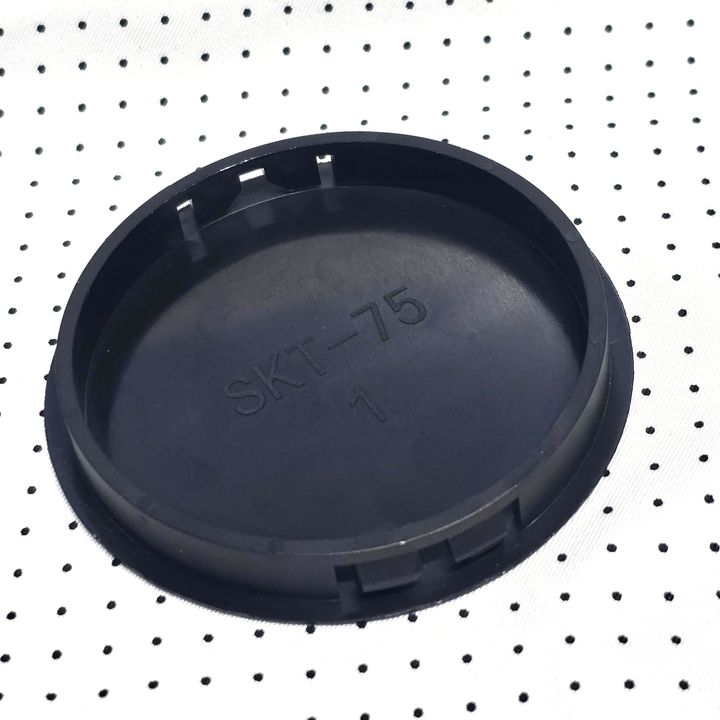
into position to seal it off. Seen here securely fitted from above, and fairly flush from below.
Using all new stainless mushroom head hexagon socket (Allen) screws (rather than the original Torx screws), and “penny” washers, I have then securely reinstalled both undertrays.
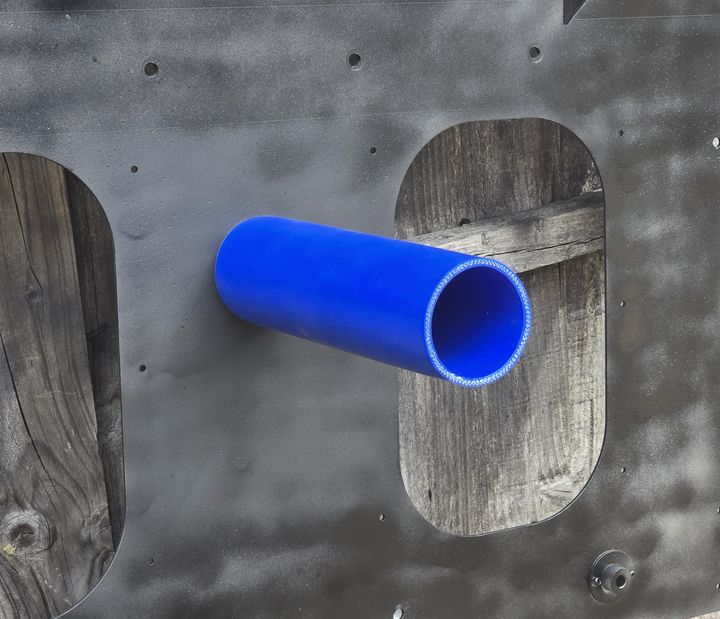
The next purchase was a short length of 68mm ID, 5mm wall thickness silicon hose that will insert and hold in the new 75mm access hole. Here it is on test fitting.
I simply pushed it up until it contacted the sump then trimmed it off with a 10mm section protruding (50mm in total) so it can be easily removed when draining is complete. I can now slide the hose in so that it butts up against the sump plate, then when removing the drain plug, it completely shields the surrounding area from splash, and guides all the oil where it is meant to go, all over your hands and tools and into your drain pan, but NOT all over your undertray which can be now left in position. It also protects fingers from the edge of the metal undertray when re-installing the drain plug.
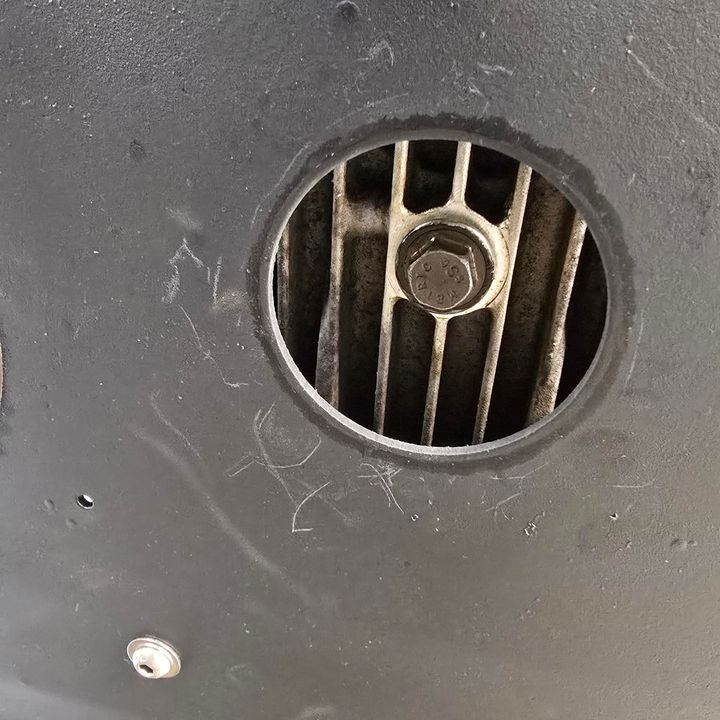
As we all know, the oil filter is not easily accessible, but removal of the nearside throttle body will allow tight access, and sufficient absorbent rags or towels will save the vast majority of the oil drained from it from ending-up on the undertray. I recommend using a new throttle body “O” ring, greased, so it can be reused a few times safely.
Wedging your finger in the threaded oil filter hole will allow you to lift it out through the gap without tipping-out the remainder of its contents all over your engine.
I then refilled the engine with vast quantities, about 10 litres, of Mobil 1, 0W40 oil and 450ml of ZX1 Extralube friction reducer, and installed a Ford Racing FL820 oil filter. I had previously modified the drainplug with a Neodymium magnet insert and now use a standard replaceable copper sealing washer.
If you made it to the end of this post, I can only assume you are a DIY service guy/gal and don't leave this nasty job to your overpriced dealer!
Cheers,
8Tech.
Anyone who has done this knows you either need to remove that undertray, together with endless Torx screws to access the drain plug or try and drain it through the silly small access hole in the undertray.
The problem with the second option, is if, like me, you get the oil hot to allow it to drain more effectively, collecting any sludge and holding it in suspension, and to a lesser extent, even if cold, as soon as the drain plug releases from the last thread, the oil drops onto your drain plug, socket, extension and ratchet like an umbrella fountain and covers the undertray in oil anyway!
My solution to this has been to remove the undertrays completely, (2 on my 2005 DB9 Volante), hopefully for the last time in a while, and open the access hole to 75mm diameter.
After a thorough de-greasing, off I went to my friendly sheet metal works.
My local sheet metal works did this on a hydraulic hole punch that punched through the 3mm metal sheet easier than my hole punch puts holes in paper! I can assure you that you would not want to use it for a body piercing!
Neil carefully measured the position,
Then set the machine to position and clonk, it was done.
Whilst my de-greasing was not too bad, I couldn’t stand the thought of sitting there for ages with a wire brush, flapper wheel or abrasive paper, so off to my local surface treatment guys to have it all nicely cleaned by shot peening it.
To prevent any corrosion setting-in on the now bare aluminium, I painted the surface with black stone chip paint, which both protects it, and as slightly rubberised, reduces the tinkling when getting hammered with road chips and debris. It should now sound like rain instead of a snail going through the lawn mower! Lighting on the pics make it look grey, but they really are a satin black. A bit patchy as they were still drying when the pics were taken!
As the captive “chimney” nuts (U nuts or Spire clips) were showing their 21 years, and not in a good way, I replaced them all with new stainless steel ones. Strange name as they look nothing like a chimney but apparently resemble an external house chimney if you completely ignore the “C” part of the clip, stand 20 yards away and have a few beers beforehand!
As my car has the early NACA duct in the front section, so as to prevent the ingress of stones, undergrowth and small free-range children getting trapped in the abyss between the undertray and engine area, I used a small piece of metal gauze to cover the gap, stuck in position with black RTV silicon.
To cover the new 75mm hole, I am using a plastic furniture trim plate that snaps nicely into the hole..........
into position to seal it off. Seen here securely fitted from above, and fairly flush from below.
Using all new stainless mushroom head hexagon socket (Allen) screws (rather than the original Torx screws), and “penny” washers, I have then securely reinstalled both undertrays.
The next purchase was a short length of 68mm ID, 5mm wall thickness silicon hose that will insert and hold in the new 75mm access hole. Here it is on test fitting.
I simply pushed it up until it contacted the sump then trimmed it off with a 10mm section protruding (50mm in total) so it can be easily removed when draining is complete. I can now slide the hose in so that it butts up against the sump plate, then when removing the drain plug, it completely shields the surrounding area from splash, and guides all the oil where it is meant to go, all over your hands and tools and into your drain pan, but NOT all over your undertray which can be now left in position. It also protects fingers from the edge of the metal undertray when re-installing the drain plug.
As we all know, the oil filter is not easily accessible, but removal of the nearside throttle body will allow tight access, and sufficient absorbent rags or towels will save the vast majority of the oil drained from it from ending-up on the undertray. I recommend using a new throttle body “O” ring, greased, so it can be reused a few times safely.
Wedging your finger in the threaded oil filter hole will allow you to lift it out through the gap without tipping-out the remainder of its contents all over your engine.
I then refilled the engine with vast quantities, about 10 litres, of Mobil 1, 0W40 oil and 450ml of ZX1 Extralube friction reducer, and installed a Ford Racing FL820 oil filter. I had previously modified the drainplug with a Neodymium magnet insert and now use a standard replaceable copper sealing washer.
If you made it to the end of this post, I can only assume you are a DIY service guy/gal and don't leave this nasty job to your overpriced dealer!
Cheers,
8Tech.
8Tech said:
Probably because as designers, they considered a small access hole enough but they had probably never laid under one and tried it!
Usually, when they held a design review, a representative from Service would be present - certainly during the development of DB11. Perhaps he was on holiday that day? Or they didn't do that back in the days of DB9?I've seen significant design changes made because the guy from Service said they couldn't access something, but even then some of the decisions seem off in the cold light of day. Fun fact: technically, to fit a new wiper mechanism to a VH car you need to drop the engine.
I don't spanner mine any more, but I do like your solutions; this and the brake calliper rebuild
Gassing Station | Aston Martin | Top of Page | What's New | My Stuff