
Radiator and water pump replacement (not quite simple)
Discussion


Hi all me again!
Just a post to share the issues and how i (hopefully) sorted them. I’m aware its not an approved repair but I did what I felt was my best option at the time and it will get done properly at the next engine out scope if it lasts.
I just fitted a new Coolex radiator and water pump (also air filter, horns, thermo switch for fans)
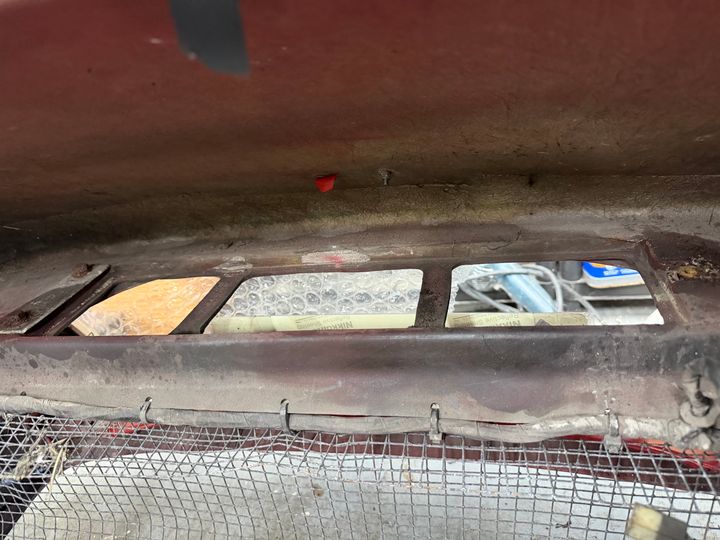
Radiator went fine and gave me an opportunity to give the front crossmember a bit of a clean and paint
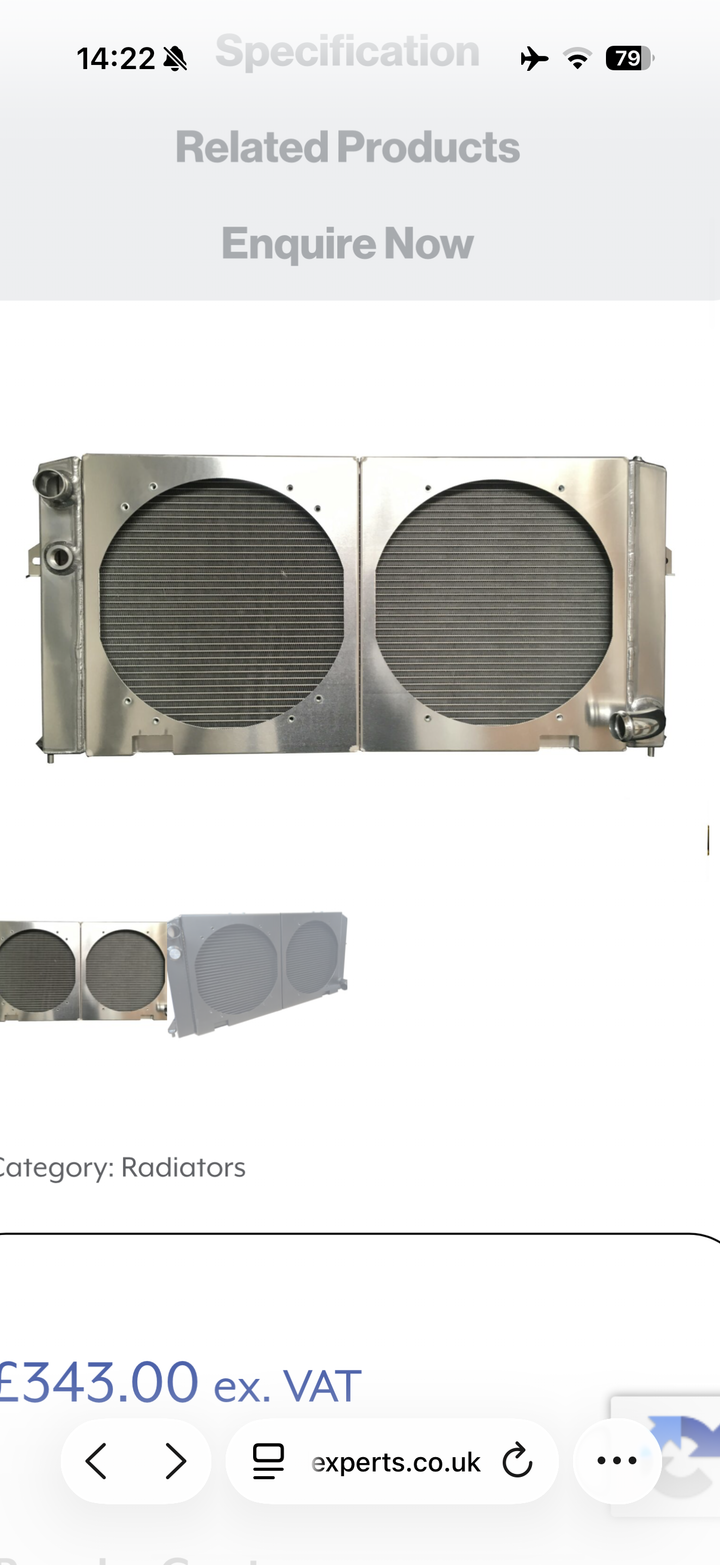
Old rad had developed a bit of a leak and temps were marginal under normal temp days but i had one hot day during the summer when worryingly the temp was continuing to rise in stop start traffic even with the fans running. I didn’t want to flush the old system with the existing small weep. I decided to go for a nice shiny new one
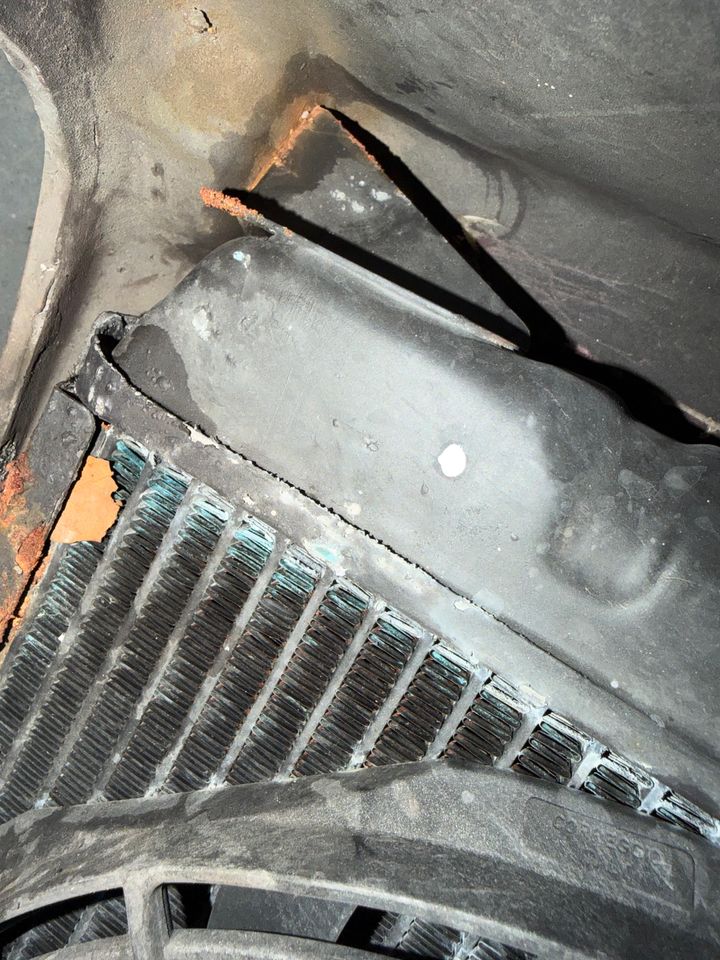
Getting the old one out was reasonably easy disconnecting hoses and draining system
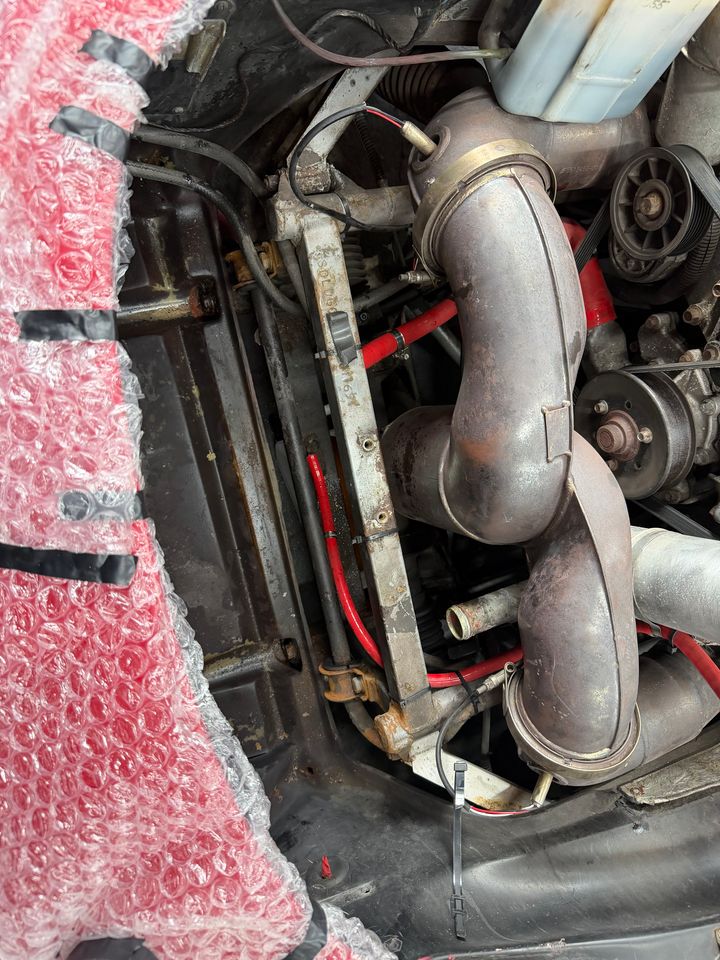
There were 2 hoses going into the driver’s side inner wing which after a bit of reading were confirmed as going to the fuel filter recovery system (EVAP)

With the old rad removed the tidy up carried on


One other good thing on the new rad is it was made to accept the OE Spal fans
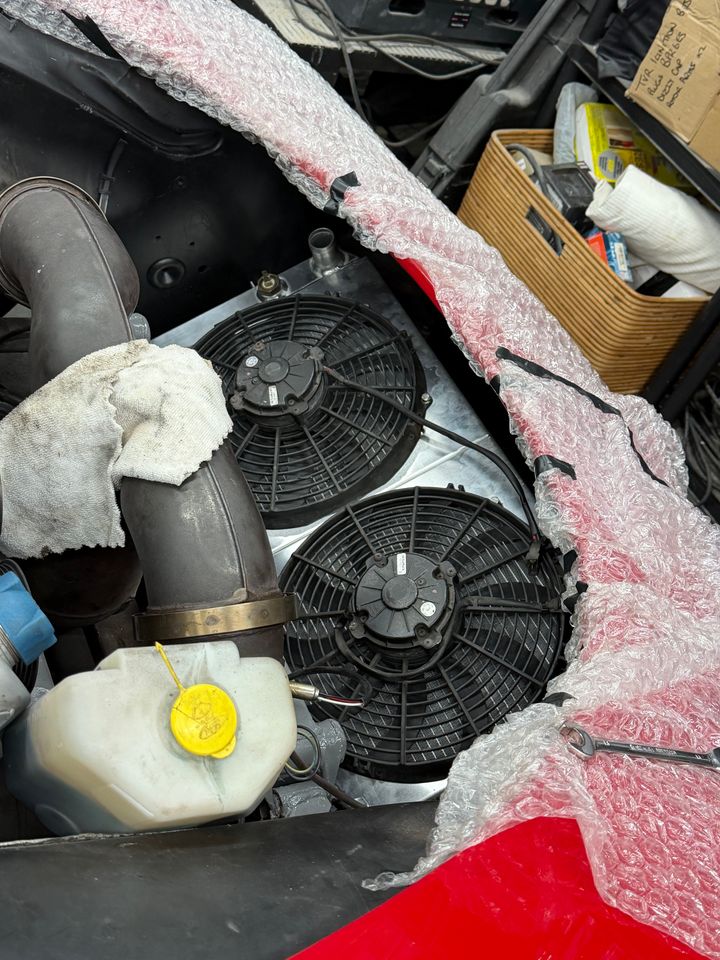
This was the easy part of the job done little did I know the fun was just beginning.
Next was the ‘simple’ job of unbolting the old water pump and replacing it with a shiny new one.
This required removal of the serpentine belt which I also took the opportunity to renew.
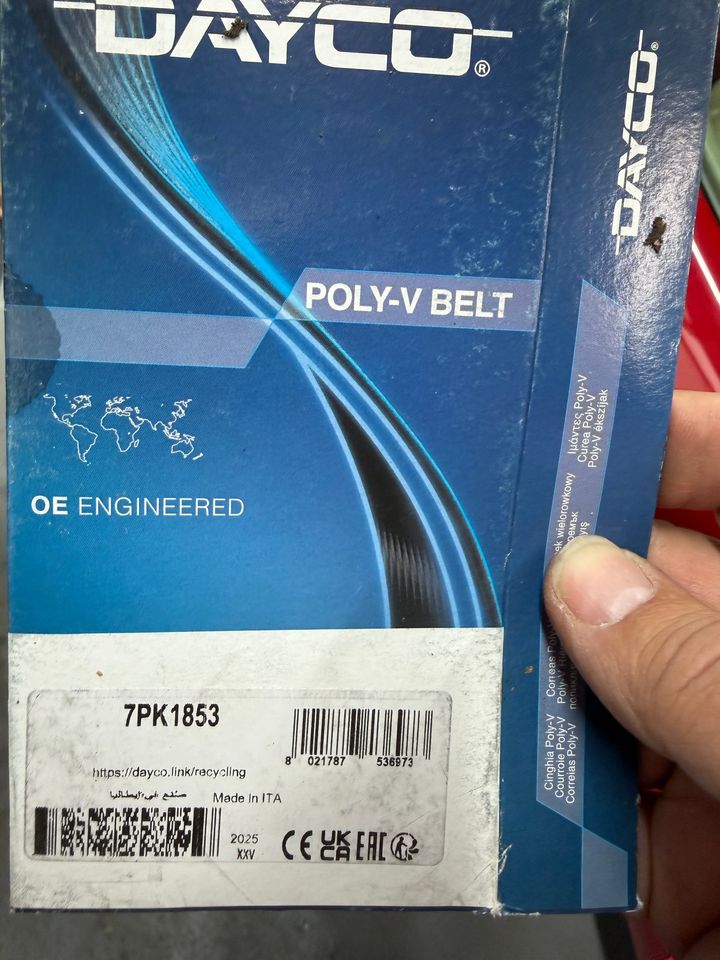
This is the correct one for mine without the PAS or A/C
Its easy to remove by just levering the spring loaded tensioning pulley towards the middle of the car
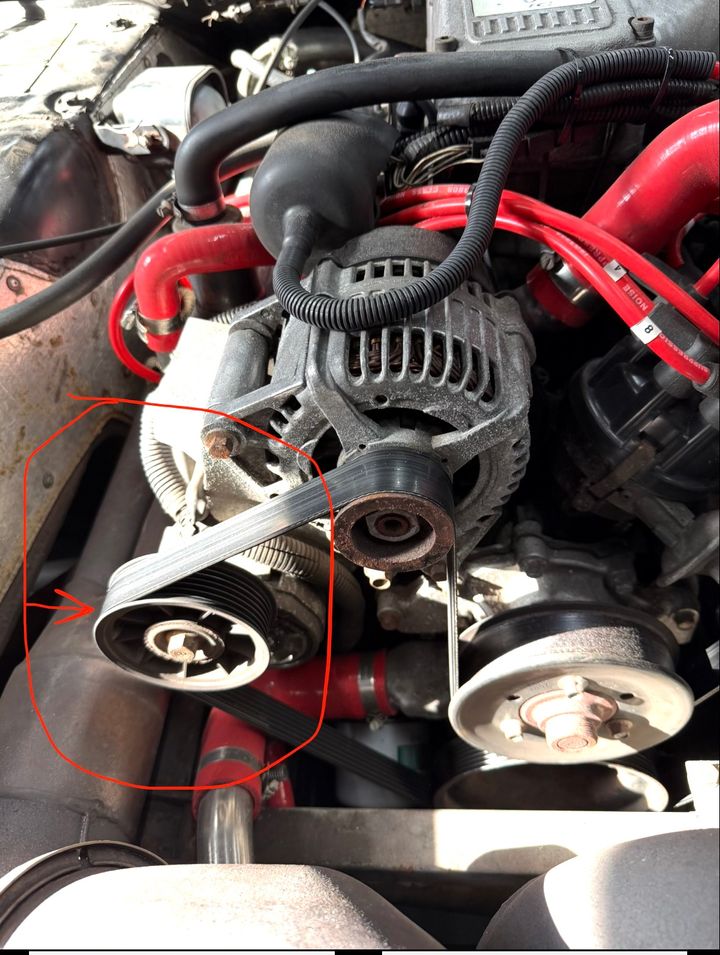
Then the fun started with the removal of the old pump. There are 8 bolts which secure the pump housing to the timing cover, 3 of which are through bolts direct to the block. The 5 shorter bolts came out with the usual care given to 30 year old fasteners but the 3 longer ones were more difficult and required a little bit of care and careful loosening, the first 2 were tight bit came out eventually with no problems but the 3rd seemed like it was already loose when i started to turn it there was minimal torque to get it turning, my joy was short lived as this turned out to be sheared at the start of the threaded section
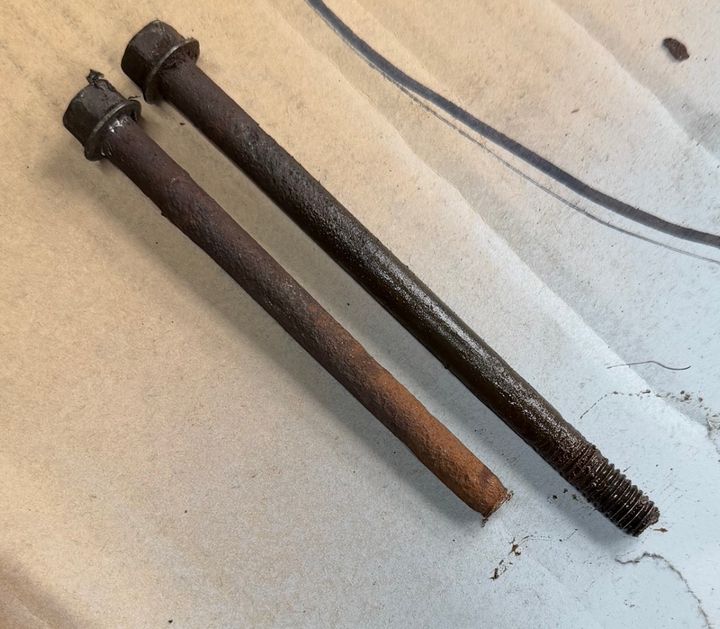
This was the position
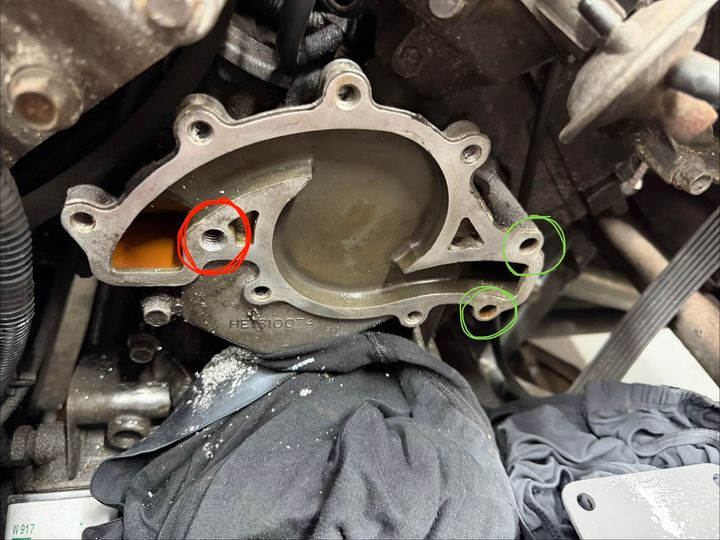
The difficulty was the pump casing is around 75mm deep so using a stud extractor in the usual way wasn't an option. After I finished swearing and stamping my feet in a mechanic tantrum I had to decide if I could affect a ‘temporary’ repair to last until the next time I have the engine out. I decided (you don’t need to tell me in the comments you think its a bad idea, I understand the risk!) to use the access hole for the shank of the bolt to create a thread for a shorter securing bolt. M12 proved to be a good option as the existing hole was just under the bore for an M12 taper thread tap. I ran the taper in followed by intermediate and plug taps to get 50mm or so of clean M12 thread (red) and the other 2 long bolt holes are identified by the green
I decided id order a set of new bolts as the long ones were not in good condition with visible pitting. I looked up the info and the longs were 5/16 -18 UNC x 4 3/4” with the shorter supposedly 1/4 - 20 UNC x 1 1/8” so I ordered a set.
When they arrived the 5/16 were correct but it transpired that the 1/4 were not, the shorts on mine turned out to be metric M8 x 1.25 (I should have checked an M8 nut but when i checked with a thread gauge 20 TPI fitted so i carried on with the assumption that the imperial kit was correct as 20 TPI equates to 1.27mm pitch as opposed to the M8 1.25mm) small issue but info might help others in the future.
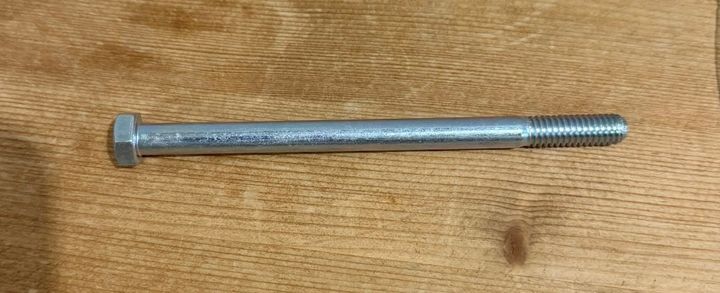
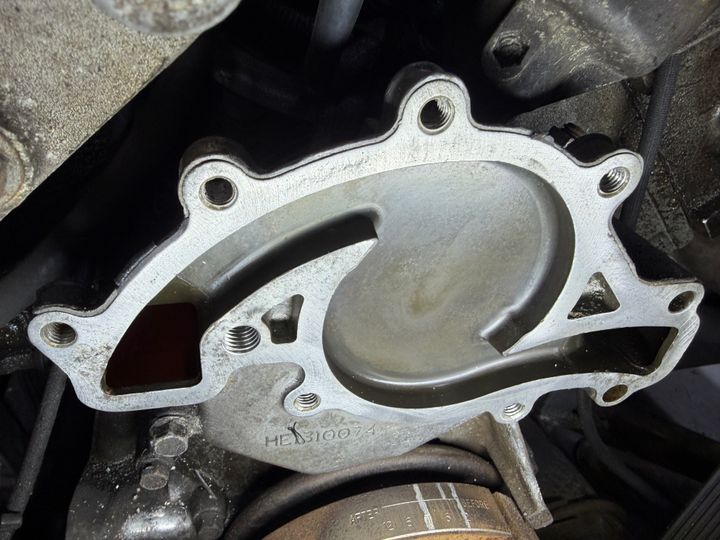
After drilling out the bolt hole on the pump for the M12 and a bit of dremmel work to ensure the head was seated squarely and applying force evenly it was time to fit the new gasket using ‘Hylomar liquid gasket’ as a fine layer to assist the seal.

The long bolts use a thread sealant not a thread lock so Locktite 572 was the correct product. The short bolts were cleaned and fitted dry as the Rover Workshop manual only specifies 572 for the 3 long bolts. (Or 2 and M12 in my case!)
The bolts were torqued to 24Nm and after a bit of digging on comparative compression on different thread sizes I settled on 28Nm for the M12 (calculated value was around 30Nm but i figured less was better than stripping that thread!)
All fitted then the pulley swapped over and new serpentine belt fitted after cleaning all the pulley contact surfaces of any dirt or debris.
All built up and working nicely with no leaks. I’ll keep monitoring things going forward.
As a caveat I’m not recommending this process to anyone else but it has worked so far for me.
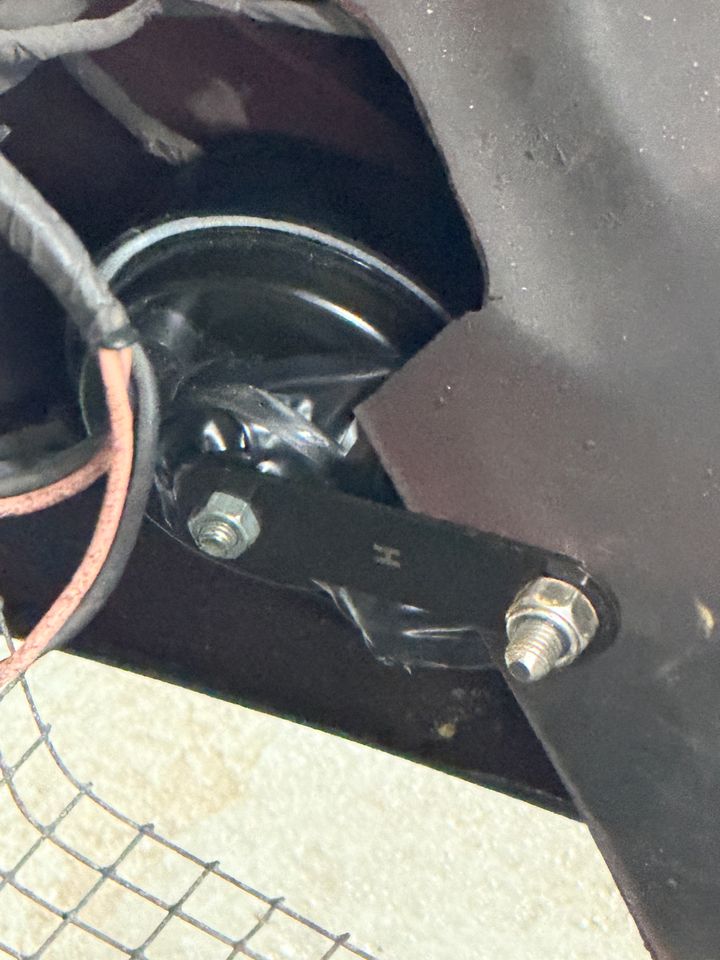
I also took the opportunity to replace the air filter and horns while the radiator was out and the air filter definitely needed it as it basically fell to bits when i removed it so Id suggest any Griffith owners check theirs as it is a pain to get at with the rad fitted
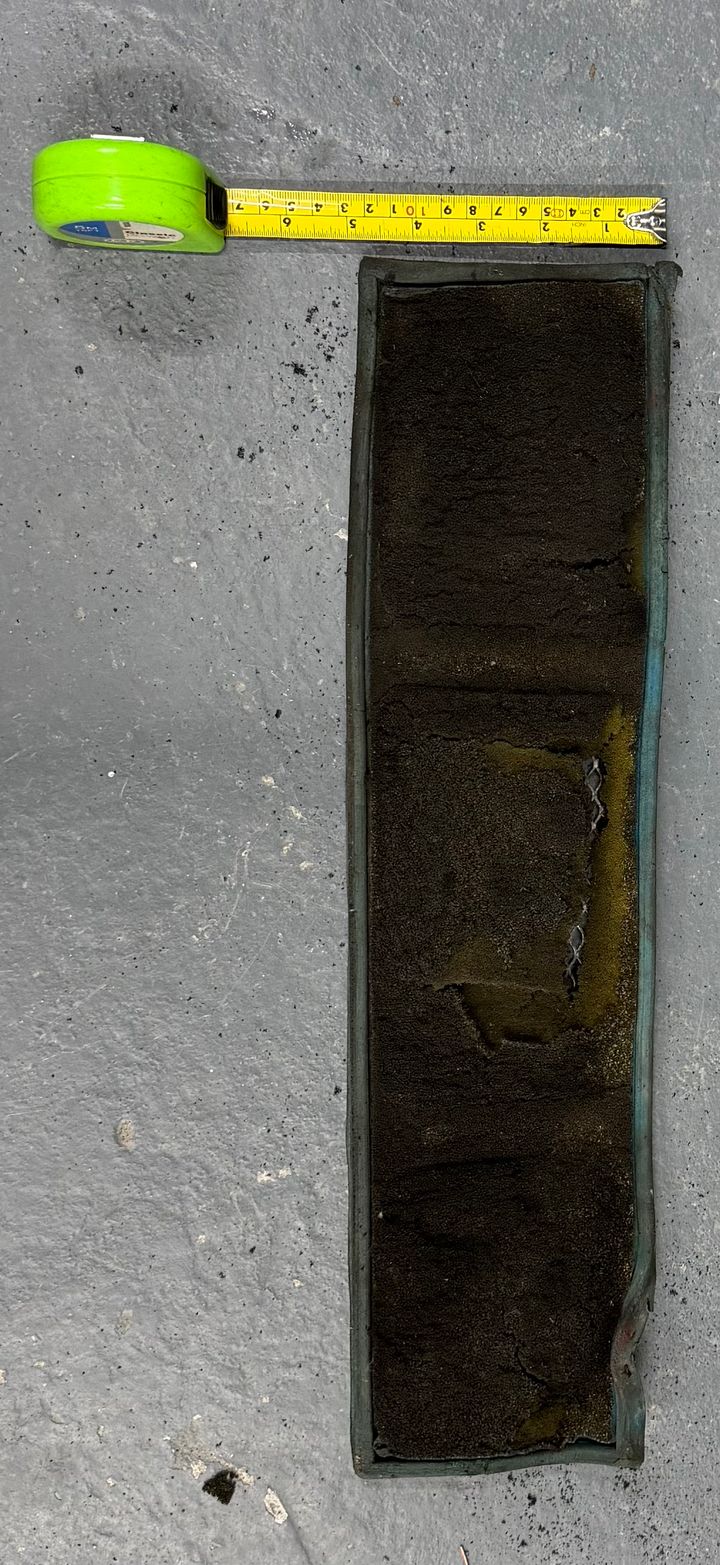
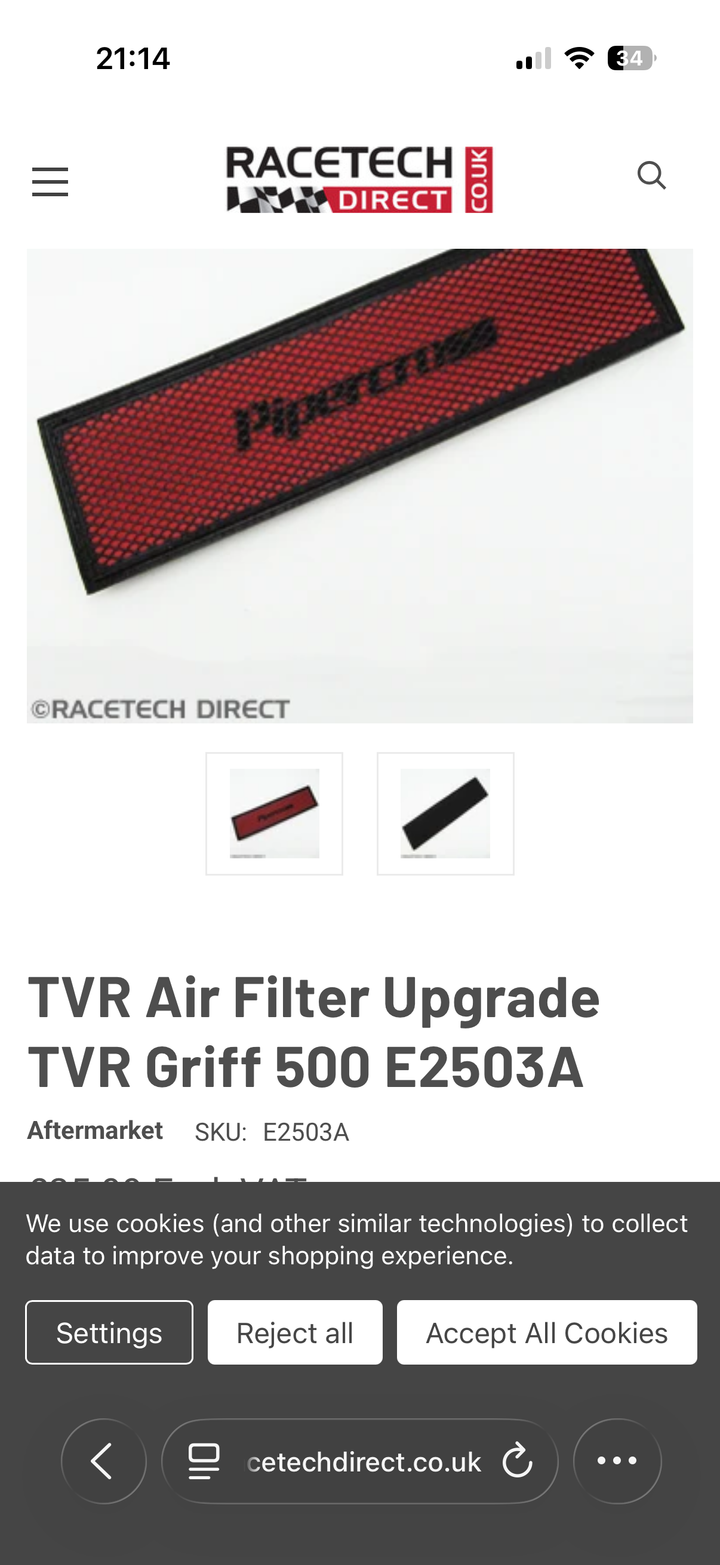
Hopefully this is of interest and helps other owners
Ian
Just a post to share the issues and how i (hopefully) sorted them. I’m aware its not an approved repair but I did what I felt was my best option at the time and it will get done properly at the next engine out scope if it lasts.
I just fitted a new Coolex radiator and water pump (also air filter, horns, thermo switch for fans)
Radiator went fine and gave me an opportunity to give the front crossmember a bit of a clean and paint
Old rad had developed a bit of a leak and temps were marginal under normal temp days but i had one hot day during the summer when worryingly the temp was continuing to rise in stop start traffic even with the fans running. I didn’t want to flush the old system with the existing small weep. I decided to go for a nice shiny new one
Getting the old one out was reasonably easy disconnecting hoses and draining system
There were 2 hoses going into the driver’s side inner wing which after a bit of reading were confirmed as going to the fuel filter recovery system (EVAP)
With the old rad removed the tidy up carried on
One other good thing on the new rad is it was made to accept the OE Spal fans
This was the easy part of the job done little did I know the fun was just beginning.
Next was the ‘simple’ job of unbolting the old water pump and replacing it with a shiny new one.
This required removal of the serpentine belt which I also took the opportunity to renew.
This is the correct one for mine without the PAS or A/C
Its easy to remove by just levering the spring loaded tensioning pulley towards the middle of the car
Then the fun started with the removal of the old pump. There are 8 bolts which secure the pump housing to the timing cover, 3 of which are through bolts direct to the block. The 5 shorter bolts came out with the usual care given to 30 year old fasteners but the 3 longer ones were more difficult and required a little bit of care and careful loosening, the first 2 were tight bit came out eventually with no problems but the 3rd seemed like it was already loose when i started to turn it there was minimal torque to get it turning, my joy was short lived as this turned out to be sheared at the start of the threaded section
This was the position
The difficulty was the pump casing is around 75mm deep so using a stud extractor in the usual way wasn't an option. After I finished swearing and stamping my feet in a mechanic tantrum
I had to decide if I could affect a ‘temporary’ repair to last until the next time I have the engine out. I decided (you don’t need to tell me in the comments you think its a bad idea, I understand the risk!) to use the access hole for the shank of the bolt to create a thread for a shorter securing bolt. M12 proved to be a good option as the existing hole was just under the bore for an M12 taper thread tap. I ran the taper in followed by intermediate and plug taps to get 50mm or so of clean M12 thread (red) and the other 2 long bolt holes are identified by the greenI decided id order a set of new bolts as the long ones were not in good condition with visible pitting. I looked up the info and the longs were 5/16 -18 UNC x 4 3/4” with the shorter supposedly 1/4 - 20 UNC x 1 1/8” so I ordered a set.
When they arrived the 5/16 were correct but it transpired that the 1/4 were not, the shorts on mine turned out to be metric M8 x 1.25 (I should have checked an M8 nut but when i checked with a thread gauge 20 TPI fitted so i carried on with the assumption that the imperial kit was correct as 20 TPI equates to 1.27mm pitch as opposed to the M8 1.25mm) small issue but info might help others in the future.
After drilling out the bolt hole on the pump for the M12 and a bit of dremmel work to ensure the head was seated squarely and applying force evenly it was time to fit the new gasket using ‘Hylomar liquid gasket’ as a fine layer to assist the seal.
The long bolts use a thread sealant not a thread lock so Locktite 572 was the correct product. The short bolts were cleaned and fitted dry as the Rover Workshop manual only specifies 572 for the 3 long bolts. (Or 2 and M12 in my case!)
The bolts were torqued to 24Nm and after a bit of digging on comparative compression on different thread sizes I settled on 28Nm for the M12 (calculated value was around 30Nm but i figured less was better than stripping that thread!)
All fitted then the pulley swapped over and new serpentine belt fitted after cleaning all the pulley contact surfaces of any dirt or debris.
All built up and working nicely with no leaks. I’ll keep monitoring things going forward.
As a caveat I’m not recommending this process to anyone else but it has worked so far for me.
I also took the opportunity to replace the air filter and horns while the radiator was out and the air filter definitely needed it as it basically fell to bits when i removed it so Id suggest any Griffith owners check theirs as it is a pain to get at with the rad fitted
Hopefully this is of interest and helps other owners
Ian
Gassing Station | Griffith | Top of Page | What's New | My Stuff