
Joehirth's Mk 3 BIG TURBO Ibiza Cupra R Project Build
Discussion


Hi all,
My name's Joe and I am currently undergoing a fairly large project with minimal experience. Converting a SEAT Ibiza Cupra R (180bhp) into a SEAT Ibiza Cupra R with upwards of 400bhp.
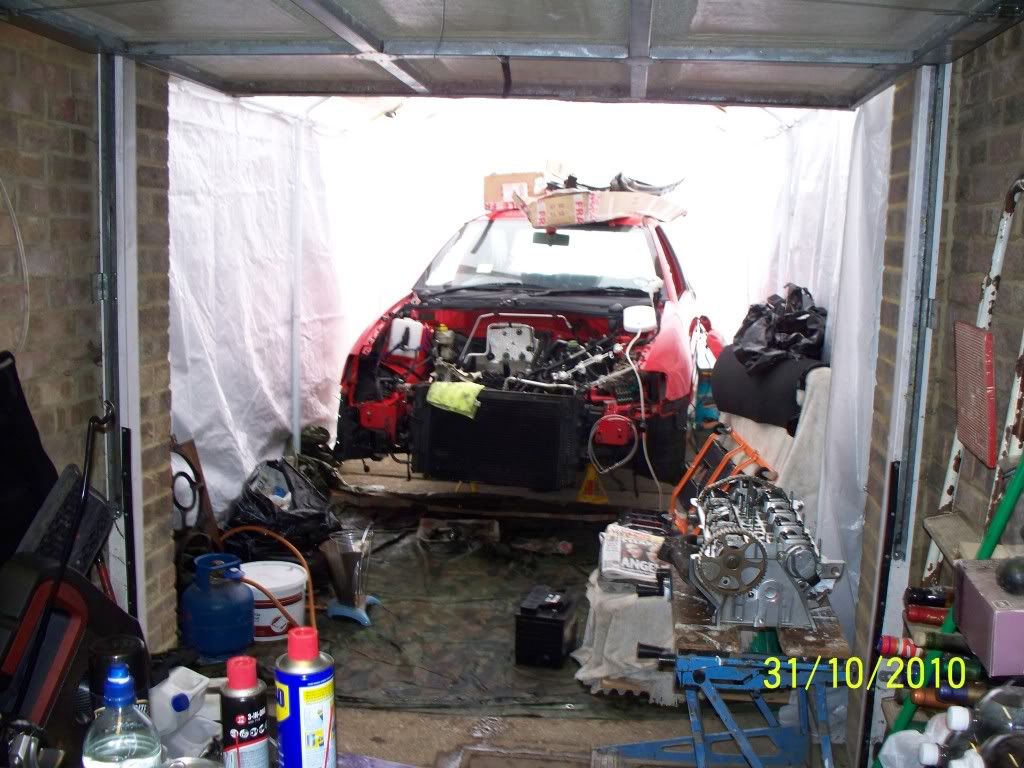
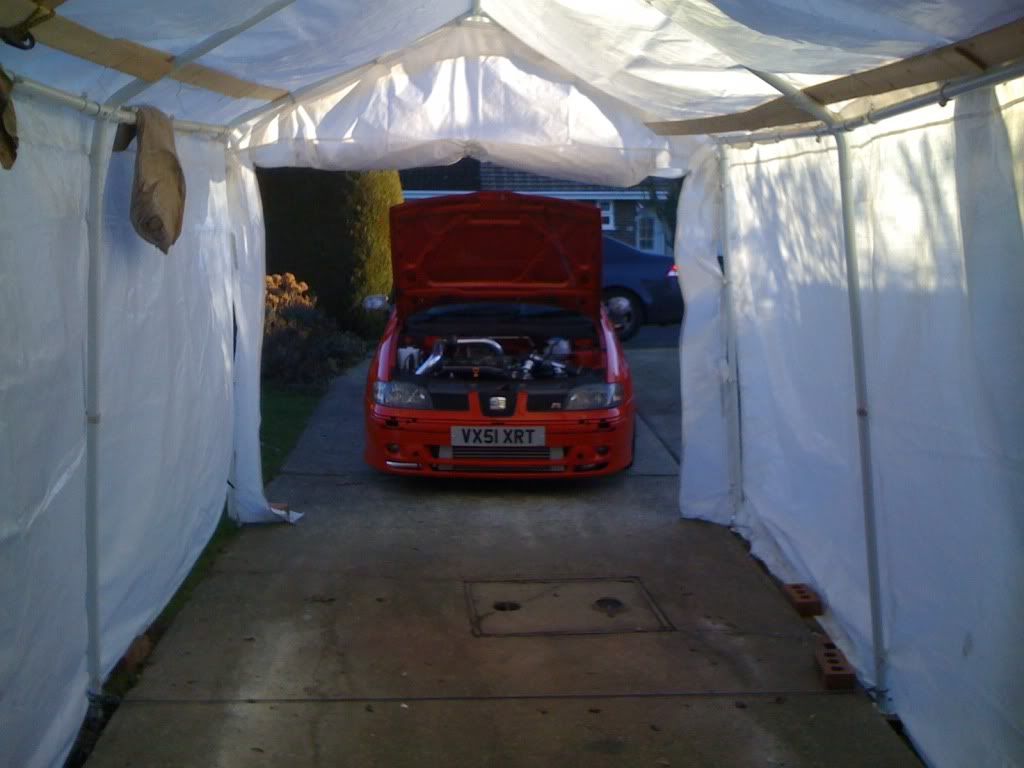
I did the rebuild in a pop up garage on my driveway.Pictures will follow and I will start a build thread on here if there's enough interest. (I have pictures from day 1 to today)
Let me know what you think
Joe
My name's Joe and I am currently undergoing a fairly large project with minimal experience. Converting a SEAT Ibiza Cupra R (180bhp) into a SEAT Ibiza Cupra R with upwards of 400bhp.
I did the rebuild in a pop up garage on my driveway.Pictures will follow and I will start a build thread on here if there's enough interest. (I have pictures from day 1 to today)
Let me know what you think
Joe
 Sounds like a good project, i'd like to request some pics!
Right here goes my thread, it's copied and pasted from SeatCupra.net so I apologise if some of it doesn't "flow" properly:
Now I have some spec to put down here it is:
Engine/ Engine Bay
1.8L 20V Turbo (AYP)
Garrett GT3071R with 0.86 Hotside housing
Siemens Dekka 630cc Injectors running @ 4 bar
Walbro 255 LPH Fuel Pump
Integrated Engineering Connecting Rods and ARP 2000 Bolts
Calico Coated Big Eng Bearings
JE 9.25:1 Compression Ratio Pistons
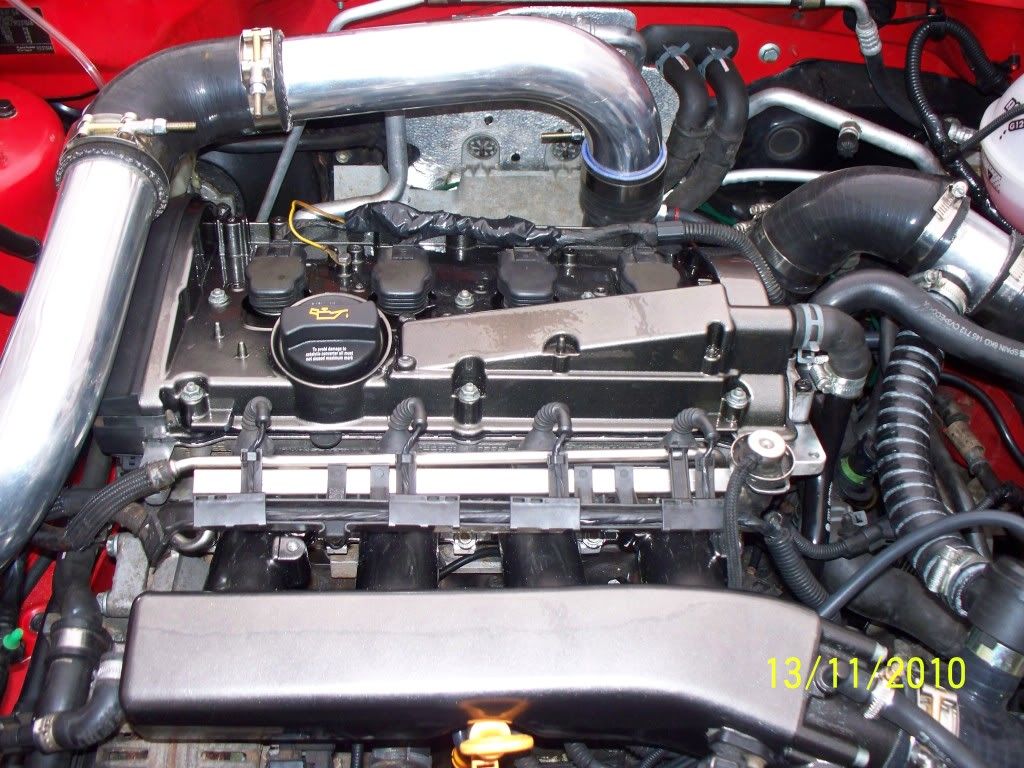
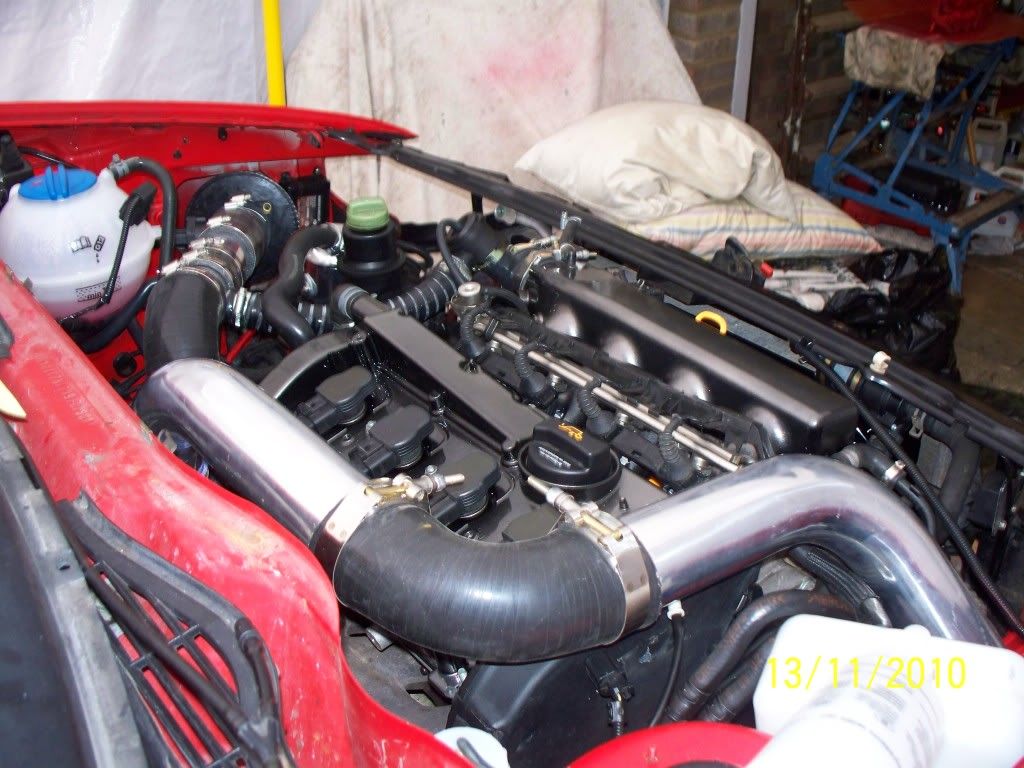
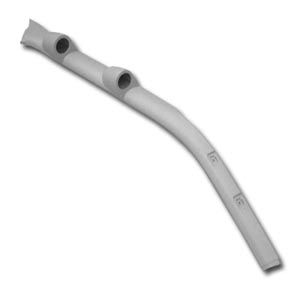
Custom 3" Turbo Intake Pipe (TIP) with hidden hose take offs
Green Cotton Air Filter - relocated into wing
Custom full 3" de-cat system with ceramic coated downpipe
Forge 007P Recirc Diverter Valve (with green spring) and cold side relocated
Mapped out N112 & N249 valves
Mapped out SAI and blanked
Removed PCV Valve and EVAP Pump
Pro Alloy Intercooler with custom 2.5" pipework re-routed around the engine bay (beaded)
Universal 1.2L Washer Fluid reservoir (Mounted on the OEM bracket for the Carbon Cannister)
Anthracite Powder Coated Cam cover, Inlet manifold.
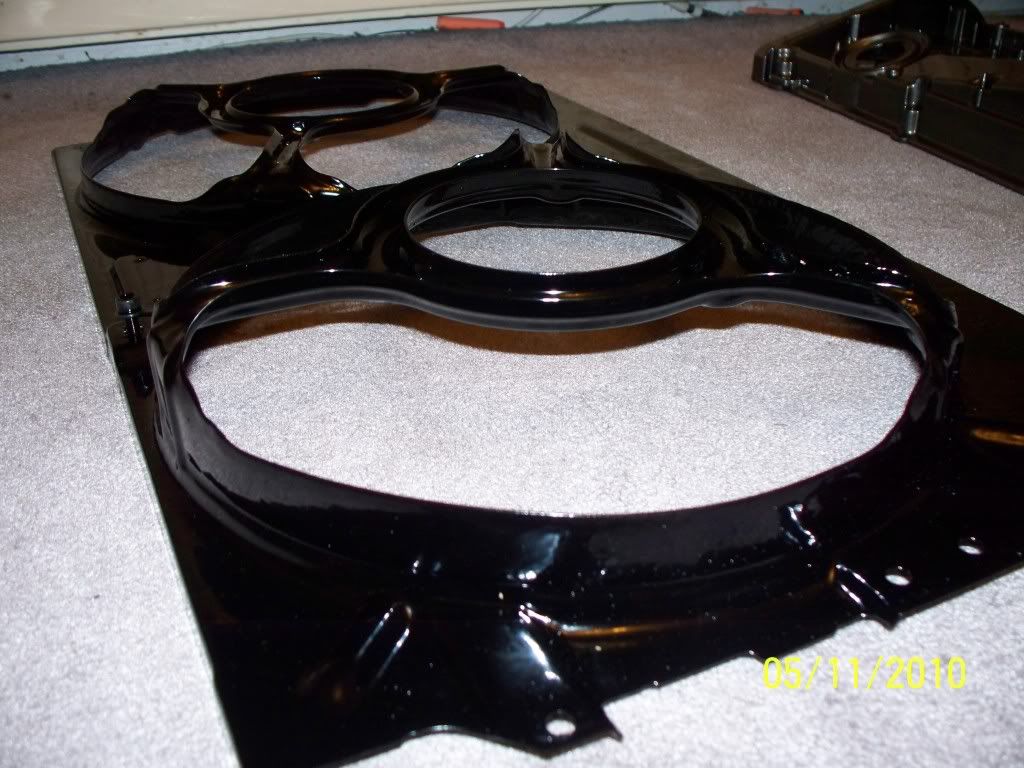
Gloss Black Powder Coated Fan Shroud
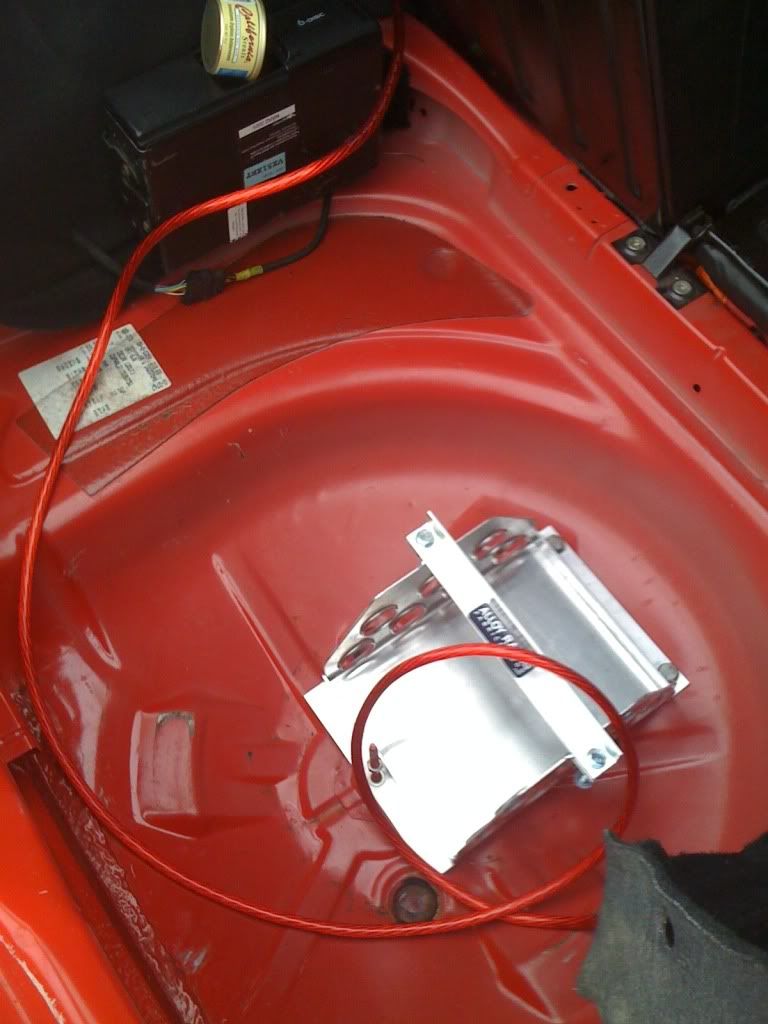
Battery Relocated to boot using 4AWG Wiring (Housed in a Alloy Racing Fabrications Battery Tray)
Transmission
Recoditioned 02J Gearbox with brand new Gears/ Gaskets & Bearings (LSD to be fitted)
New Gear Linkage
G60/ ABF Lightened Flywheel (~14lbs)
Helix 6 Paddle Clutch
Chassis
AP Adjustable Coilovers
ARBs Front and Rear (still to get)
Strut Braces Upper and Lower (front) (still to get - someone sold my standard ones ) & Upper rear
Brakes
Front
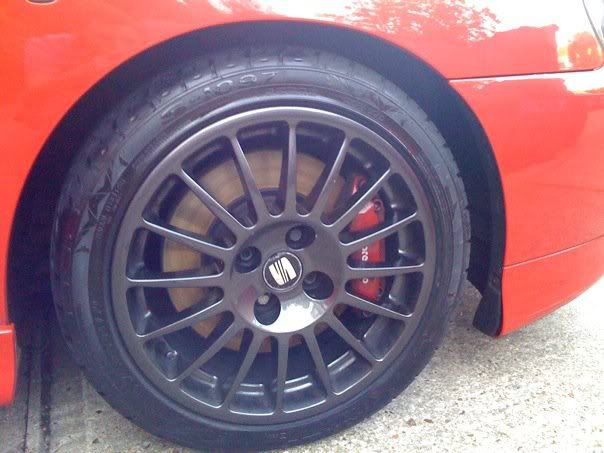
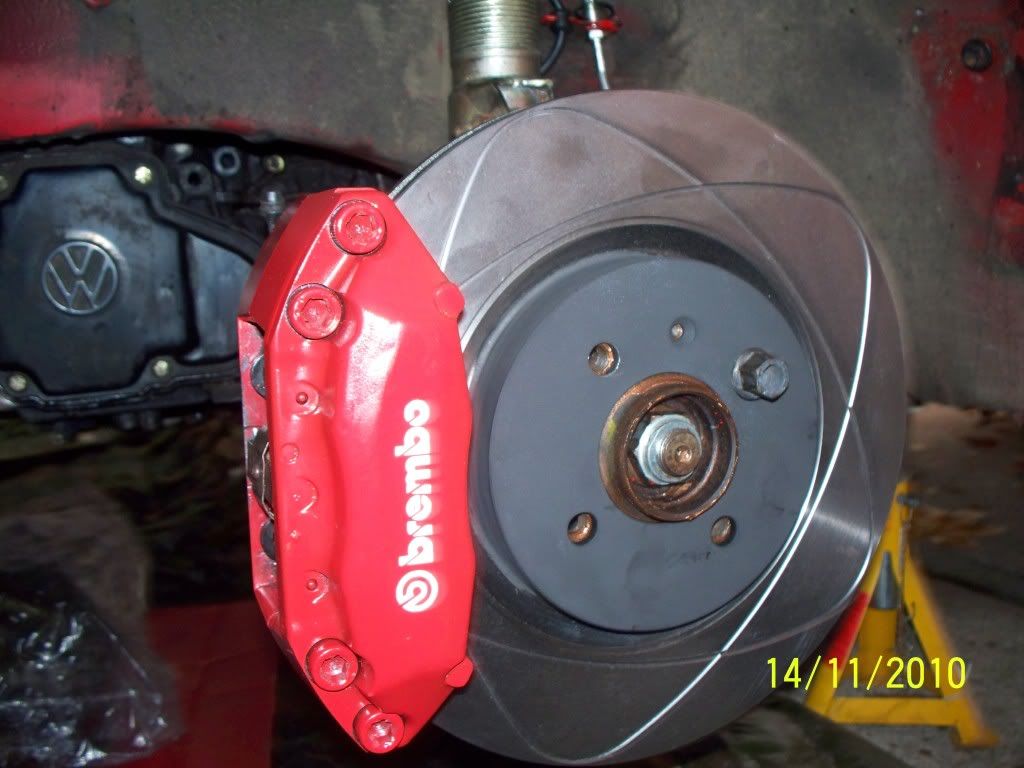
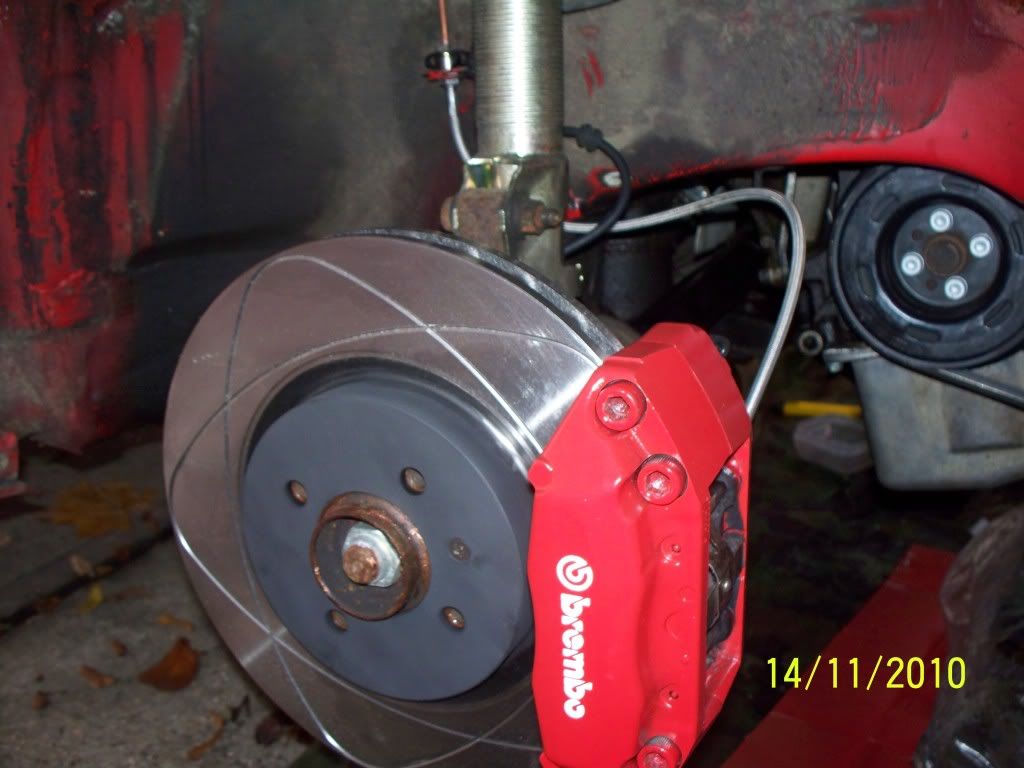
Brembo 4 Pot Calipers
Badger5 Elliptical Grooved Discs
Ferodo DS2500 Pads
Badger5 Braided Front Hoses
ATE Racing Blue Brake Fluid
Rear
Standard
Wheels & Tyres
O.Z. SEAT Sport Superturismo Wheels (to be powdercoated anthracite)
Uniroyal Rainsport 2's and Yokohama Parada Spec 2 (still to get - for summer)
Exterior
Fully Resprayed Car
Silvatec Indicator Bulbs (still to get)
Golf Mk 5 onwards Rear Aero Wiper
8000K HIDs (Ballasts mounted on inside of wings)
LED Number Plate Lights
Front Aero Wipers
LCR Splitter (not sure if I'm too low to fit it and still get in my drive??)
Interior
Nomad Twin A Pillar Guage Holder
AutoGauge Stepper (PSI) Boost Gauge
Drift Iridium Digital Oil Pressure (to get)
Drift Iridium Digital Oil Temperature Gauge (to get)
Drift Iridium Digital Turbo Boost (to get)
Drift Iridium Digital Voltmeter (to get)
Zeitronix Wideband Controller and Data Logging System (AFR/ EGT Gauge too)
Voltmeter Gauge
Oil Temperature Gauge
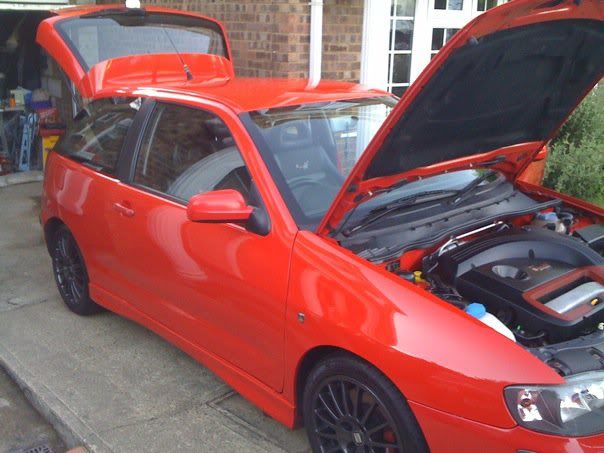
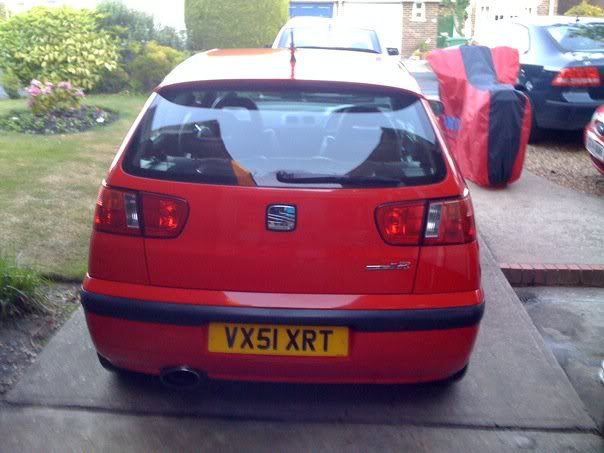
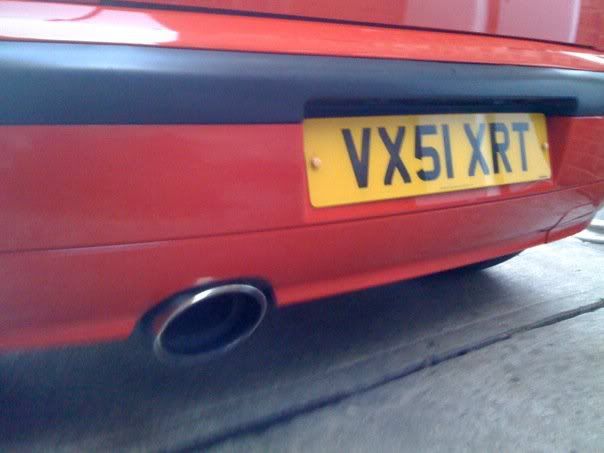
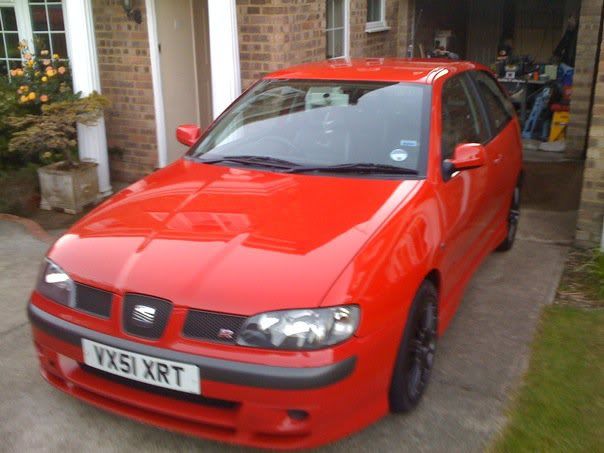
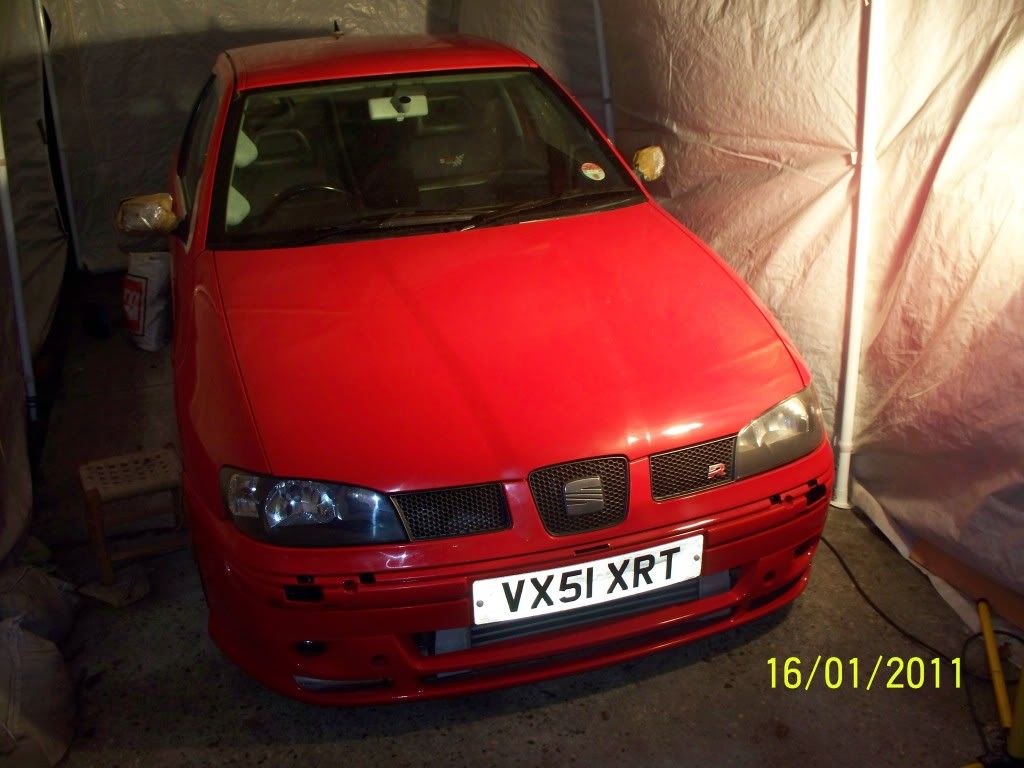
The car as it stands now:
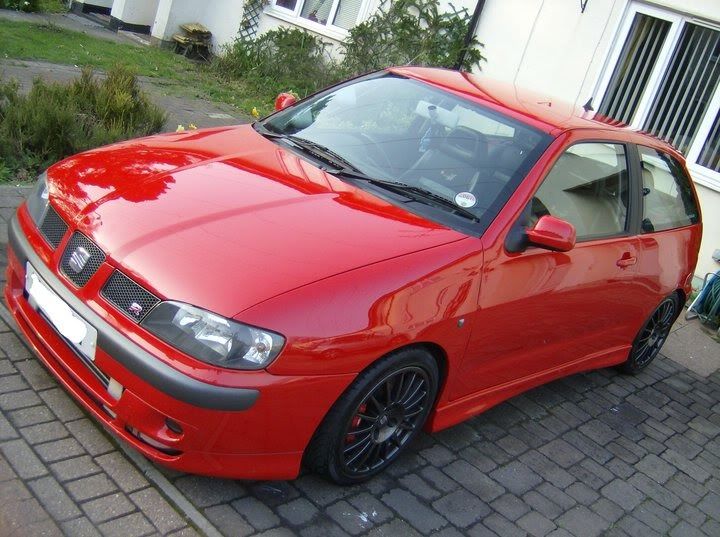
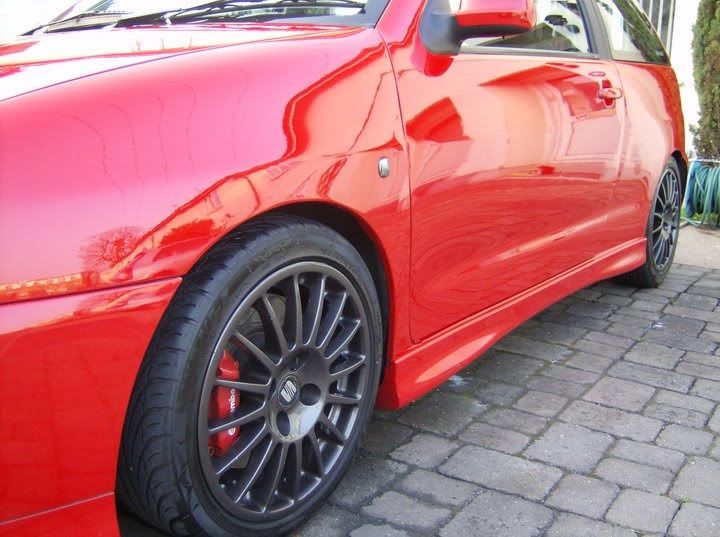
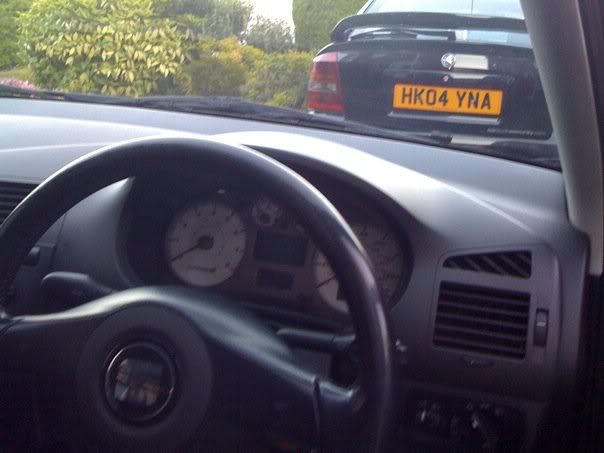
Here's what she looked like when I picked her up early June:
It had a few basic mods including painted alloys and blue flame turbo back exhaust system with de-cat, bilstein suspension.
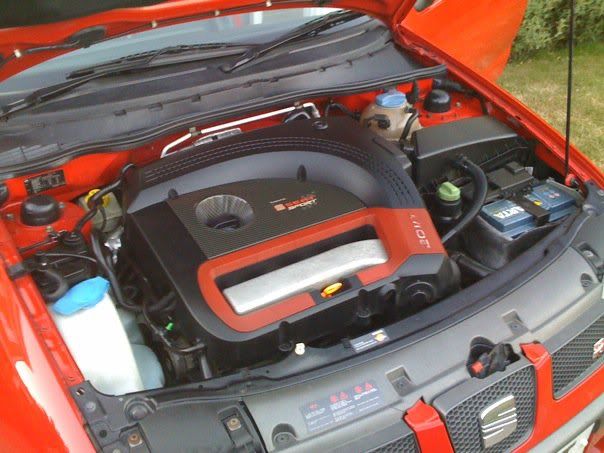
Now I have some spec to put down here it is:
Engine/ Engine Bay
1.8L 20V Turbo (AYP)
Garrett GT3071R with 0.86 Hotside housing
Siemens Dekka 630cc Injectors running @ 4 bar
Walbro 255 LPH Fuel Pump
Integrated Engineering Connecting Rods and ARP 2000 Bolts
Calico Coated Big Eng Bearings
JE 9.25:1 Compression Ratio Pistons
Custom 3" Turbo Intake Pipe (TIP) with hidden hose take offs
Green Cotton Air Filter - relocated into wing
Custom full 3" de-cat system with ceramic coated downpipe
Forge 007P Recirc Diverter Valve (with green spring) and cold side relocated
Mapped out N112 & N249 valves
Mapped out SAI and blanked
Removed PCV Valve and EVAP Pump
Pro Alloy Intercooler with custom 2.5" pipework re-routed around the engine bay (beaded)
Universal 1.2L Washer Fluid reservoir (Mounted on the OEM bracket for the Carbon Cannister)
Anthracite Powder Coated Cam cover, Inlet manifold.
Gloss Black Powder Coated Fan Shroud
Battery Relocated to boot using 4AWG Wiring (Housed in a Alloy Racing Fabrications Battery Tray)
Transmission
Recoditioned 02J Gearbox with brand new Gears/ Gaskets & Bearings (LSD to be fitted)
New Gear Linkage
G60/ ABF Lightened Flywheel (~14lbs)
Helix 6 Paddle Clutch
Chassis
AP Adjustable Coilovers
ARBs Front and Rear (still to get)
Strut Braces Upper and Lower (front) (still to get - someone sold my standard ones
) & Upper rearBrakes
Front
Brembo 4 Pot Calipers
Badger5 Elliptical Grooved Discs
Ferodo DS2500 Pads
Badger5 Braided Front Hoses
ATE Racing Blue Brake Fluid
Rear
Standard
Wheels & Tyres
O.Z. SEAT Sport Superturismo Wheels (to be powdercoated anthracite)
Uniroyal Rainsport 2's and Yokohama Parada Spec 2 (still to get - for summer)
Exterior
Fully Resprayed Car
Silvatec Indicator Bulbs (still to get)
Golf Mk 5 onwards Rear Aero Wiper
8000K HIDs (Ballasts mounted on inside of wings)
LED Number Plate Lights
Front Aero Wipers
LCR Splitter (not sure if I'm too low to fit it and still get in my drive??)
Interior
Nomad Twin A Pillar Guage Holder
AutoGauge Stepper (PSI) Boost Gauge
Drift Iridium Digital Oil Pressure (to get)
Drift Iridium Digital Oil Temperature Gauge (to get)
Drift Iridium Digital Turbo Boost (to get)
Drift Iridium Digital Voltmeter (to get)
Zeitronix Wideband Controller and Data Logging System (AFR/ EGT Gauge too)
Voltmeter Gauge
Oil Temperature Gauge
The car as it stands now:
Here's what she looked like when I picked her up early June:
It had a few basic mods including painted alloys and blue flame turbo back exhaust system with de-cat, bilstein suspension.
Edited by joehirth on Sunday 18th September 20:28
Edited by joehirth on Tuesday 20th September 20:43
The old car in front :P
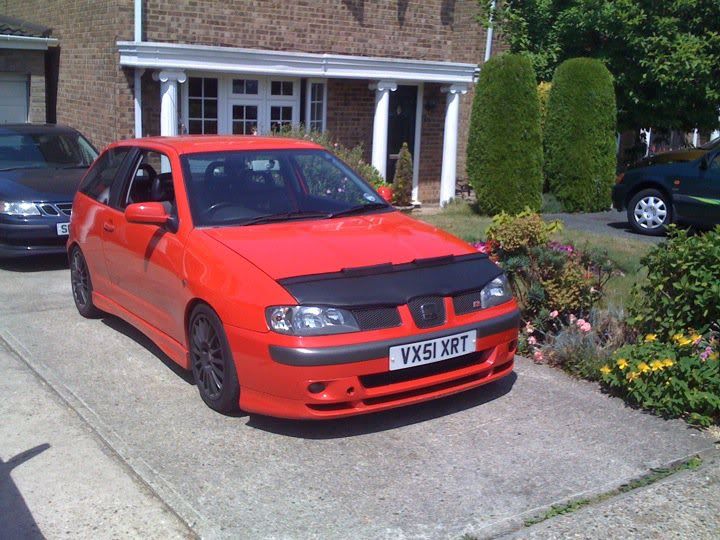

Testing out the bra look...Then a little present to me from me with love
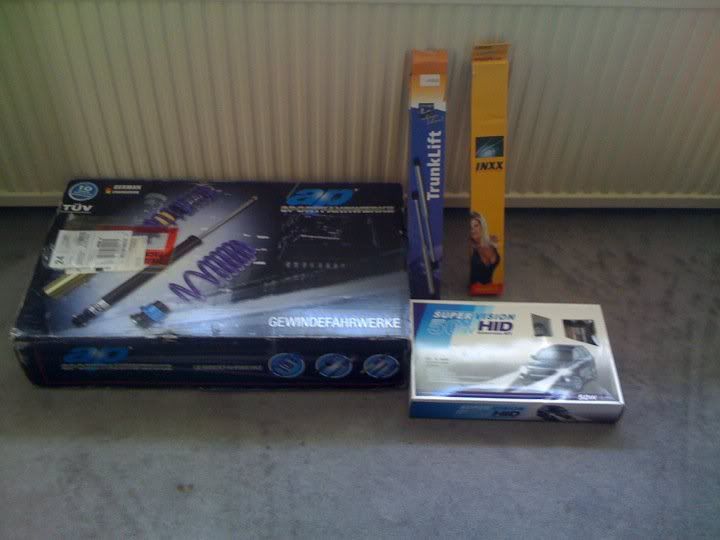
and the addiction begins....
Then thanks to IbizaAlex I picked up this:

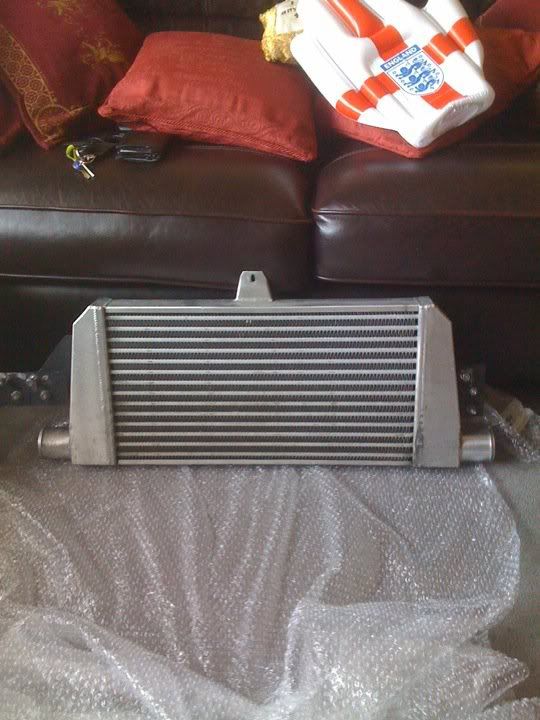
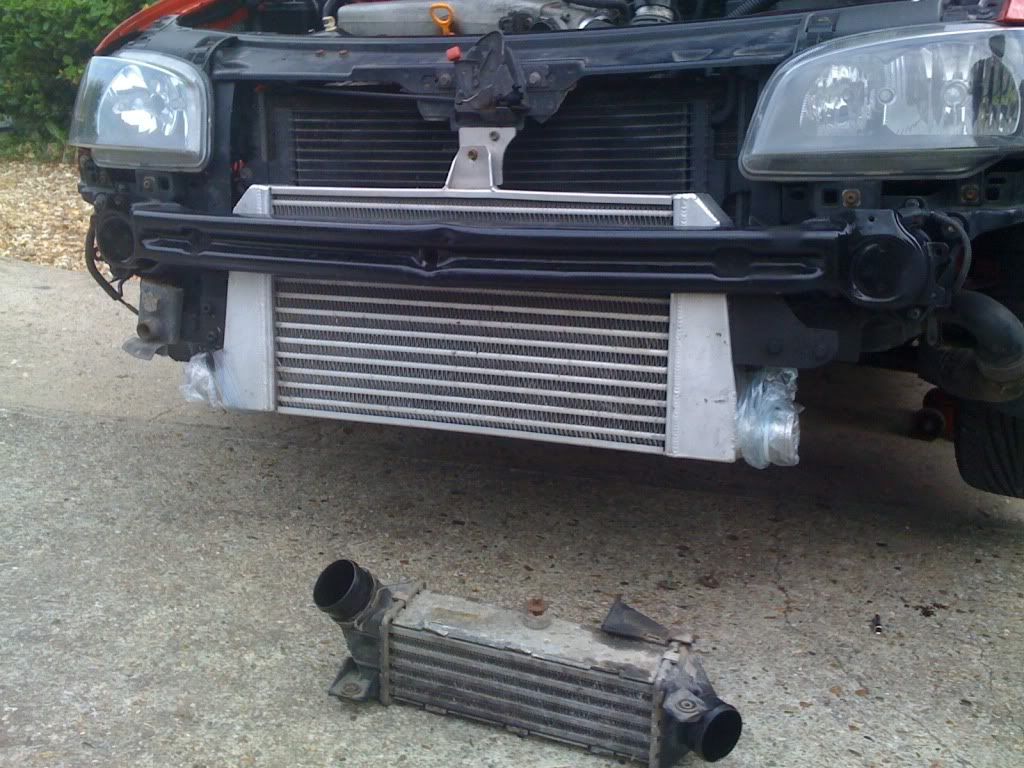
Pro Alloy intercooler, majority of pipework, modified crash bar, brackets and bits and bobs to fit.
Eventually got round to fitting the AP Coilovers and rear spacers:
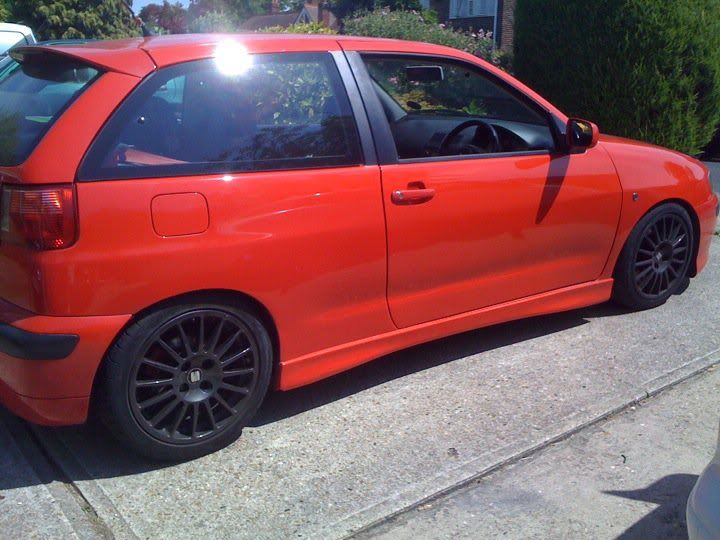
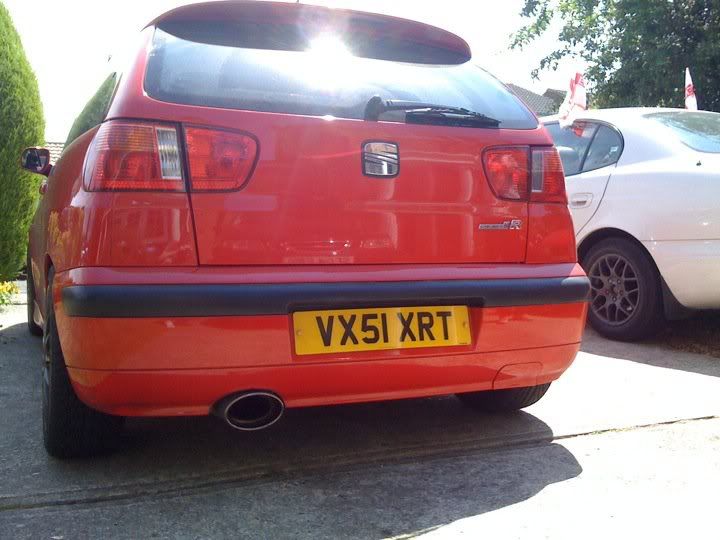
Bit of scrubbing going on but not too bothered about that at the moment few options in the future which could sort that out quite easily, thinking of possibly getting new wheels at some point so I might wait until then, anyone have any suggestions on wheels?
Next present was Organic clutch with a lightened and balanced solid flywheel:


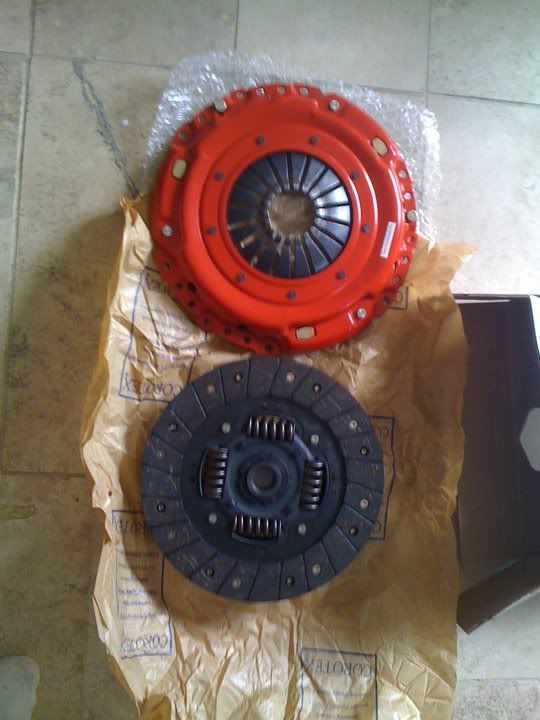
Let me know what you think - I will be back to upload more later (sorry it's a bit "all at once") but I thought I better start sharing what I'm doing and let you lot comment in between... watch this space
Started to crack on with the intercooler:
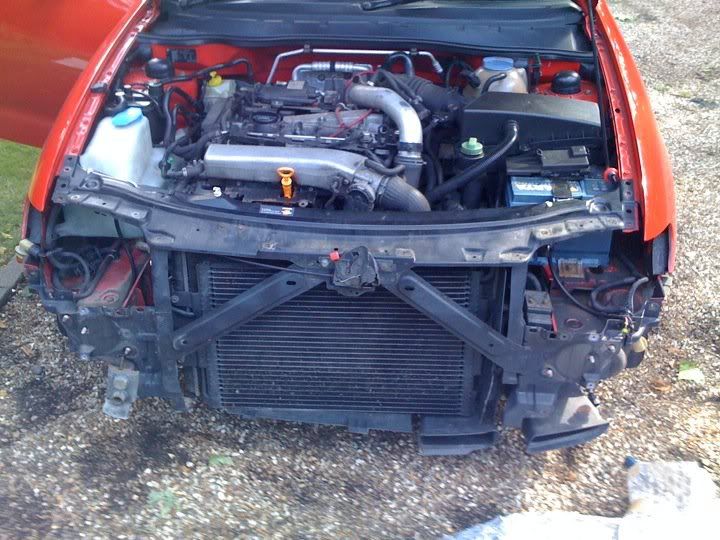
Bumper off and brackets supplied by IbizaAlex to be fitted to the left sode of th radiator to give more room and a straighter finish for the cooler
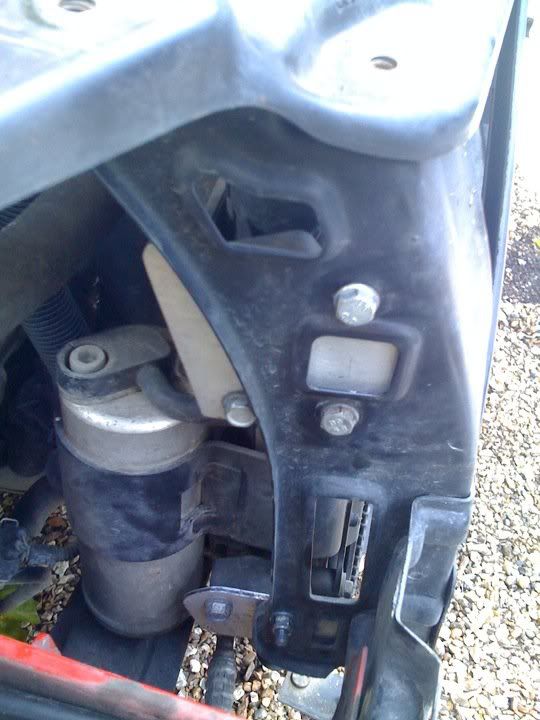
These had to come off
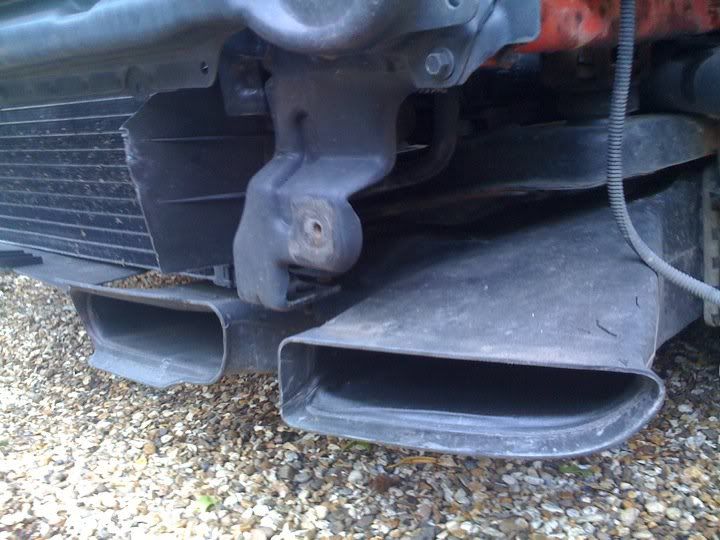
The old intake for standard intercooler
Then to relocate the horns as I was going for the washer bottle side route... I moved them to the red piece of metal on the right of the picture
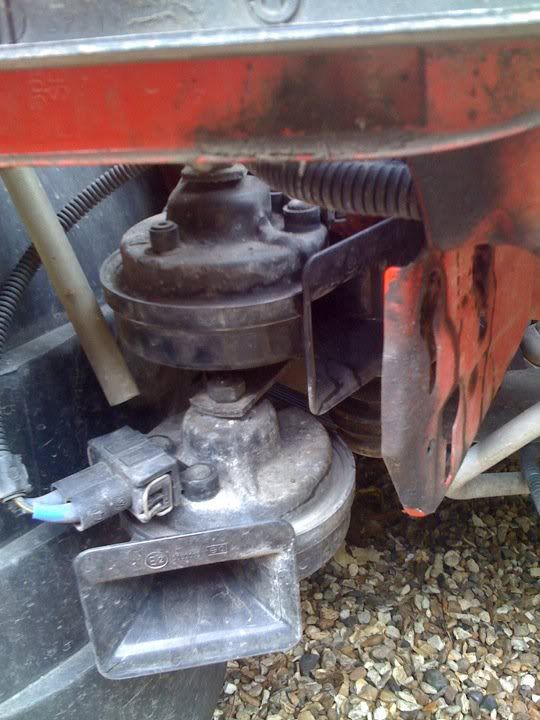
Like so
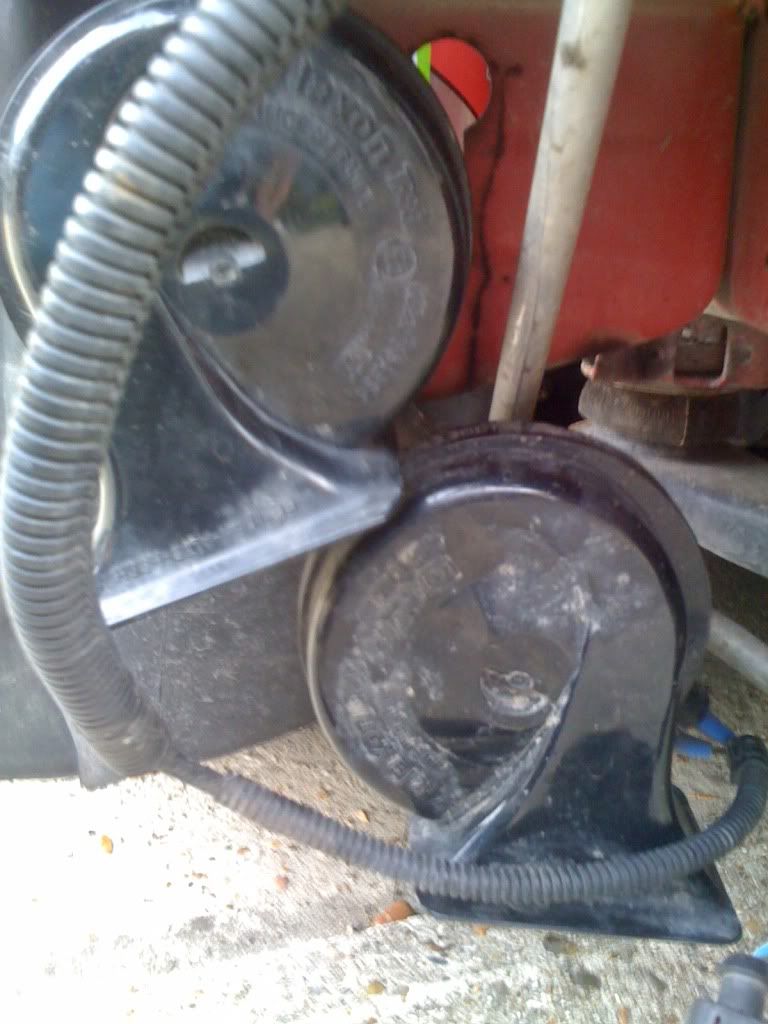
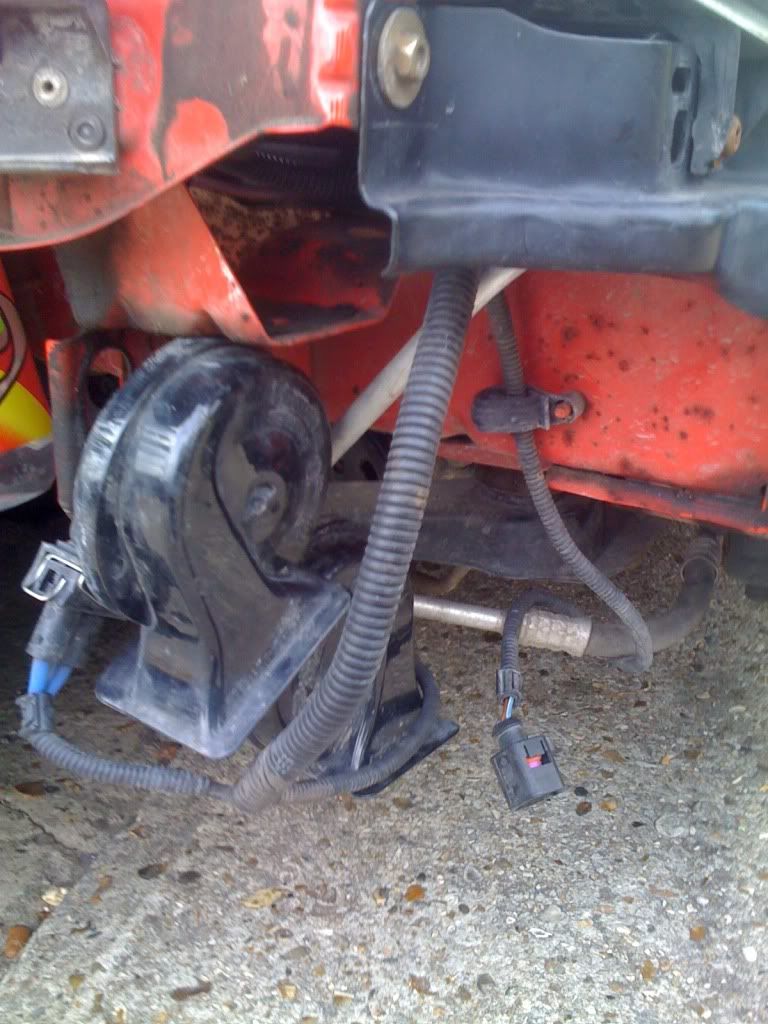
Started to trim the bumper as I knew this would catch
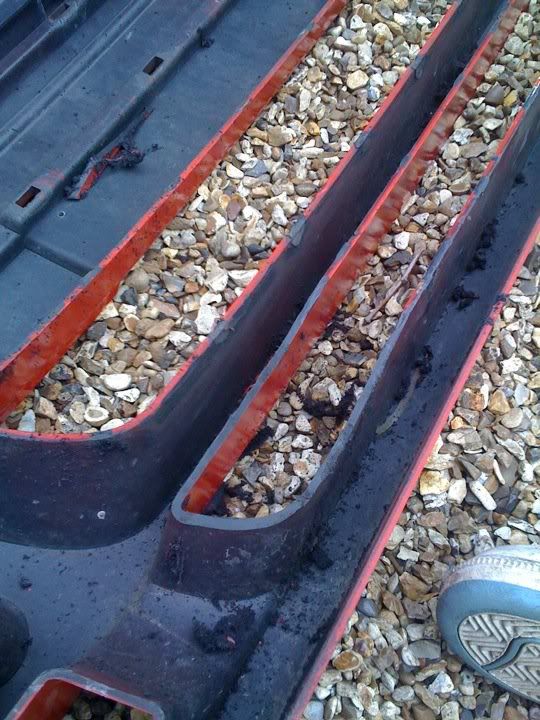
The remains
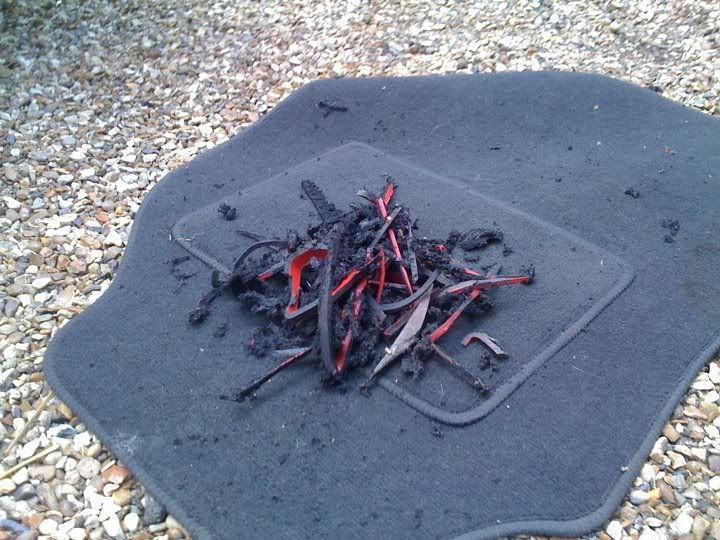
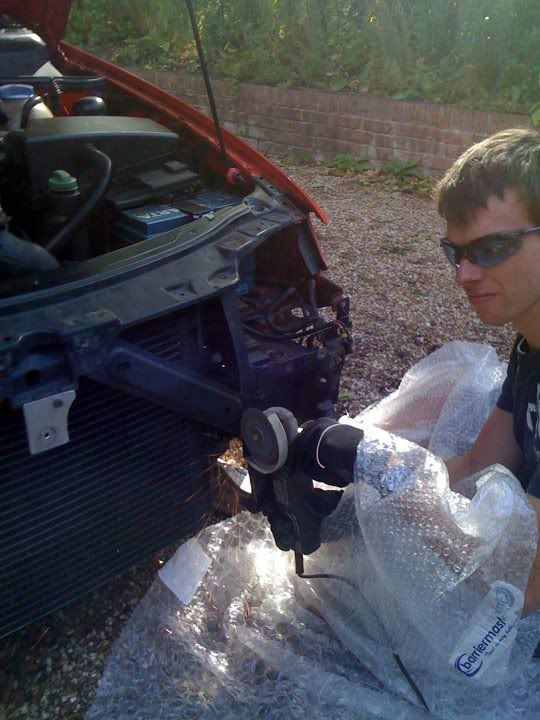
Me and a mate found that the best tool for the job - although quite aggressive was and angle grinder with sanding disc


LOL
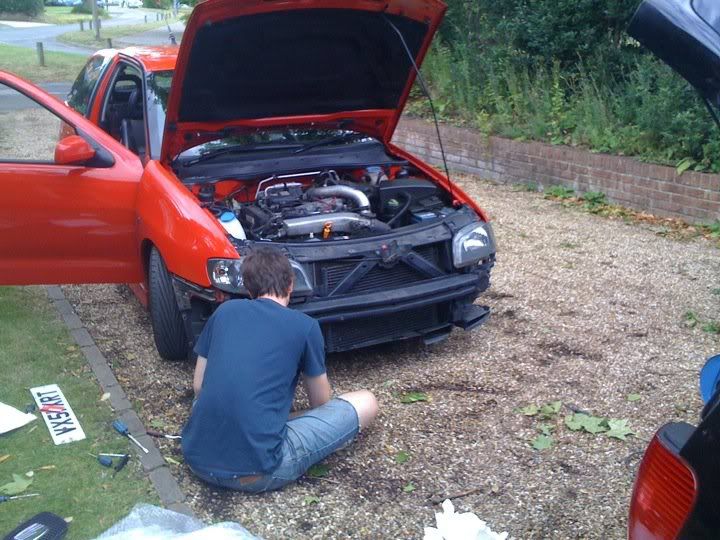
Bumper off
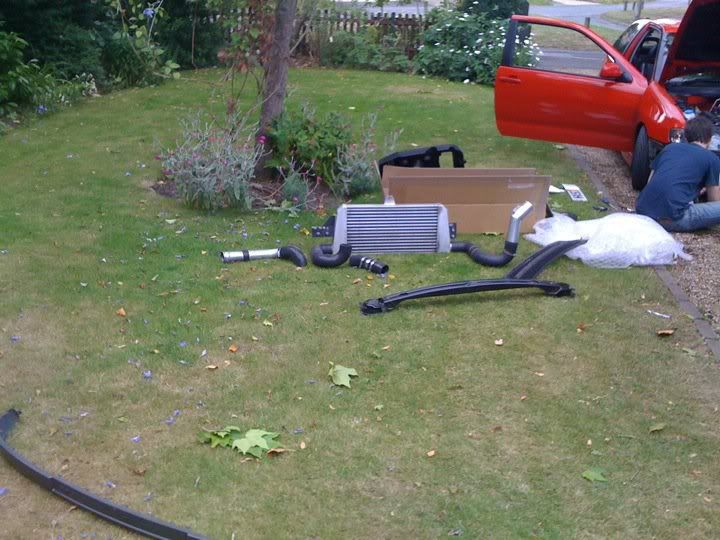
The kit
Headlights out
Slight cutting to ensure the cooler will fit - highly protective clothing worn and demonstrated by Joe (mate not me :P)
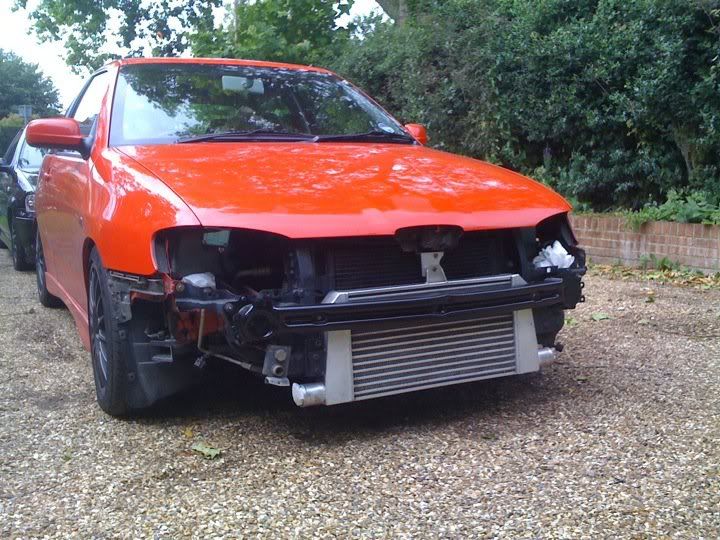
First attempt - bit wonky but she's getting there
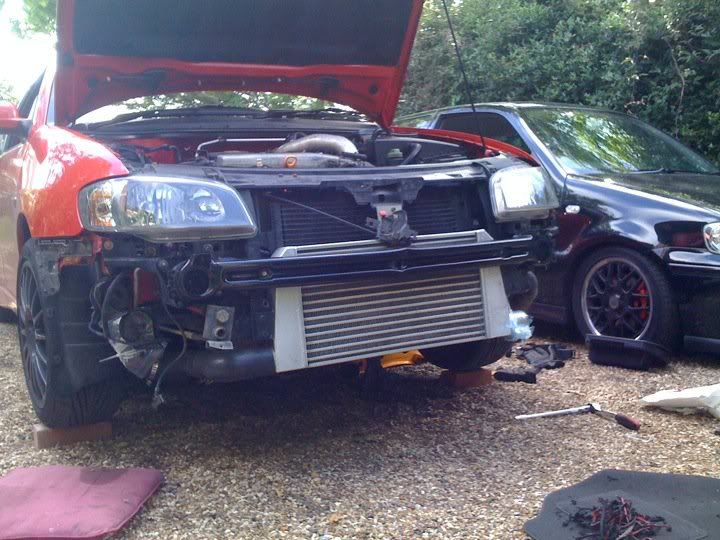
To see how the piping sits
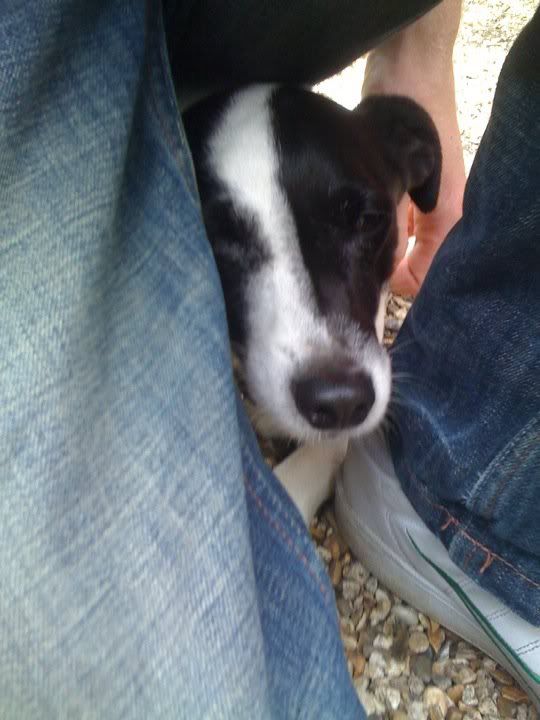
Also had a little help for a furry friend
Ooo and some more news whilst getting the cooler sorted the reconditioned gearbox arrived fitted with some nice strong bolts in the diff to avoid them shooting through the bell housing
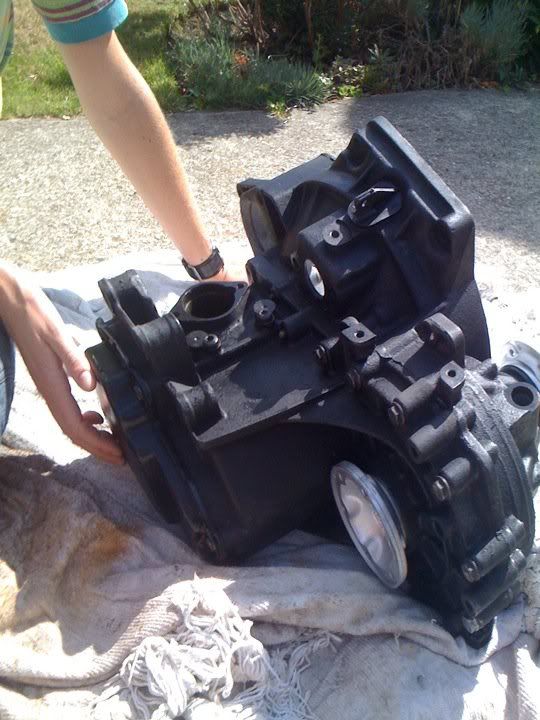
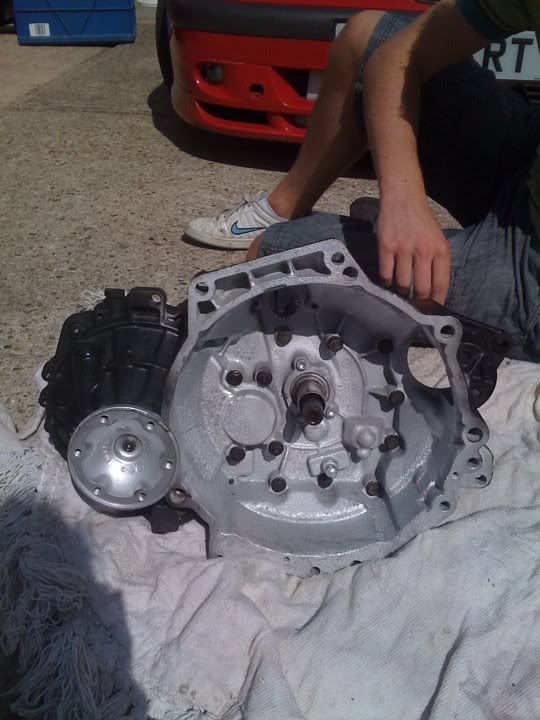
Would of had a crack at fitting the new clutch and gearbox myself however so busy with new work and everything I had to get a mate to do it for me whilst I was at work
Finally got the intercooler sitting straight
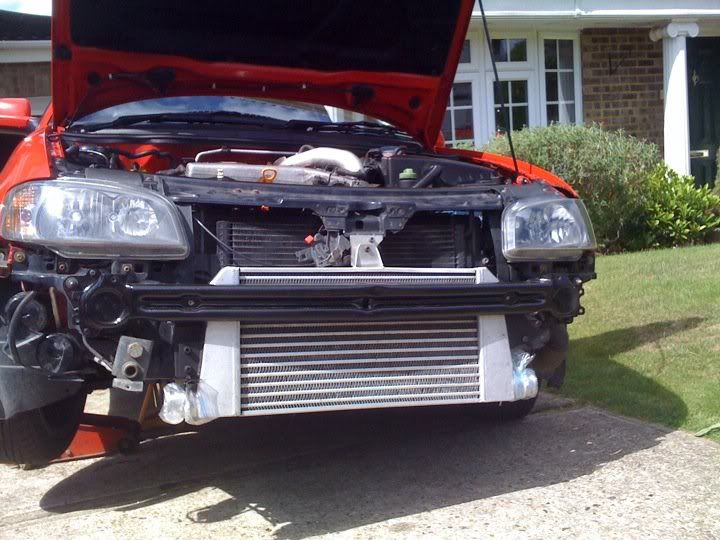
Makes it hard to do when you need the car potentially every day!!
Next was all the piping and removal of the existing standard SMIC piping:
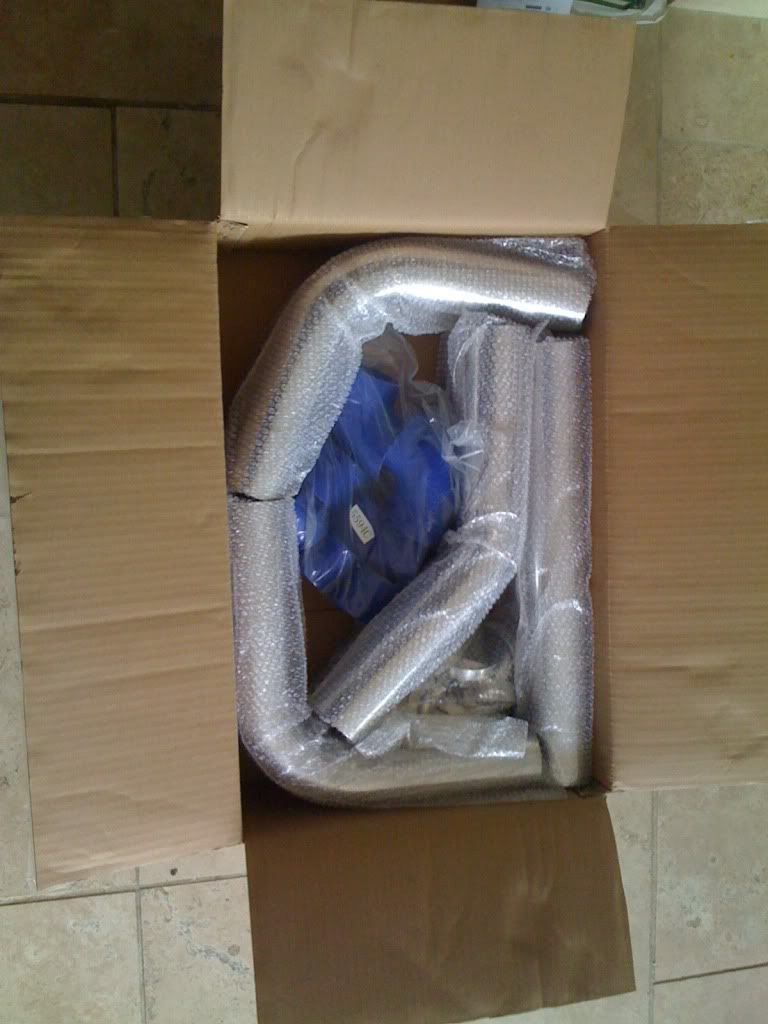
Ebay goodies thanks for the advice Robbie
Had to undo the big bolt in the pic and the one to the right in order to drop the subframe to remove the standard piping
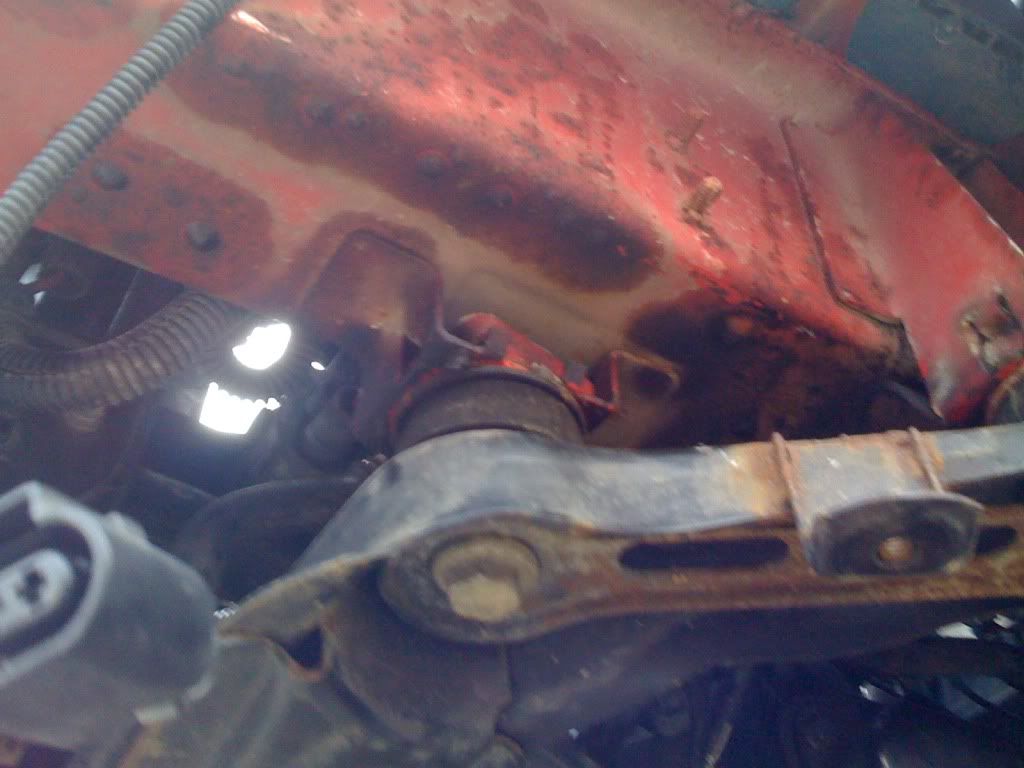
Off with it
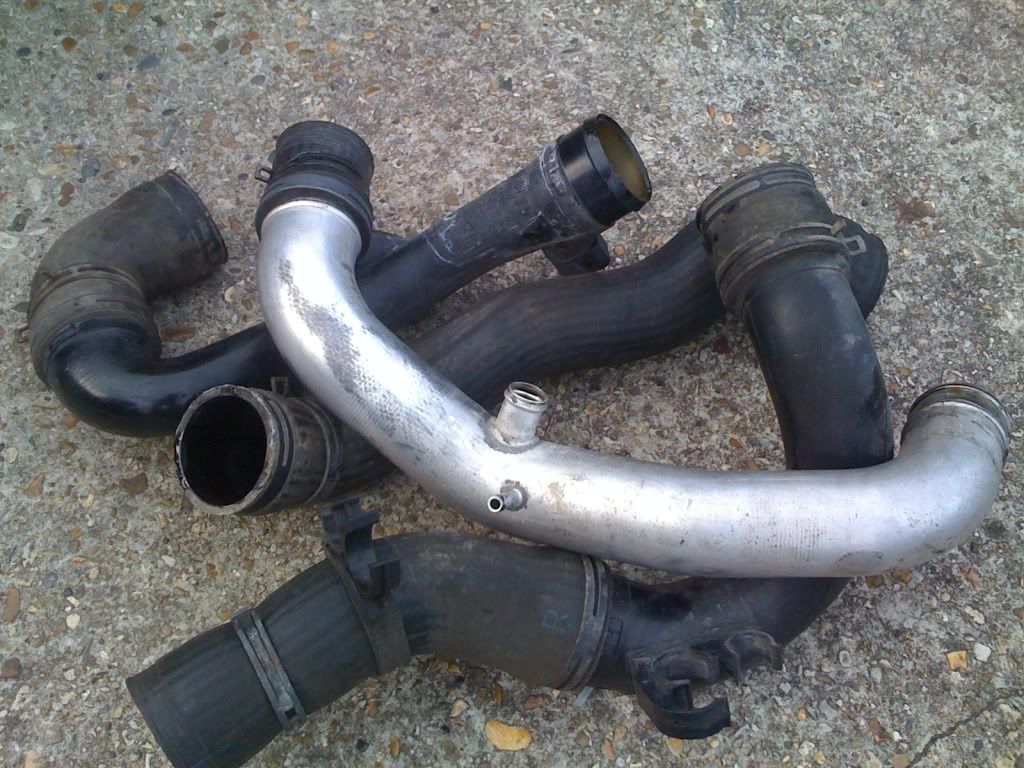
and the bread loaf LOL - and the all important drink
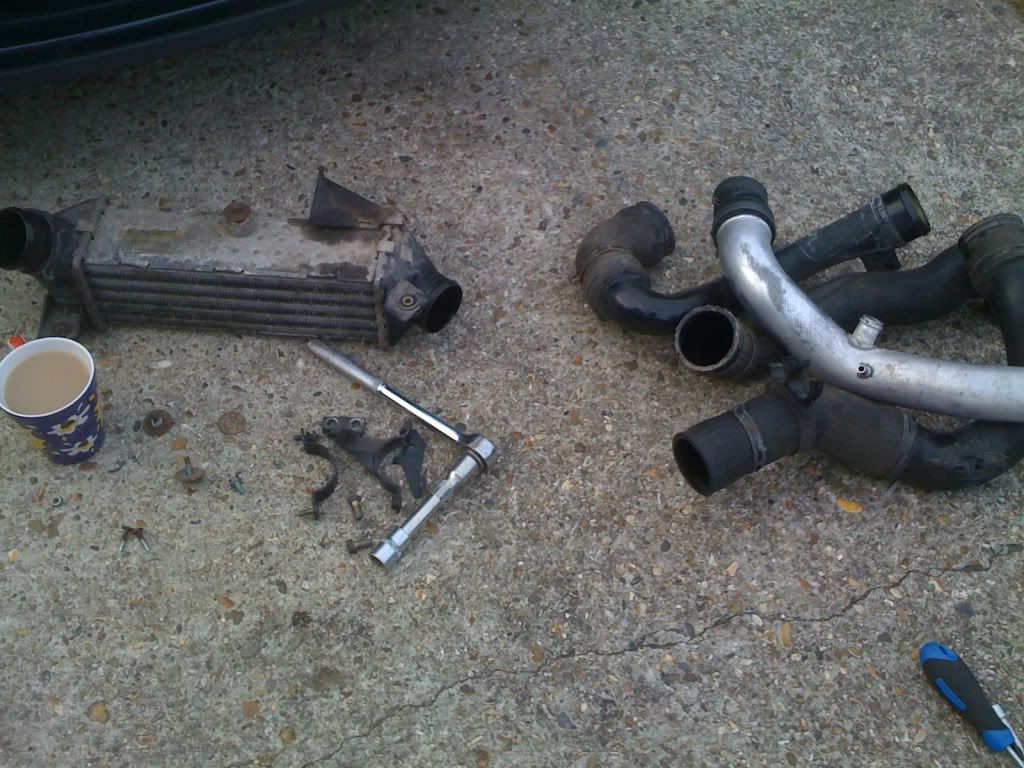
I prefer the old one
Does anyone know if you can use those "take-off" connectors in silicone hosing? Ideally I want to put one on my reducer that comes off the turbo....
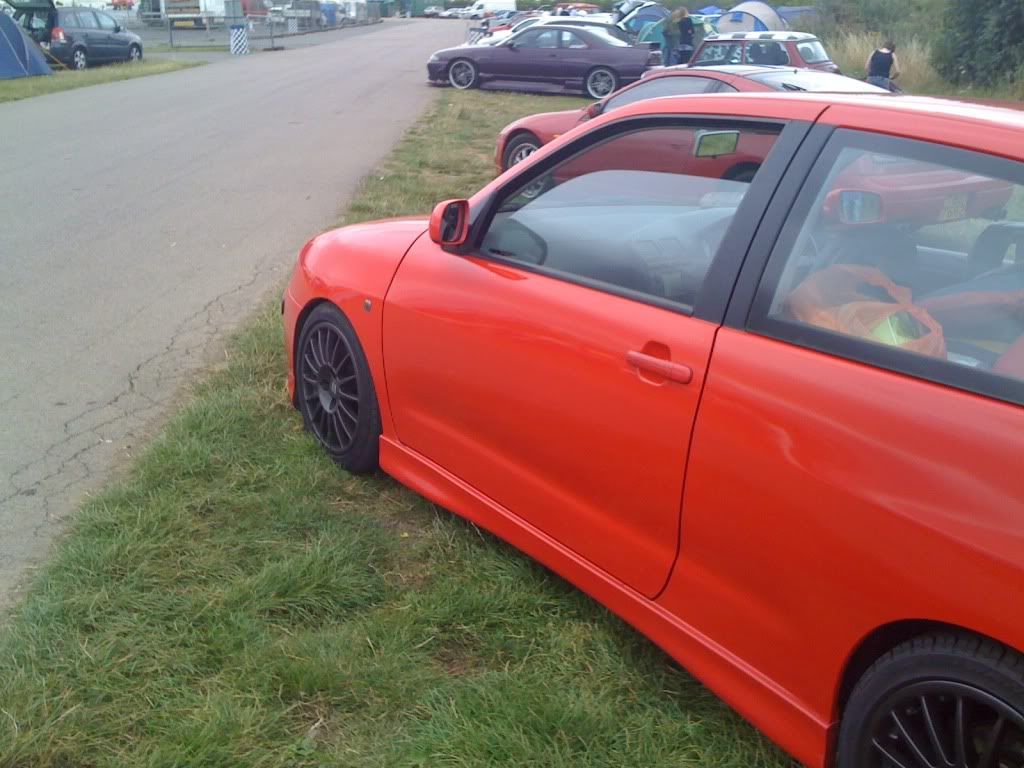
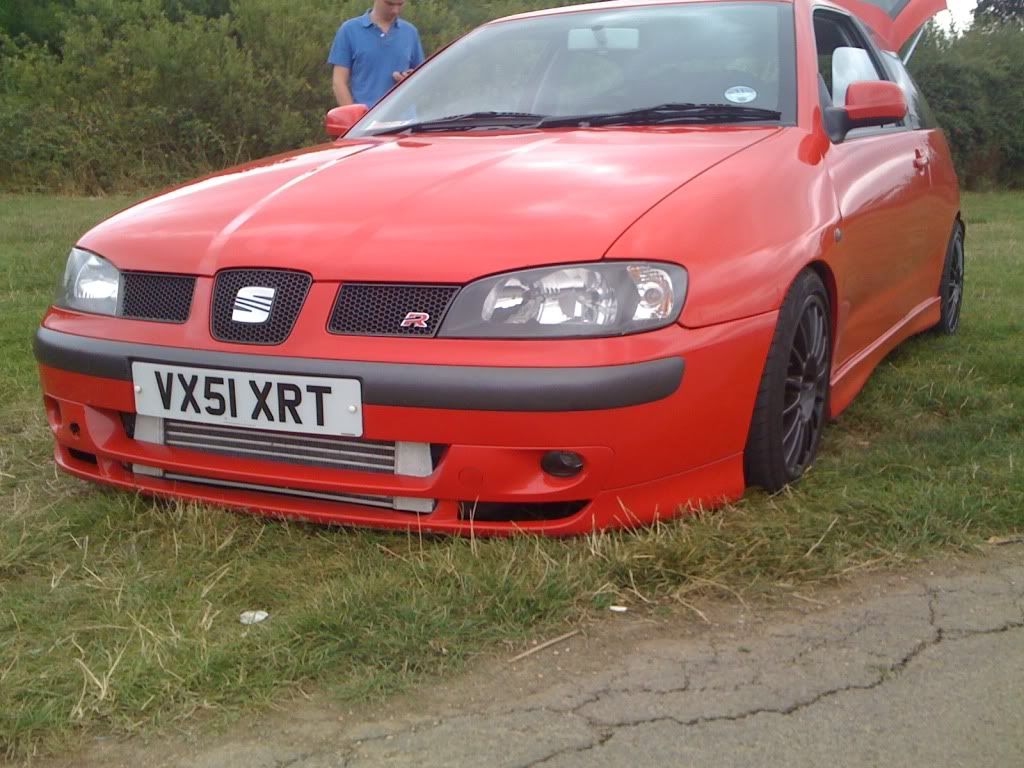
In the meantime some pics from USC and Santa Pod:
Before we set off the little furry friend wanted to come


On route


First check point to pick up some mates The Kings Head pub in Slough

Up with the marquee and tent


Getting the parking sorted

Out with the crisps


Comments welcome guys - just looking to buy some more parts and then I will update you all - next thing to do it build custom TIP fit catch tank - remove PCV valve and SAI system as well as tarting up the engine bay and relocating DV to cold side.
Watch this space.
Quick picture of the clutch fitted - drives nicely although I think it'sa bit too light doesn't quite engage quick enough, another problem being that I found out it only takes up to 340NM and 260bhp which isn't going to be enough for what I want to do... never mind I'll run it until it blows up and get a stronger one...

Haven't posted many pics up recently so here we go:
Removal of SAI N112 and N249 valves - the resistors used: (330ohm 10w - from RS)


SAI wire for the pump stripped down ready to solder the resistor on...

The N112 resistor in place:

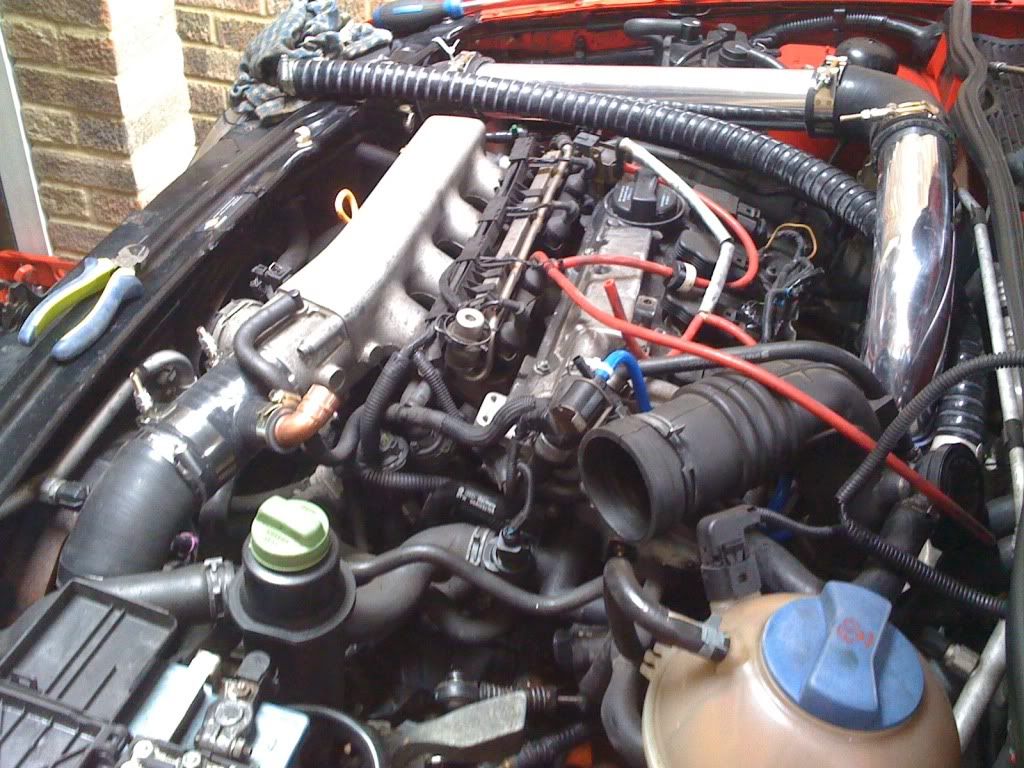
Over all idea of the engine bay before redoing the intercooler pipe work, bit mess, bit of a bodge but as I need to be able to use the car daily it has to be done:
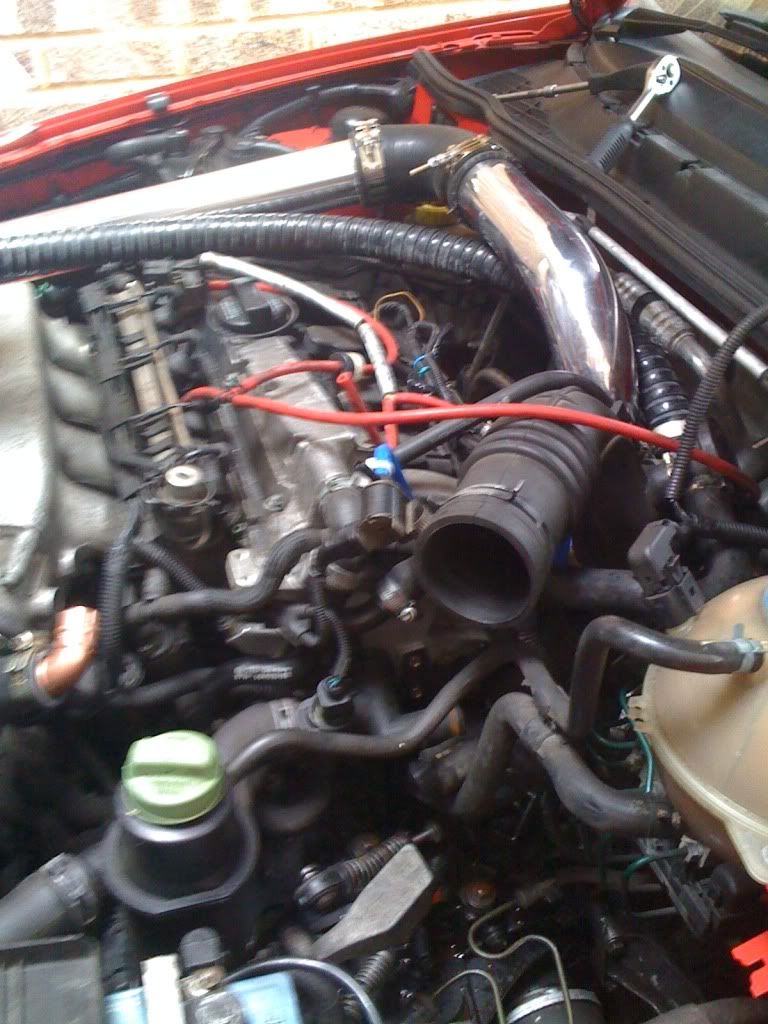
Some heavy thought in order:
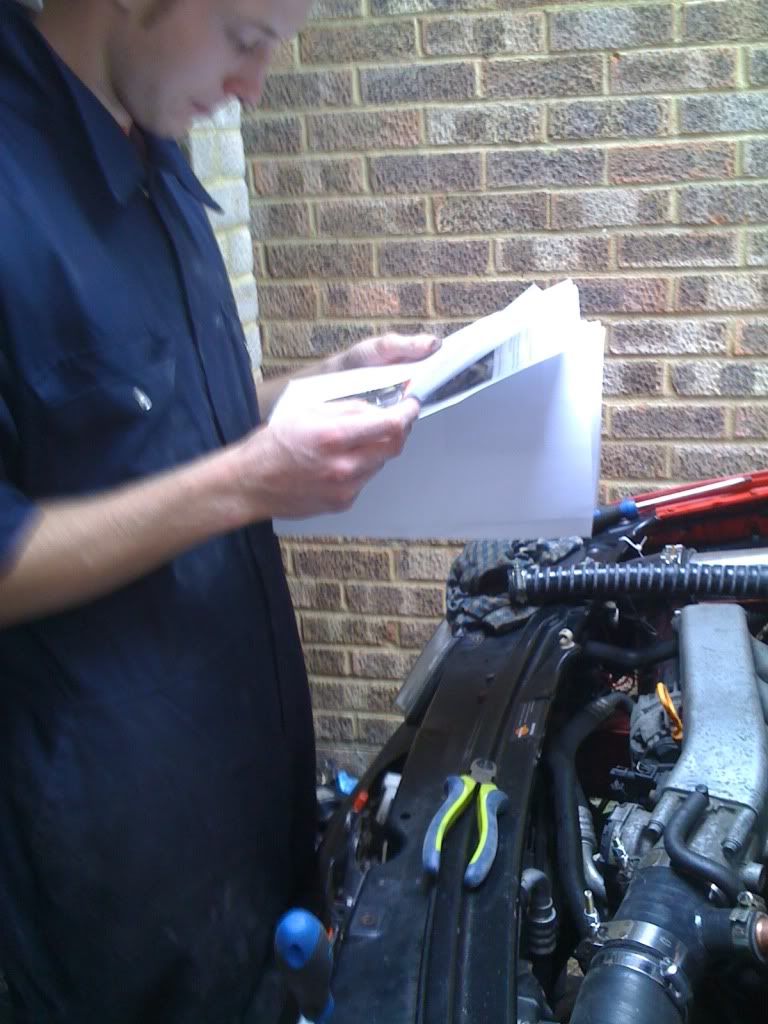
When fitting the blanking plate you need to remove the coolant hose and connection which mean you lose a fair bit of coolant - around ~500ml
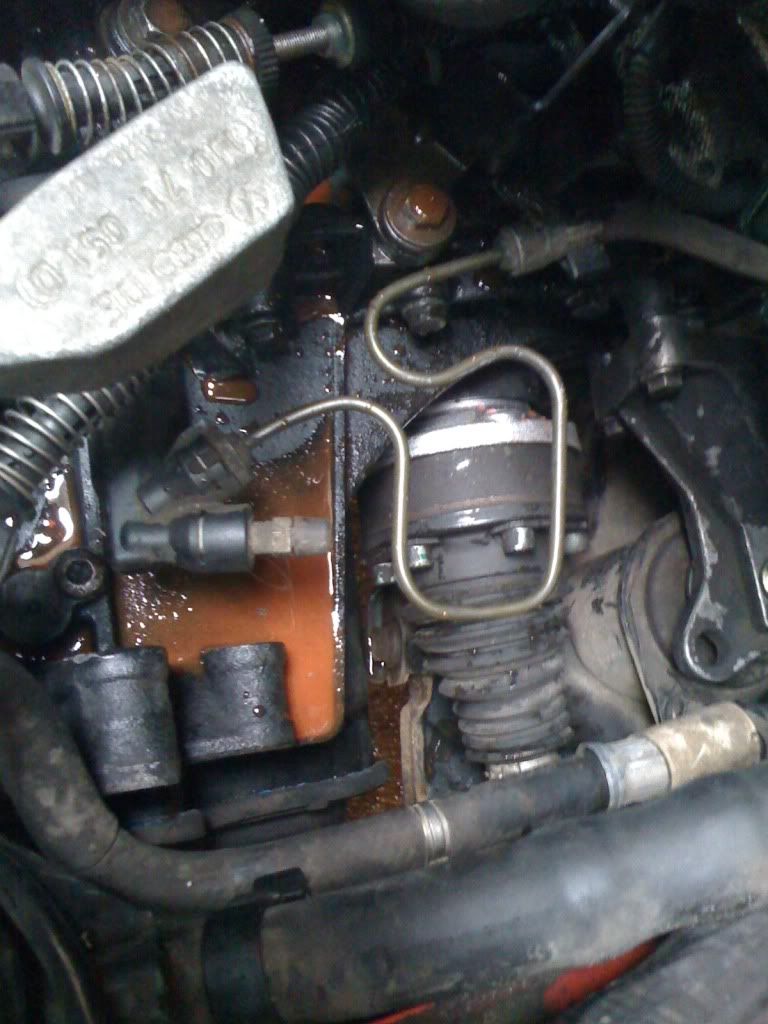
Time to see how the pipework will go:
Mocked up with cheap couplers that come with the eBay kits:
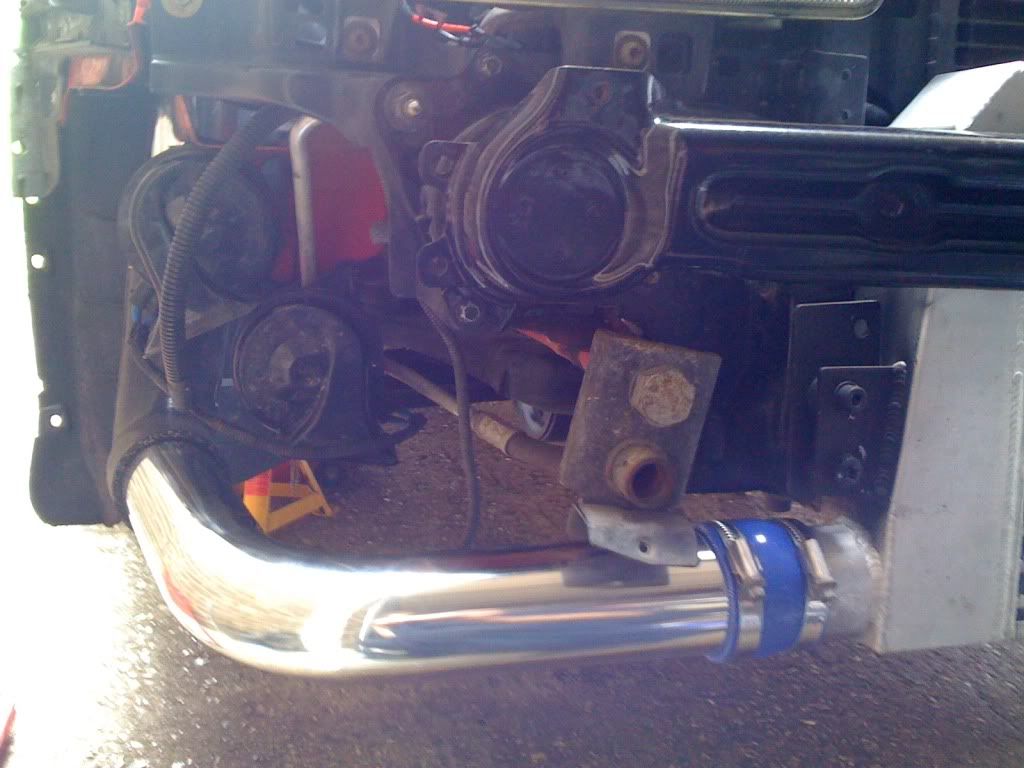
Following a similar route to RobbieC's
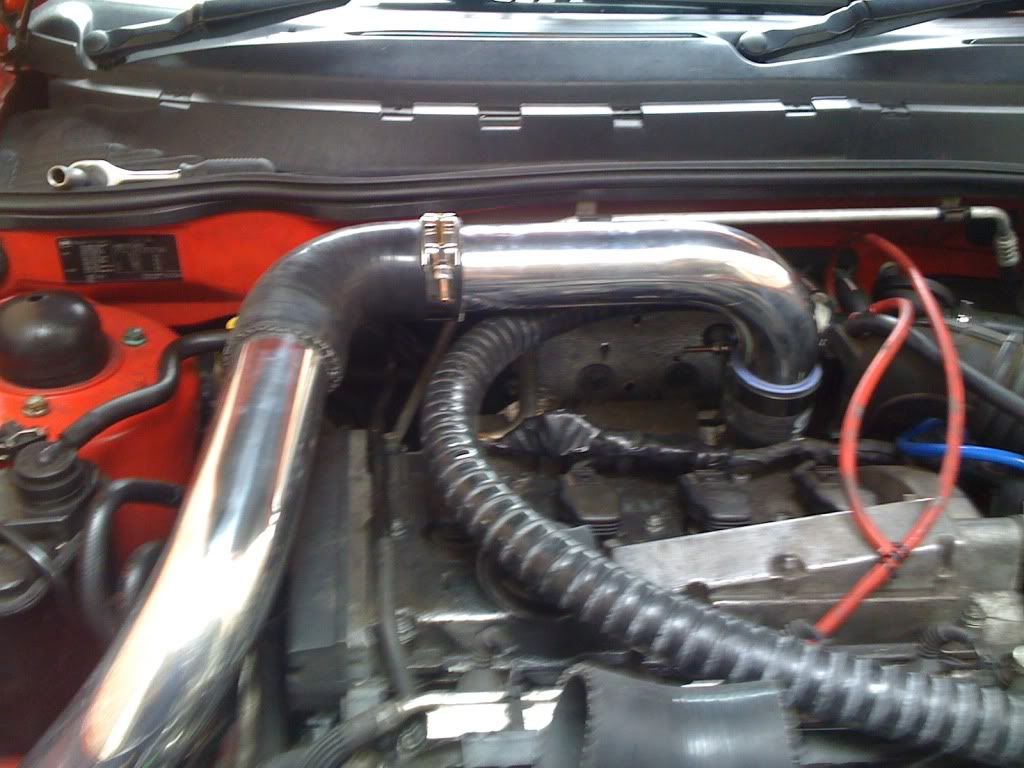
Working out how much to remove from the pipes
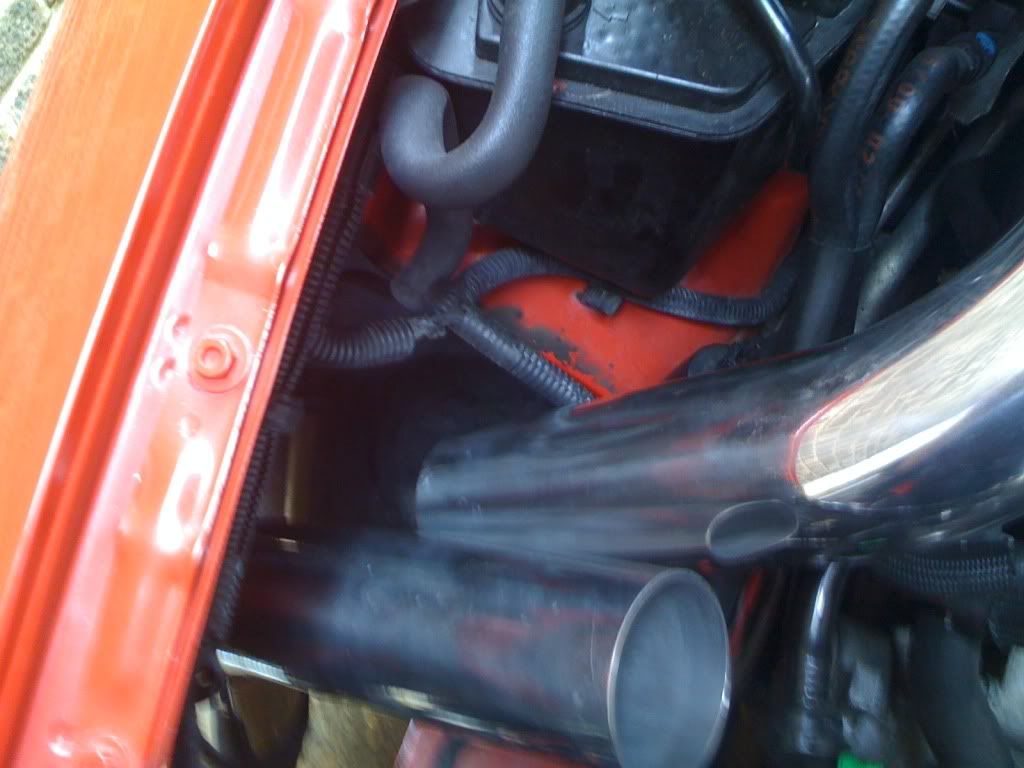
The bodge I was talking about - using a 90 degree copper piping elbow
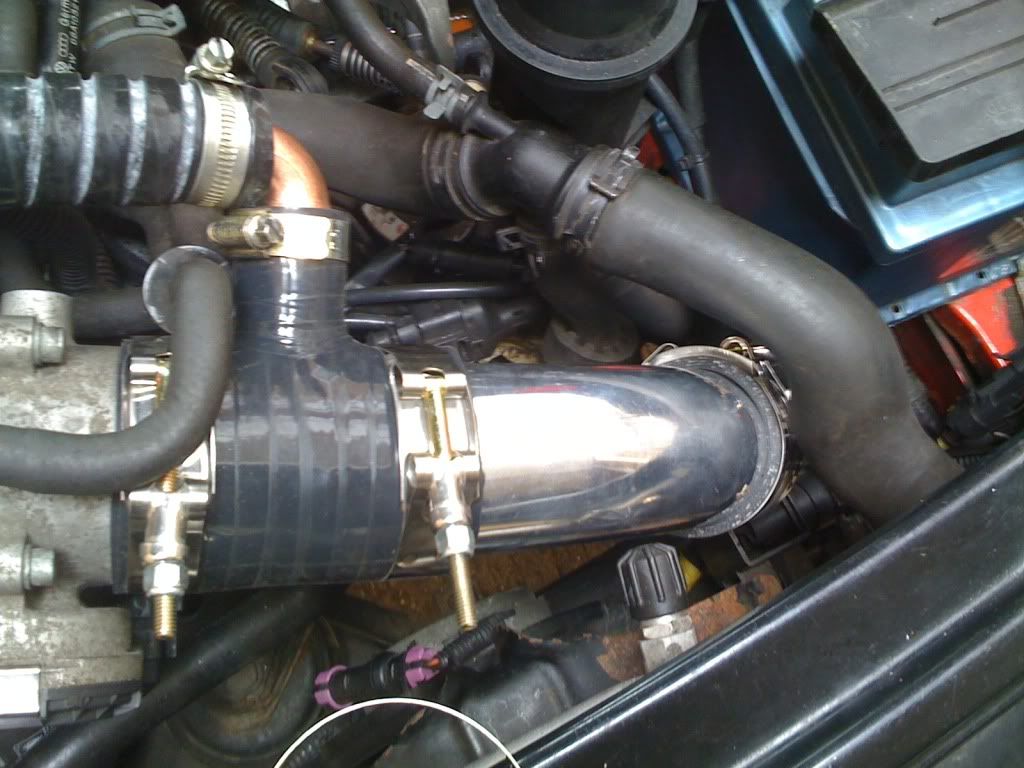
How it stands at the moment:
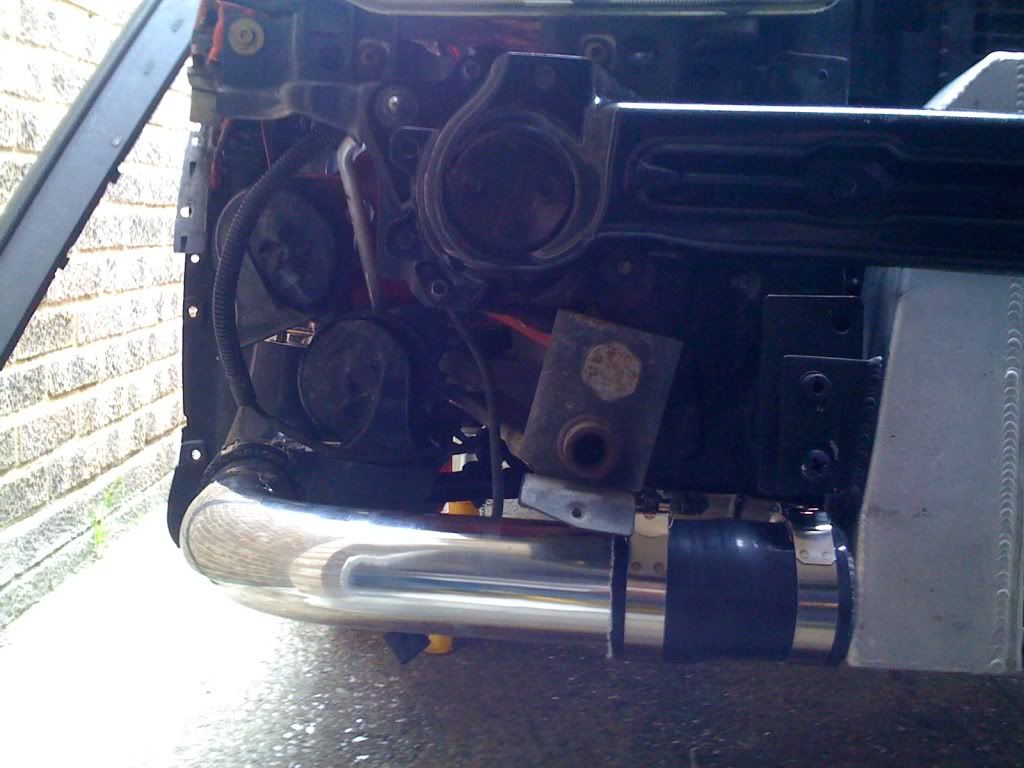
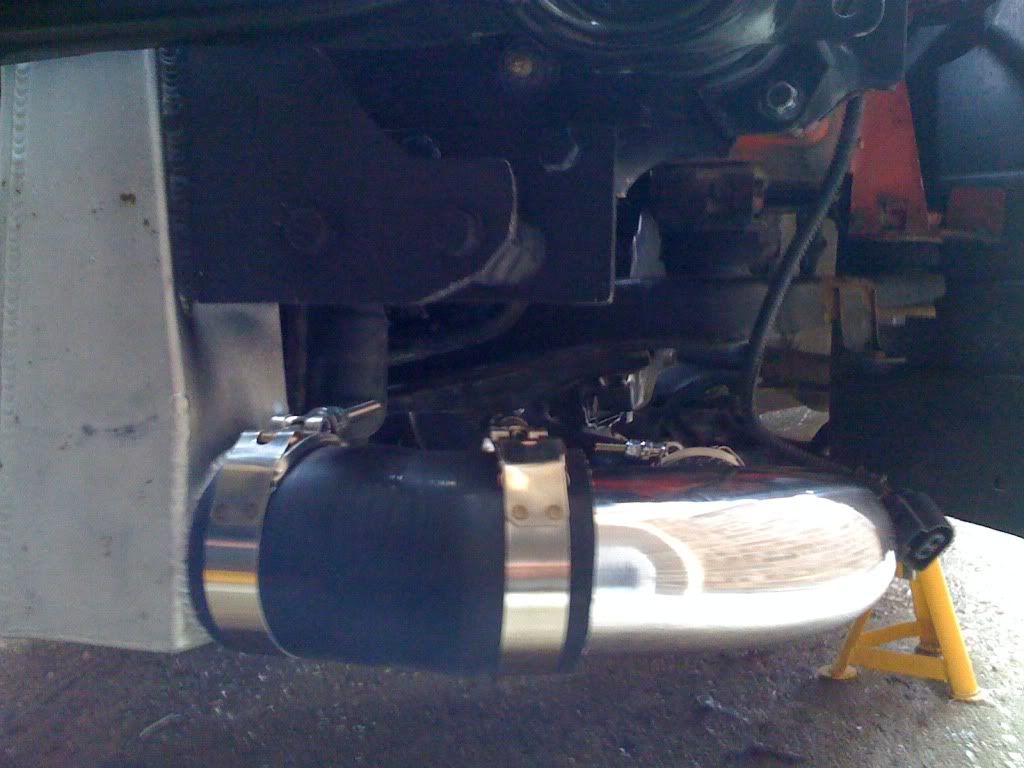
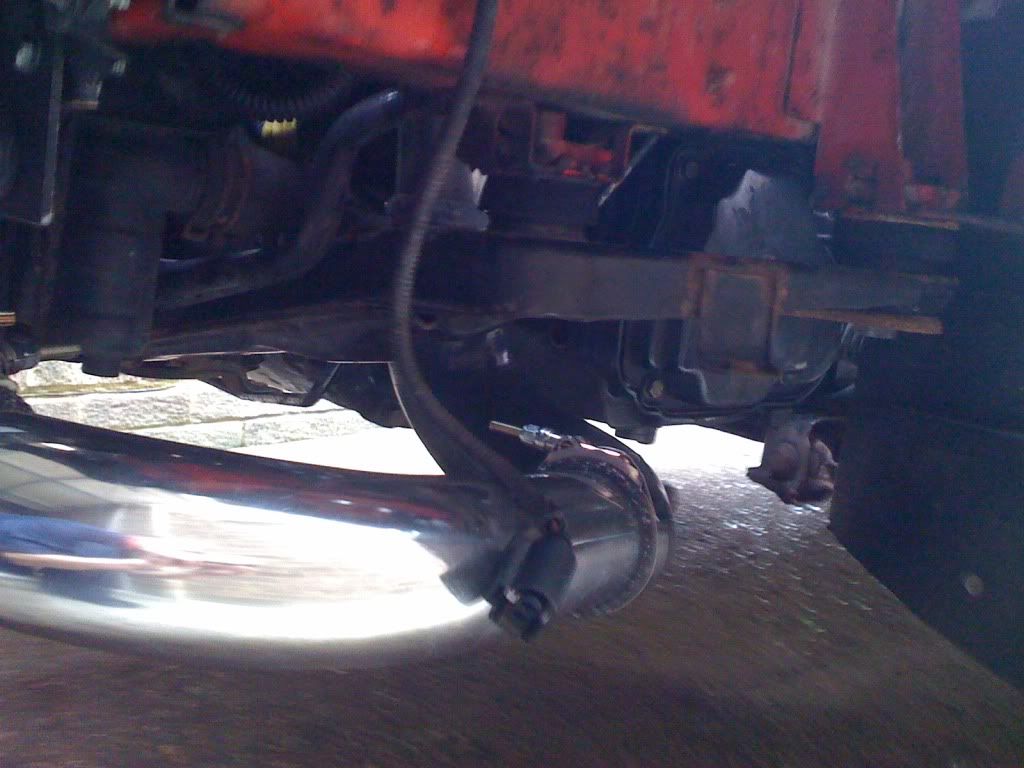
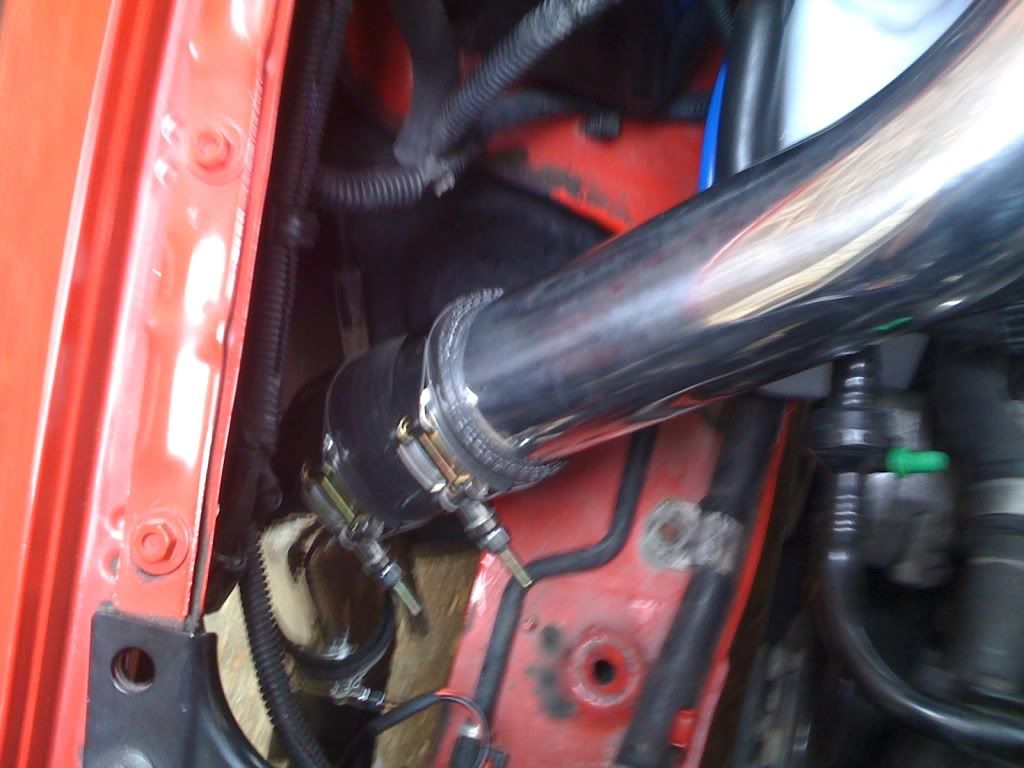
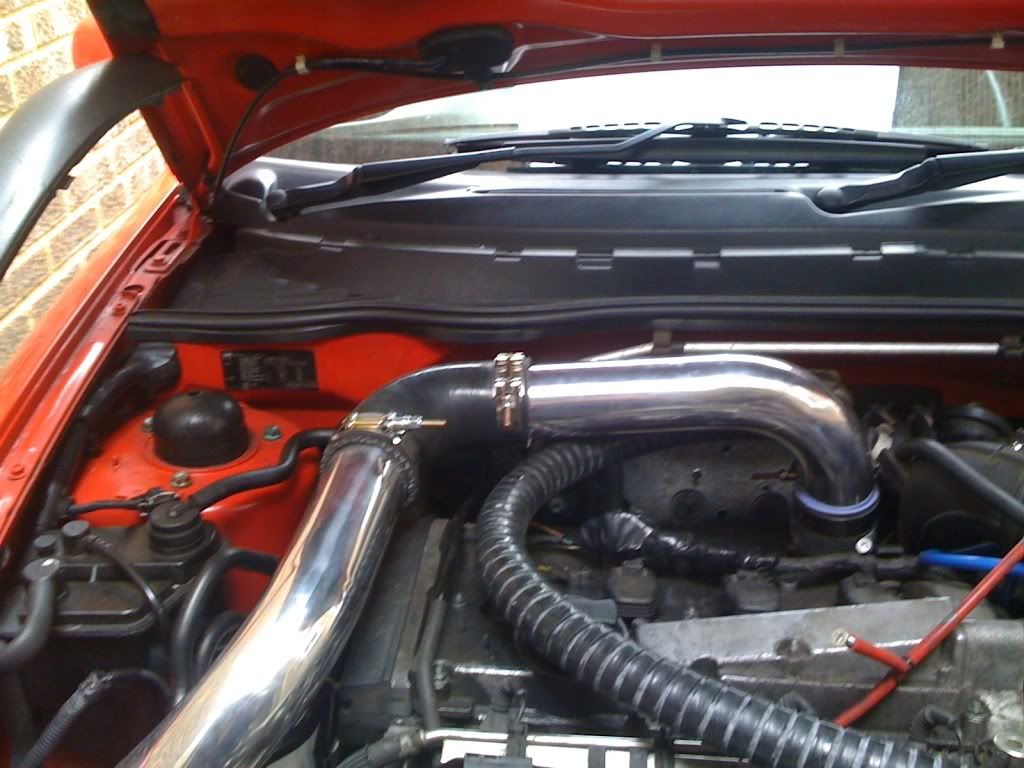
Little update found a few pics lying around...
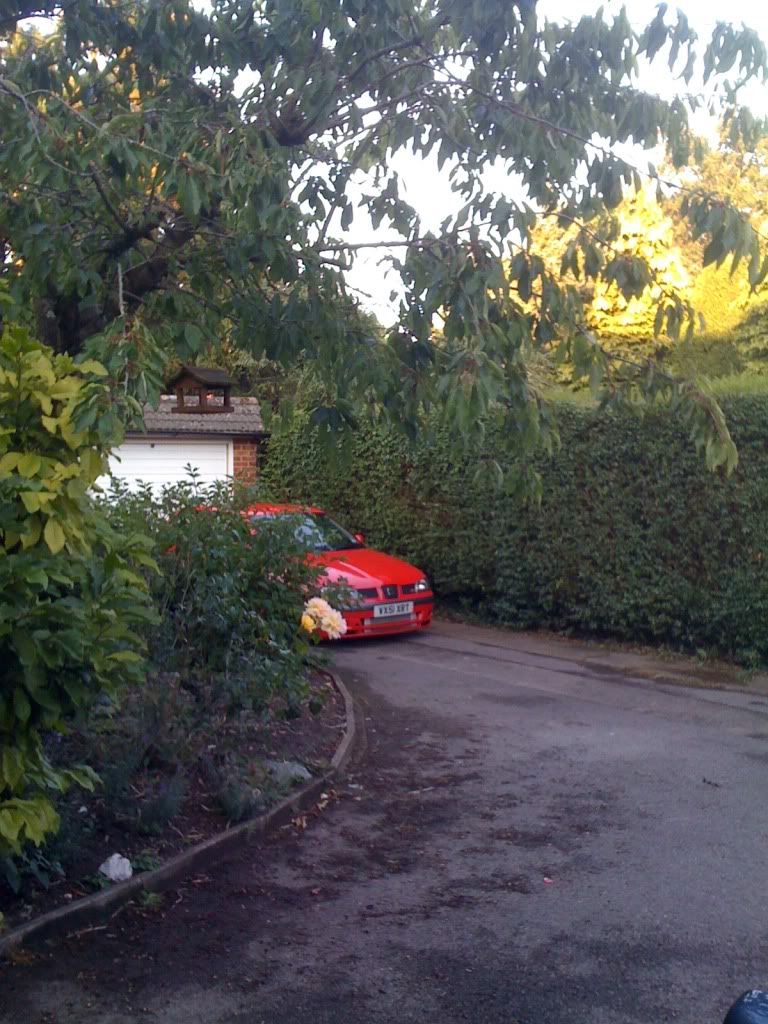
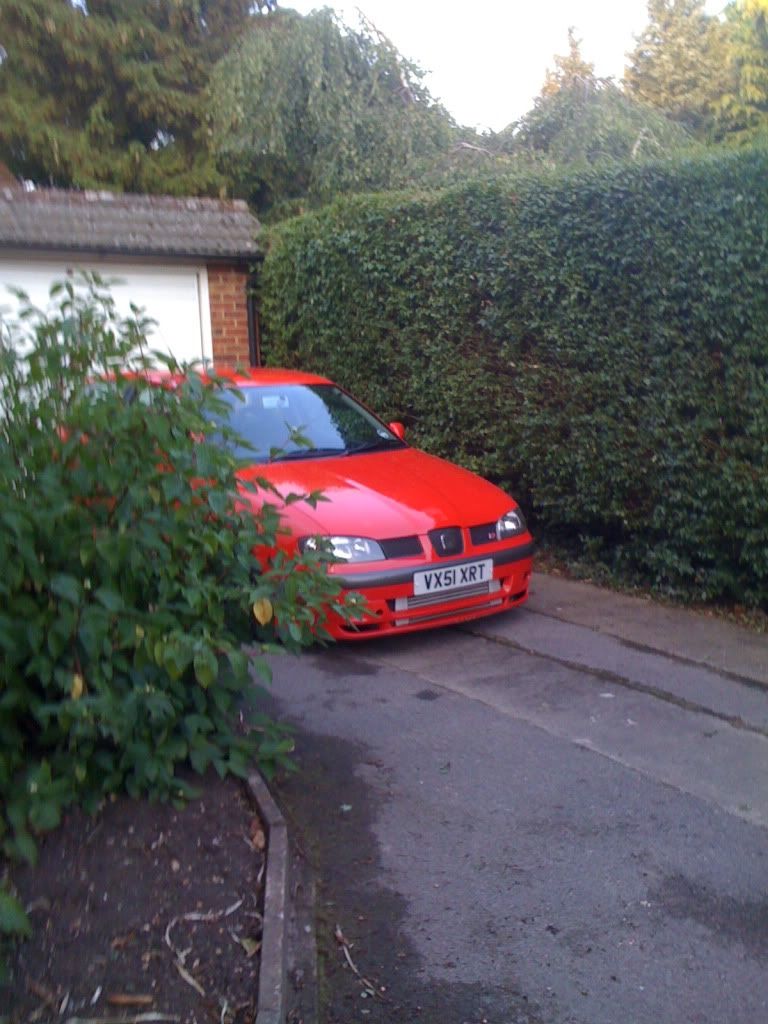
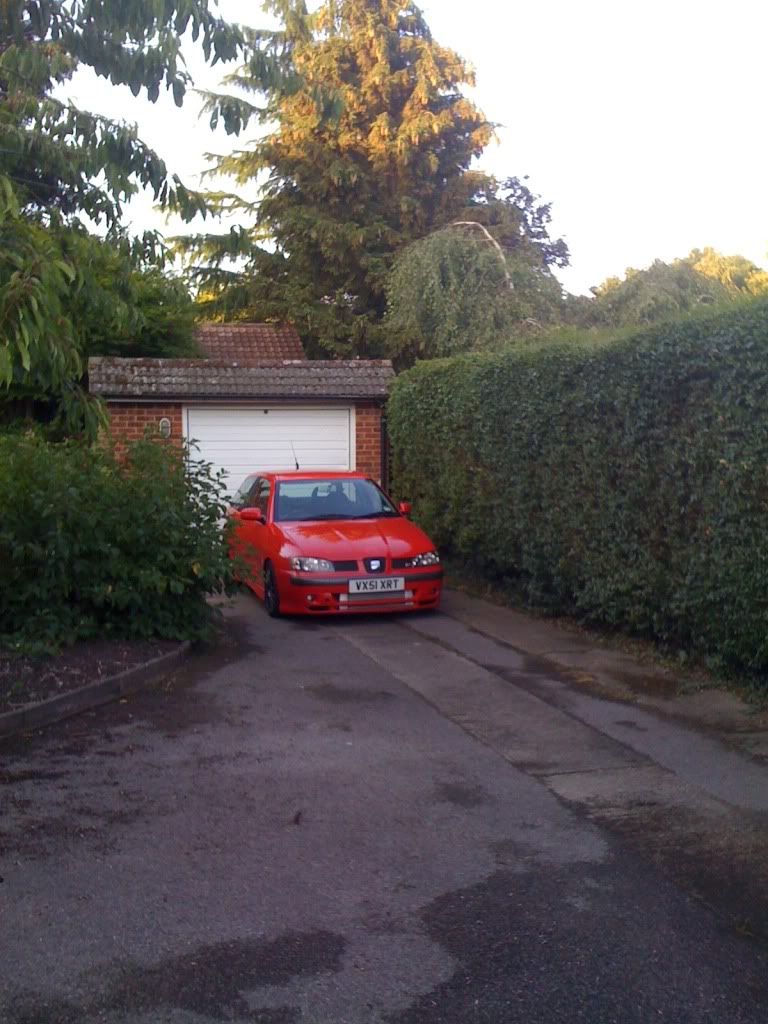
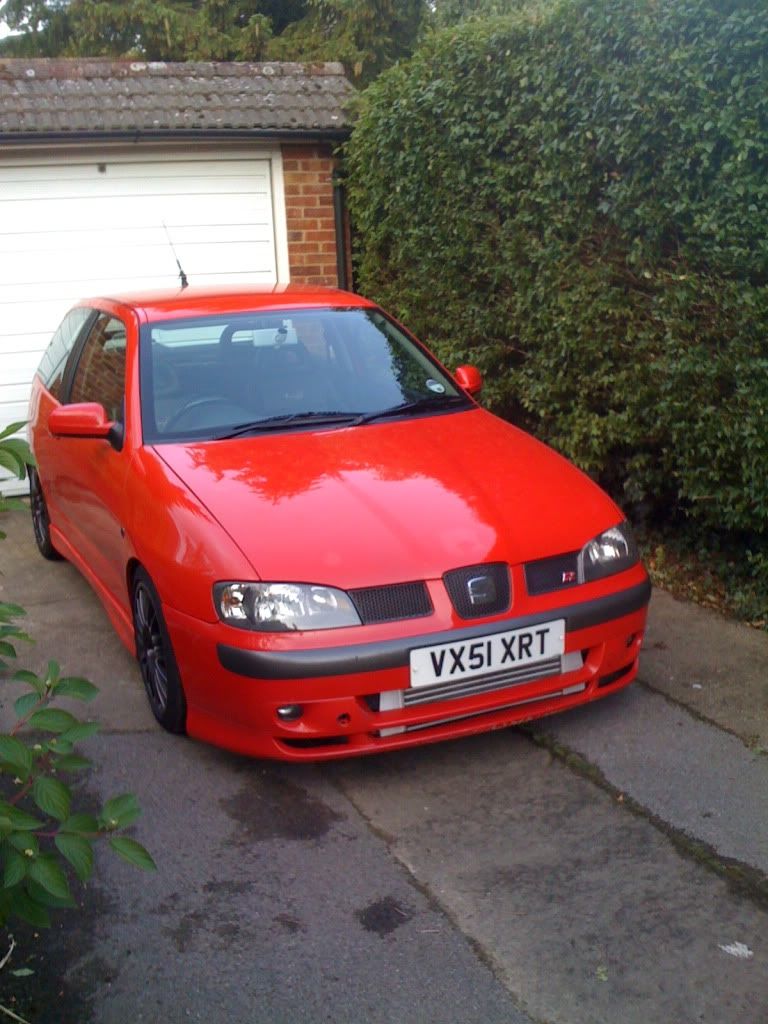
Nice little suprise delivered to work today:
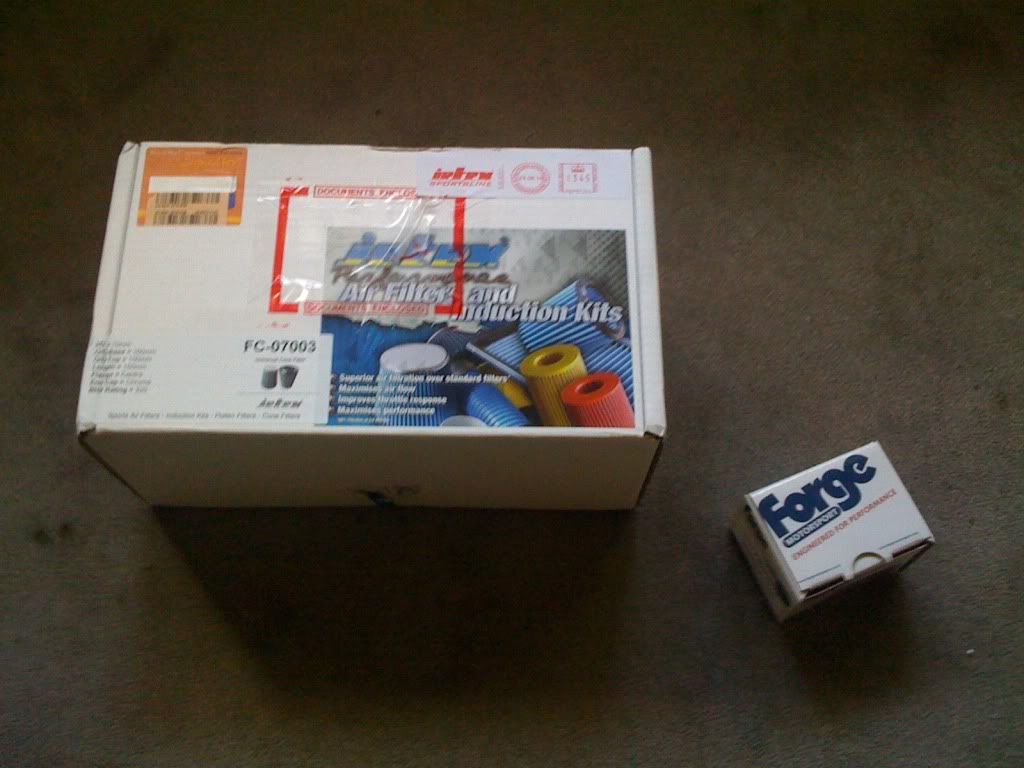


Fitted it straight away....


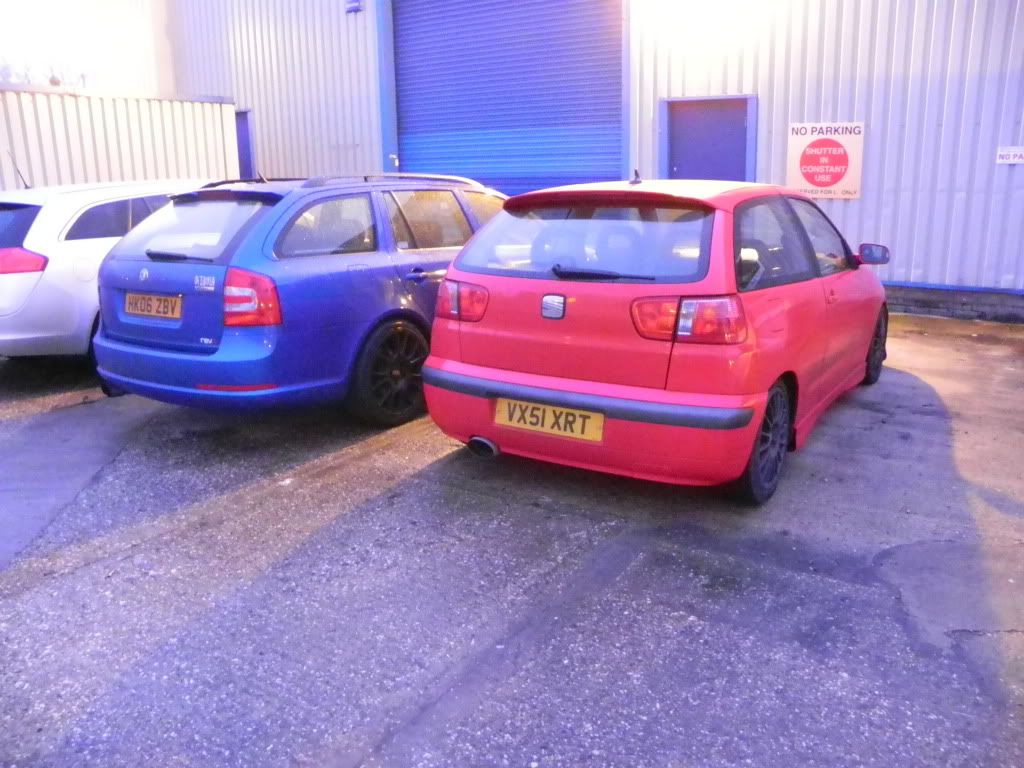
Thought some of you may of been interested to see this (2 out of 25 ever in the UK Red Cupra R's next to each other):
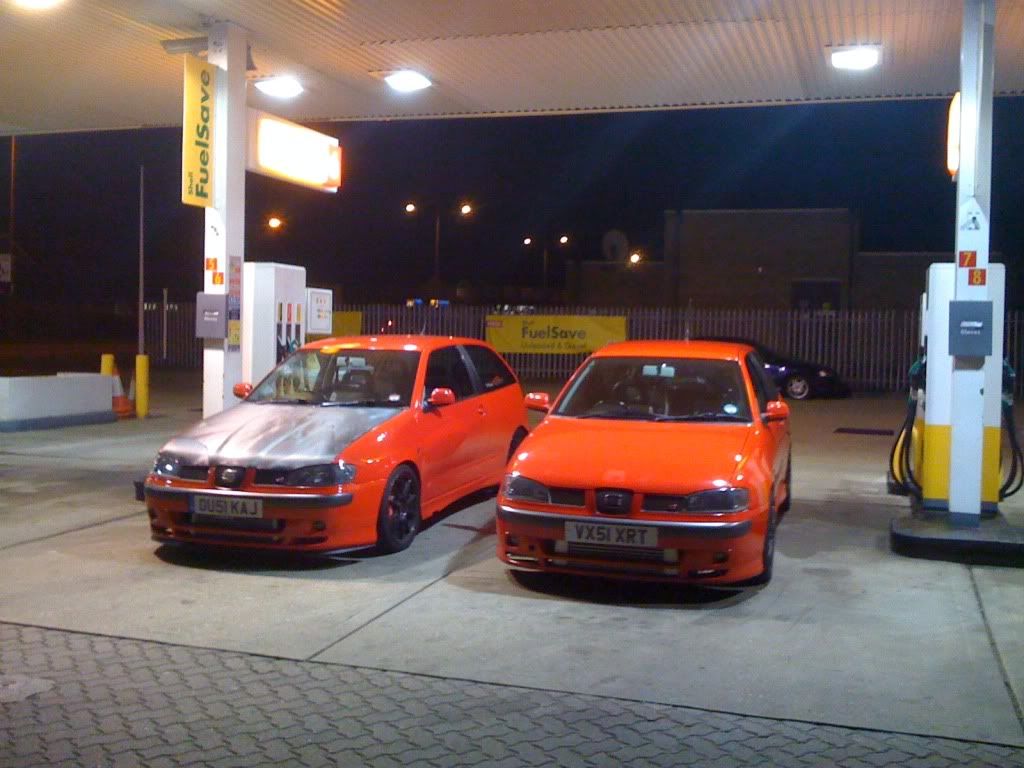
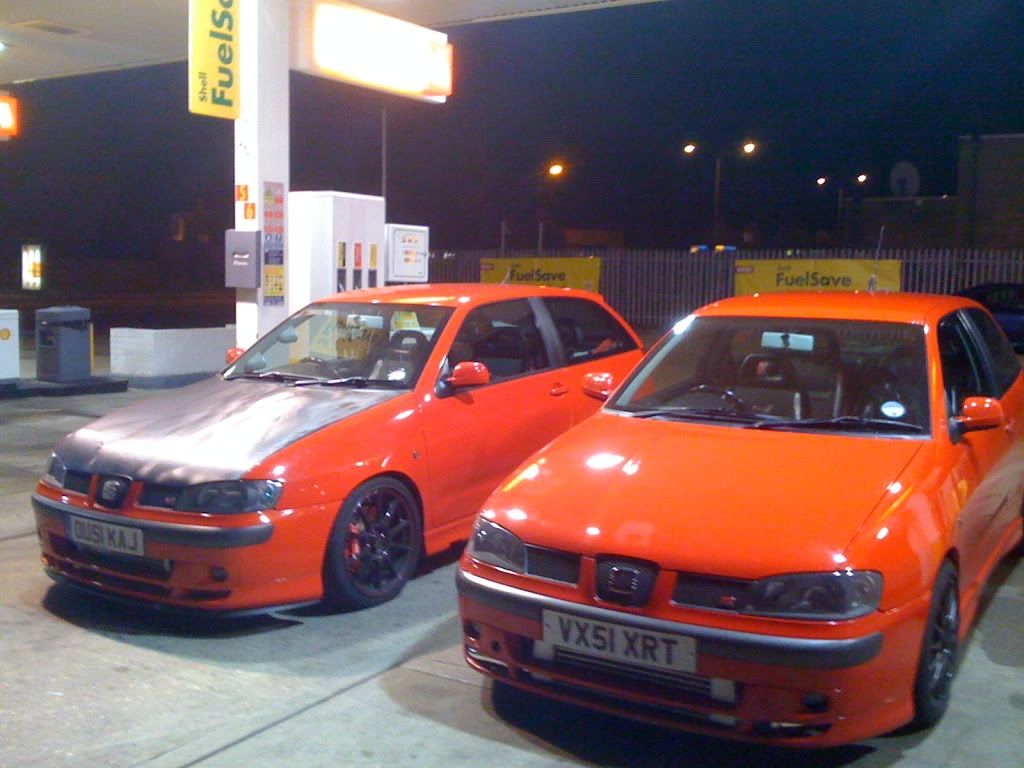
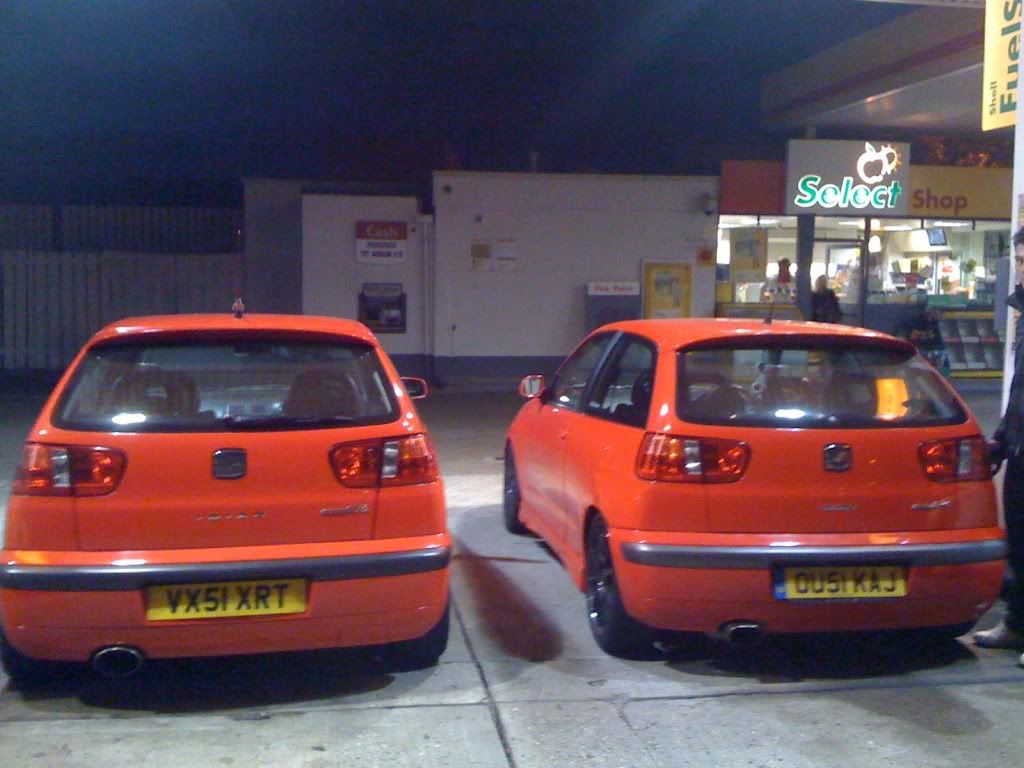
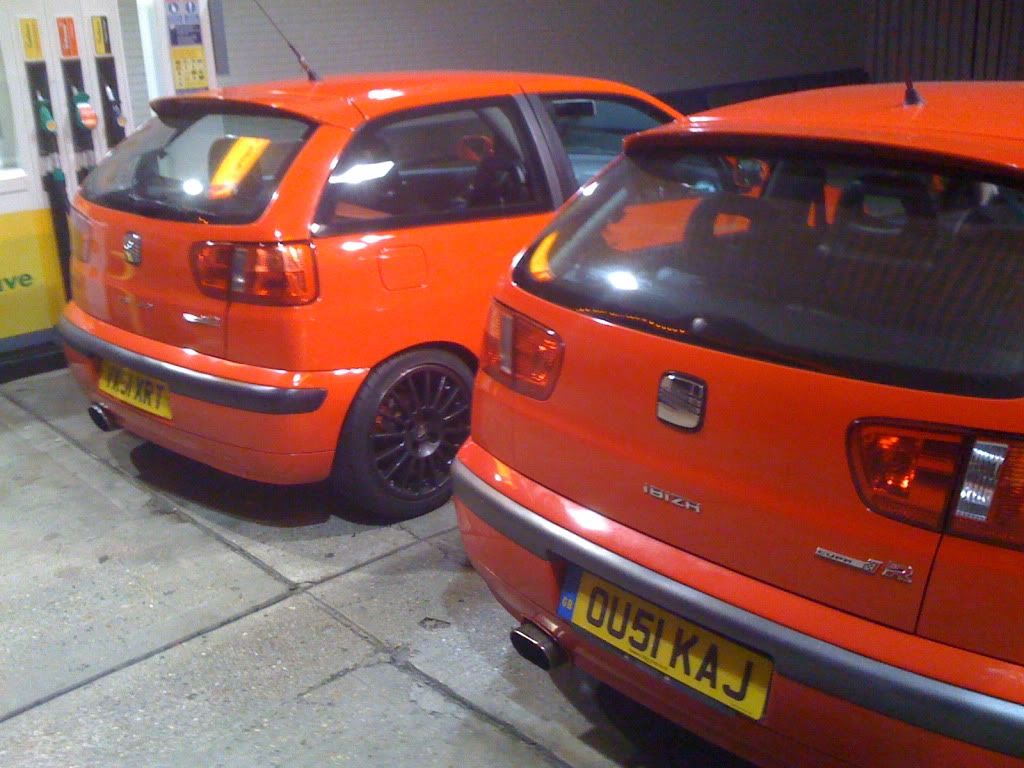
Excuse the bad pics but it was dark... :P
Another update this arrived:


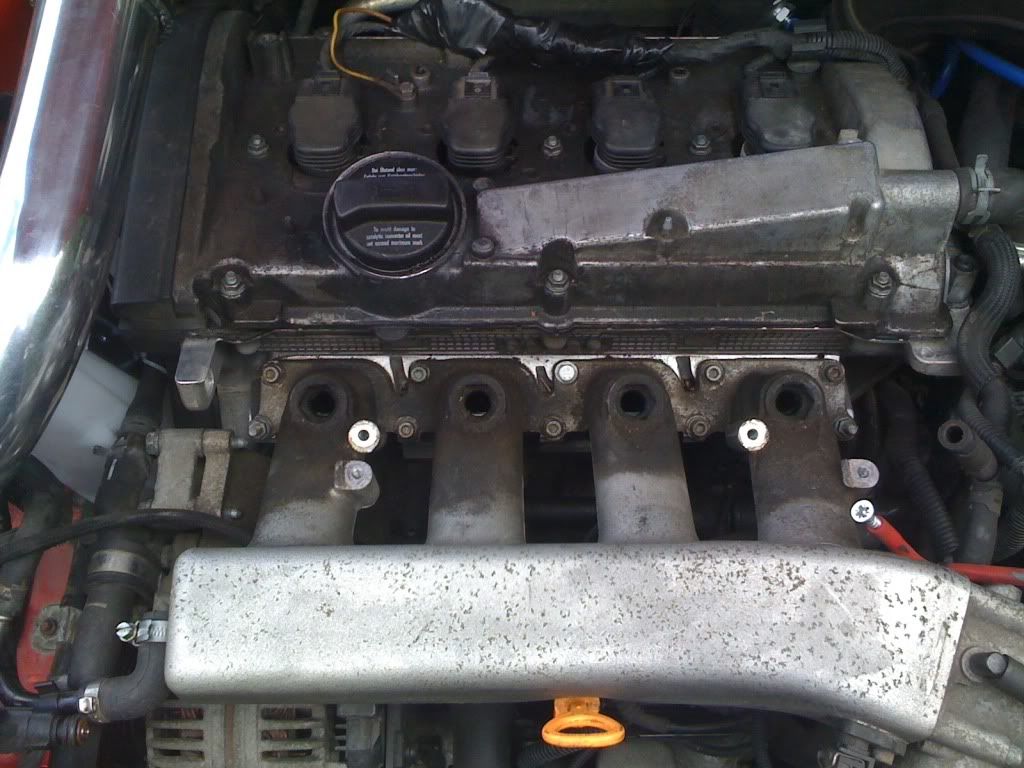
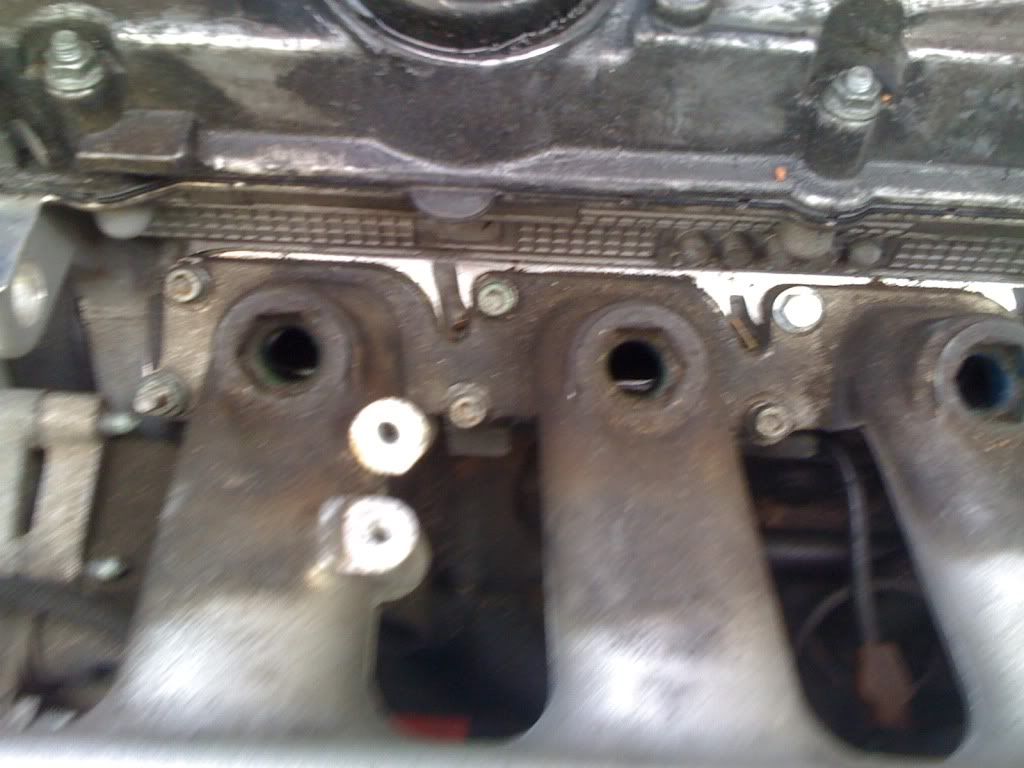
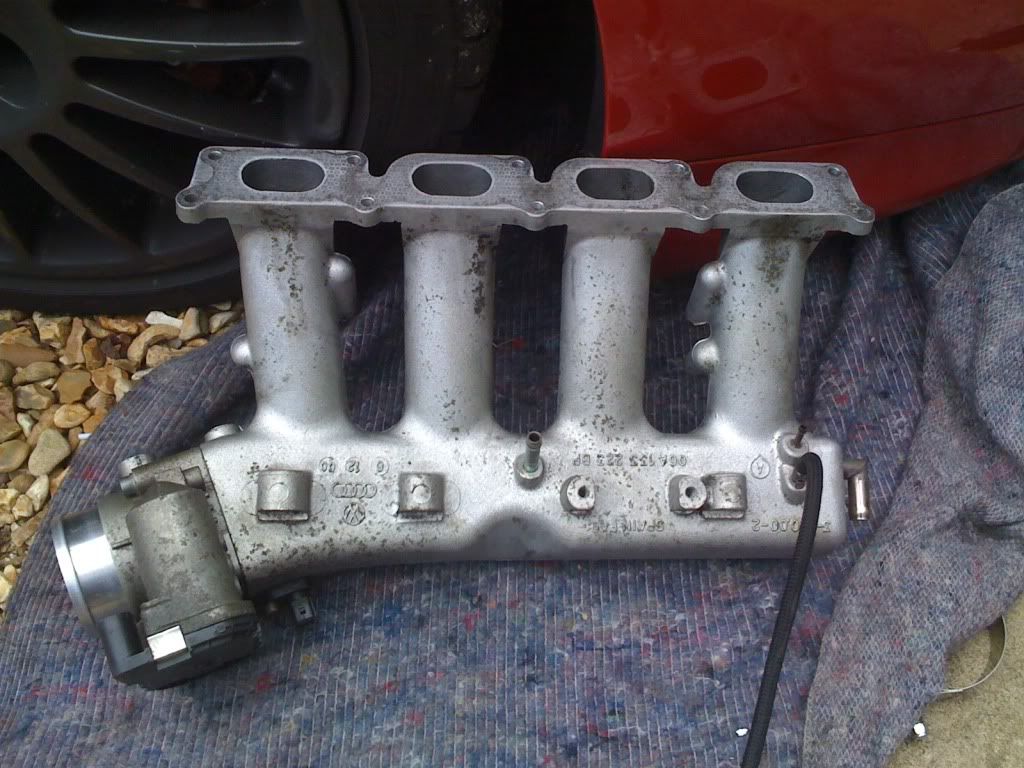
Whilst fitting the catch tank and removing the PCV valve I decided that it was easiest to take the inlet manifold off - whilst it was away from the car thought that I should give it a clean:
Before -
After -
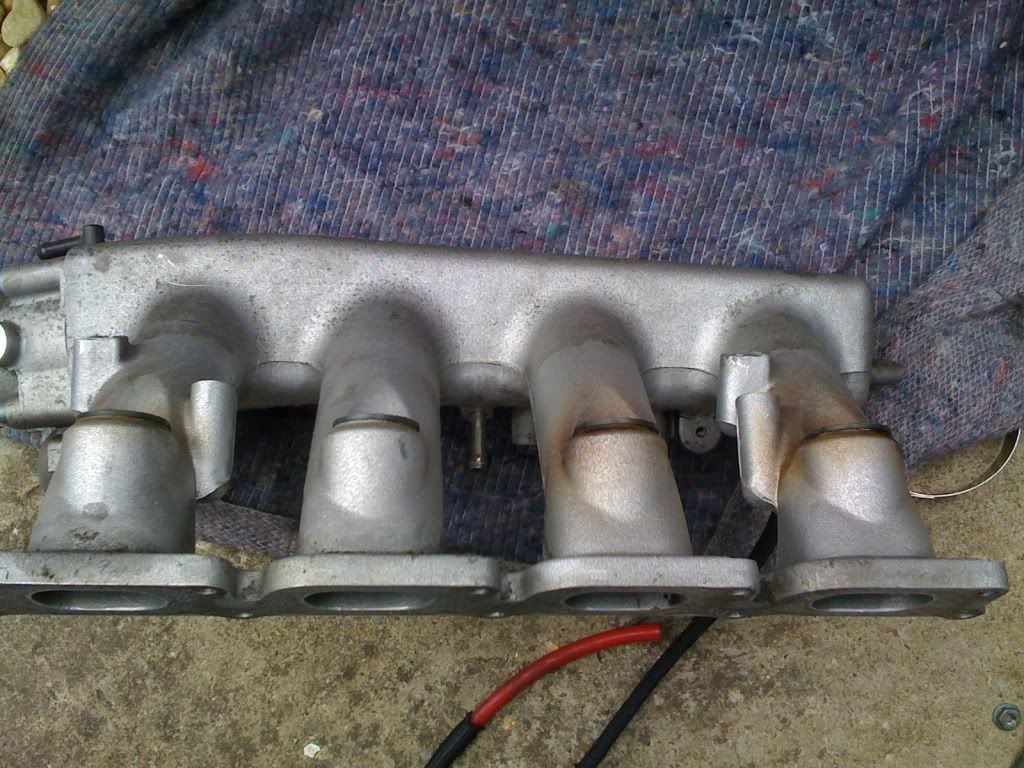
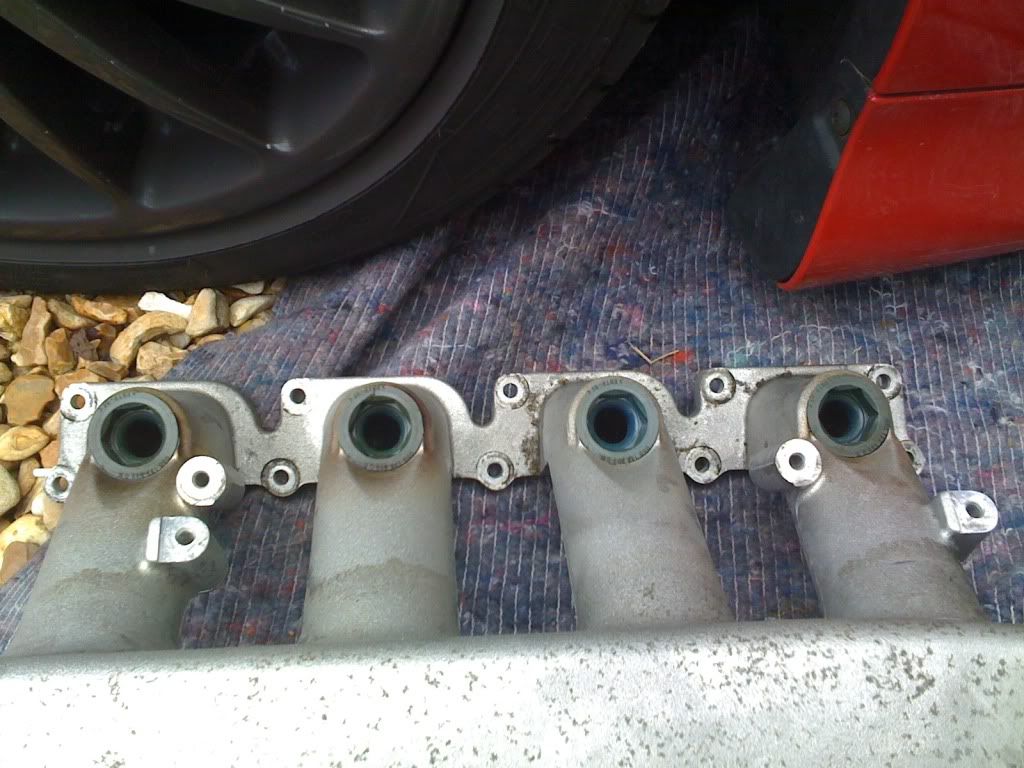
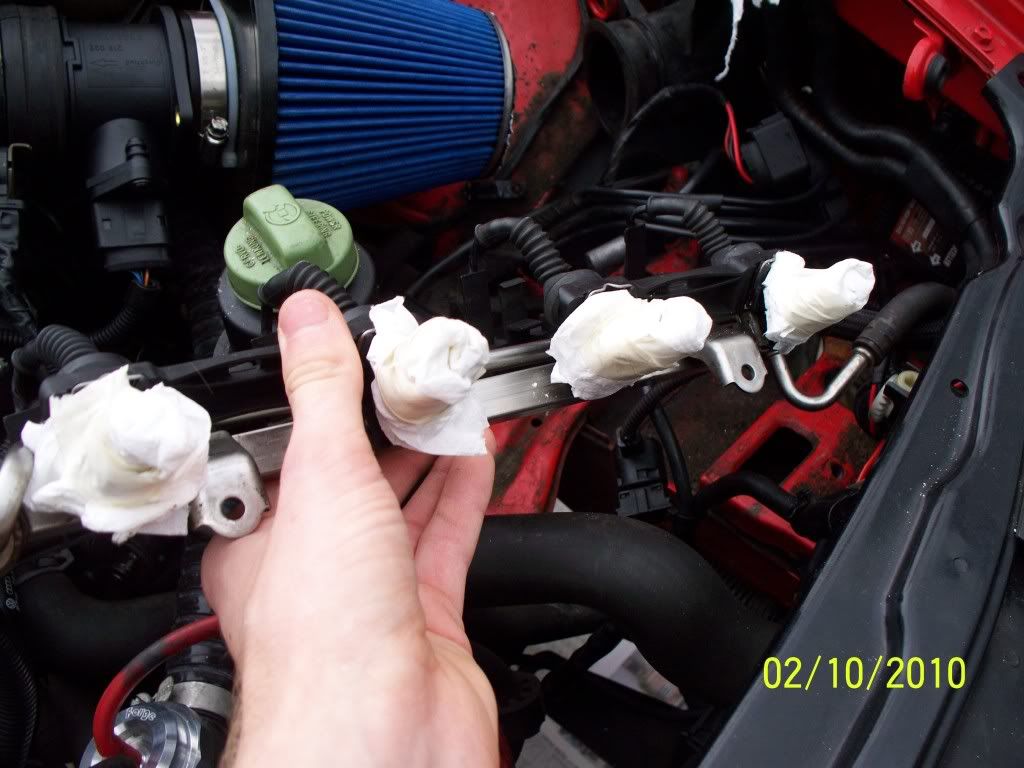
Then whilst the fuel rail was disconnected thought I would take the injectors off and dowse them in petrol making sure they weren't clogged up with any crap:
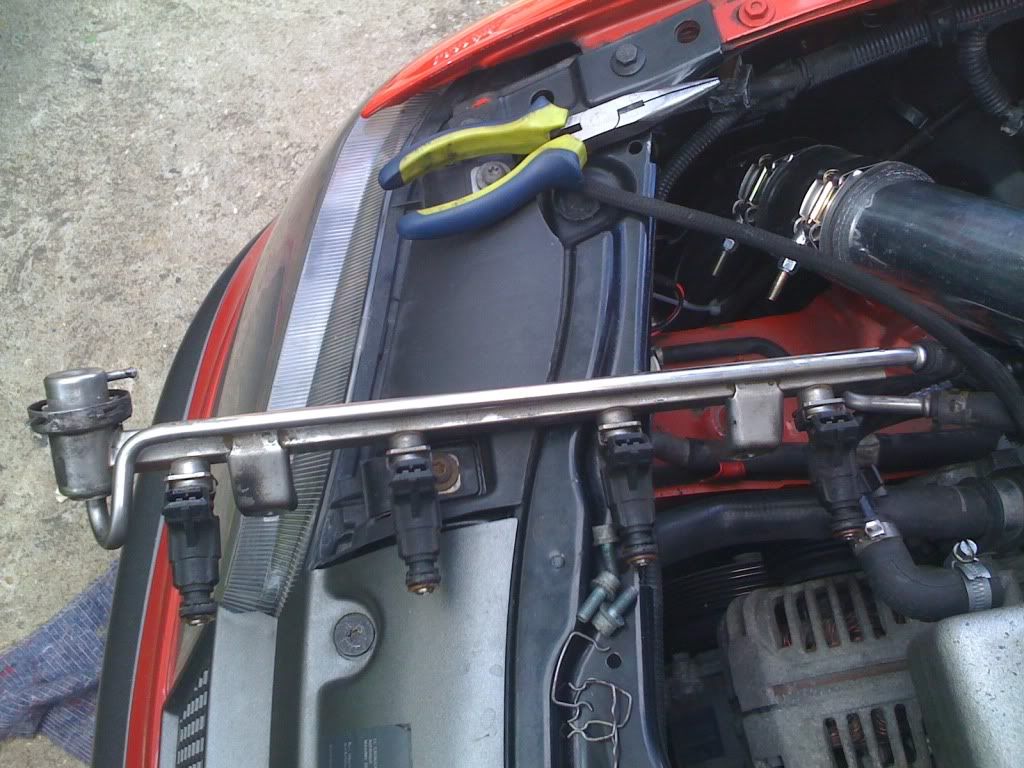
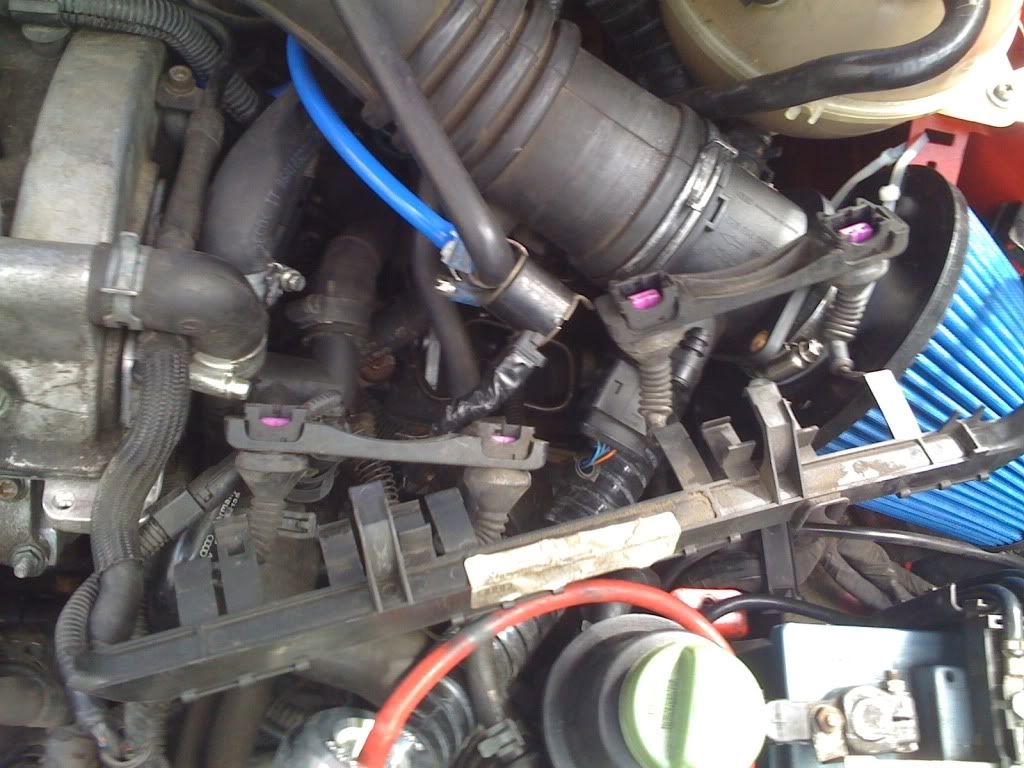
That's all for now - currently needing a new secondary/ auxillary water pump as mine exploded last night leaving the engine bay covered in sticky orange liquid
Another update from last nights incident with the secondary water pump - opened to bonnet for find this:
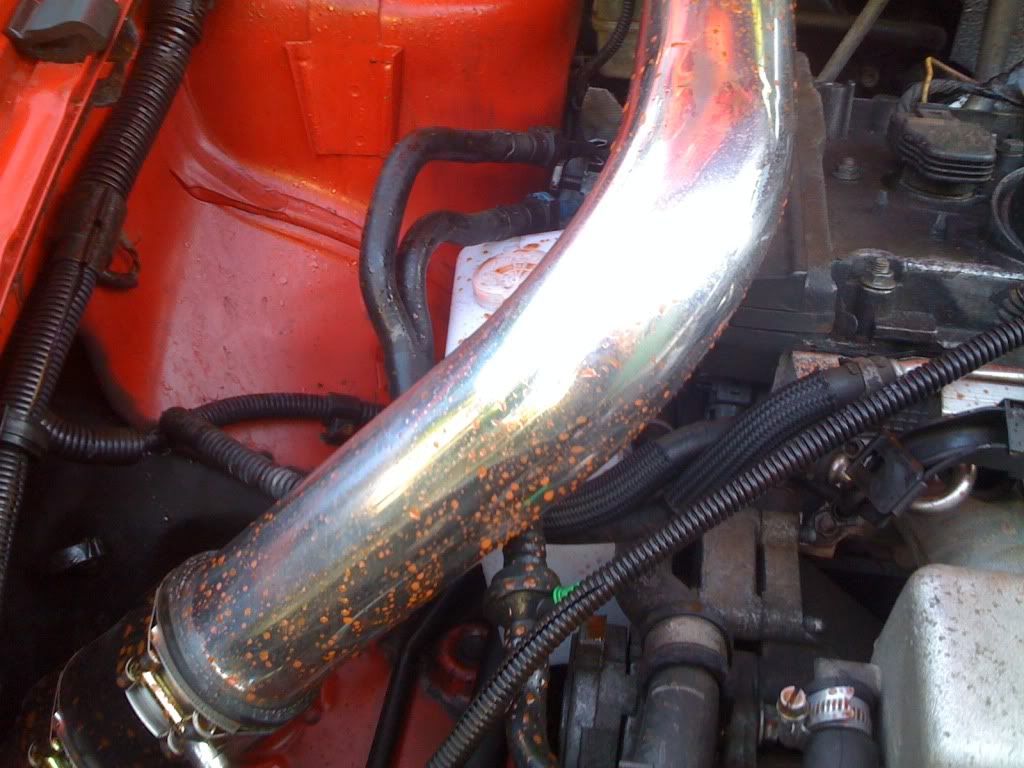
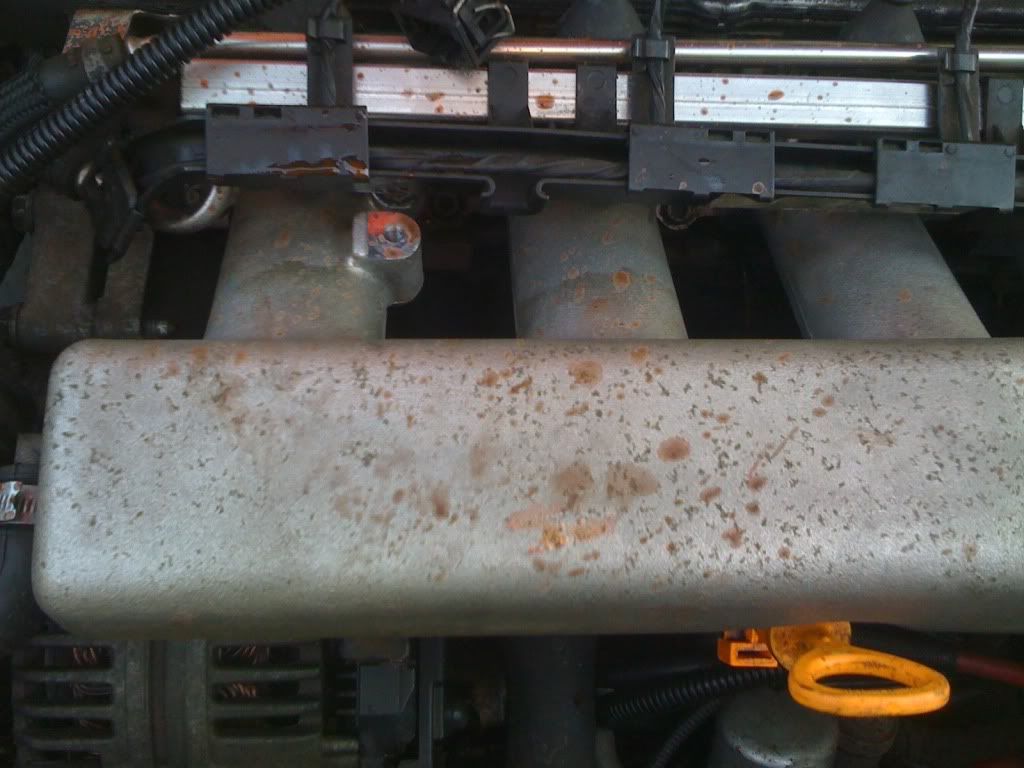
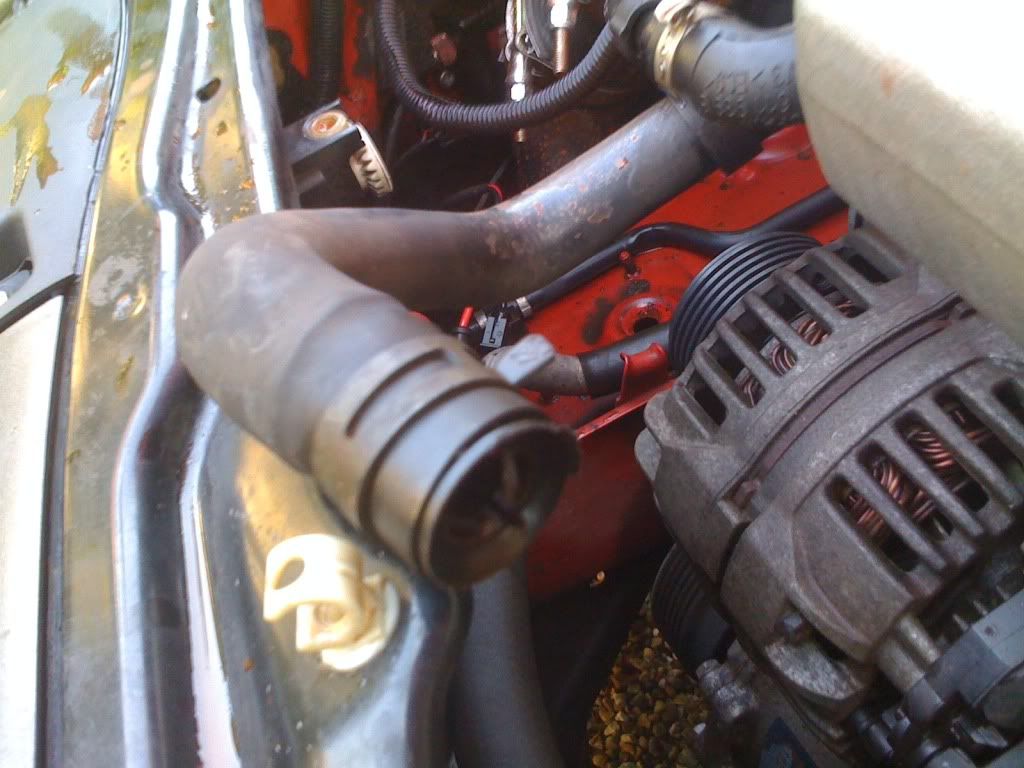

The brackets which hold the pump on underneath the slam panel:

This is a picture of the actual damage and as you can see where it broke apart from the pump unit itself:


What it should be attached to:


Right the week just gone I decided that with the weather getting darker earlier and cold that I would purchase a portable garage:
In there I shall be stripping the engine to do rods and prepping the car for a full respray.


I also have some gas heaters and flood lights so I can work through the cold months
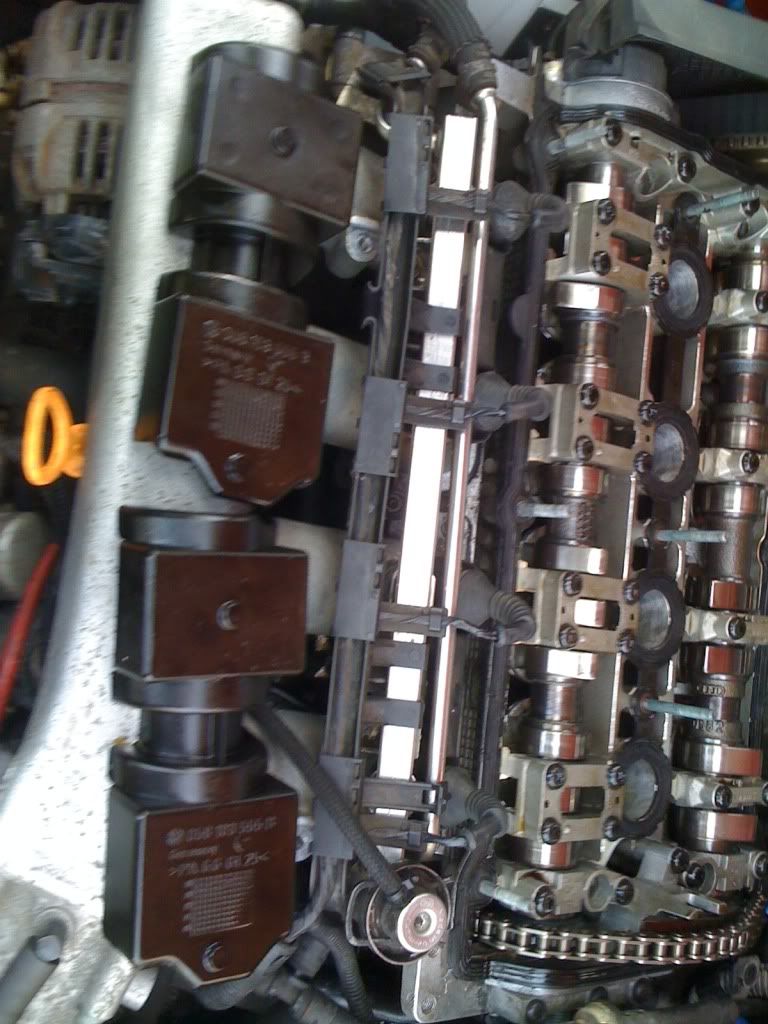
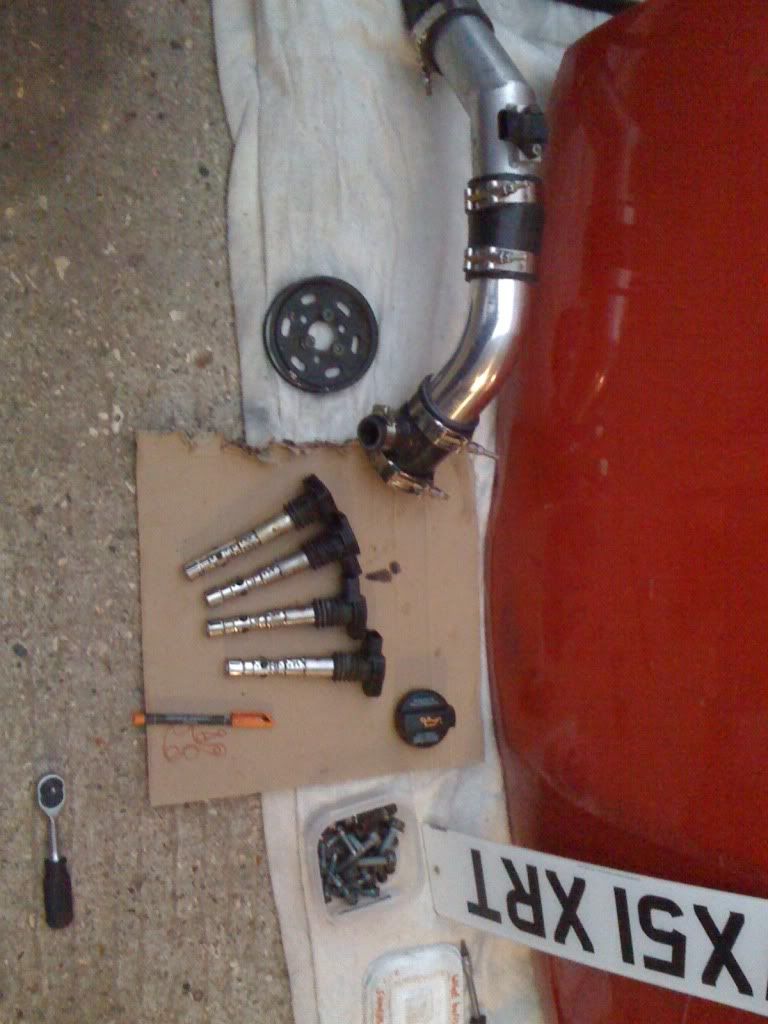
Cam cover off and started labelling everything up in boxes too:
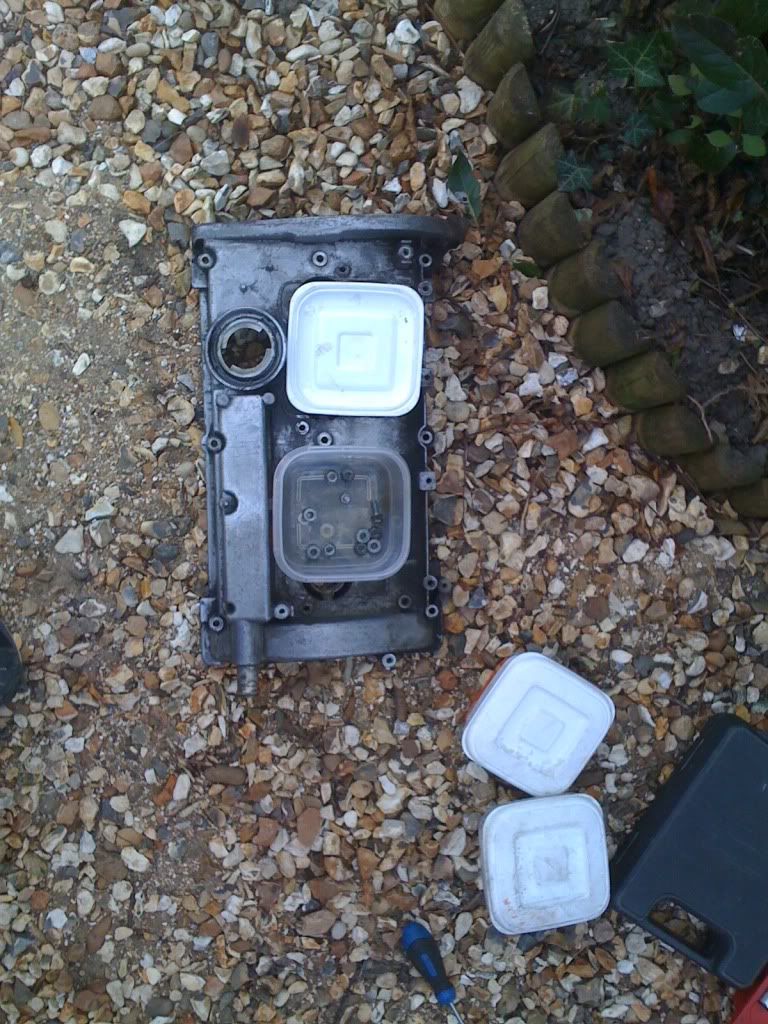
Pretty clean looking
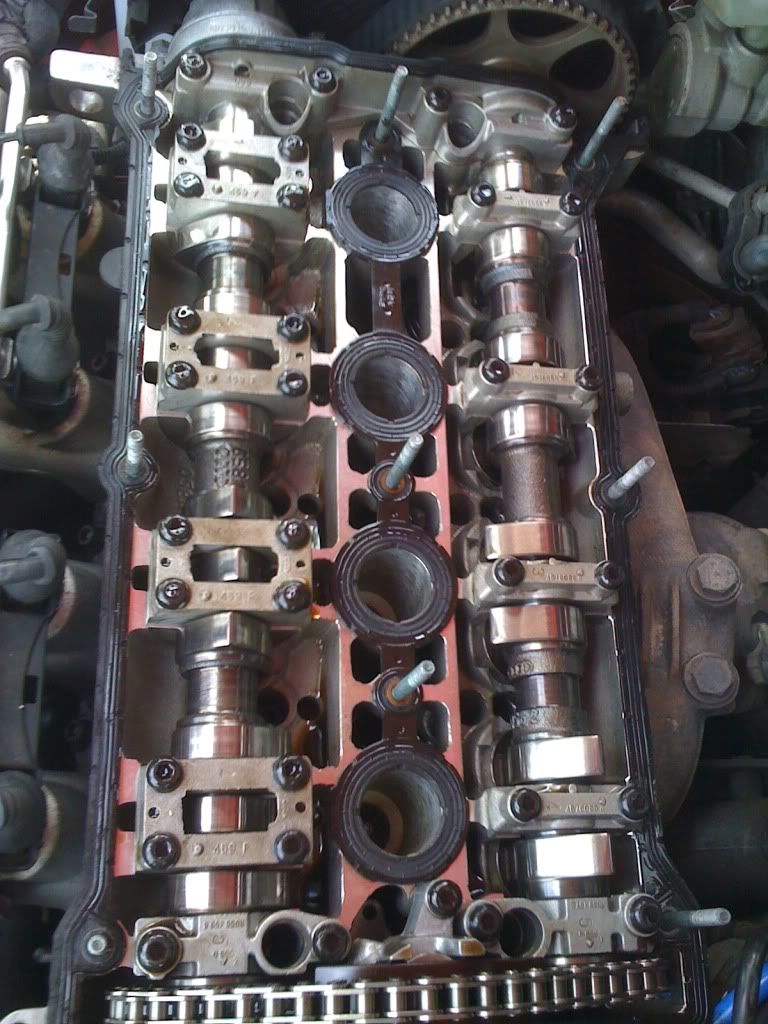
After that things started getting serious:
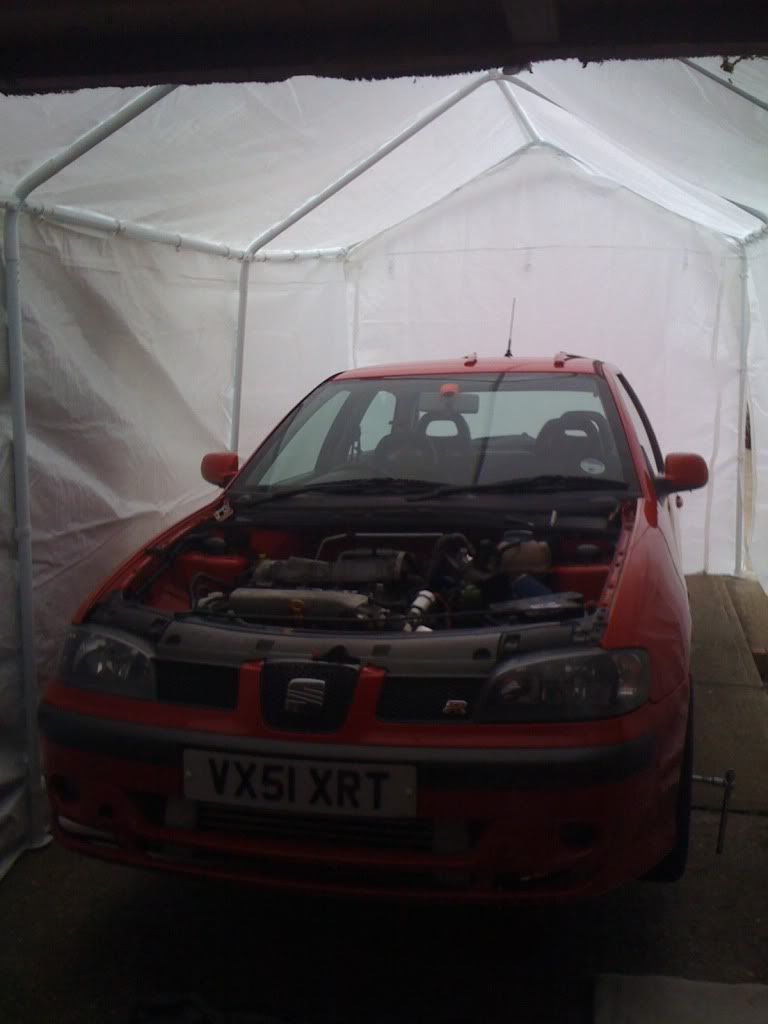
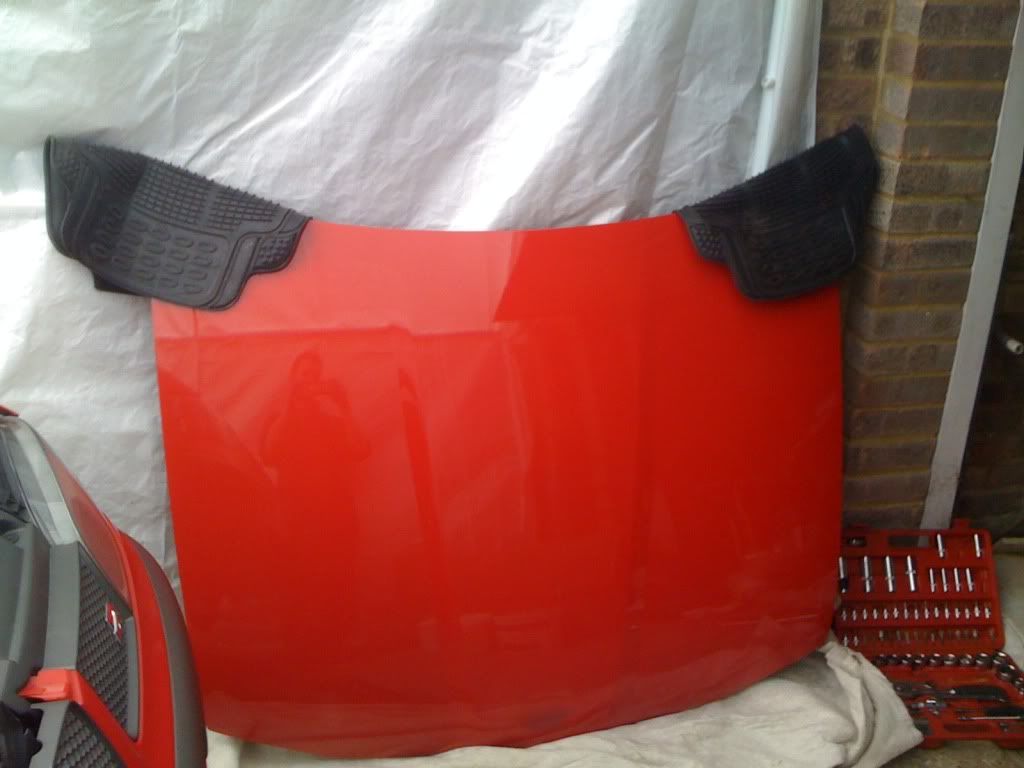
First thing to go was intercooler pipework and bonnet:
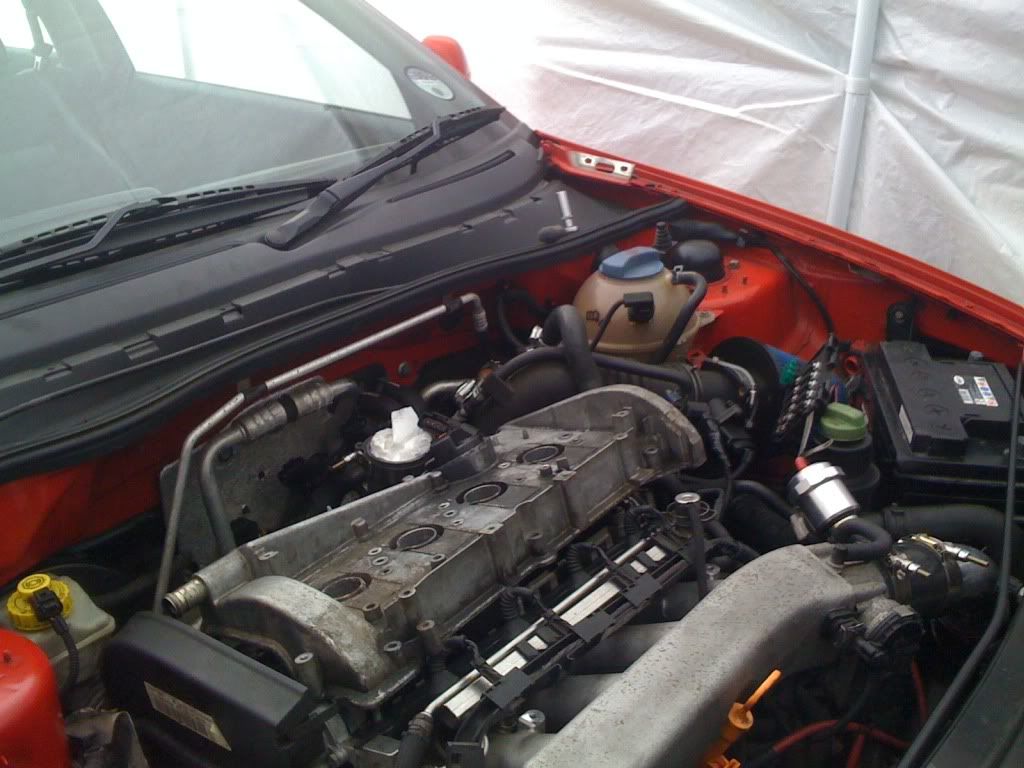
Then the bumper:
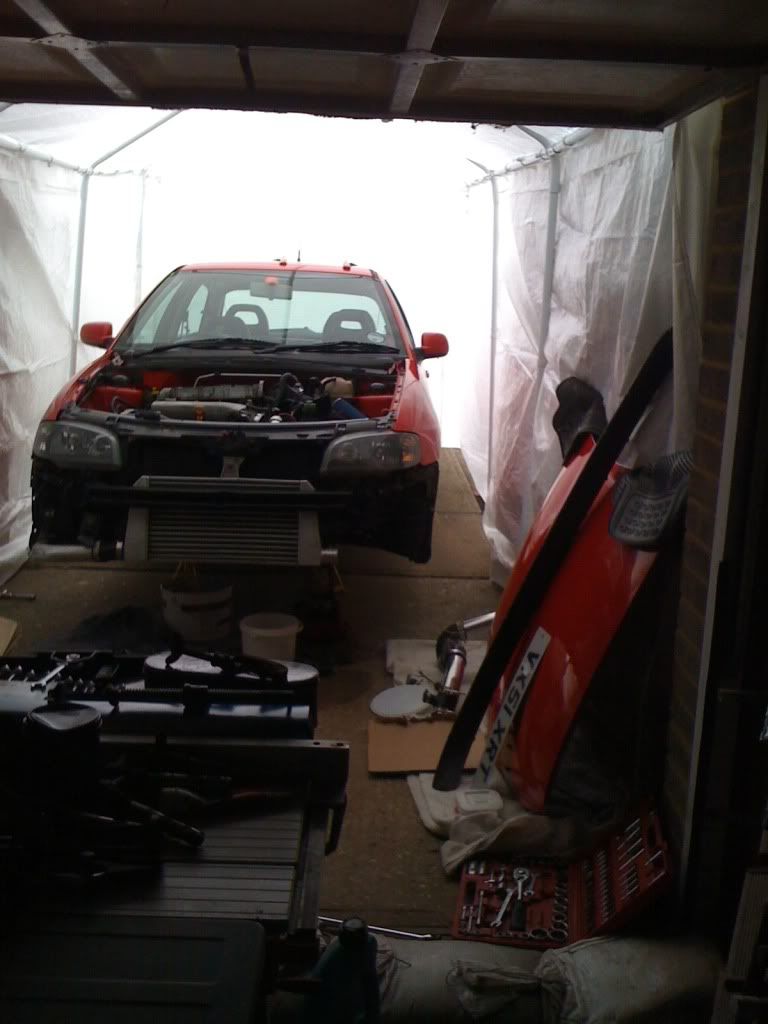
Everything labelled accordingly:
The other day this arrived in the post:
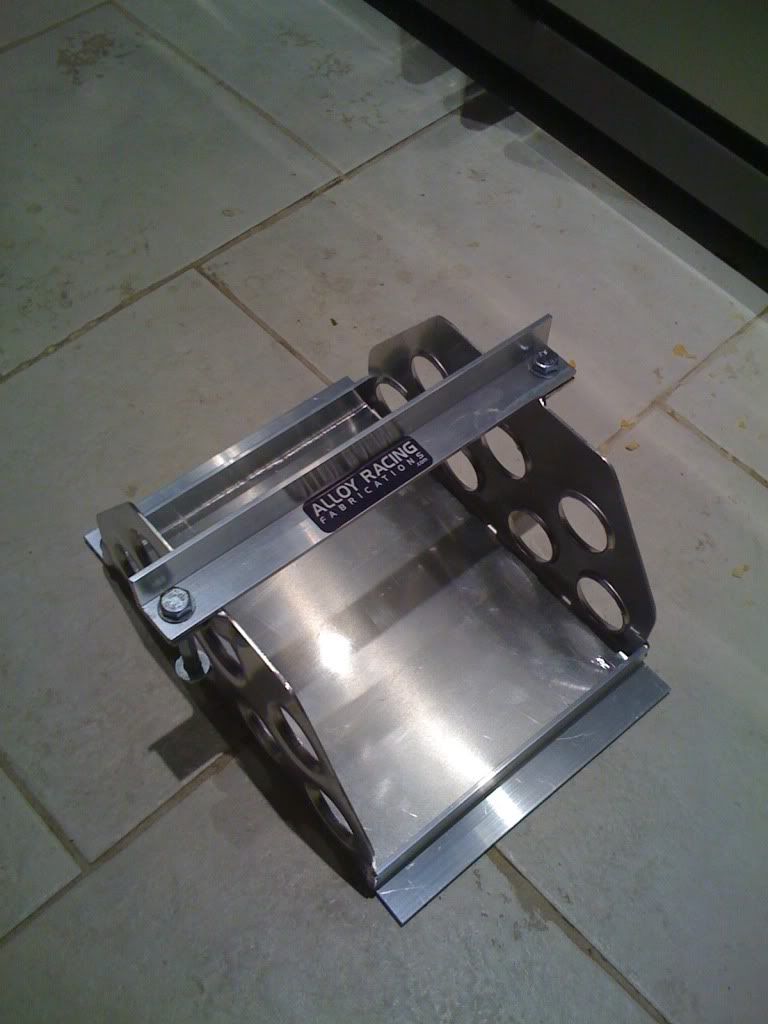
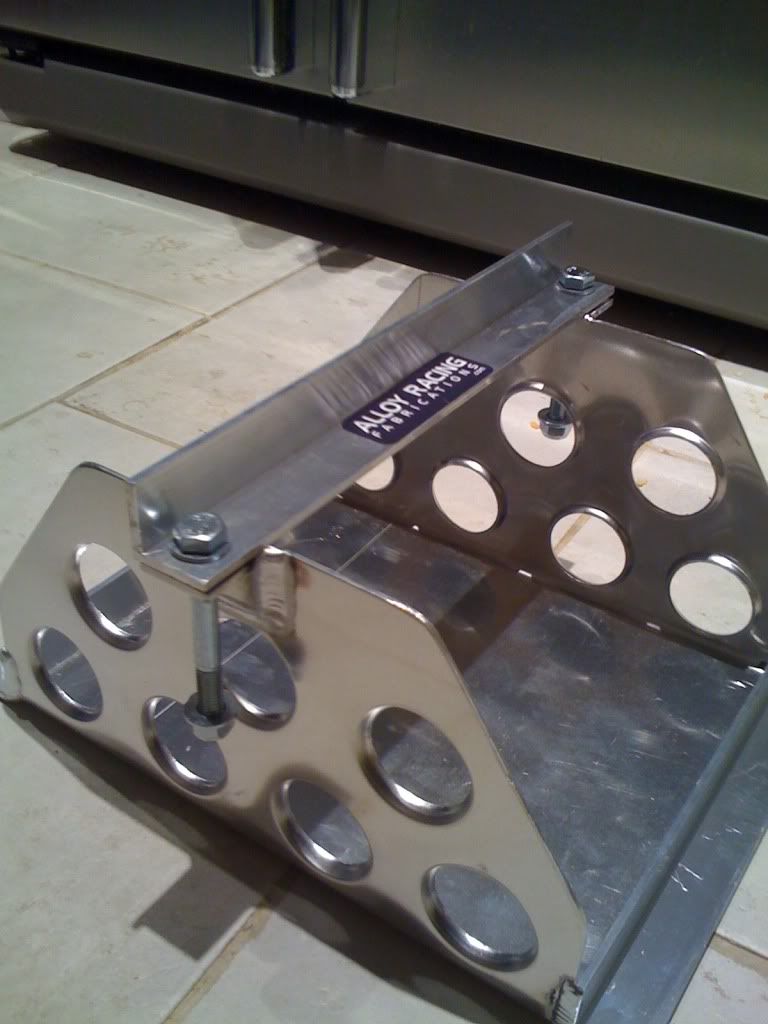
Which will be holding my battery when I relocate it to the boot.
Enough was enough for one night and I used a black bin liner cut down the seem to cover the engine over with a rug to hold in down:
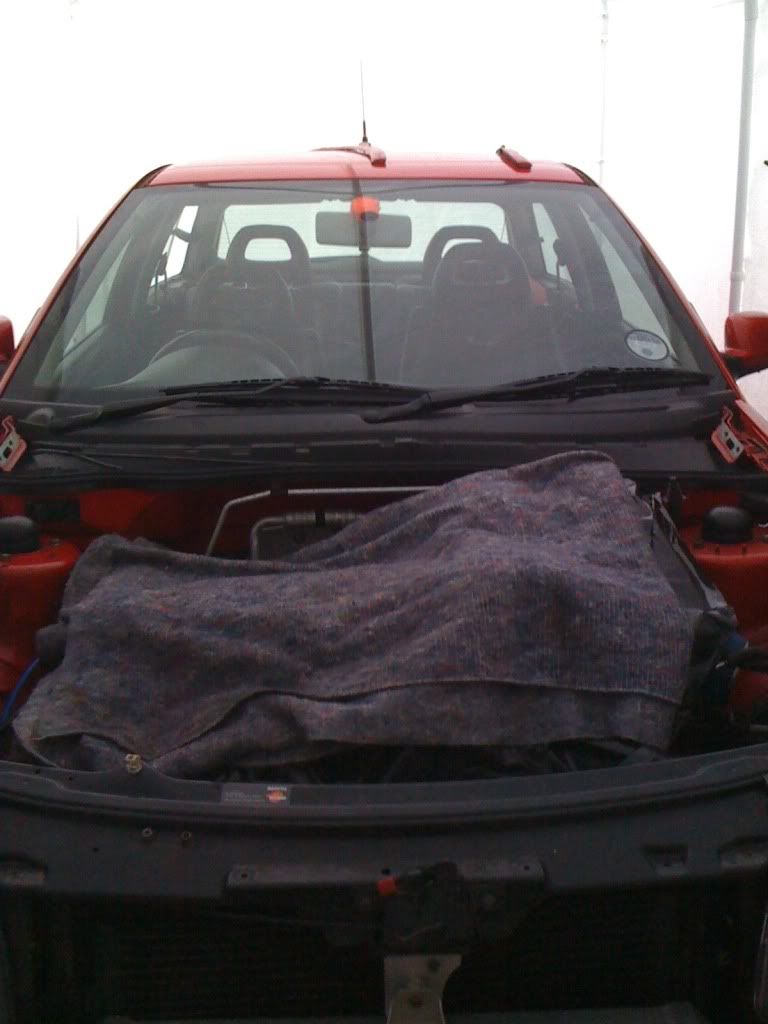
Today was productive after I got home from work at about 7pm thought it was time to get the rags on and commence work:
This came off.....
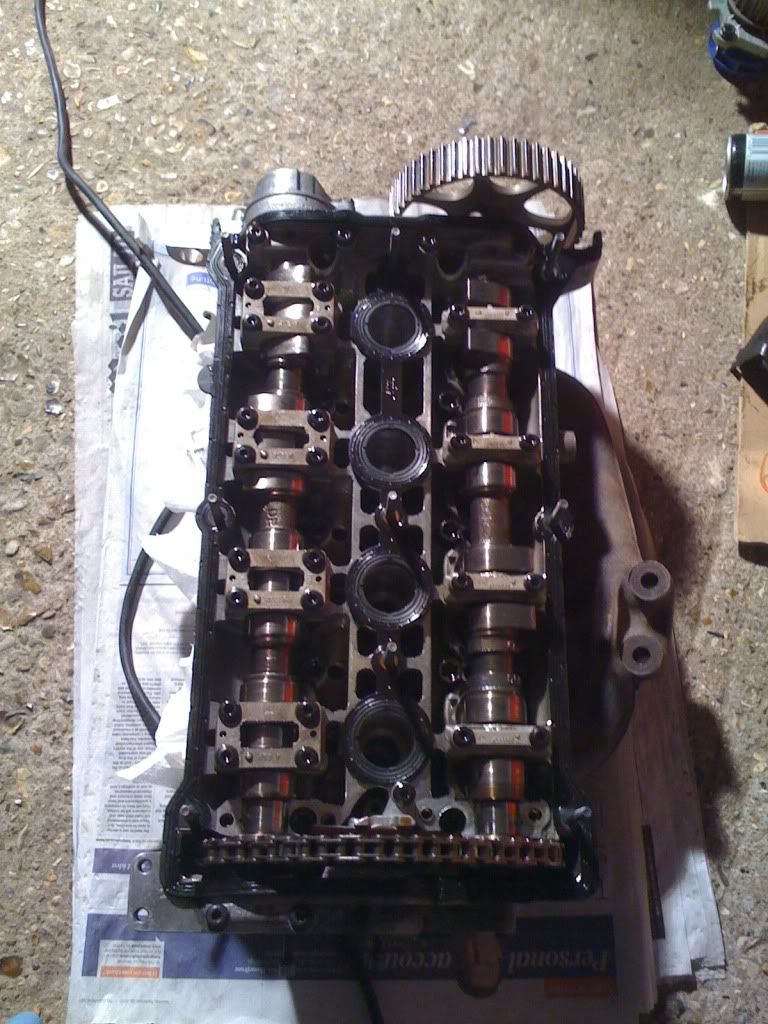
Revealing this:
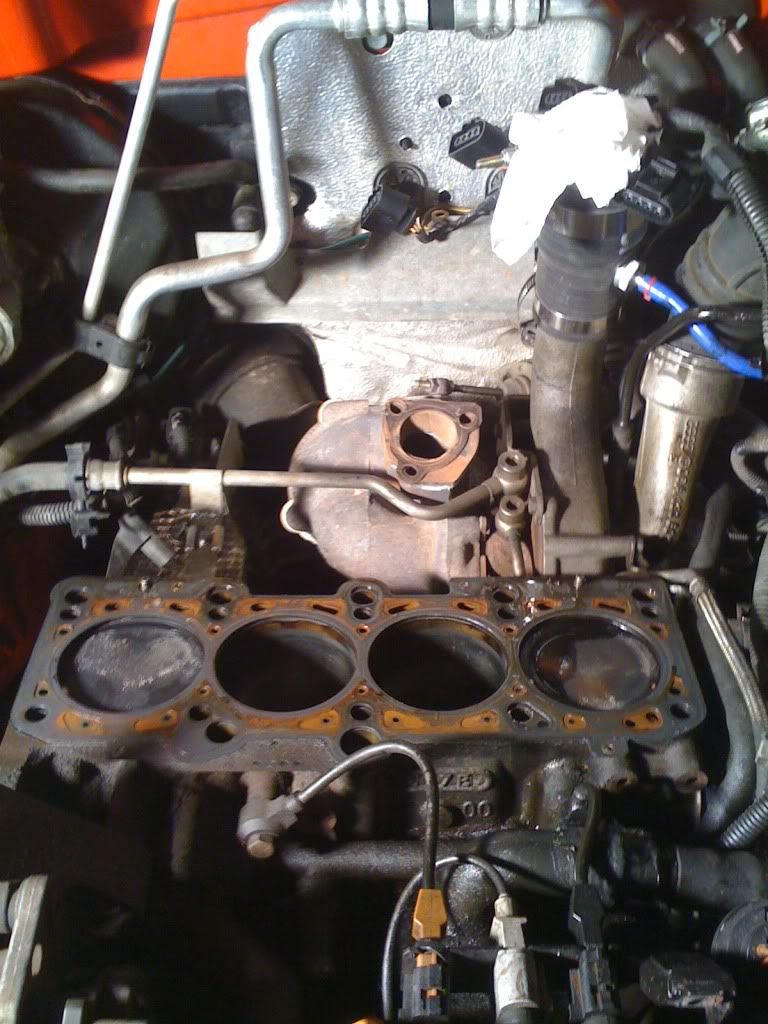
A nice head gasket and filthy block...
Exhaust manifold to turbo gasket:
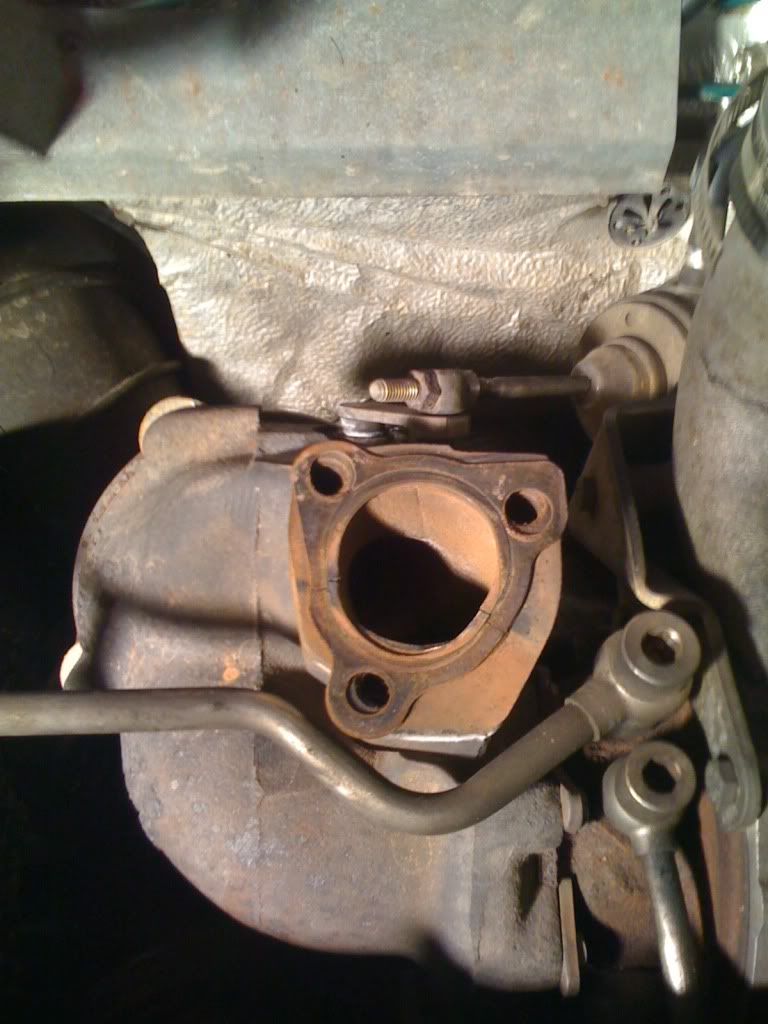
and the measly K03 turbo - which will be changed in due course...
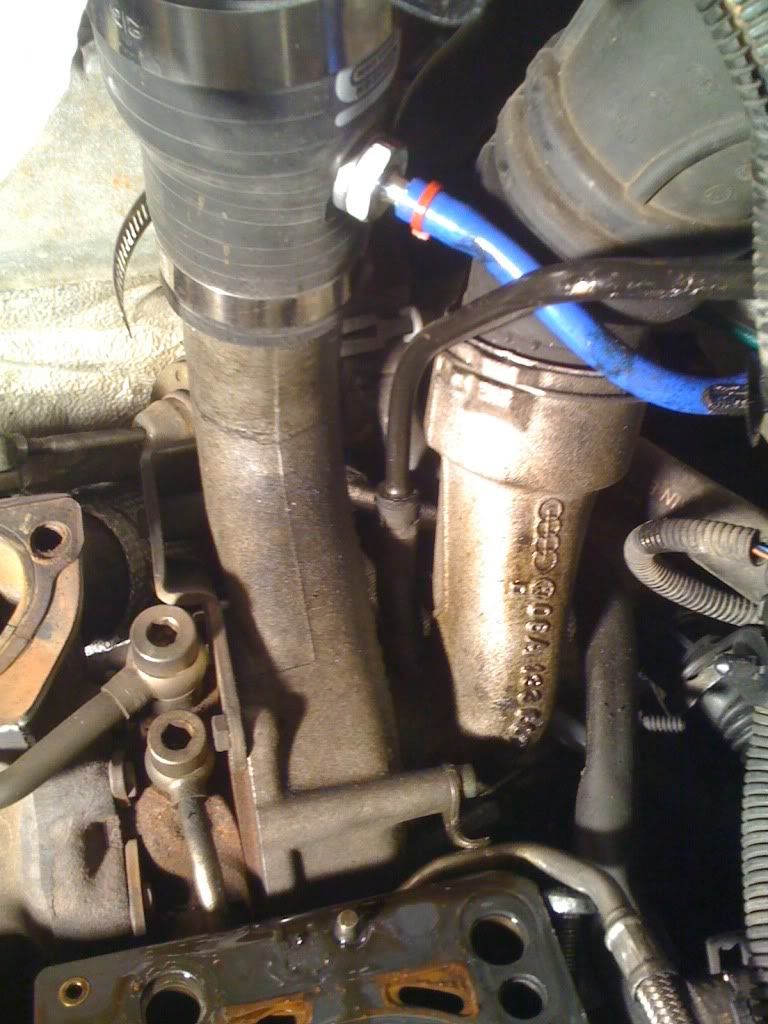
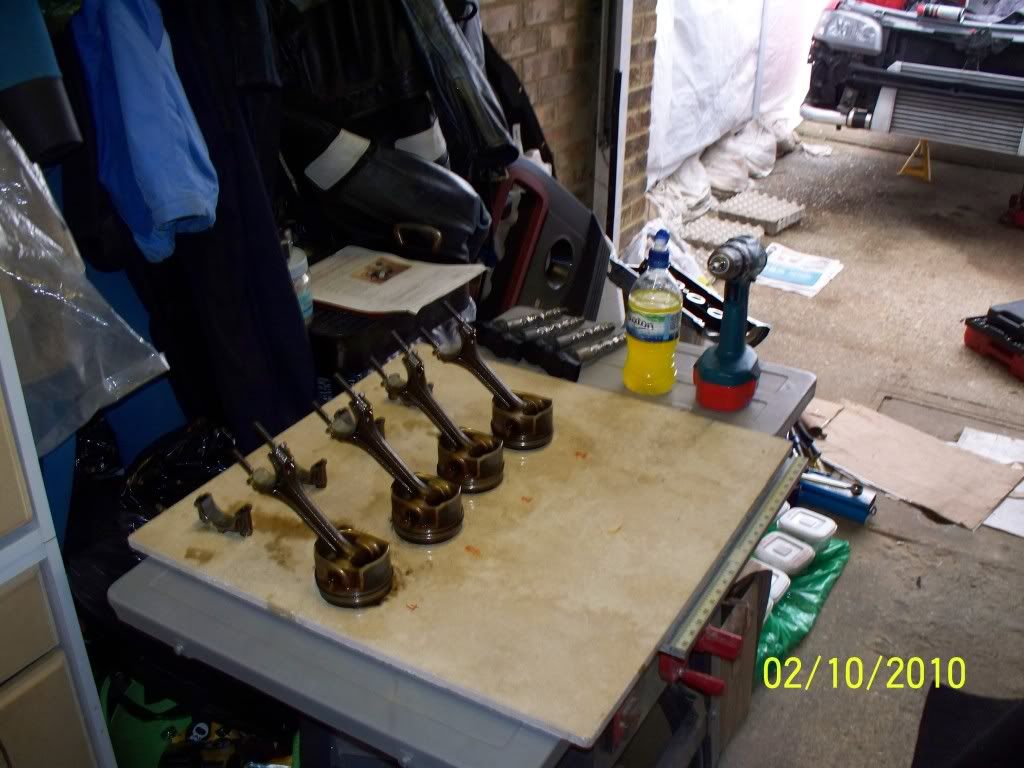
By 8ish these came out:
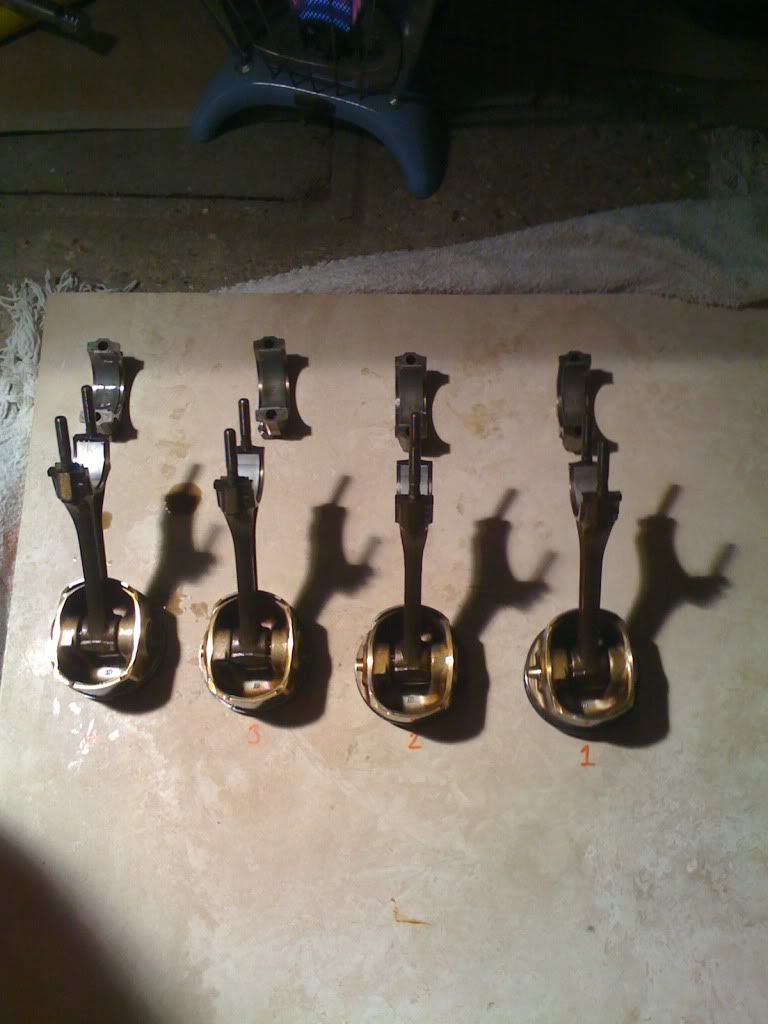
All numbered up to make sure I can put the pistons back in the correct bore... I also ordered my Integrated Engineering rods from Bill today
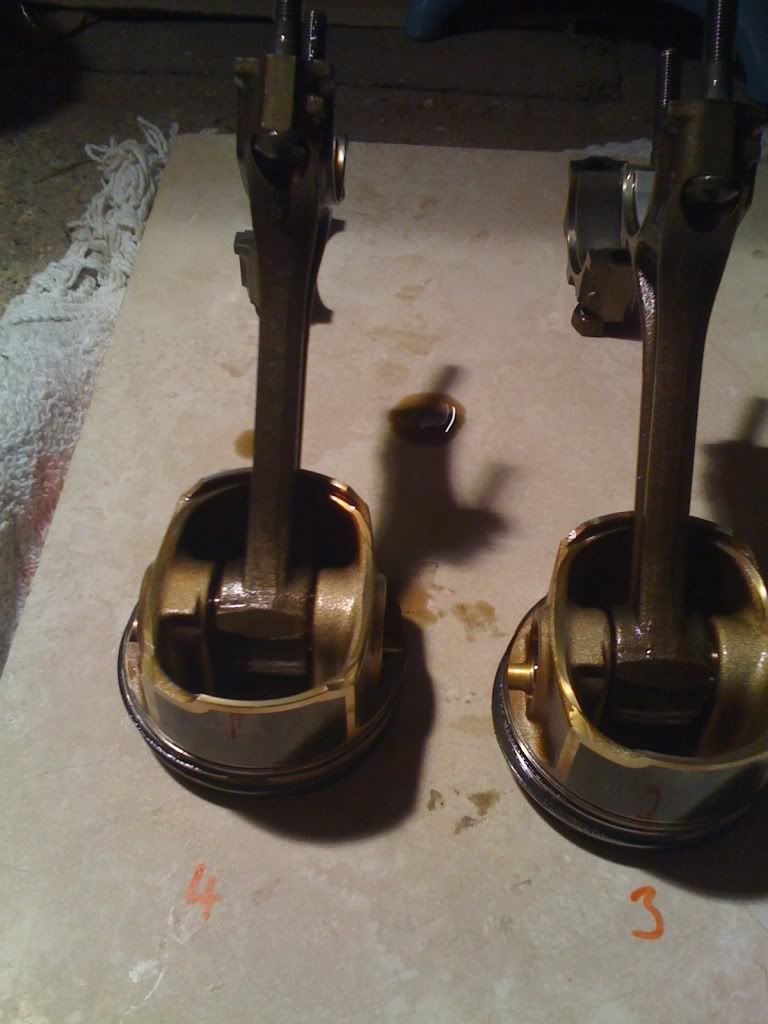
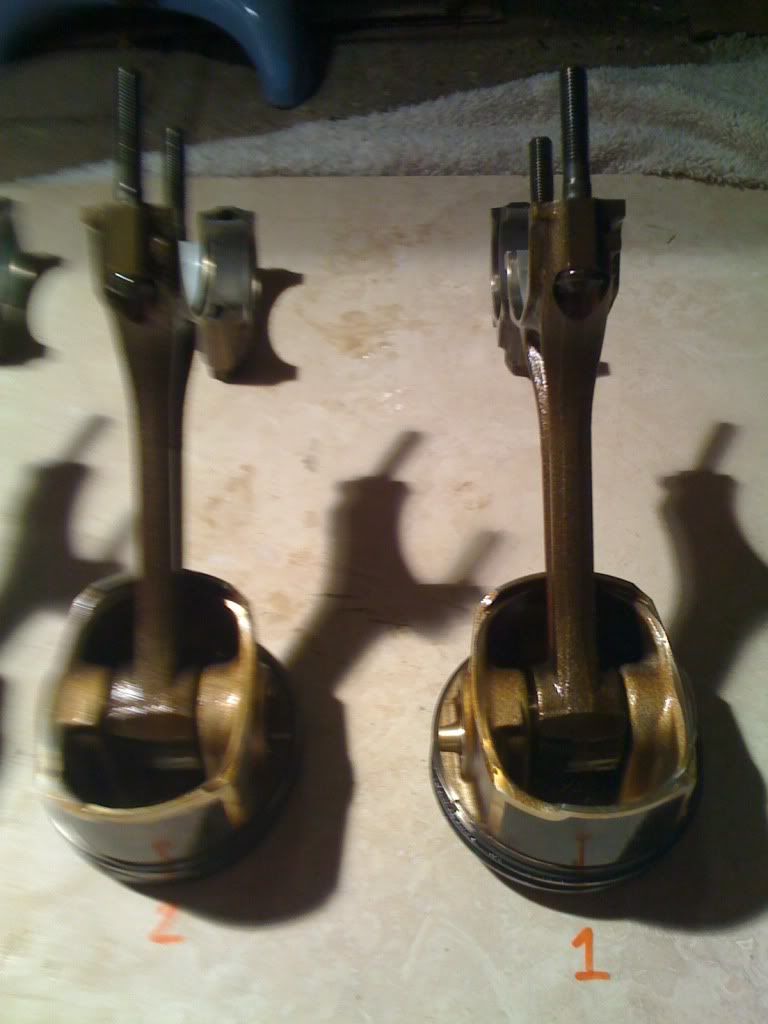
Pic quality isn't up to scratch but iPhone was all that was about.
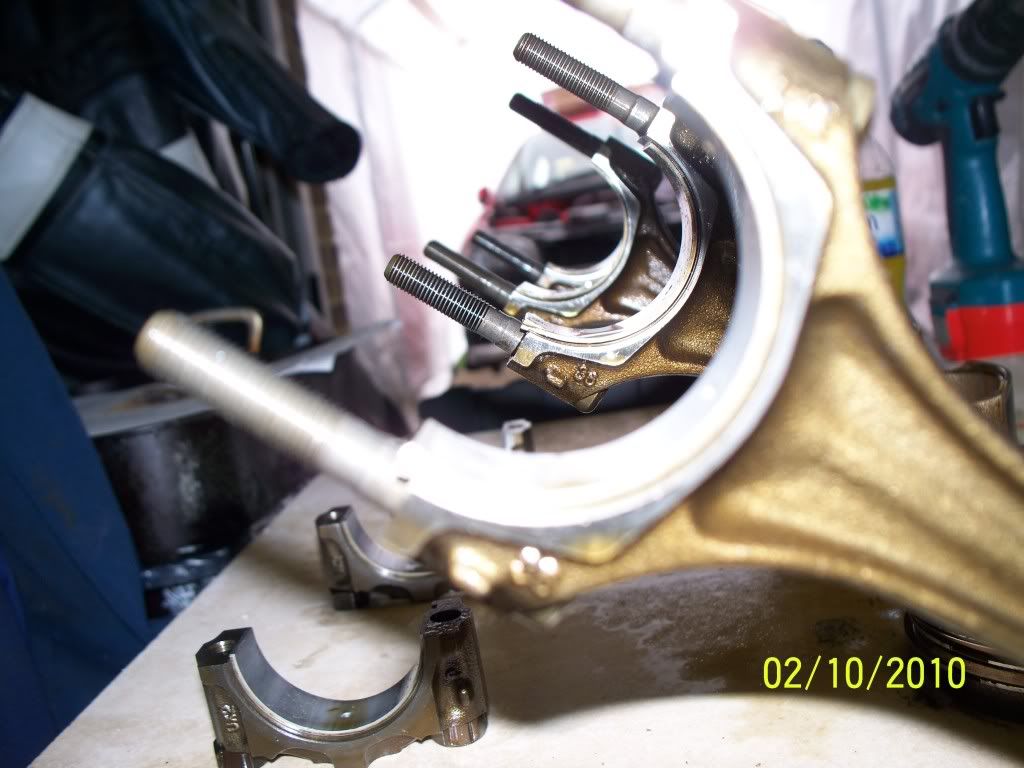
Big ends and bearings - which are also being replaced by nice Calico coated ones
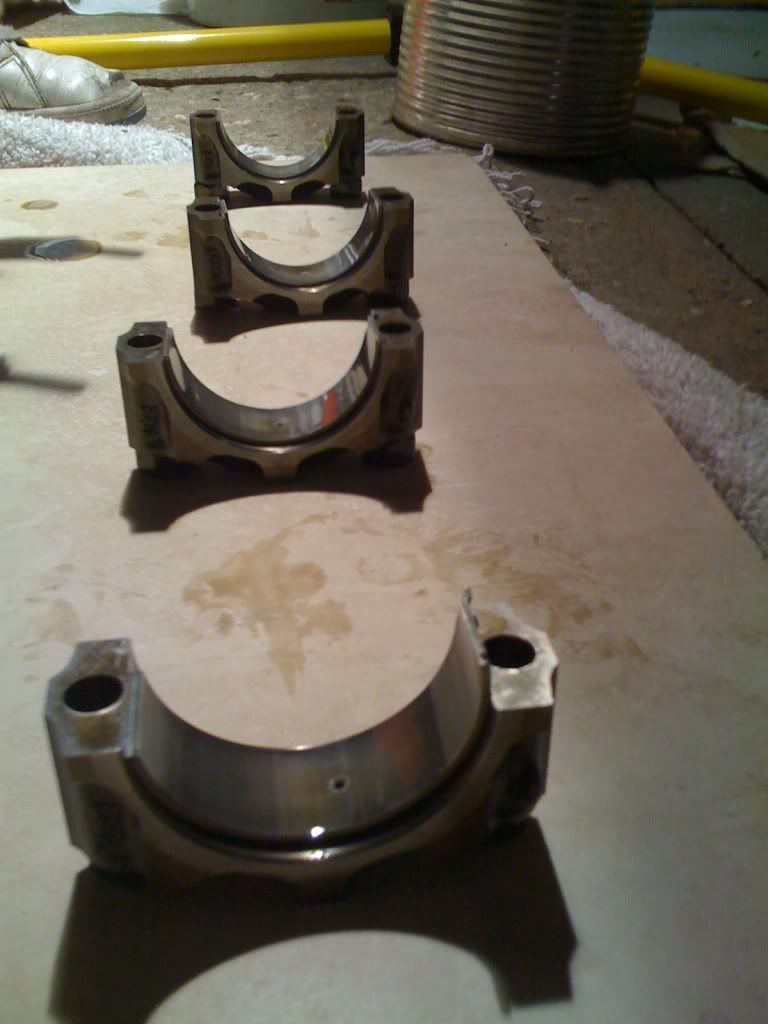
Just thought this made a good picture:
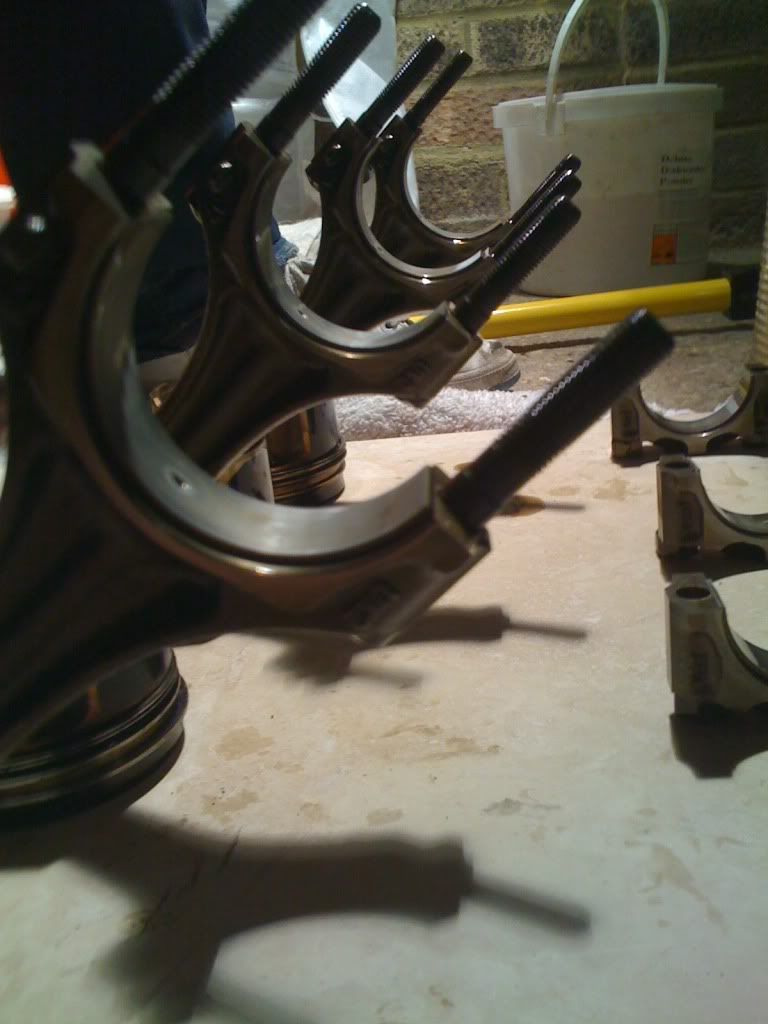
Finally a picture of the bottom end which was so to speak bottom endless
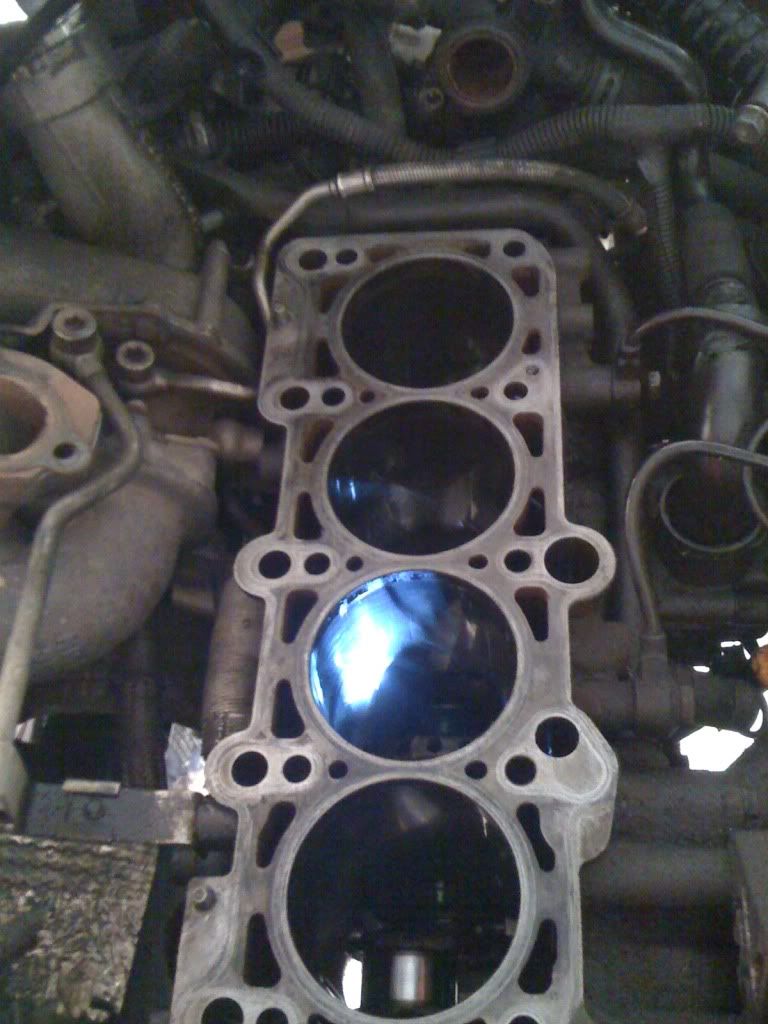
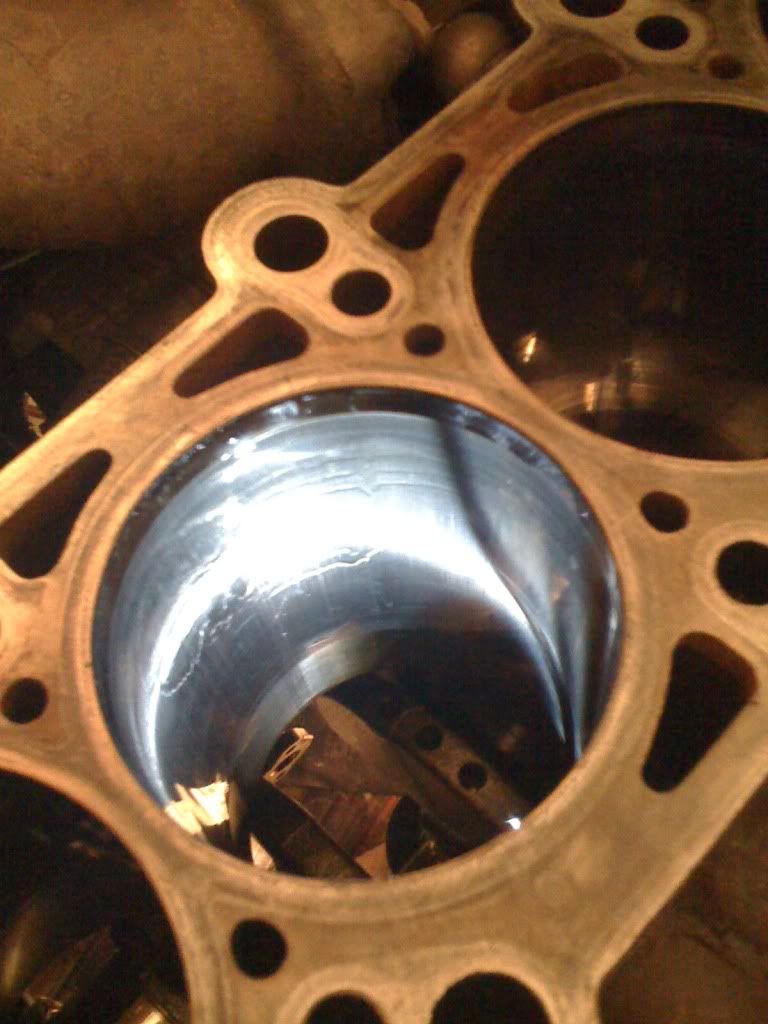
Bores not looking too bad - the light does make them look worse however they are still going to be deglazed.
That's all for tonight. Please comment need to know your views....night
Joe
Today I had a rather messy day - mostly cleaning the engine bay and trying to tidy things up, I also got my decent camera out so there will be a few pics that are similar but in better quality, enjoy.
How the car stood before work today:
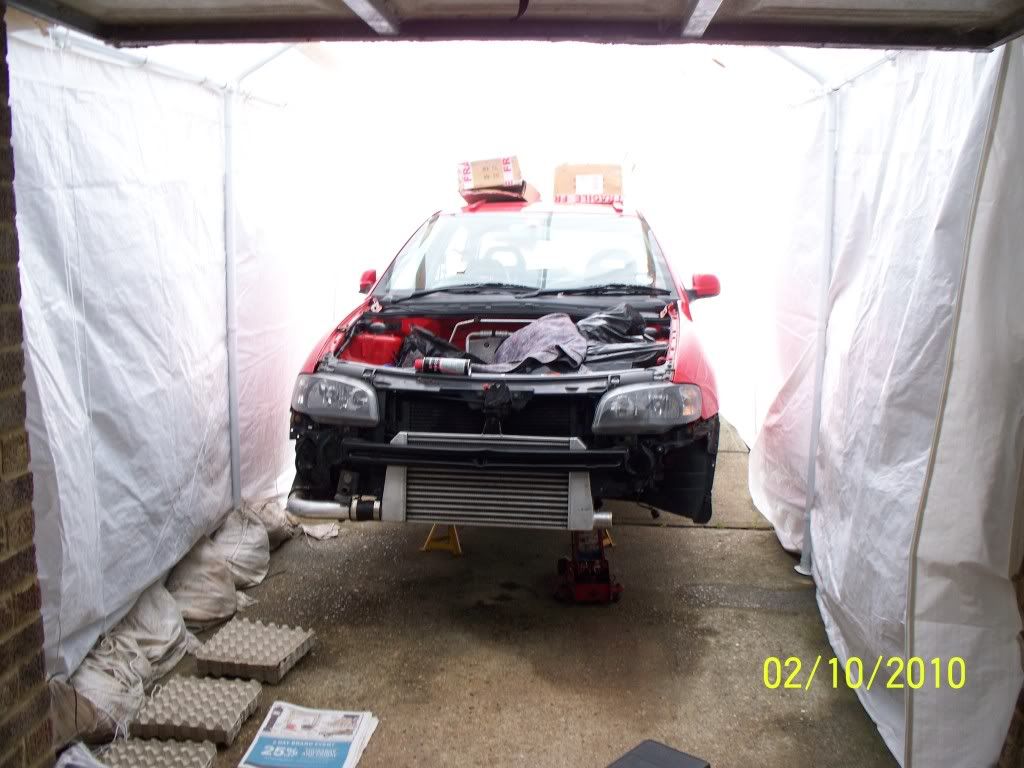
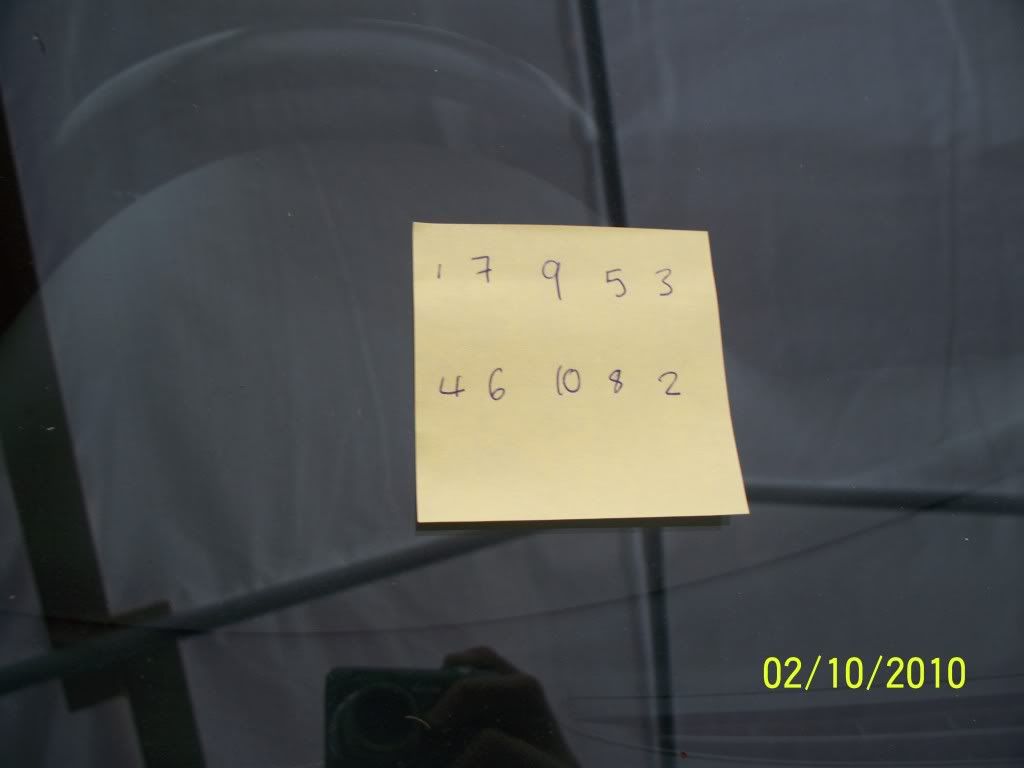
Head bolt sequence for undoing:
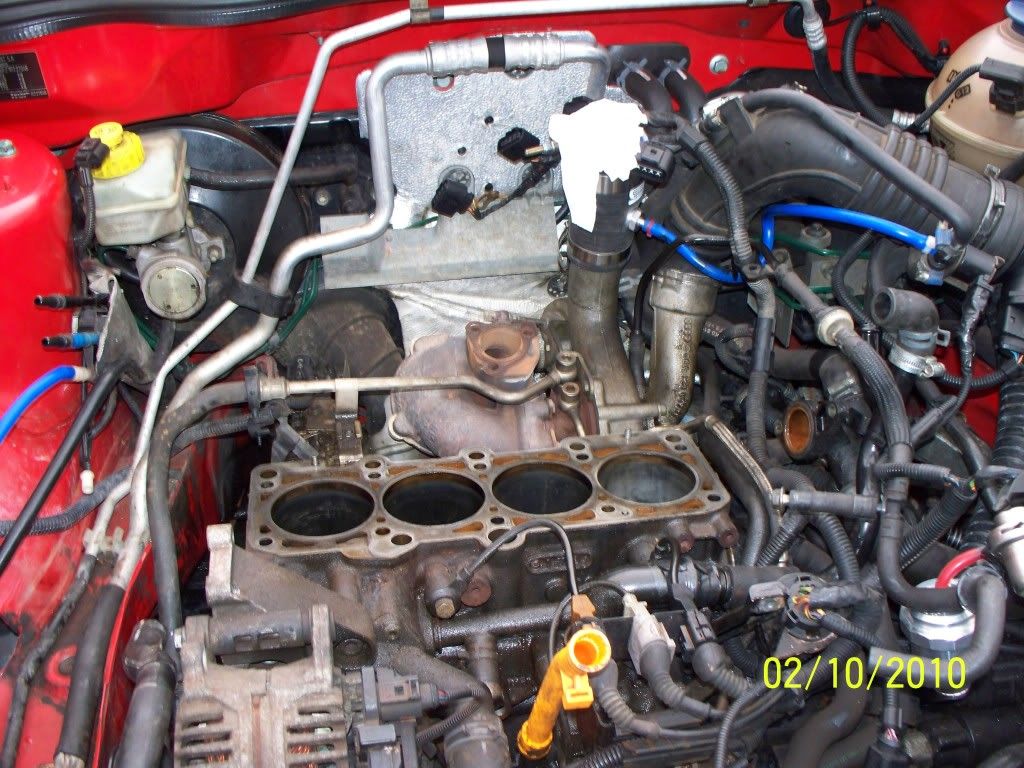
Before cleaning - take not of messy black stuff around the edges:
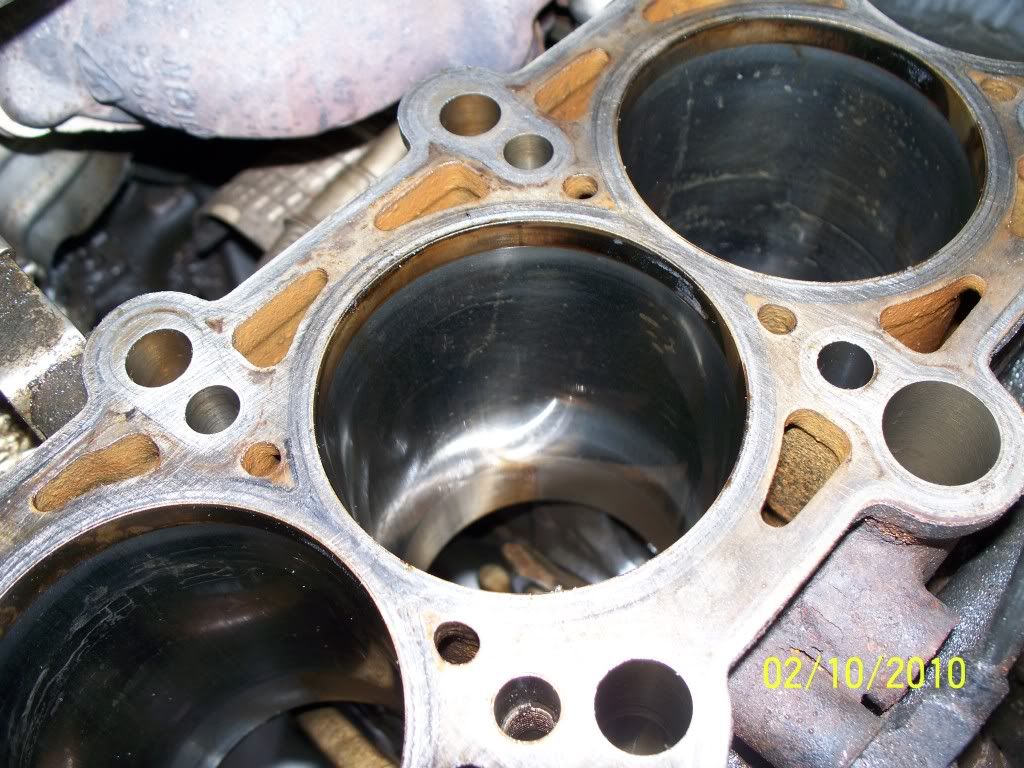
Bores:
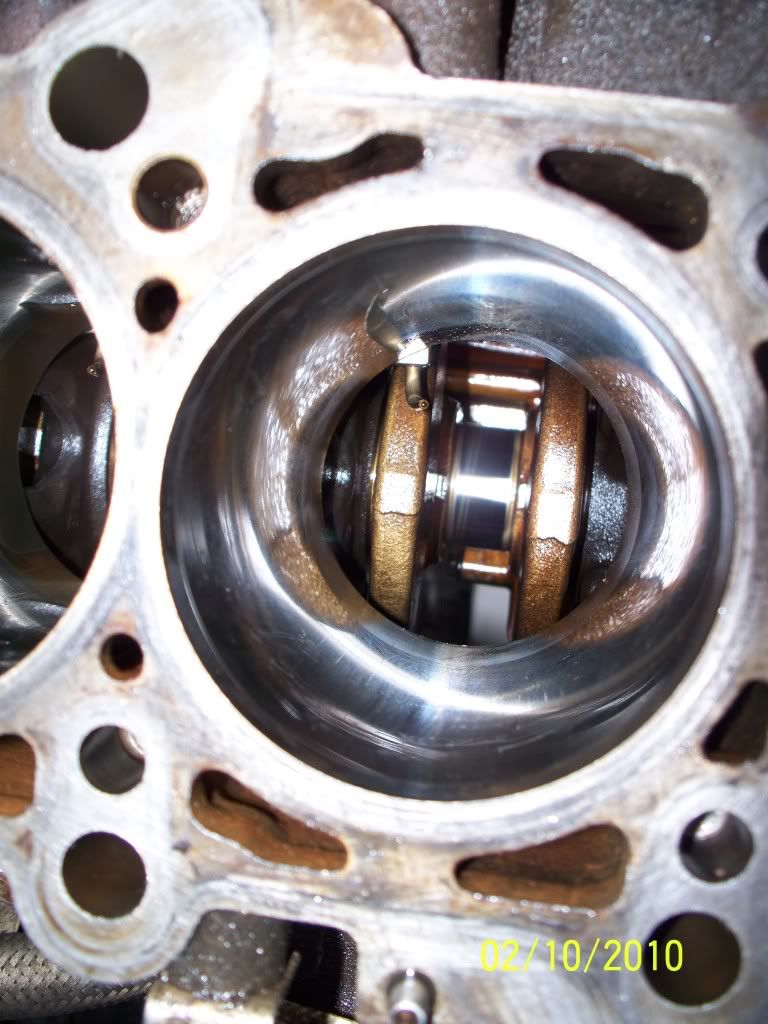
More black stuff around the standard CAI:
Nice and clean....
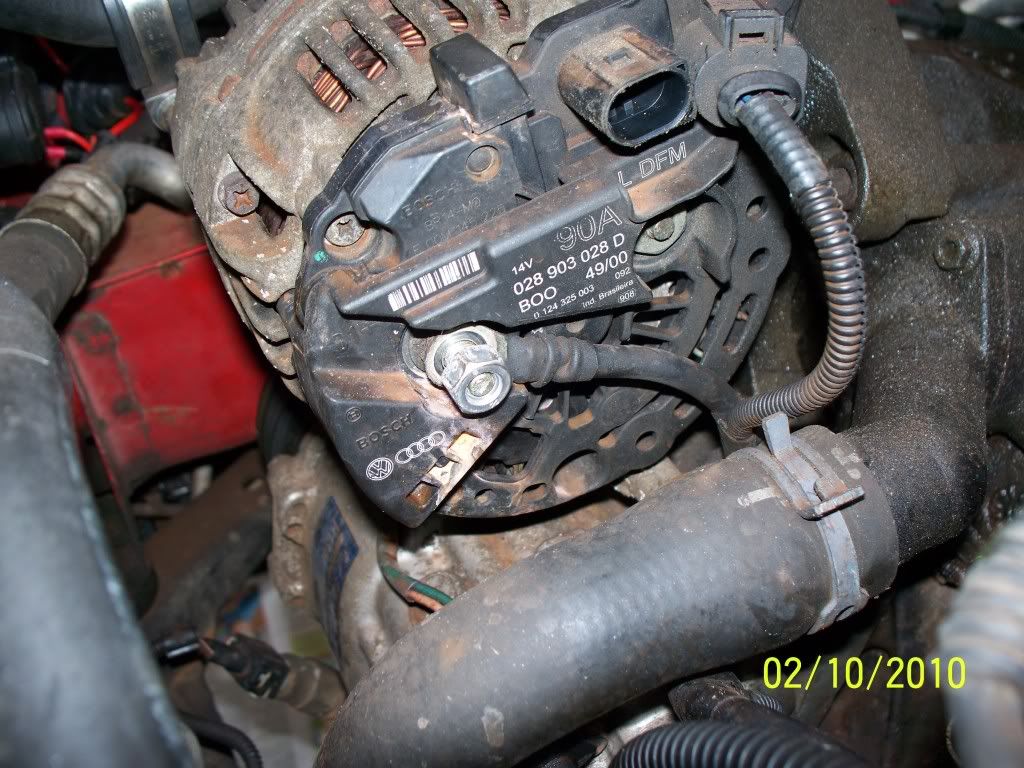
Filth:
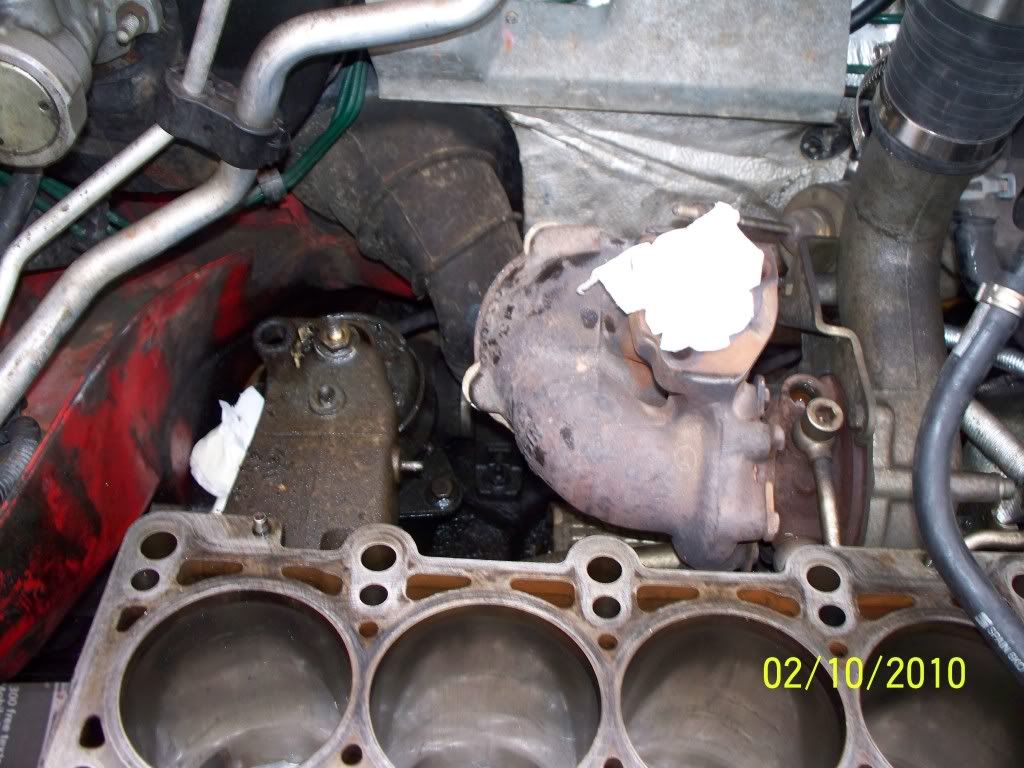
Groundsheet put down lights out - engine degreaser on and scrub...
Getting there
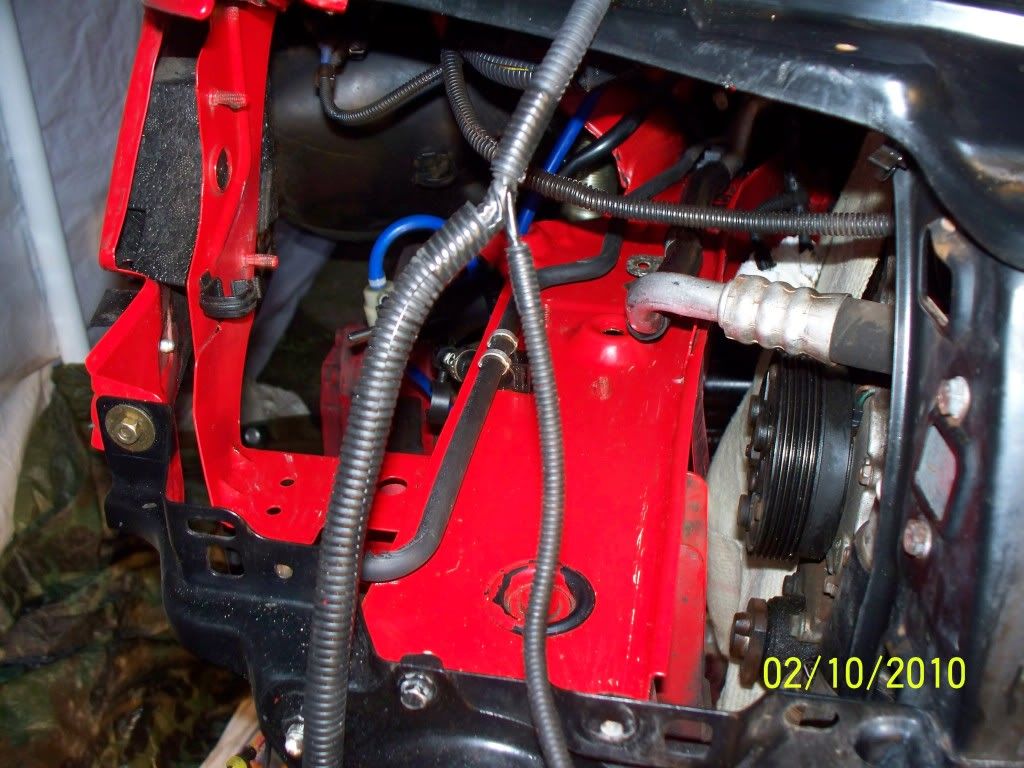
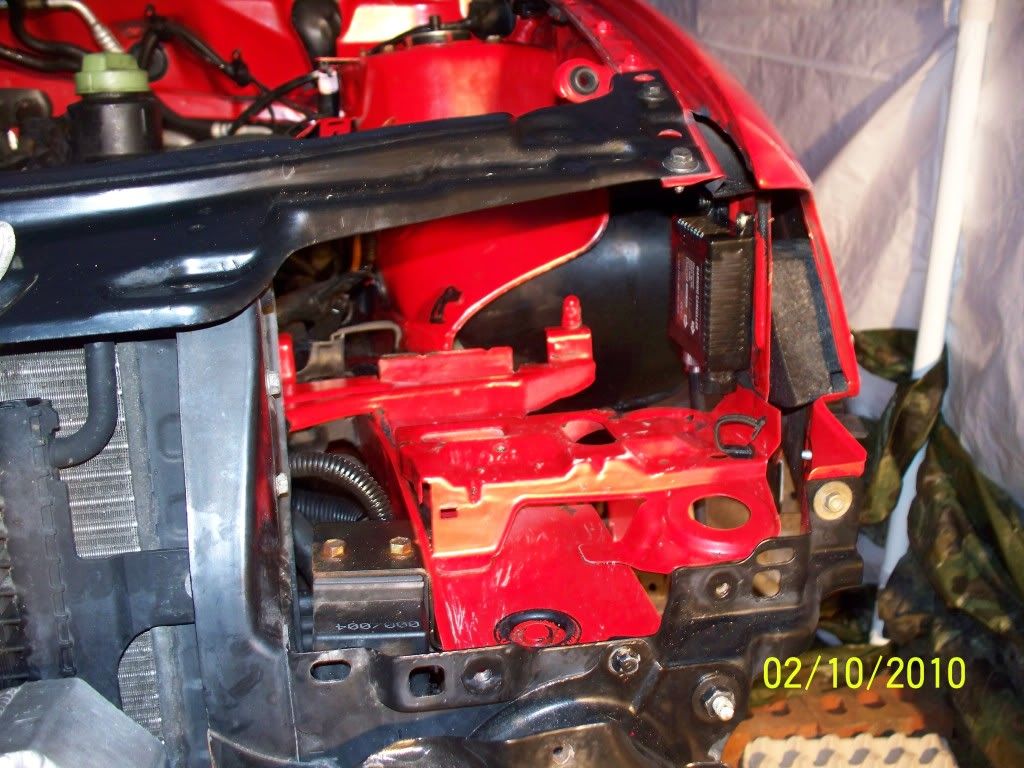
Was looking rough so quick touch up
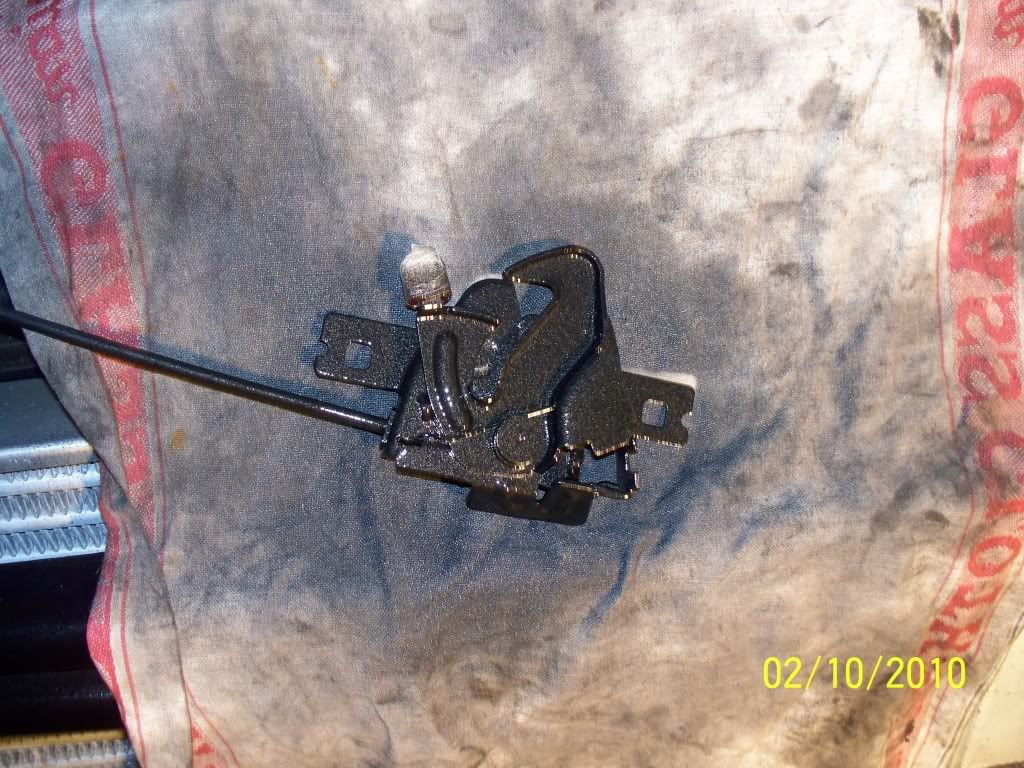
How it stands now (still need to clean inside of wings)
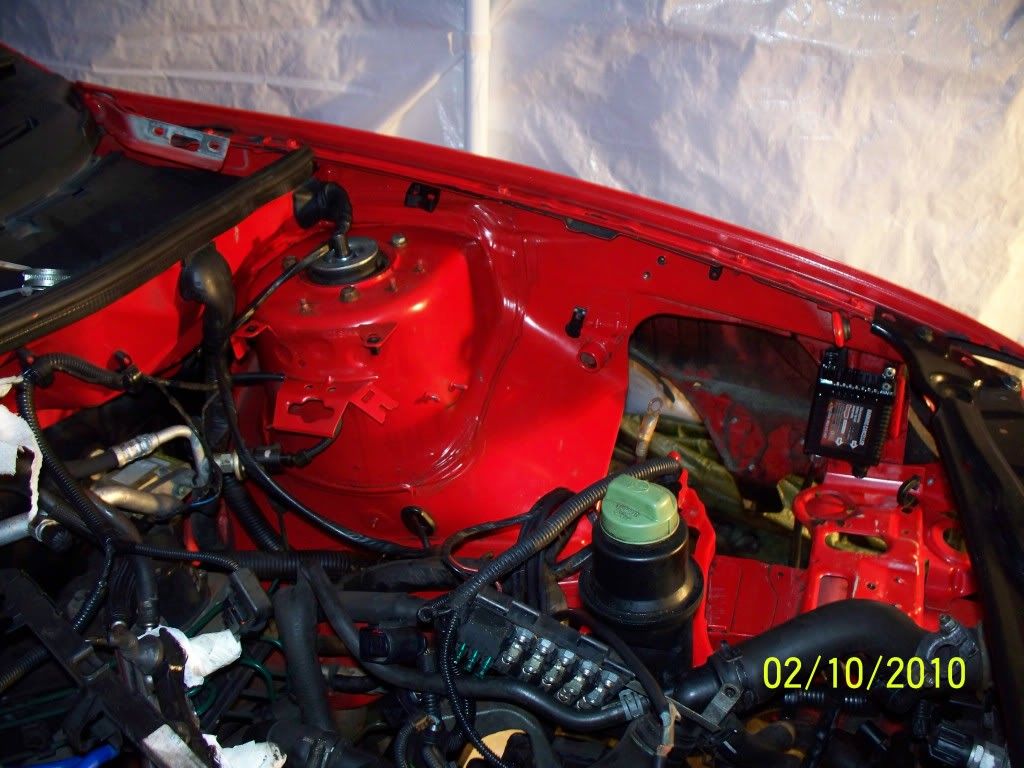
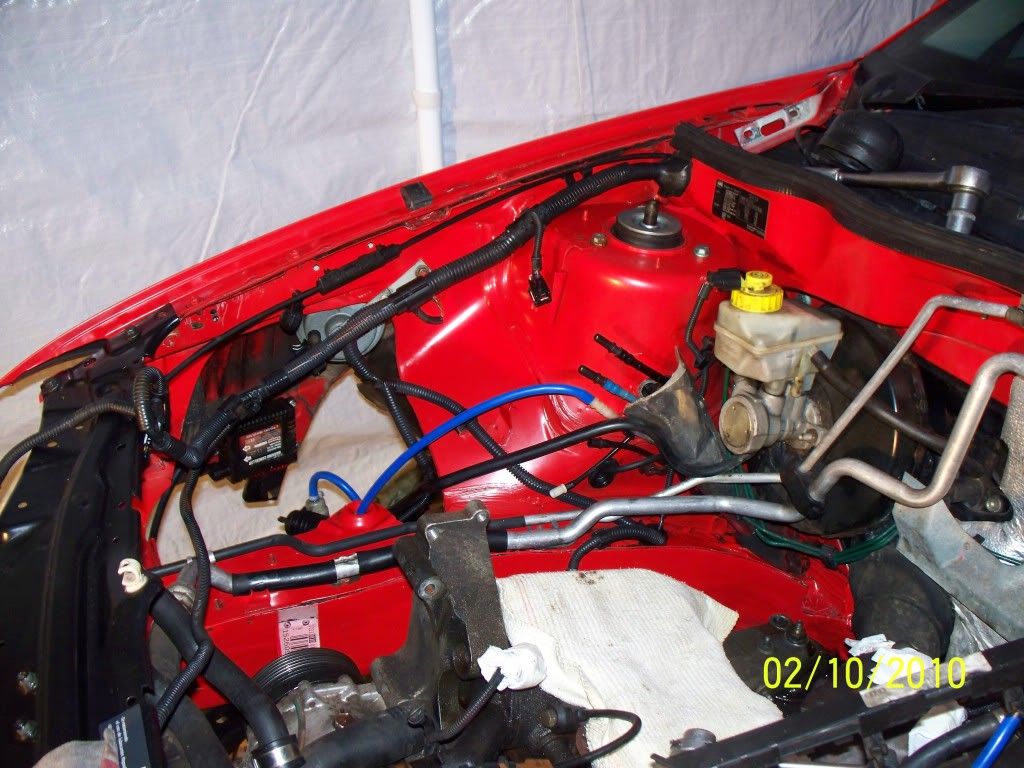
Finished working on car at 11 this evening with help from Gti-Joe to remove the downpipe from the turbo what a B!TCH that was!!
Got the turbo off a couple of days ago:
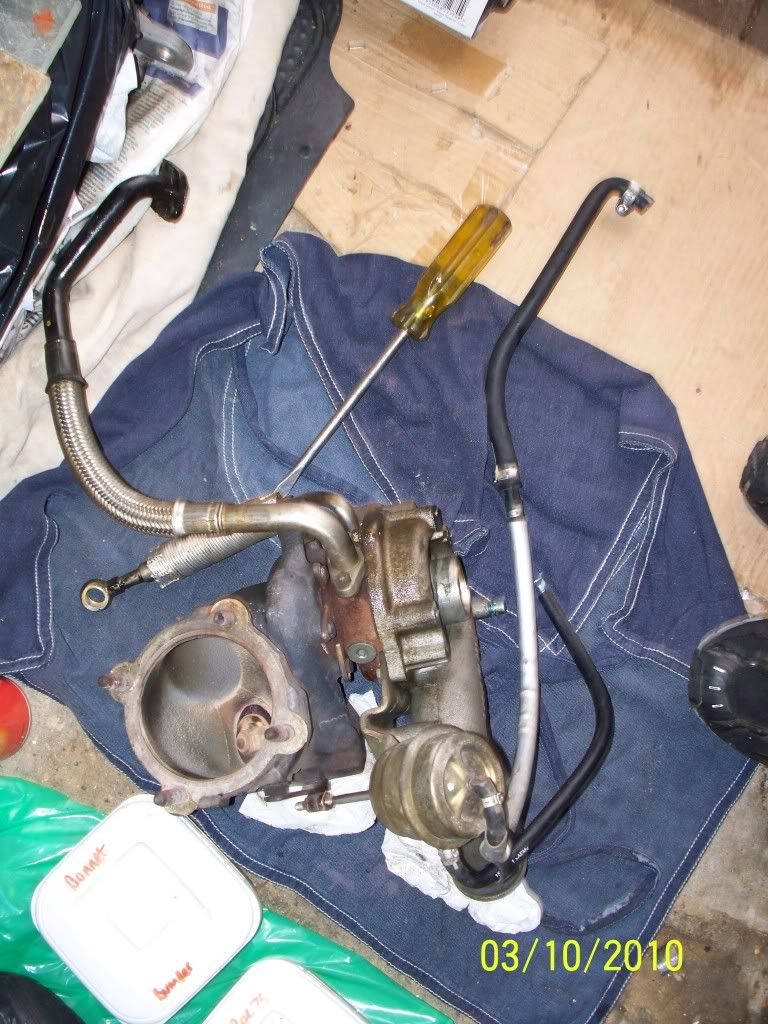
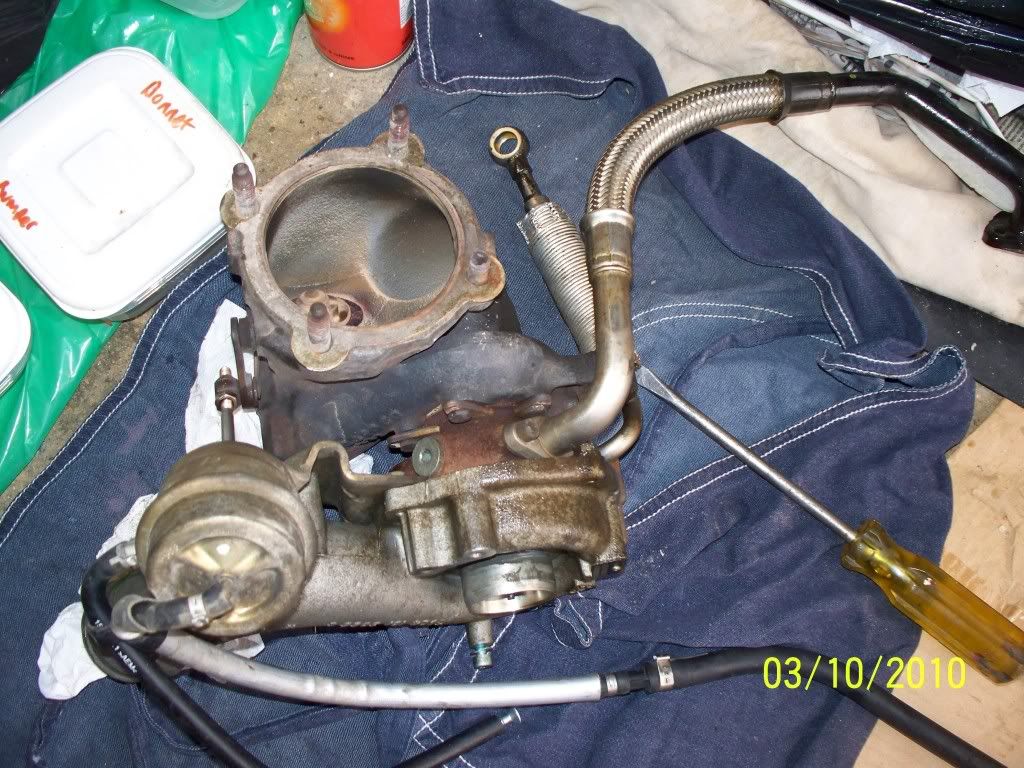
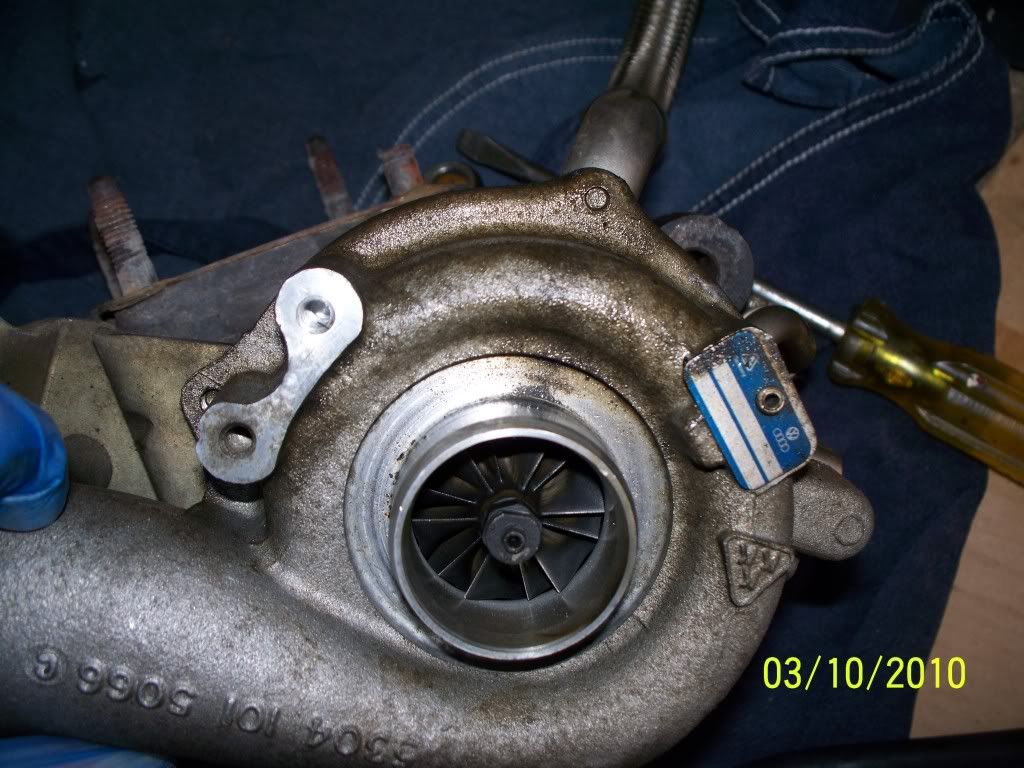
Bit obsessed with cleaning?!:
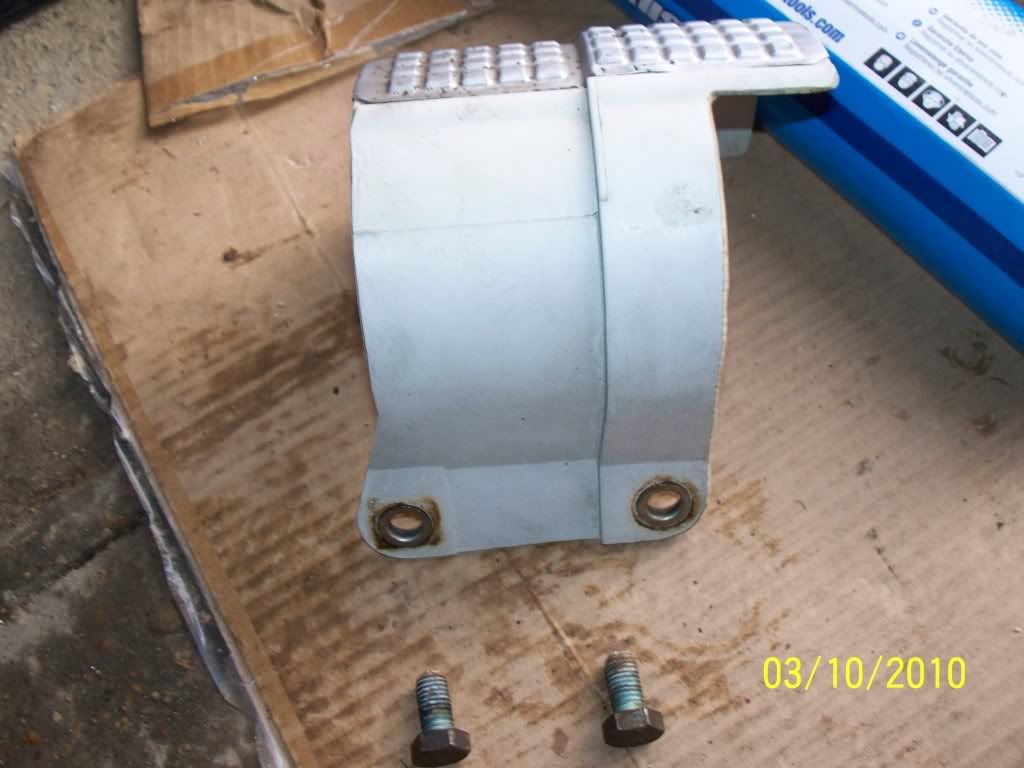
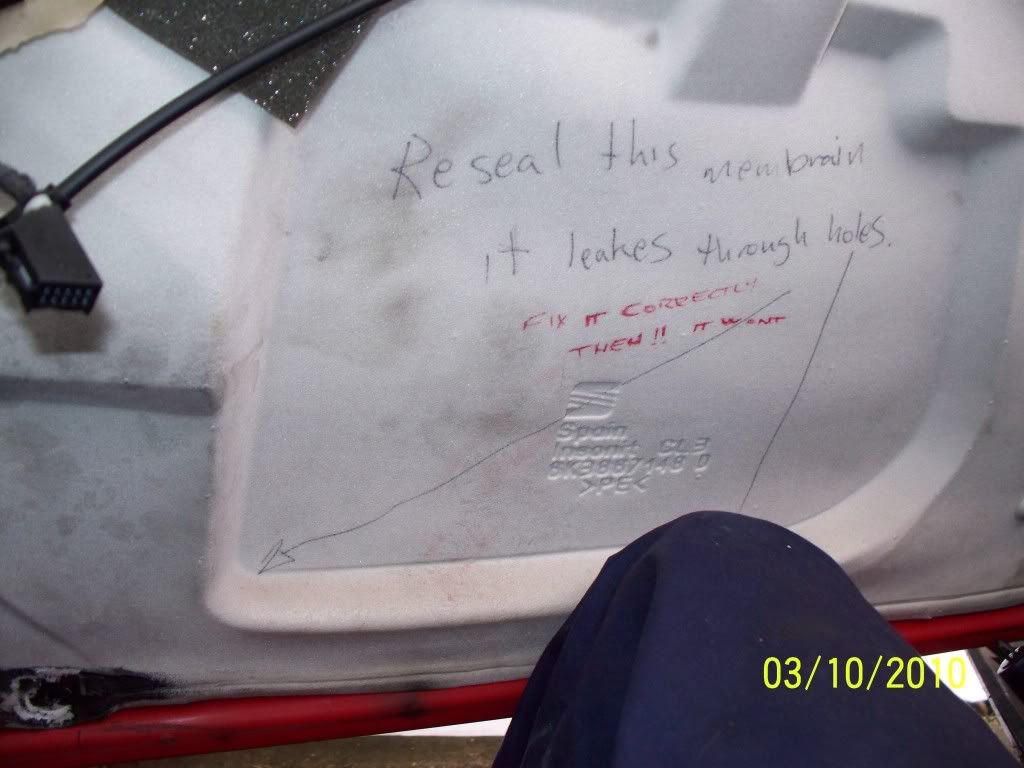
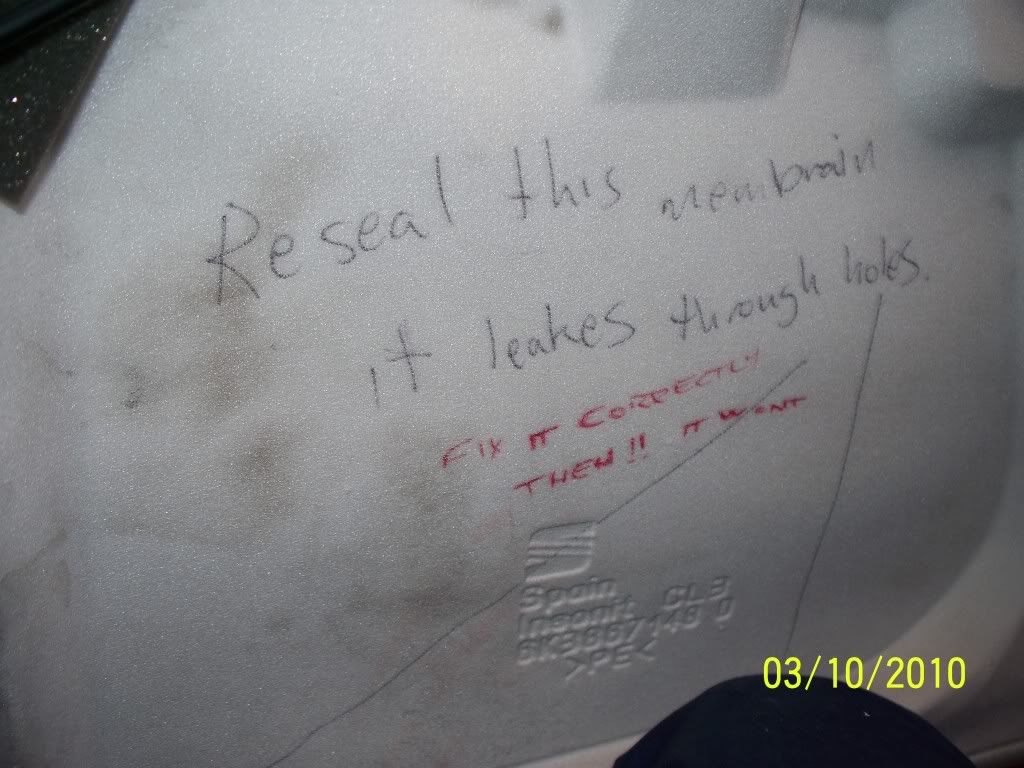
When taking the door trim off found this message and a rather bodged job of repairing it:
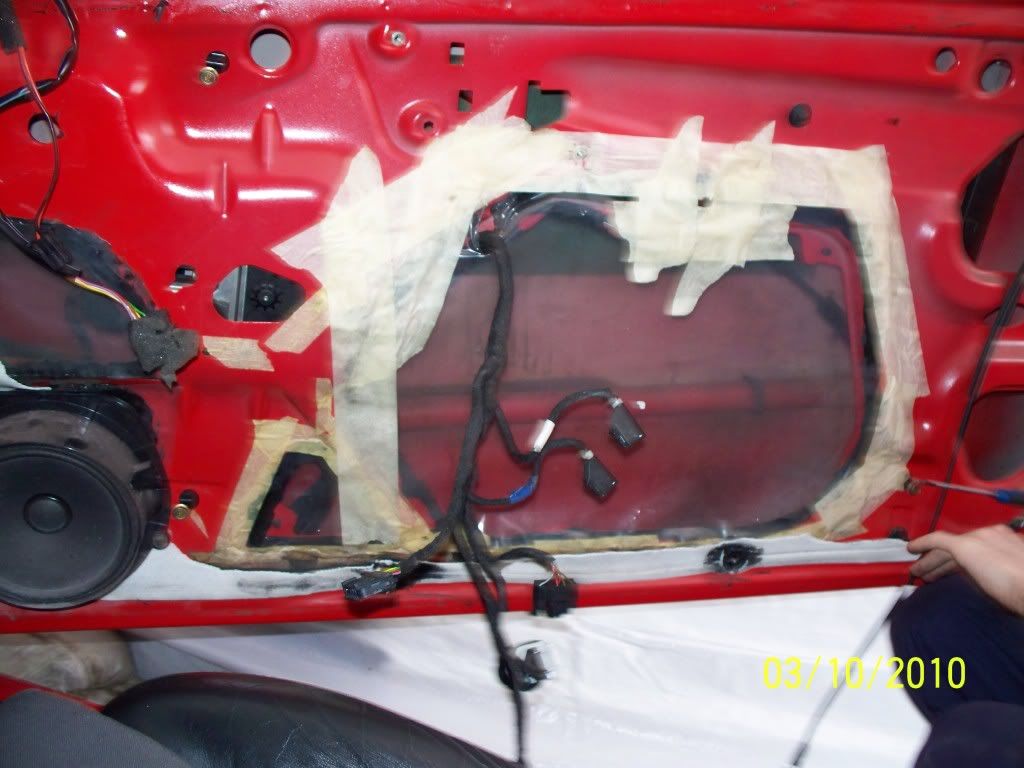
A mate came round and didn't like the look of the rubber grommits being partially painted black/ red so he cleaned them up for me:
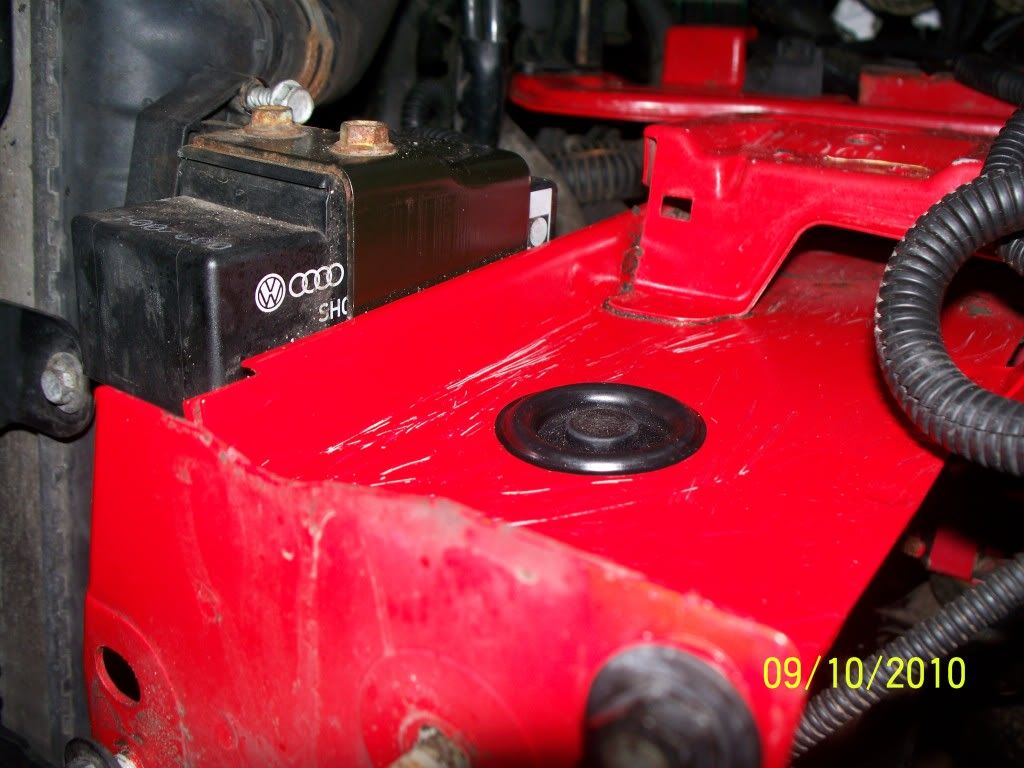
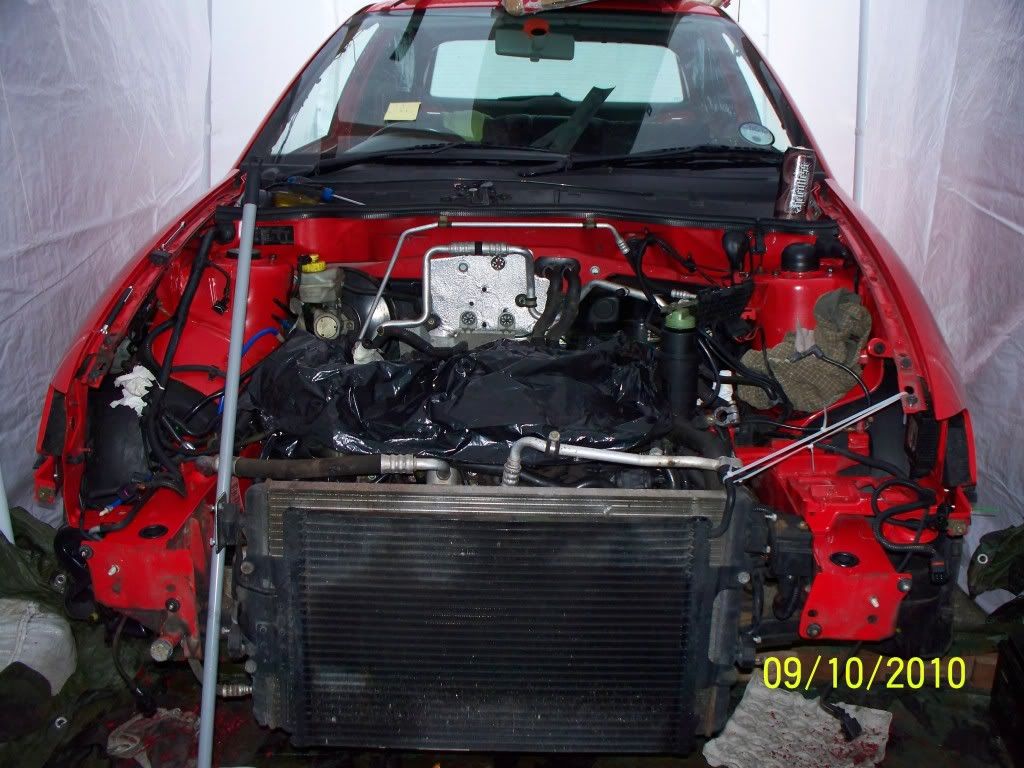
Took off the front of the car, panels and intercooler so I could access the fan couling to get it painted:
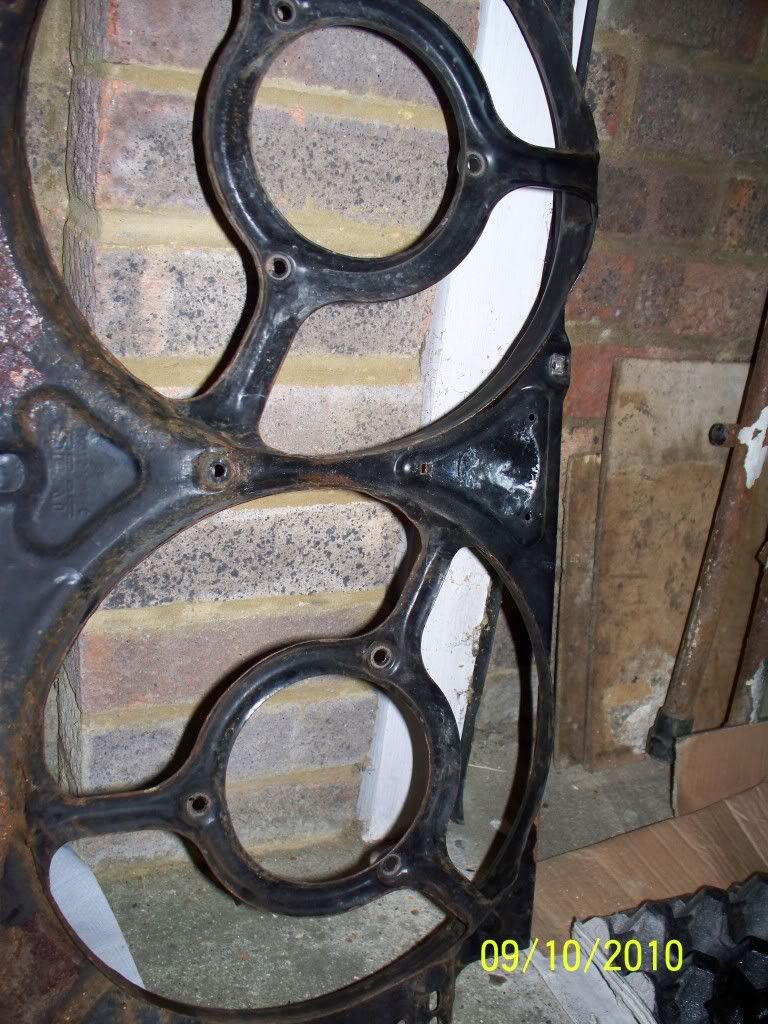
Nasty:
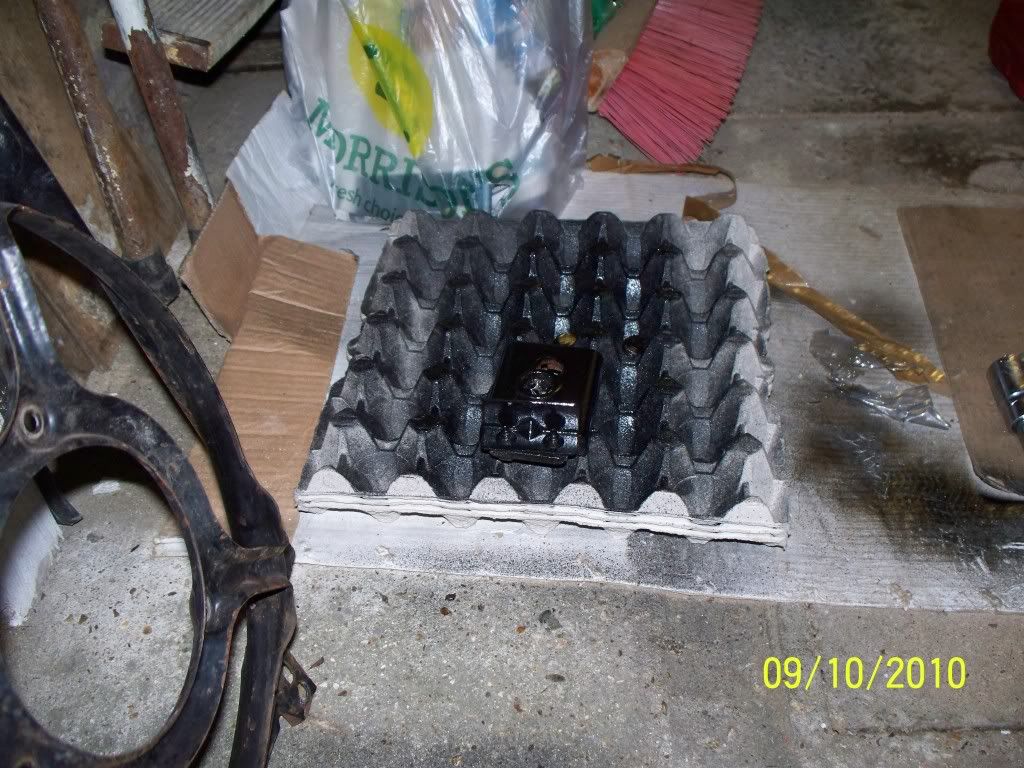
Bolt painting:
Unfortunatley once I started cleaning the pistons up I realised that they had been previously damaged and this is the result :
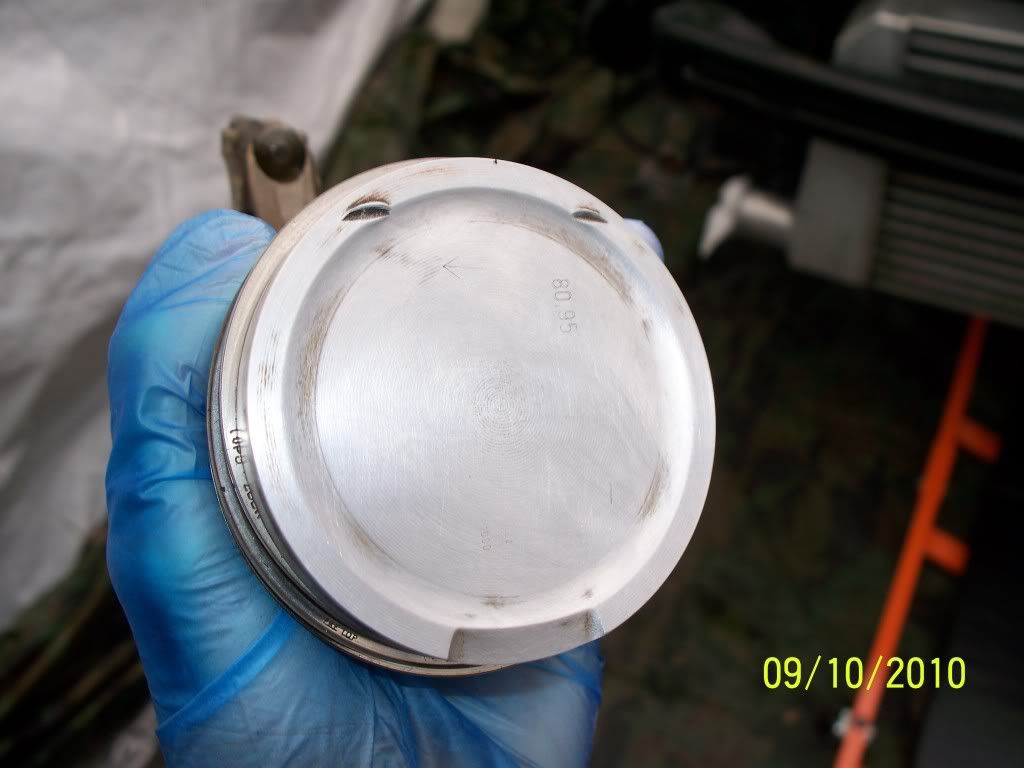
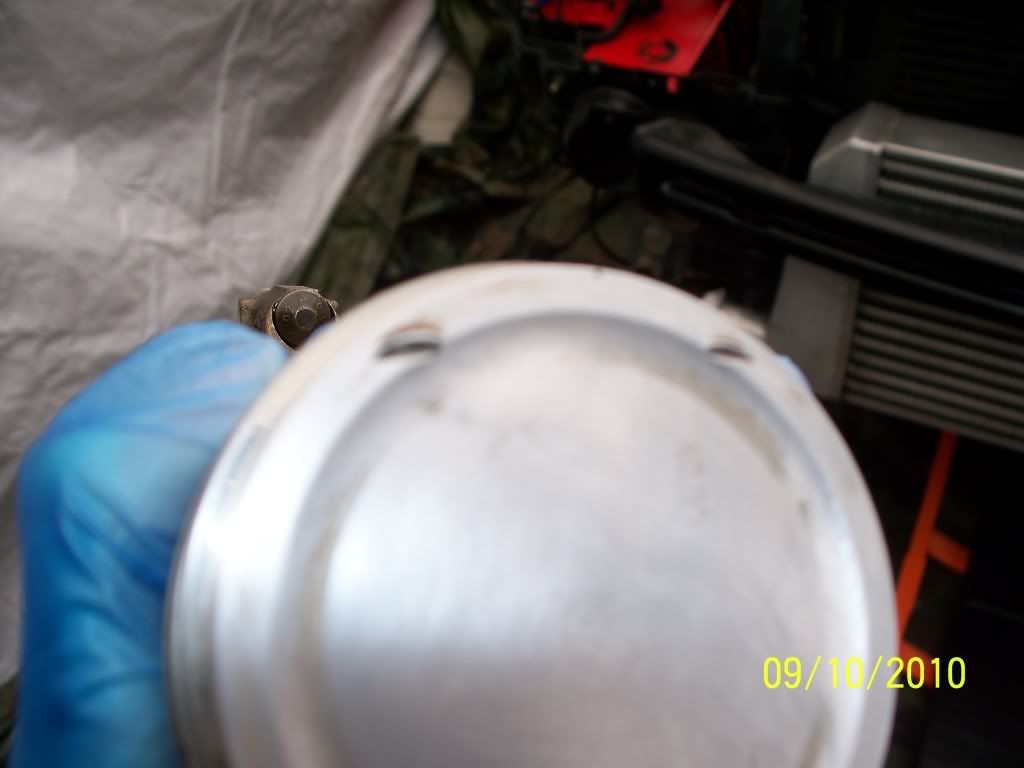
Although on a more positive note I spoke to Bill this morning and he's just supplied me with some pistons thanks Bill much appreciated
Small update for today, wasn't going to do anywork but then I saw the pistons sitting on the side and the new ones I'd received from Bill so though may as well swap over the rings so they suit my bores:
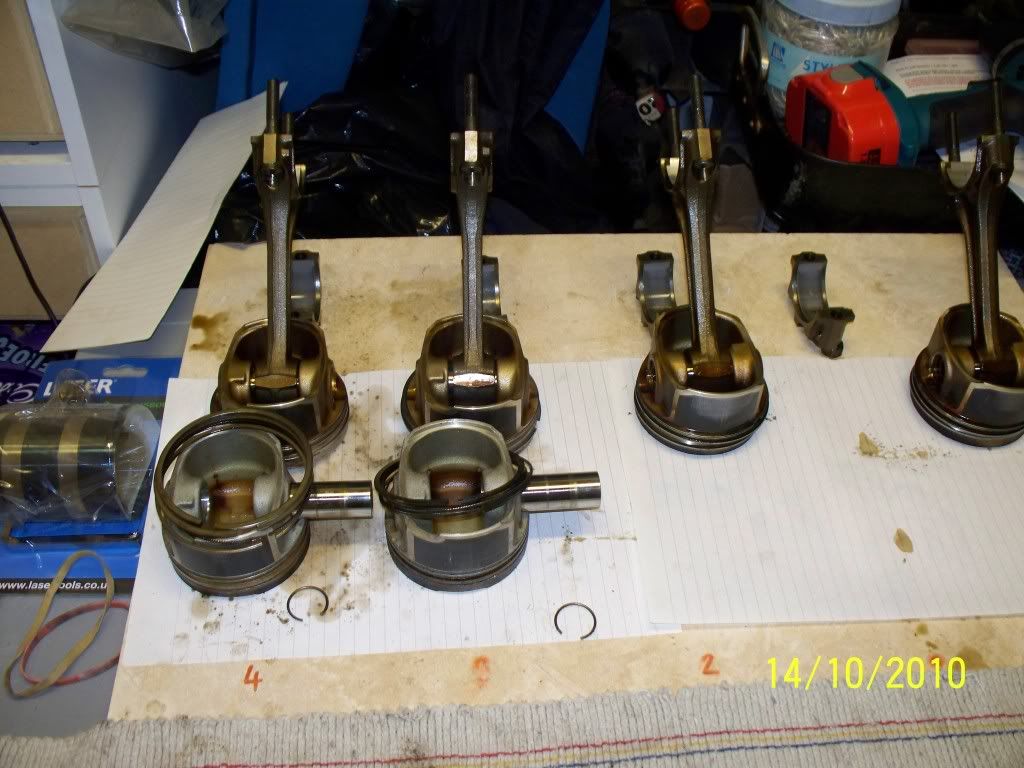
Bills:
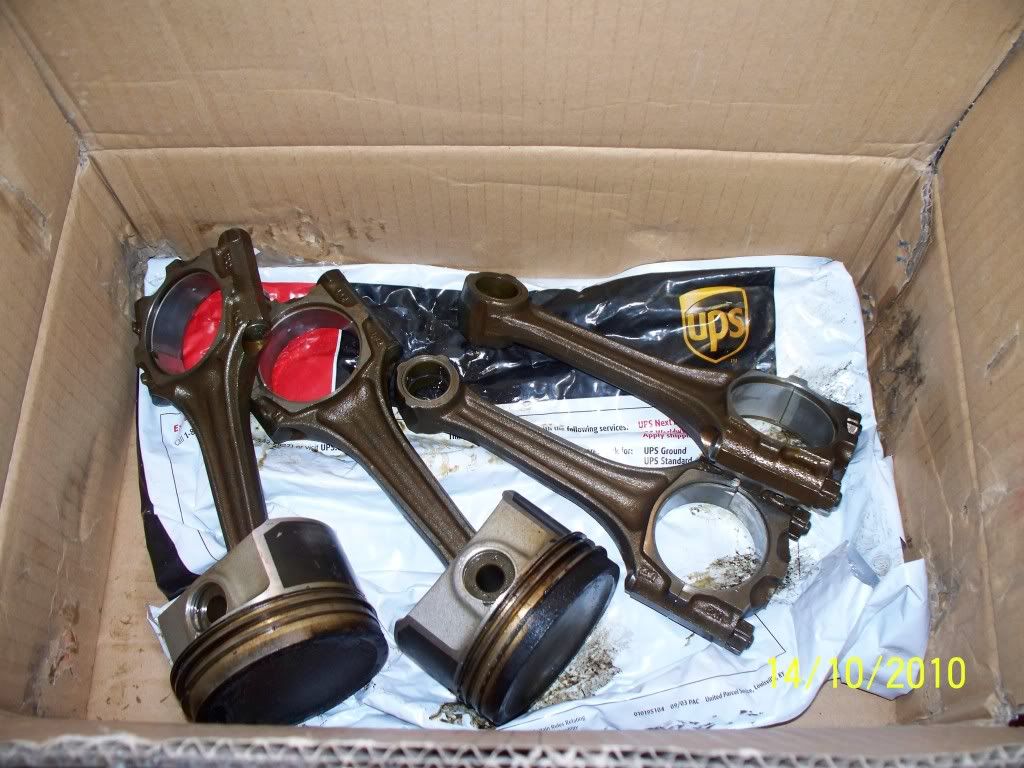
Circlip wrist pins piston and rings:
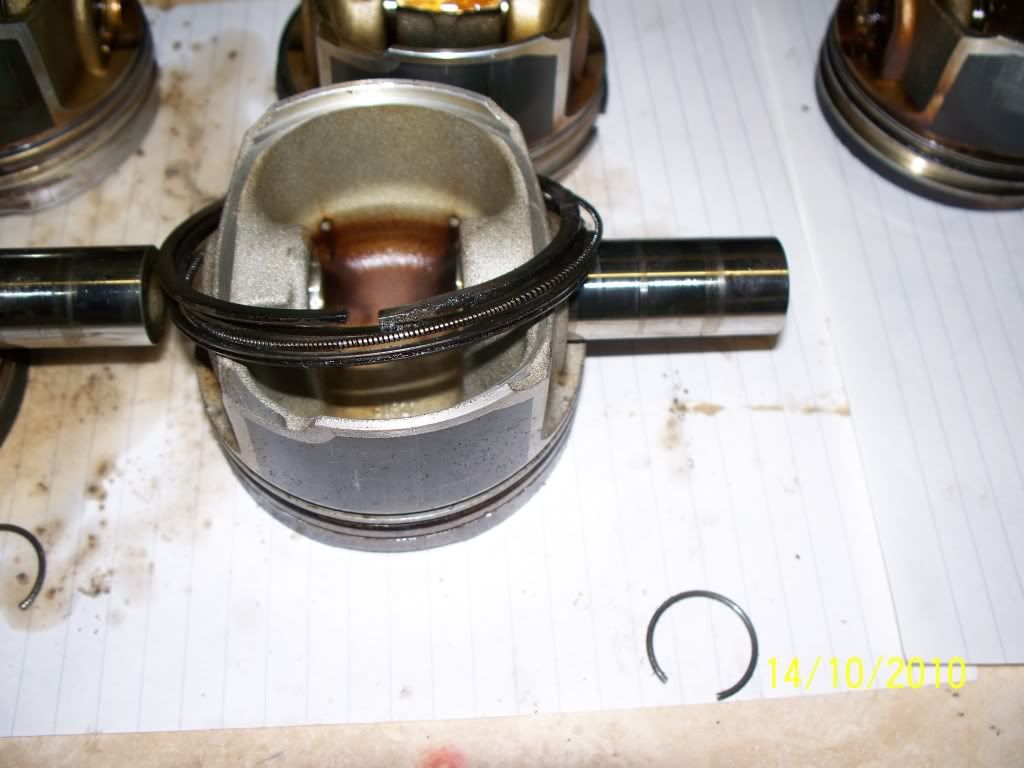
All off and hopefully tomorrow I'll swap them over:
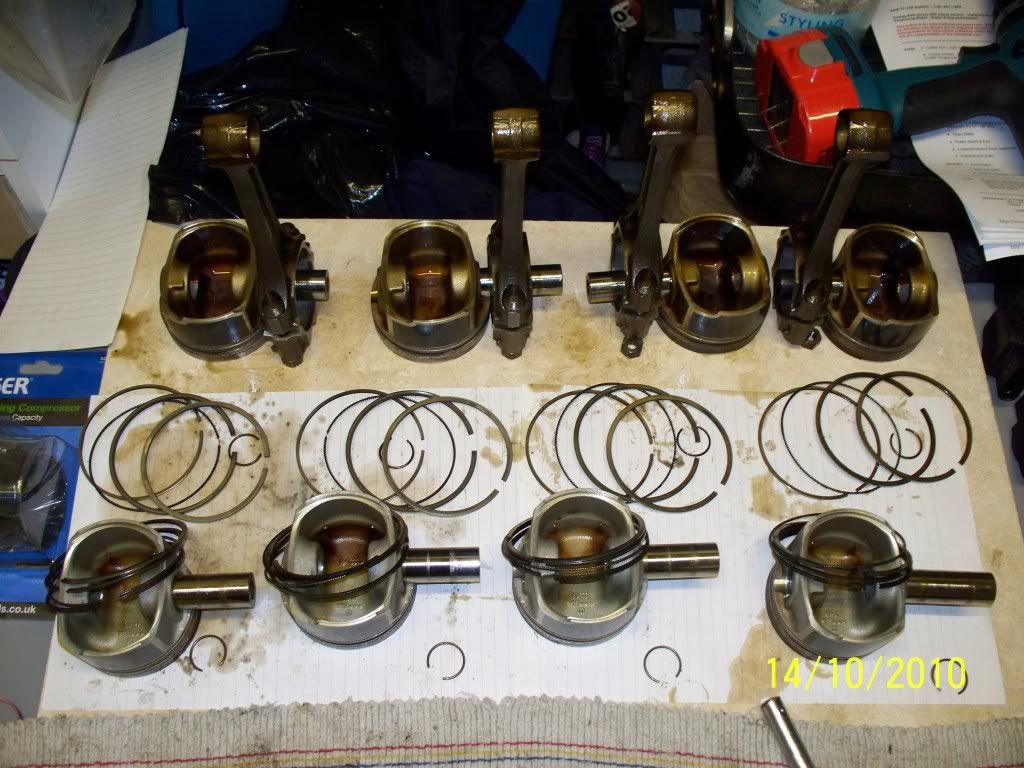
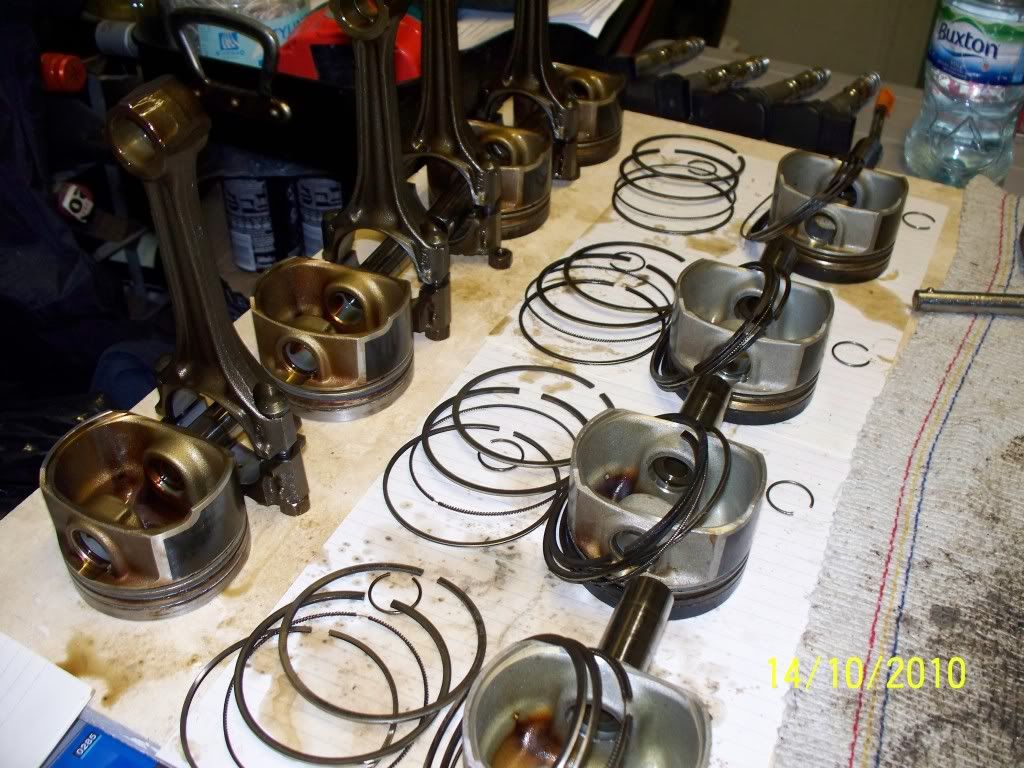
Off to bed now.
Let me know what you think.
Joe
Testing out the bra look...Then a little present to me from me with love
and the addiction begins....
Then thanks to IbizaAlex I picked up this:
Pro Alloy intercooler, majority of pipework, modified crash bar, brackets and bits and bobs to fit.
Eventually got round to fitting the AP Coilovers and rear spacers:
Bit of scrubbing going on but not too bothered about that at the moment few options in the future which could sort that out quite easily, thinking of possibly getting new wheels at some point so I might wait until then, anyone have any suggestions on wheels?
Next present was Organic clutch with a lightened and balanced solid flywheel:
Let me know what you think - I will be back to upload more later (sorry it's a bit "all at once") but I thought I better start sharing what I'm doing and let you lot comment in between... watch this space
Started to crack on with the intercooler:
Bumper off and brackets supplied by IbizaAlex to be fitted to the left sode of th radiator to give more room and a straighter finish for the cooler
These had to come off
The old intake for standard intercooler
Then to relocate the horns as I was going for the washer bottle side route... I moved them to the red piece of metal on the right of the picture
Like so
Started to trim the bumper as I knew this would catch
The remains
Me and a mate found that the best tool for the job - although quite aggressive was and angle grinder with sanding disc
LOL
Bumper off
The kit
Headlights out
Slight cutting to ensure the cooler will fit - highly protective clothing worn and demonstrated by Joe (mate not me :P)
First attempt - bit wonky but she's getting there
To see how the piping sits
Also had a little help for a furry friend
Ooo and some more news whilst getting the cooler sorted the reconditioned gearbox arrived fitted with some nice strong bolts in the diff to avoid them shooting through the bell housing
Would of had a crack at fitting the new clutch and gearbox myself however so busy with new work and everything I had to get a mate to do it for me whilst I was at work
Finally got the intercooler sitting straight
Makes it hard to do when you need the car potentially every day!!
Next was all the piping and removal of the existing standard SMIC piping:
Ebay goodies thanks for the advice Robbie
Had to undo the big bolt in the pic and the one to the right in order to drop the subframe to remove the standard piping
Off with it
and the bread loaf LOL - and the all important drink
I prefer the old one
Does anyone know if you can use those "take-off" connectors in silicone hosing? Ideally I want to put one on my reducer that comes off the turbo....
In the meantime some pics from USC and Santa Pod:
Before we set off the little furry friend wanted to come
On route
First check point to pick up some mates The Kings Head pub in Slough
Up with the marquee and tent
Getting the parking sorted
Out with the crisps
Comments welcome guys - just looking to buy some more parts and then I will update you all - next thing to do it build custom TIP fit catch tank - remove PCV valve and SAI system as well as tarting up the engine bay and relocating DV to cold side.
Watch this space.
Quick picture of the clutch fitted - drives nicely although I think it'sa bit too light doesn't quite engage quick enough, another problem being that I found out it only takes up to 340NM and 260bhp which isn't going to be enough for what I want to do... never mind I'll run it until it blows up and get a stronger one...
Haven't posted many pics up recently so here we go:
Removal of SAI N112 and N249 valves - the resistors used: (330ohm 10w - from RS)
SAI wire for the pump stripped down ready to solder the resistor on...
The N112 resistor in place:
Over all idea of the engine bay before redoing the intercooler pipe work, bit mess, bit of a bodge but as I need to be able to use the car daily it has to be done:
Some heavy thought in order:
When fitting the blanking plate you need to remove the coolant hose and connection which mean you lose a fair bit of coolant - around ~500ml
Time to see how the pipework will go:
Mocked up with cheap couplers that come with the eBay kits:
Following a similar route to RobbieC's
Working out how much to remove from the pipes
The bodge I was talking about - using a 90 degree copper piping elbow
How it stands at the moment:
Little update found a few pics lying around...
Nice little suprise delivered to work today:
Fitted it straight away....
Thought some of you may of been interested to see this (2 out of 25 ever in the UK Red Cupra R's next to each other):
Excuse the bad pics but it was dark... :P
Another update this arrived:
Whilst fitting the catch tank and removing the PCV valve I decided that it was easiest to take the inlet manifold off - whilst it was away from the car thought that I should give it a clean
:Before -
After -
Then whilst the fuel rail was disconnected thought I would take the injectors off and dowse them in petrol making sure they weren't clogged up with any crap:
That's all for now - currently needing a new secondary/ auxillary water pump as mine exploded last night leaving the engine bay covered in sticky orange liquid
Another update from last nights incident with the secondary water pump - opened to bonnet for find this:
The brackets which hold the pump on underneath the slam panel:
This is a picture of the actual damage and as you can see where it broke apart from the pump unit itself:
What it should be attached to:
Right the week just gone I decided that with the weather getting darker earlier and cold that I would purchase a portable garage:
In there I shall be stripping the engine to do rods and prepping the car for a full respray.
I also have some gas heaters and flood lights so I can work through the cold months
Cam cover off and started labelling everything up in boxes too:
Pretty clean looking
After that things started getting serious:
First thing to go was intercooler pipework and bonnet:
Then the bumper:
Everything labelled accordingly:
The other day this arrived in the post:
Which will be holding my battery when I relocate it to the boot.
Enough was enough for one night and I used a black bin liner cut down the seem to cover the engine over with a rug to hold in down:
Today was productive after I got home from work at about 7pm thought it was time to get the rags on and commence work:
This came off.....
Revealing this:
A nice head gasket and filthy block...
Exhaust manifold to turbo gasket:
and the measly K03 turbo - which will be changed in due course...
By 8ish these came out:
All numbered up to make sure I can put the pistons back in the correct bore... I also ordered my Integrated Engineering rods from Bill today
Pic quality isn't up to scratch but iPhone was all that was about.
Big ends and bearings - which are also being replaced by nice Calico coated ones
Just thought this made a good picture:
Finally a picture of the bottom end which was so to speak bottom endless
Bores not looking too bad - the light does make them look worse however they are still going to be deglazed.
That's all for tonight. Please comment need to know your views....night
Joe
Today I had a rather messy day - mostly cleaning the engine bay and trying to tidy things up, I also got my decent camera out so there will be a few pics that are similar but in better quality, enjoy.
How the car stood before work today:
Head bolt sequence for undoing:
Before cleaning - take not of messy black stuff around the edges:
Bores:
More black stuff around the standard CAI:
Nice and clean....
Filth:
Groundsheet put down lights out - engine degreaser on and scrub...
Getting there
Was looking rough so quick touch up
How it stands now (still need to clean inside of wings)
Finished working on car at 11 this evening with help from Gti-Joe to remove the downpipe from the turbo what a B!TCH that was!!
Got the turbo off a couple of days ago:
Bit obsessed with cleaning?!:
When taking the door trim off found this message and a rather bodged job of repairing it:
A mate came round and didn't like the look of the rubber grommits being partially painted black/ red so he cleaned them up for me:
Took off the front of the car, panels and intercooler so I could access the fan couling to get it painted:
Nasty:
Bolt painting:
Unfortunatley once I started cleaning the pistons up I realised that they had been previously damaged and this is the result
:Although on a more positive note I spoke to Bill this morning and he's just supplied me with some pistons thanks Bill much appreciated
Small update for today, wasn't going to do anywork but then I saw the pistons sitting on the side and the new ones I'd received from Bill so though may as well swap over the rings so they suit my bores:
Bills:
Circlip wrist pins piston and rings:
All off and hopefully tomorrow I'll swap them over:
Off to bed now.
Let me know what you think.
Joe
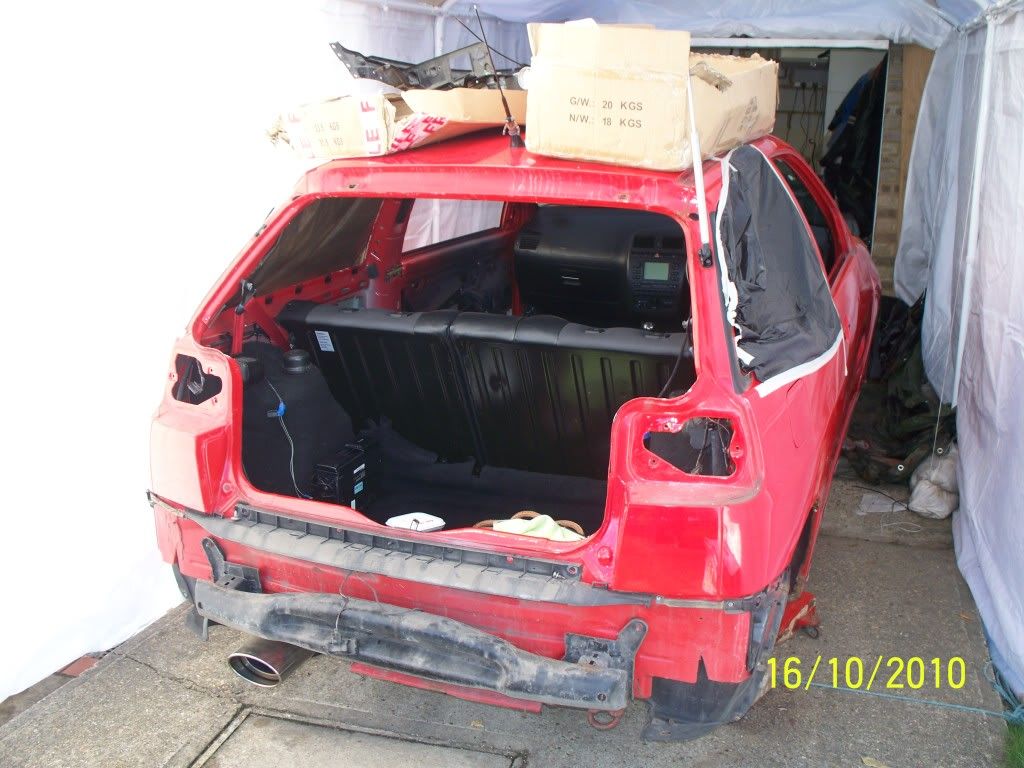
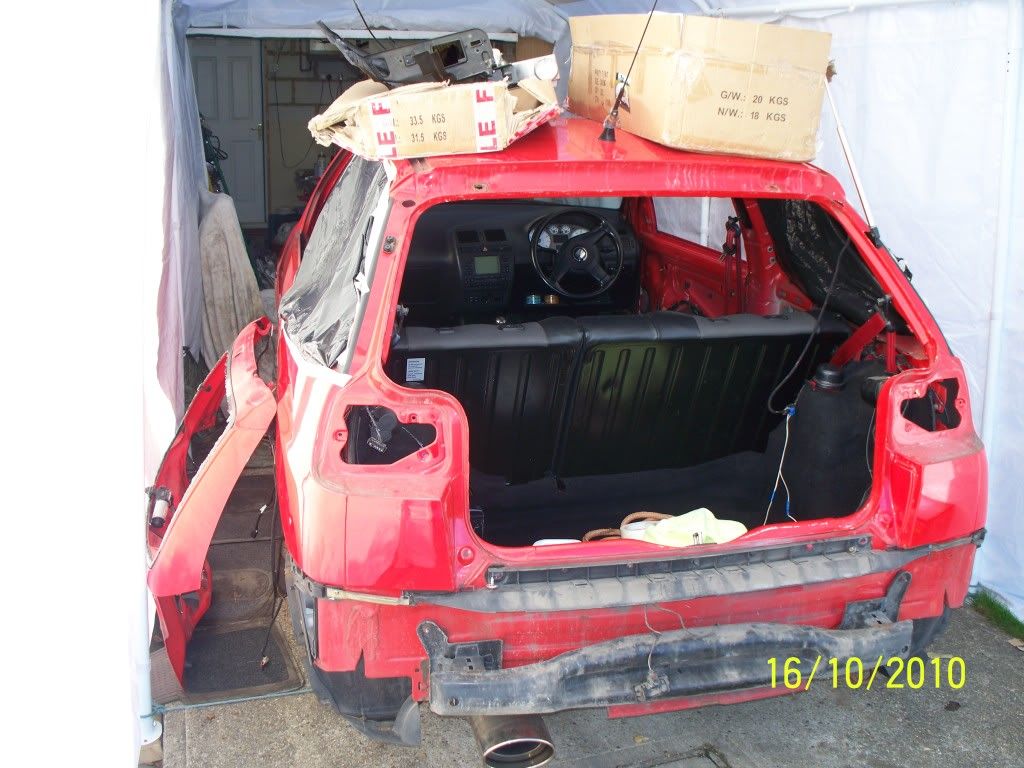
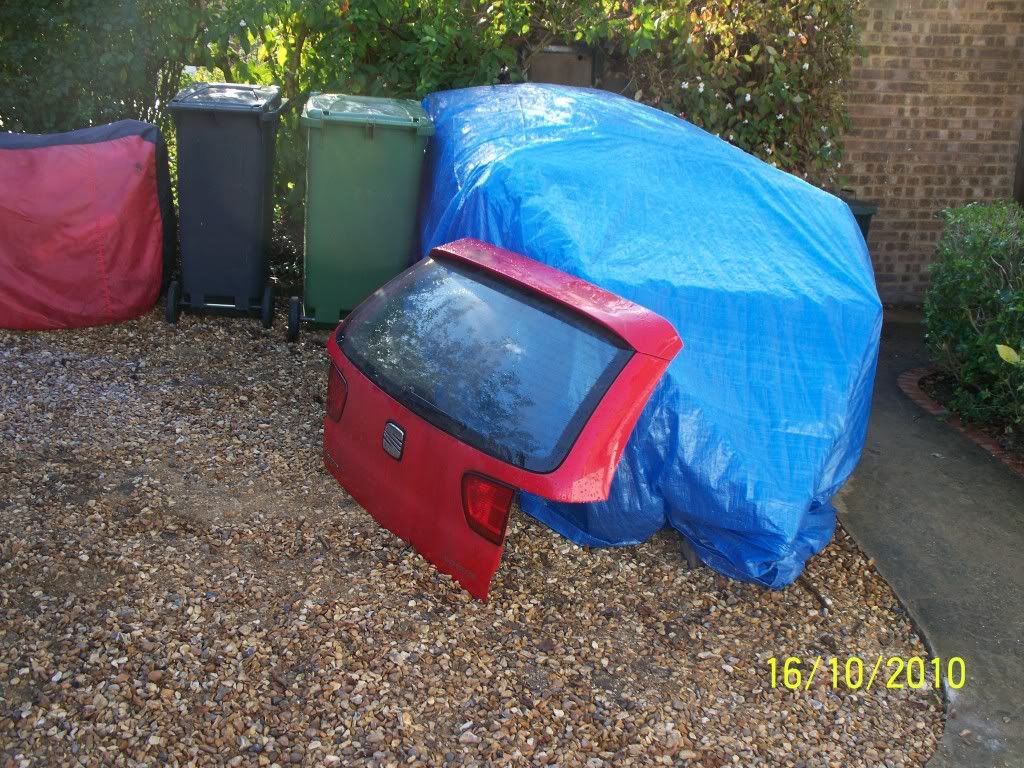
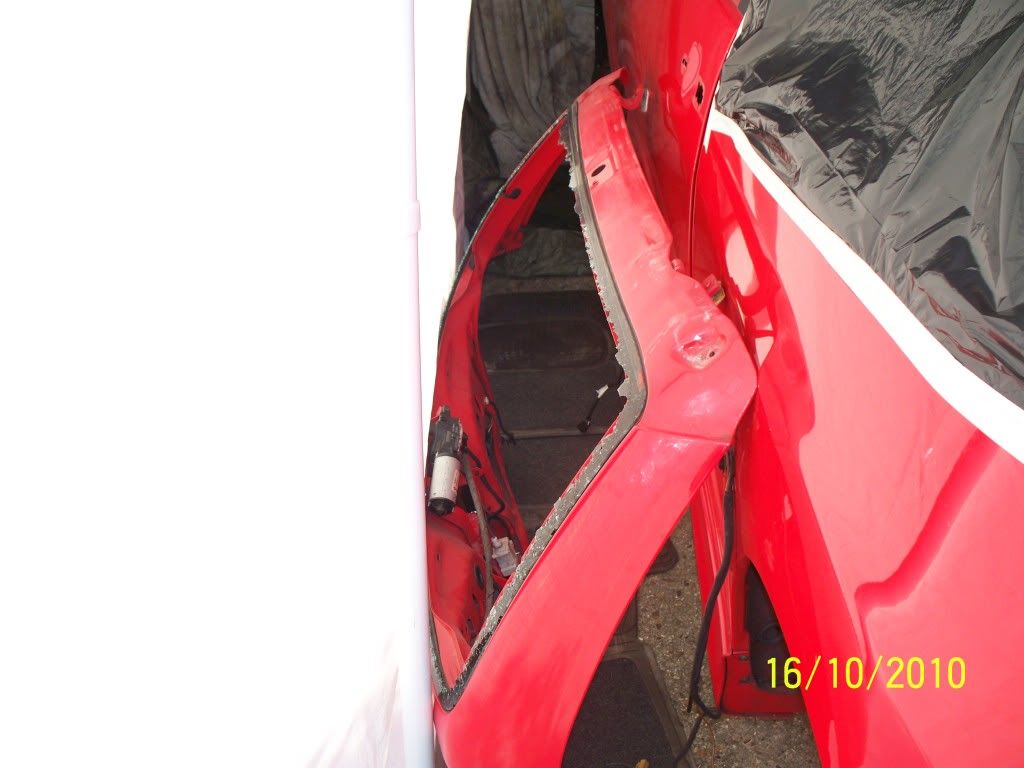
Another update bought a bootlid from the scrapyard today, thinking that it's going to be cheaper to replace the whole thing rather than the broken glass in my current one, although after I got it home a realised that there was some rust forming around the window rubber, so I don't really want to use this boot lid. I am now hoping I can get hold of someone to cut the bonded glass out of my windscreen and *new but rusty boot lid* so I can get a proper finish on the body work. Anyone got any ideas where to go to and if anyone does this?
The car as it stands at the moment:
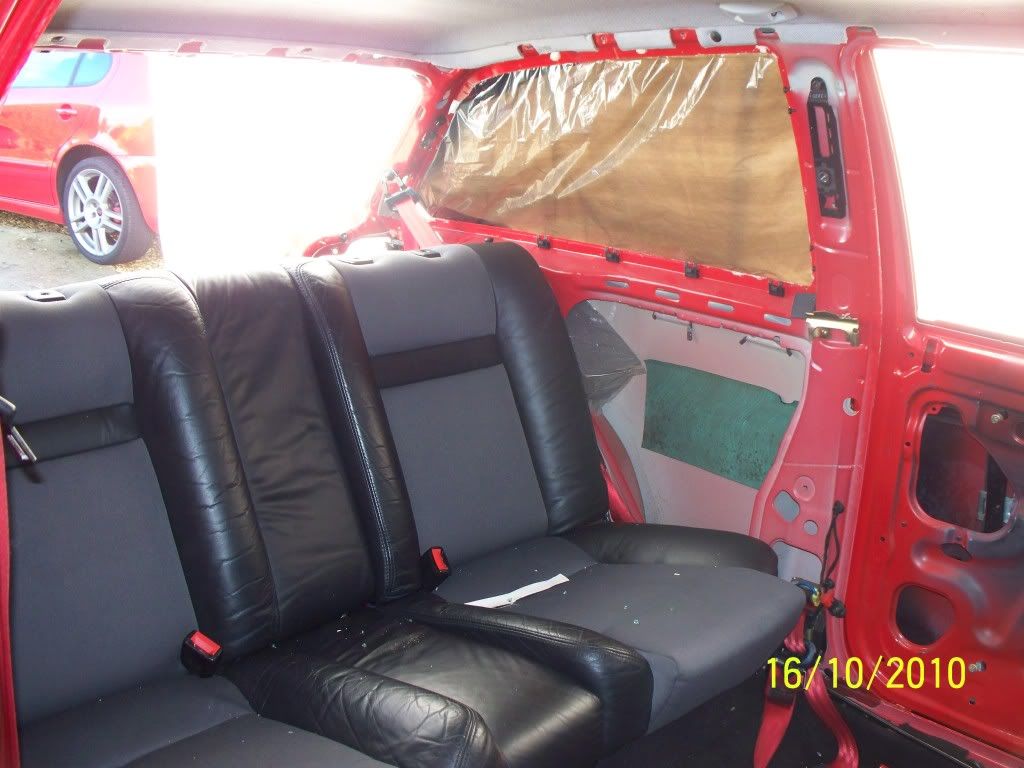
New boot:
Old boot (with broken glass):
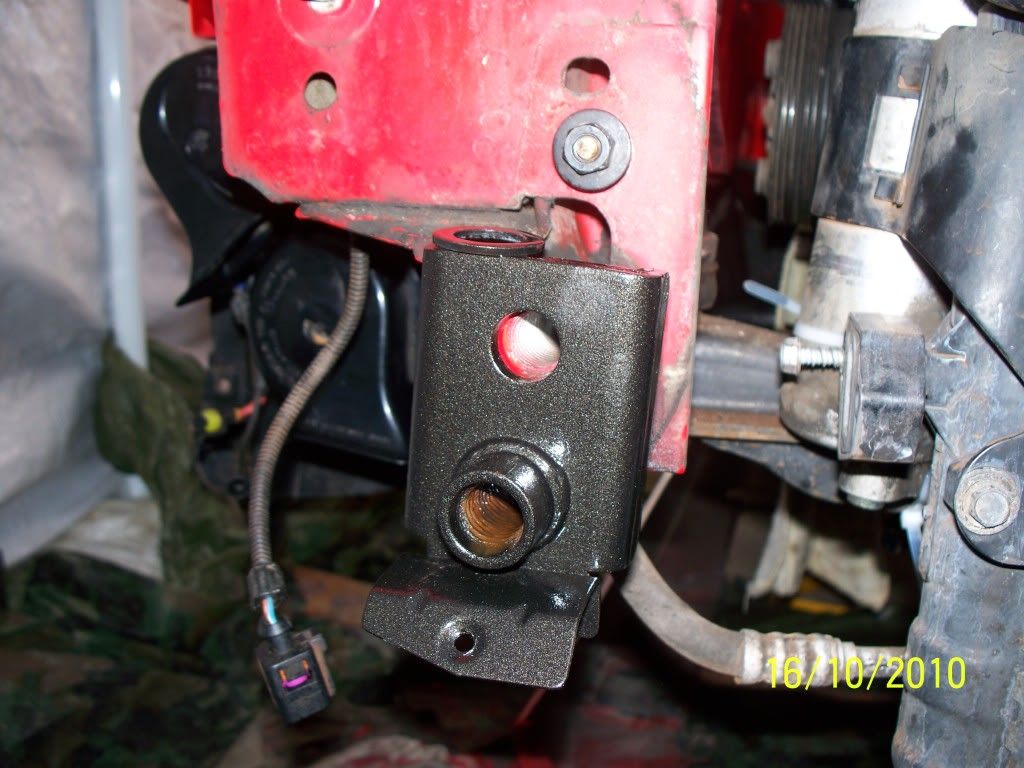
Painted this in a nice Hammerite glitter type black:
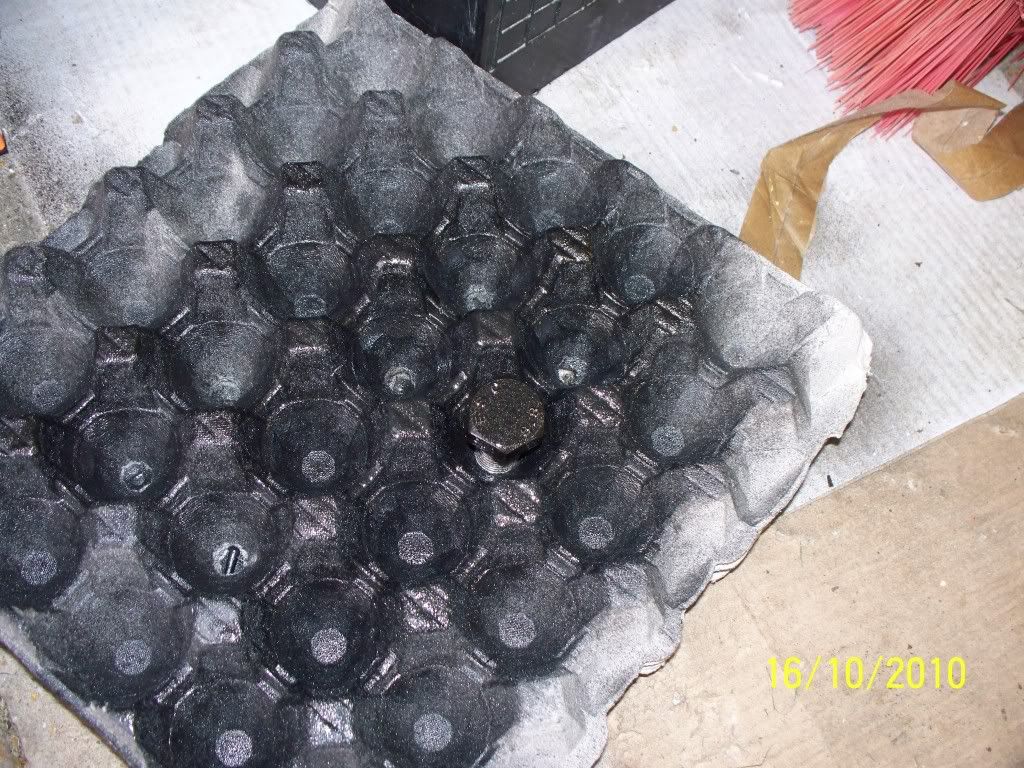
This too:
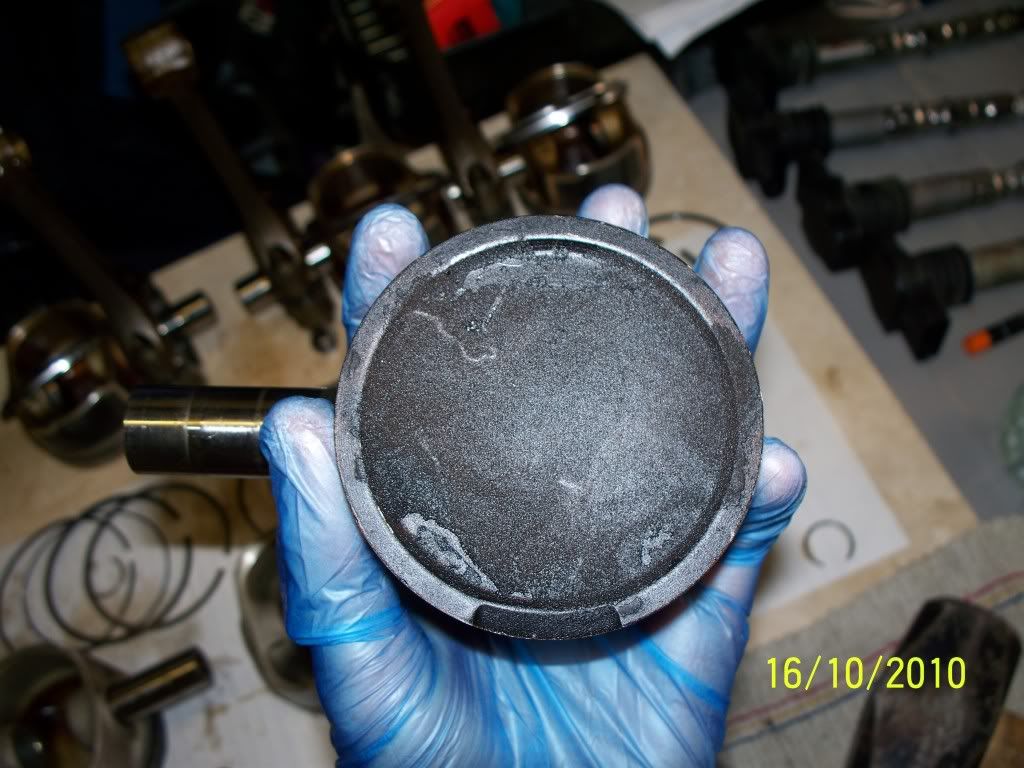
Coked piston before cleaning, of course:
Finally noticed that there was something quite wrong with one of the second set of pistons I had:
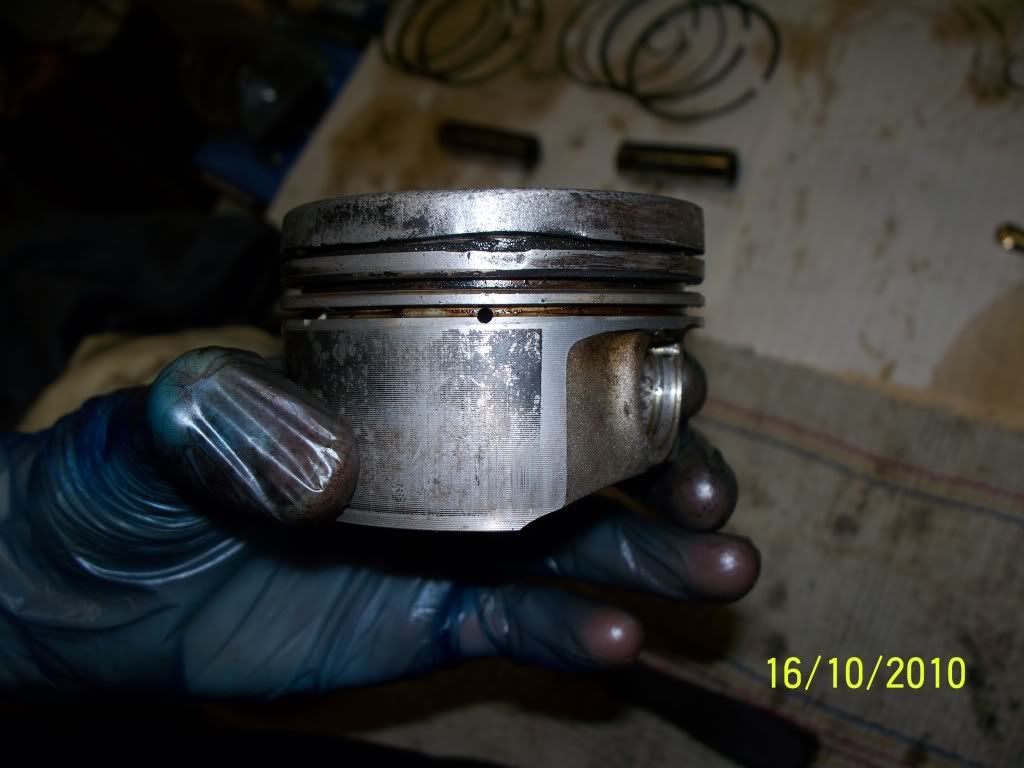
Apparently this is due to detonation and running lean at some point in it's life :/
On a more positive note 3 out of 4 rods are connected up with the pistons.
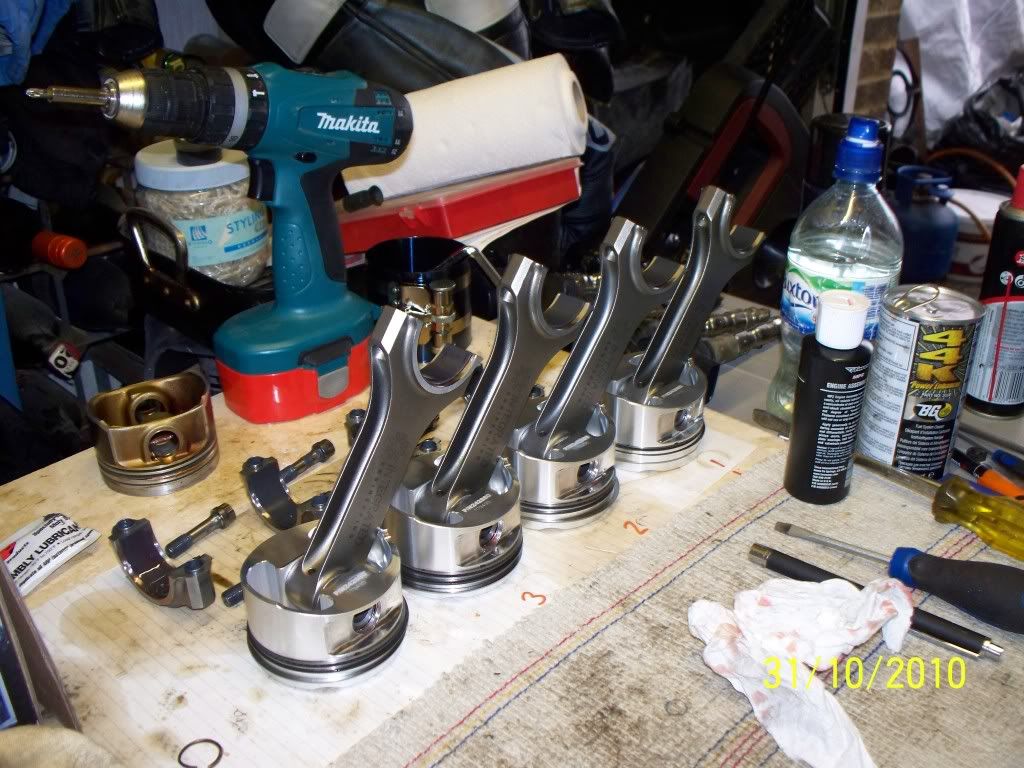
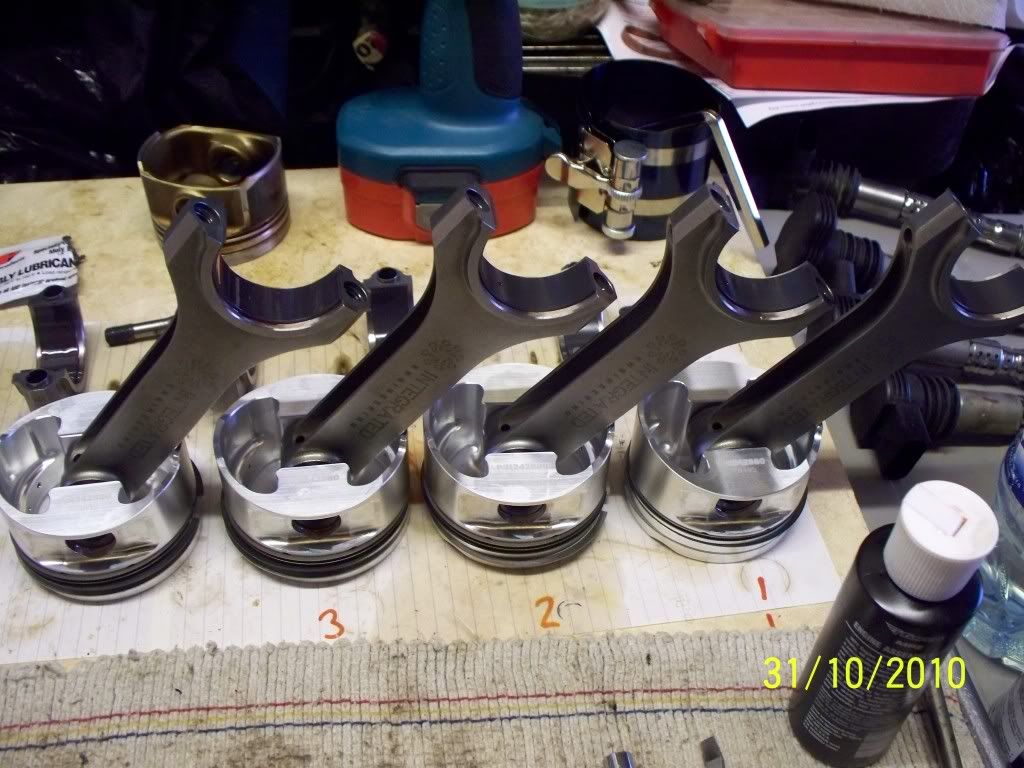
Been having thought and after assembling the pistons and rods I've decided that it will be worth spending that little bit more now and being satisfied about the bottom end of the engine therefore I've decided to purchase some JE pistons. Here's a few pics of the assembled piston/ rods and a comparison:
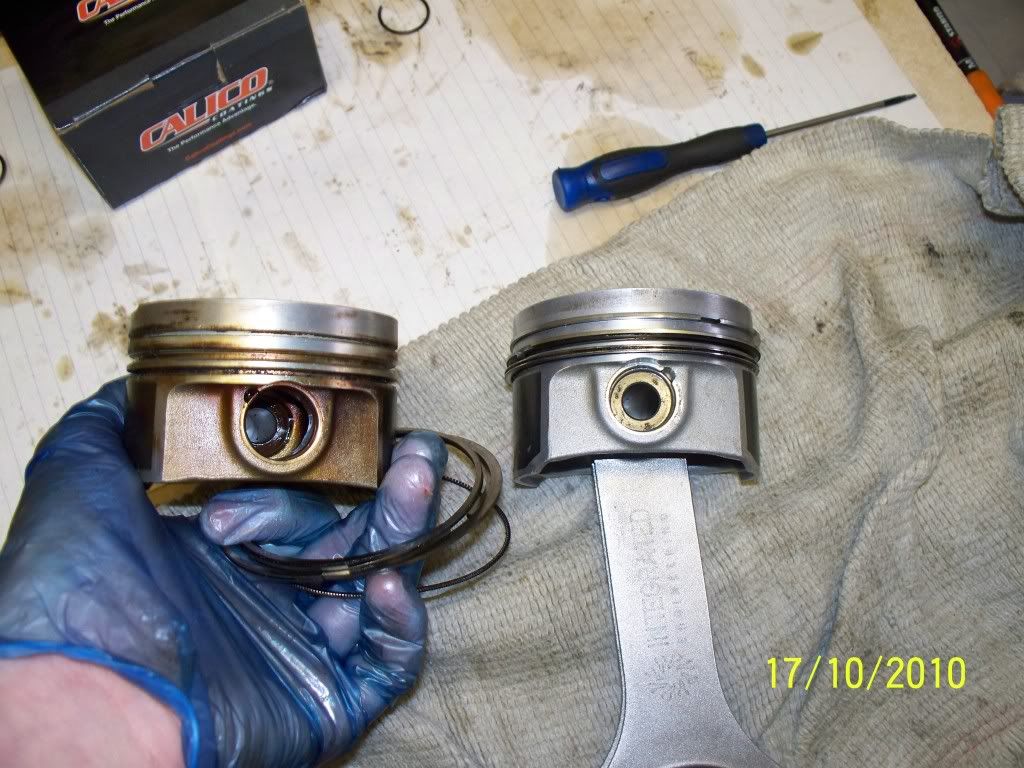
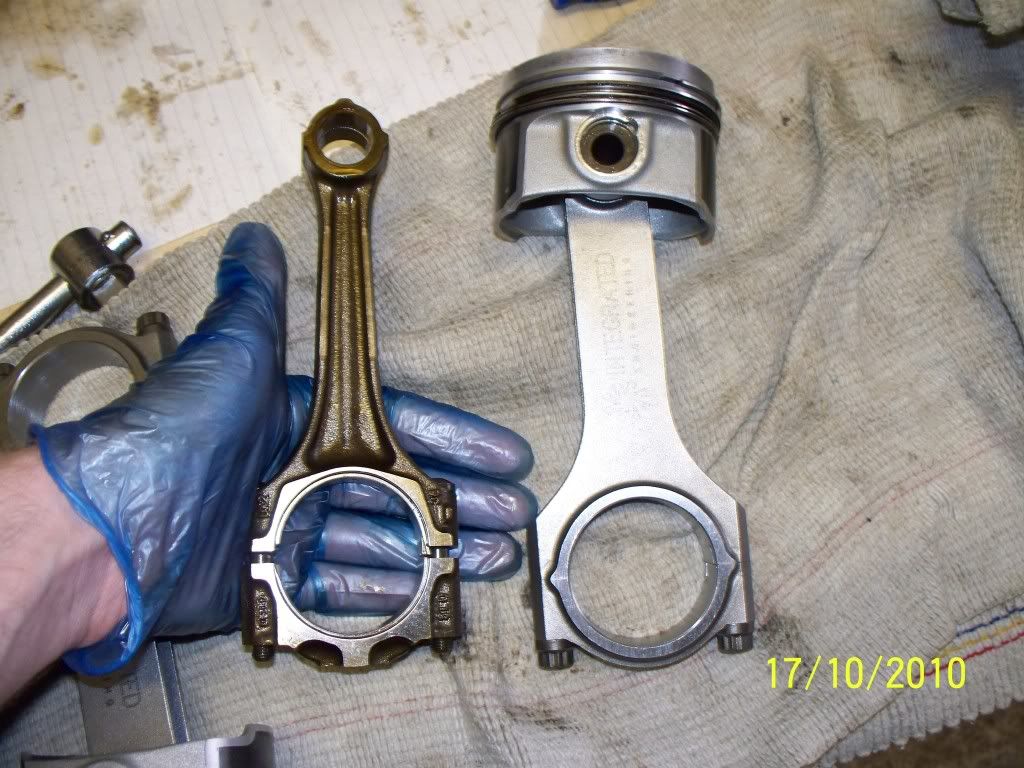
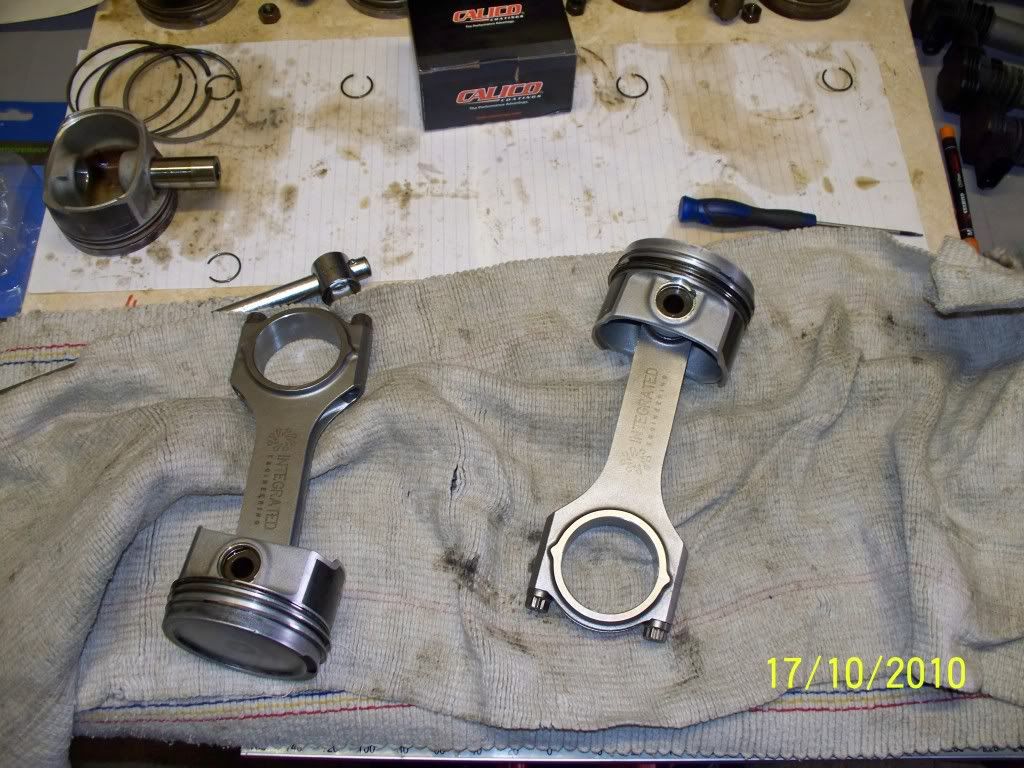
I also had a go at deglazing the bores myself, although I don't think it's a great job and I will be redoing them for satisfaction - would appreciate it if someone could tell me what these should look like and if I've done anything wrong:
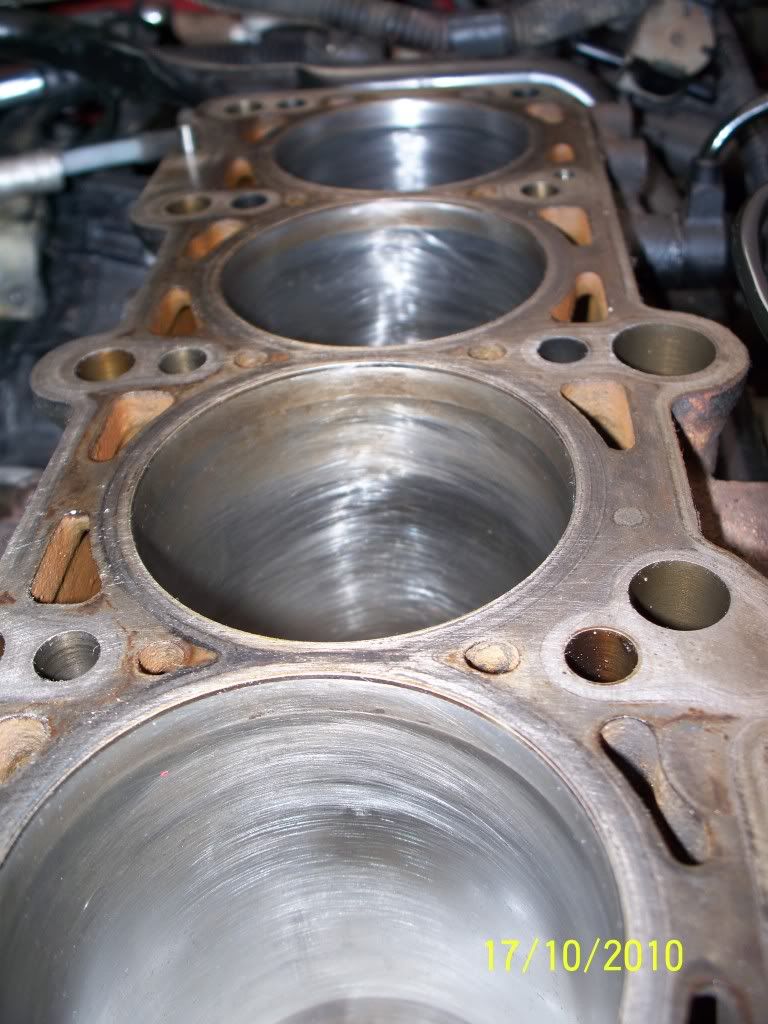
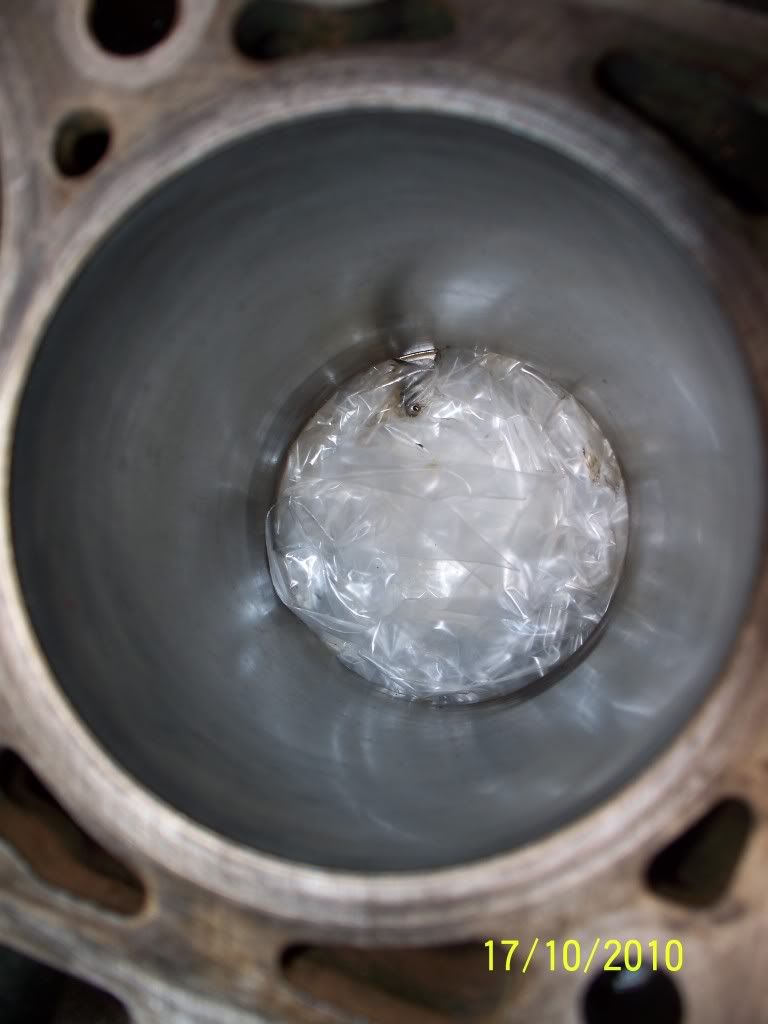
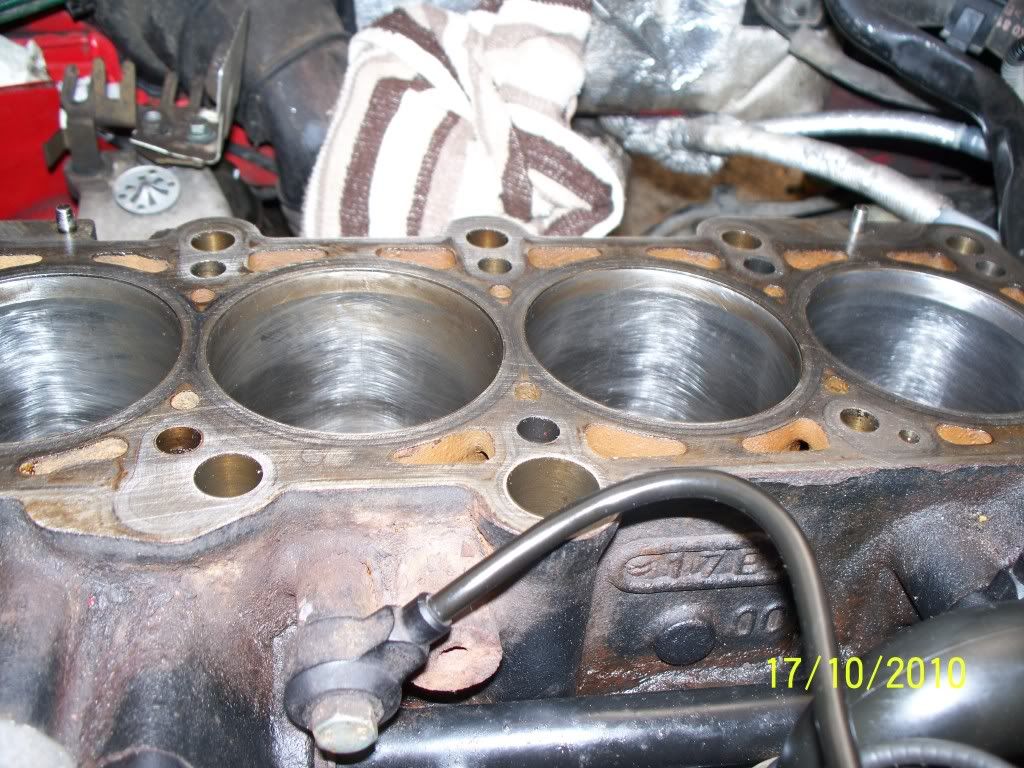
I've been using a honing tool in a drill with medium stone, I did 7 slow stroke clockwise then 7 faster, finally 7 fast stroke counterclockwise. How much can the bores take as I don't want to damage them?
Update time have a few pics of some new items to post up keep an eye out )
)
Right here we go - I think I'm like a magpie, love shiny things:
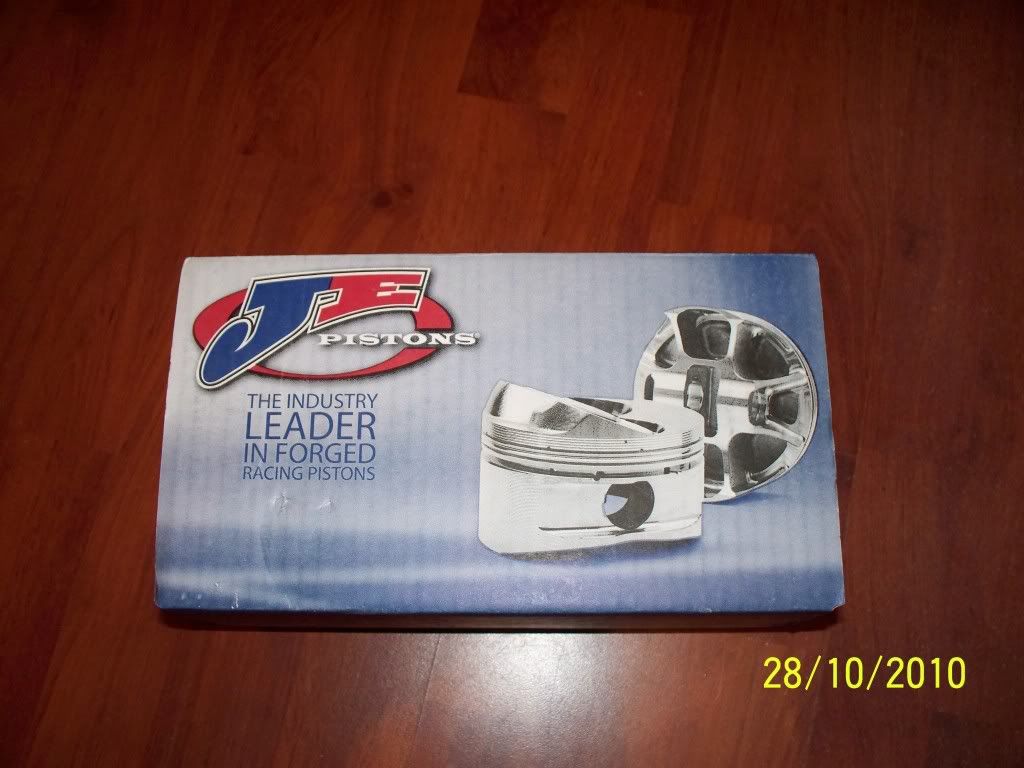
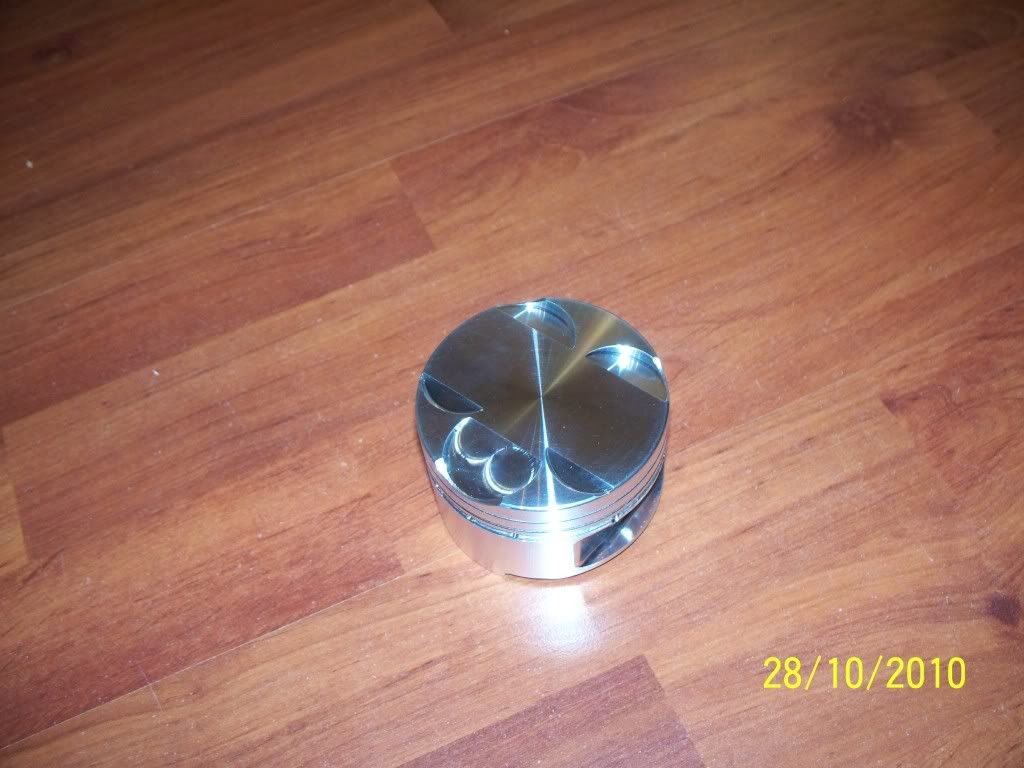
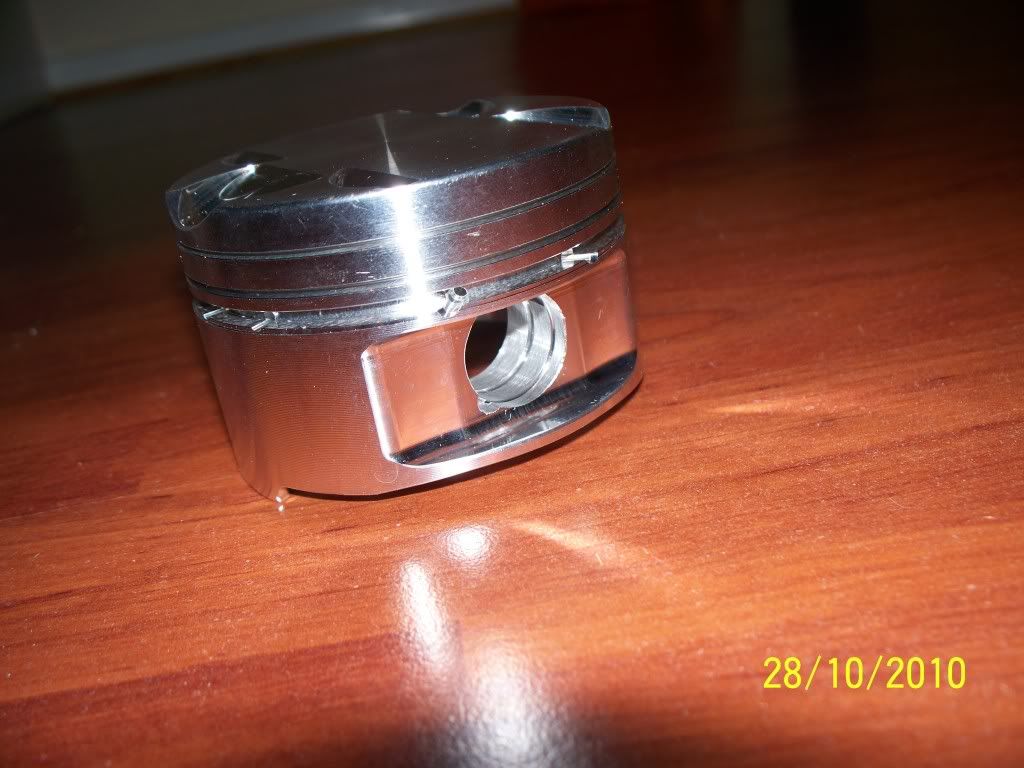
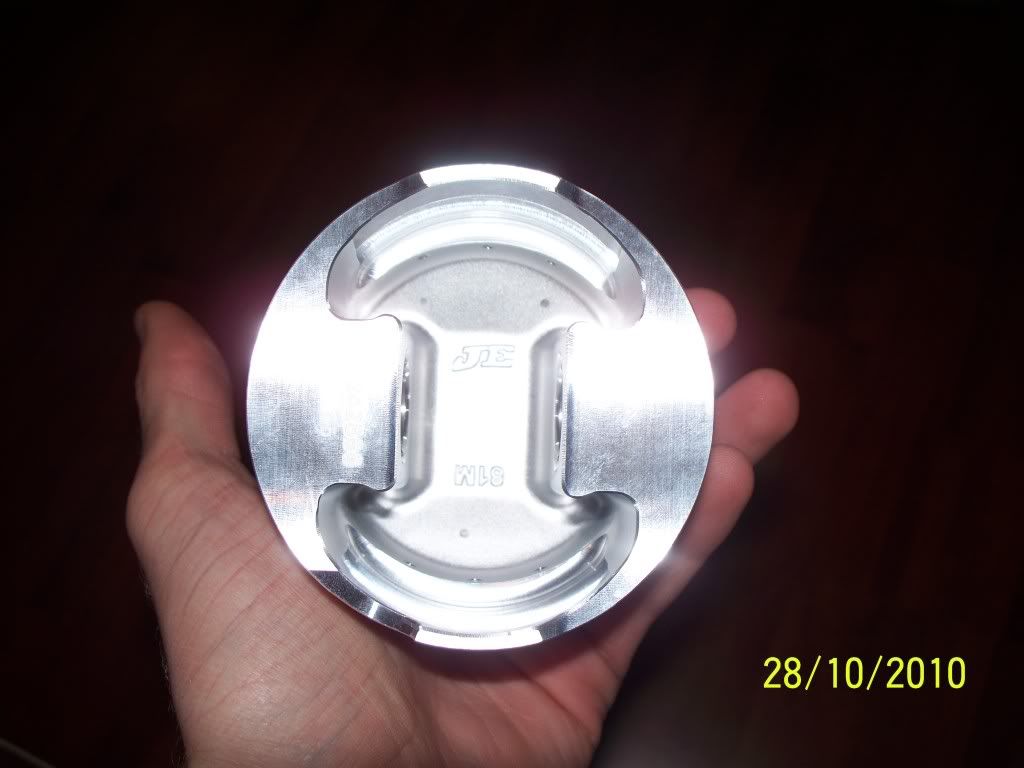
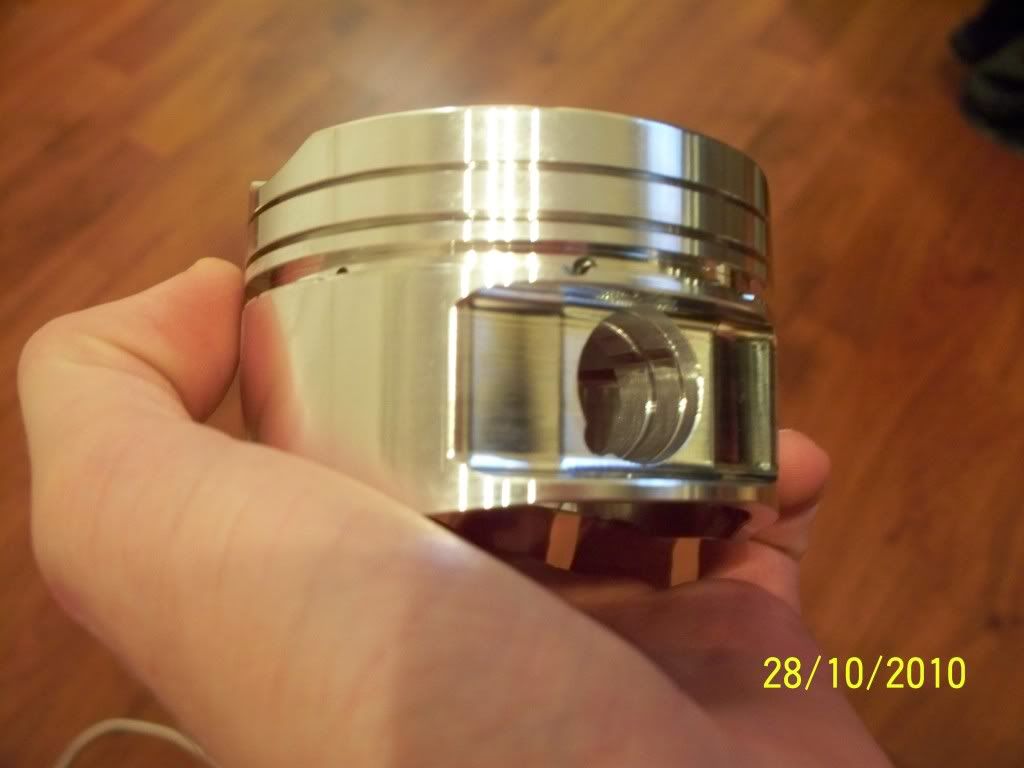
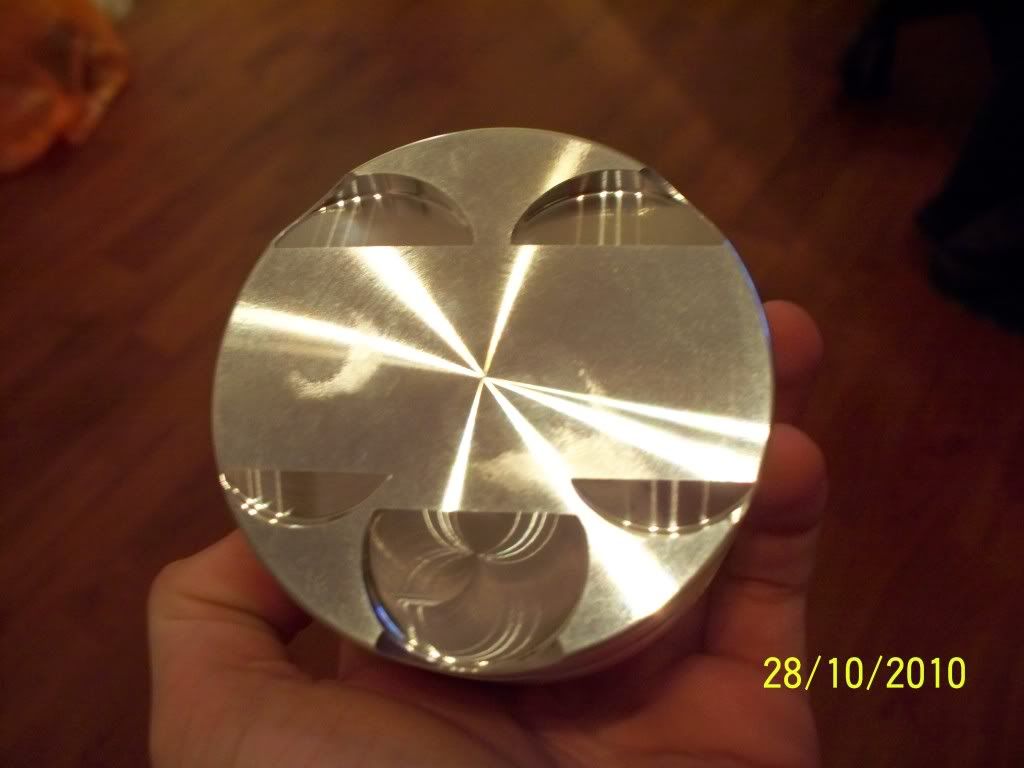
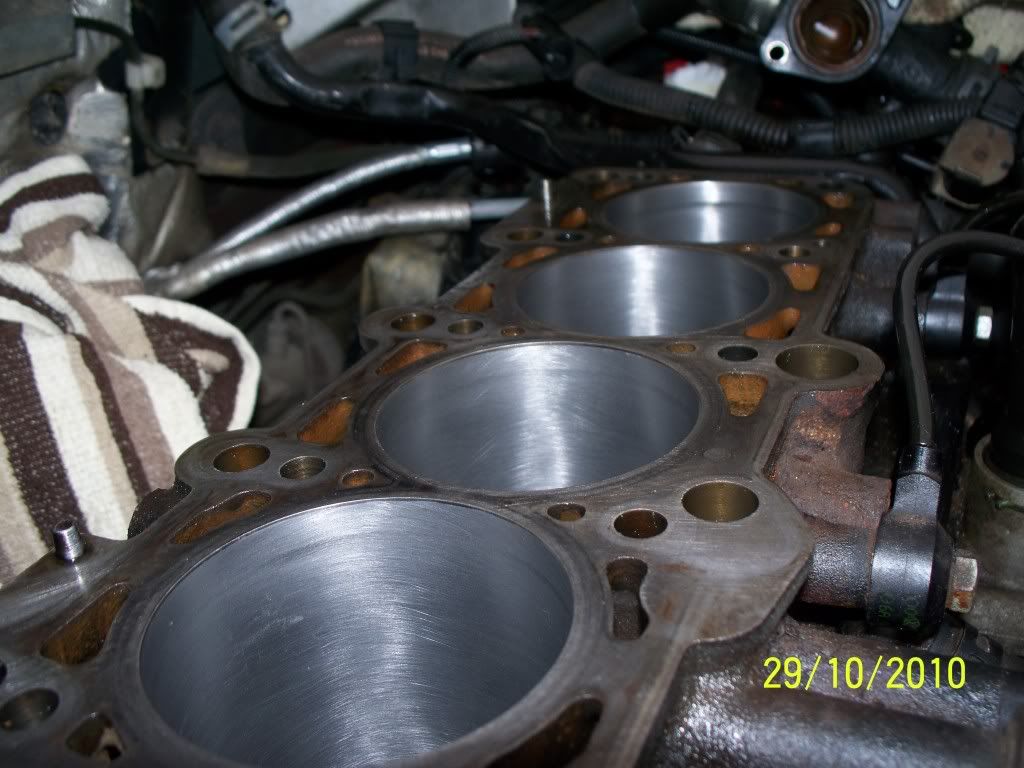
Re-honed the bores so they now look like this:
Gettings these also meant I need to gap the rings to the correct sizes (info which I go from Alex) to the following:
Top compression ring 0.018"
2nd compression ring 0.019"
Oil rings 0.016" - I've also read and seen that the oil rings can have a larger gap but no smaller.
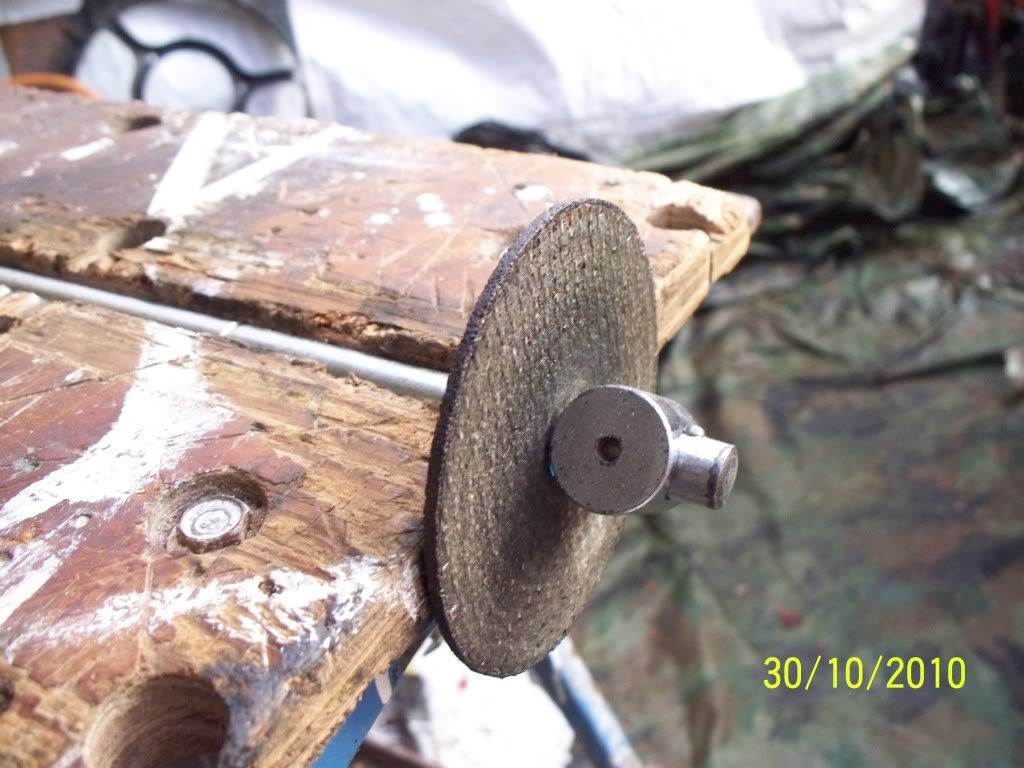
This is the "home made" tool I used to grind the rings as a normal file doesn't suffice, just takes too long. It consists of an angle grinder metal cutting wheel put on a T bar clamped into a workmate.
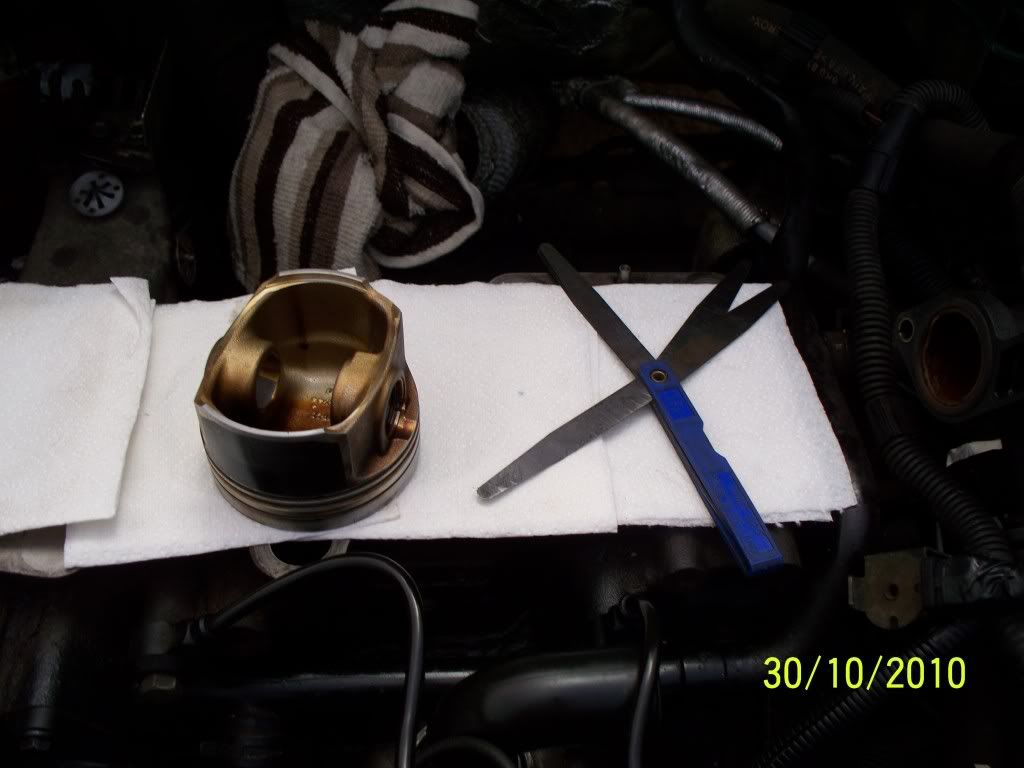
Just set the 2nd compression ring down in the bore ready for gap measuring, left the top compression ring at the bottom (order of which I gapped them) so that I knew which ring went with which bore.
The old piston I used to set the ring down into the bore:
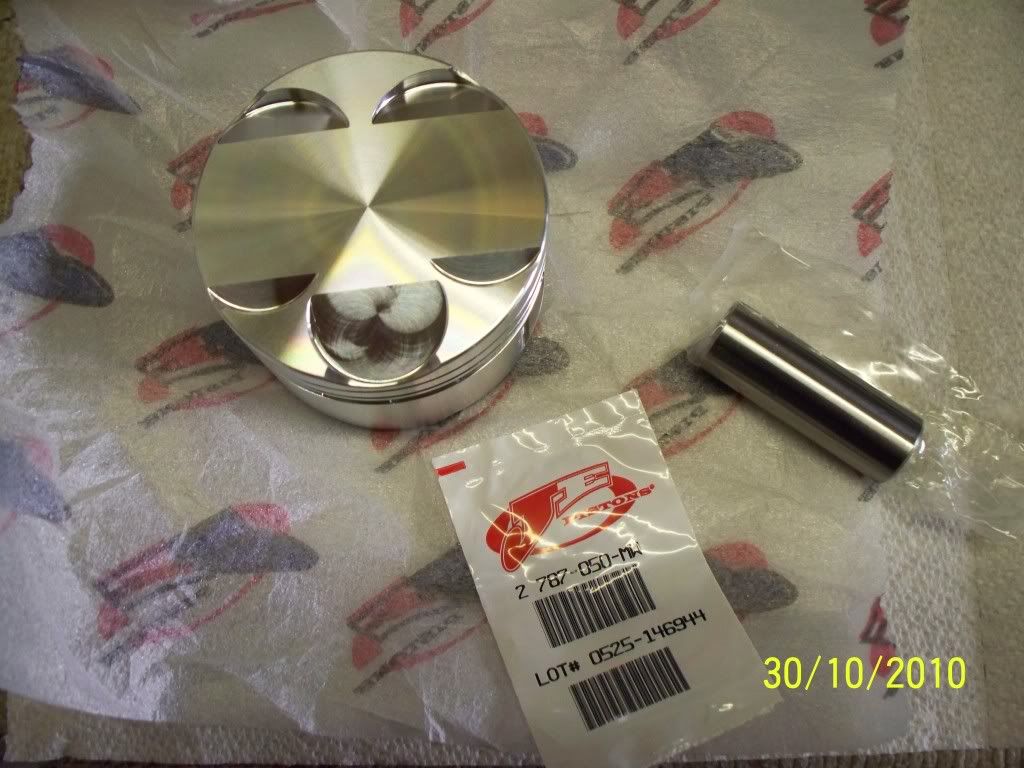
Some more pictures of the parts, pistons, wrist pins and circlips:
Side-by-side old damaged piston and new ones:
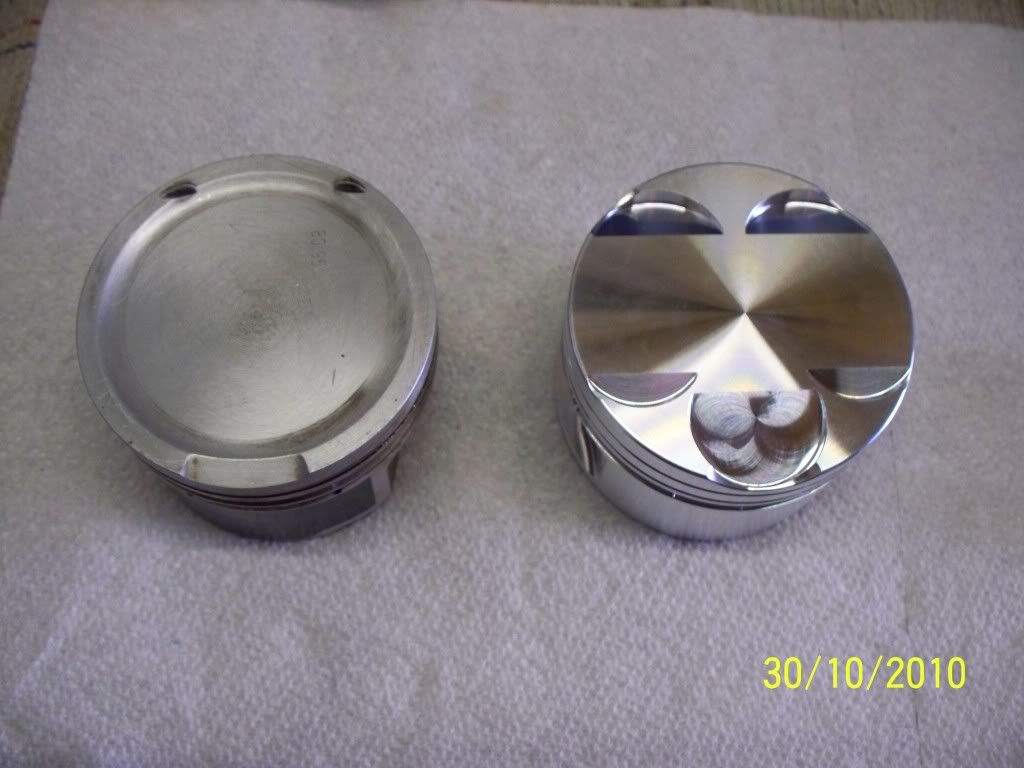
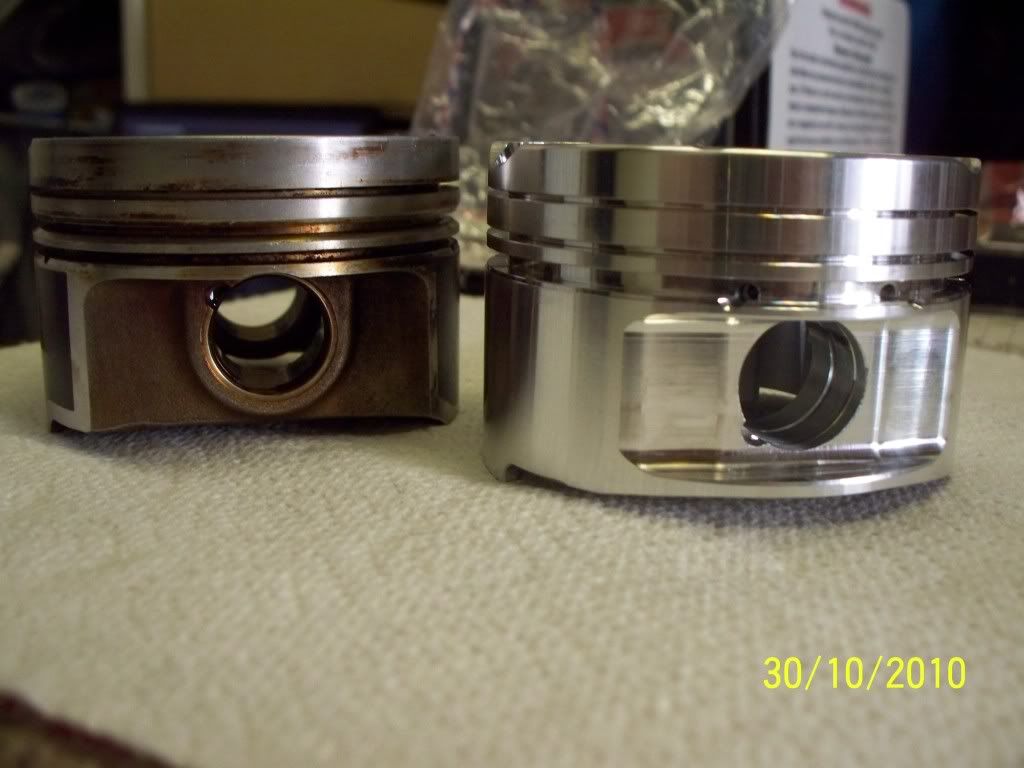
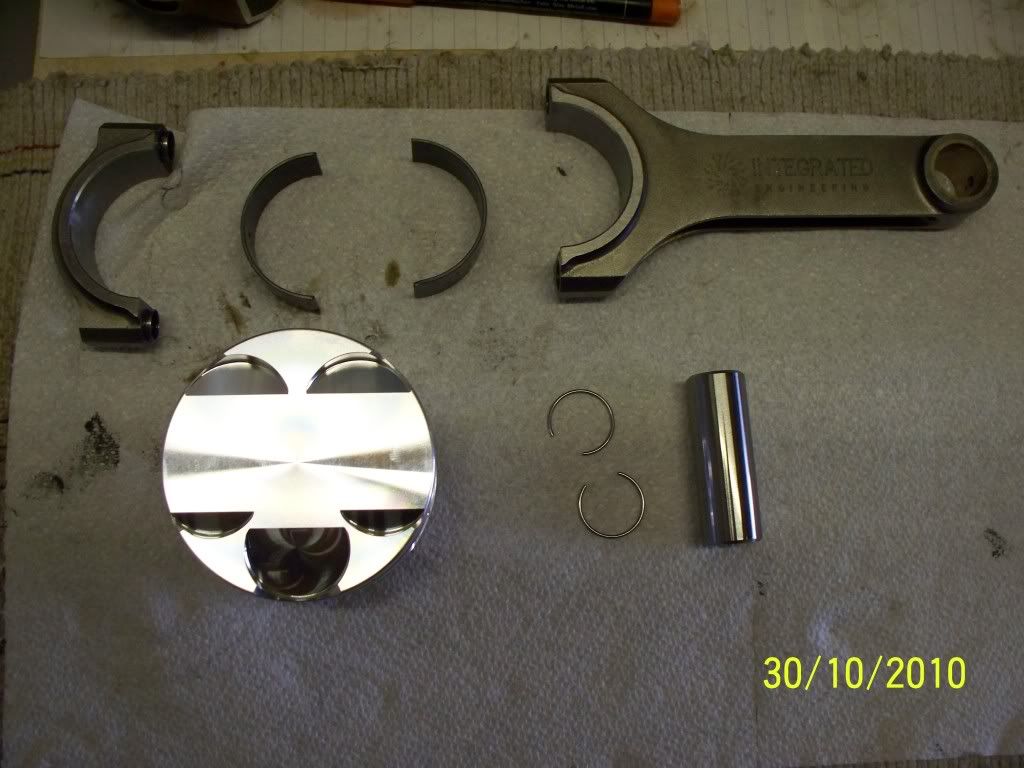
The whole let ready to be assembled:
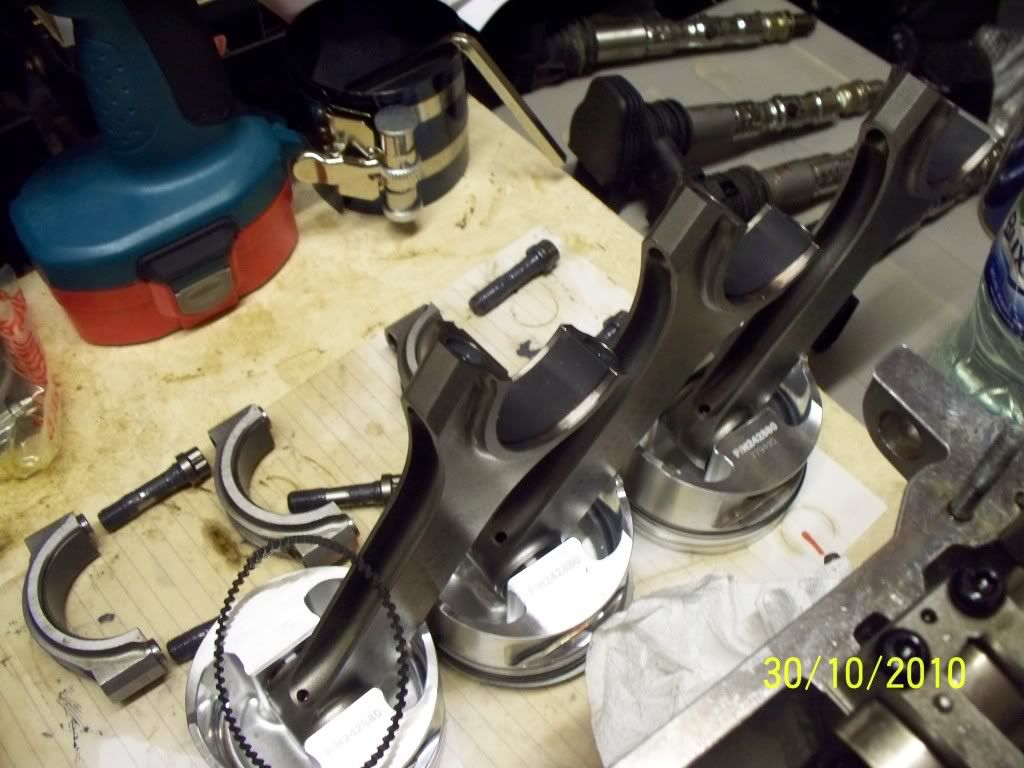
Assembled:
Slight problem now though one of the circlips shot of into my garage somewhere - never to be seen again - so I can't assemble all the pistons and rods until I get myself another clip, unfortunately the standard piston's clips don't fit in the rebate on the pistons they're just too thick.
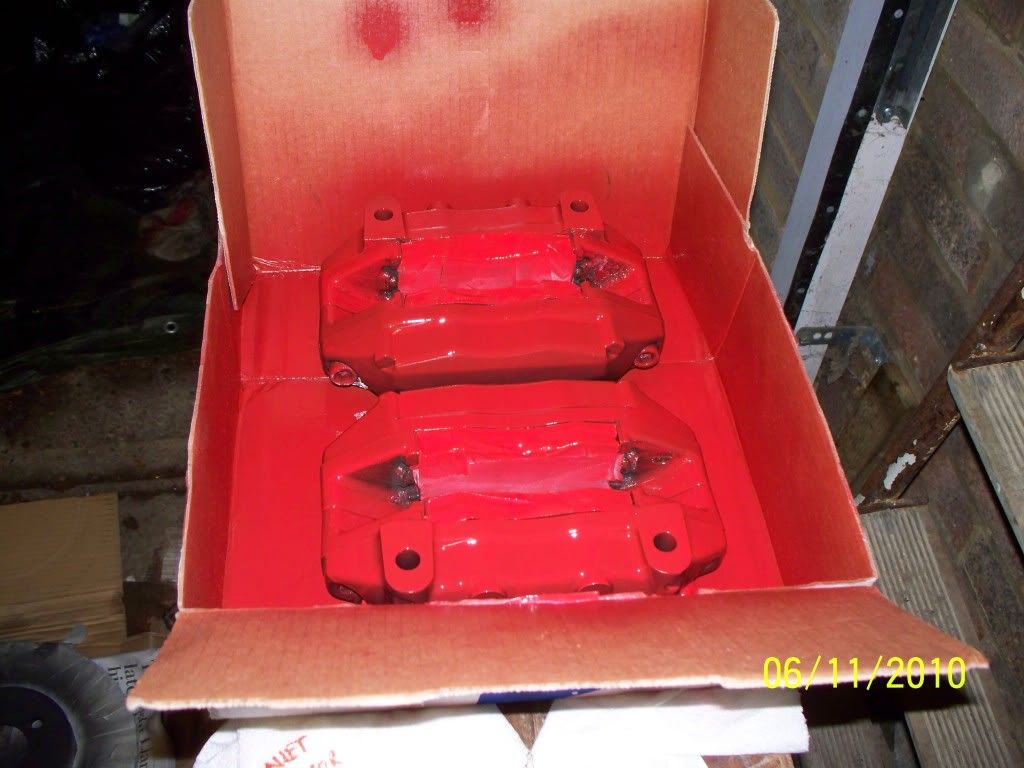
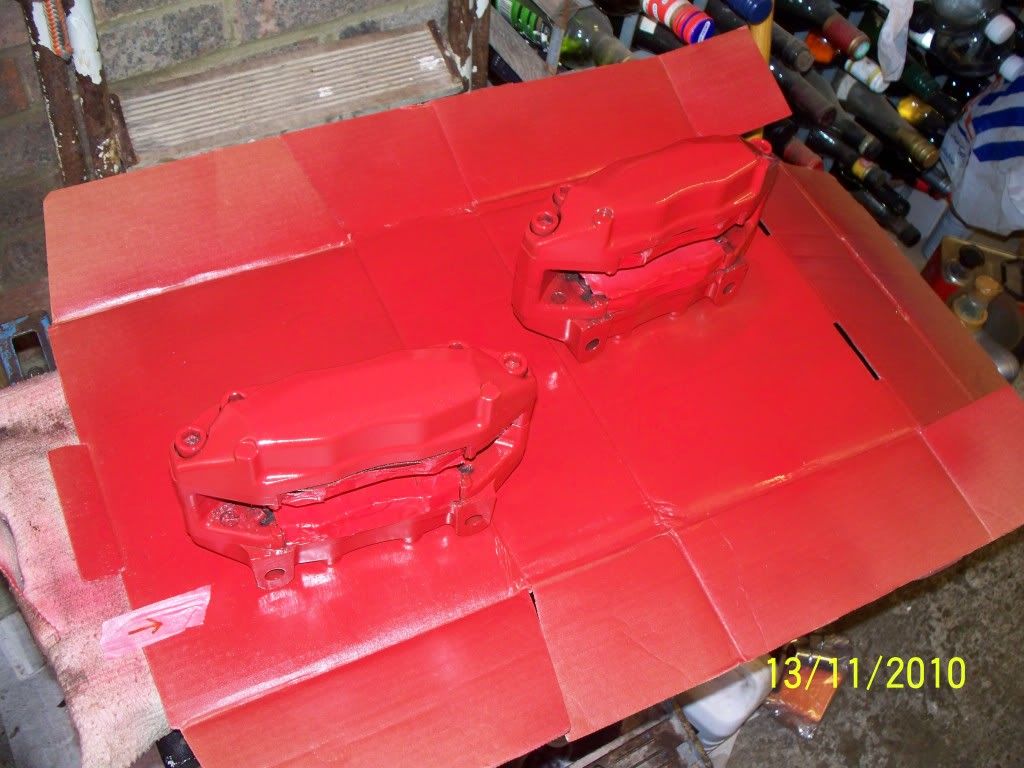
I then finished off stripping my calipers of horrible red (was pink) paint/ lacquer as it had chipped off right down to the metal [:@]:
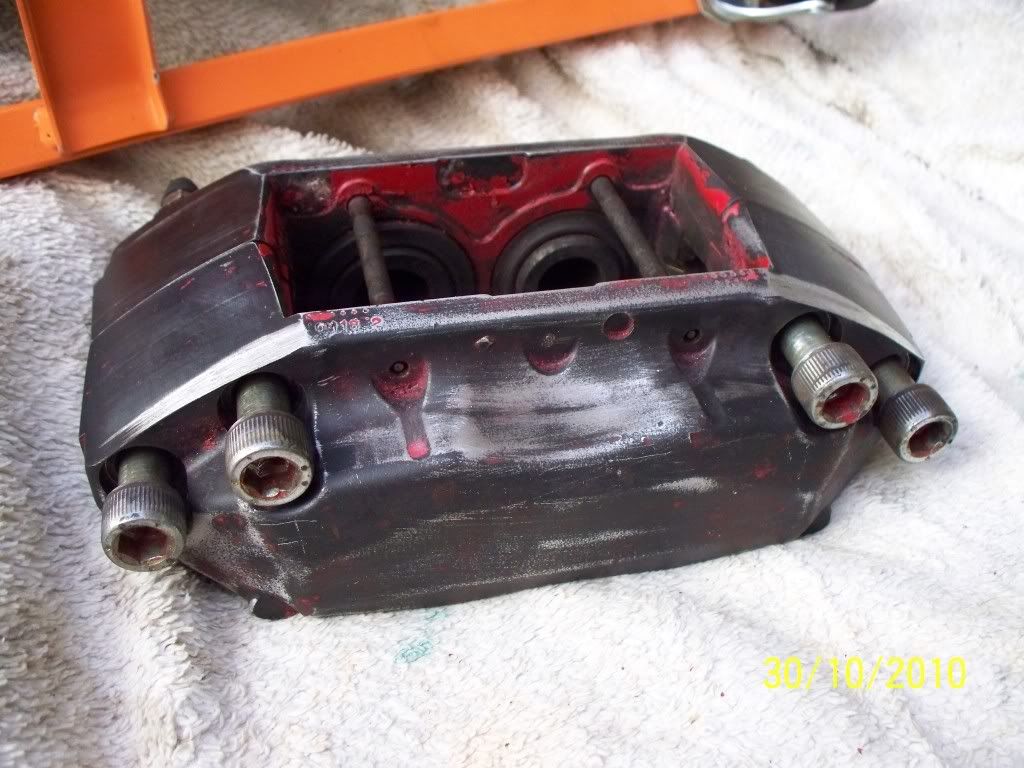
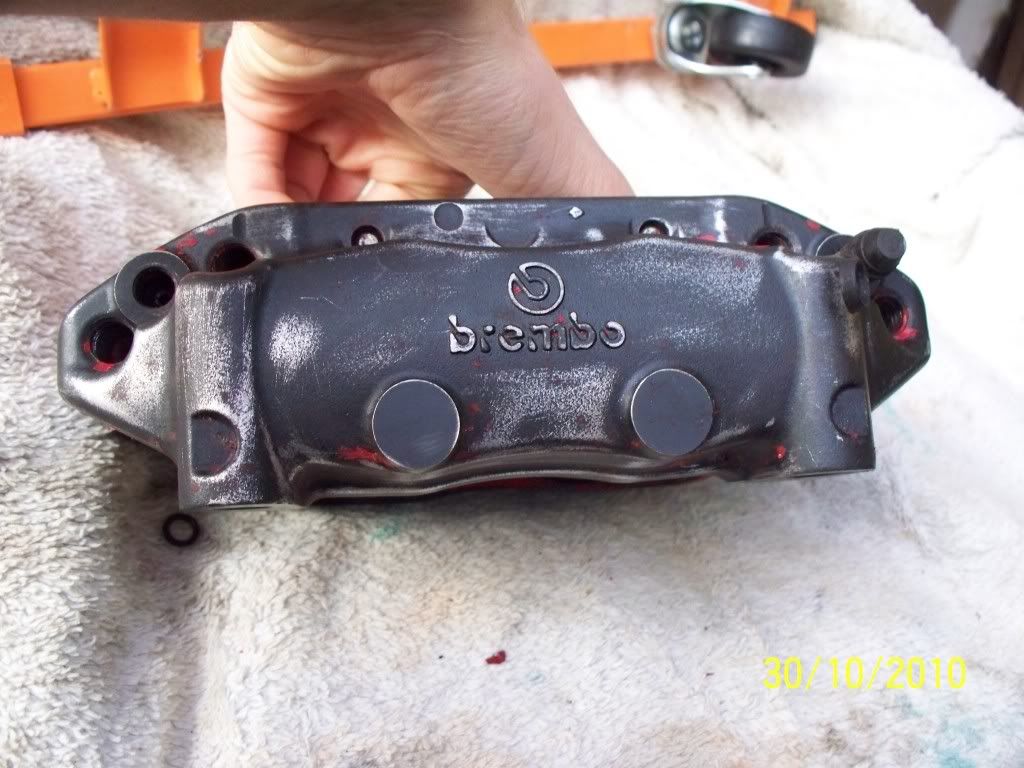
Started this a few weeks ago now
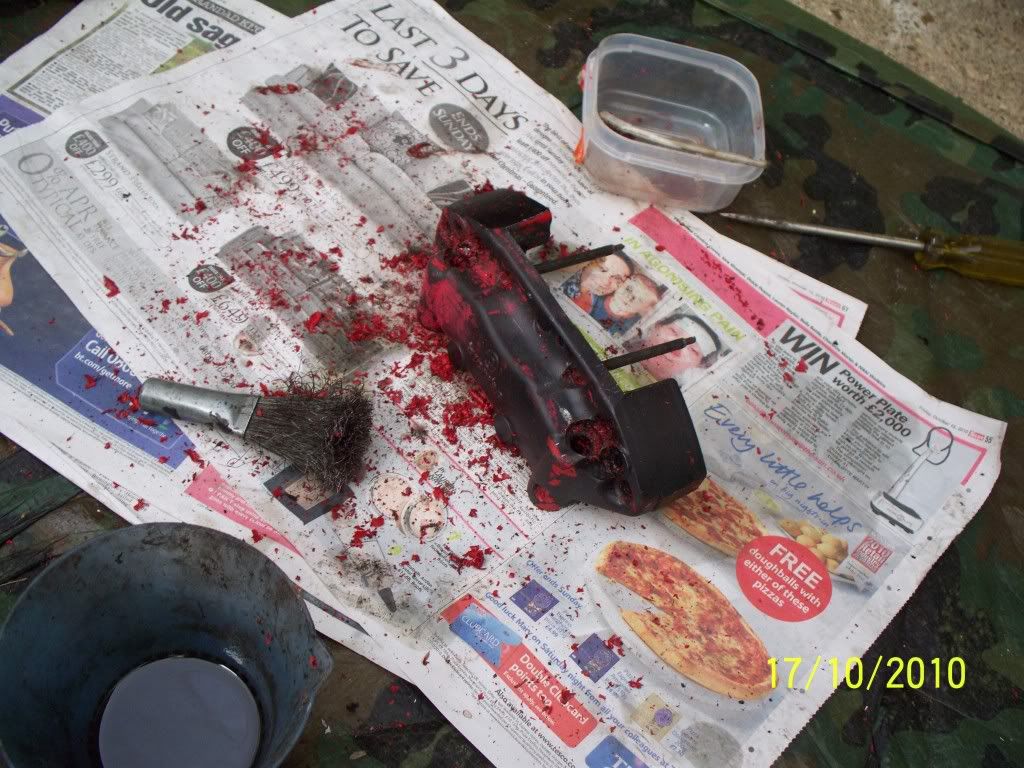
These also came with the pistons but yet again more bad news:
Some braided lines from Bill
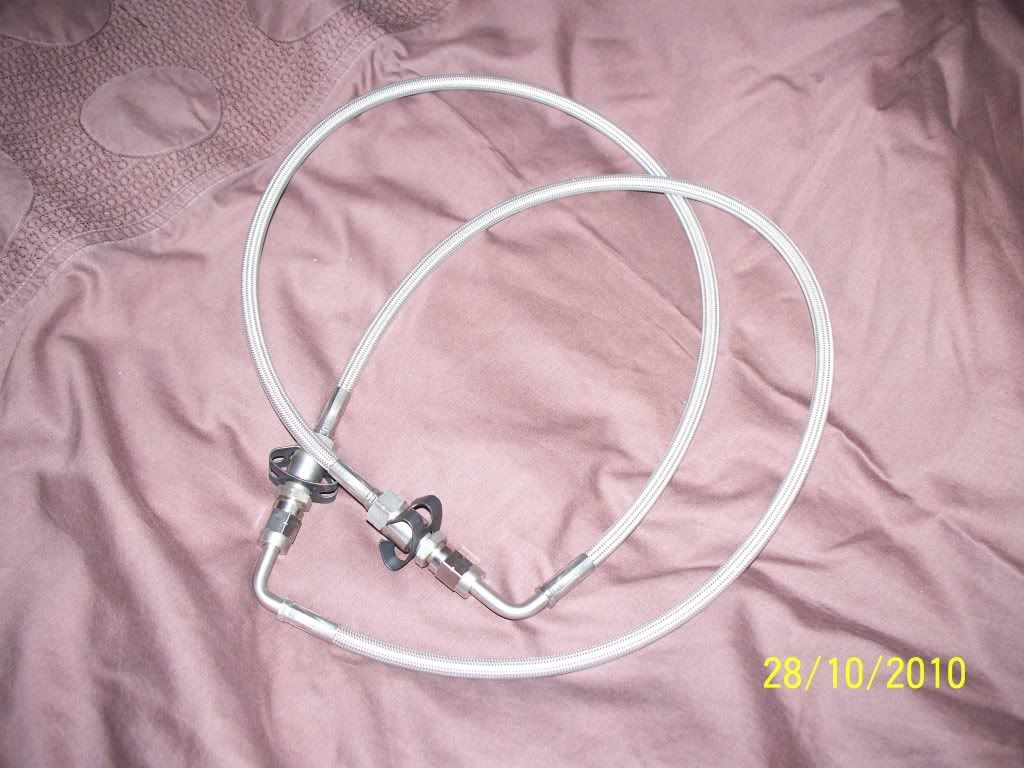
You've guessed it though, the existing hard brake line nut has seized on and is now well and truely rounded off [:@]. Does anyone have any ideas as to where I can get some new copper line for the front as SEAT only sell it in 25M or so lengths which is completely unecessary...
As always fire away the questions and comments, love to hear what you think
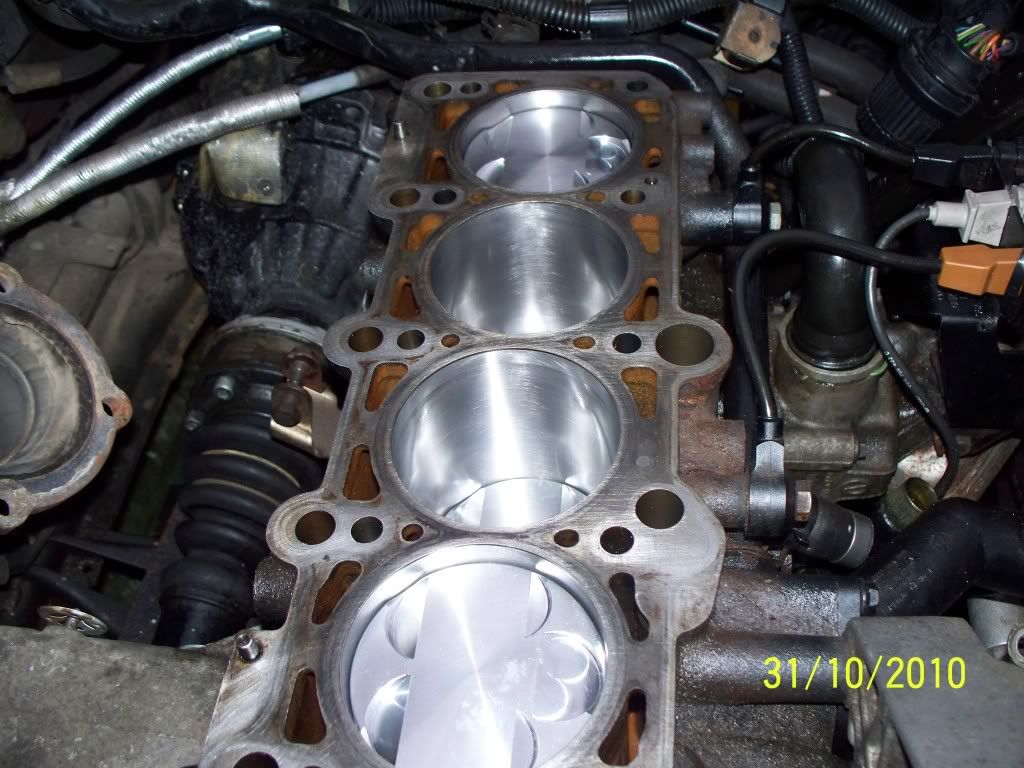
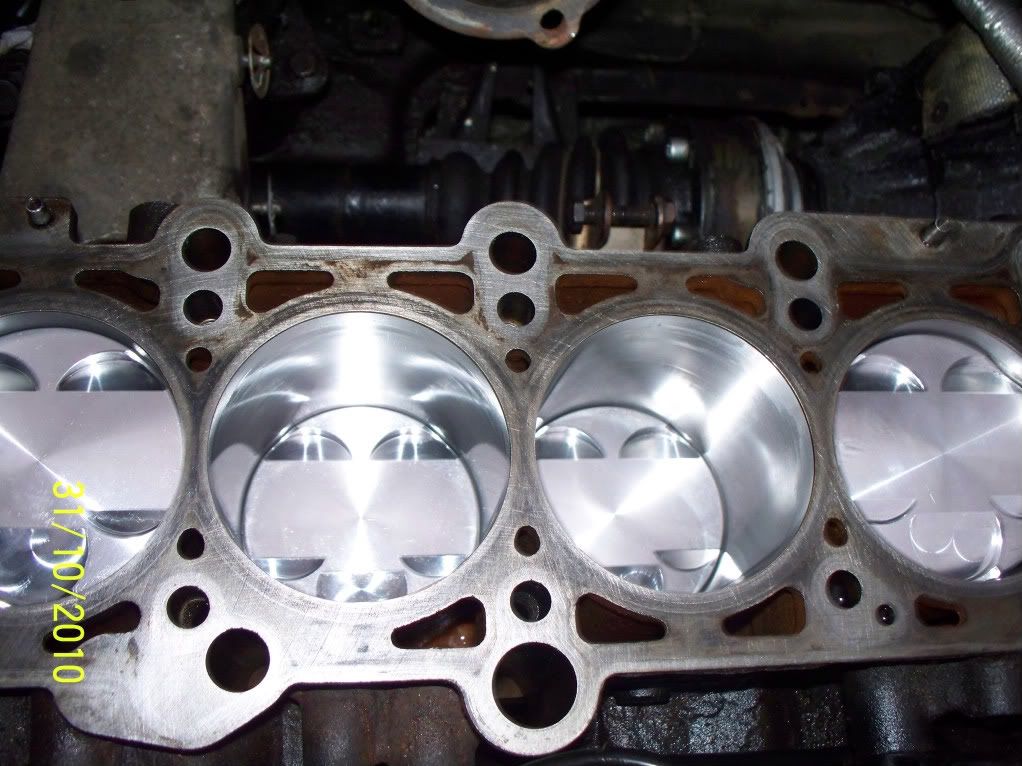
More progress made today, assembled and installed the JE Pistons and Integrated Engineering rods - after finding the circlip that shot into my garage somewhere
Here they are before they were installed:
Then in the bores:
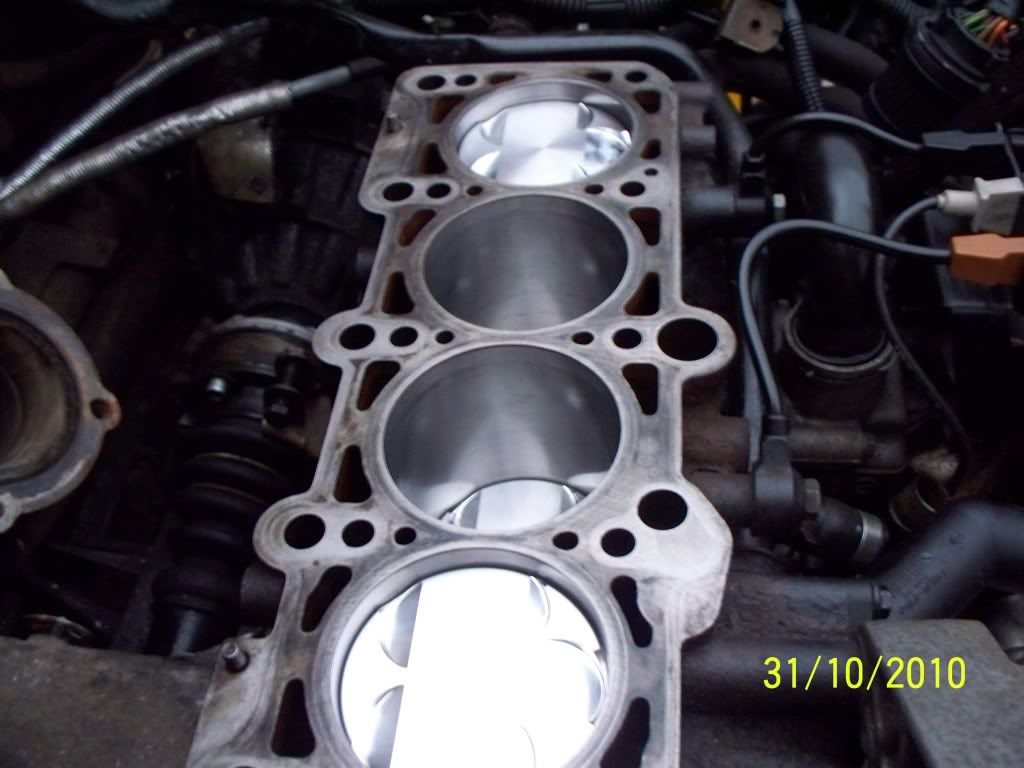
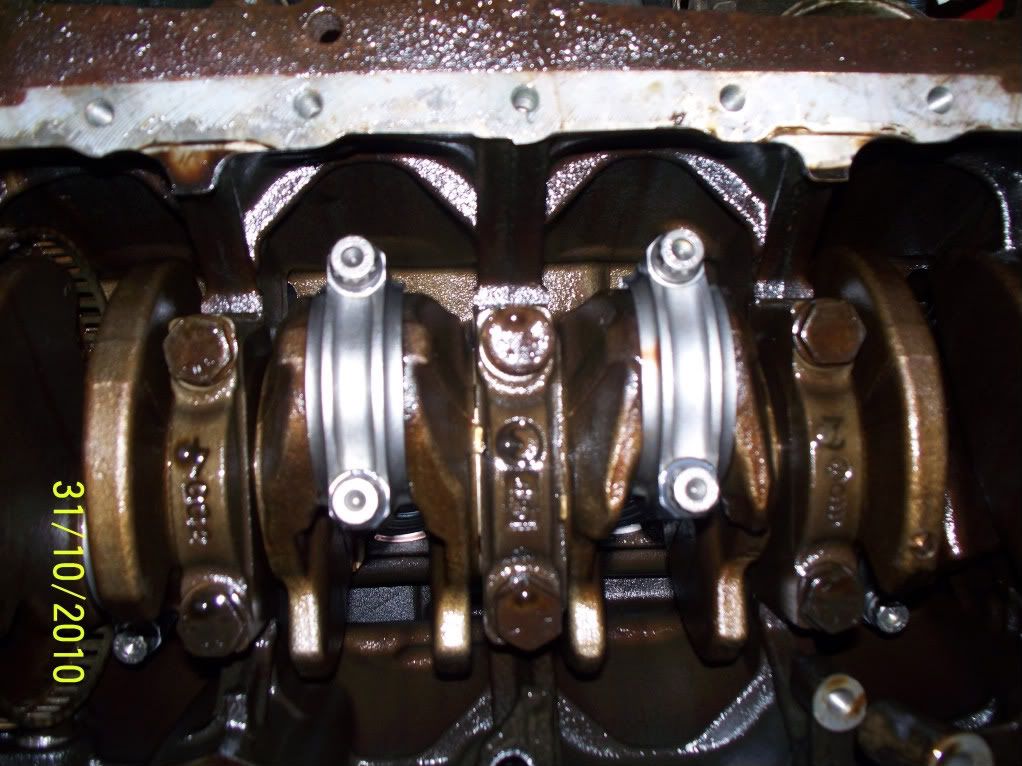
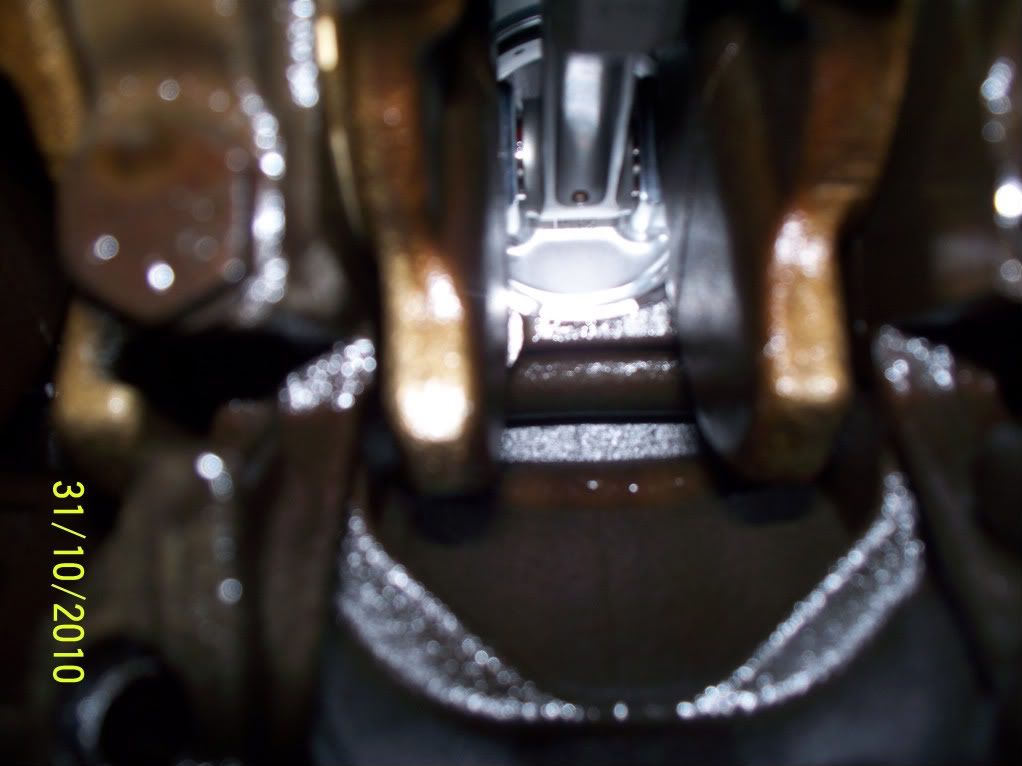
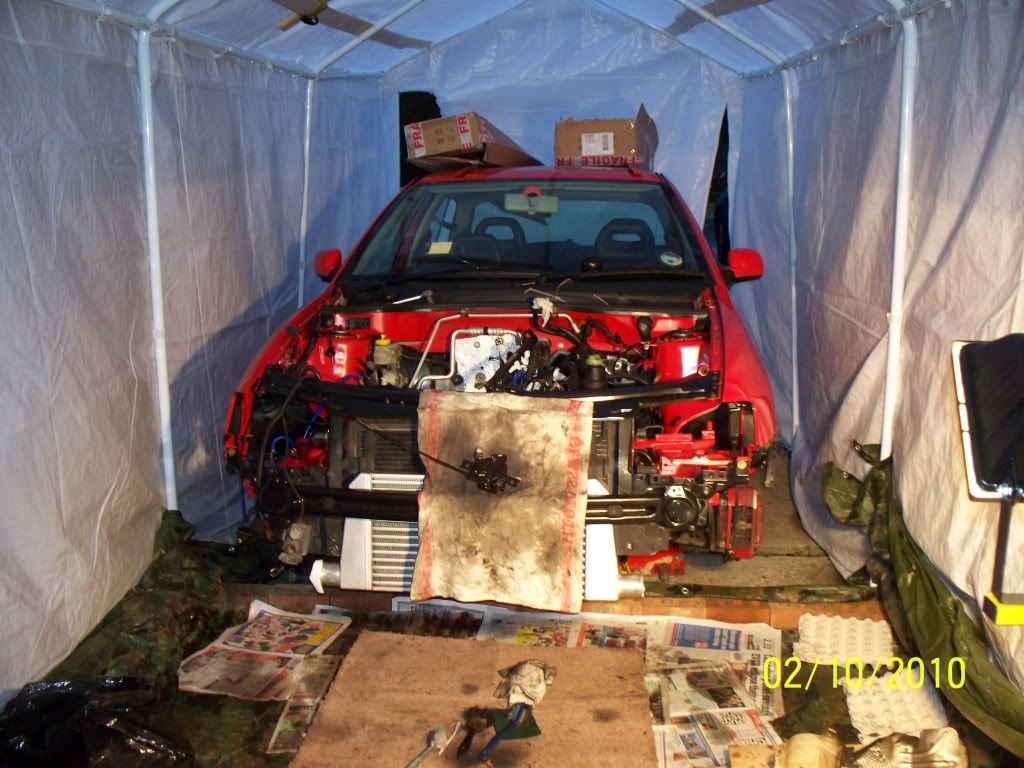
Finally some randm pictures which give an idea of the overview of the project:
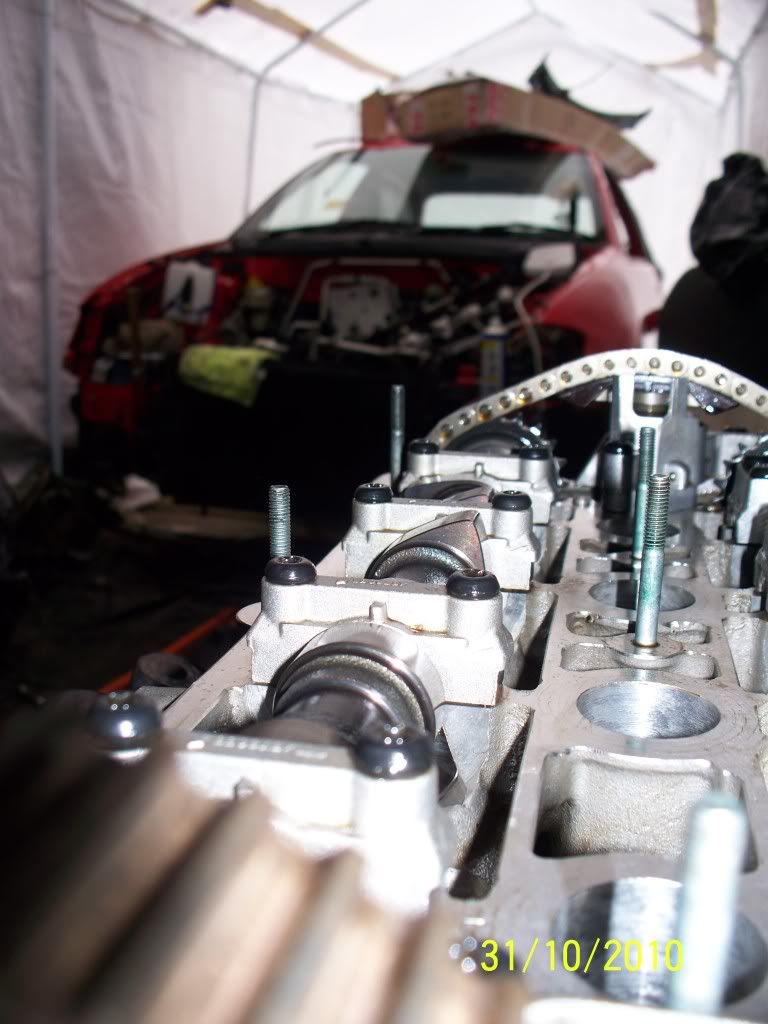
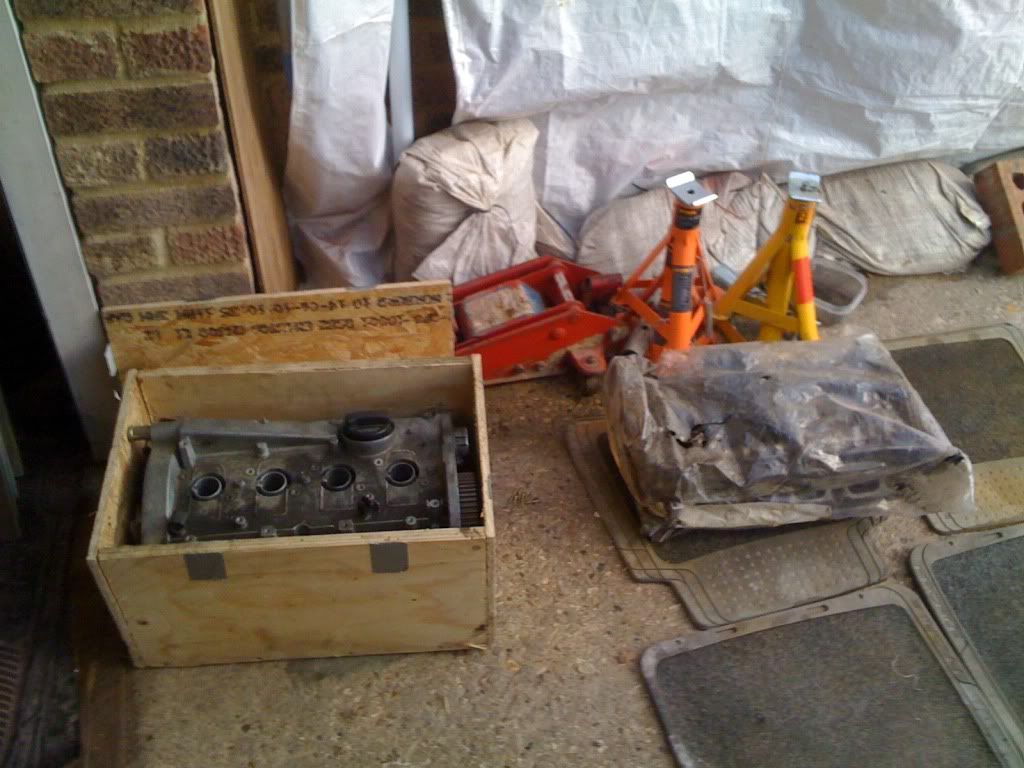
Also started stripping the cylinder head for a skim, .003" is to be skimmed off after taking it to an engineering company. Camshafts, chain, chain tensioner and gaskets removed. One nut has rounded off badly on the exhaust manifold so I'll be buying a nut splitter to get this off as I don't want to bash a socket over it, being that it's on an aluminium head I can see something going wrong and cracking.... Finally noticed that the head has had some treatment previously and has been faced on the top of it hence no engine code is embossed into the tab on the front left of it, aswell as it been previously skimmed. The guys at Rolands Engineering said the chances are that I will need a thicker head gasket as the head will sit a bit closer to the pistons meaning that they could strike them!
Pics to follow.
Right, back on track with this thread, I recently bought this:
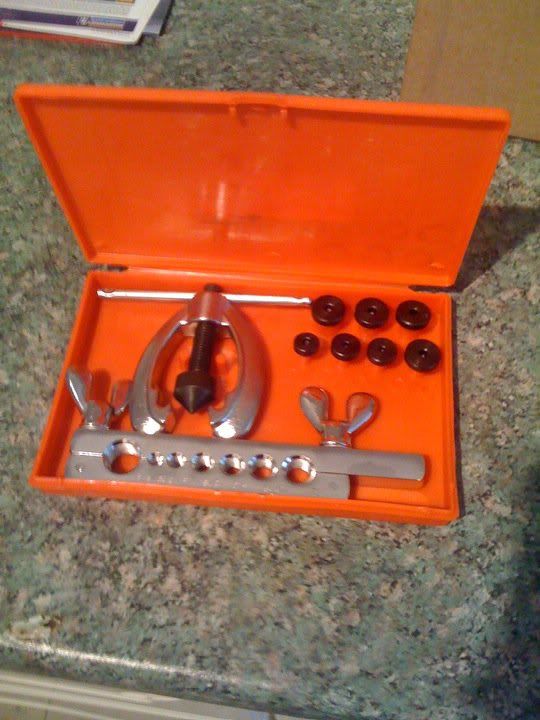
and this:
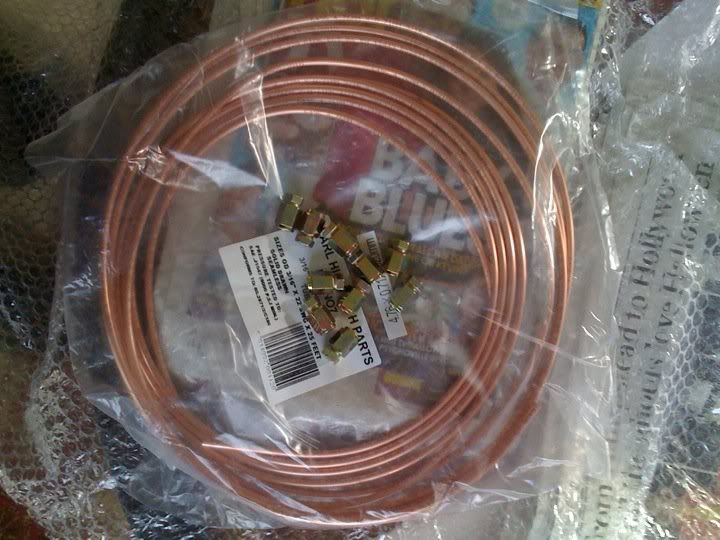
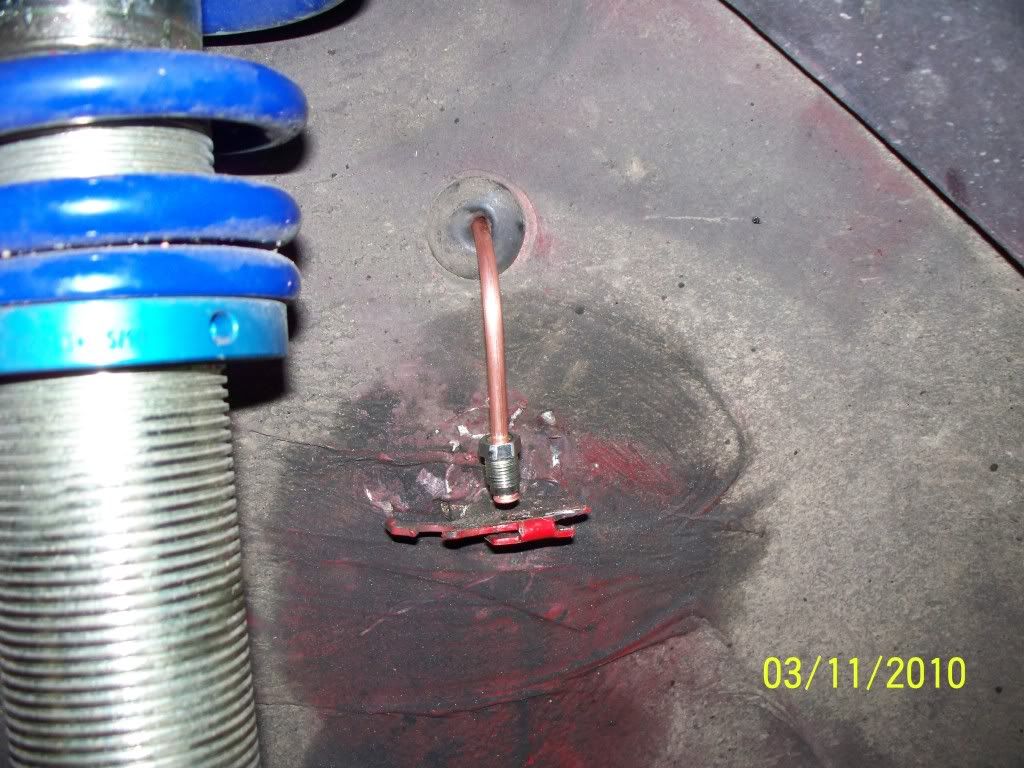
To make up some brake lines as the OEM ones had well and truly seized, every cloud has a silver lining I suppose.
This is what my first attempt looked like:
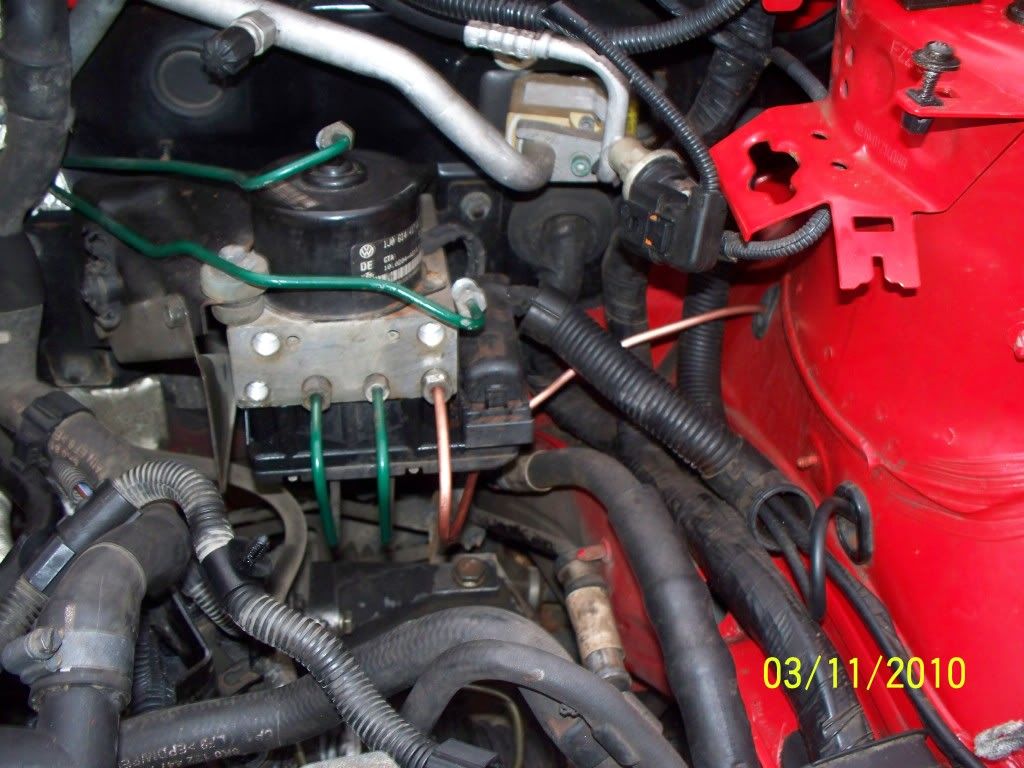
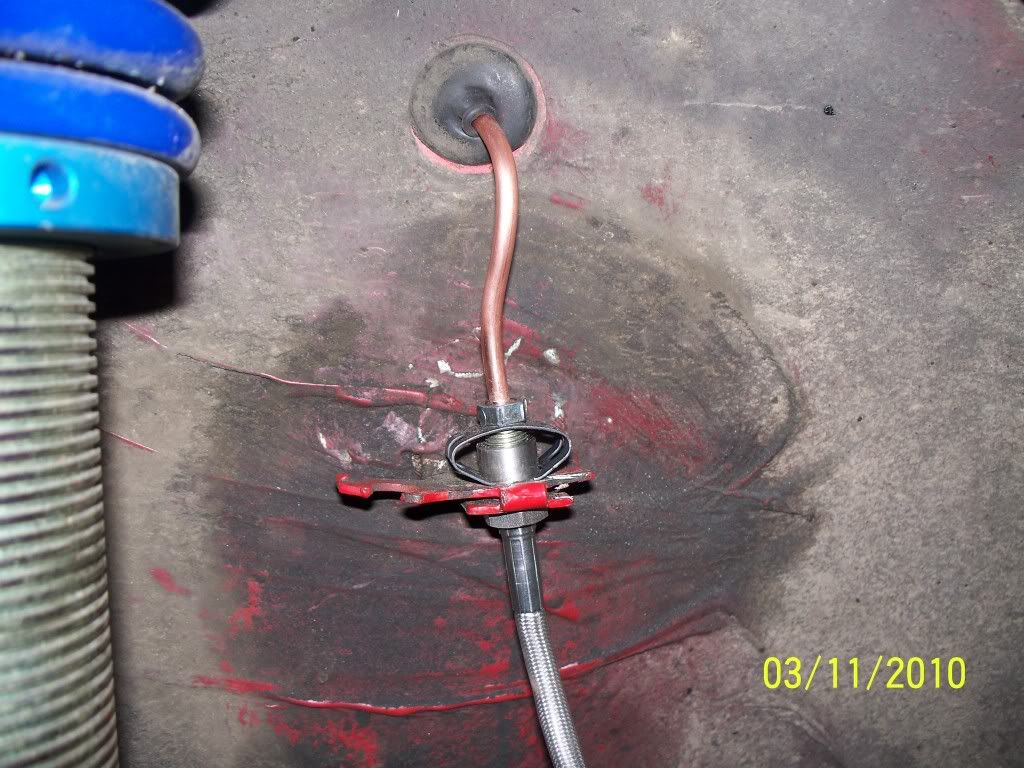
Then with the braided hose connected:
In the mean time I also picked up this - from Roland Alsop after a lovely reface and .004" taken off:
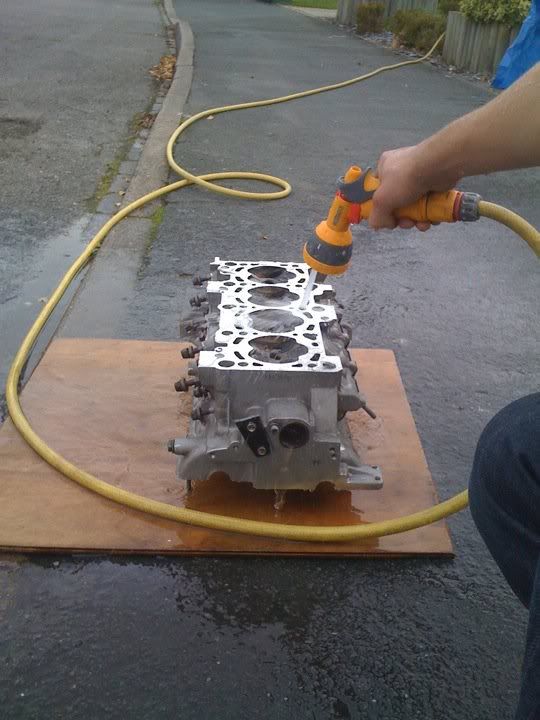
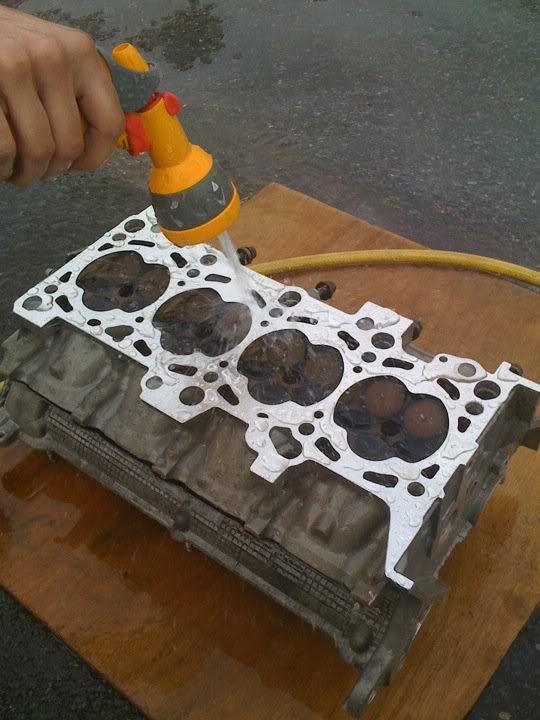
It was blasted out with water, then air lined to dry it and free it of swarf.
A few pictures of the engine bay - the standard K03 turbo refitted for the time being as need to save for the Garrett and relevant pipework/ various other bits:
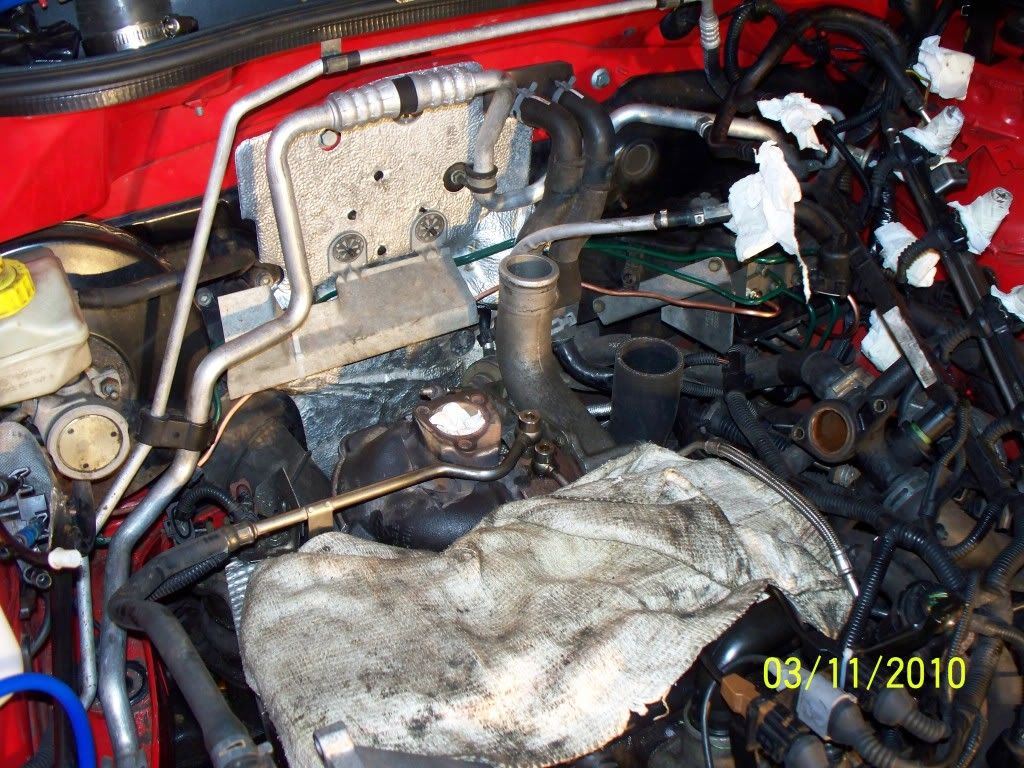
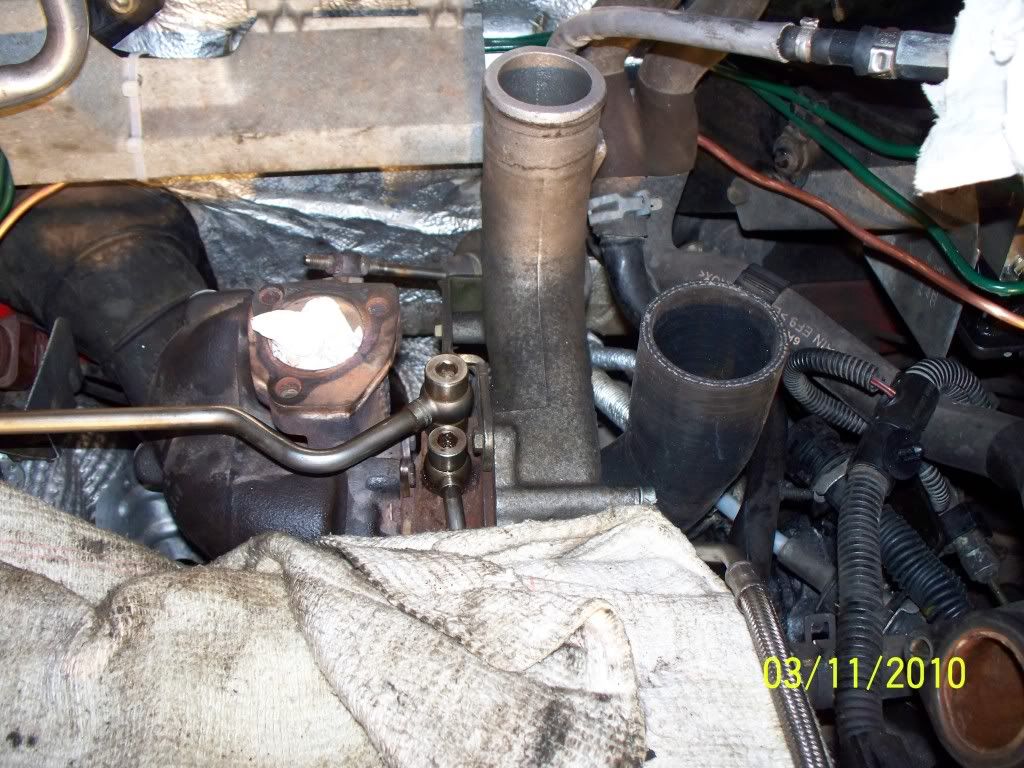
Gave this a good ol' scrub too:
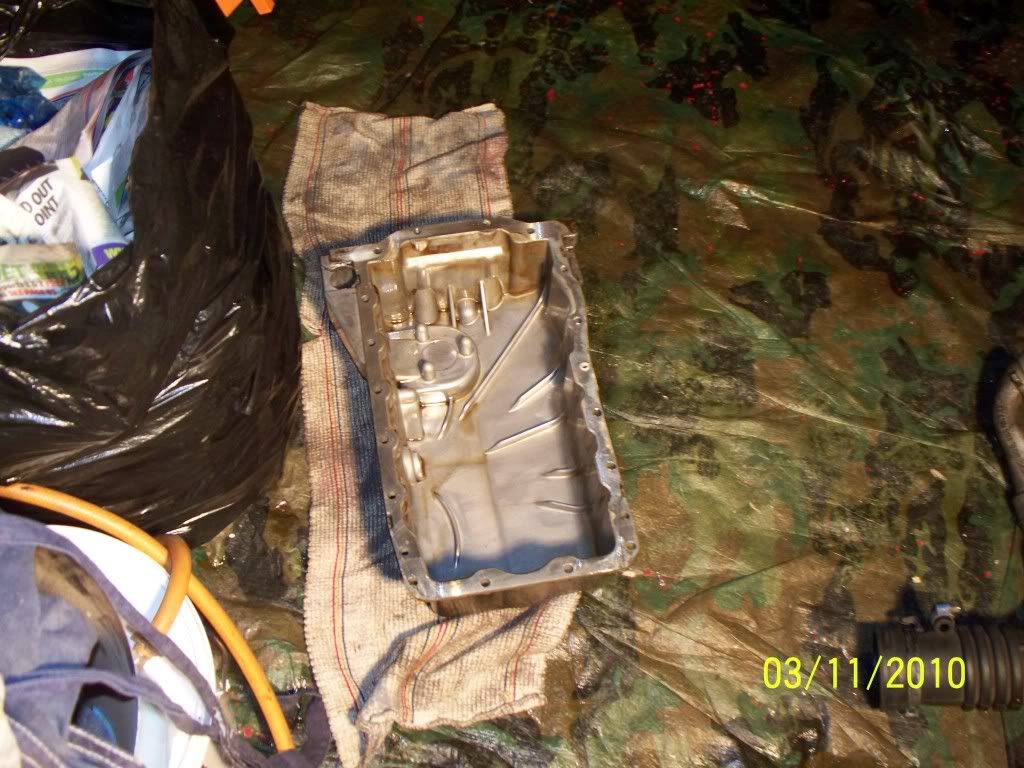
Today I picked up these bits - which I had a mate powder coat for me:
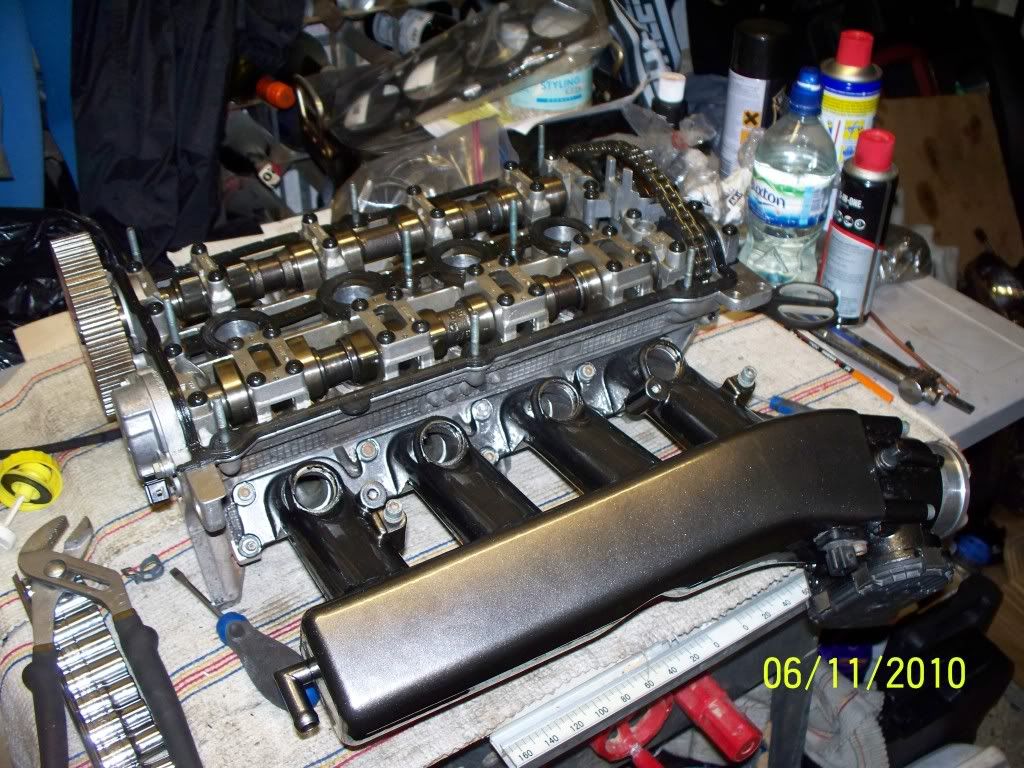
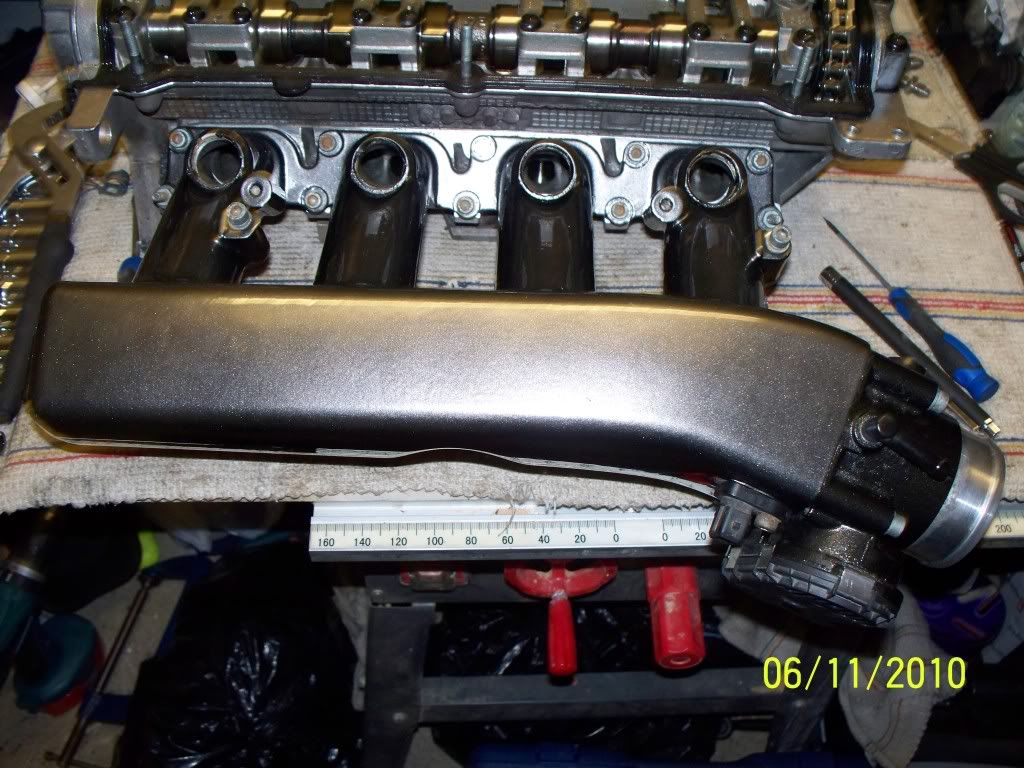
Anthracite rocker cover
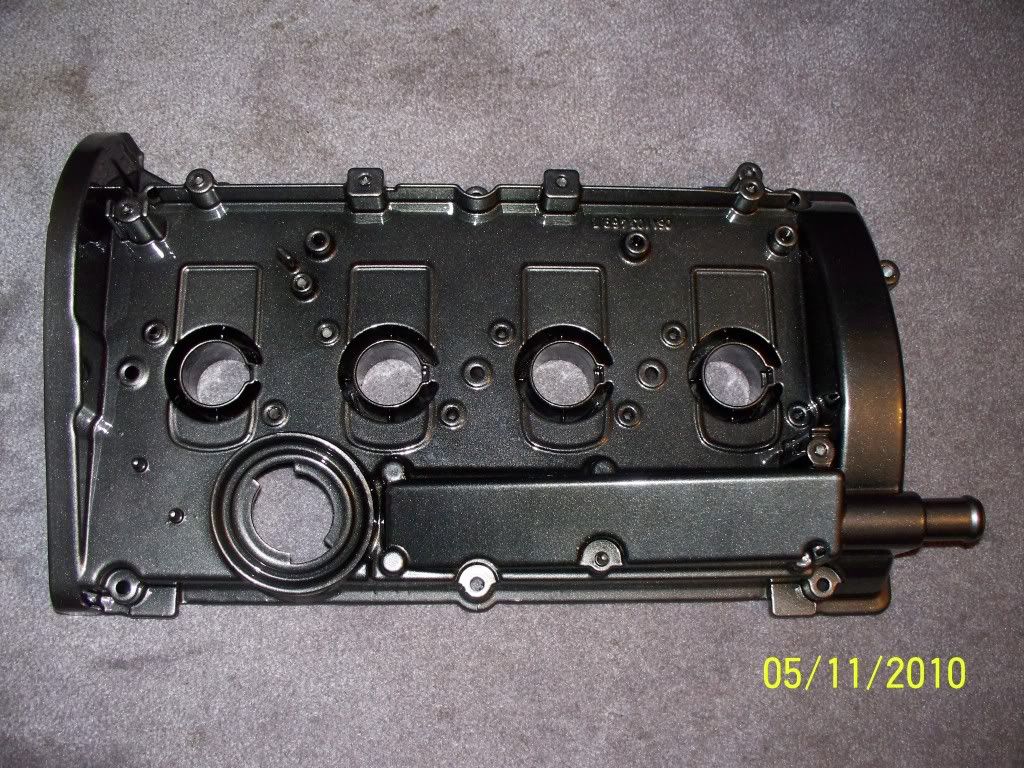
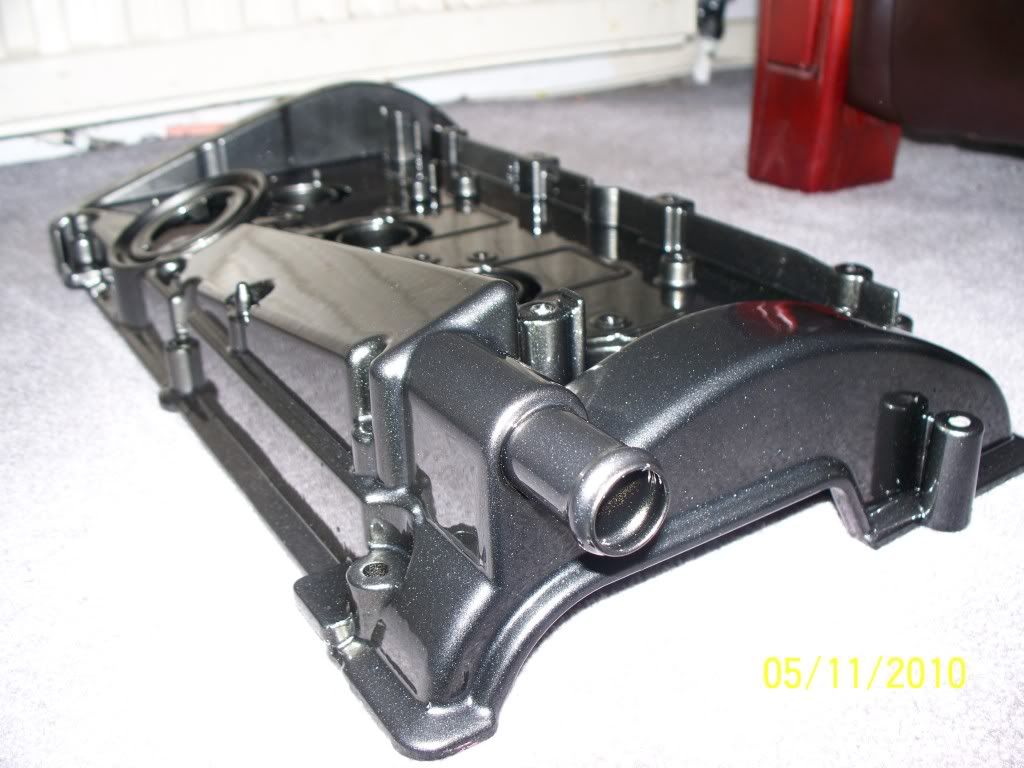
Matching Inlet:
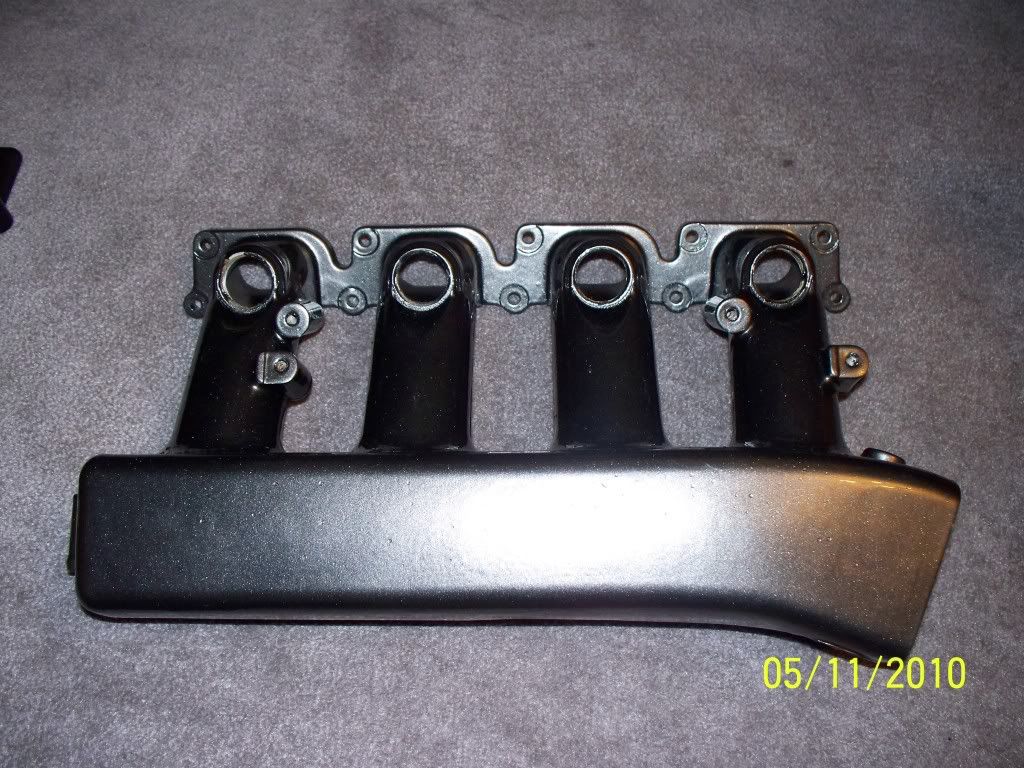
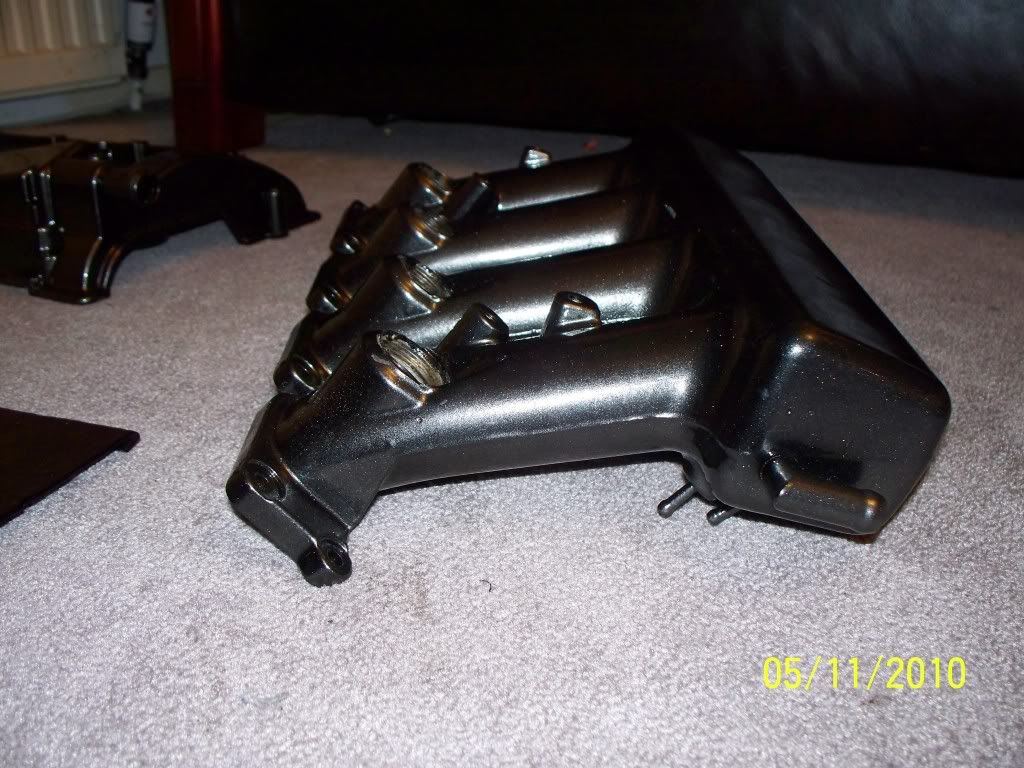
Gloss black fan couling:
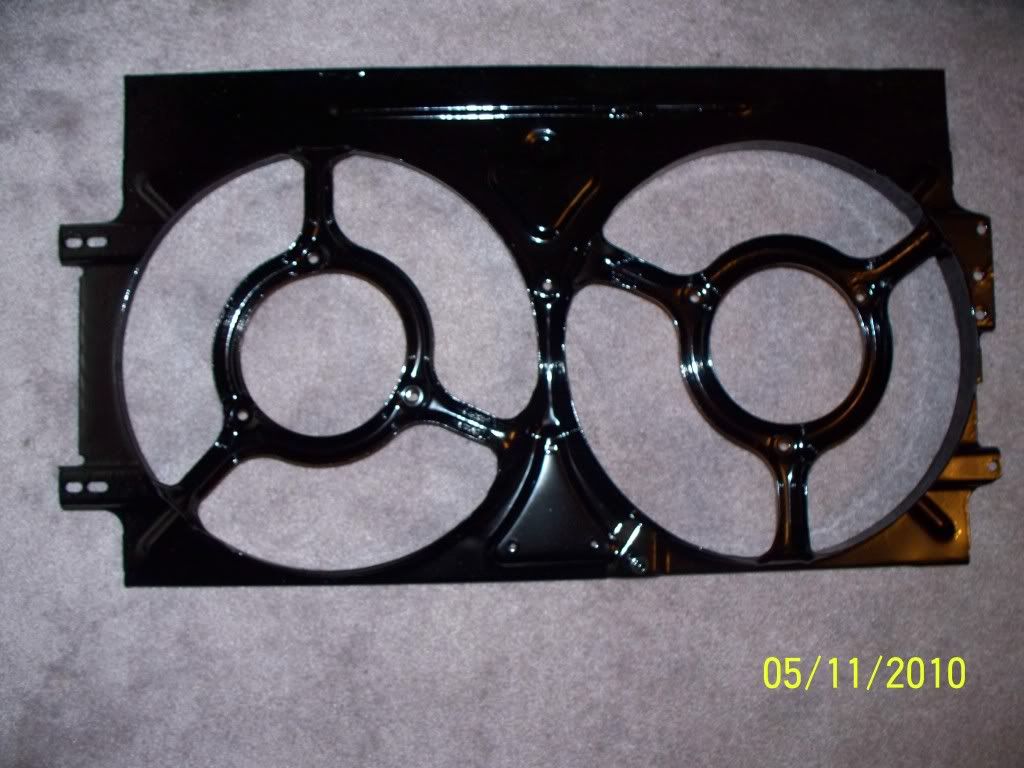
Showing some comparisons (of the powder coating) to a mate of mines Capri that he's putting a Fully Forged Nissan SR20DET engine in:


For anyone who wants to know the orange is ST Orange which is a very expensive Acrylic paint - hence the beautiful finish.
Inlet manifold now bolted on to the head, looks pretty good:
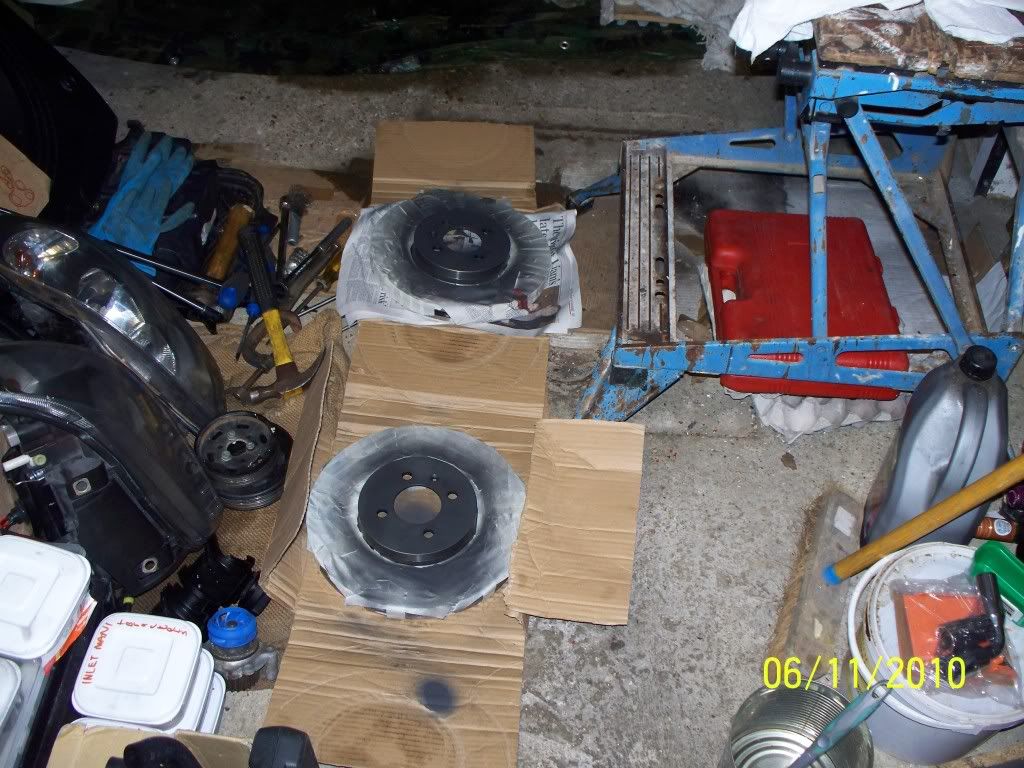
Time to start painting a few things to get them looking nice - started off with the calipers which I am currently painting now on about the 6th coat, still not up to standard! Also painting the bells on the discs I bought from Bill a while back now, just to stop that rust which occurs there and makes the discs look old:
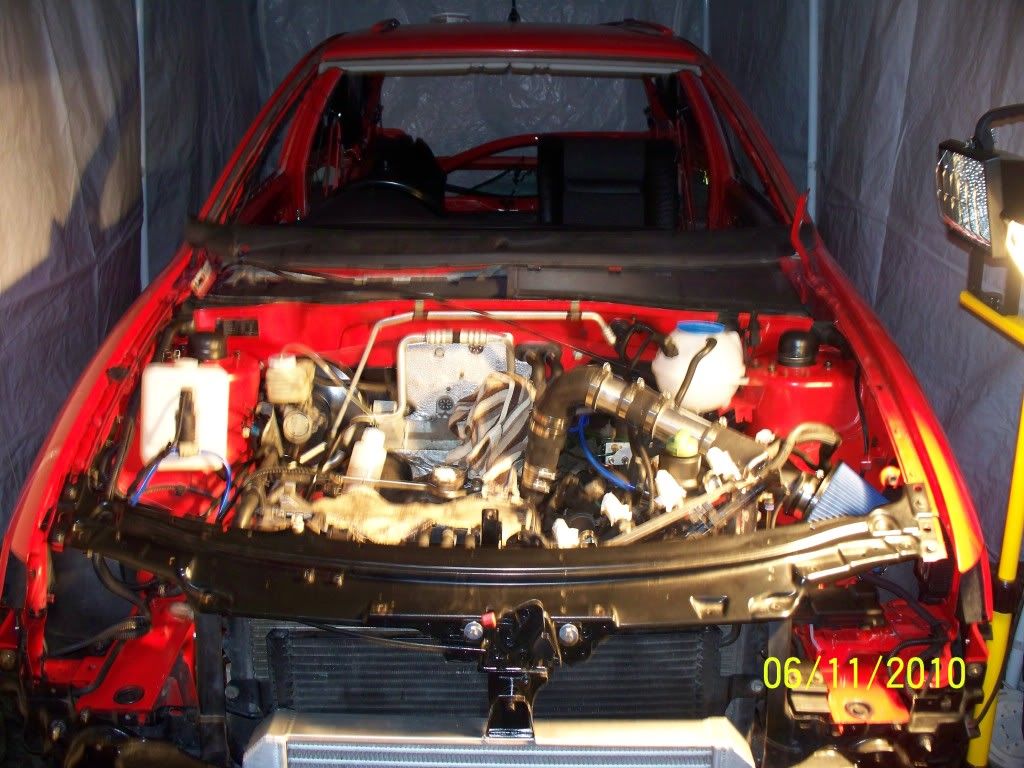
Front panel back on too with powder coated fan coul behind it (haven't got a picture of it in situ yet - too dark lol):
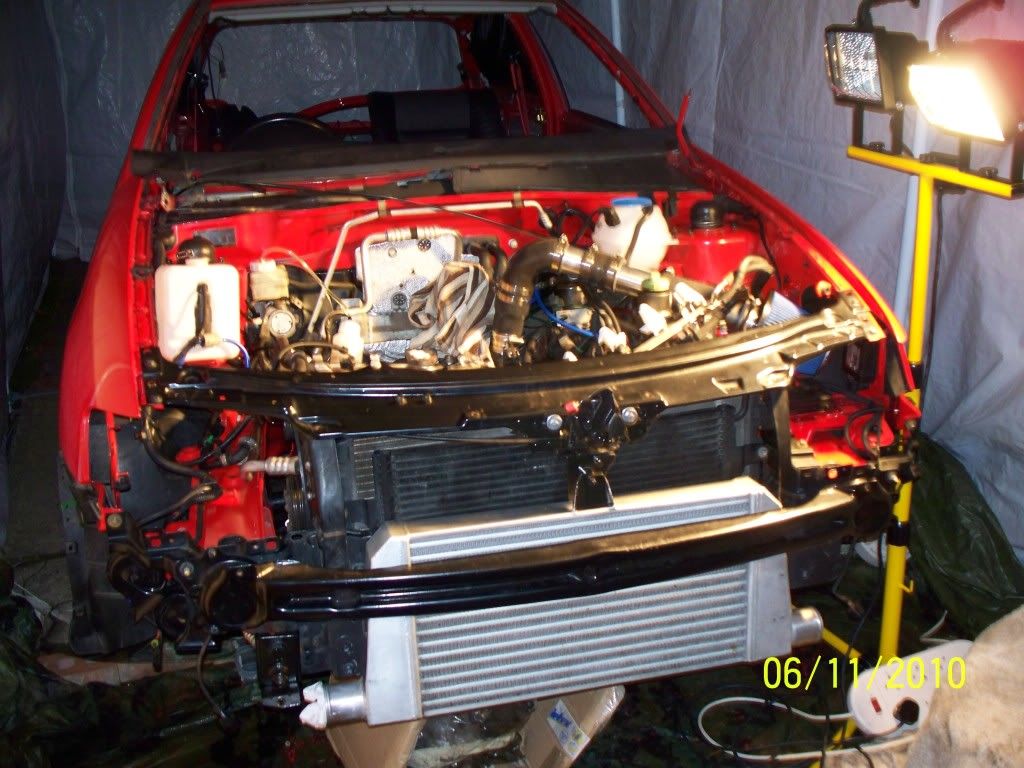
Custom TIP in there too with hose take off for the N75 and DV return.
Here's a little update of the pics I found on my phone - will have to get the ones off my camera later:
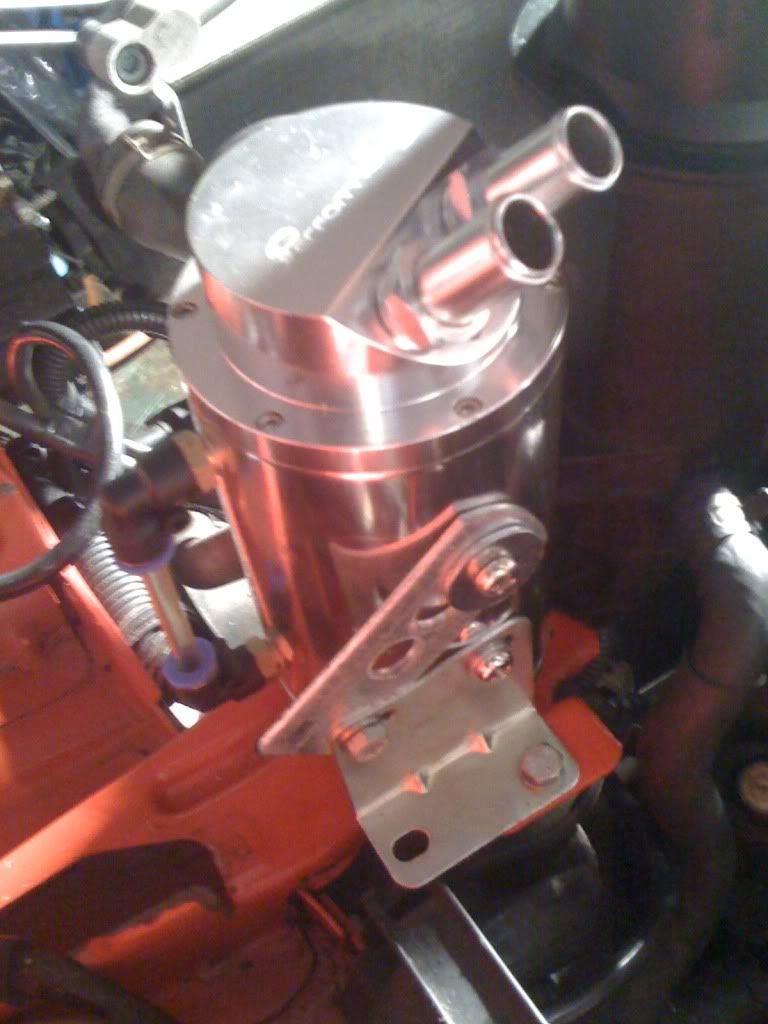
The oil catch can:
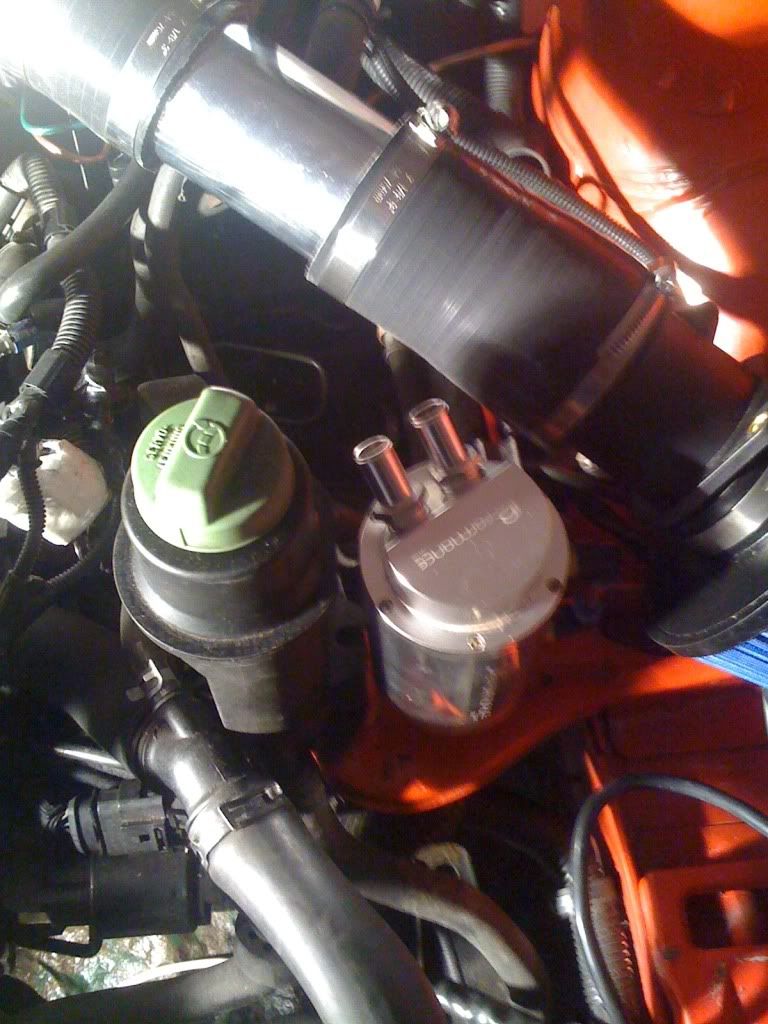
Extra bracket I popped in there to stop it from falling over:
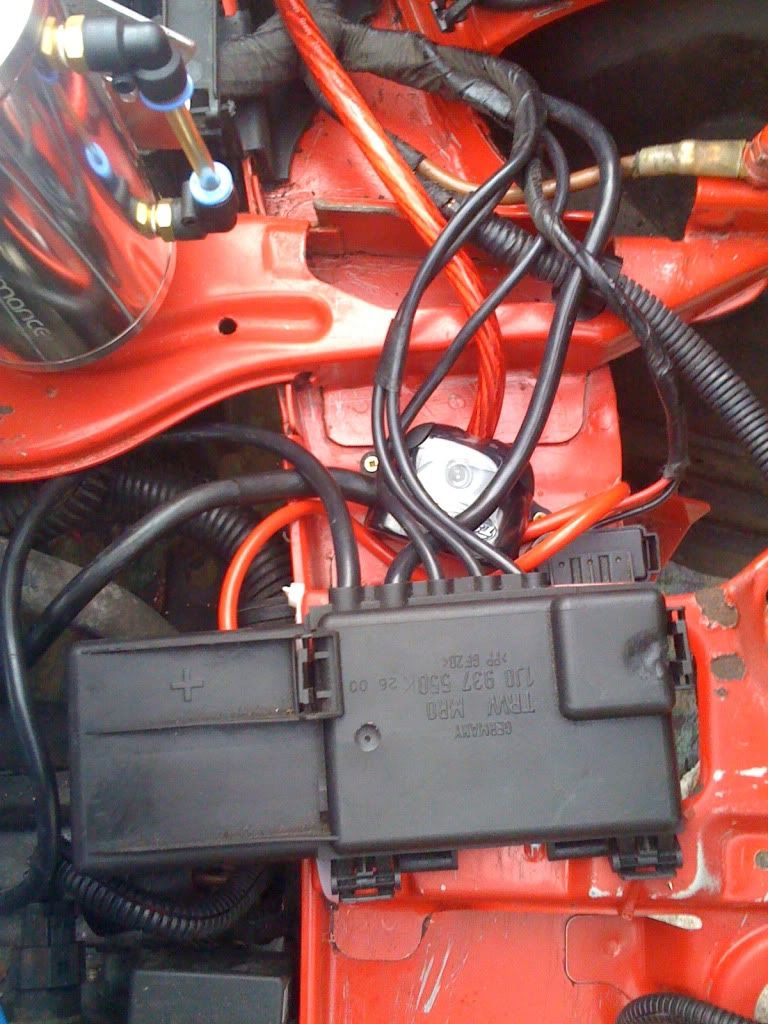
Fuse board mounted where the battery once sat:
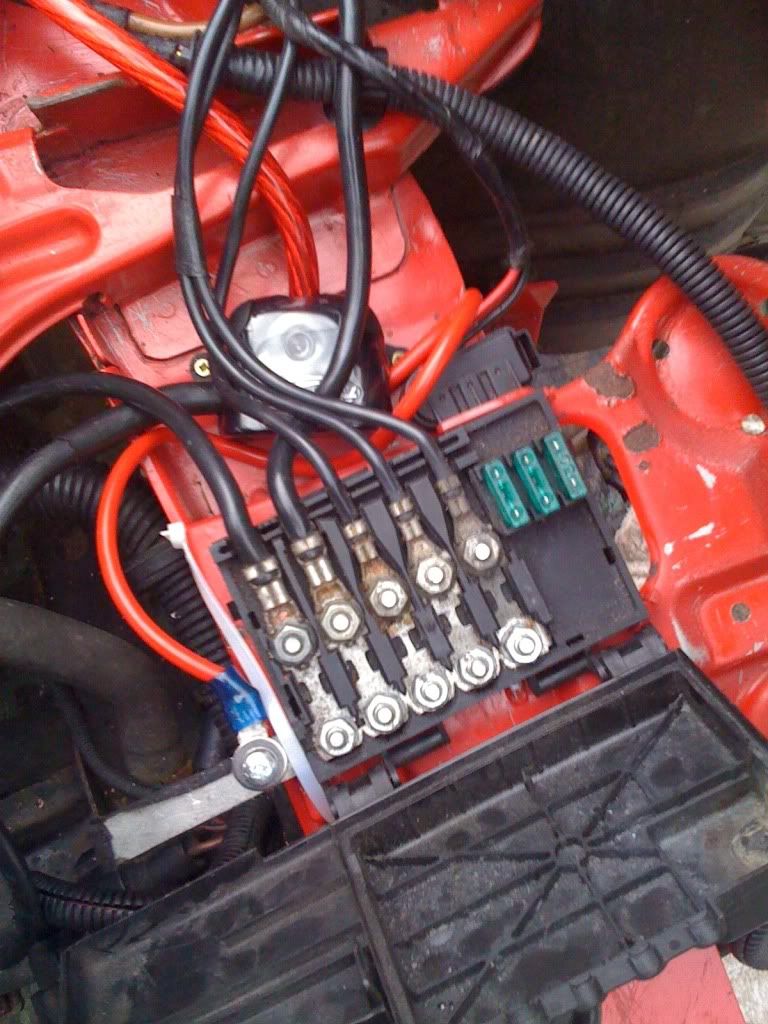
The live feed from battery to fuse board
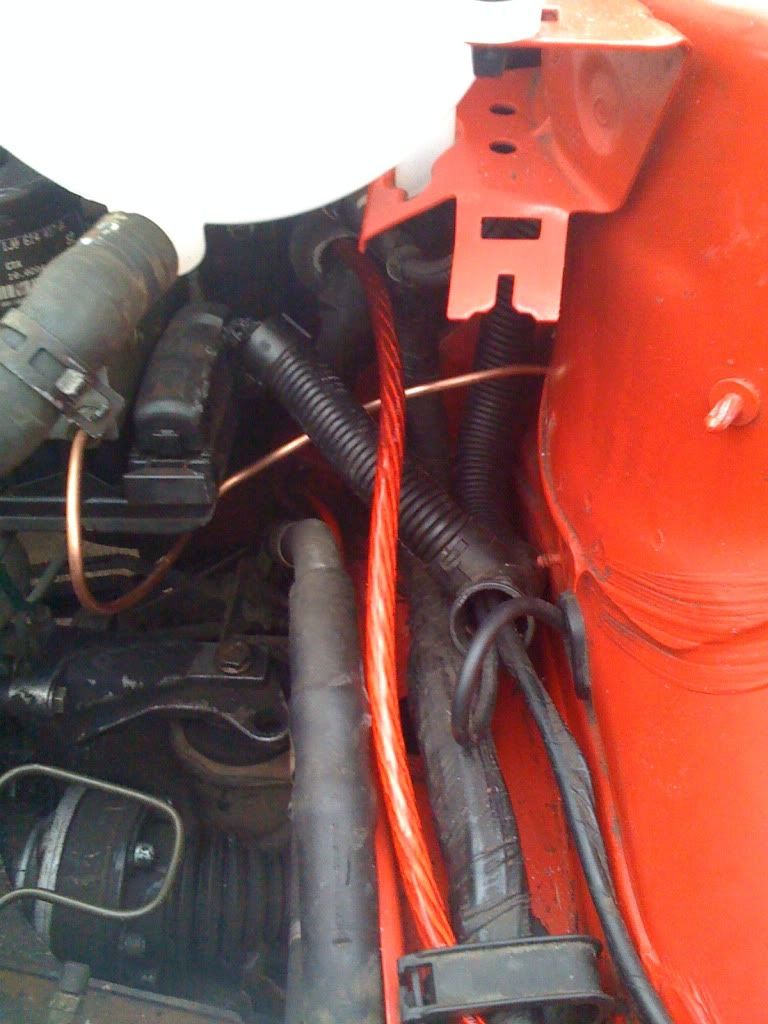
The grommet where the cable goes through the car
Finally the battery tray mounted on the floor pan:
Finally uploaded some pictures:
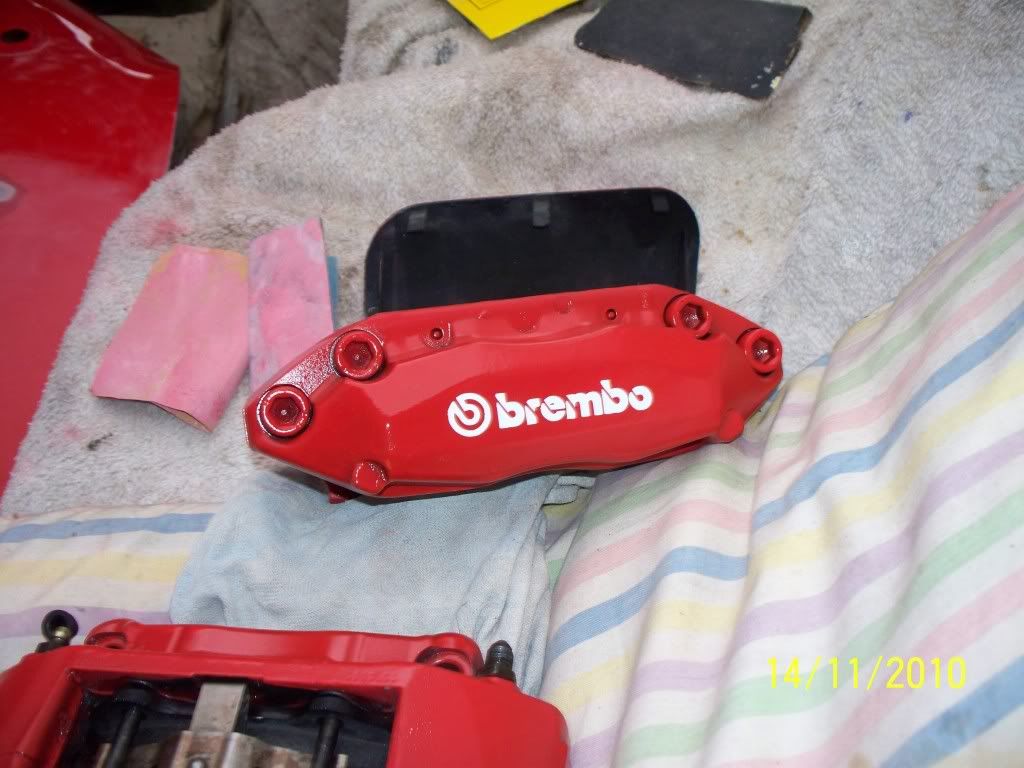
Final coat of paint before lacquering
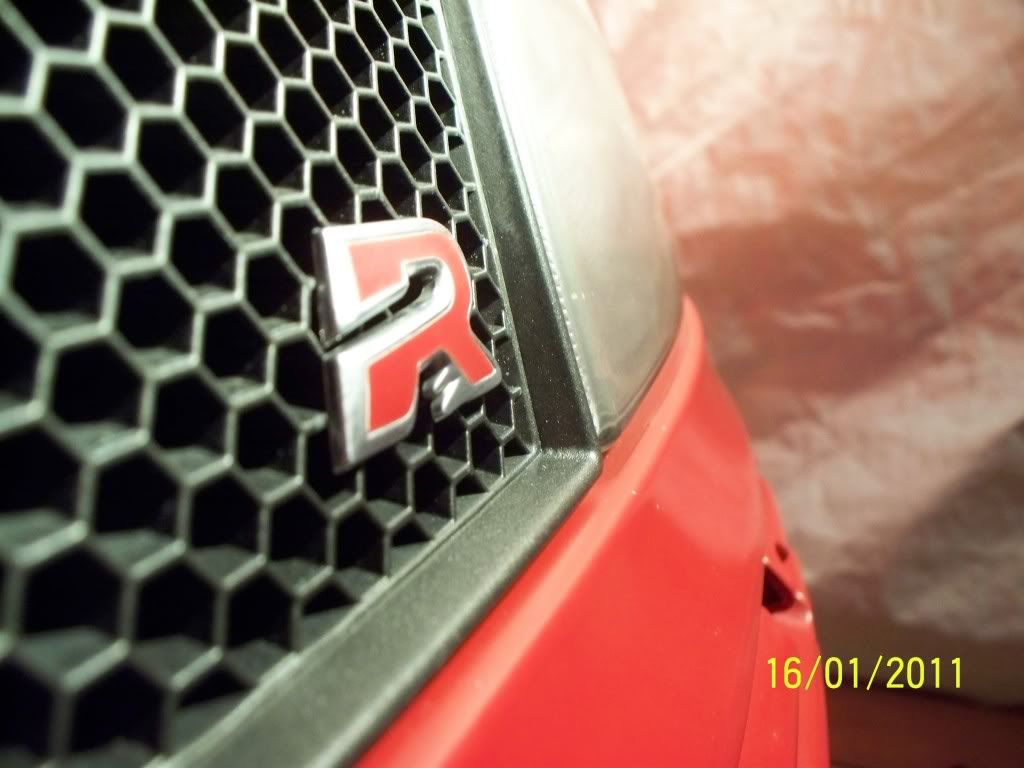
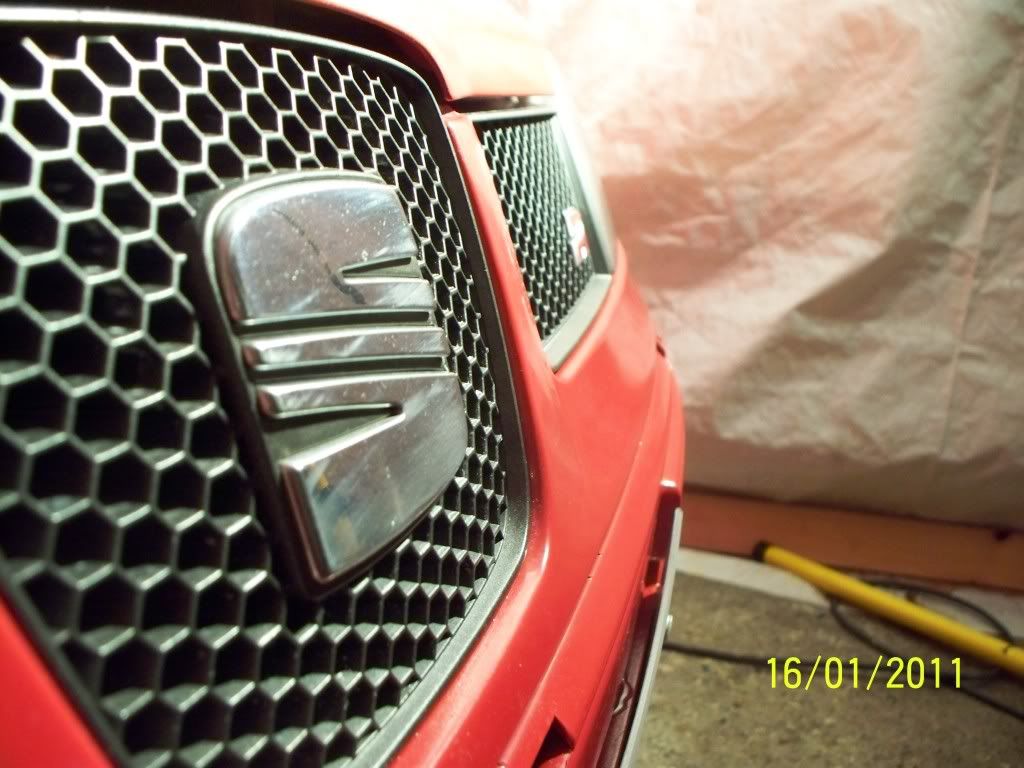
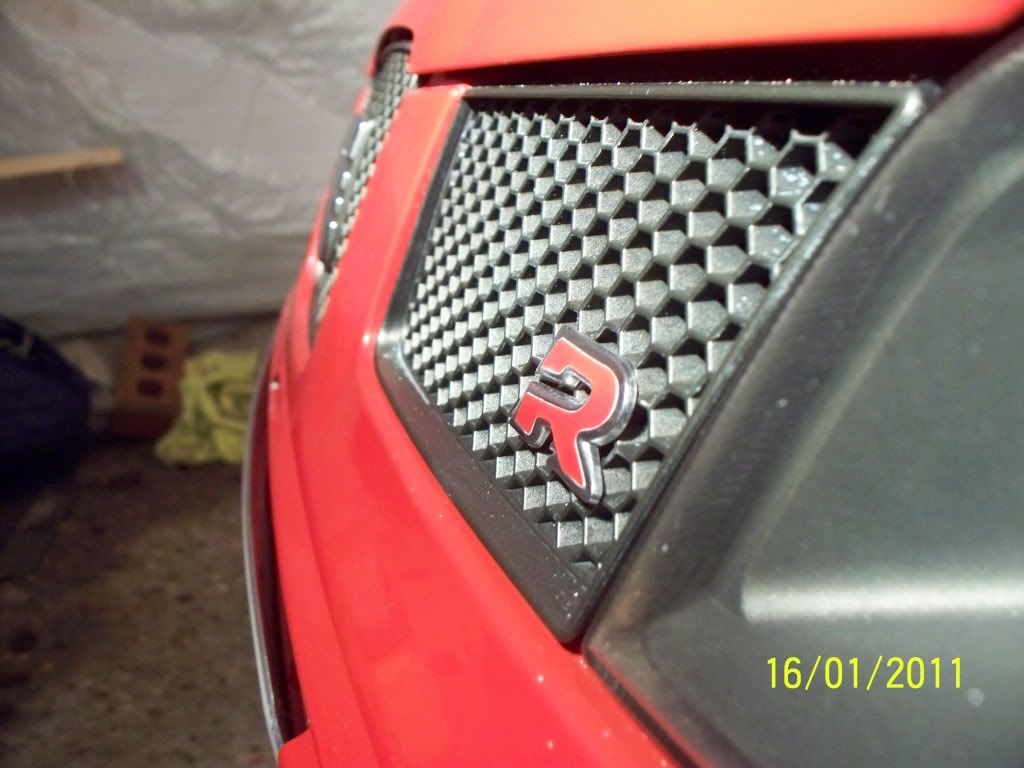
Stickered, lacquered and fitted
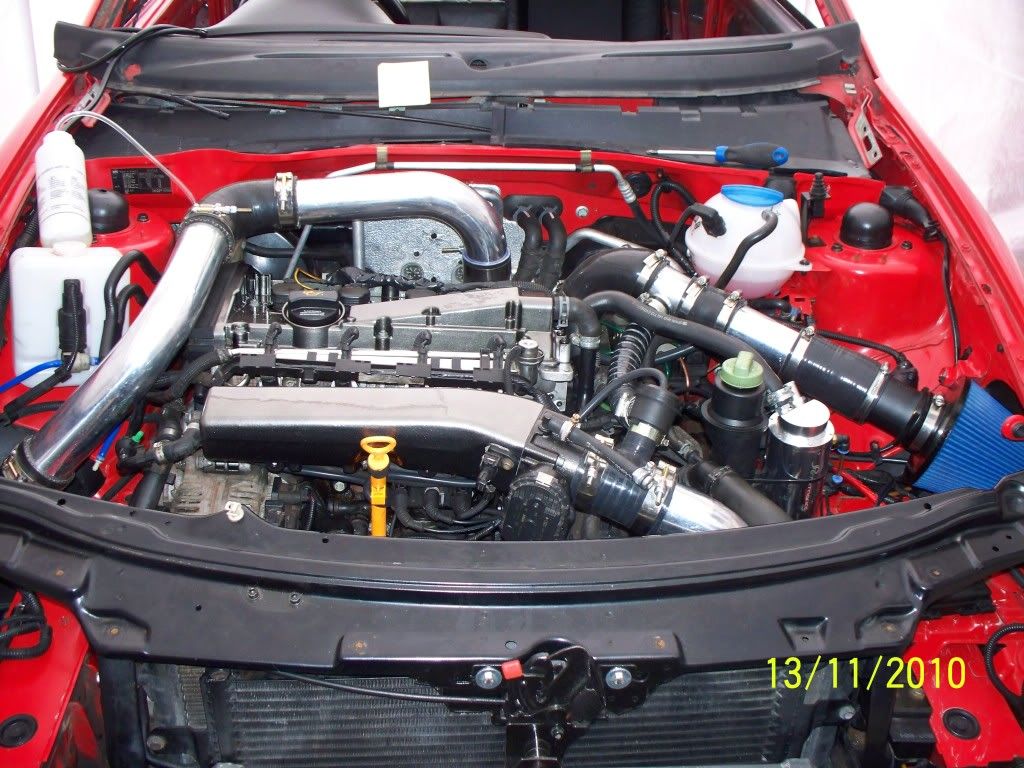
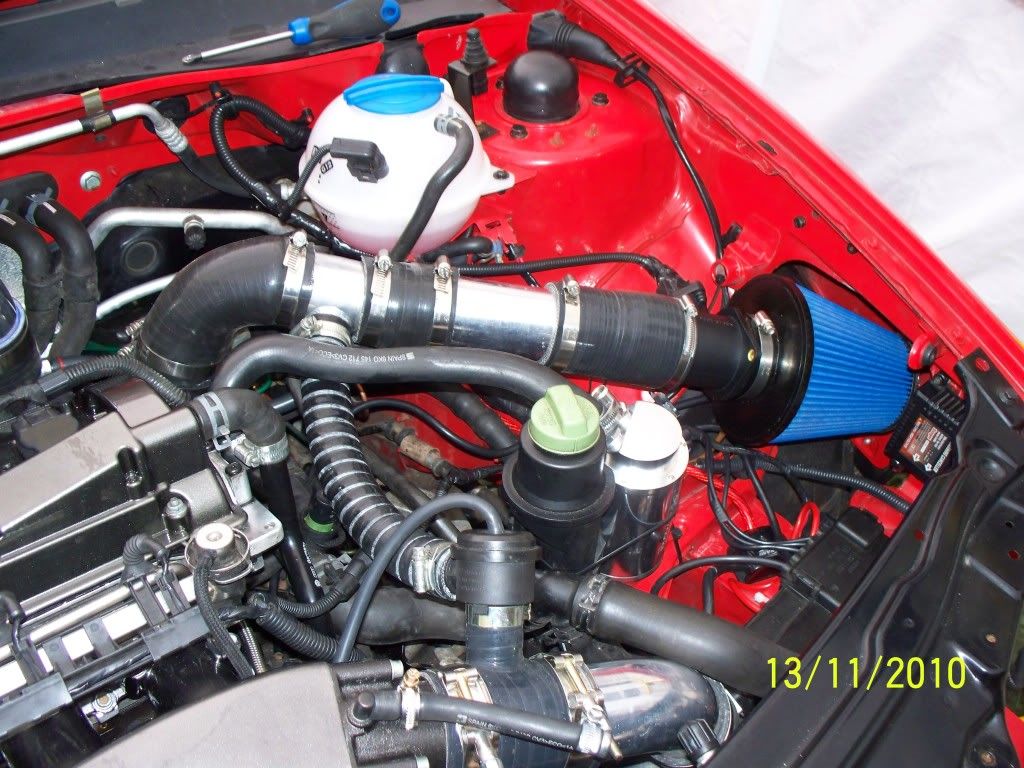
Few shots of the engine bay in it's current state:
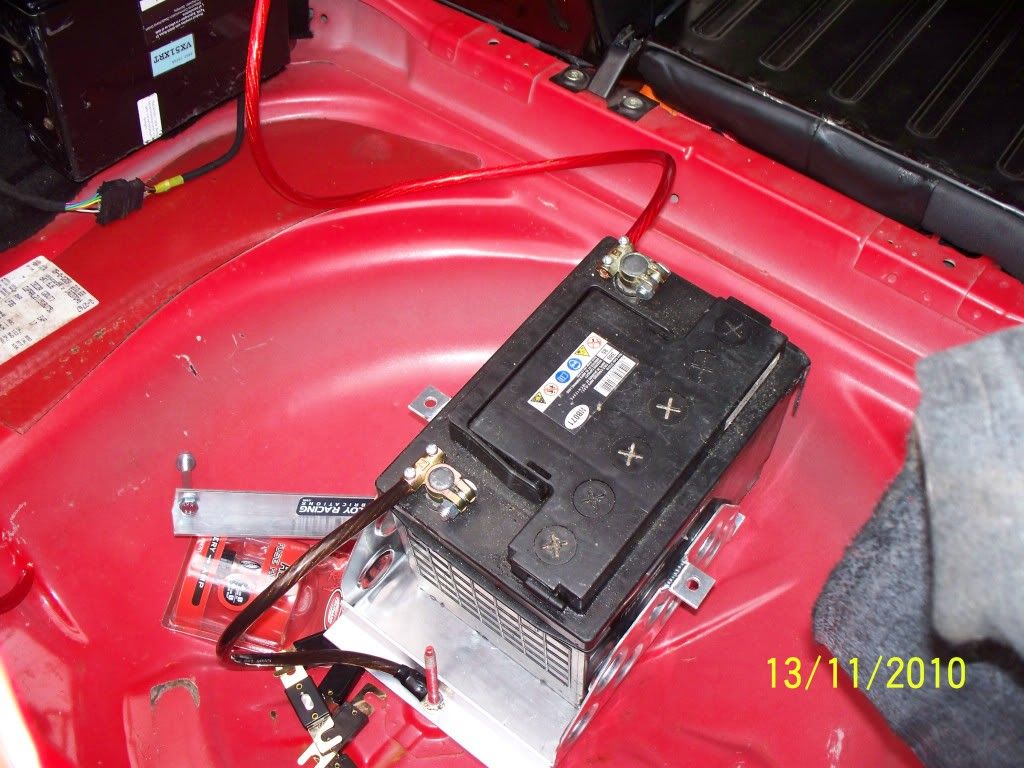
Temp battery - need a sealed one and it must fit in the tray :P fuse also to be added.
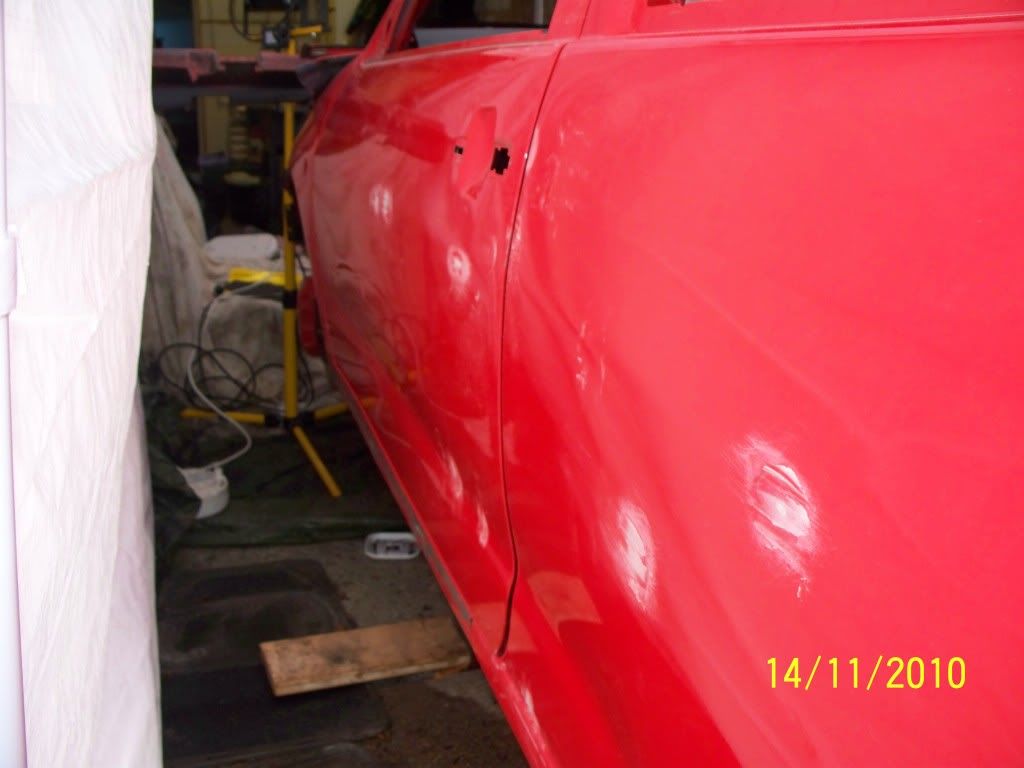
Now a start on the bodywork prepping it up for the respray - a detailed "once over" of the car showed that there wasn't really a panel which didn't have a scratch, dent or chip taken out of it:
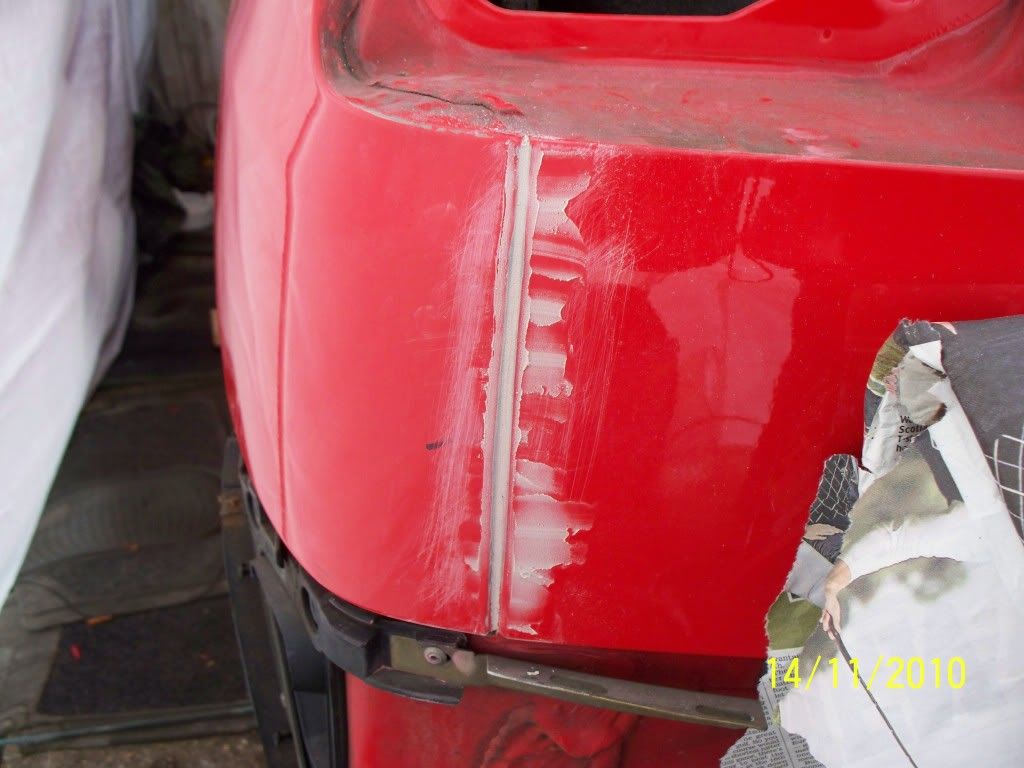
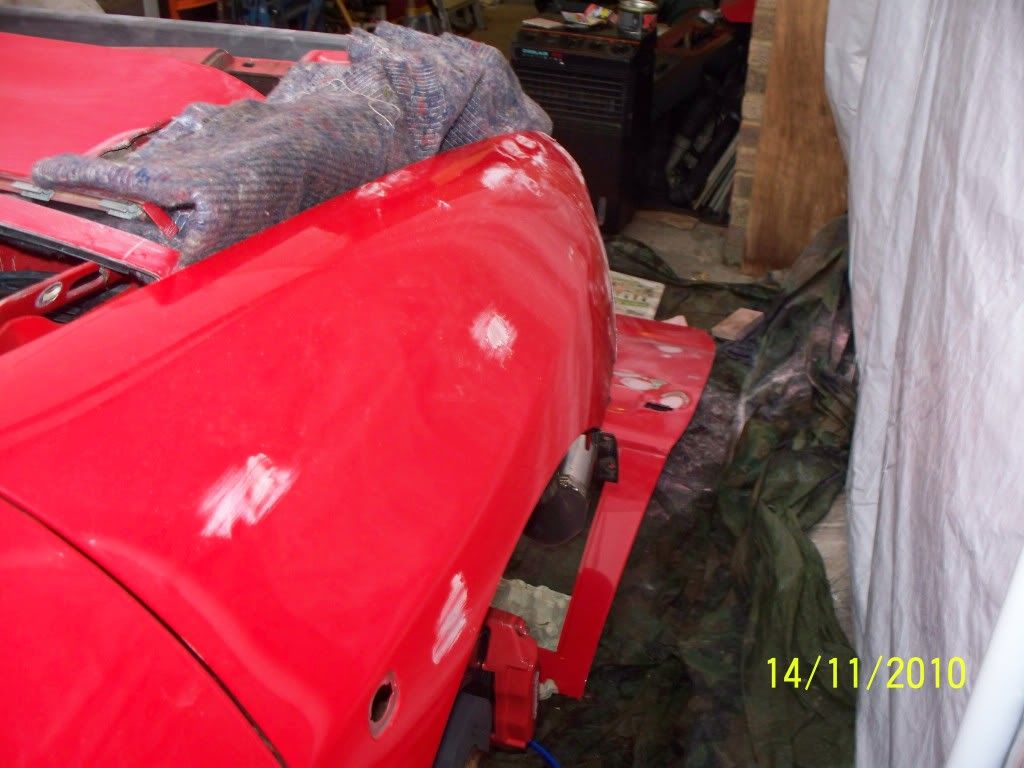
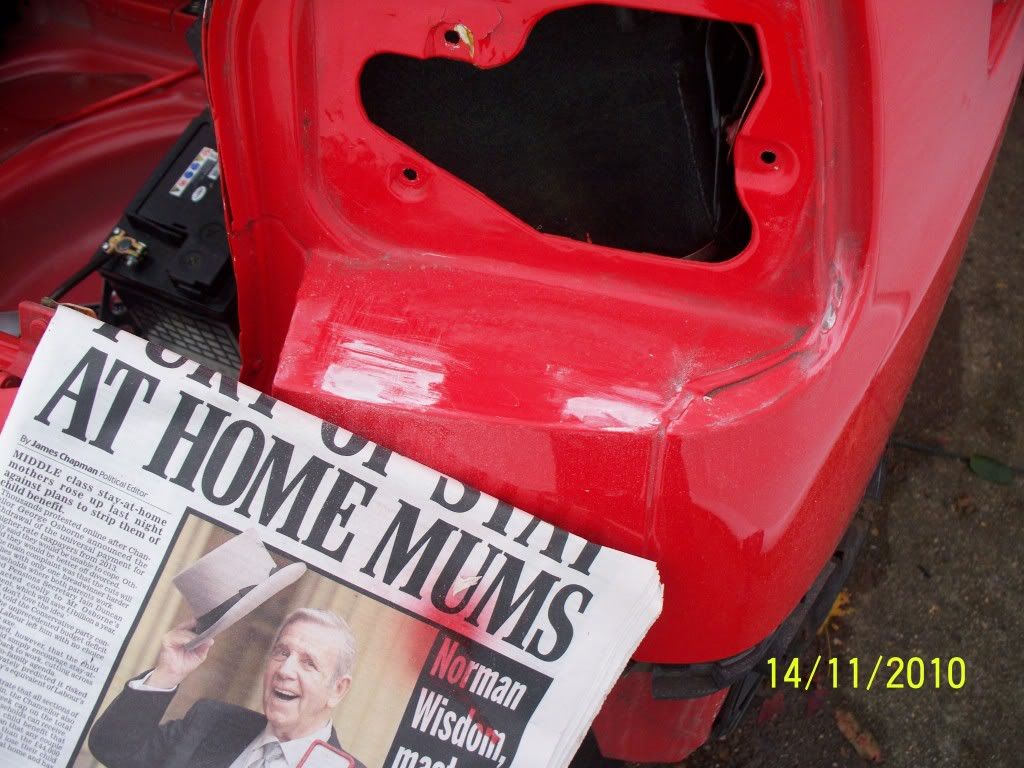
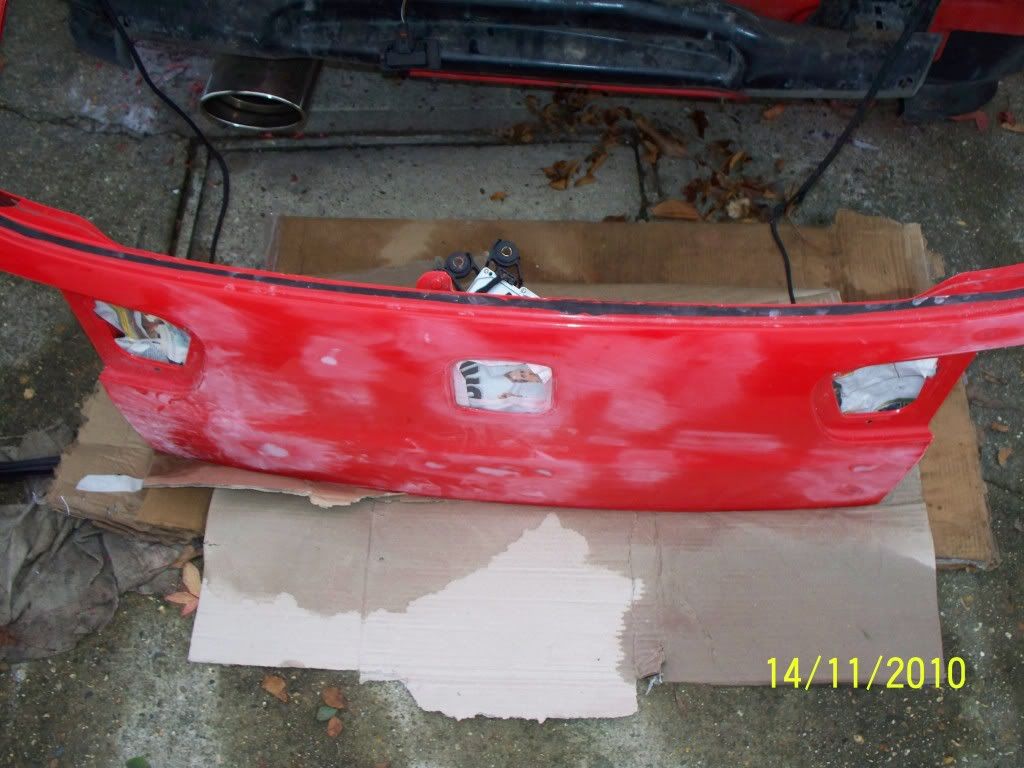
Then came the original bootlid which I can quite safely say was a mess, where it had been resprayed before I found fingerprints in the paint work as well as drips of water which must of fallen on it when the paint was still wet, finally a few dents which had to be removed:
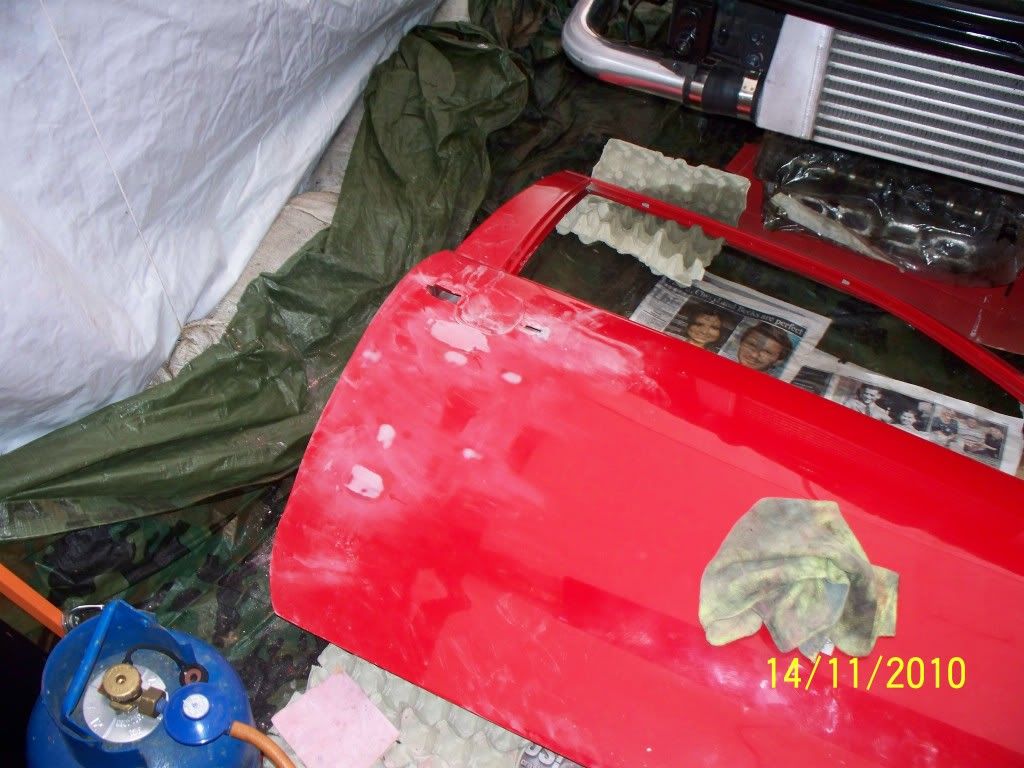
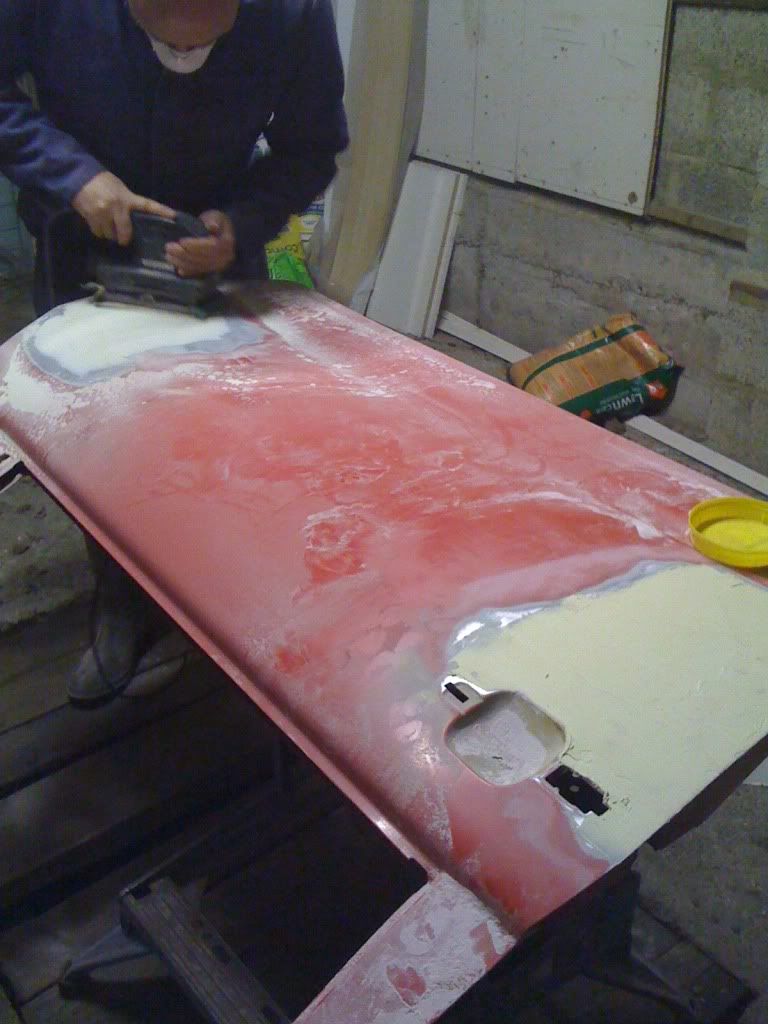
After that I started on the scrapyard door which again was pretty bad and had 2 quite deep dents in it:
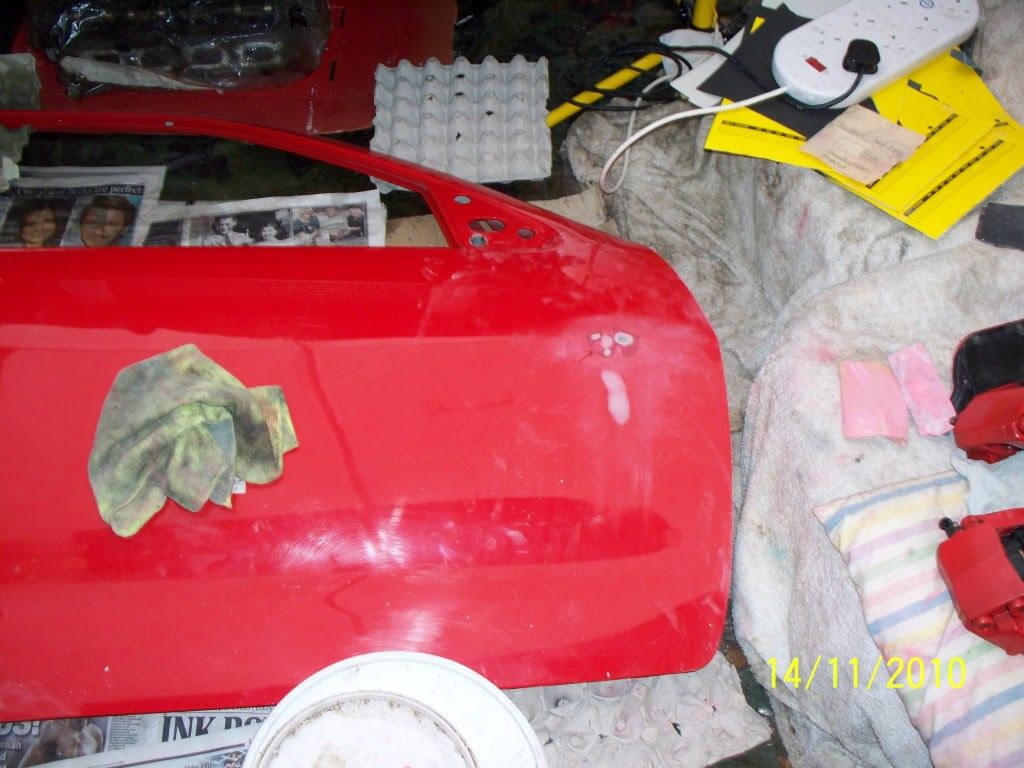
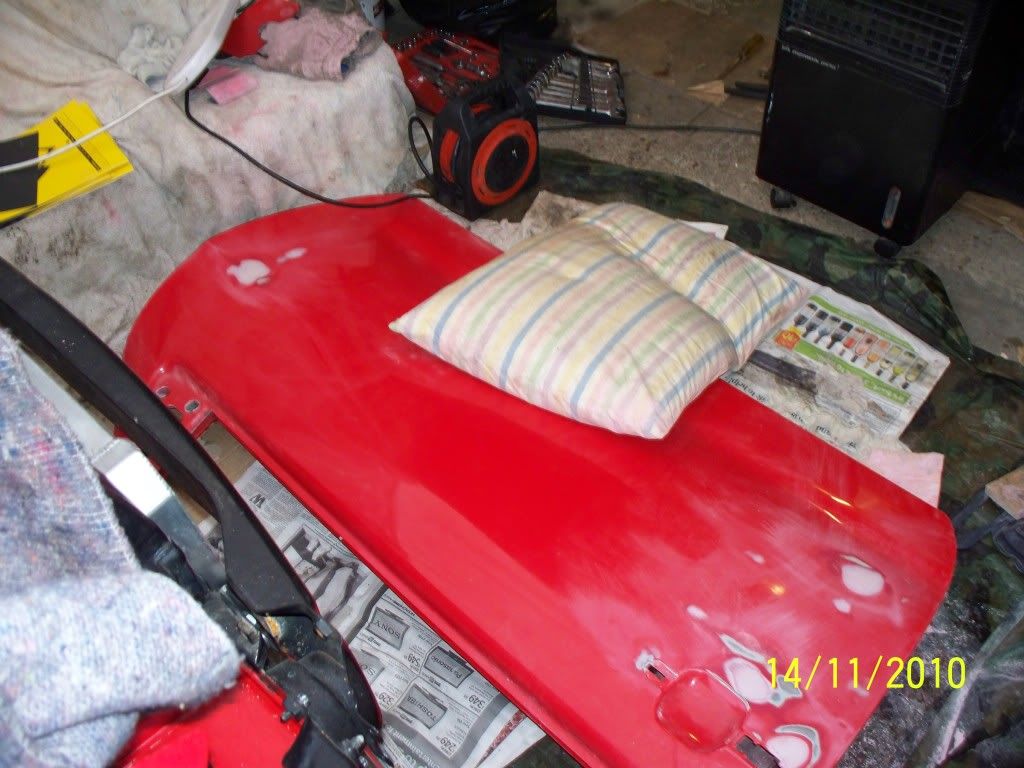
The worst areas where, you've guessed it...still to come:
A badly seal panel which caused rust to come through - angle grinder came out to the rescue
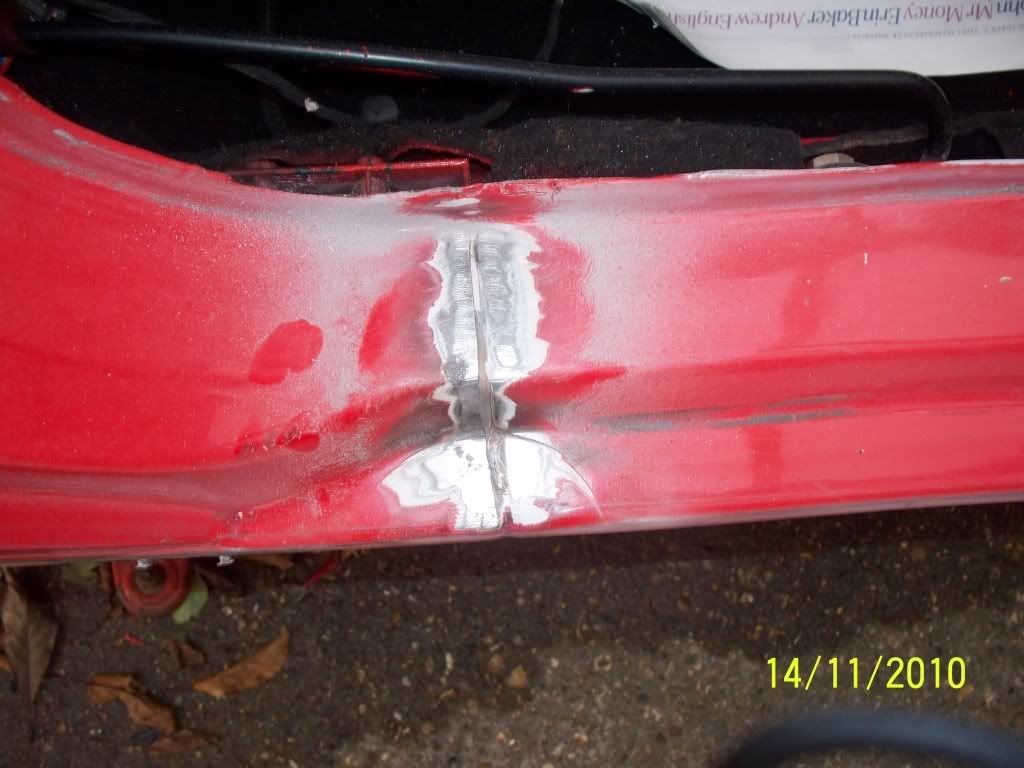
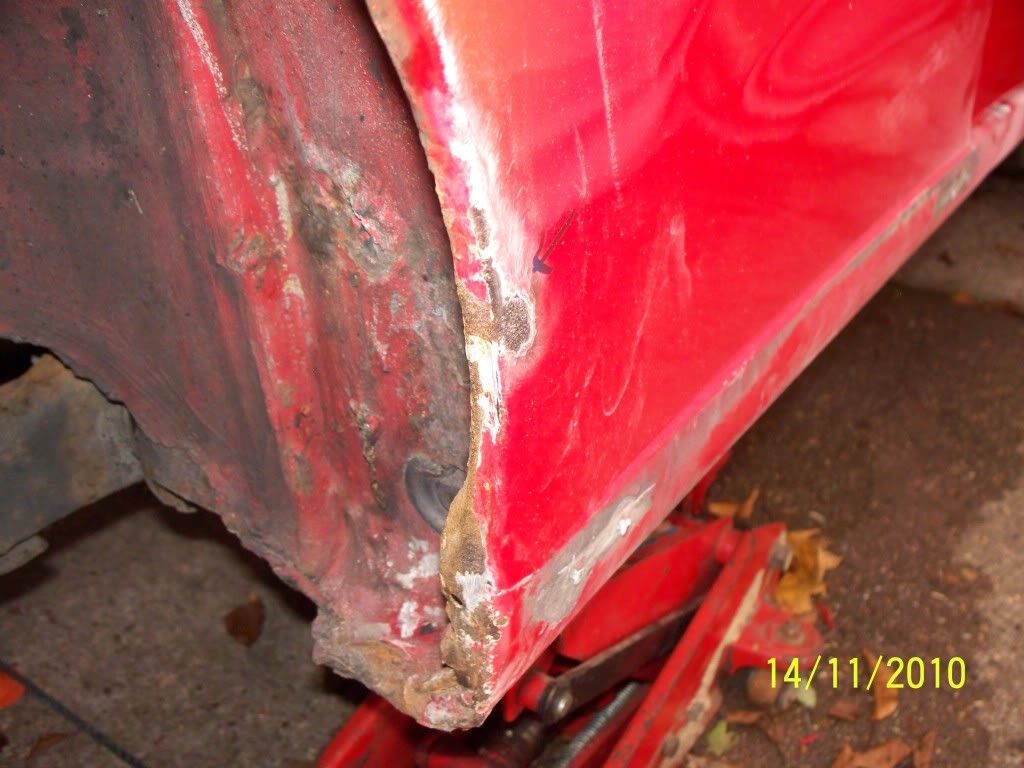
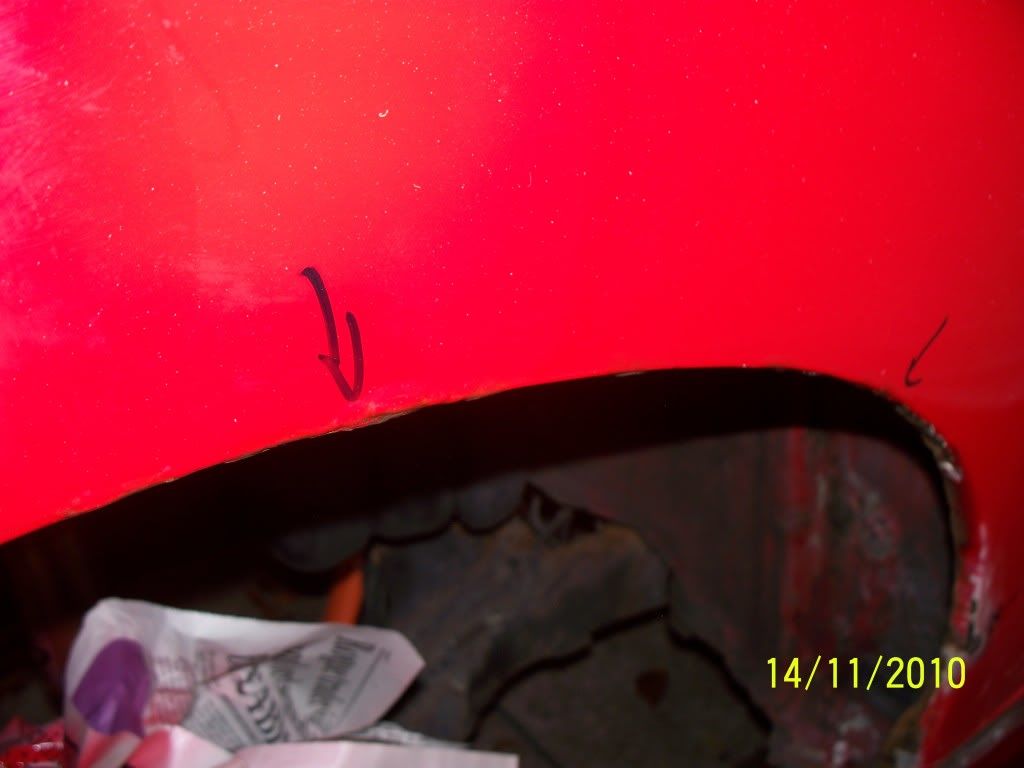
The mass of things which I could get away with just flatting down:
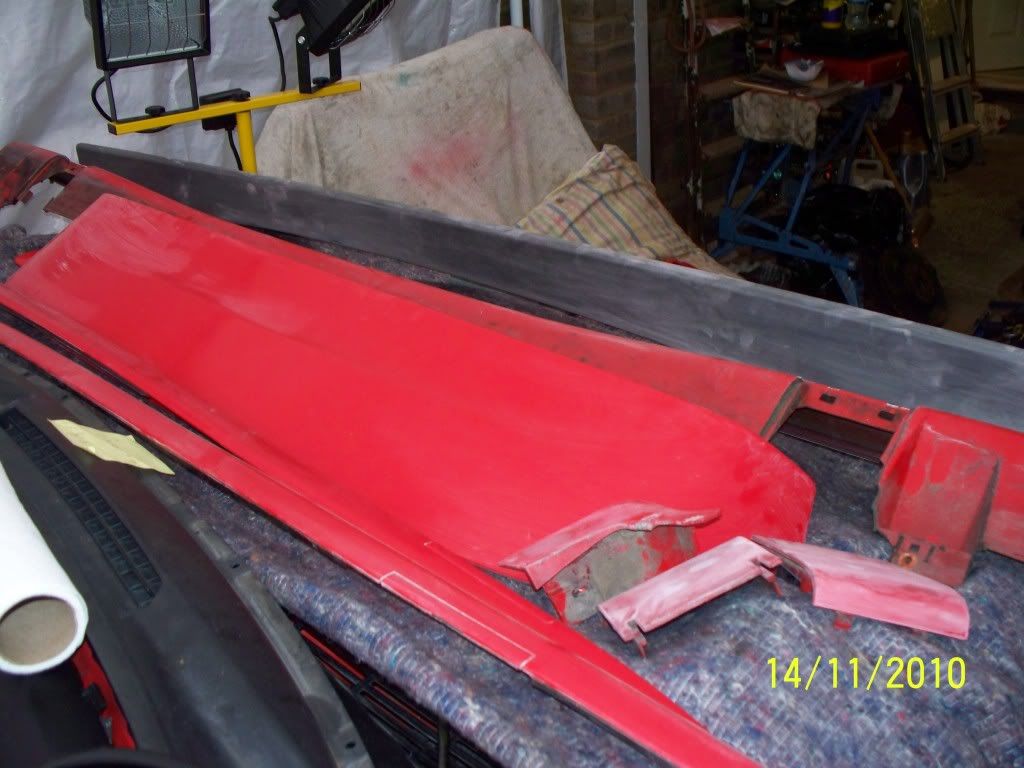
The front bumper which is "raped"
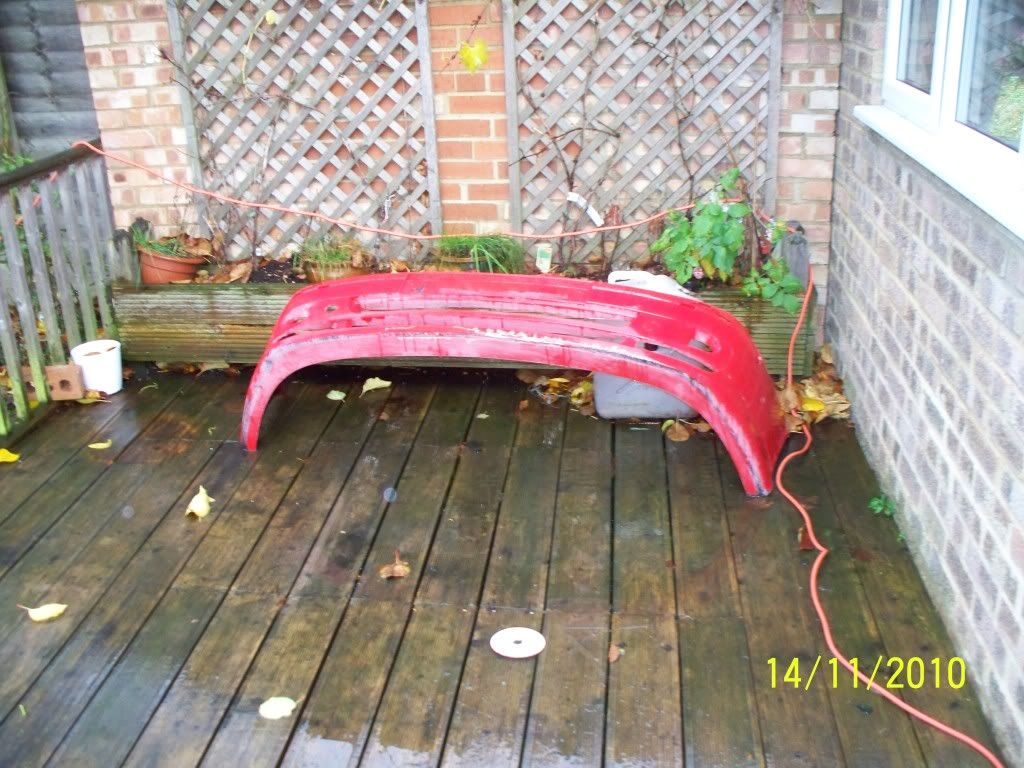
and the queue of panels waiting in the back garden to be treated:
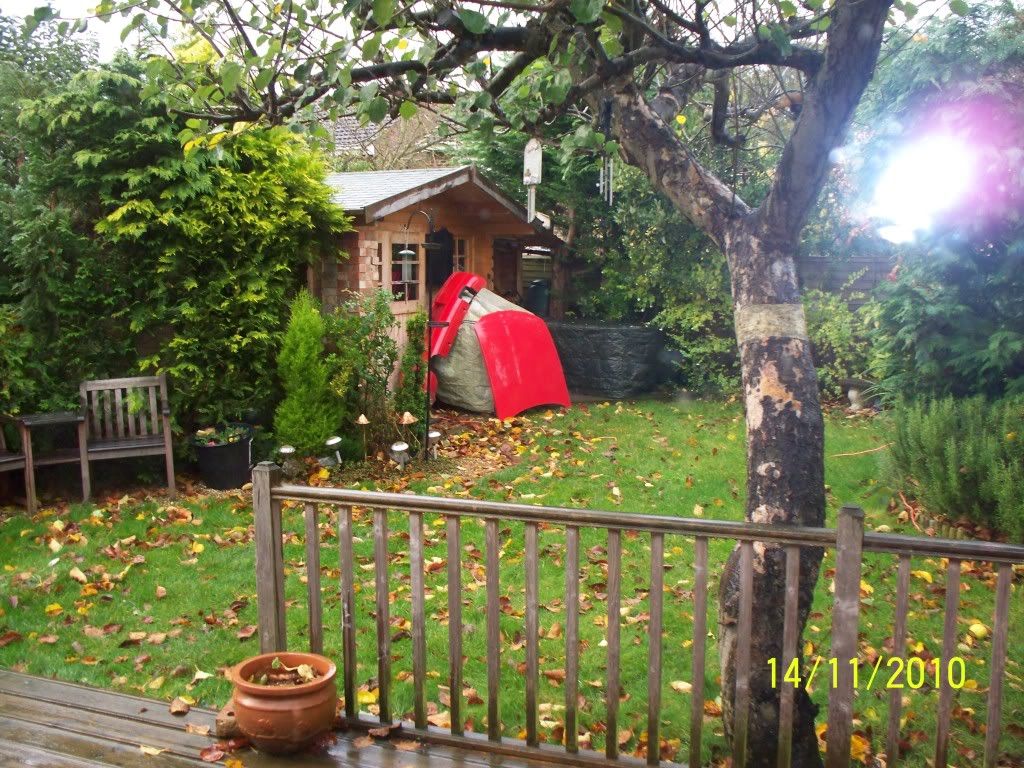
That's all for now.
Few updates of the work which I did tonight on the car, started with more filler in the door, having some problems trying to get every bit of the filler just so:
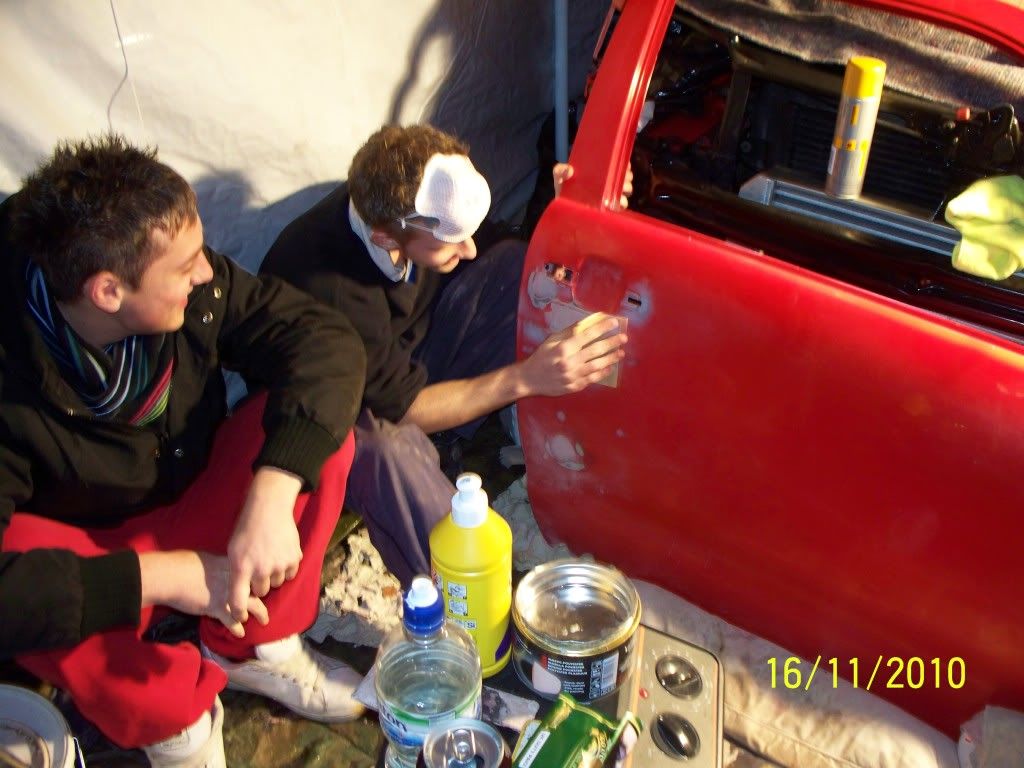
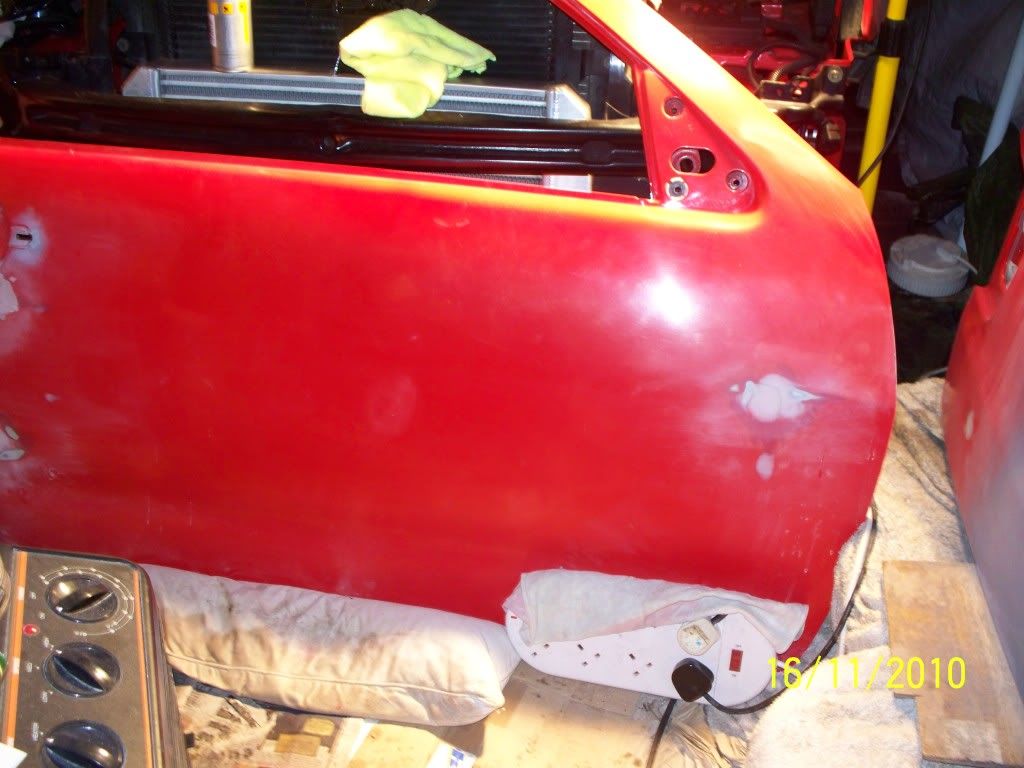
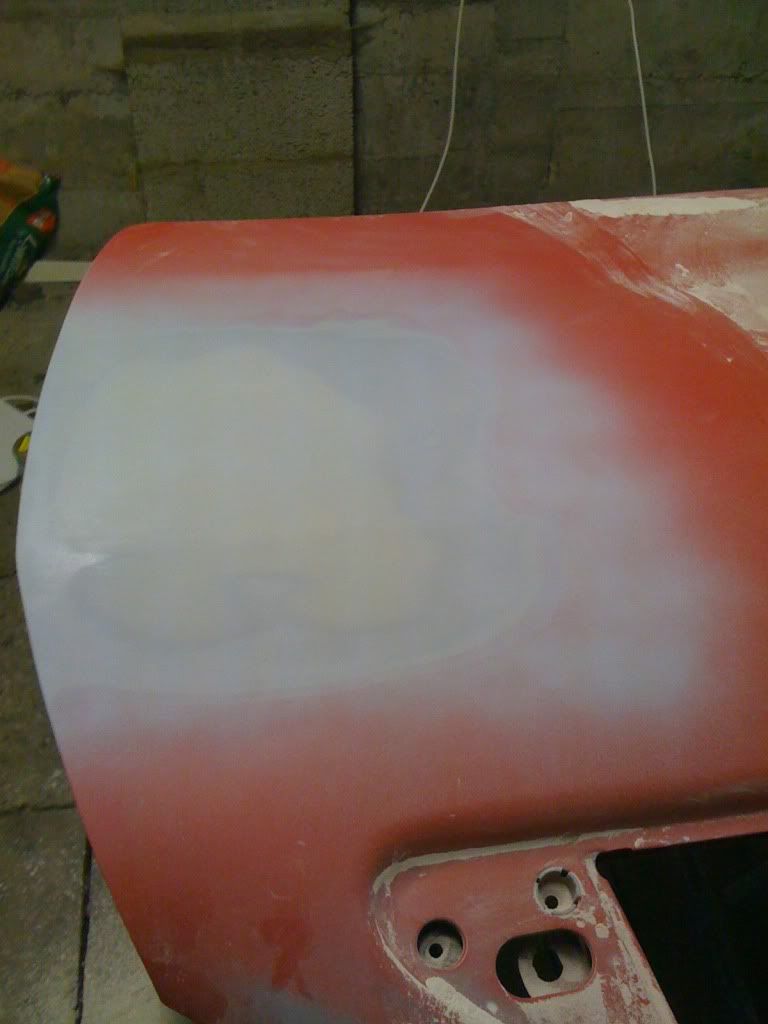
Also been primering a few bits a pieces:
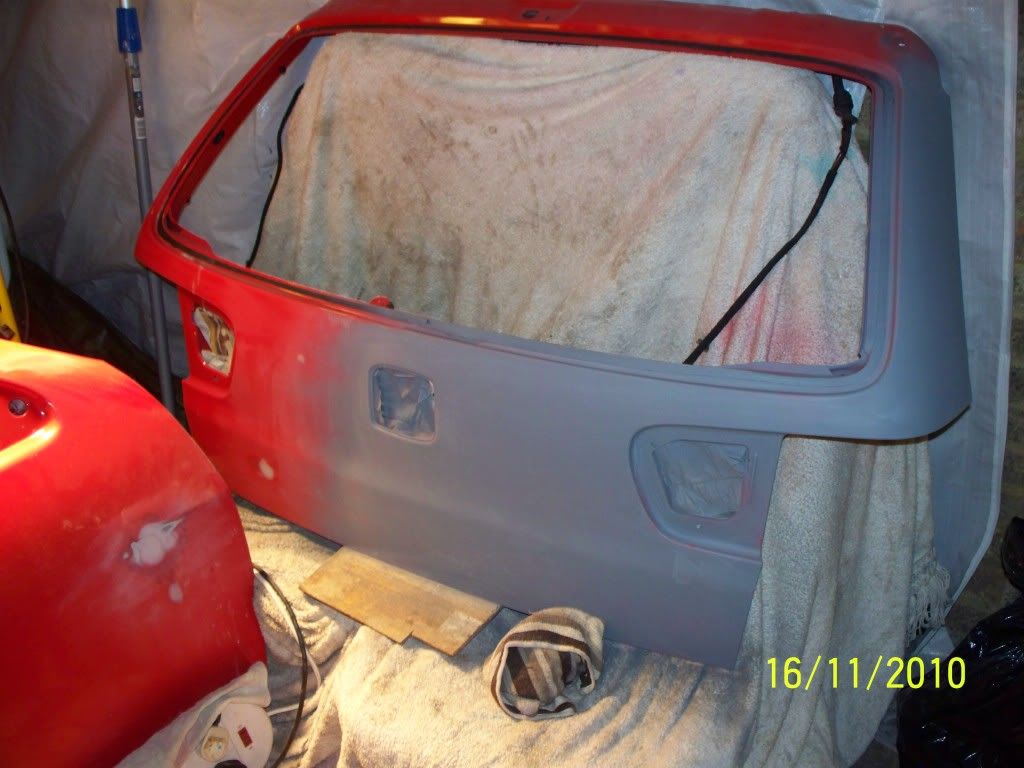
Quite handy having the heaters in there as it means the primer sets nice and hard in minutes.
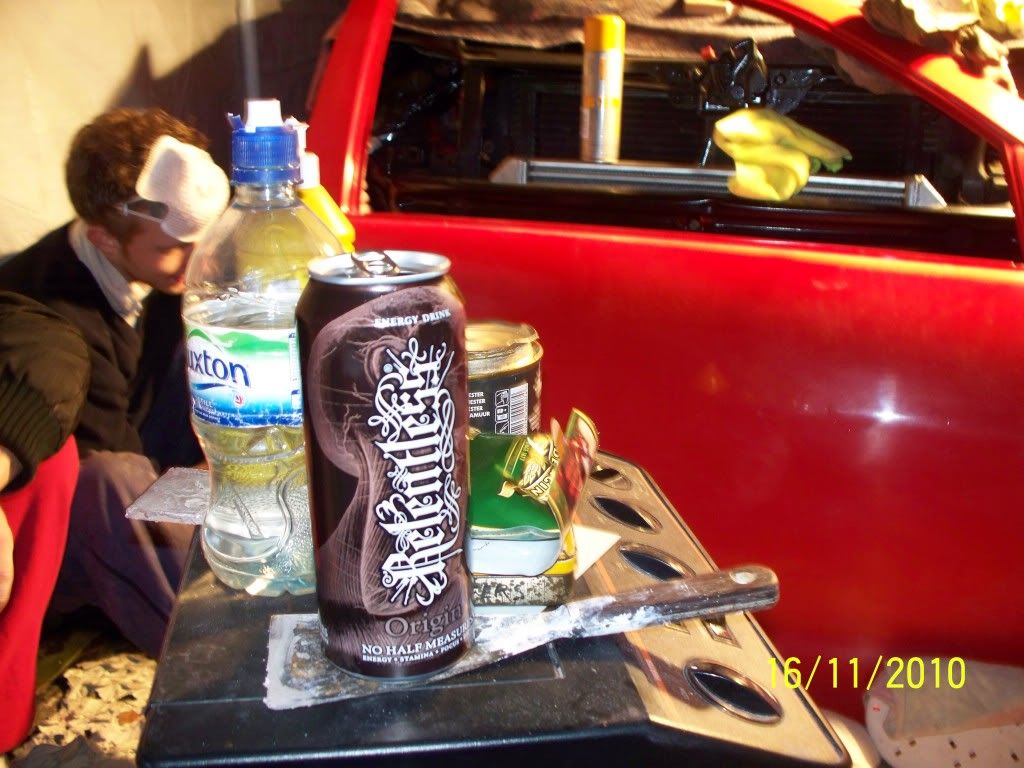
Finally to keep us awake:
[QUOTE=AlexGSi2000;3224702]Will be a testament to you once this is done.[/QUOTE]
Let's hope it all works out who knows at the moment - haven't even driven it yet :shrug:
Fingers crossed hey...
Just bought myself this:
and this:
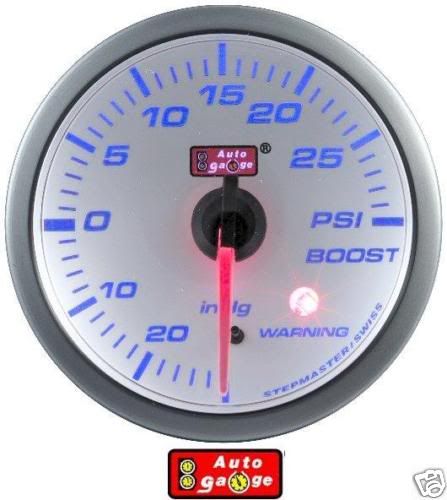
Now I know it's Autogauge and Halfrauds sell Autogauge but I think this gauge actually looks really good. I also bought it because the company have a range of gauges that all look very similar so in time I should be able to get a uniform look across my dash/ centre console.
Comments Welcome :harhar:
Suj - I'm far from rushing it lol. You can't wait to see it... what about me?.
Time for an update -
Got the car out of the garage Saturday morning:
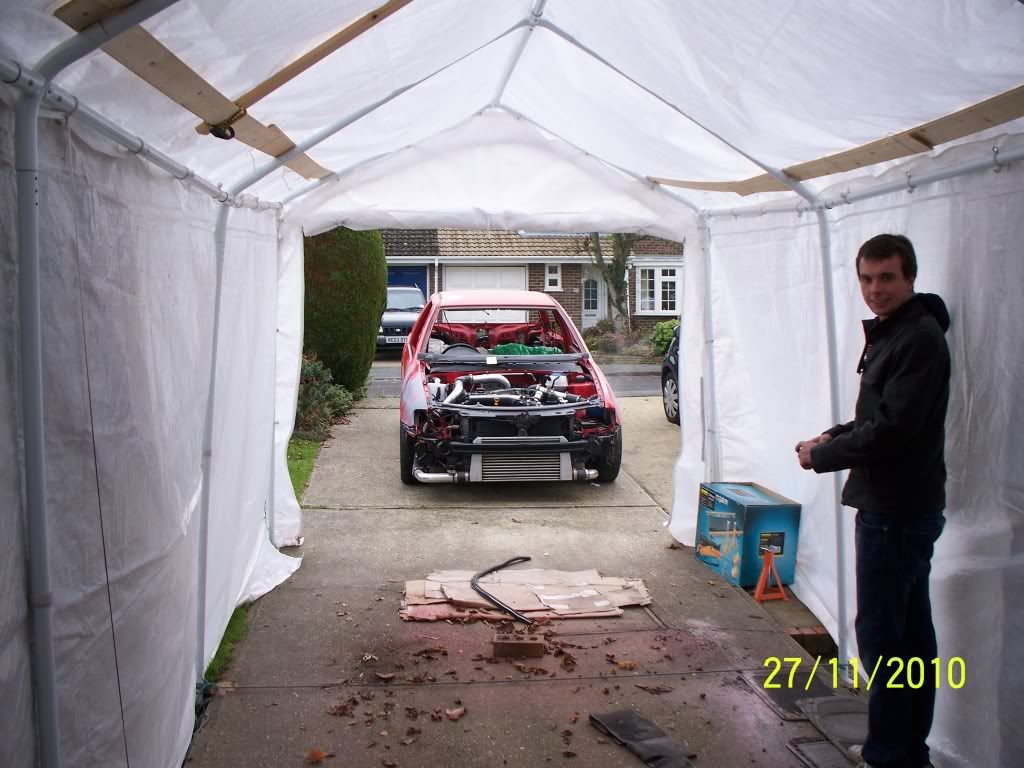
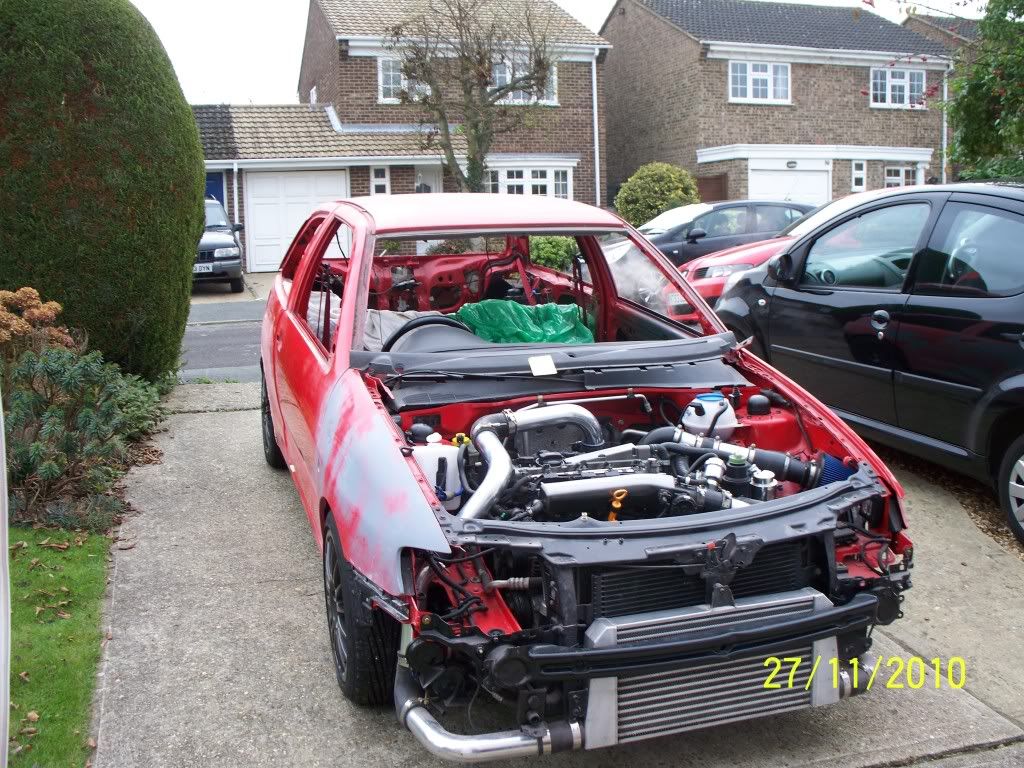
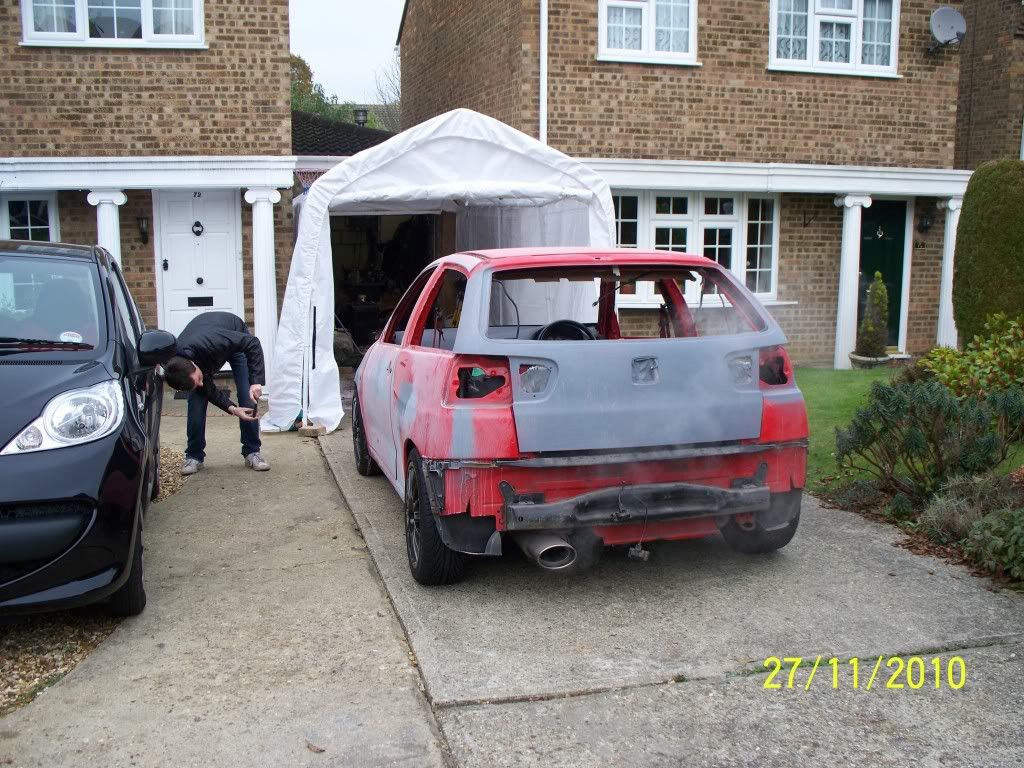
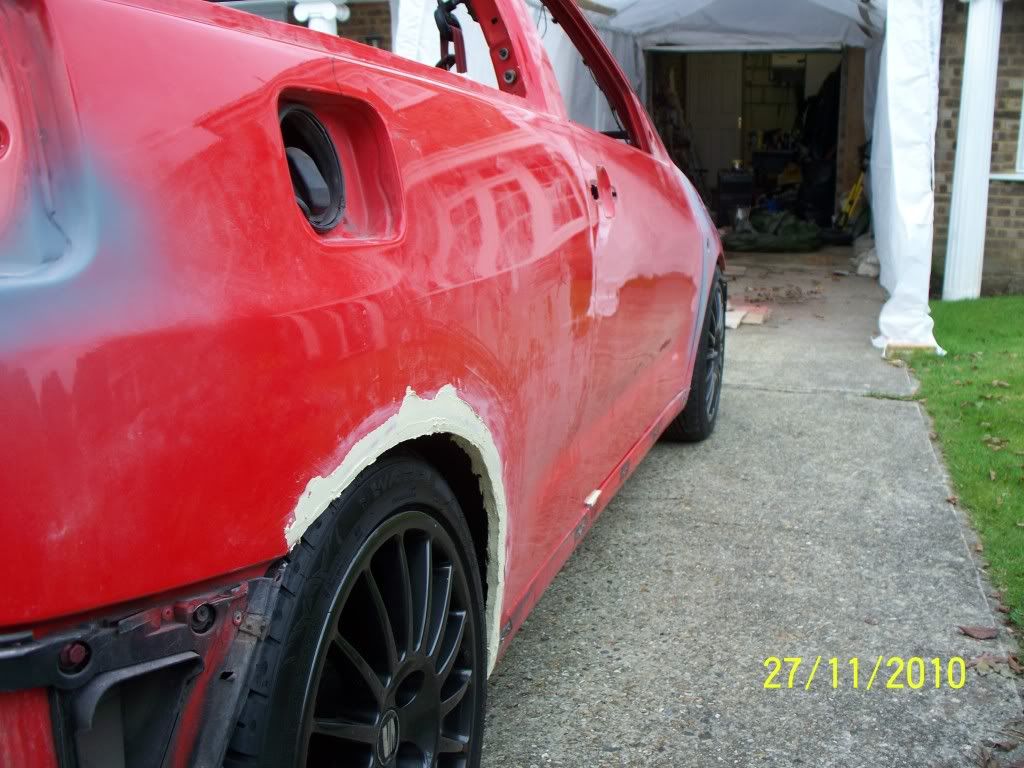
Ended up sitting on the floor whilst a mate saw me out.
Brakes and wheels all on:

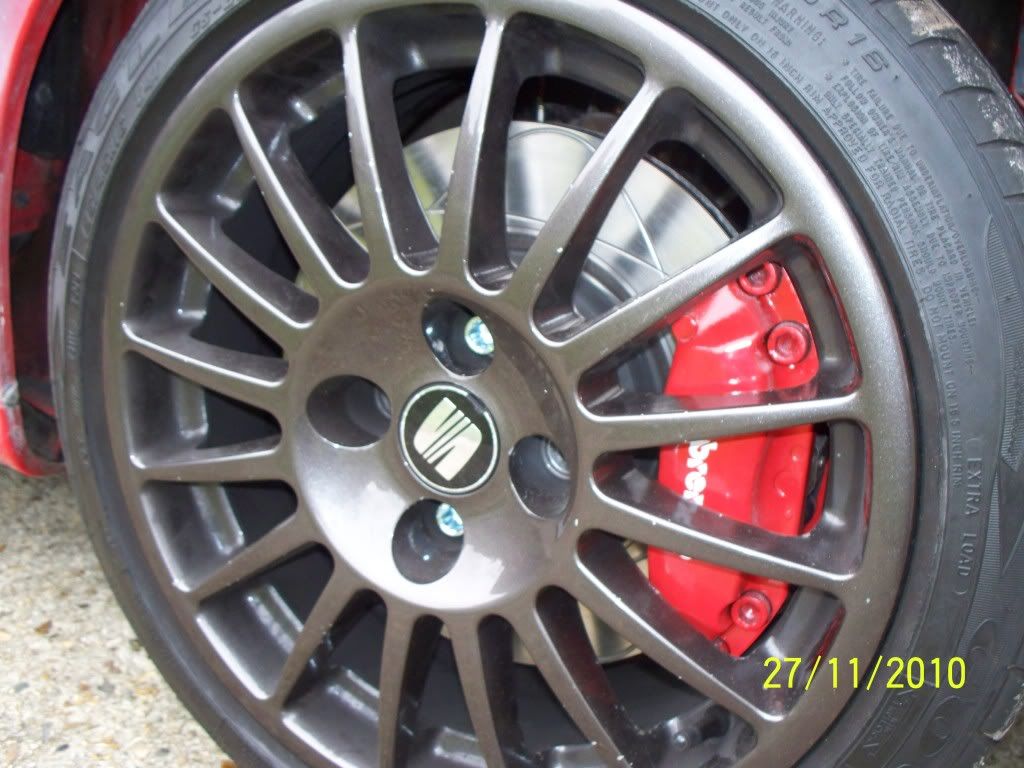
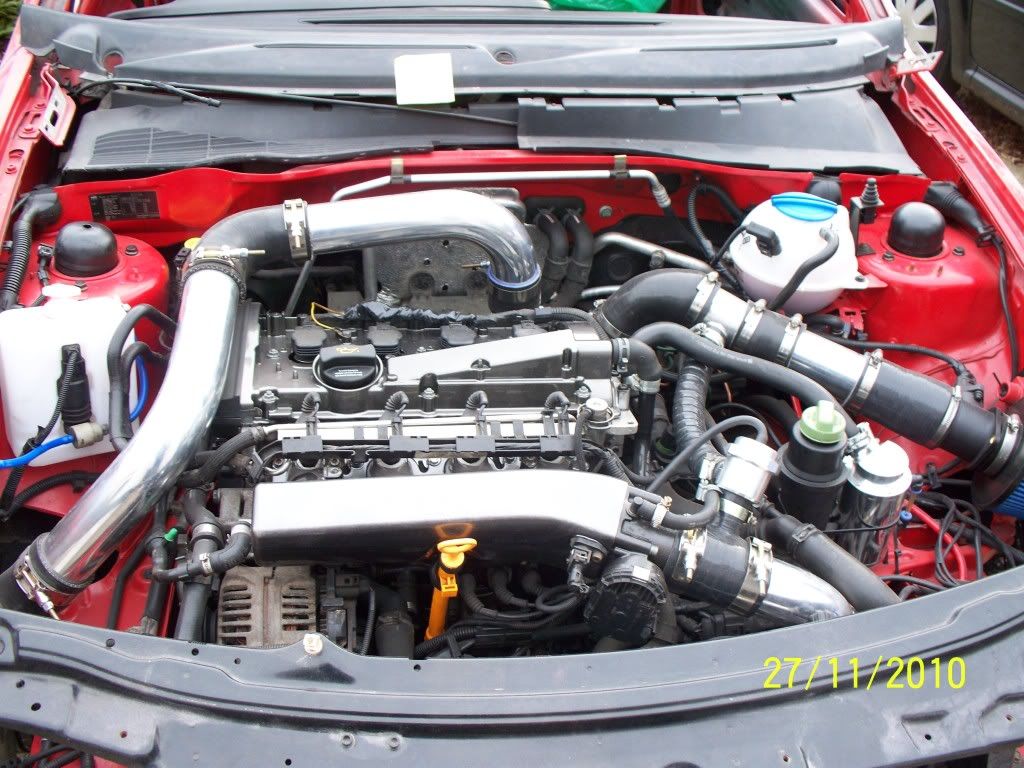
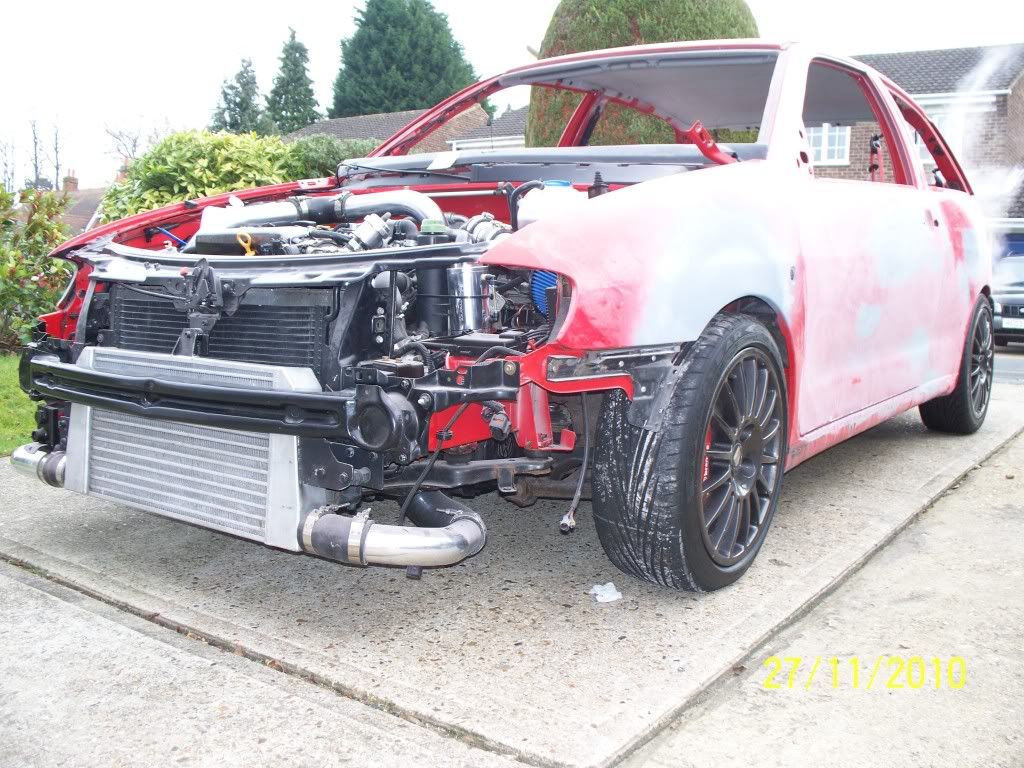
Main reason for taking it out was so I could get the doors off as the garage tent didn't allow me to open them enough to get to the hinges. Whilst it was out I took it for a very short test drive down the road sitting on a foot stall :funk:. Main problem being that the doors weren't off at the time so kept flying open and the stall would fall over when accelerating or braking so I gave up... Main thing is it drives!!
Up she goes:
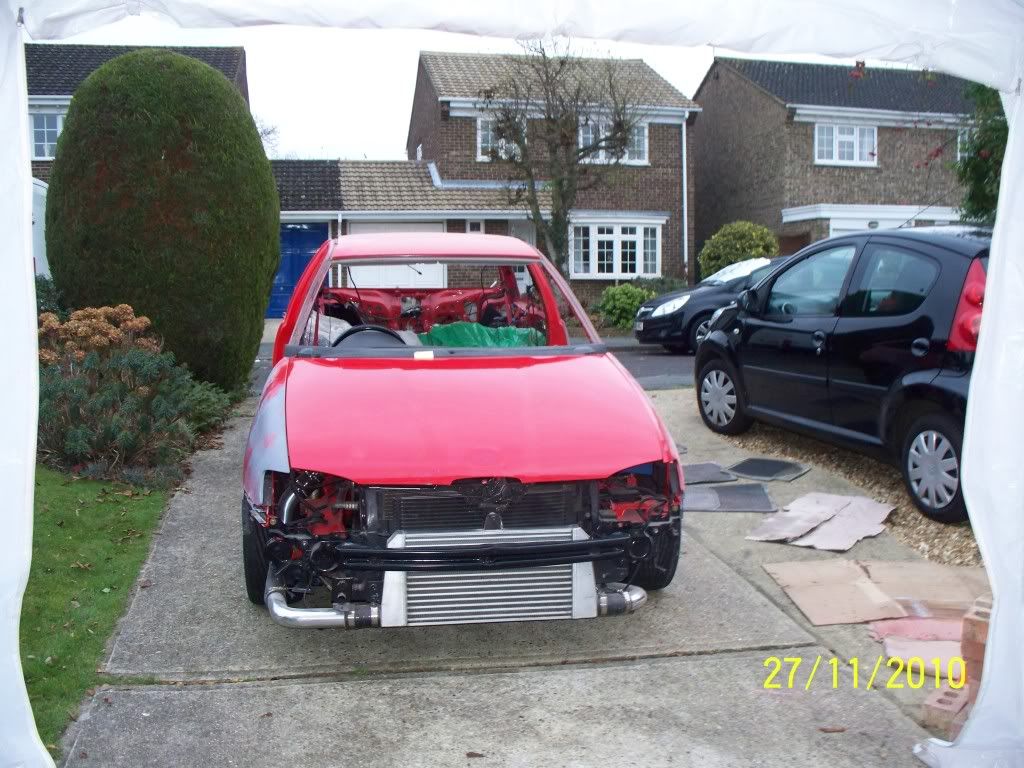
Doors off to reveal the sturdy bucket seat :lol: :
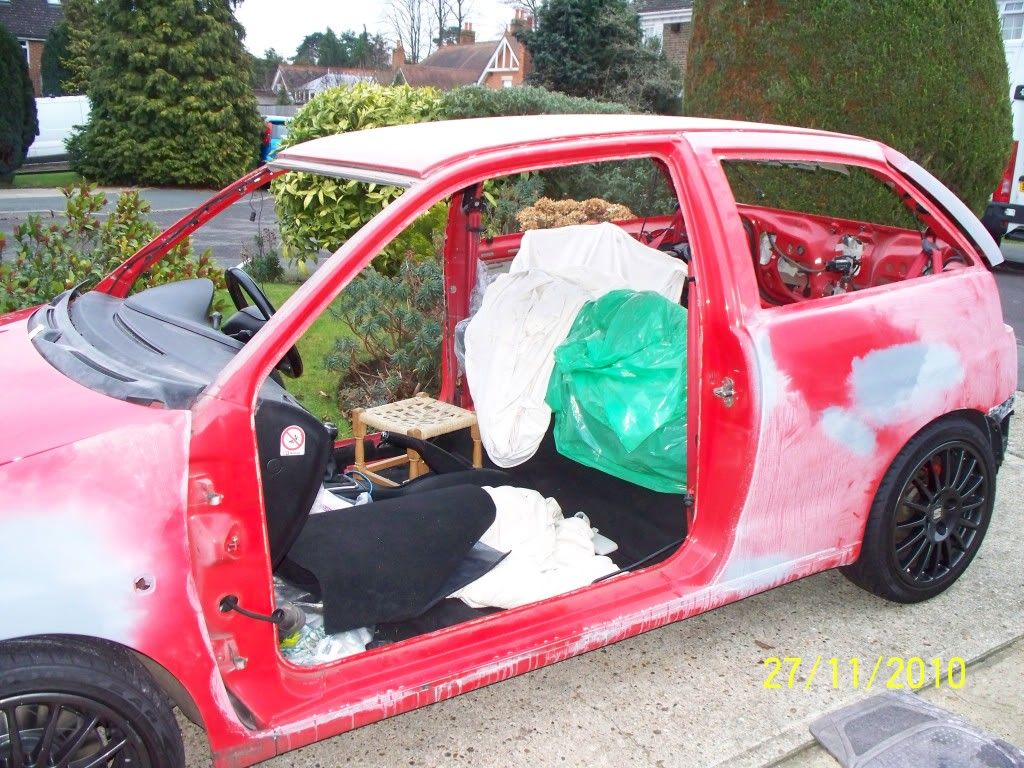
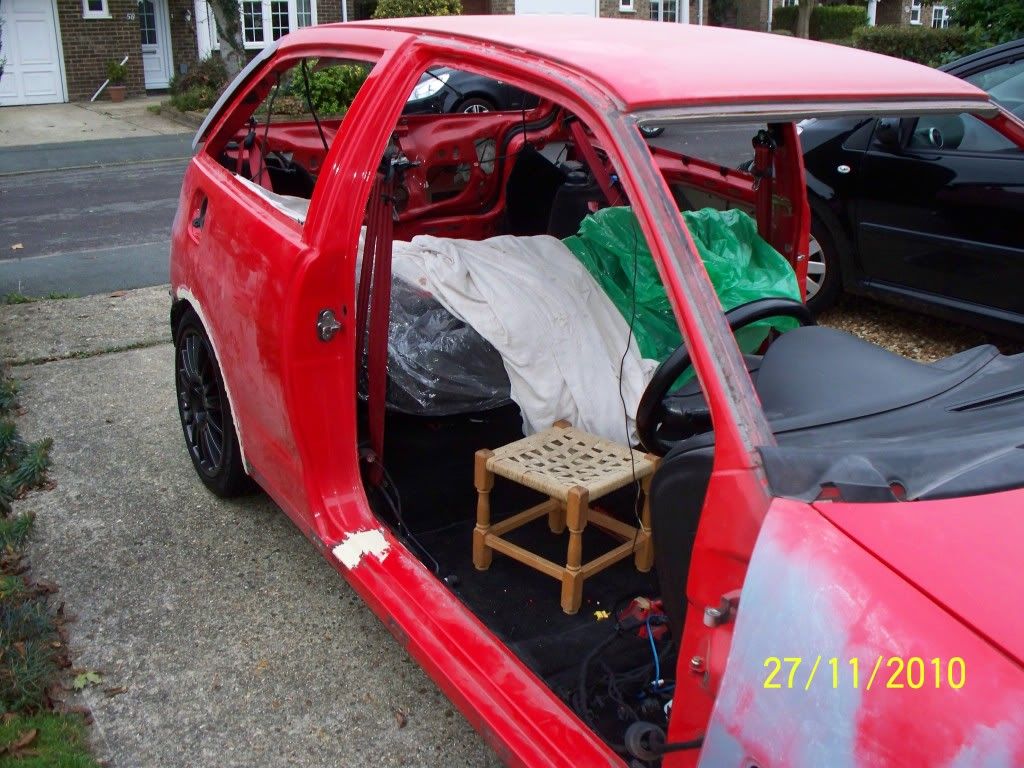
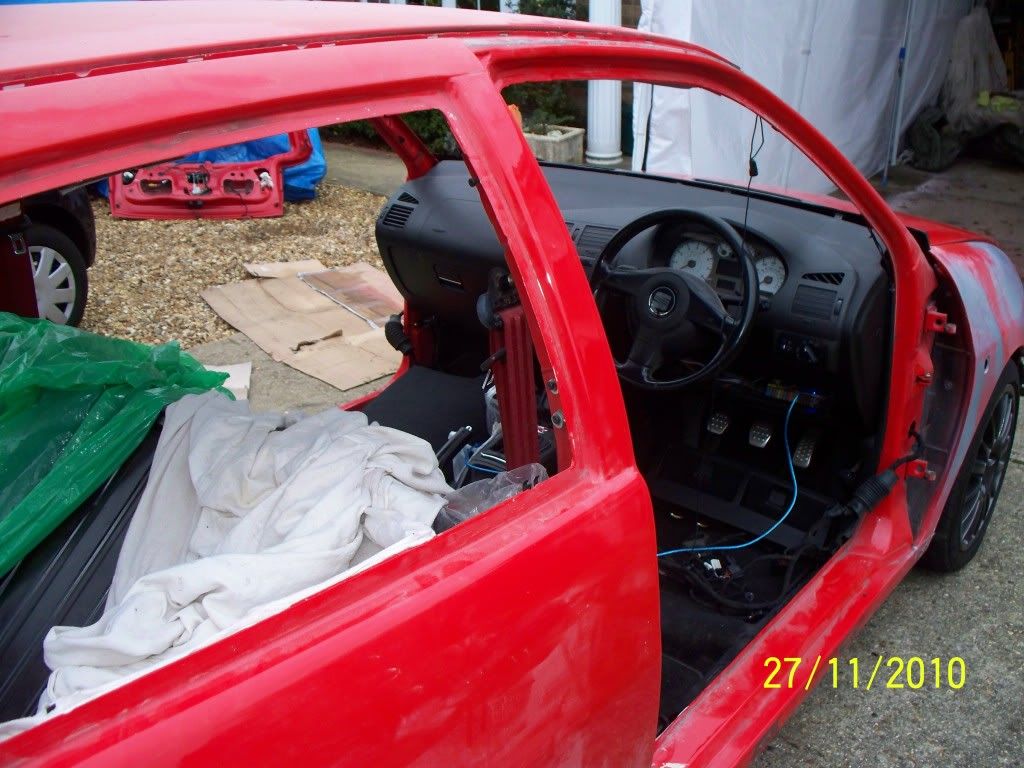
As you can see some pretty dodgy filler work going on too, mainly to cover up the bare metal whilst a mate helps me get it spot on
After getting freezing cold outside we put the car back in the garage to start prepping up the bonnet:
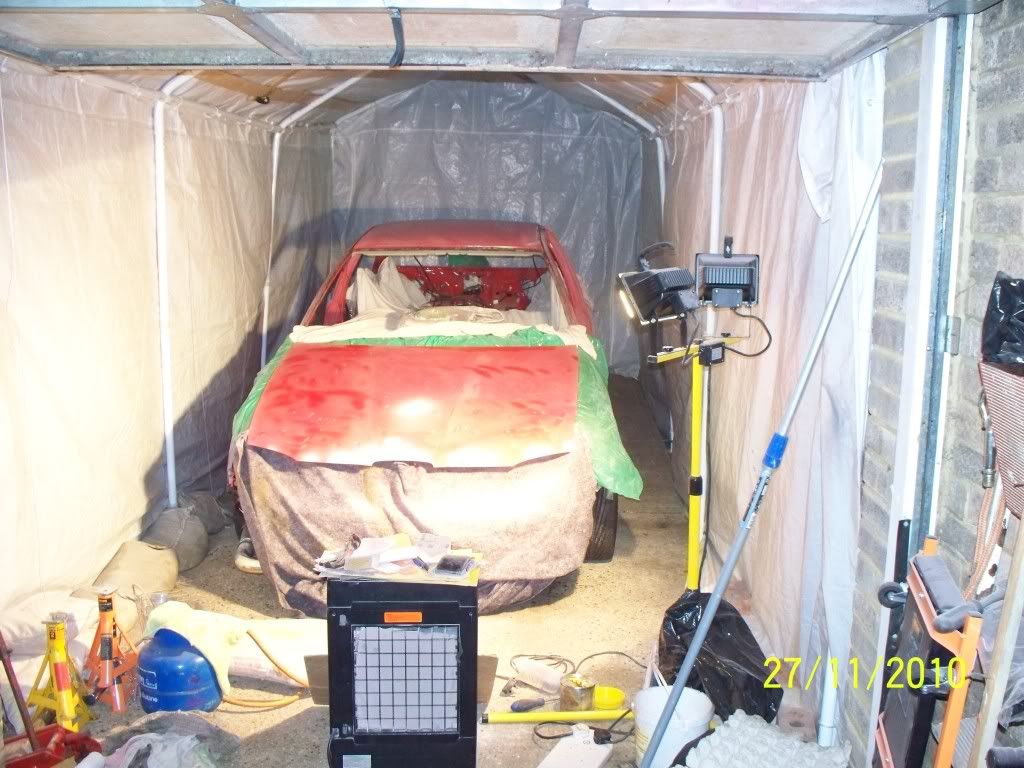
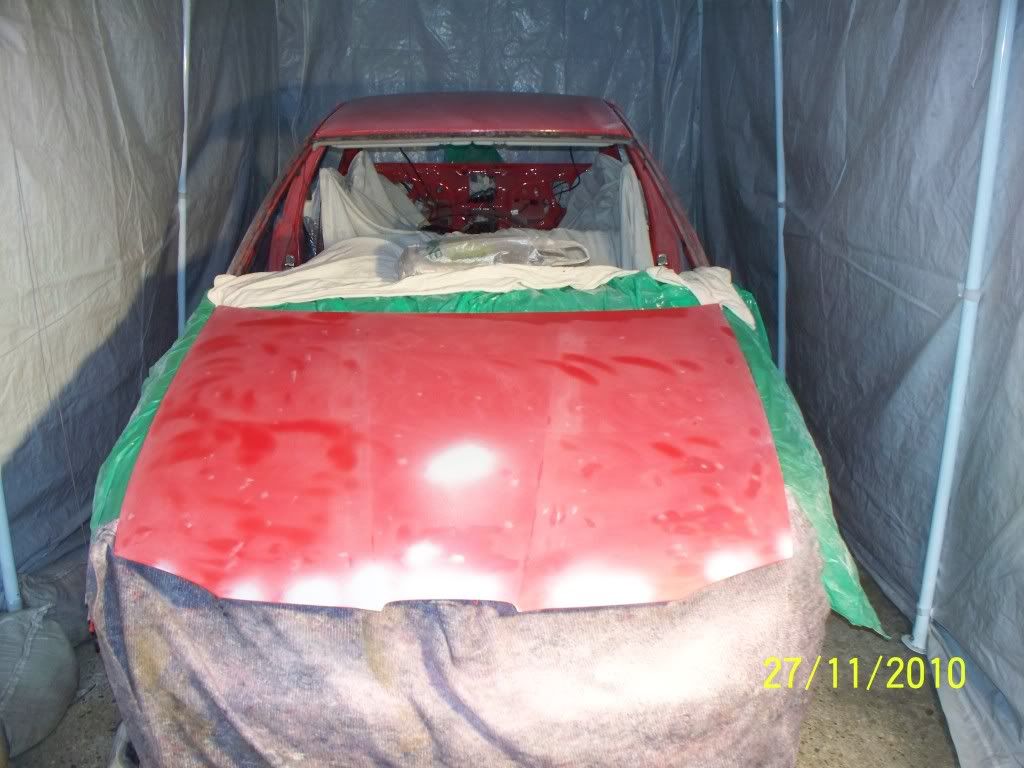
Thought this was cool shot:
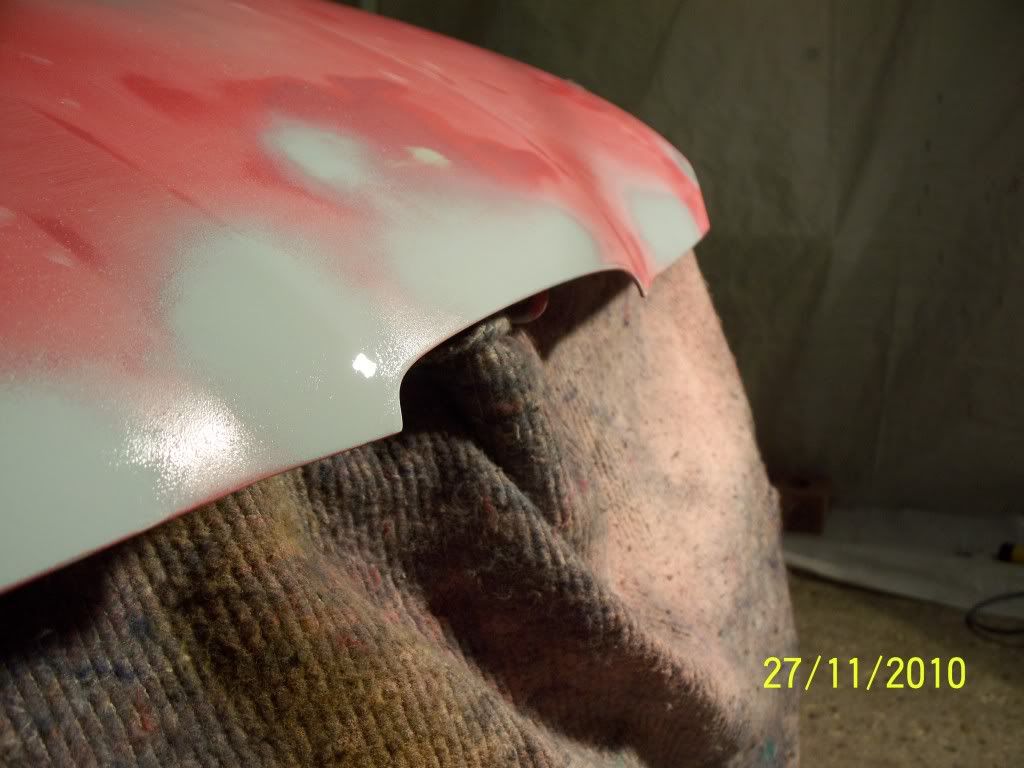
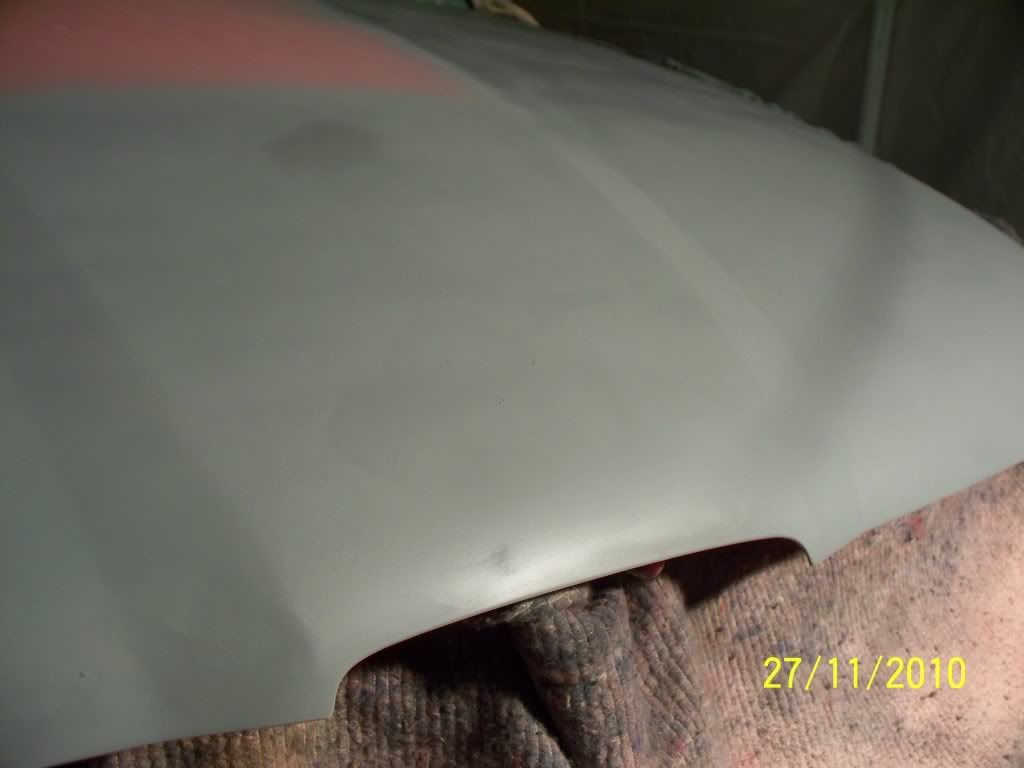
That's all for now, pretty much waiting on mate from work to help me. I've bought the paint, lacquer, thinners and hardner so not long to go now! Watch this space.
The car as it stands at the moment:
New boot:
Old boot (with broken glass):
Painted this in a nice Hammerite glitter type black:
This too:
Coked piston before cleaning, of course
:Finally noticed that there was something quite wrong with one of the second set of pistons I had:
Apparently this is due to detonation and running lean at some point in it's life :/
On a more positive note 3 out of 4 rods are connected up with the pistons.
Been having thought and after assembling the pistons and rods I've decided that it will be worth spending that little bit more now and being satisfied about the bottom end of the engine therefore I've decided to purchase some JE pistons. Here's a few pics of the assembled piston/ rods and a comparison:
I also had a go at deglazing the bores myself, although I don't think it's a great job and I will be redoing them for satisfaction - would appreciate it if someone could tell me what these should look like and if I've done anything wrong:
I've been using a honing tool in a drill with medium stone, I did 7 slow stroke clockwise then 7 faster, finally 7 fast stroke counterclockwise. How much can the bores take as I don't want to damage them?
Update time have a few pics of some new items to post up keep an eye out
)Right here we go - I think I'm like a magpie, love shiny things:
Re-honed the bores so they now look like this:
Gettings these also meant I need to gap the rings to the correct sizes (info which I go from Alex) to the following:
Top compression ring 0.018"
2nd compression ring 0.019"
Oil rings 0.016" - I've also read and seen that the oil rings can have a larger gap but no smaller.
This is the "home made" tool I used to grind the rings as a normal file doesn't suffice, just takes too long. It consists of an angle grinder metal cutting wheel put on a T bar clamped into a workmate.
Just set the 2nd compression ring down in the bore ready for gap measuring, left the top compression ring at the bottom (order of which I gapped them) so that I knew which ring went with which bore.
The old piston I used to set the ring down into the bore:
Some more pictures of the parts, pistons, wrist pins and circlips:
Side-by-side old damaged piston and new ones:
The whole let ready to be assembled:
Assembled:
Slight problem now though one of the circlips shot of into my garage somewhere - never to be seen again - so I can't assemble all the pistons and rods until I get myself another clip, unfortunately the standard piston's clips don't fit in the rebate on the pistons they're just too thick
.I then finished off stripping my calipers of horrible red (was pink) paint/ lacquer as it had chipped off right down to the metal [:@]:
Started this a few weeks ago now
These also came with the pistons but yet again more bad news:
Some braided lines from Bill
You've guessed it though, the existing hard brake line nut has seized on and is now well and truely rounded off [:@]. Does anyone have any ideas as to where I can get some new copper line for the front as SEAT only sell it in 25M or so lengths which is completely unecessary...
As always fire away the questions and comments, love to hear what you think
More progress made today, assembled and installed the JE Pistons and Integrated Engineering rods - after finding the circlip that shot into my garage somewhere
Here they are before they were installed:
Then in the bores:
Finally some randm pictures which give an idea of the overview of the project:
Also started stripping the cylinder head for a skim, .003" is to be skimmed off after taking it to an engineering company. Camshafts, chain, chain tensioner and gaskets removed. One nut has rounded off badly on the exhaust manifold so I'll be buying a nut splitter to get this off as I don't want to bash a socket over it, being that it's on an aluminium head I can see something going wrong and cracking.... Finally noticed that the head has had some treatment previously and has been faced on the top of it hence no engine code is embossed into the tab on the front left of it, aswell as it been previously skimmed. The guys at Rolands Engineering said the chances are that I will need a thicker head gasket as the head will sit a bit closer to the pistons meaning that they could strike them!
Pics to follow.
Right, back on track with this thread, I recently bought this:
and this:
To make up some brake lines as the OEM ones had well and truly seized, every cloud has a silver lining I suppose.
This is what my first attempt looked like:
Then with the braided hose connected:
In the mean time I also picked up this - from Roland Alsop after a lovely reface and .004" taken off:
It was blasted out with water, then air lined to dry it and free it of swarf.
A few pictures of the engine bay - the standard K03 turbo refitted for the time being as need to save for the Garrett and relevant pipework/ various other bits:
Gave this a good ol' scrub too:
Today I picked up these bits - which I had a mate powder coat for me:
Anthracite rocker cover
Matching Inlet:
Gloss black fan couling:
Showing some comparisons (of the powder coating) to a mate of mines Capri that he's putting a Fully Forged Nissan SR20DET engine in:
For anyone who wants to know the orange is ST Orange which is a very expensive Acrylic paint - hence the beautiful finish.
Inlet manifold now bolted on to the head, looks pretty good
:Time to start painting a few things to get them looking nice - started off with the calipers which I am currently painting now on about the 6th coat, still not up to standard! Also painting the bells on the discs I bought from Bill a while back now, just to stop that rust which occurs there and makes the discs look old:
Front panel back on too with powder coated fan coul behind it (haven't got a picture of it in situ yet - too dark lol):
Custom TIP in there too with hose take off for the N75 and DV return.
Here's a little update of the pics I found on my phone - will have to get the ones off my camera later:
The oil catch can:
Extra bracket I popped in there to stop it from falling over:
Fuse board mounted where the battery once sat:
The live feed from battery to fuse board
The grommet where the cable goes through the car
Finally the battery tray mounted on the floor pan:
Finally uploaded some pictures
:Final coat of paint before lacquering
Stickered, lacquered and fitted
Few shots of the engine bay in it's current state:
Temp battery - need a sealed one and it must fit in the tray :P fuse also to be added.
Now a start on the bodywork prepping it up for the respray - a detailed "once over" of the car showed that there wasn't really a panel which didn't have a scratch, dent or chip taken out of it:
Then came the original bootlid which I can quite safely say was a mess, where it had been resprayed before I found fingerprints in the paint work as well as drips of water which must of fallen on it when the paint was still wet, finally a few dents which had to be removed:
After that I started on the scrapyard door which again was pretty bad and had 2 quite deep dents in it:
The worst areas where, you've guessed it...still to come:
A badly seal panel which caused rust to come through - angle grinder came out to the rescue
The mass of things which I could get away with just flatting down:
The front bumper which is "raped"
and the queue of panels waiting in the back garden to be treated:
That's all for now.
Few updates of the work which I did tonight on the car, started with more filler in the door, having some problems trying to get every bit of the filler just so:
Also been primering a few bits a pieces:
Quite handy having the heaters in there as it means the primer sets nice and hard in minutes.
Finally to keep us awake:
[QUOTE=AlexGSi2000;3224702]Will be a testament to you once this is done.[/QUOTE]
Let's hope it all works out who knows at the moment - haven't even driven it yet :shrug:
Fingers crossed hey...
Just bought myself this:
and this:
Now I know it's Autogauge and Halfrauds sell Autogauge but I think this gauge actually looks really good. I also bought it because the company have a range of gauges that all look very similar so in time I should be able to get a uniform look across my dash/ centre console.
Comments Welcome :harhar:
Suj - I'm far from rushing it lol. You can't wait to see it... what about me?
.Time for an update -
Got the car out of the garage Saturday morning:
Ended up sitting on the floor whilst a mate saw me out.
Brakes and wheels all on:
Main reason for taking it out was so I could get the doors off as the garage tent didn't allow me to open them enough to get to the hinges. Whilst it was out I took it for a very short test drive down the road sitting on a foot stall :funk:. Main problem being that the doors weren't off at the time so kept flying open and the stall would fall over when accelerating or braking so I gave up... Main thing is it drives!!
Up she goes:
Doors off to reveal the sturdy bucket seat :lol: :
As you can see some pretty dodgy filler work going on too, mainly to cover up the bare metal whilst a mate helps me get it spot on
After getting freezing cold outside we put the car back in the garage to start prepping up the bonnet:
Thought this was cool shot:
That's all for now, pretty much waiting on mate from work to help me. I've bought the paint, lacquer, thinners and hardner so not long to go now! Watch this space.
Right here goes, a big update! The car was resprayed last night by a mate of mine, who did a very nice job! Really pleased that I got him to do it as it only really took him 10 mins to do the whole base coat of the shell...
Only real bad point was that it's not quite perfect because I didn't use 2k primer the filler has sunk a little in certain places. Pretty sure it won't come out when cutting and polishing too on the brighter side it is over 100 times better than it was before I took it off the road.
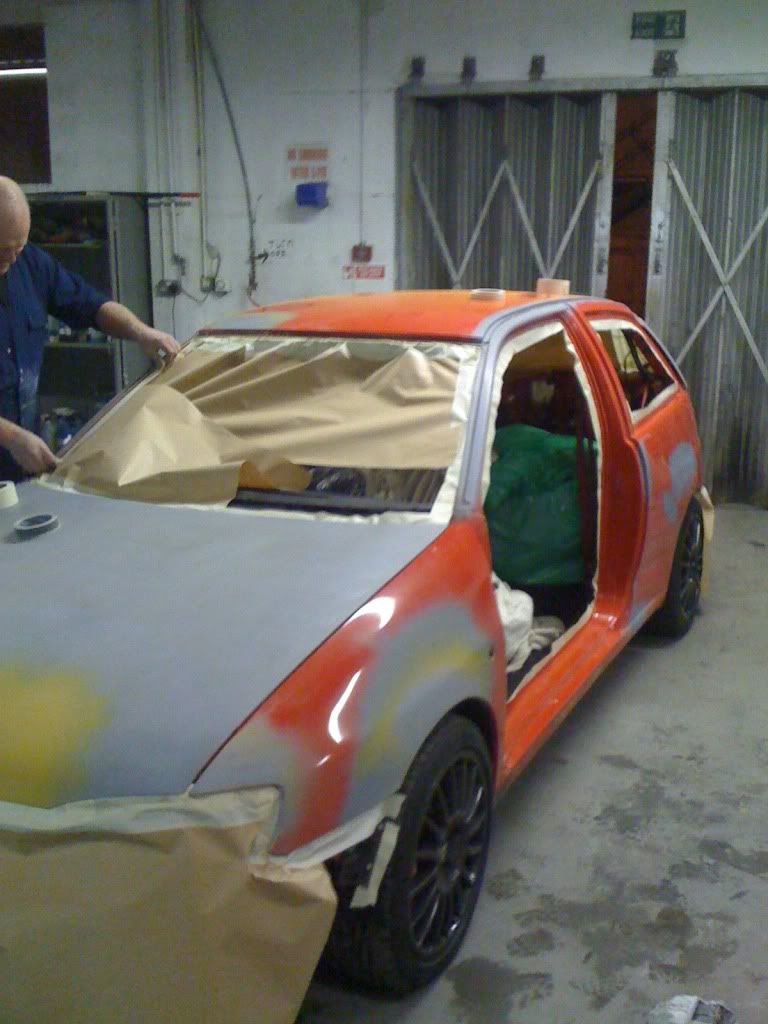
Here's the final prep pics and the spraying itself - enjoy:
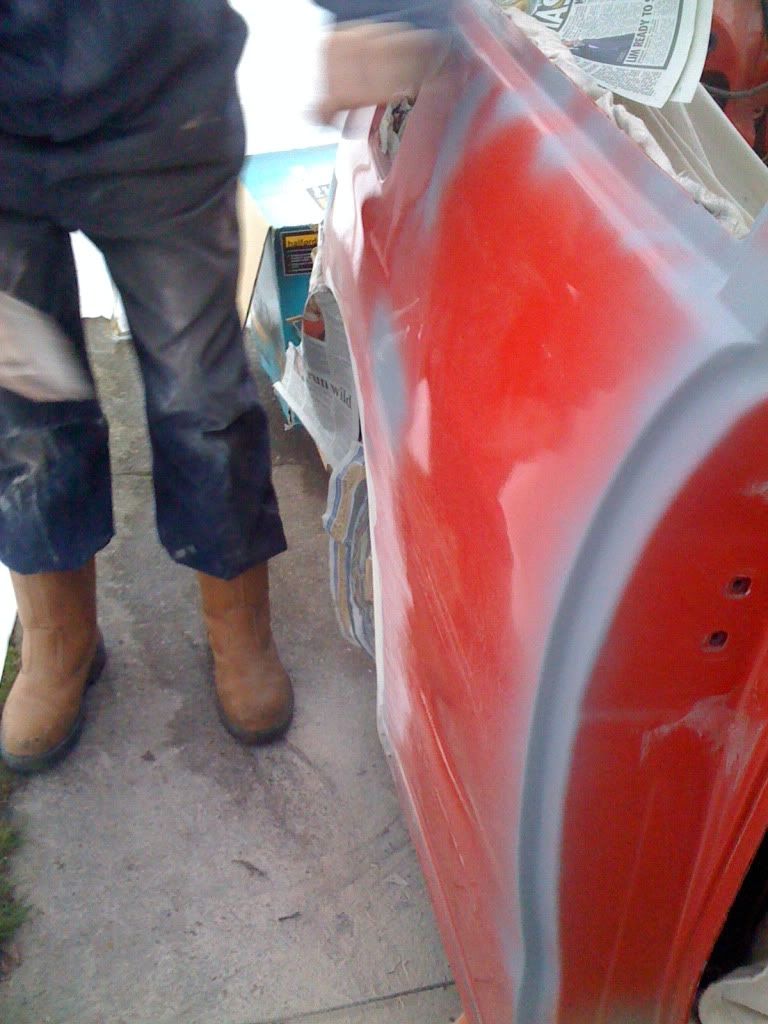
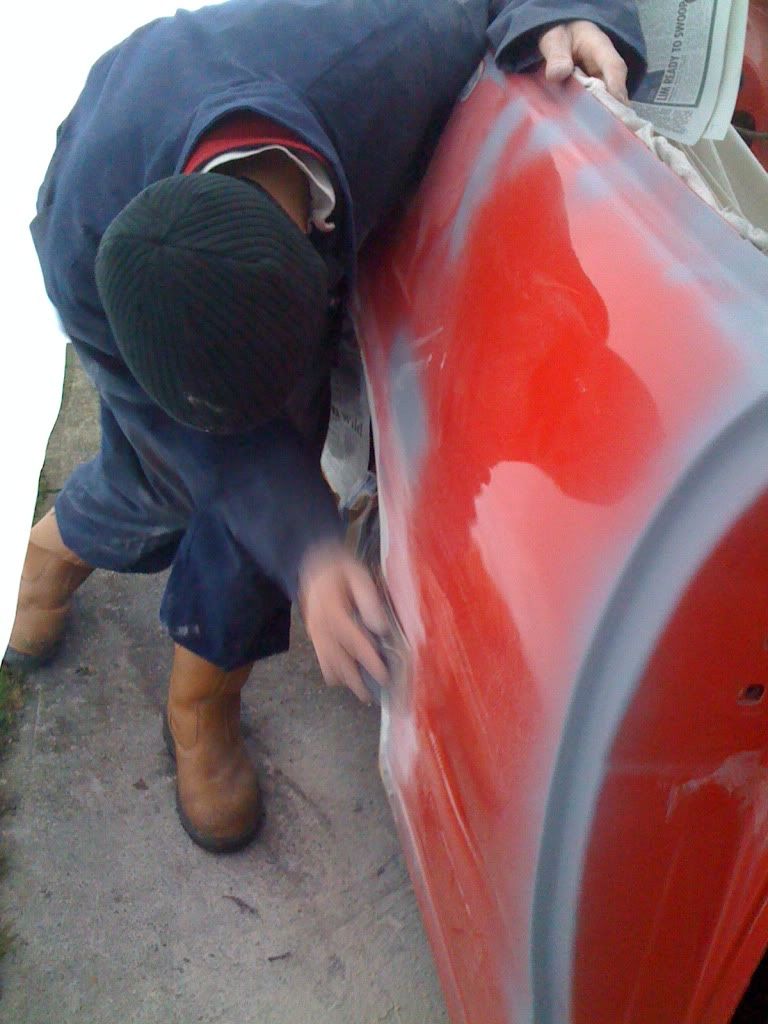
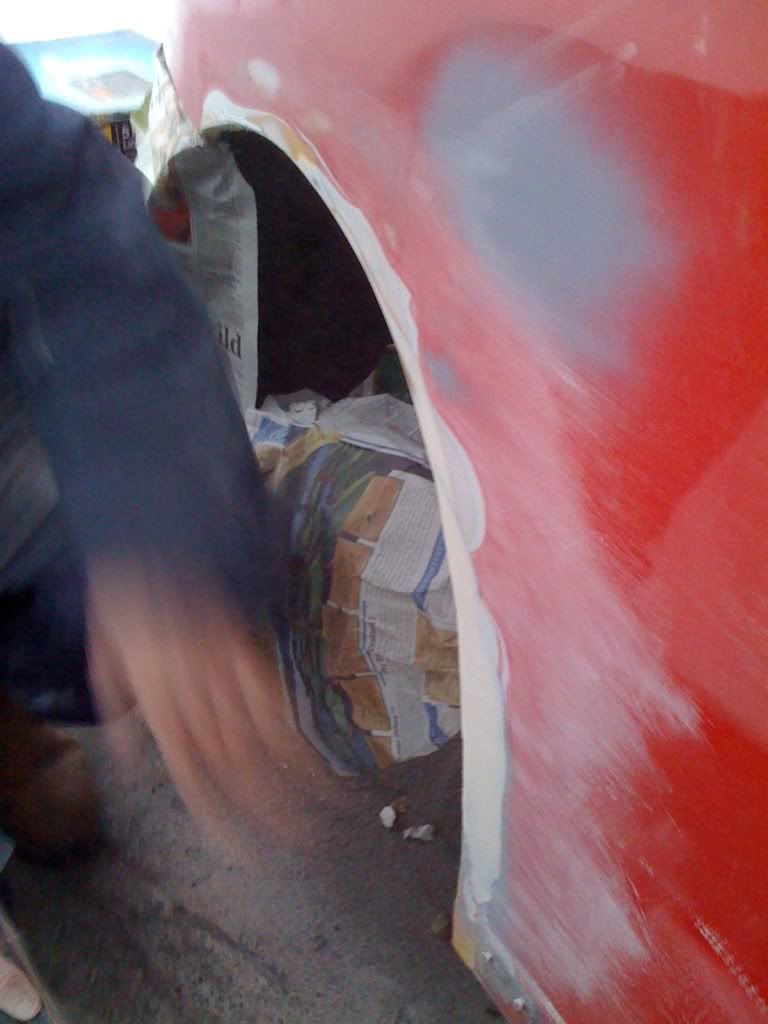
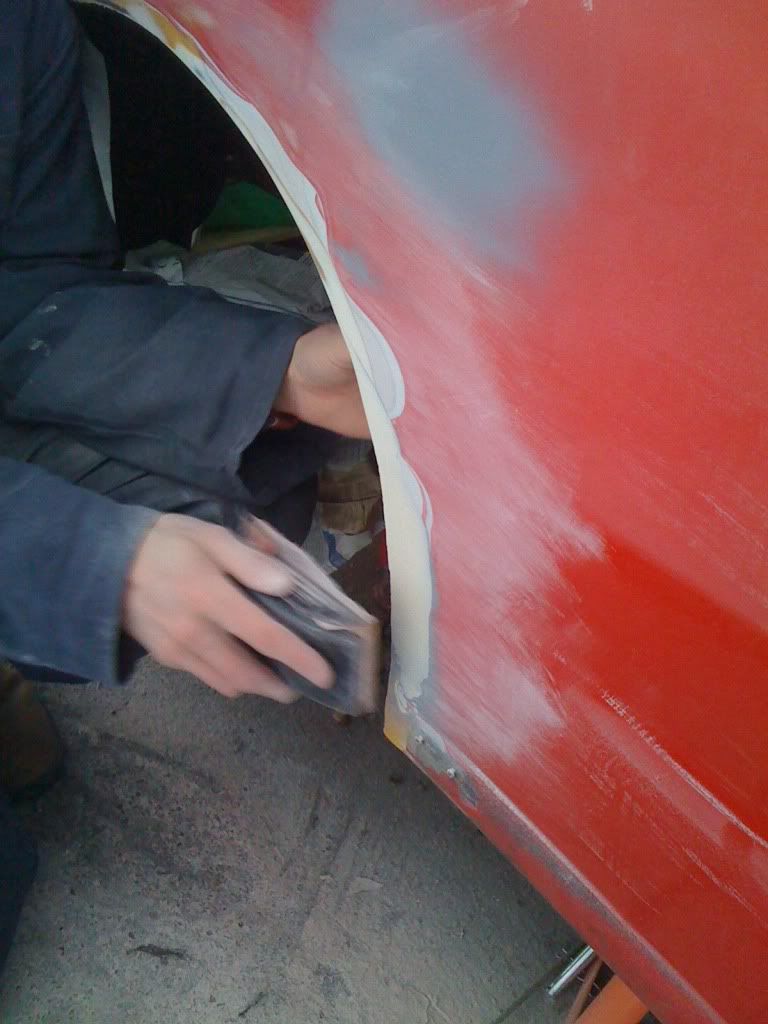
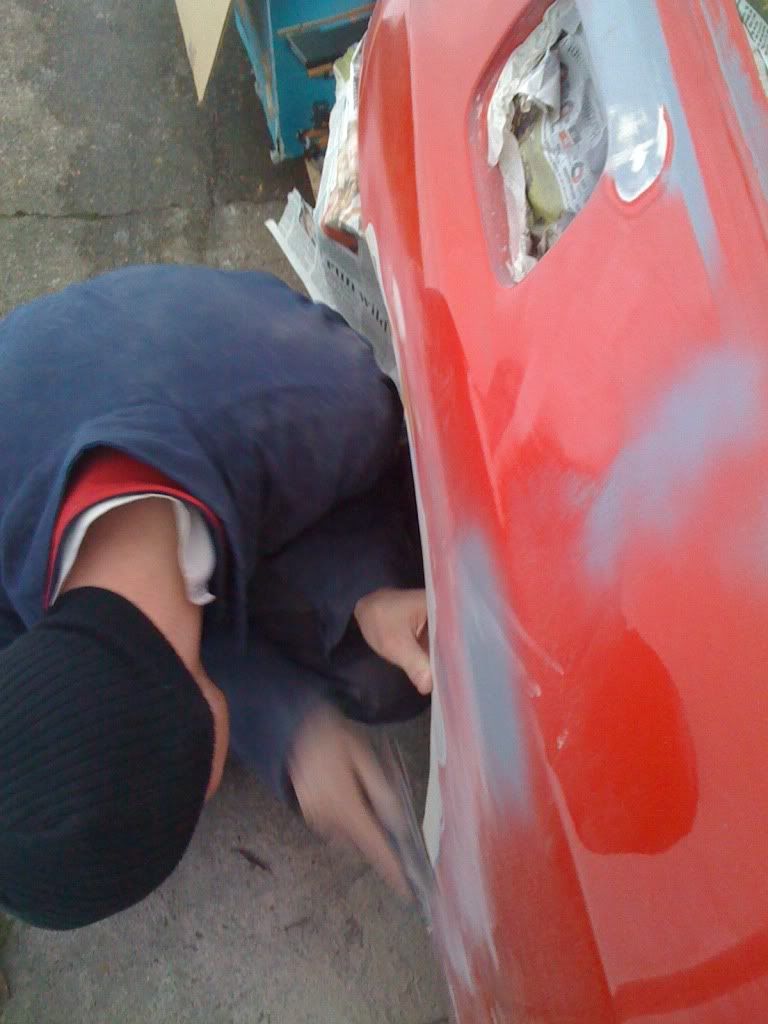
My mate helping me out from work:
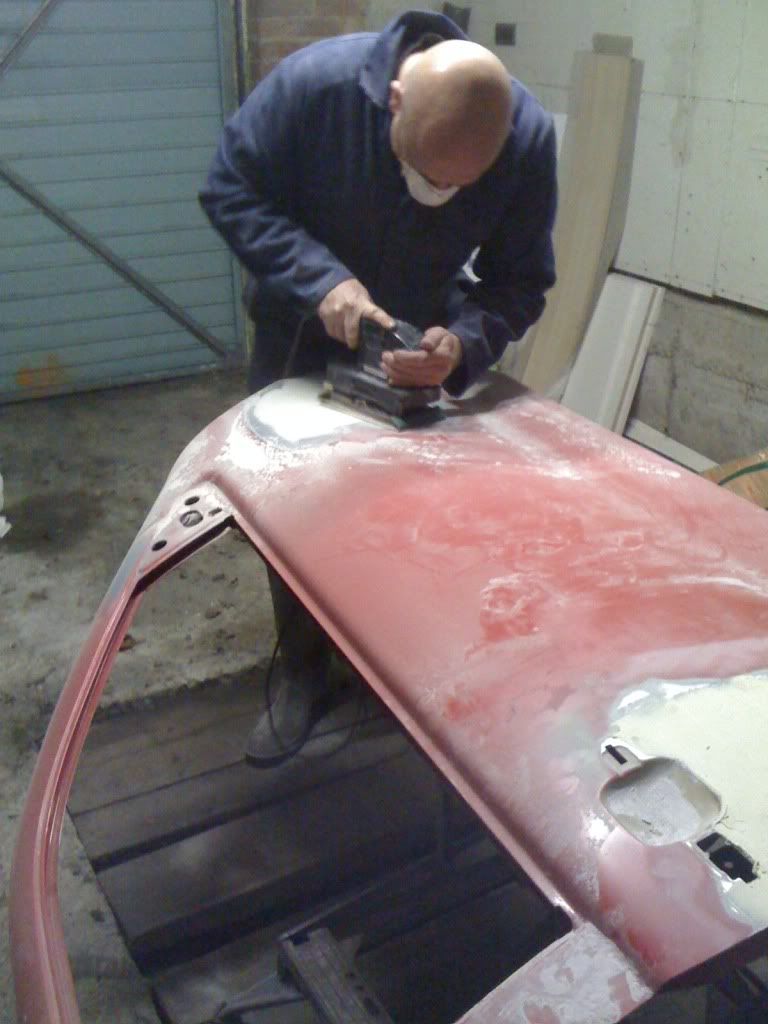
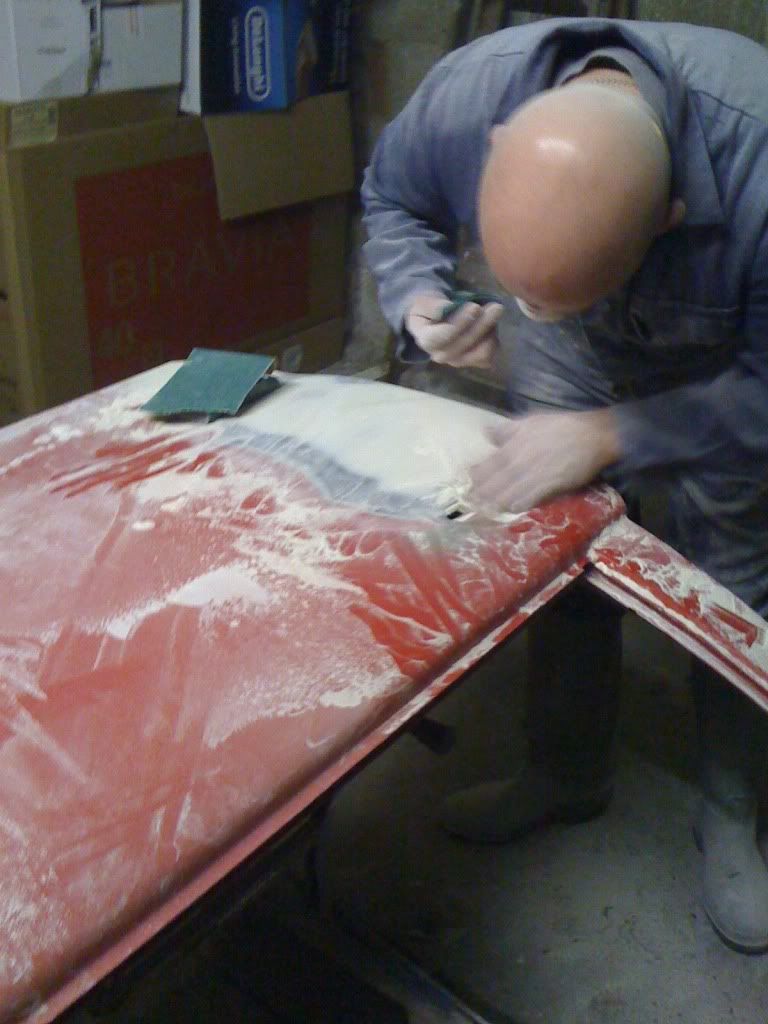
Haven't got any pictures of the car going on the Transit Beavertail as it was pitch black, although when we go to the work shop there was plenty of light so a great opportunity to take some pics, eventhough they're not of the finest quality:
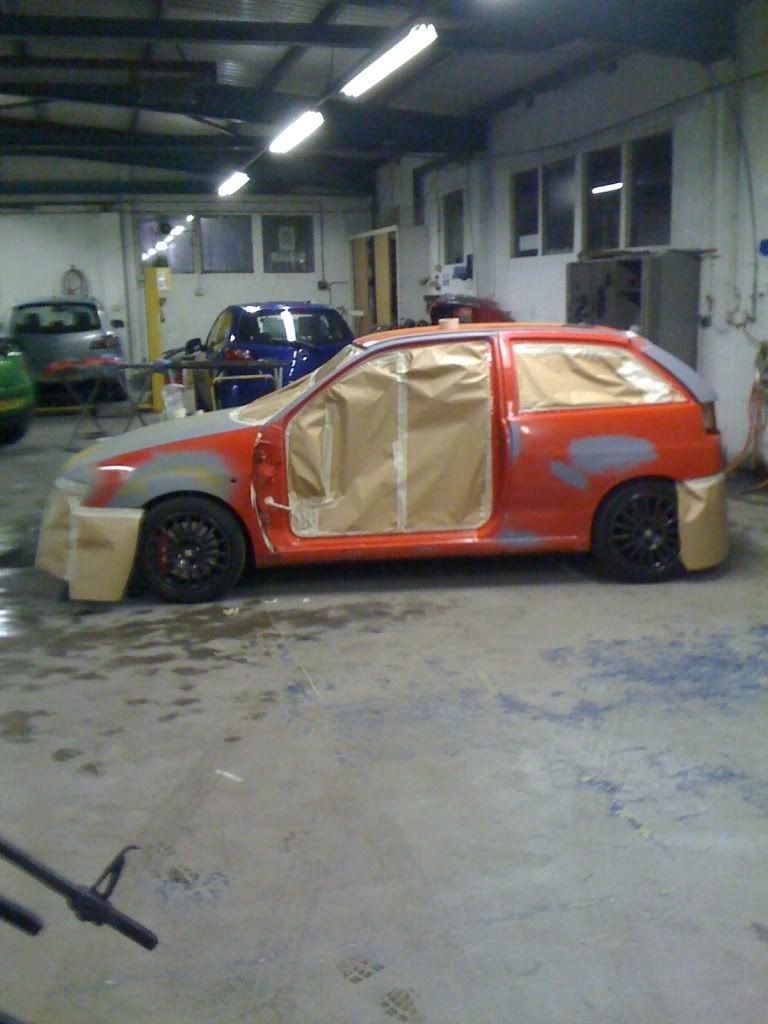
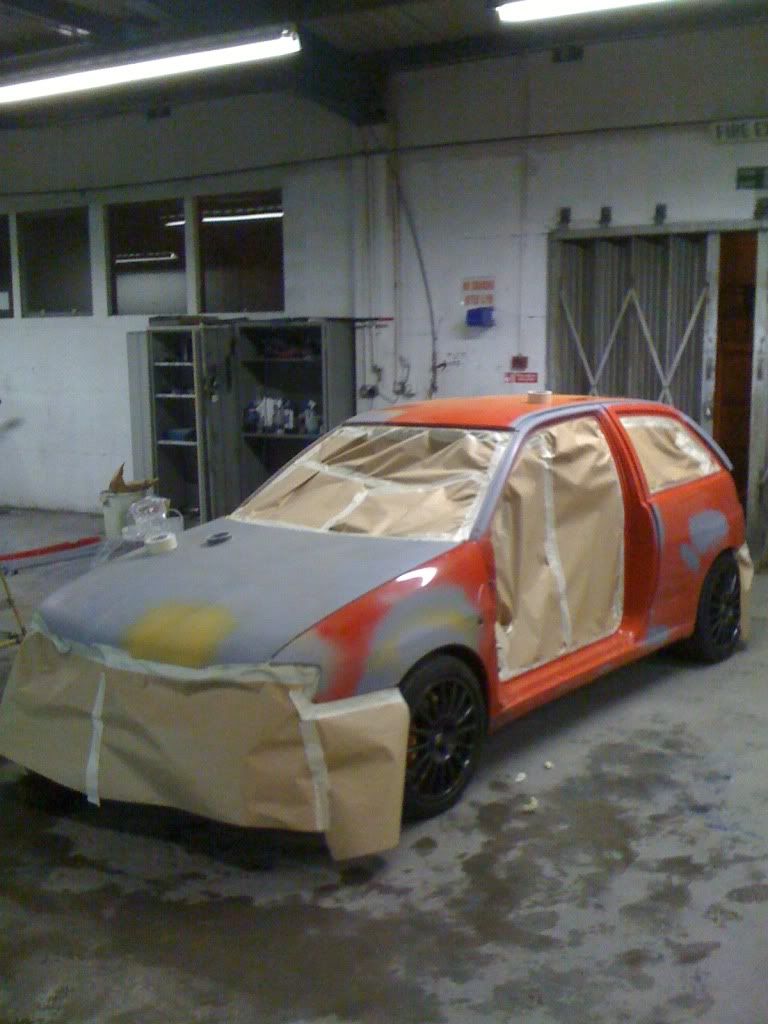
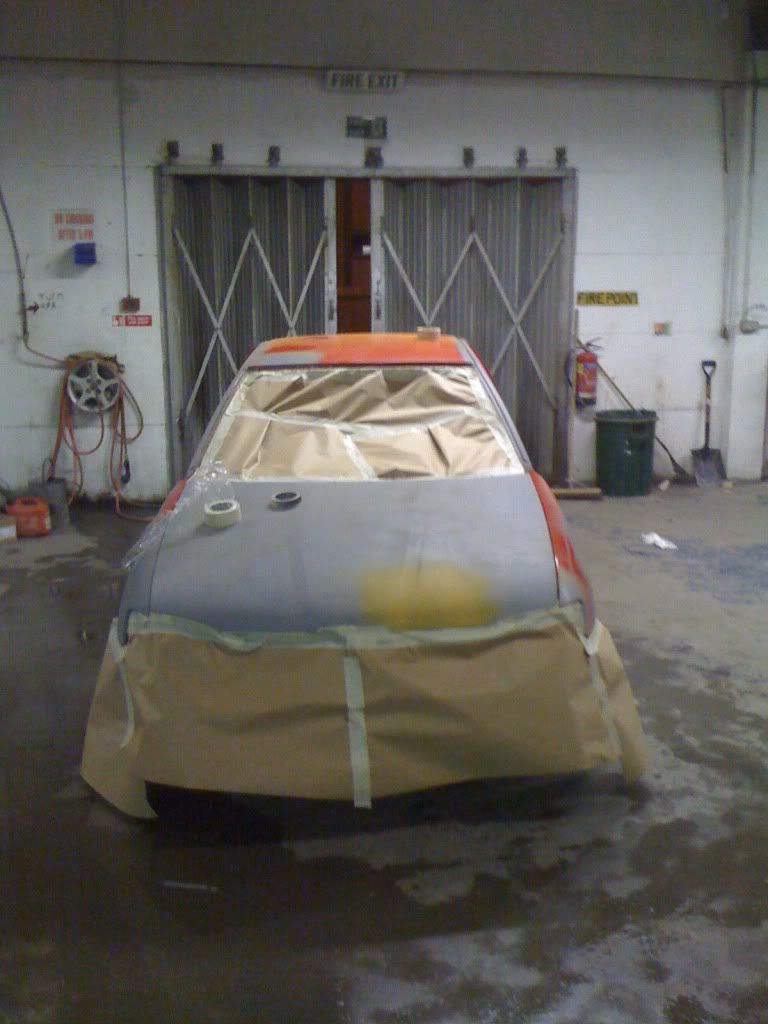
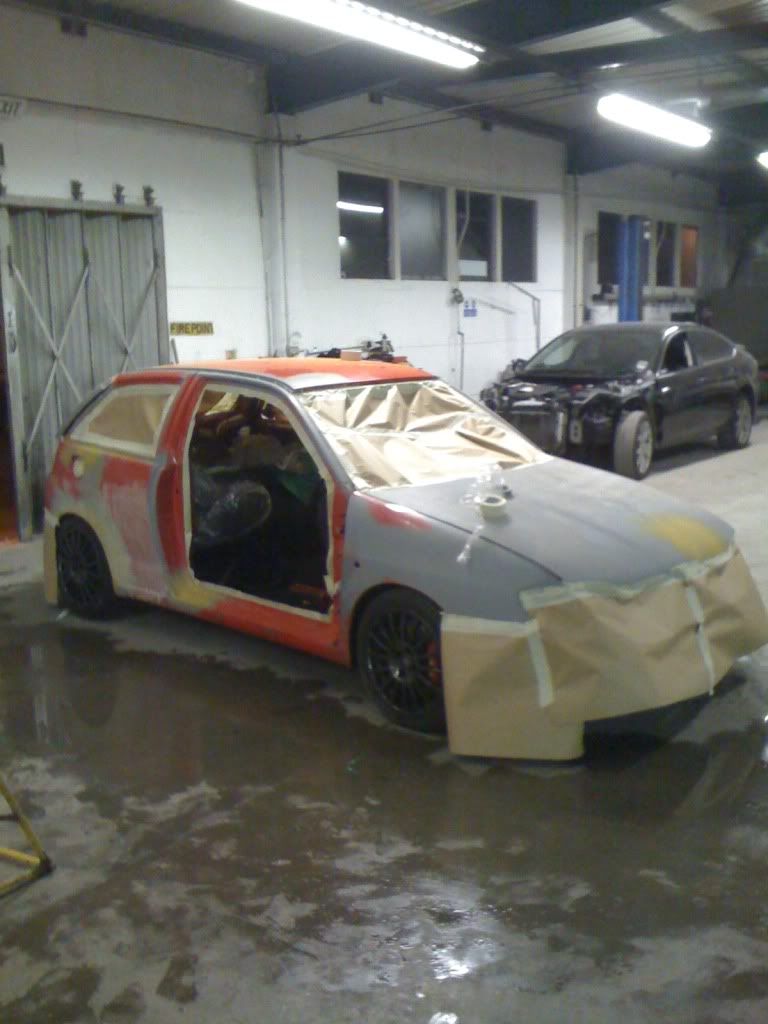
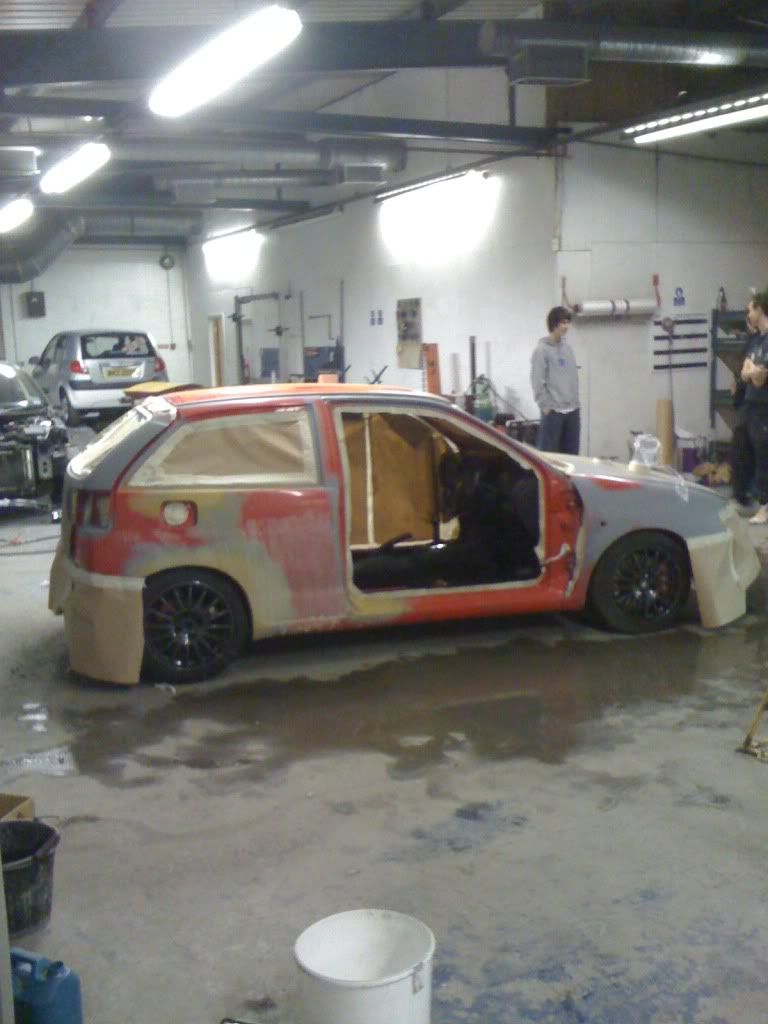
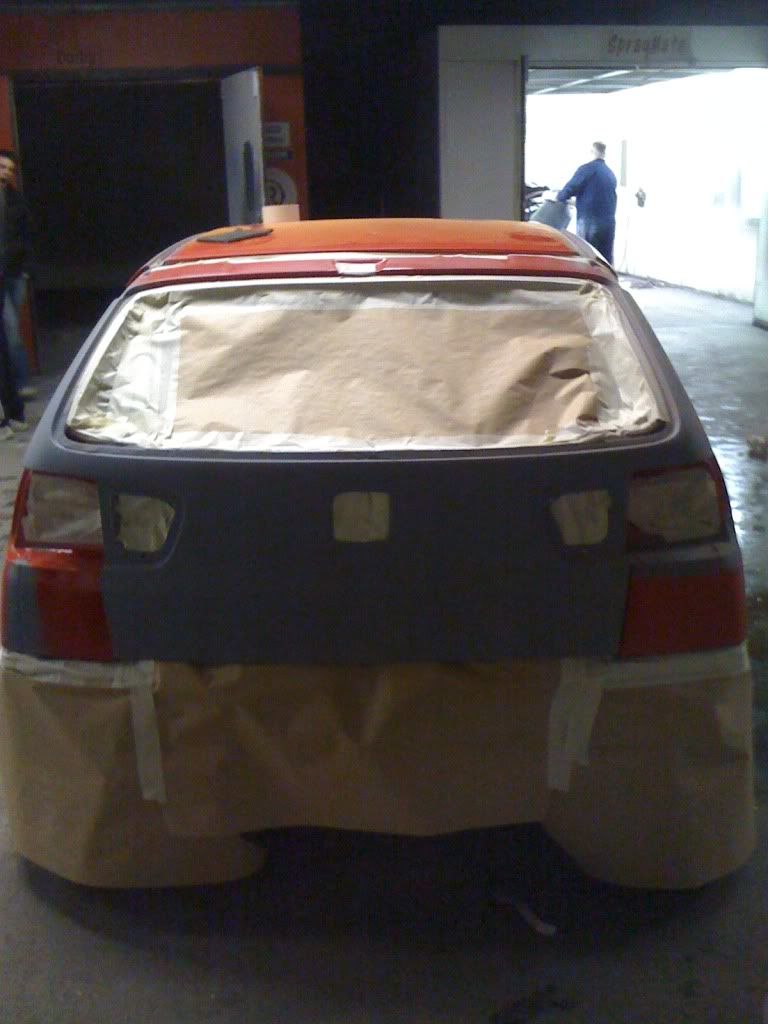
Final priming and sanding:
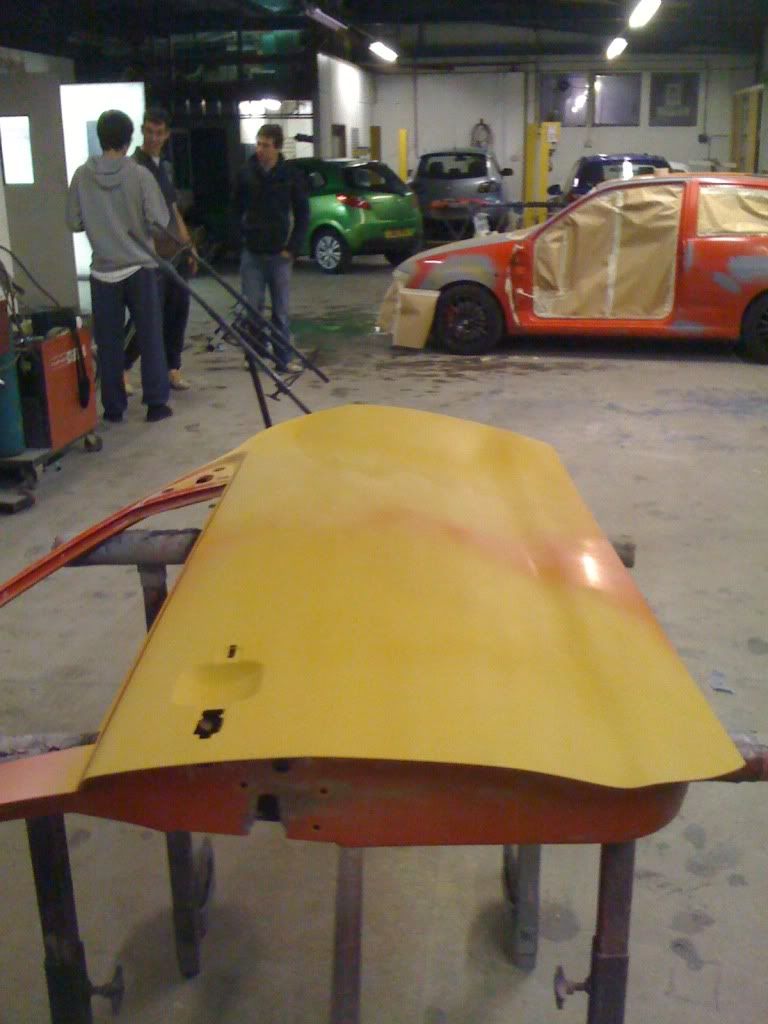
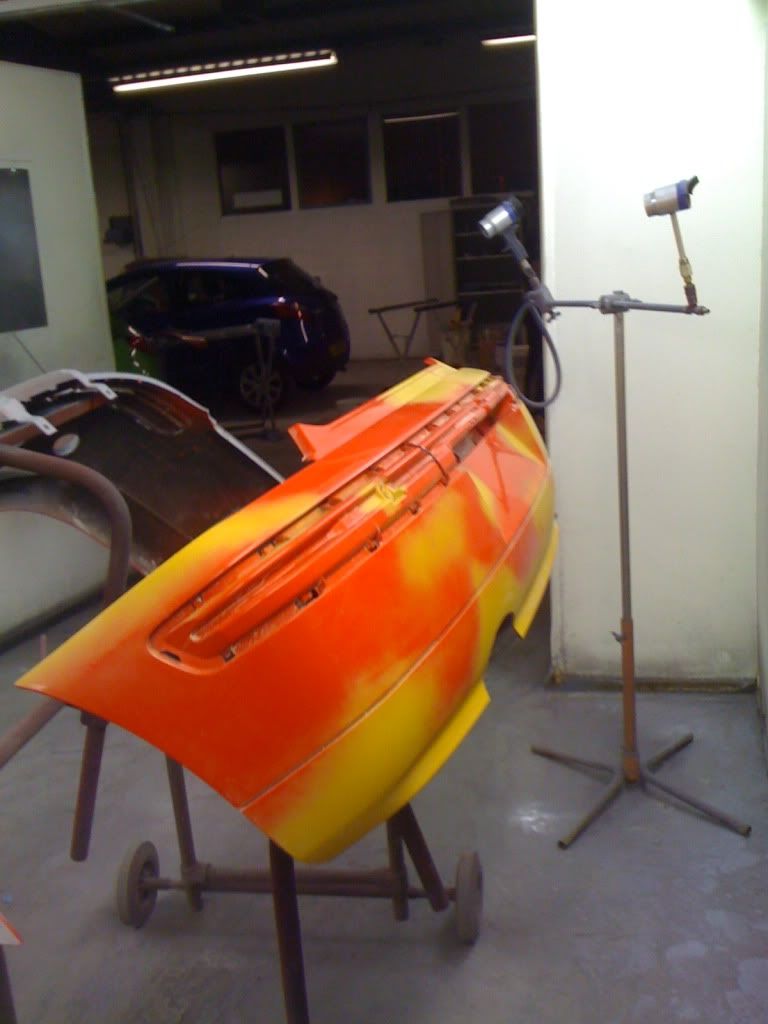
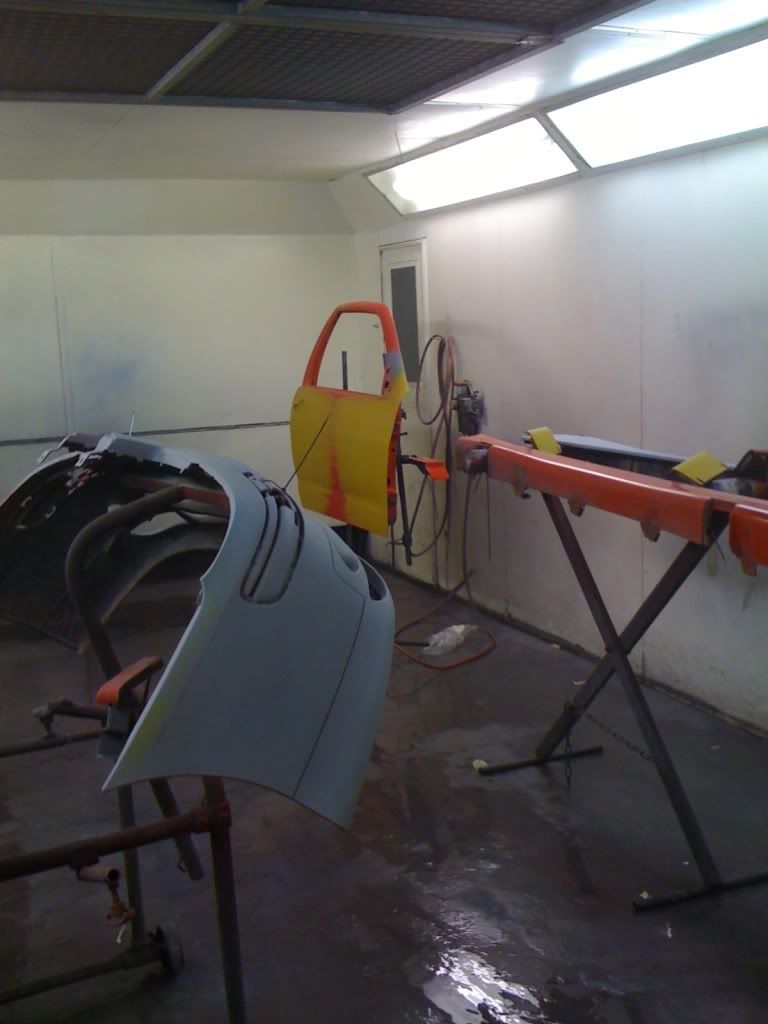
Bits in the booth:
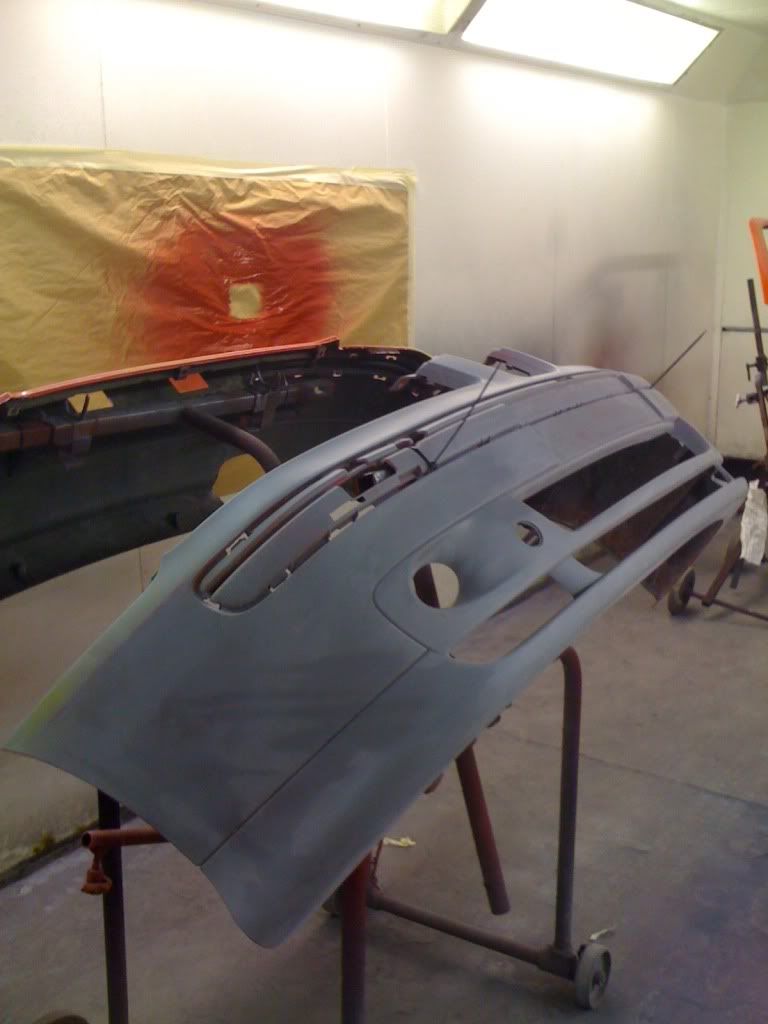
Bit of a diaster with this door, the stand it was on wasn't able to take it's weight and ended up falling off after being on there for around 5 mins. Landed face down - of course - so meant we had to sand, filler and primer it again!
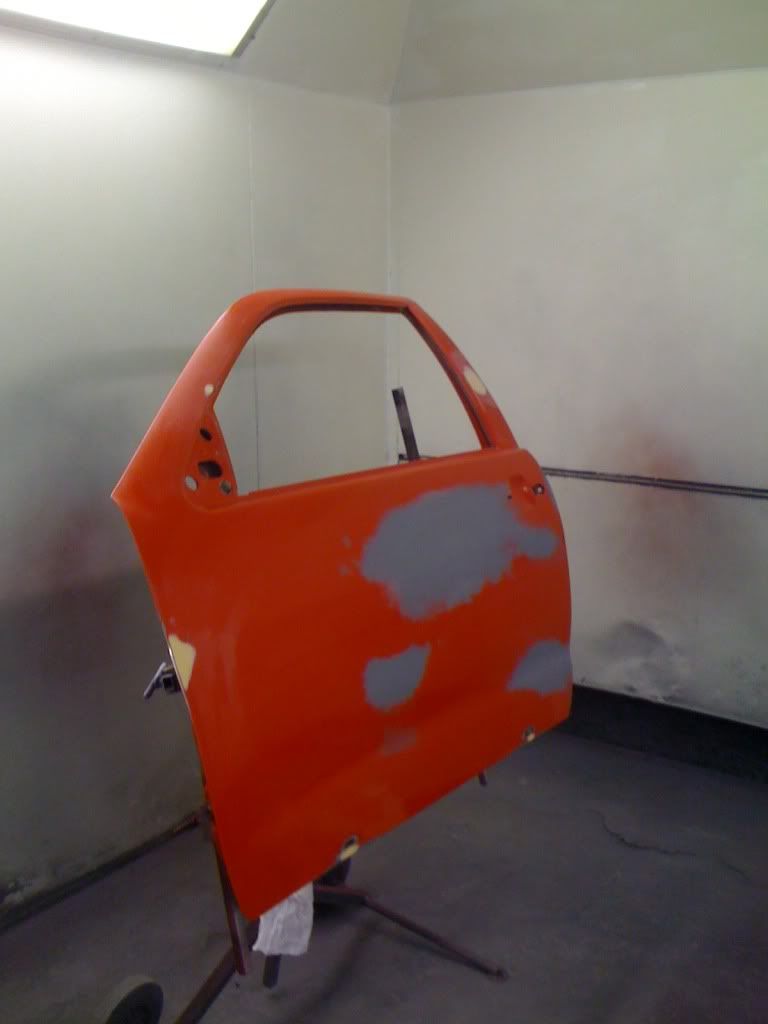
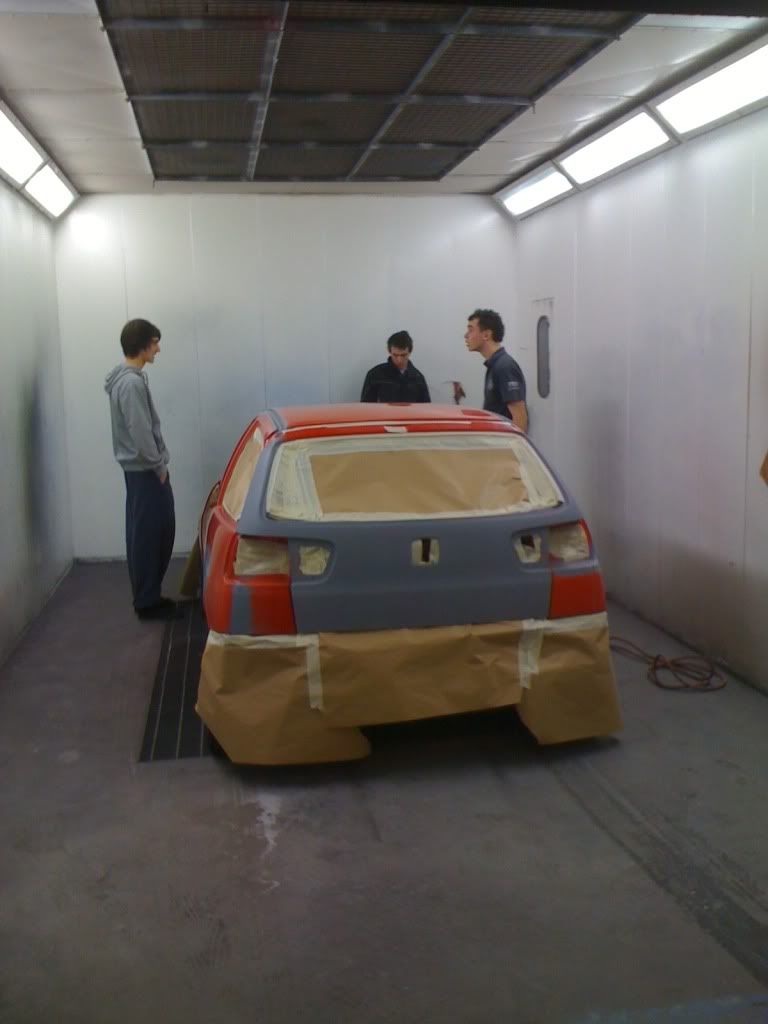
The boys in the booth that helped me out with masking and loading the car etc - cheers guys
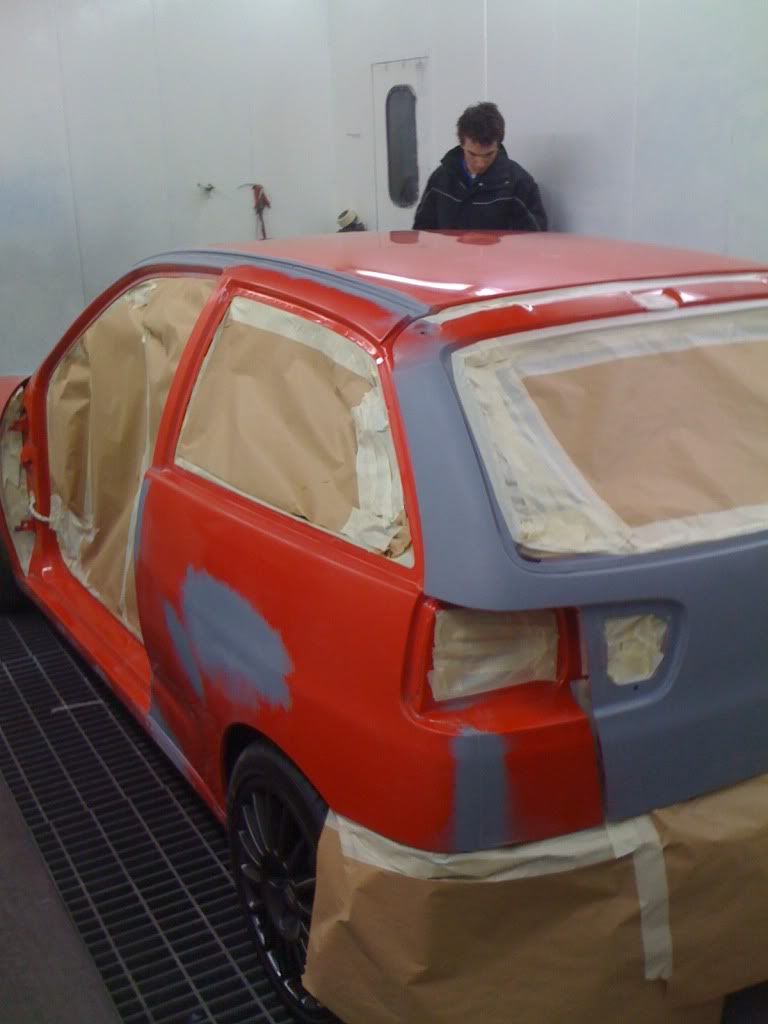
It was then time to hand the car over to my mate who was to spray it.
Base coat going on:
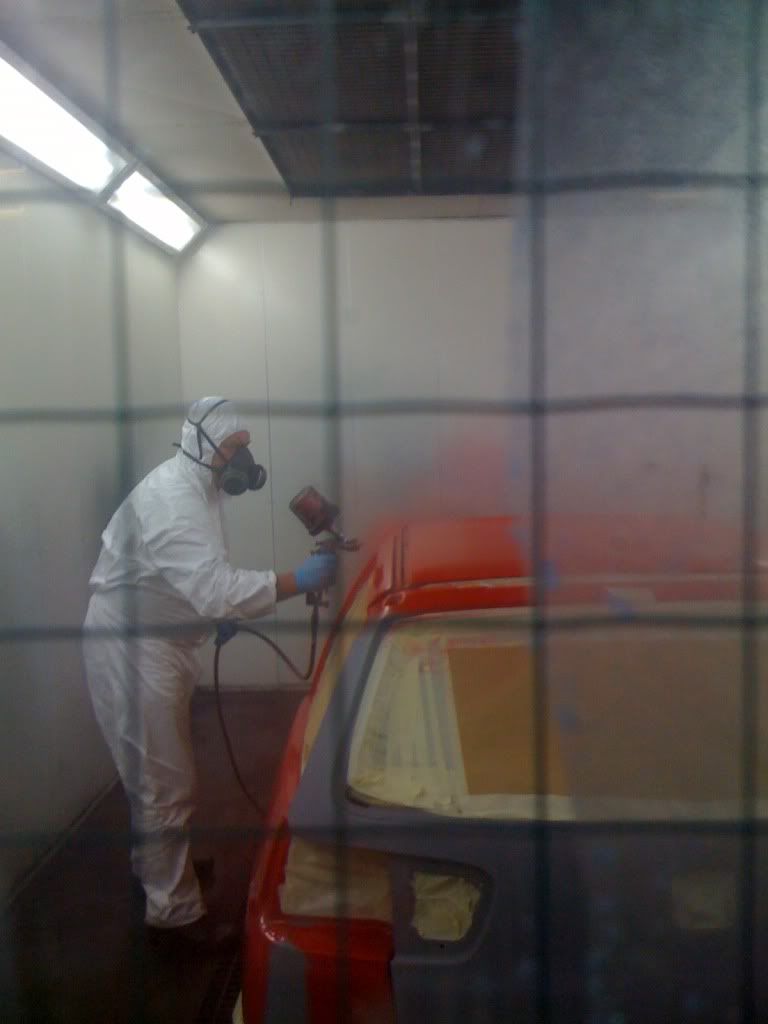
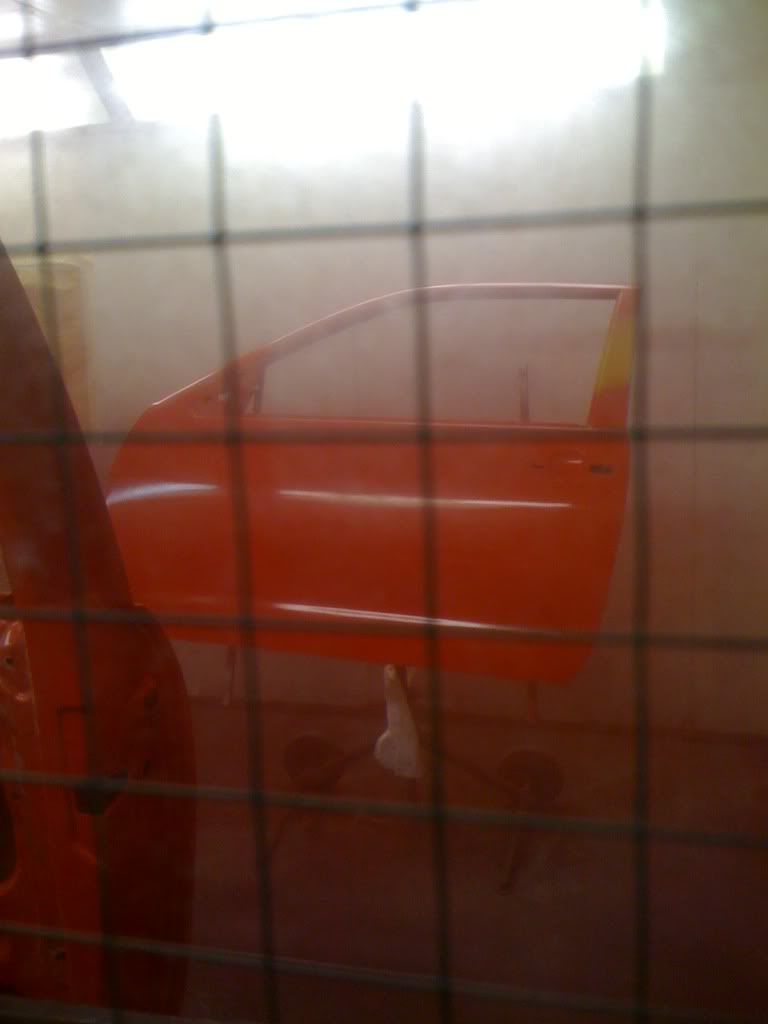
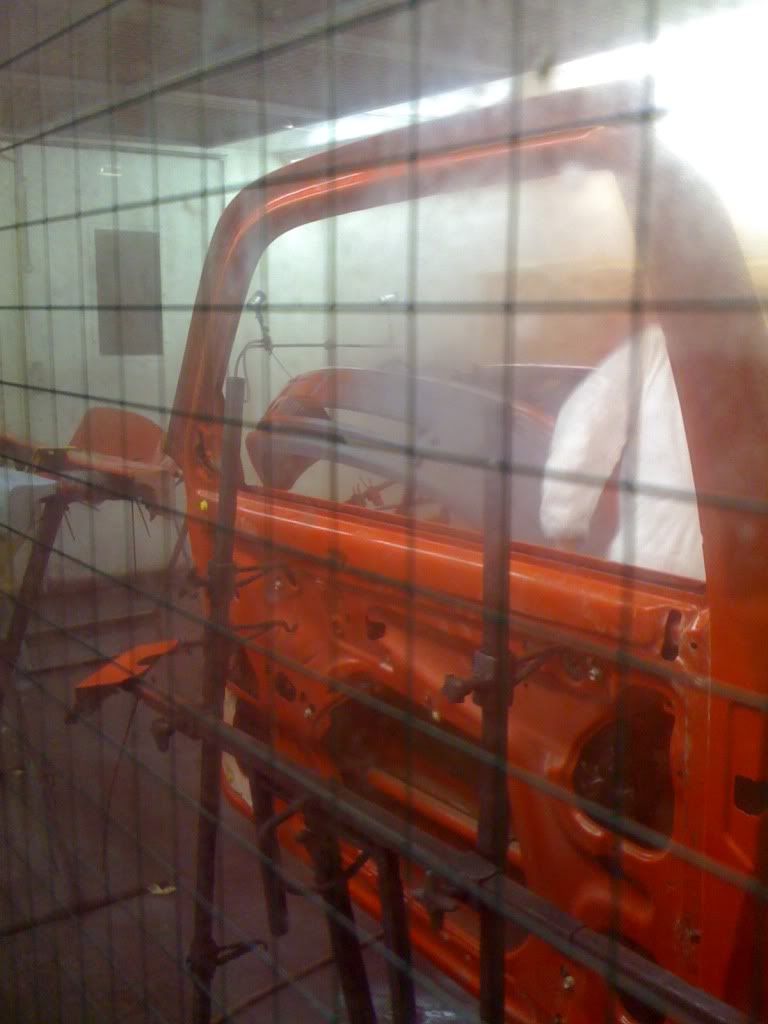
Then the lacquer - 1.5 coats of this - sounds weird but that's what my mate recommends:
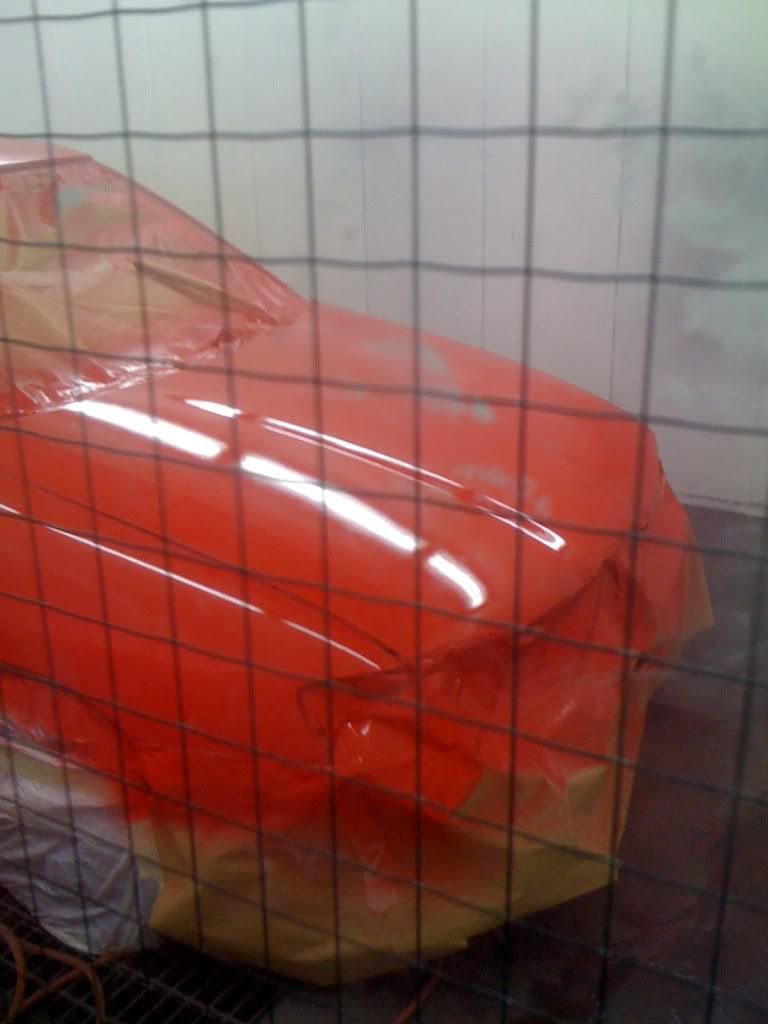
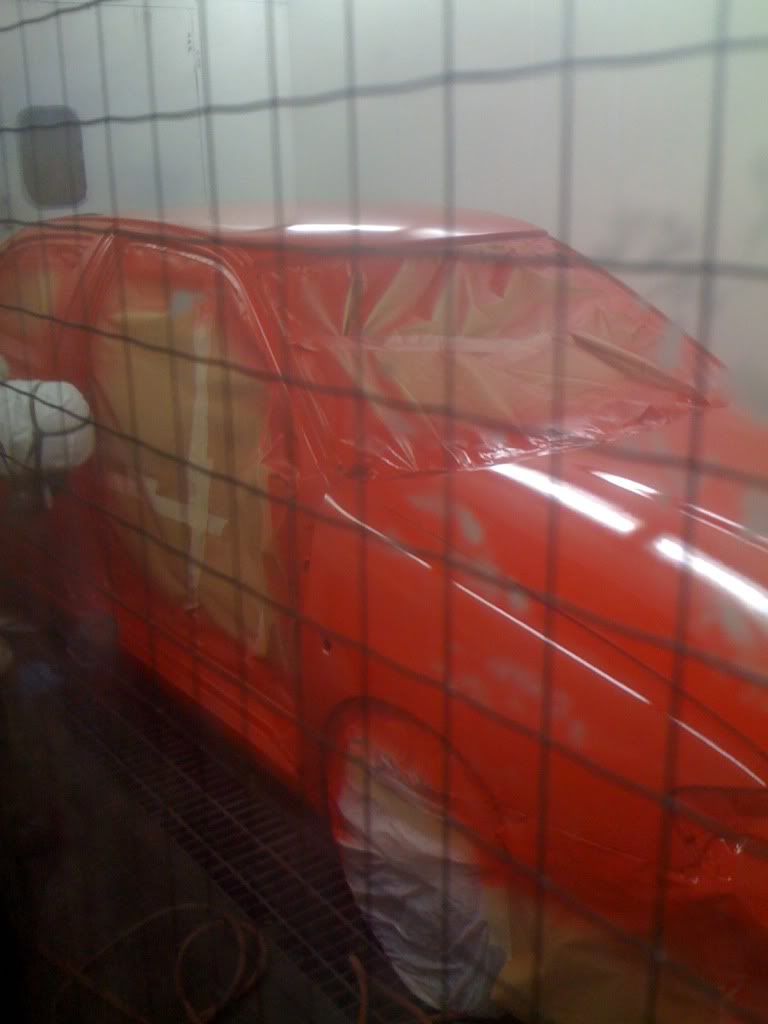
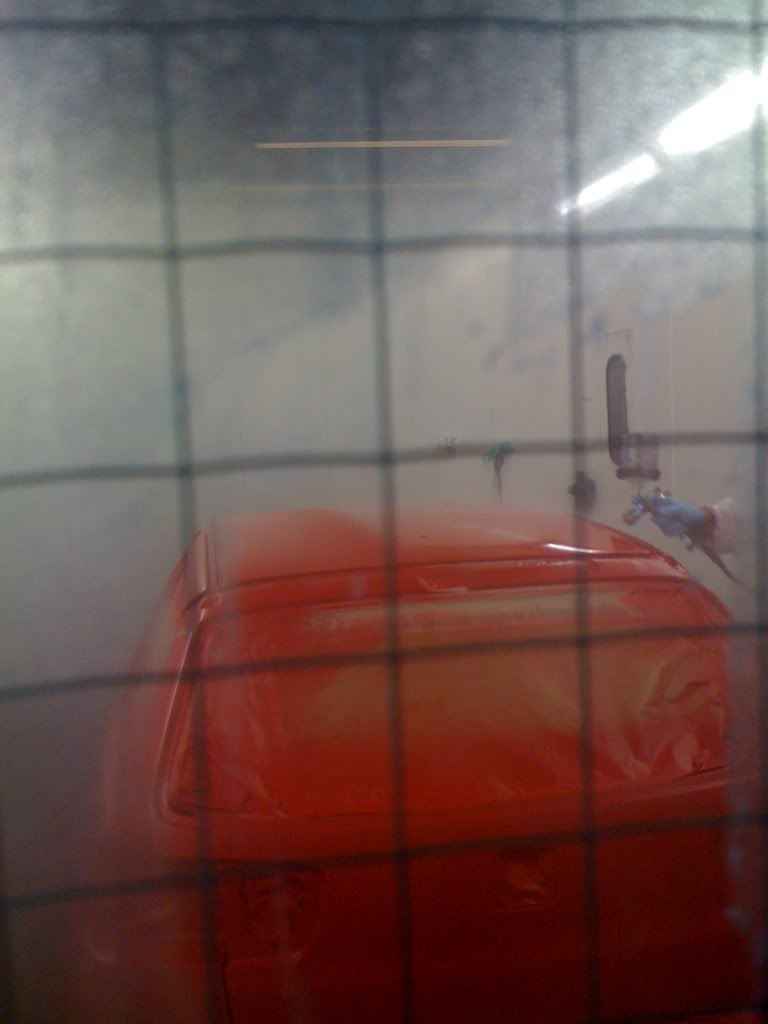
These were the first shots I got of the car after it came out of the booth:
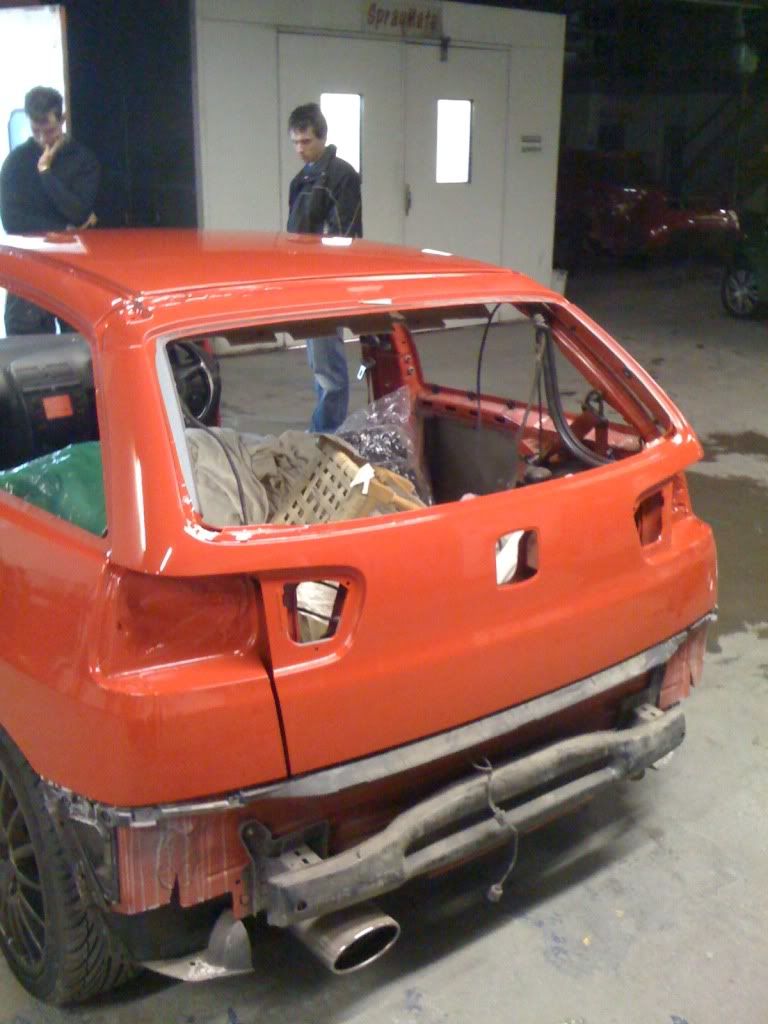
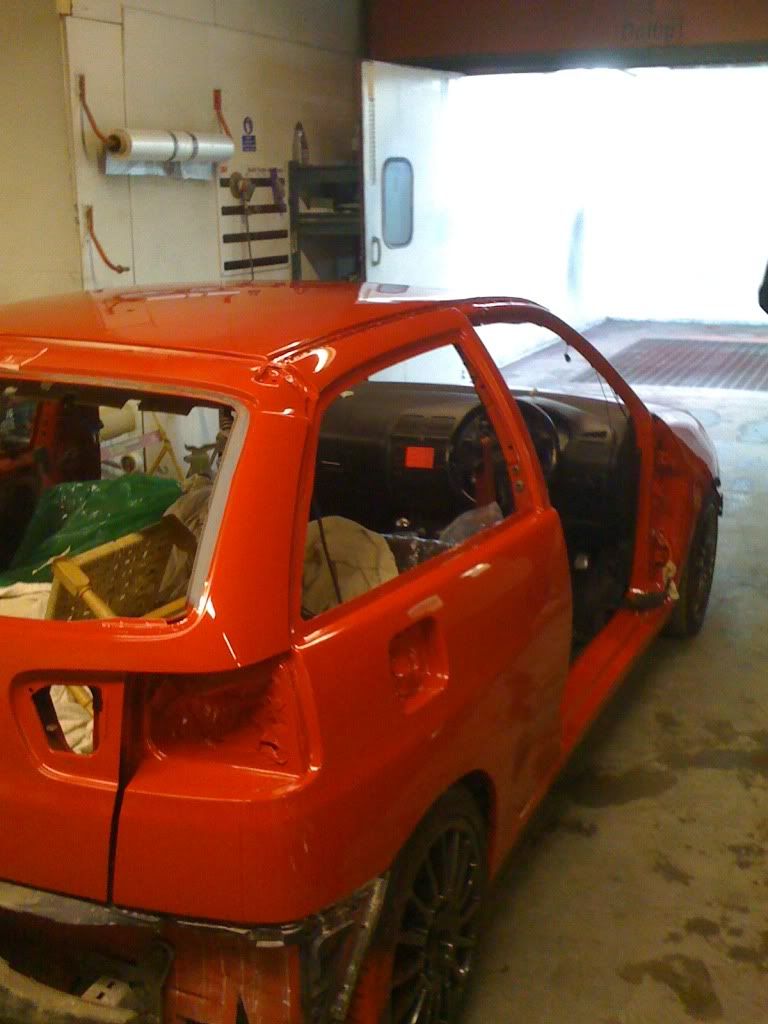
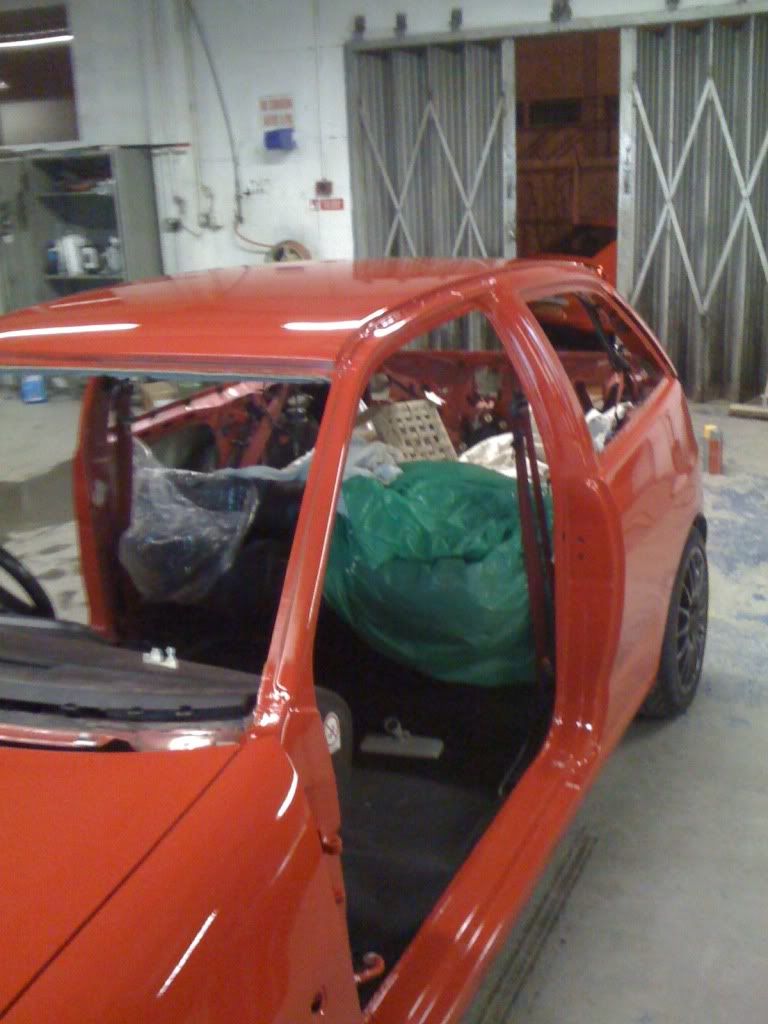
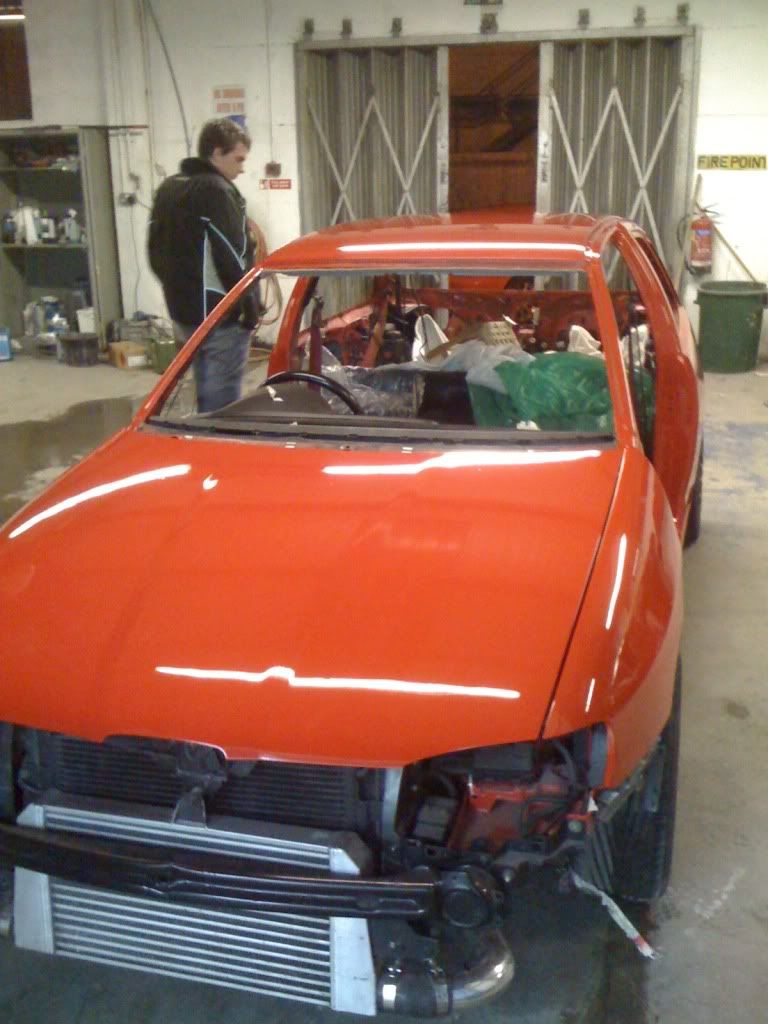
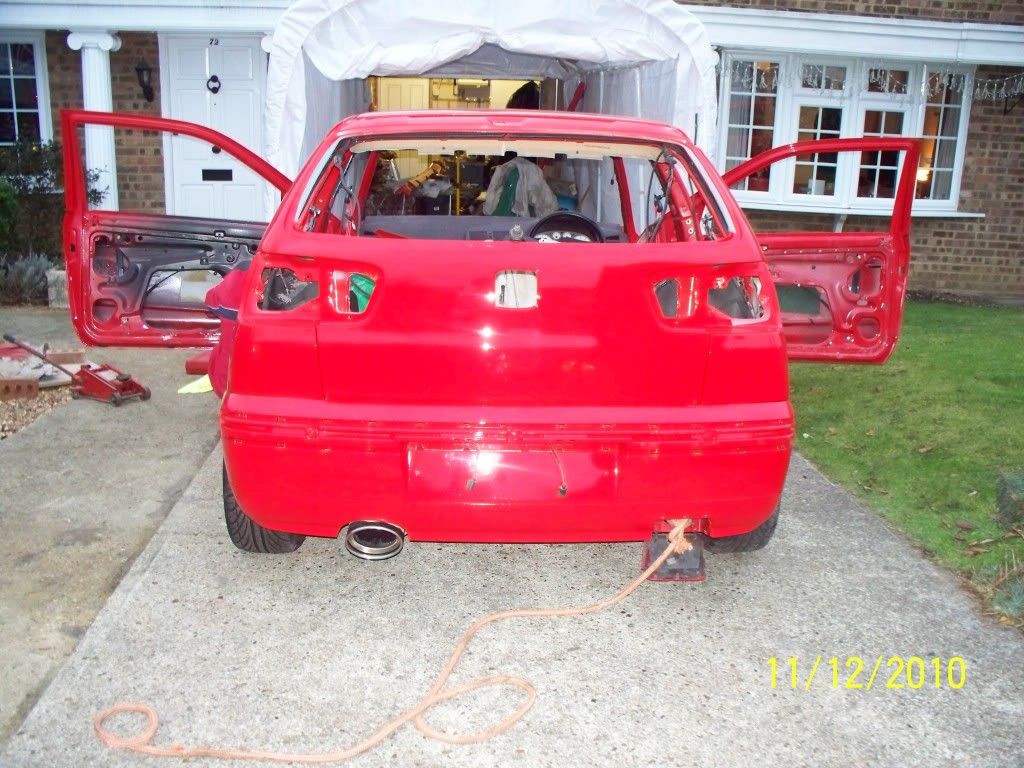
After being sprayed and de-masked we had finally finished, at 1.30am Saturday morning. It was then a case of getting it taken home again by another mate who was pleased to help out. We put the car back into the pop up garage for the night and I went to bed!
Woke up this morning and went into the garage, was definitely shocked by the lingering smell of the 2k paint and lacquer really took my breath away...
Here's the pictures:
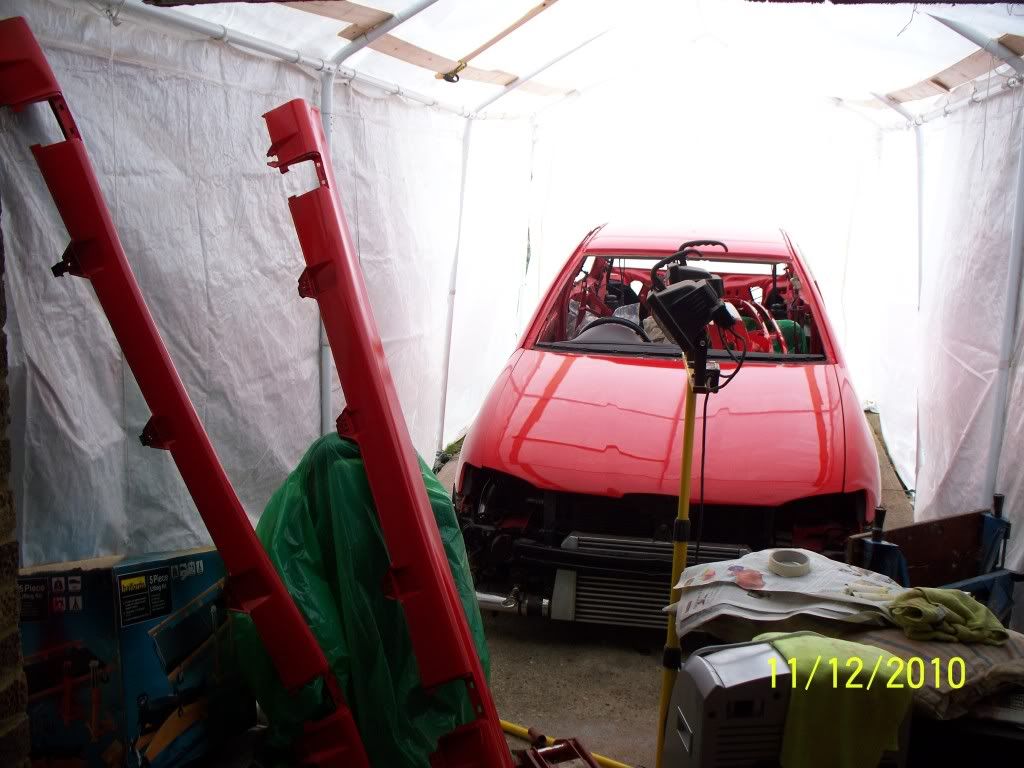
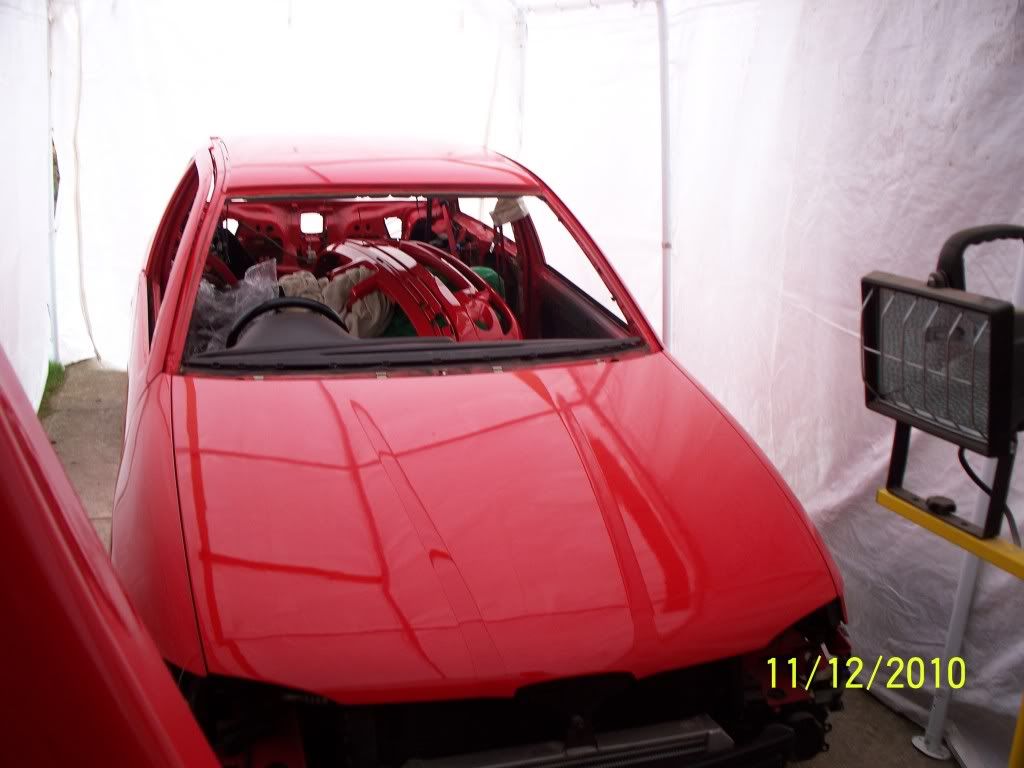
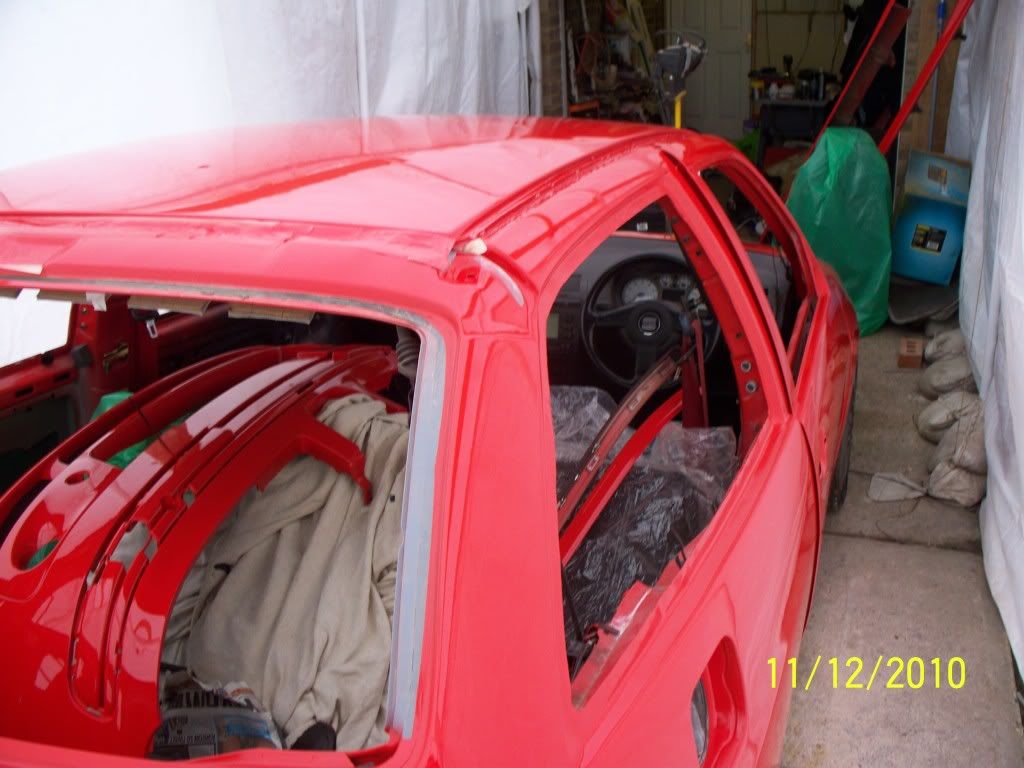
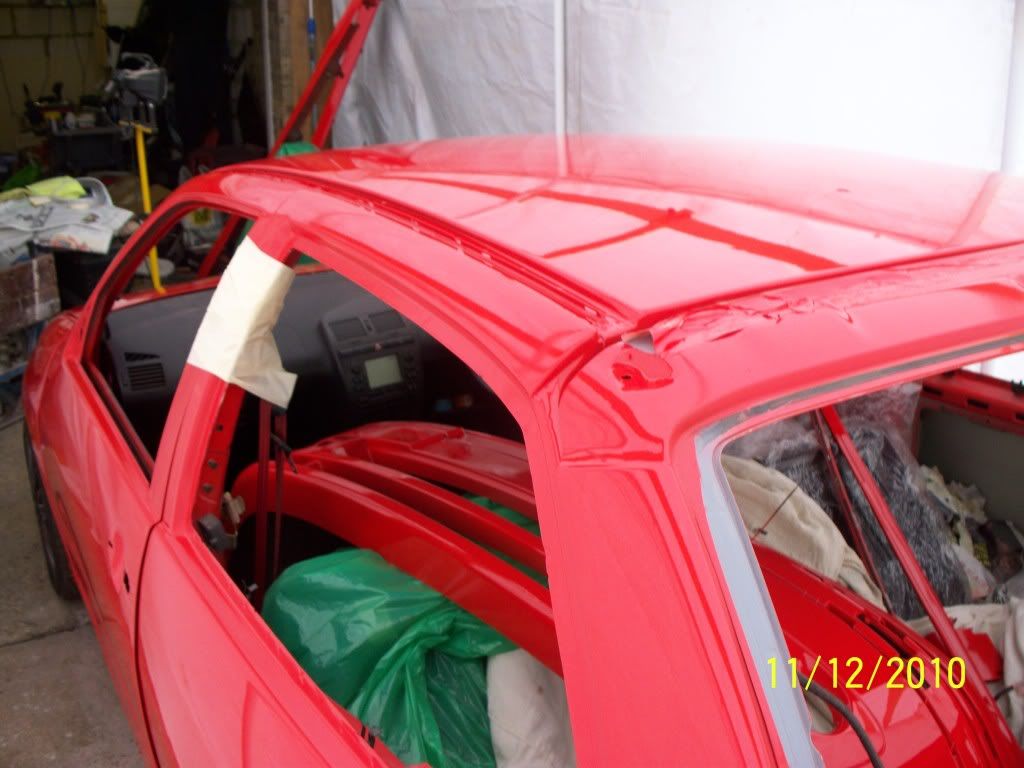
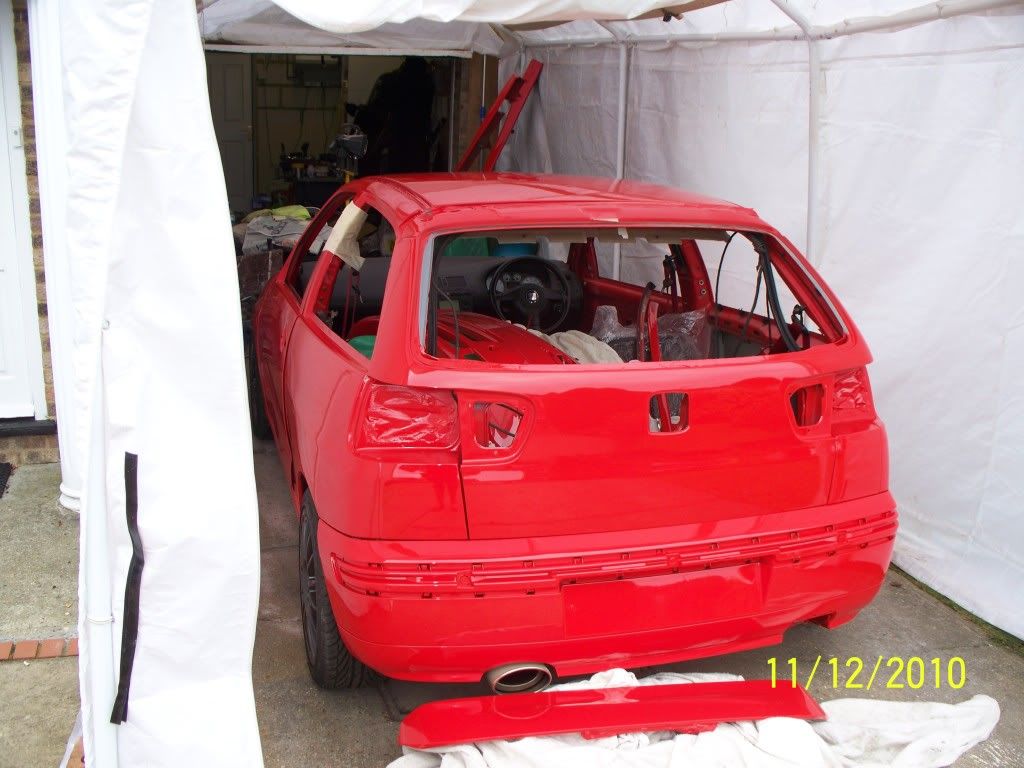
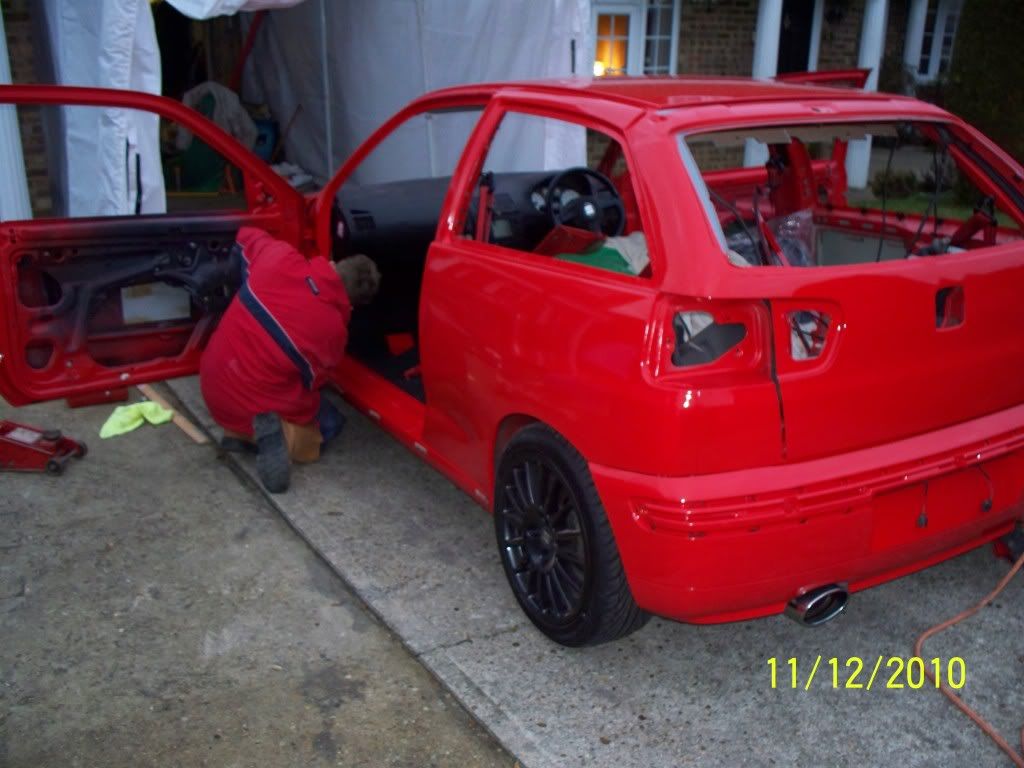
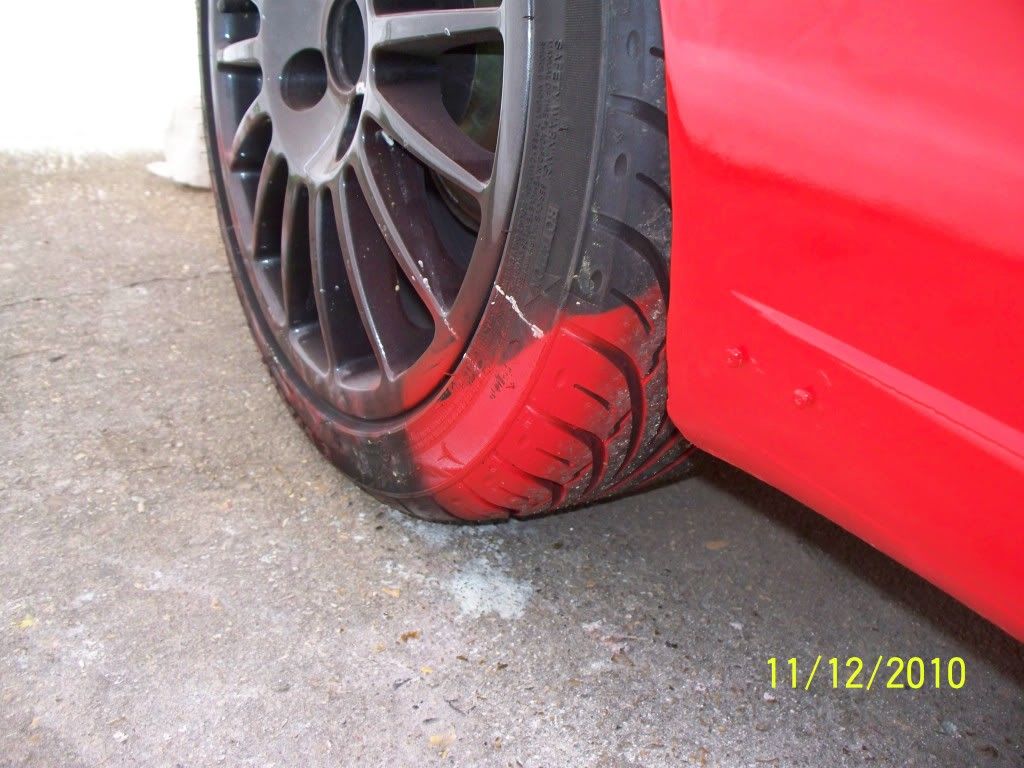
Who forgot to cover the wheels properly?!?! :cartman:
Spent all day today putting everything back together, the doors and rear bumper were fitted at the body shop last night but I still had to link up hinges fit front bumper with all trimmings. The lights are now fitted too so it's actually starting to look like a car again.
Still got to cut and polish the car - does anyone have any views on how long I should leave it? Also had EPC light come on - do people have an idea what this is too (I had cleared fault codes with VAG-COM after I last had the light pop up - after rebuilding engine)??
Cheers
Joe
Fairly small update - still waiting on a few bits to be painted - sprayer came down with the flu over Christmas so didn't get a chance to spray my remaining parts.
Apart from that -still working on the headunit conversion although I've built myself a little boot build:
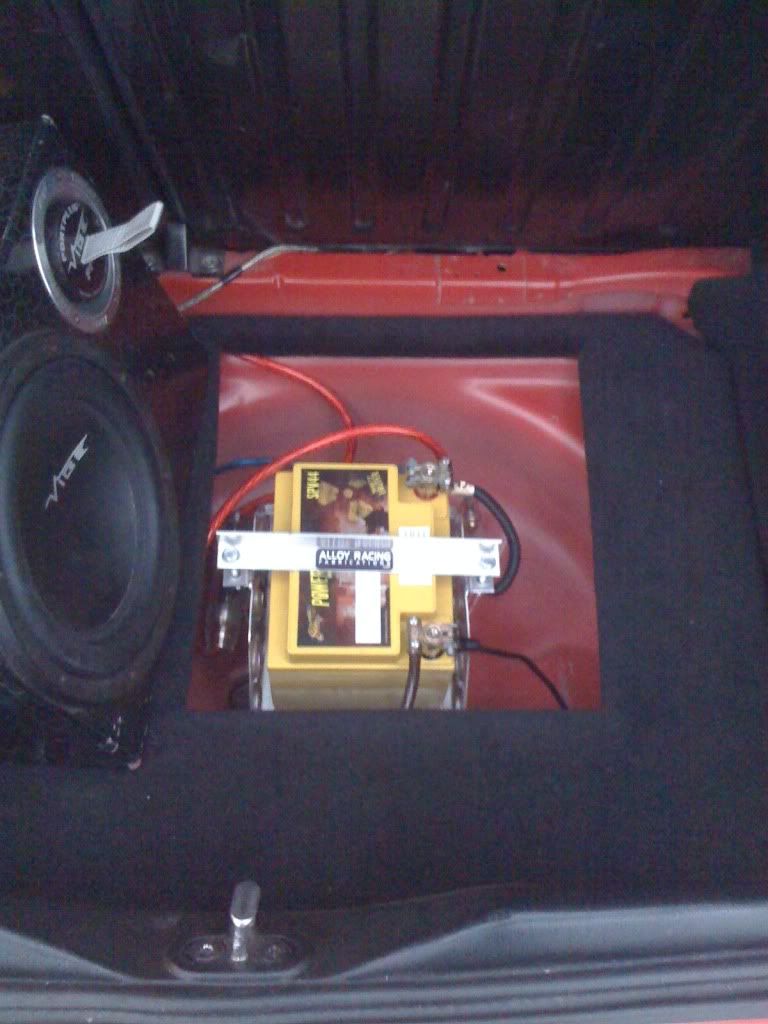
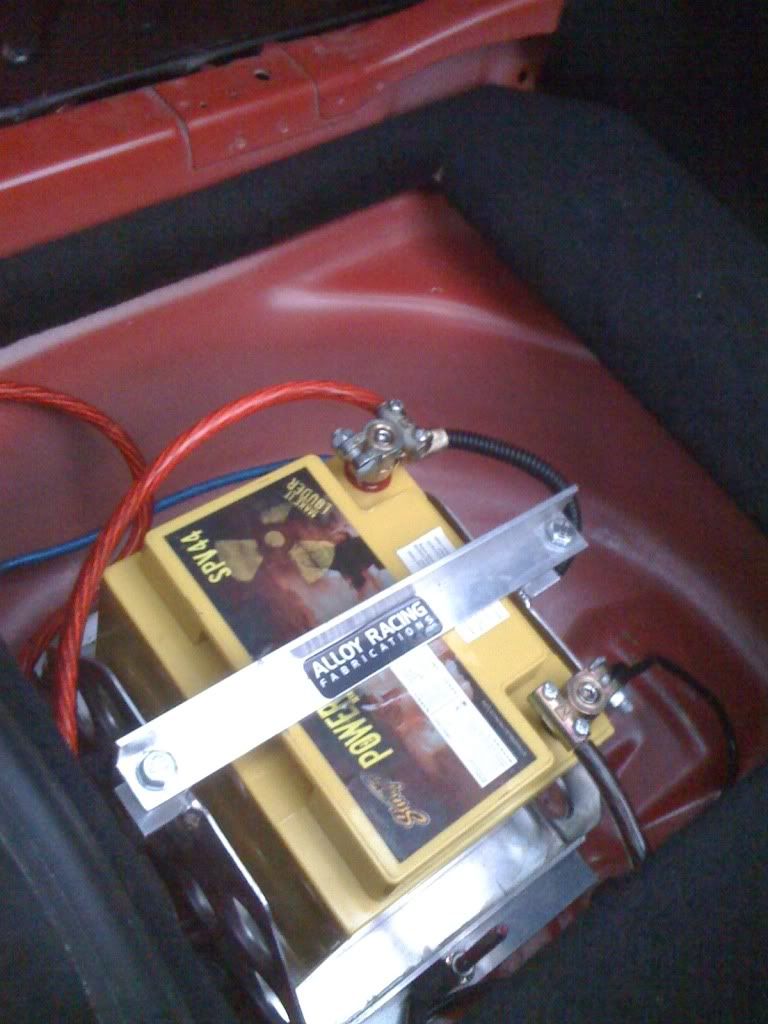
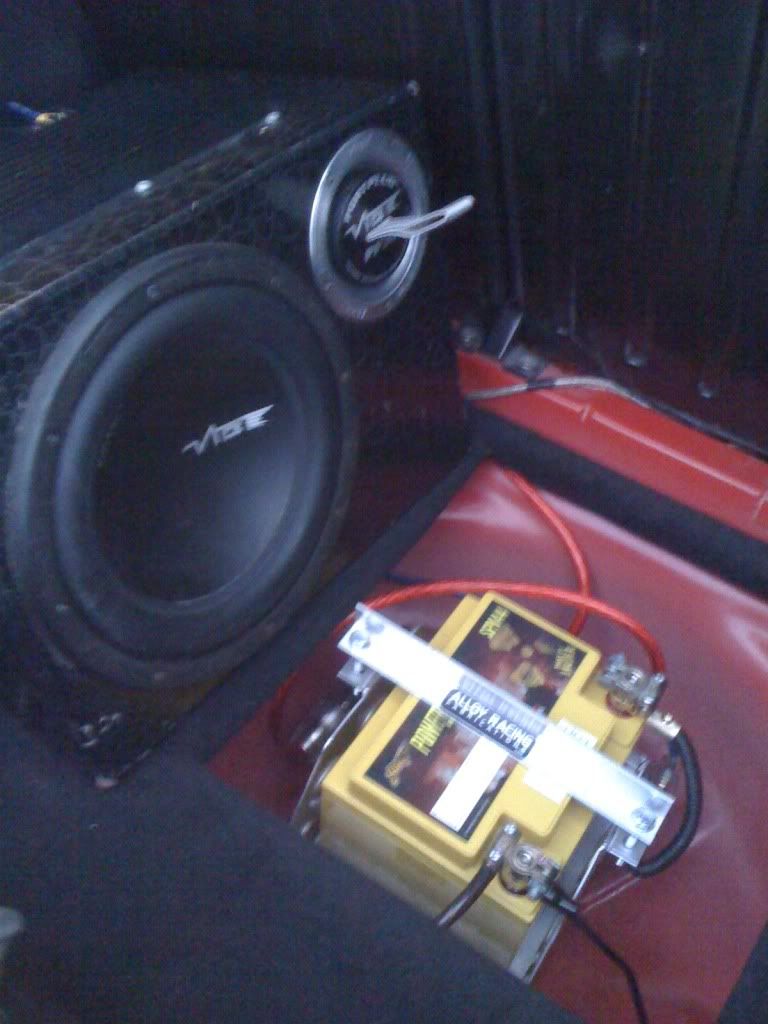
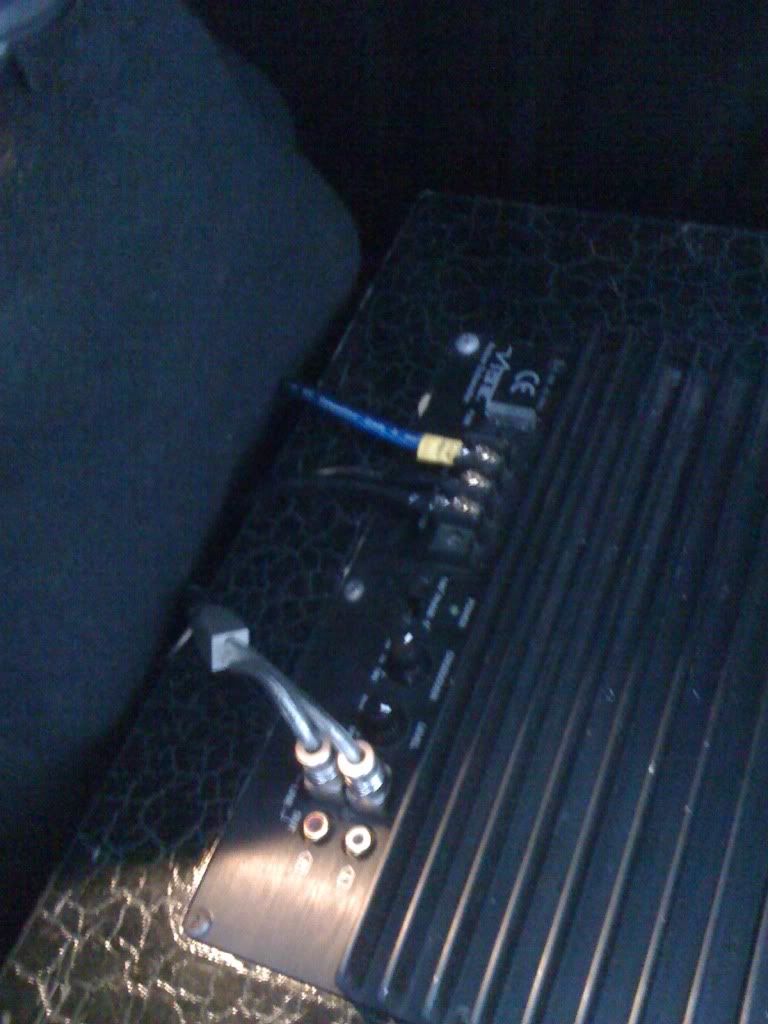
Finally managed to find myself a battery which would fit in the tray, nice and powerful too.
The subwoofer is due to the car being a daily driver - I wanted some comforts such as; banging tunes
Here's a few pictures of the nearly finished article - iPhone only pictures so really doesn't do it justice
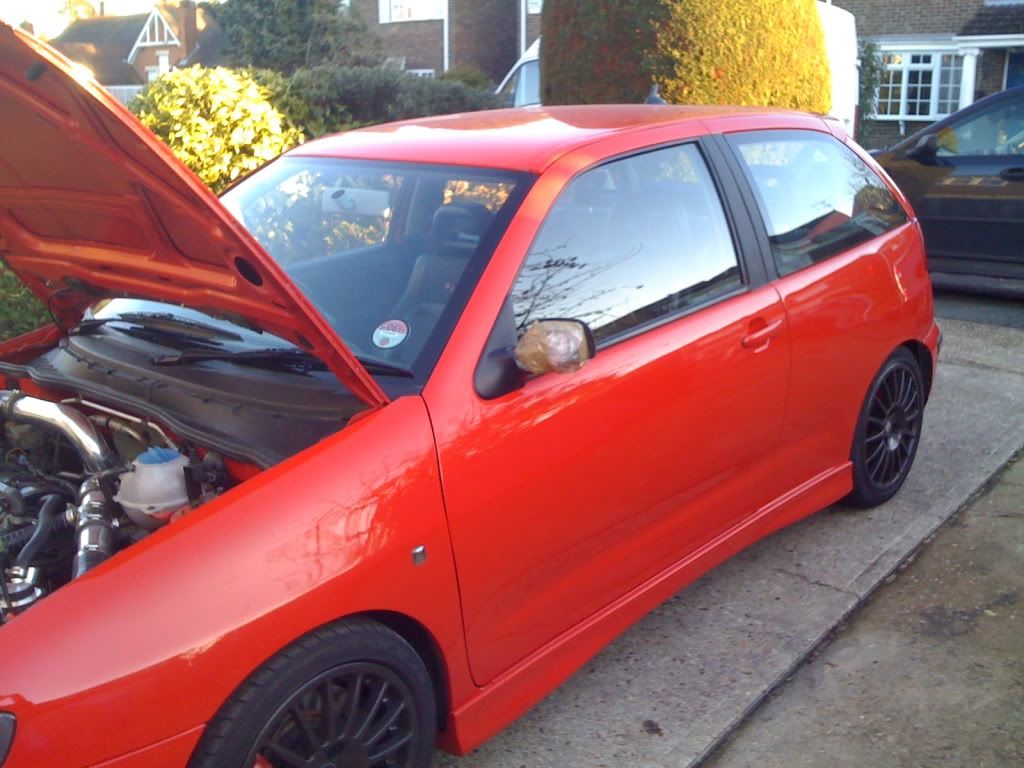
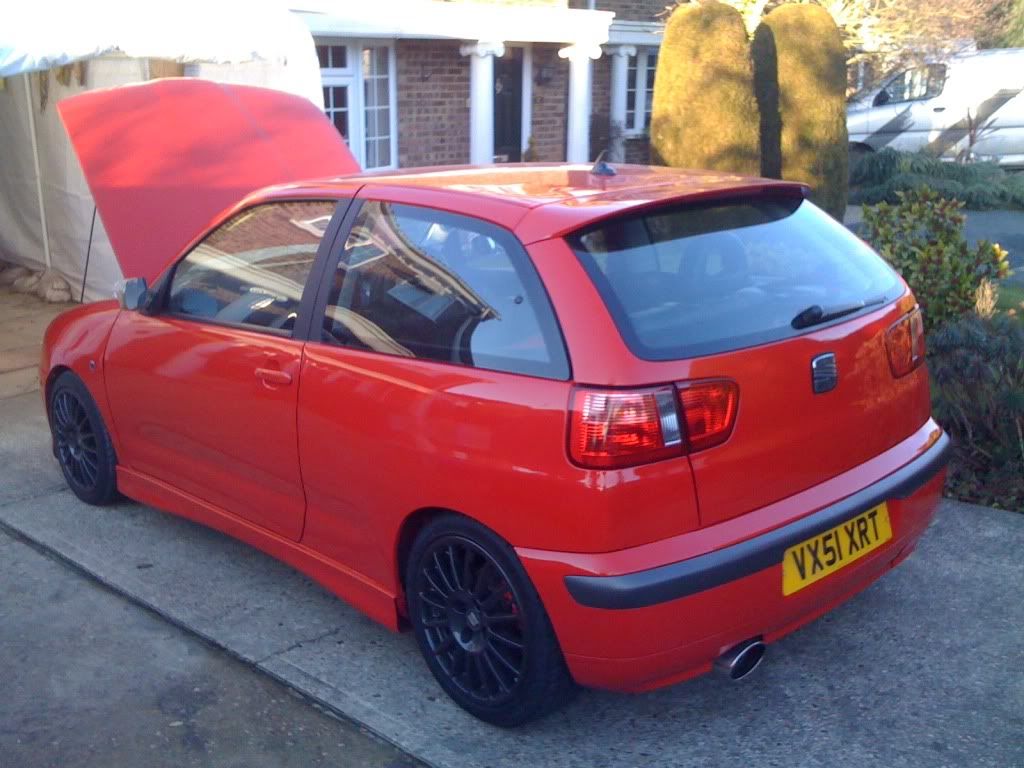
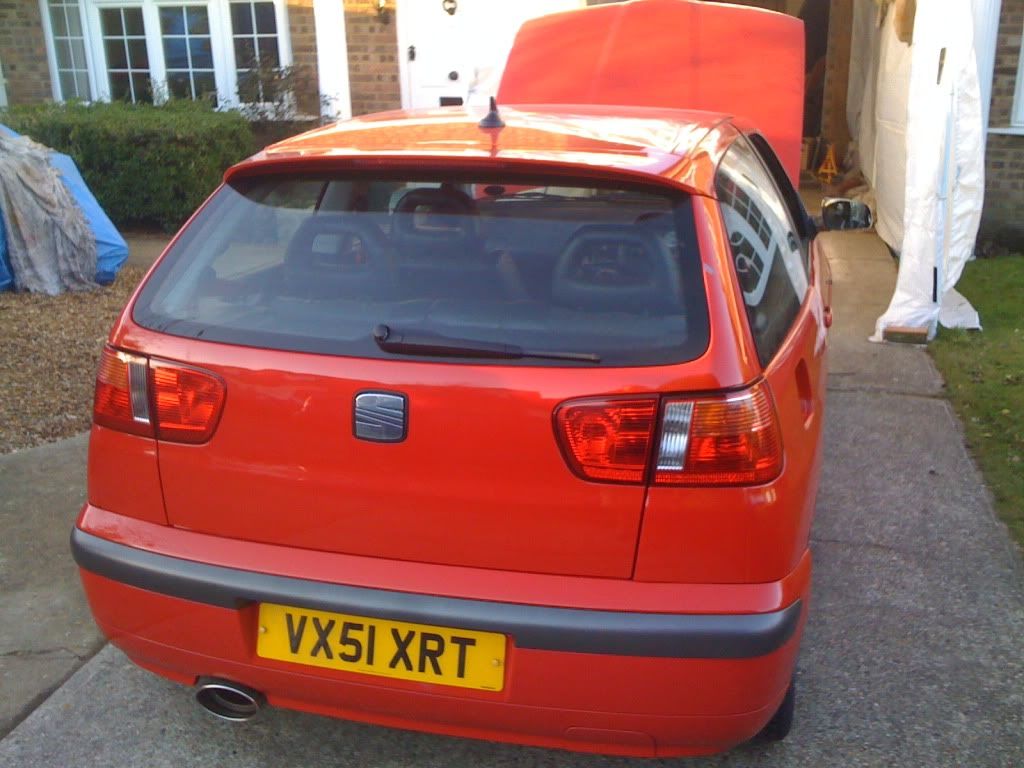
Let me know what you think.
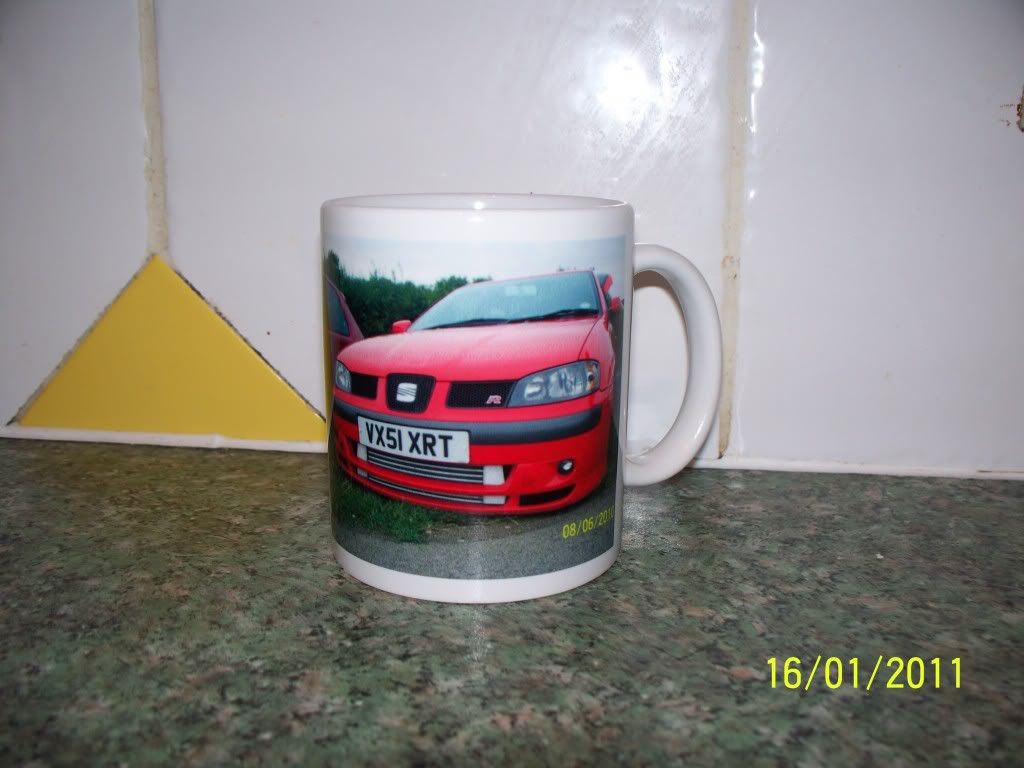
Over Christmas a little present arrived from Tashacupra:
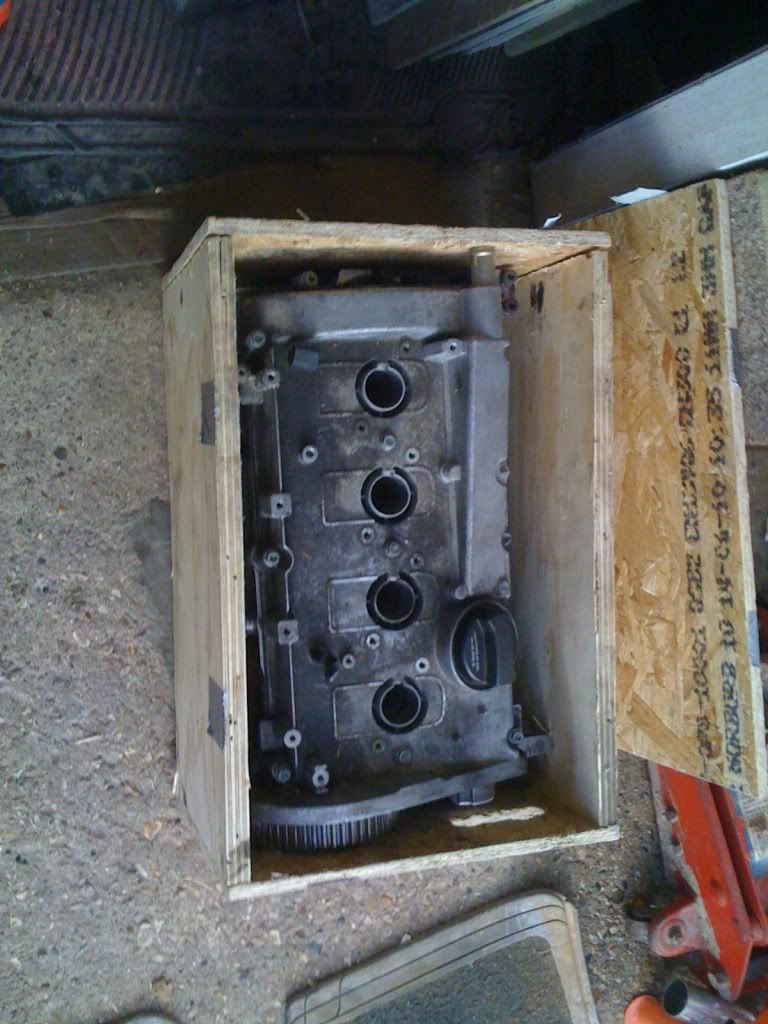
Starting to collect them:
Another Christmas pressie from a mates Mum, thought it was pretty cool:
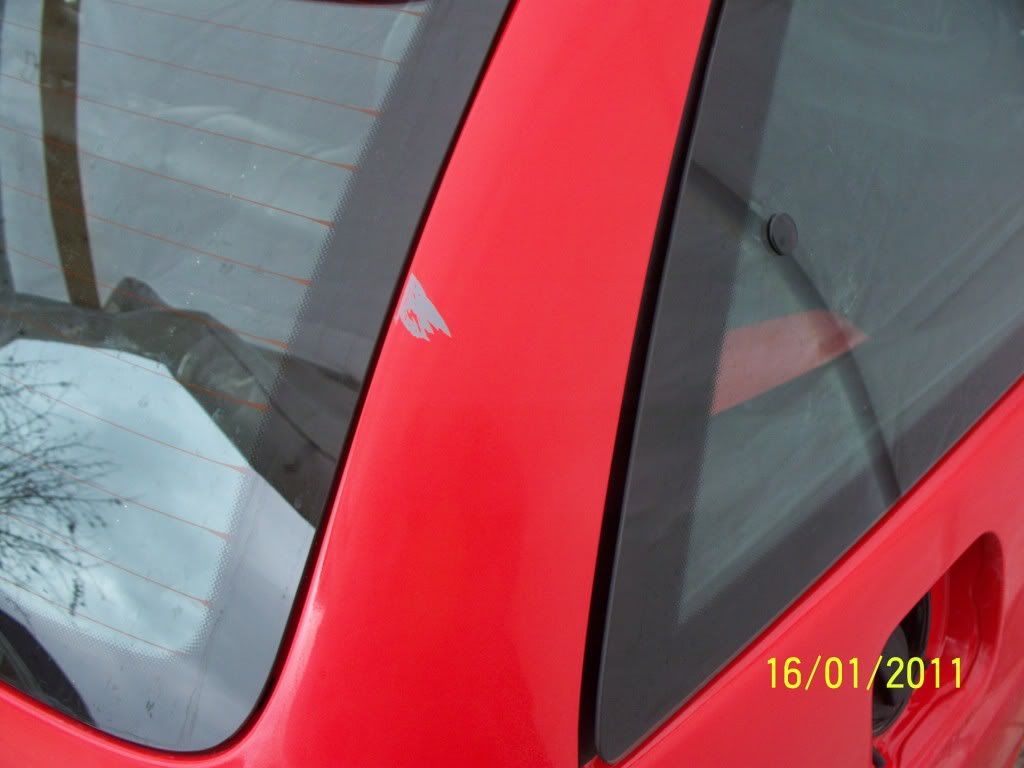
Some damage from when the window men came....
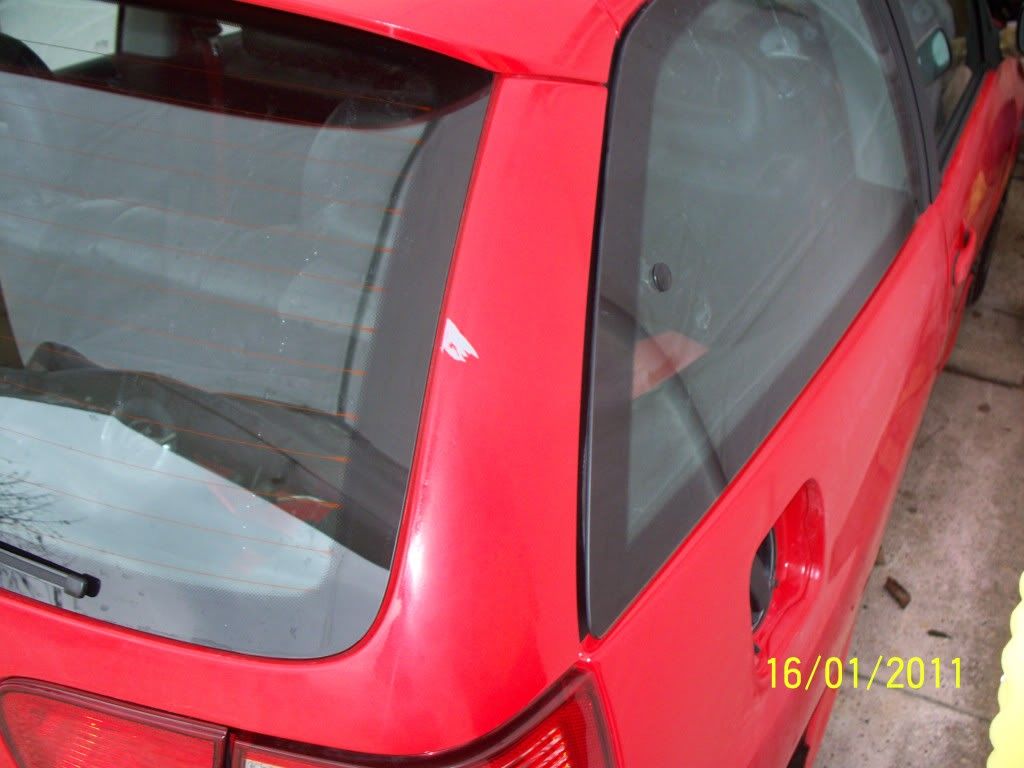
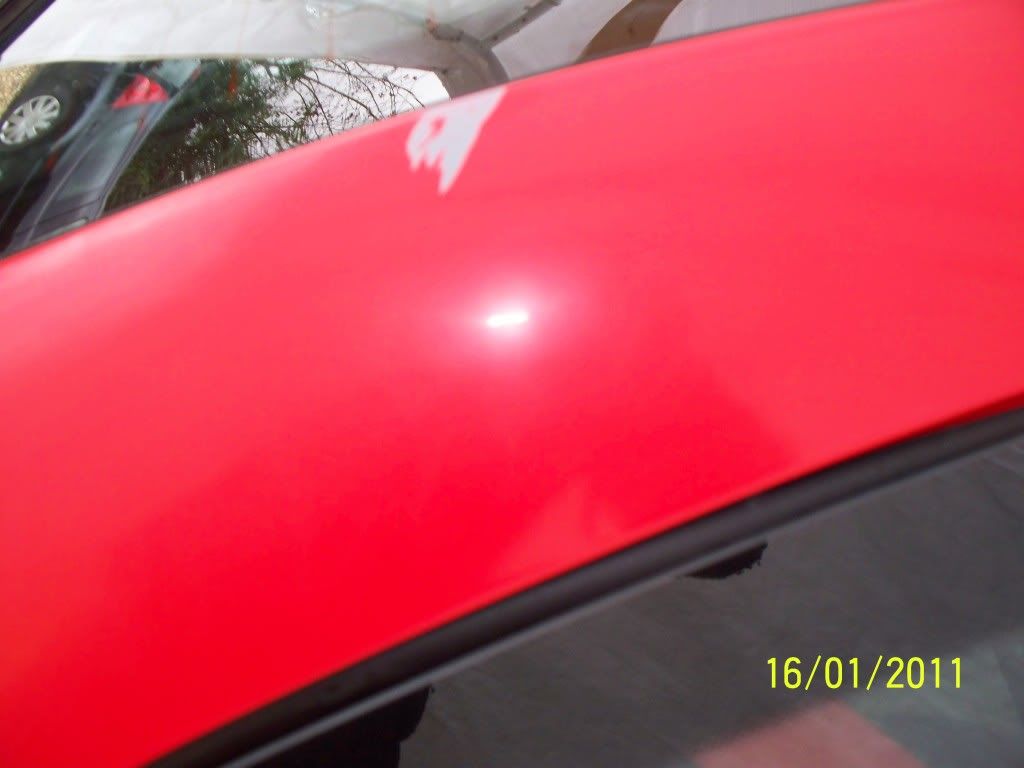
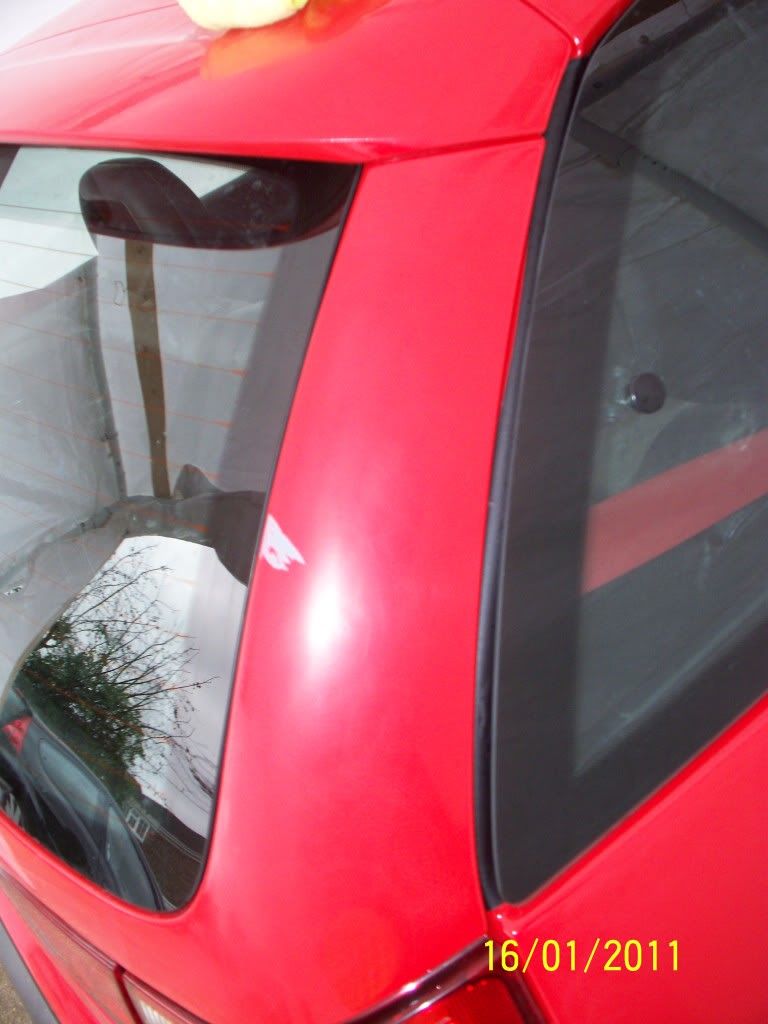
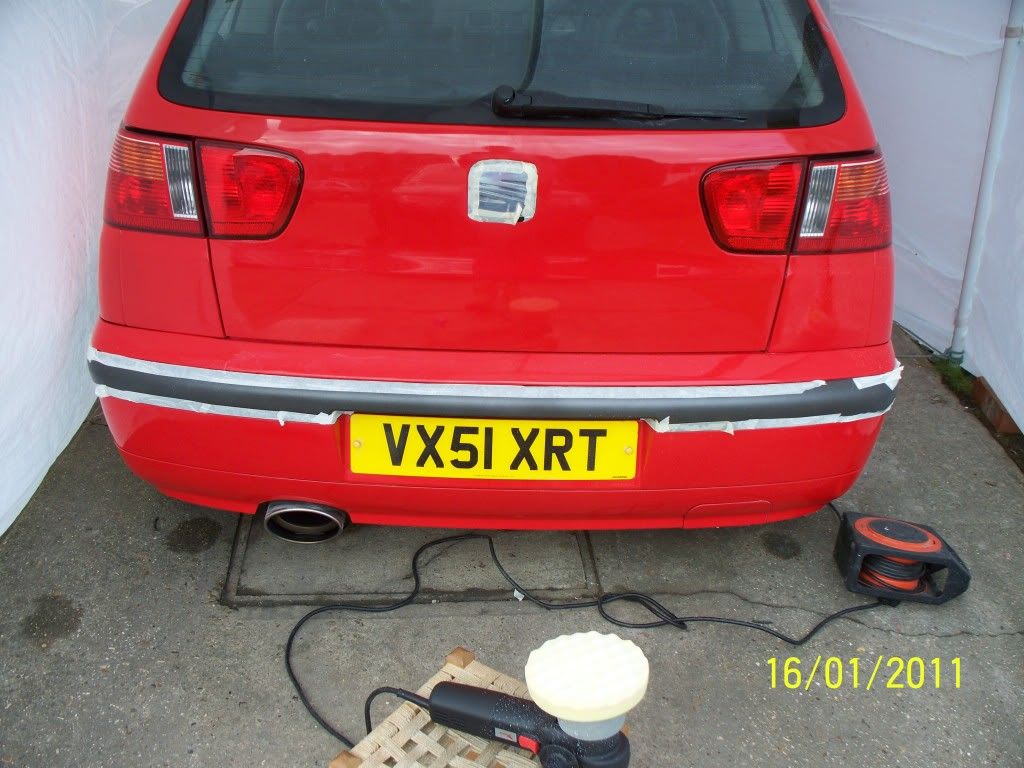
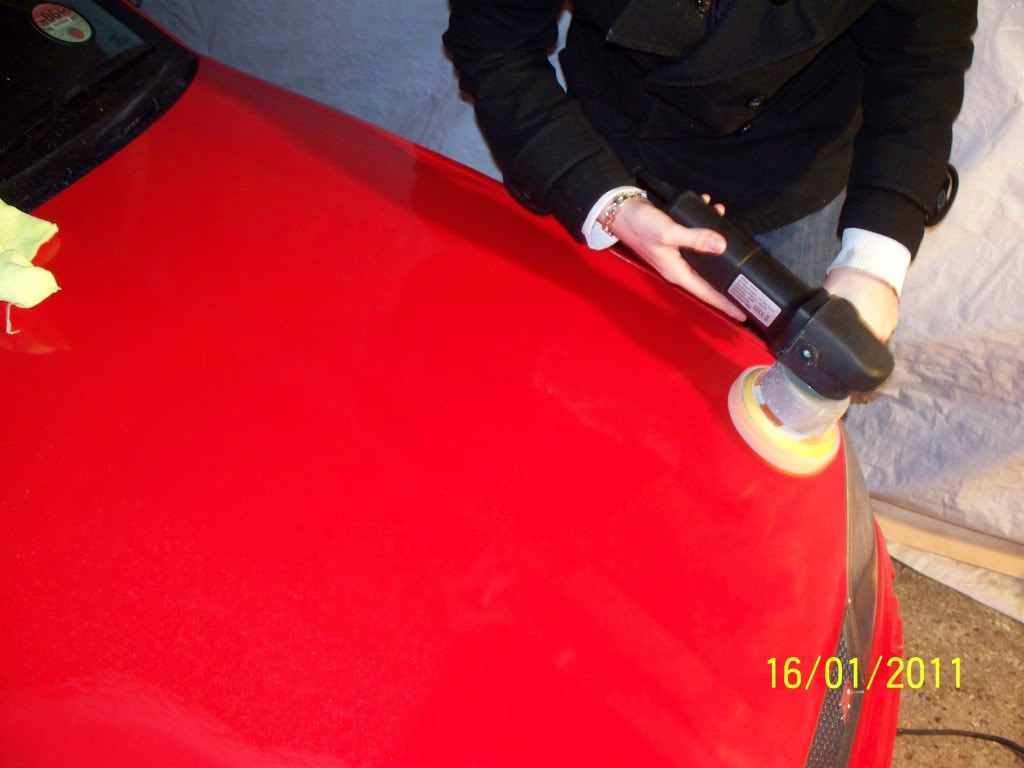
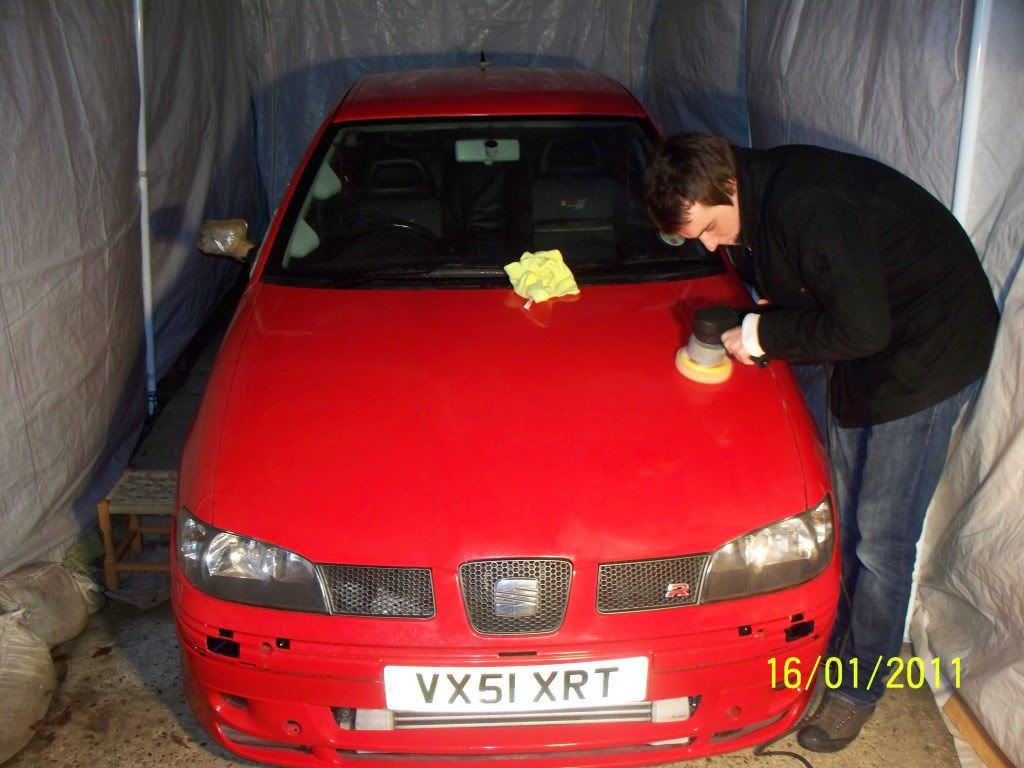
All flatted down with P2000 then P4000 left overnight last night and started polishing it today with some 3M Fast Cut Plus.
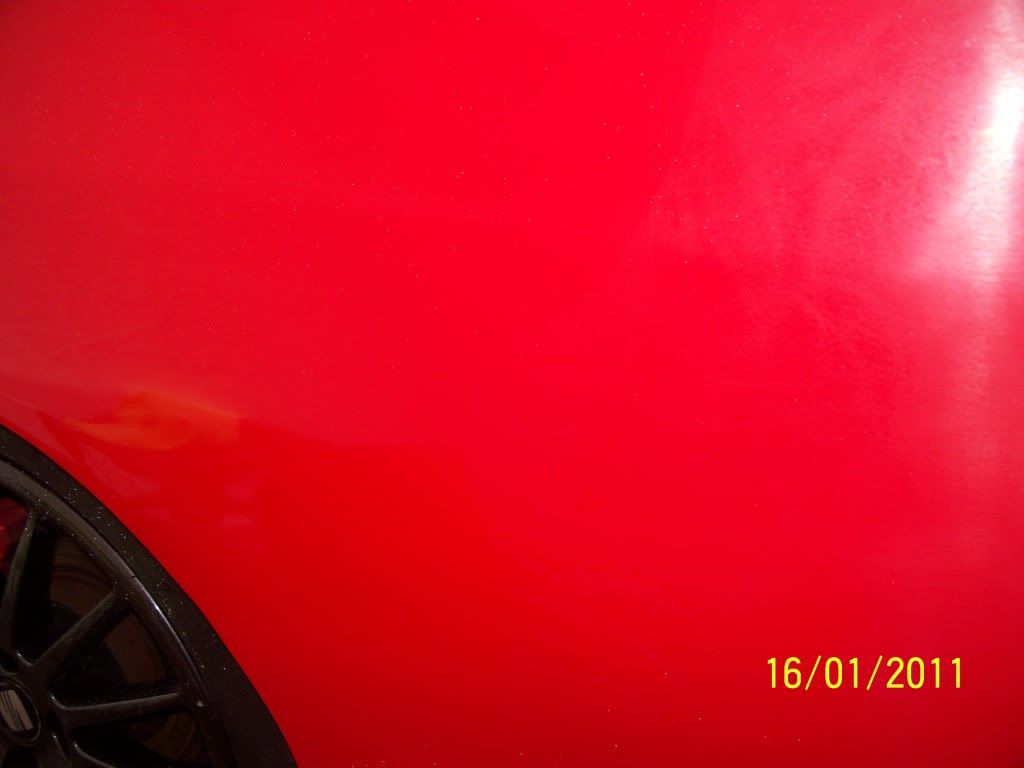
Flattened comparison to Fast Cut bit:
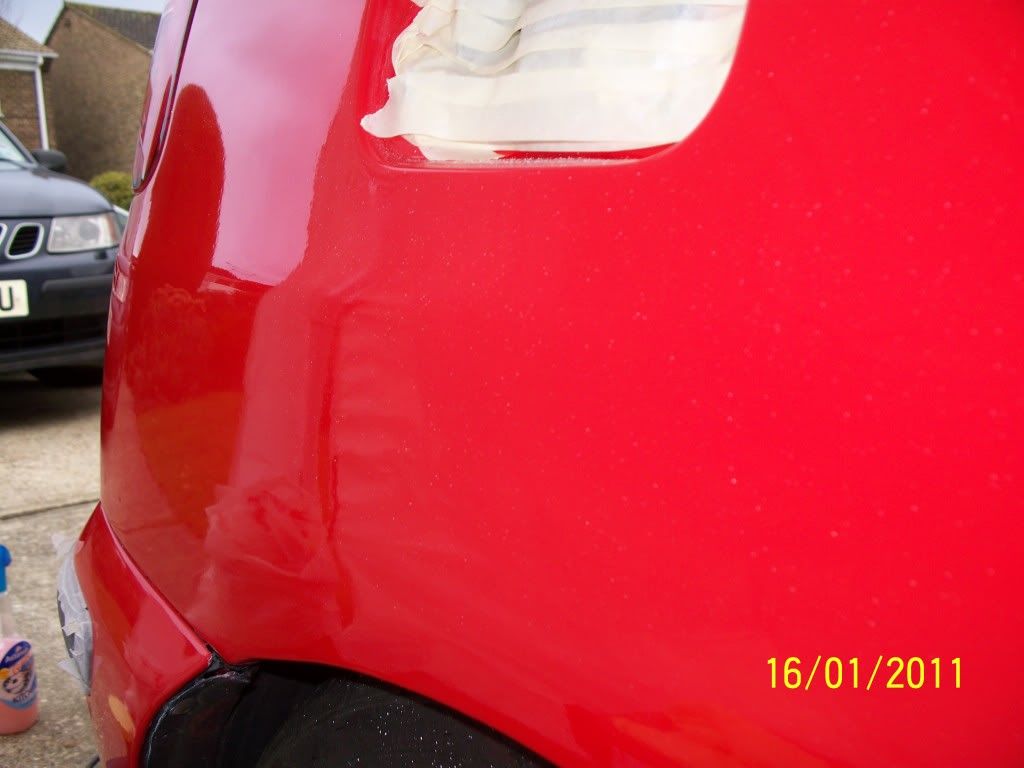
Bit of masking:
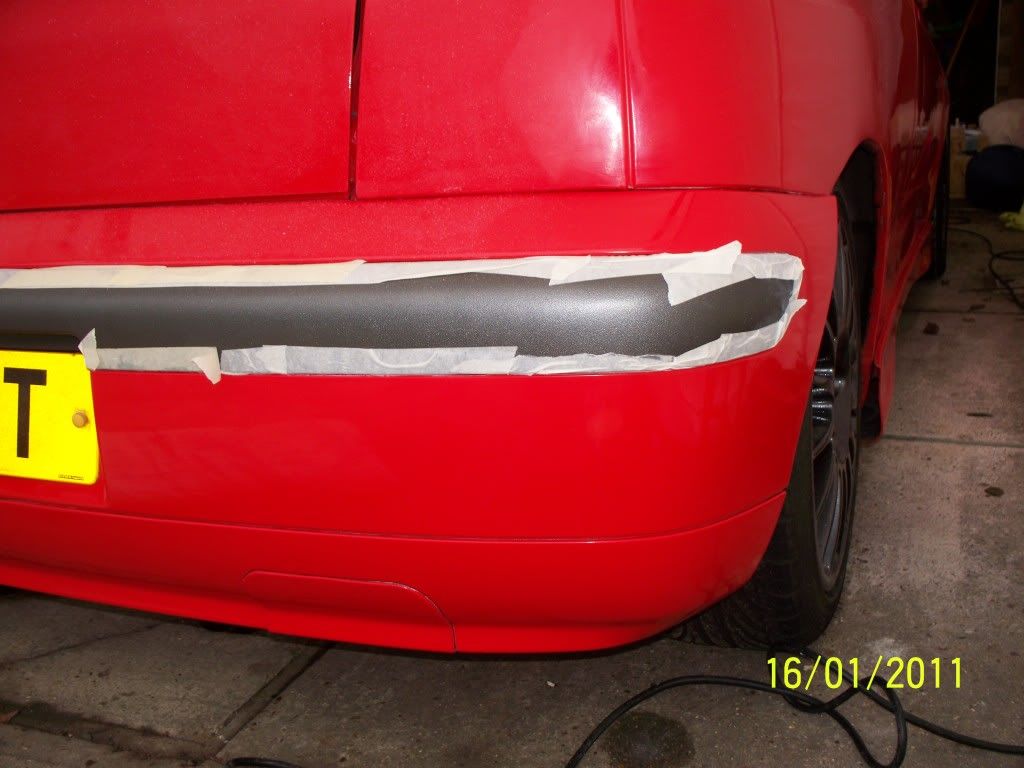
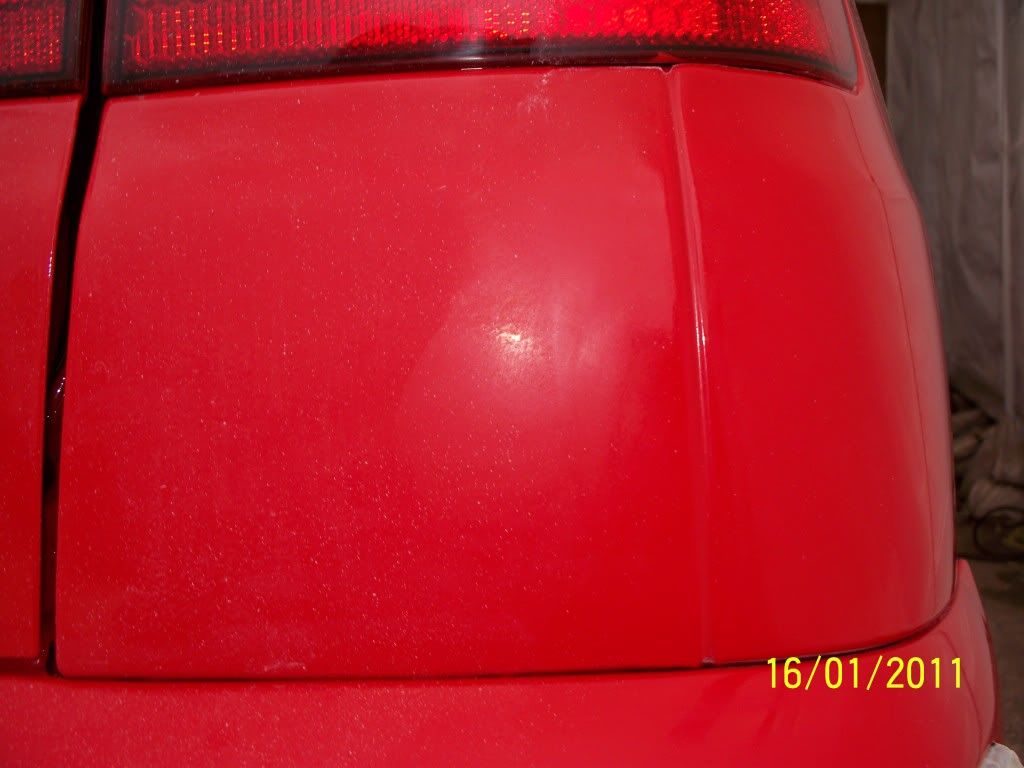
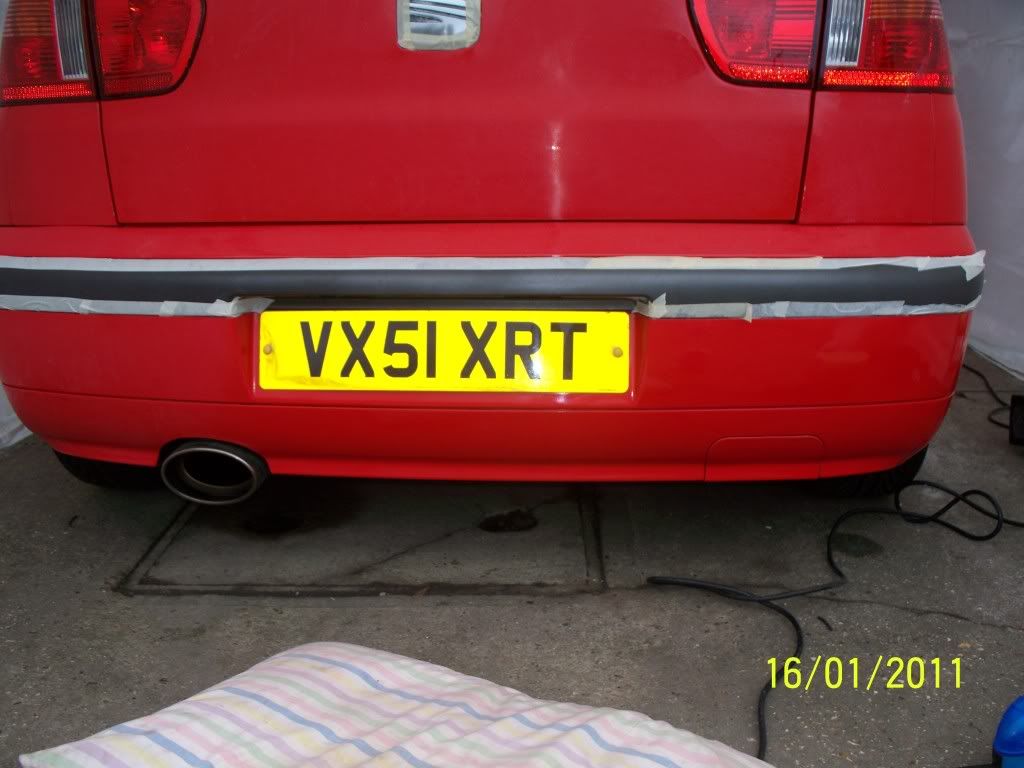
Shiny shiny:
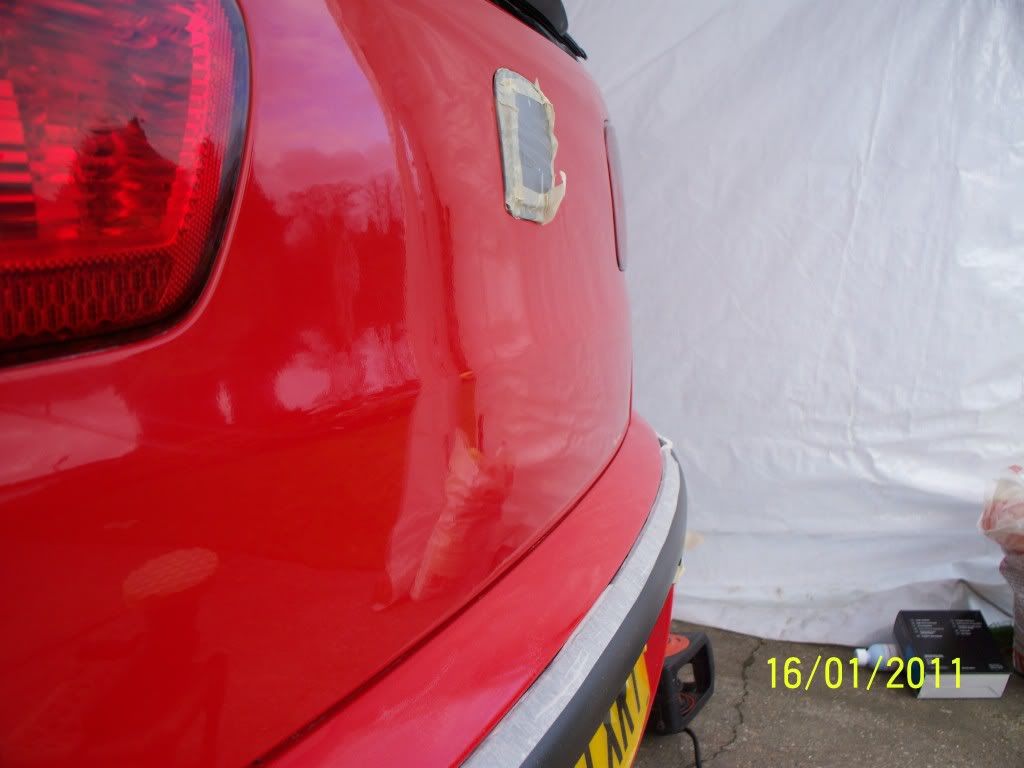
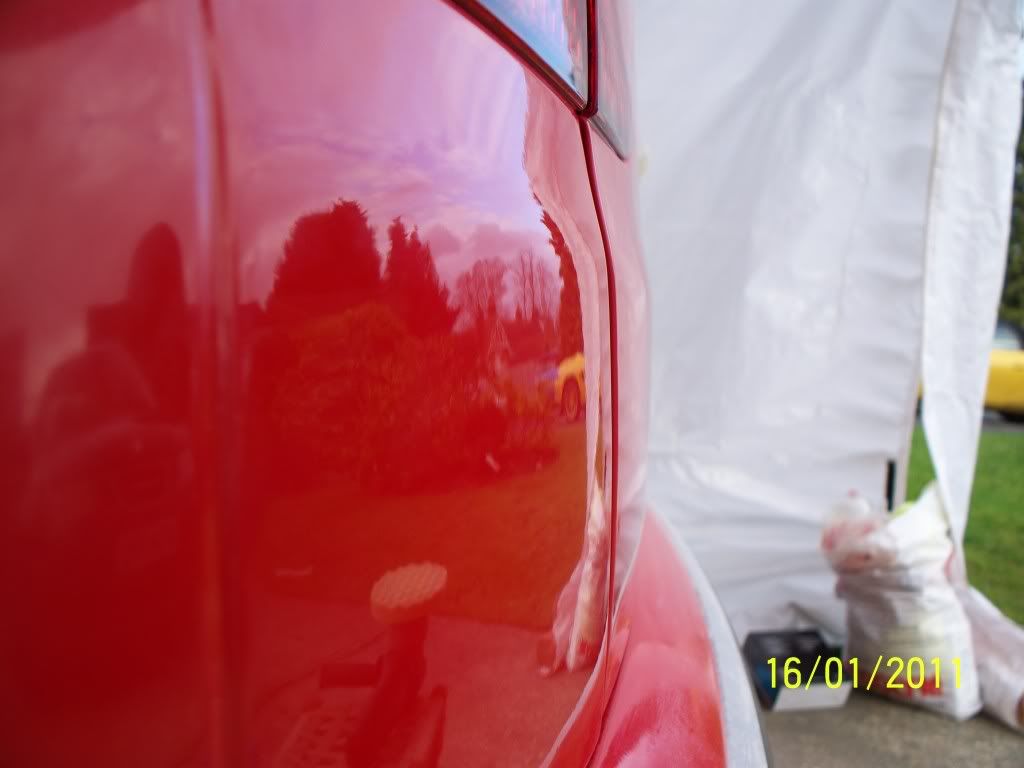
Everything seemed to look great until I pulled out these lights....
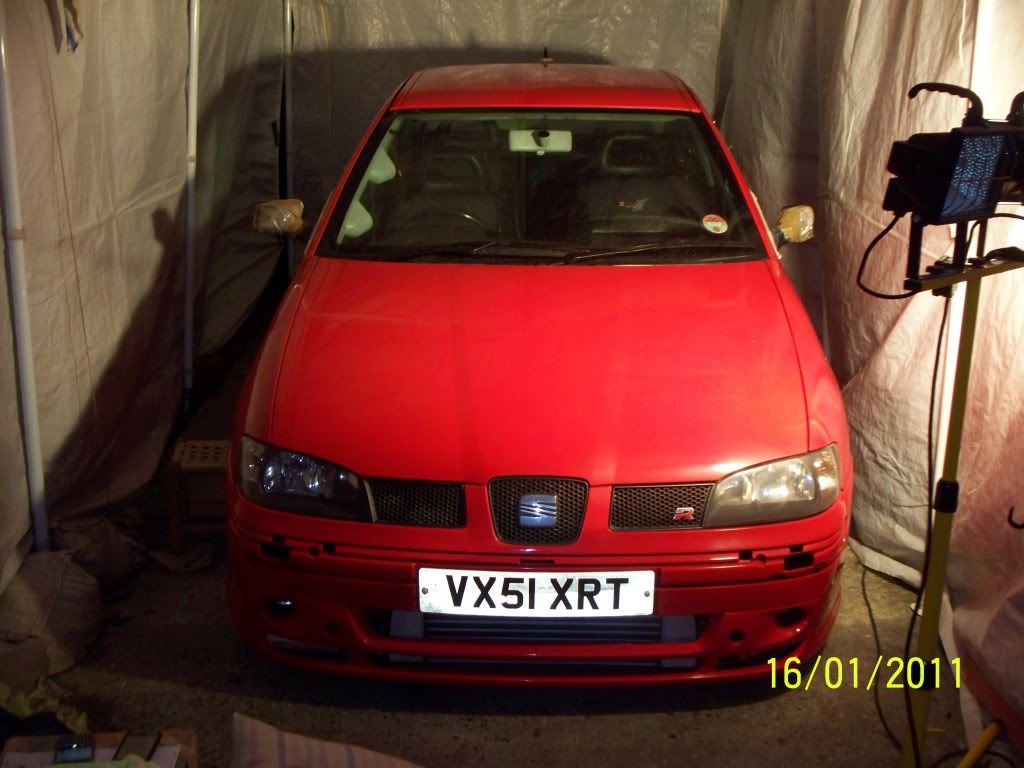
Couple of arty shots
Mate popped over to help with polishing:
As always comments welcome
Update time the car had part of the bootlid resprayed after the paint damage, seen above.
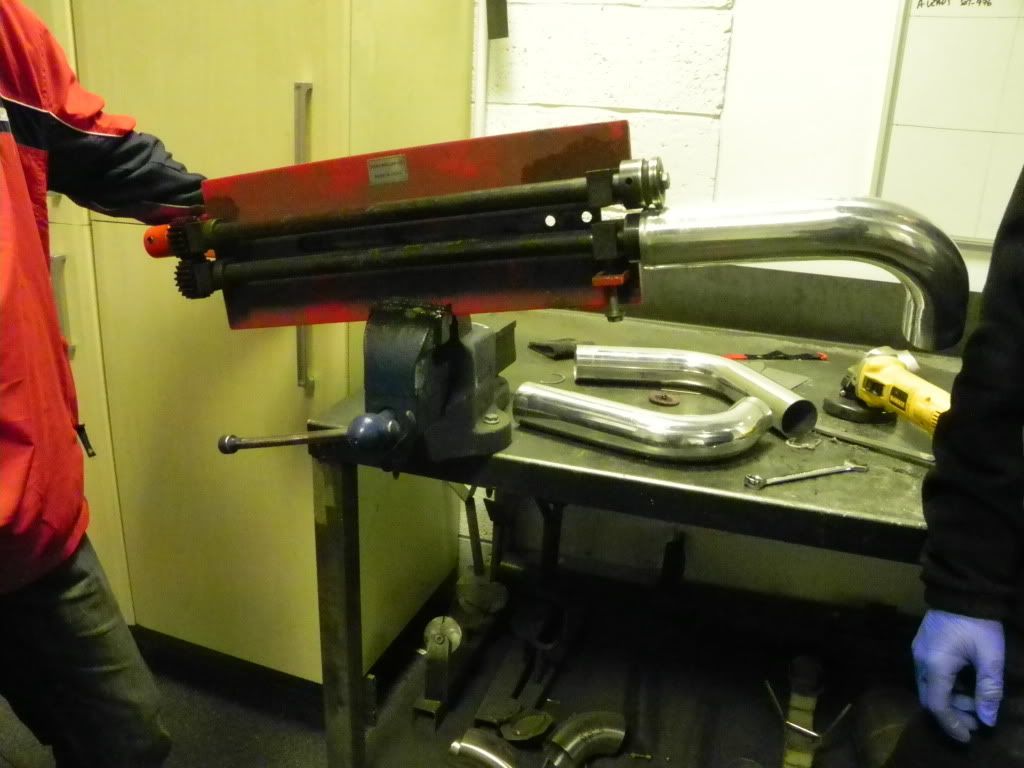
Also made a trip to go and meet Alex at Backdraft Motorsports where we would bead my intercooler pipework.
He's some pictures to keep you guys happy:
Guaranteed, of course to see some of these...
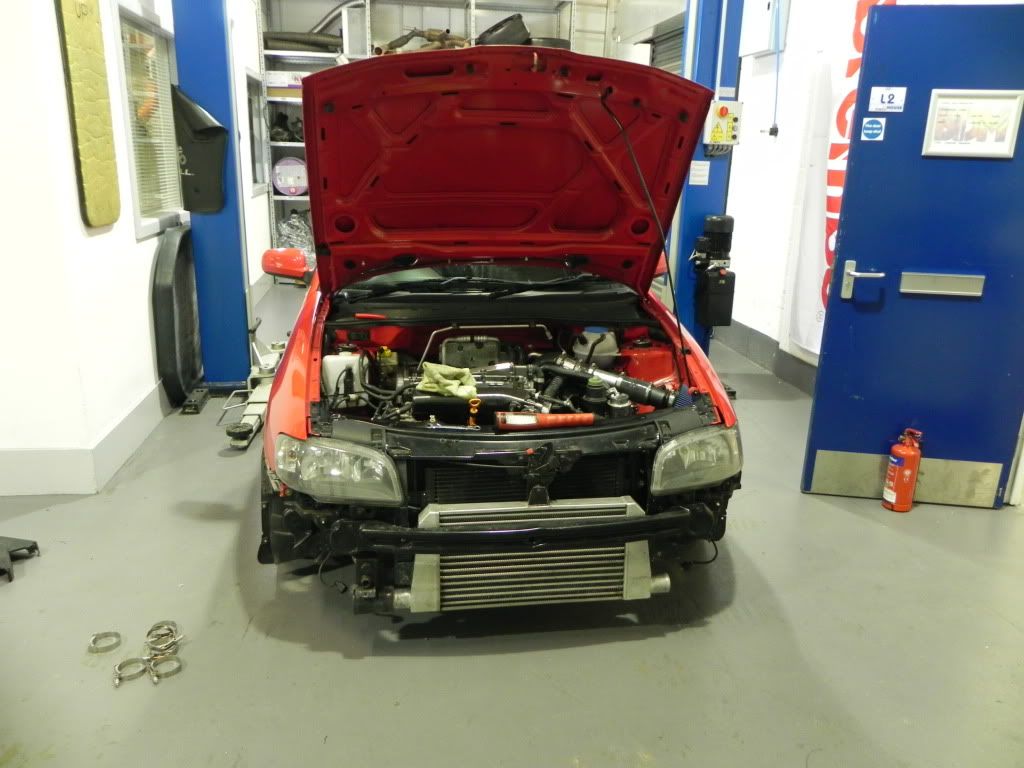
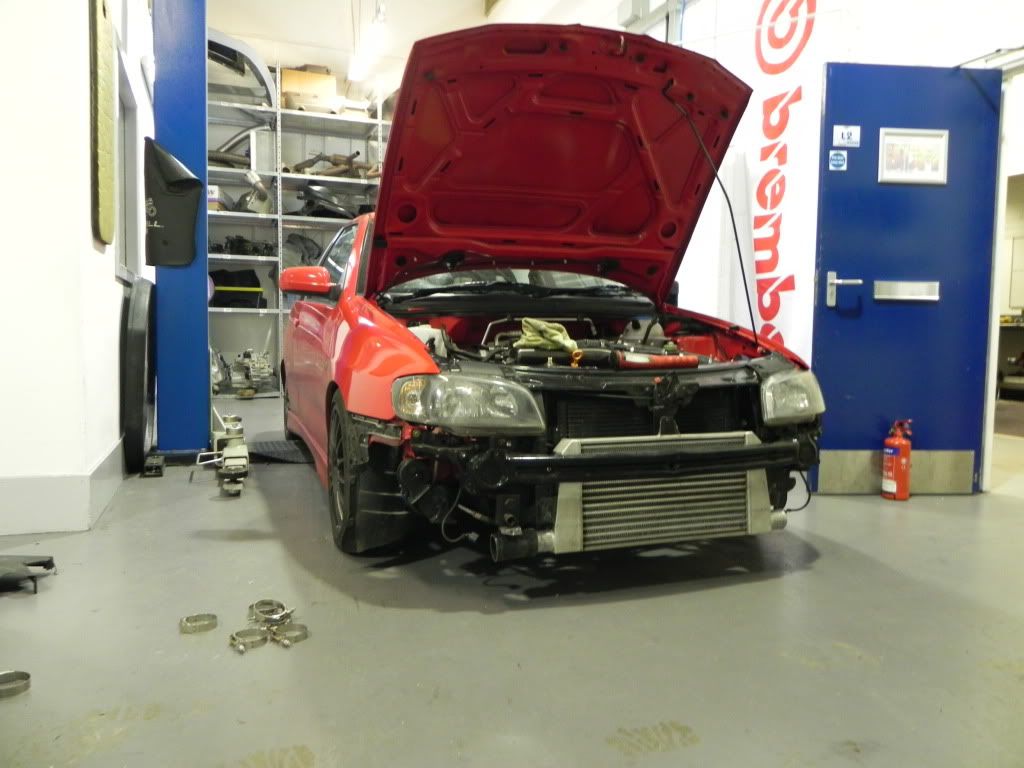
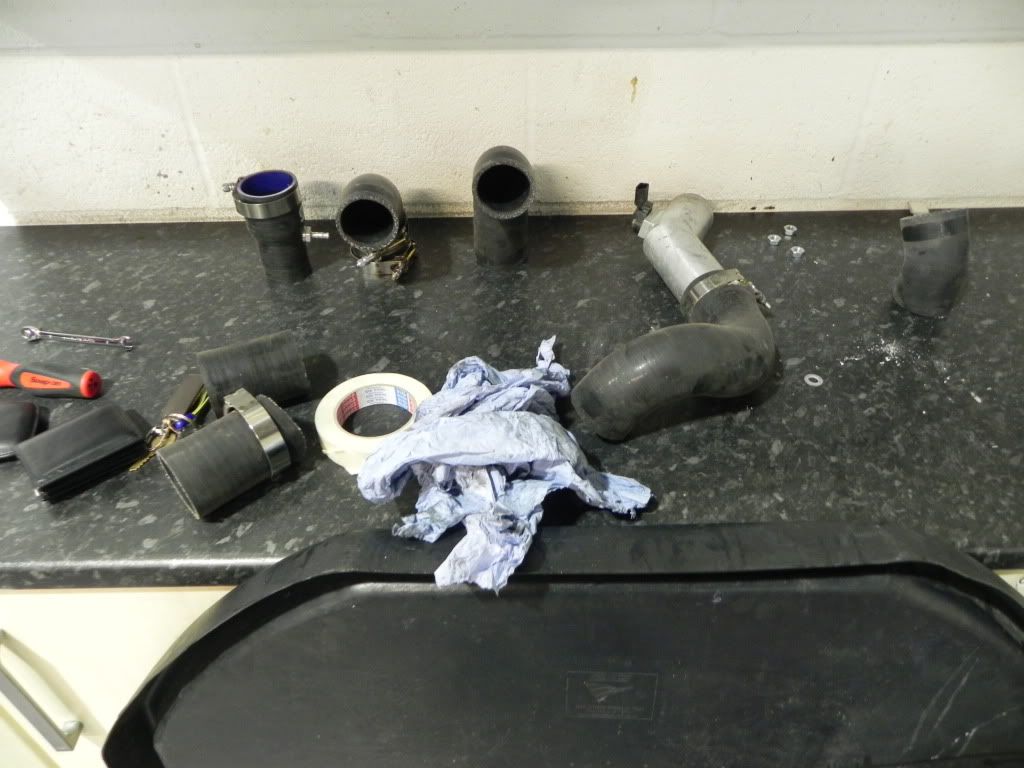
Taking all the pipe work off, tried to keep all the silicone the correct way so I would remember where it went:
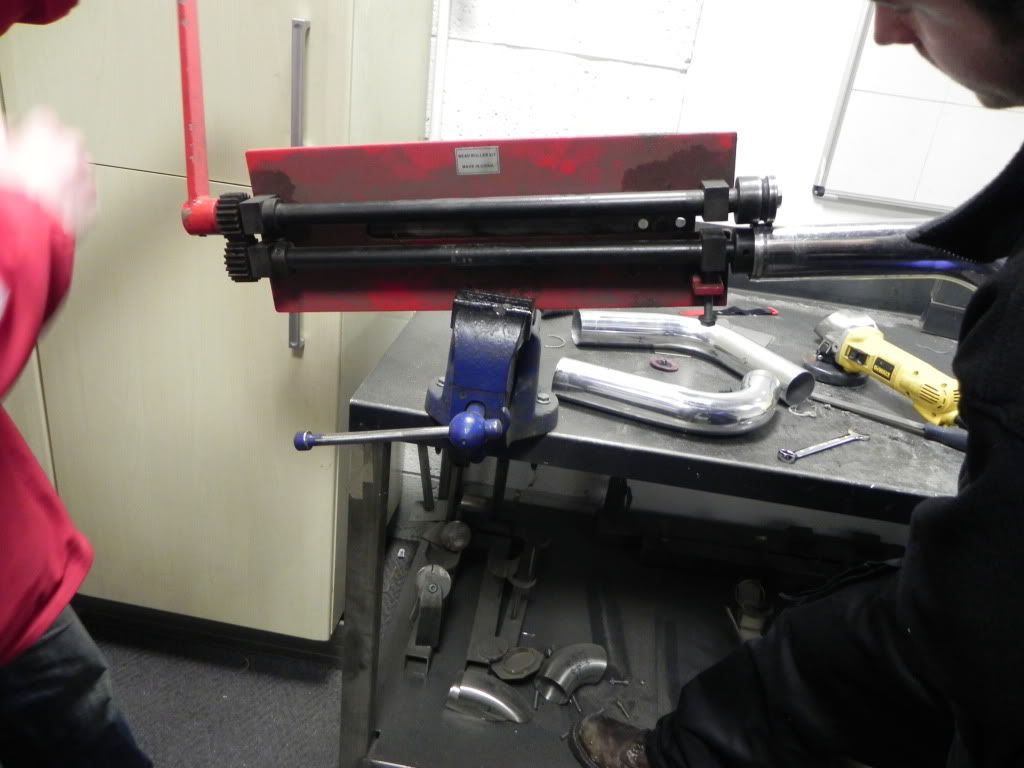
Through into the room where the beading would commence:
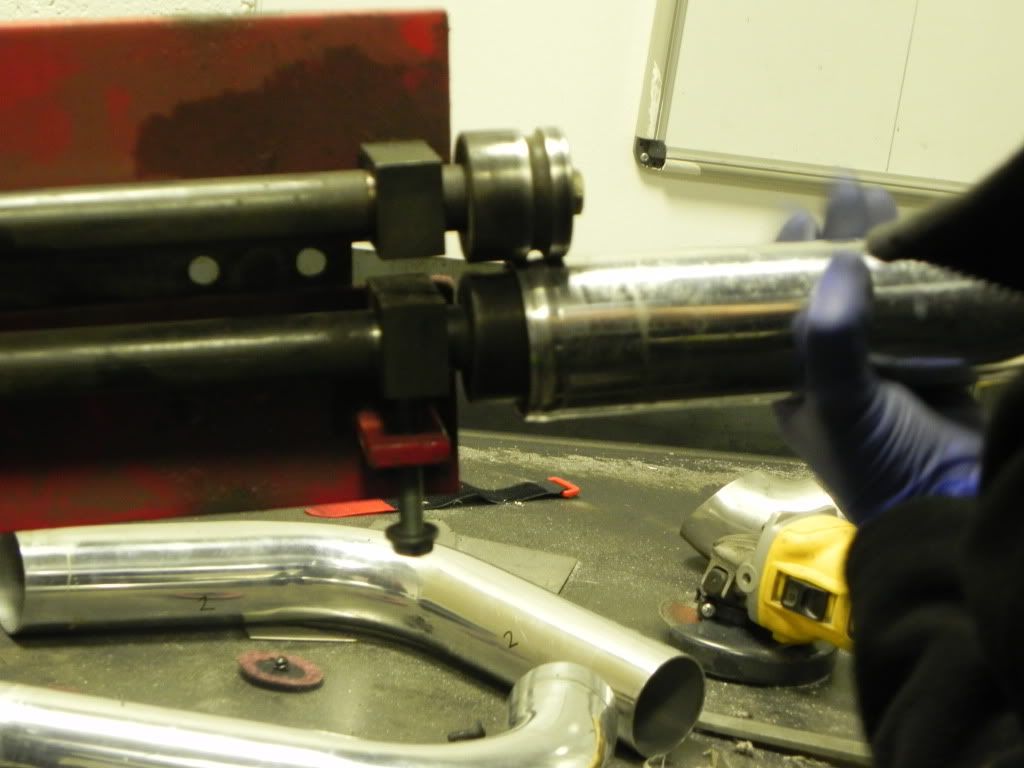
Found this in the corner too:

All beaded up:
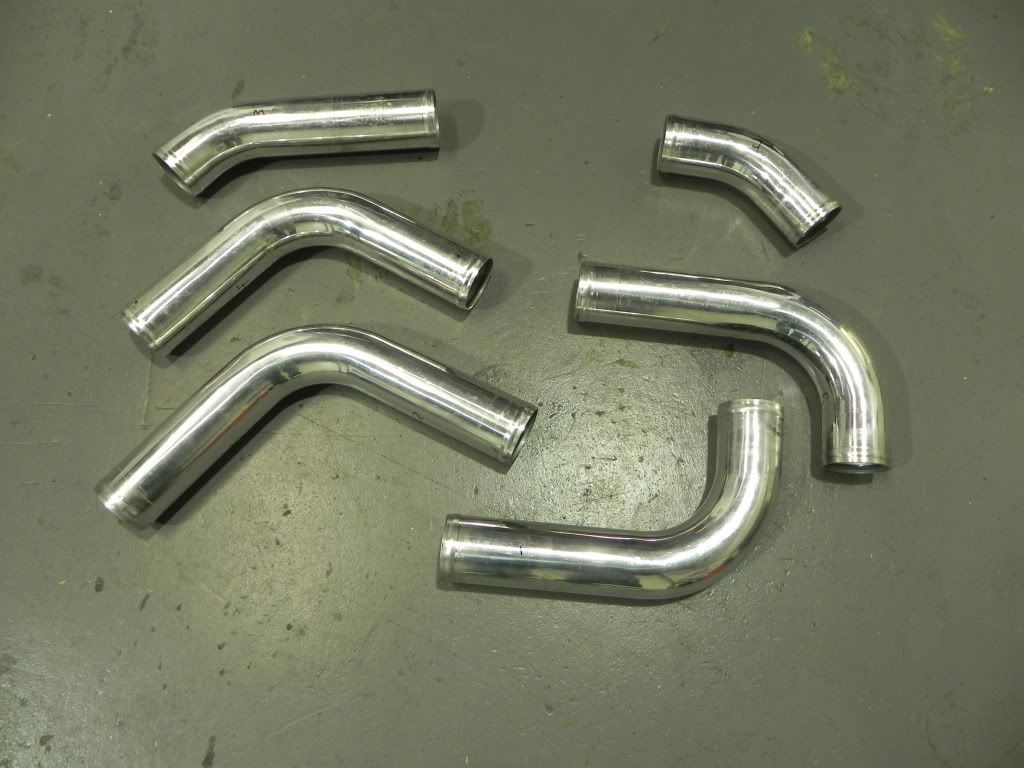
Selection of clips:
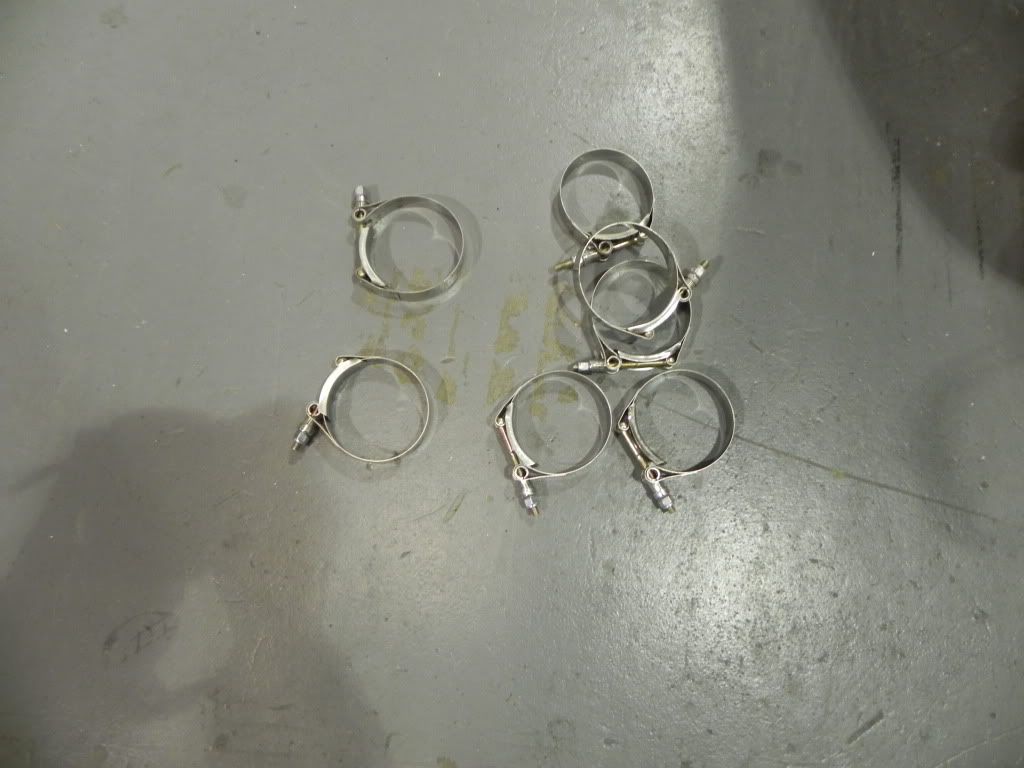
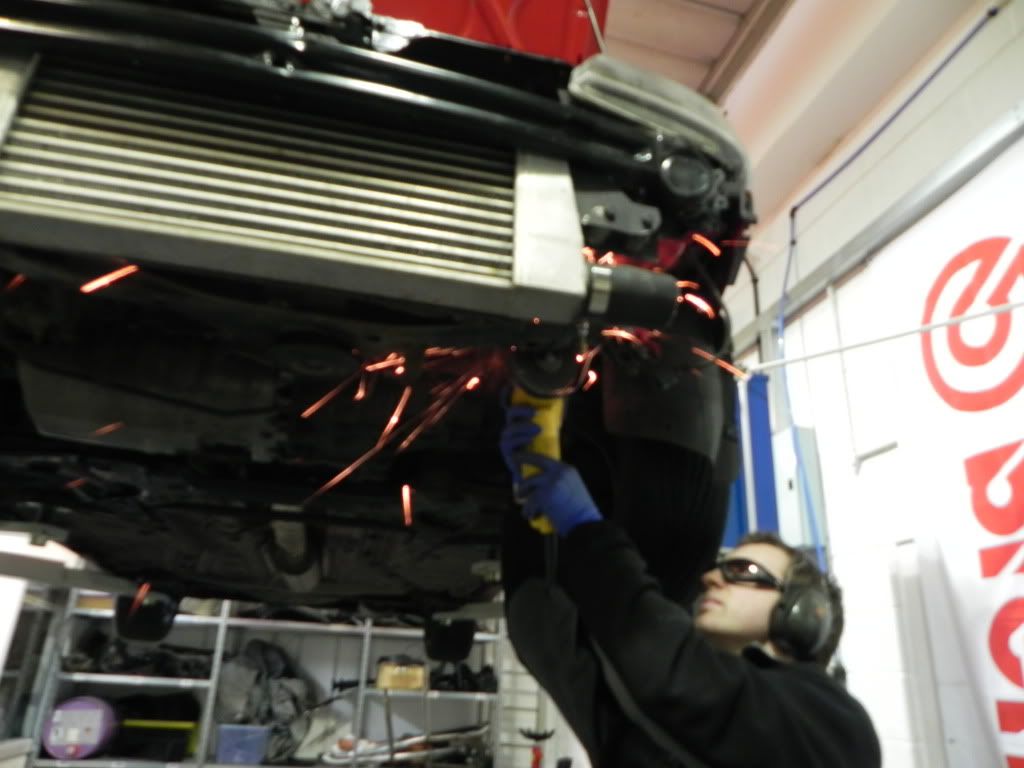
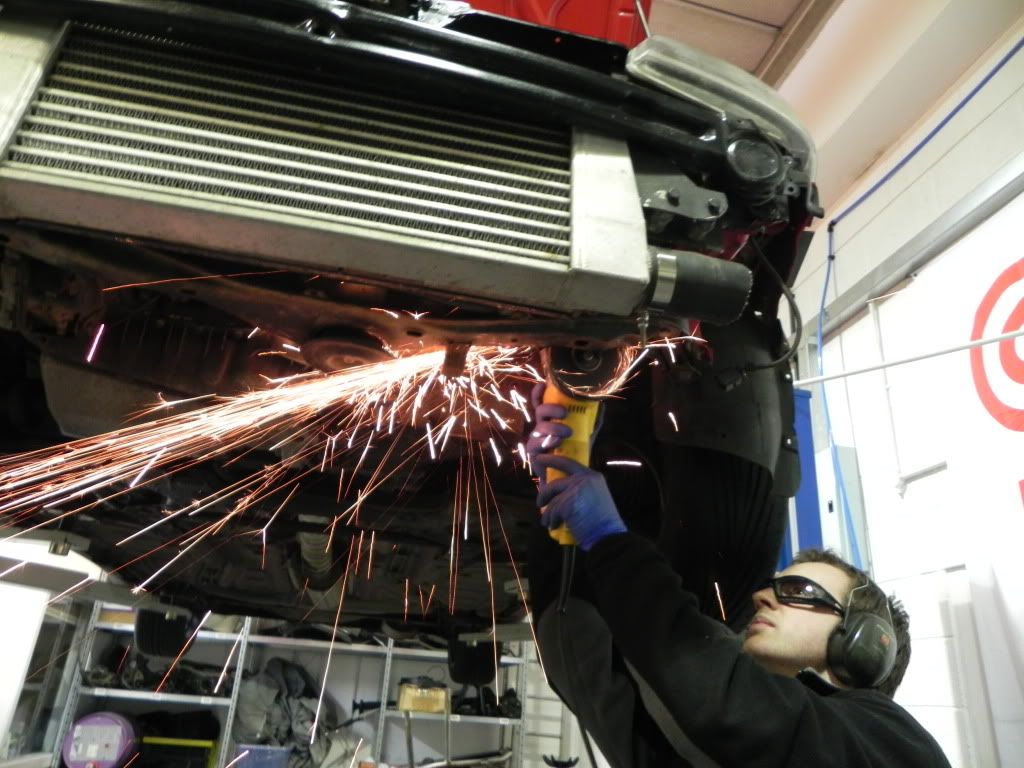
Before putting the coldside piping back into place thought we'd take the opportunity to angle grind off the annoying OEM intercooler bracket which was just in the way:
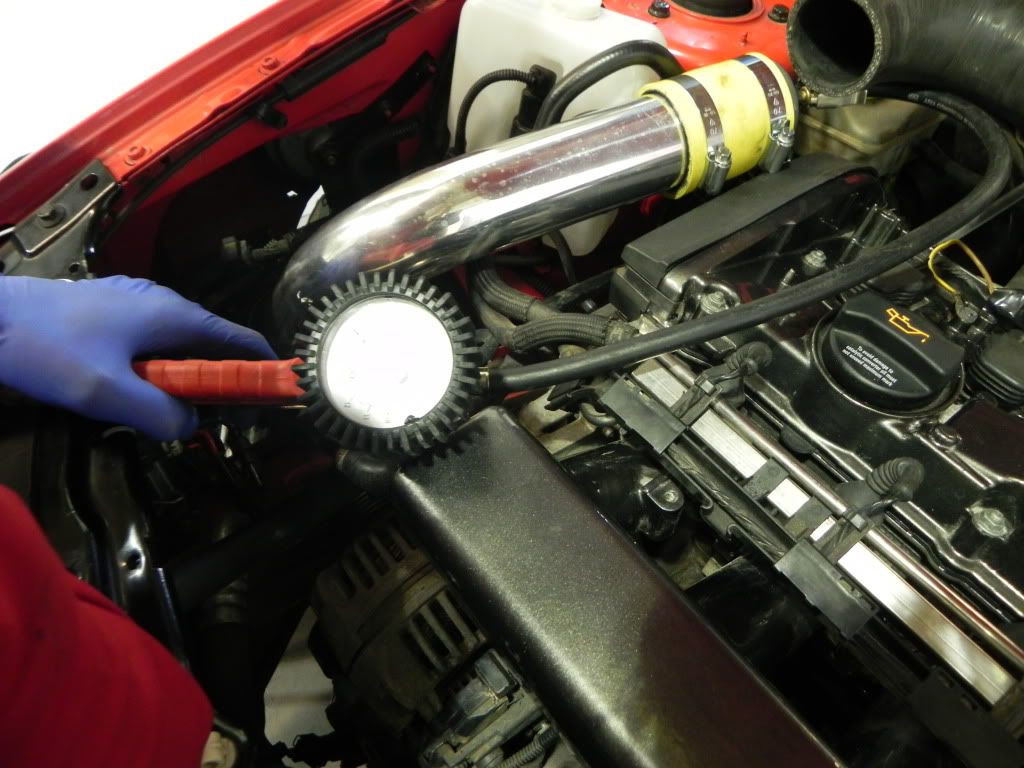
Then came the time to pressure test the system, we did it up to 30PSI/ 2Bar
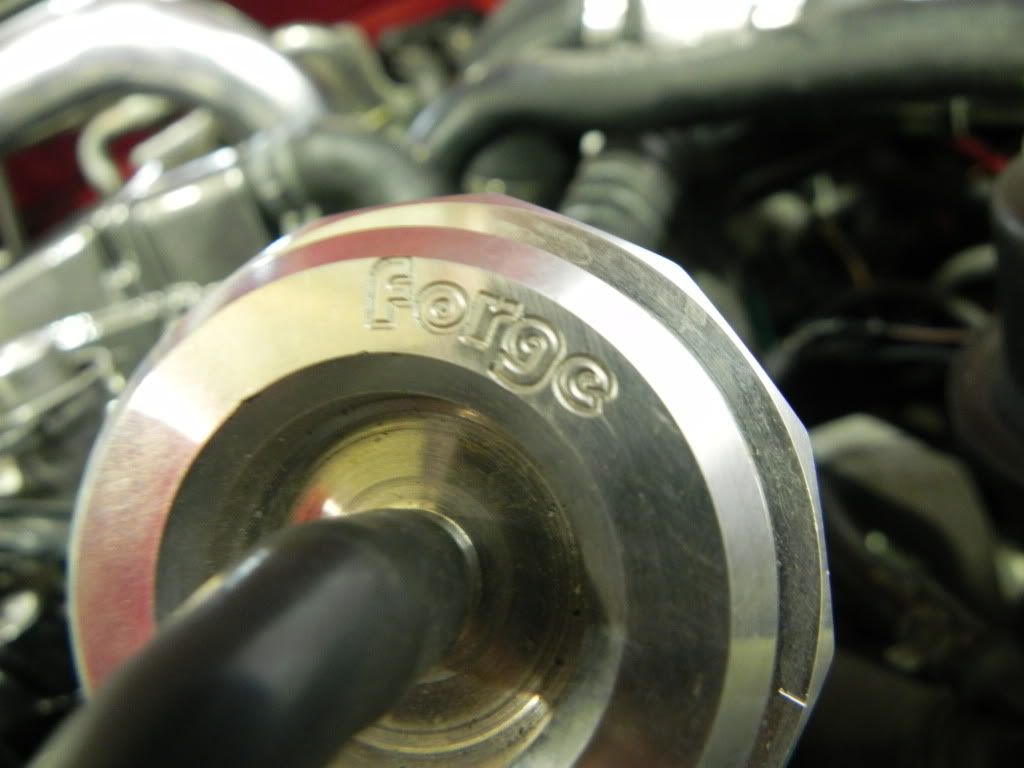
Nice little Forge picture:
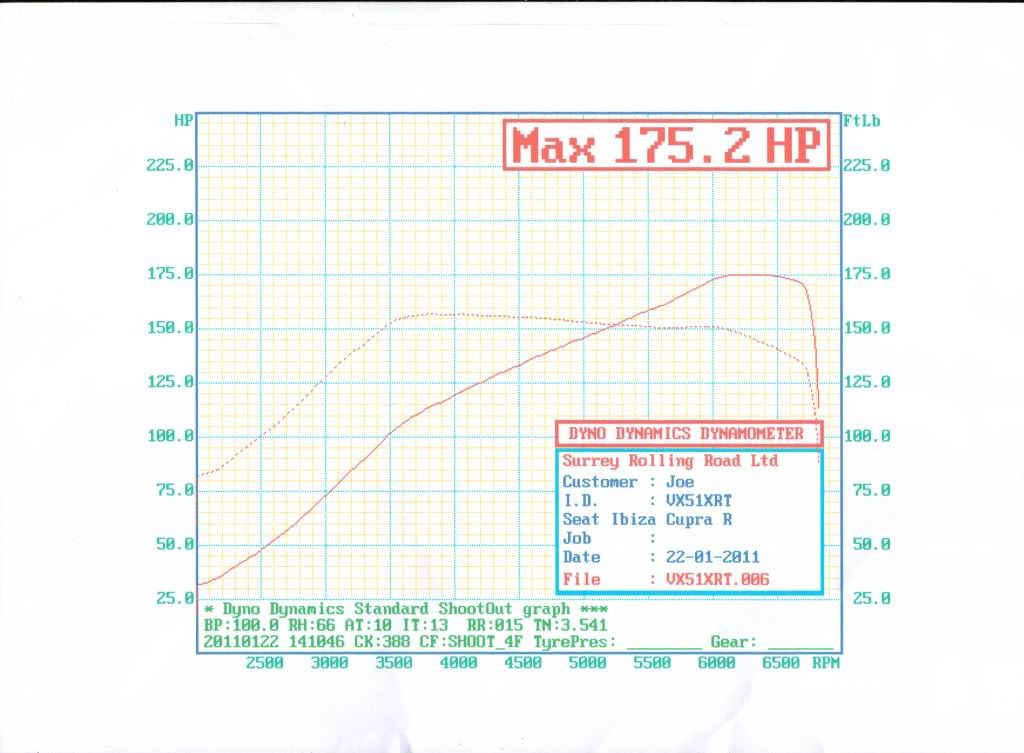
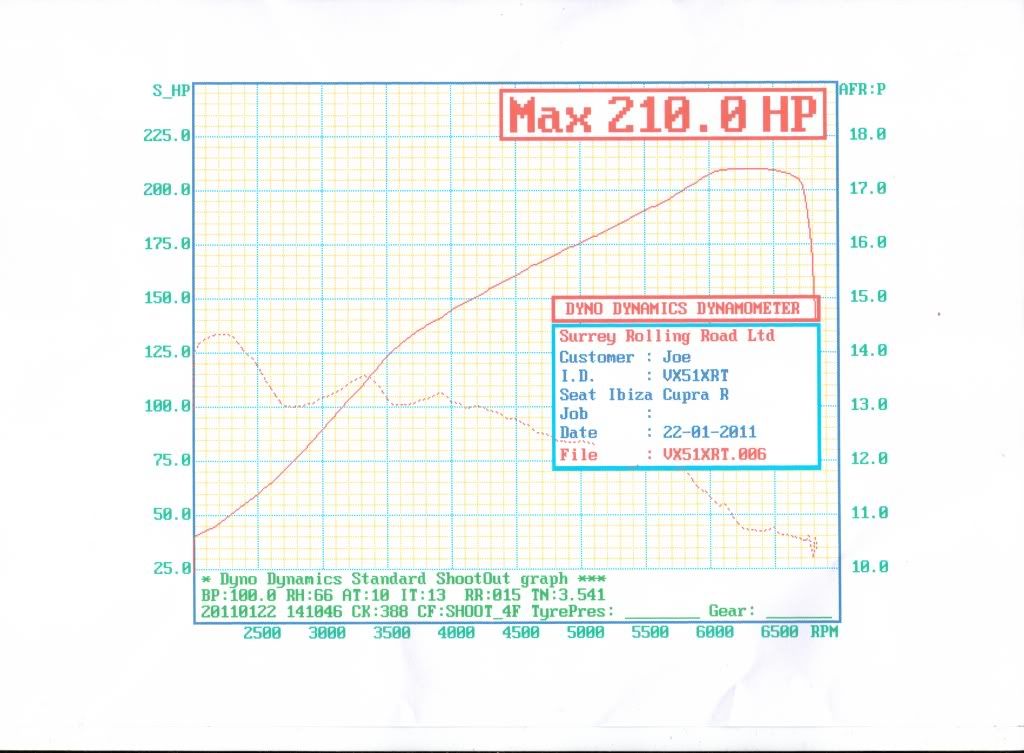
Yesterday was also an equally exciting day, last minute a mate asked me if I wanted to go to Surrey Rolling Road for a few runs, naturally I couldn't turn this opportunity down, so I dropped my last running in oil, refilled with Sikolene Pro S, warmed her up and took her down to the rolling road. Now bearing in mind that it's still running a standard map (10-11PSI boost) with the standard K03 turbo this is what I made:
WHP
AFR
FBHP
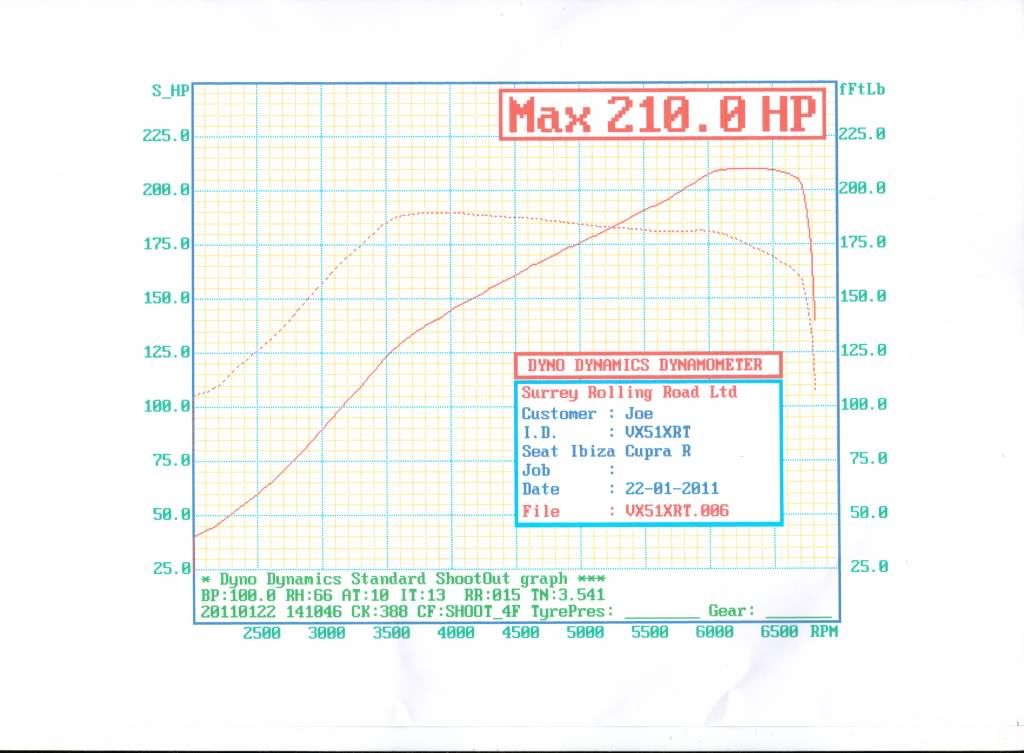
I seem to have an extra 30BHP from the intercooler, exhaust and air filter basically. Can someone tell me is this usual without a map?
I have a video which I'm currently uploading too, will add it when done
Let me know as always, what you think.
Joe
Ooops forgot the picture with my car on the RR, even if it looks like a salmon, weird lighting inside Surrey RR:
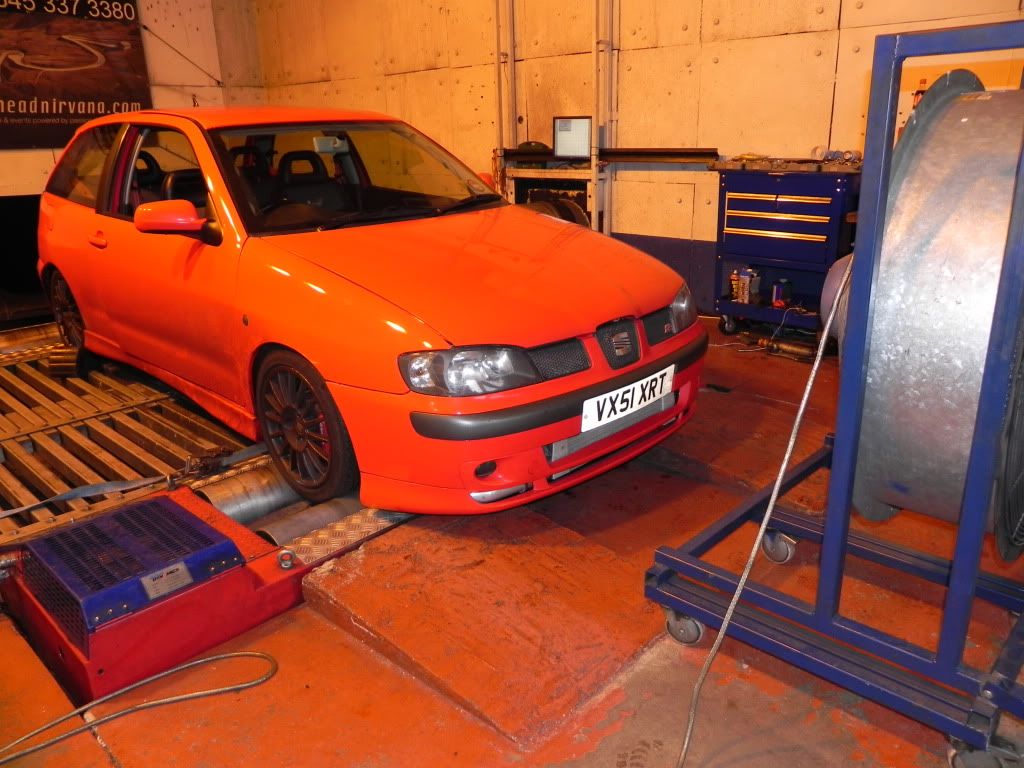
Here's some pictures from the other night to keep you lot entertained:
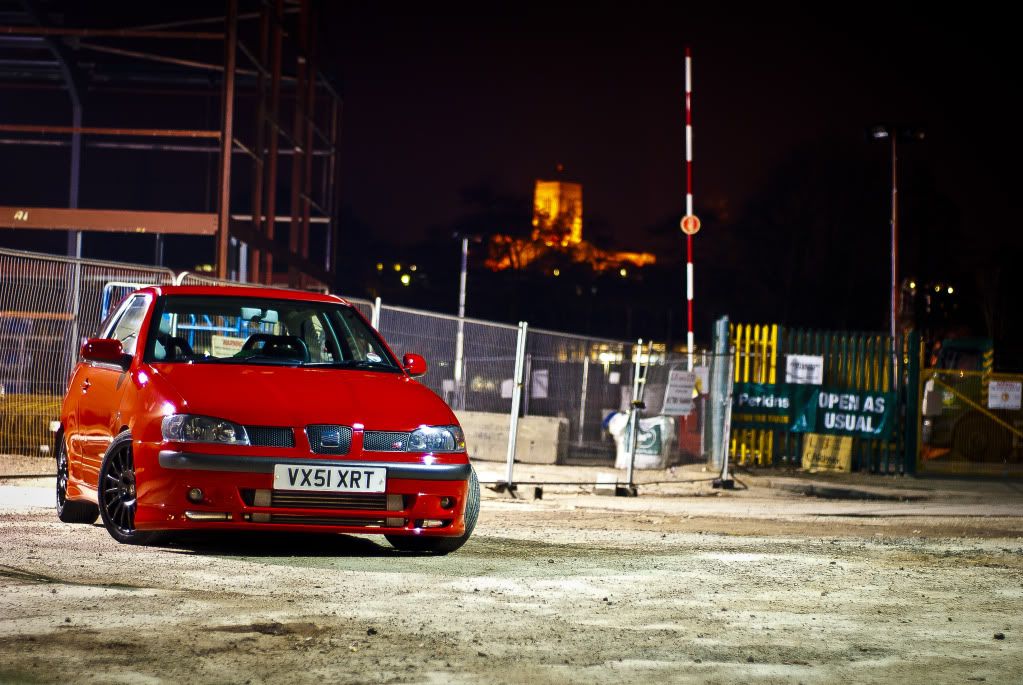
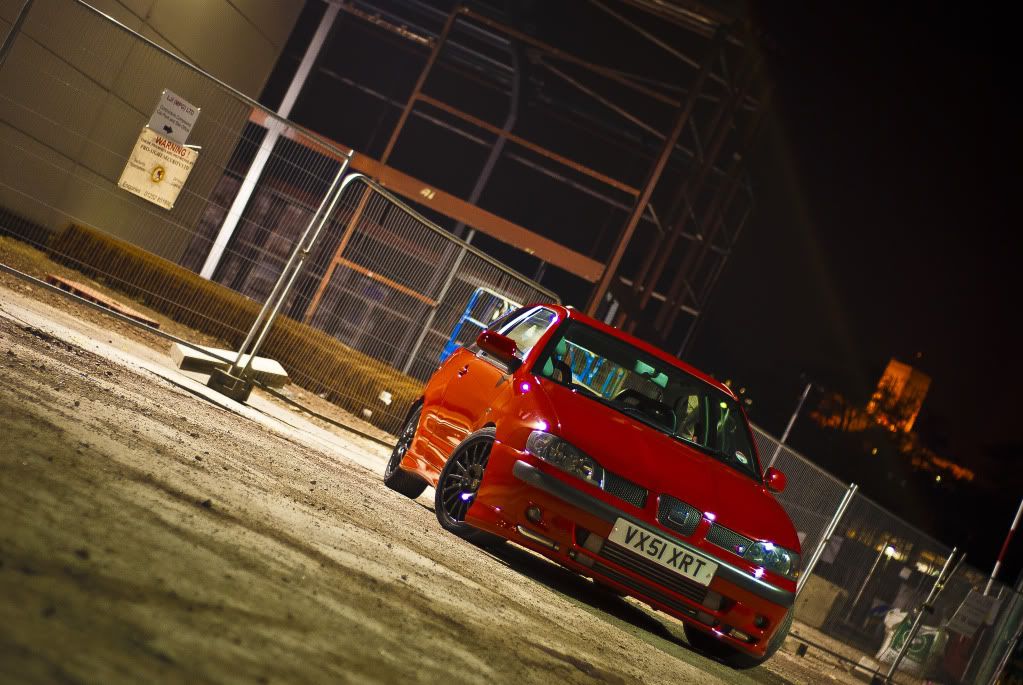
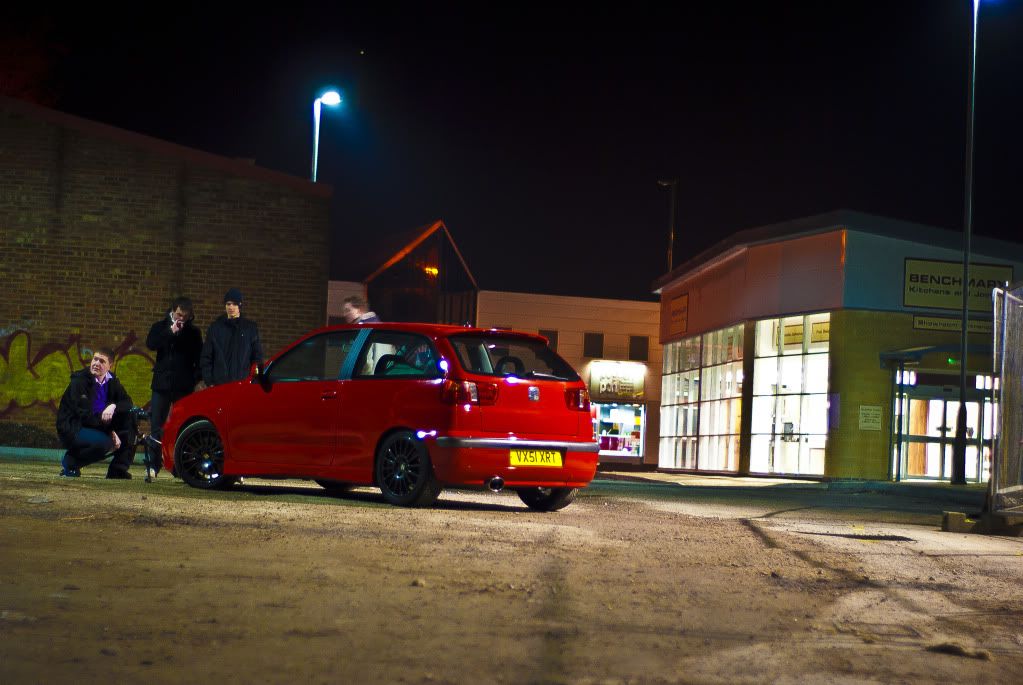
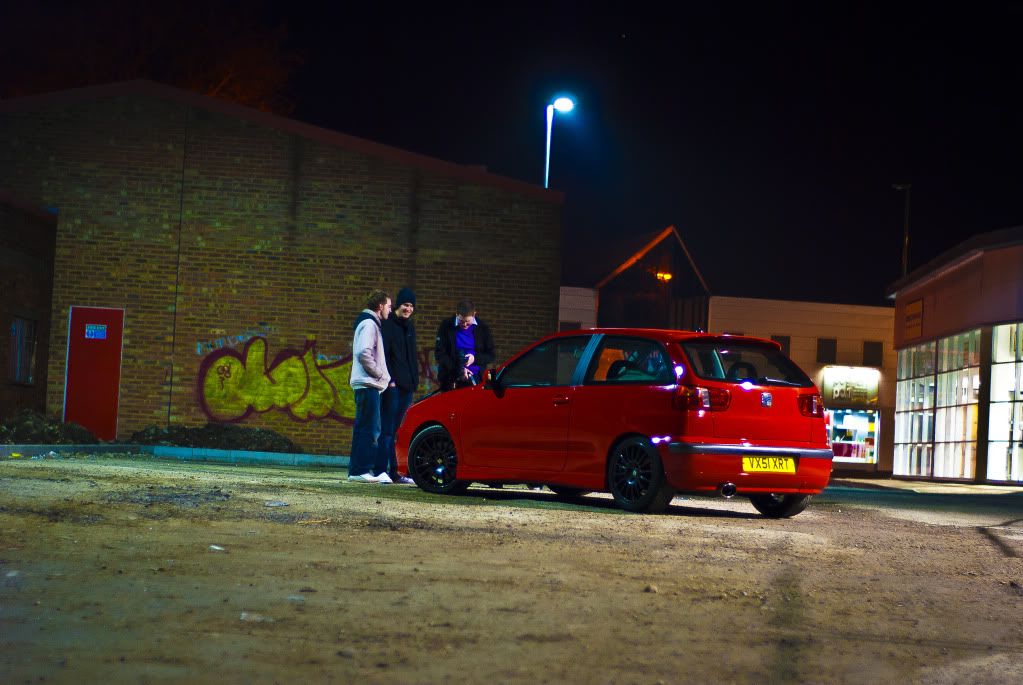
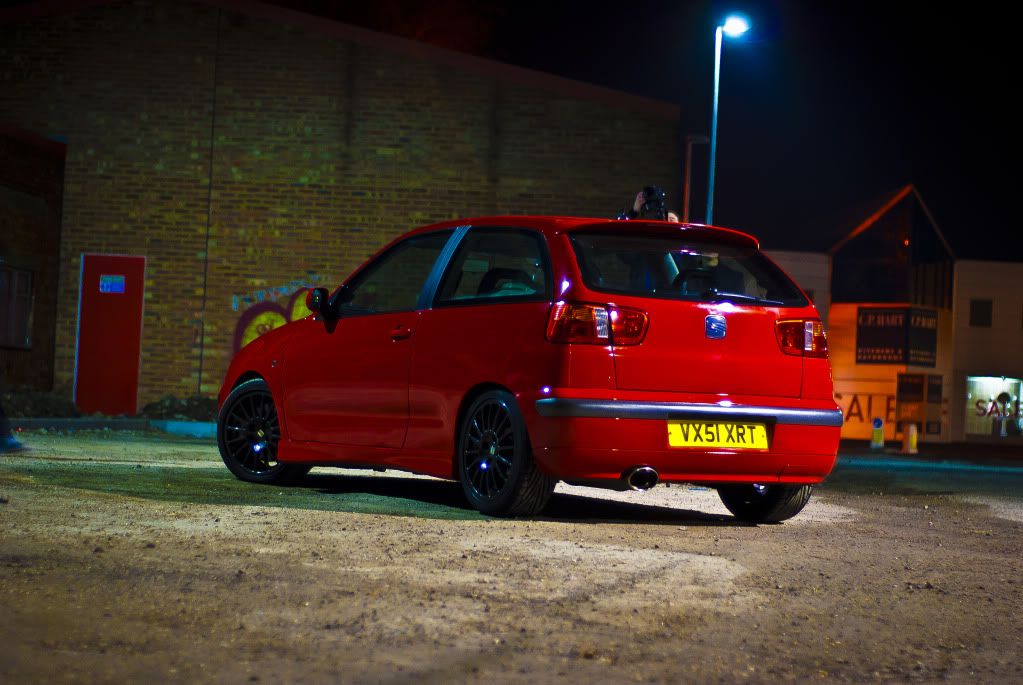
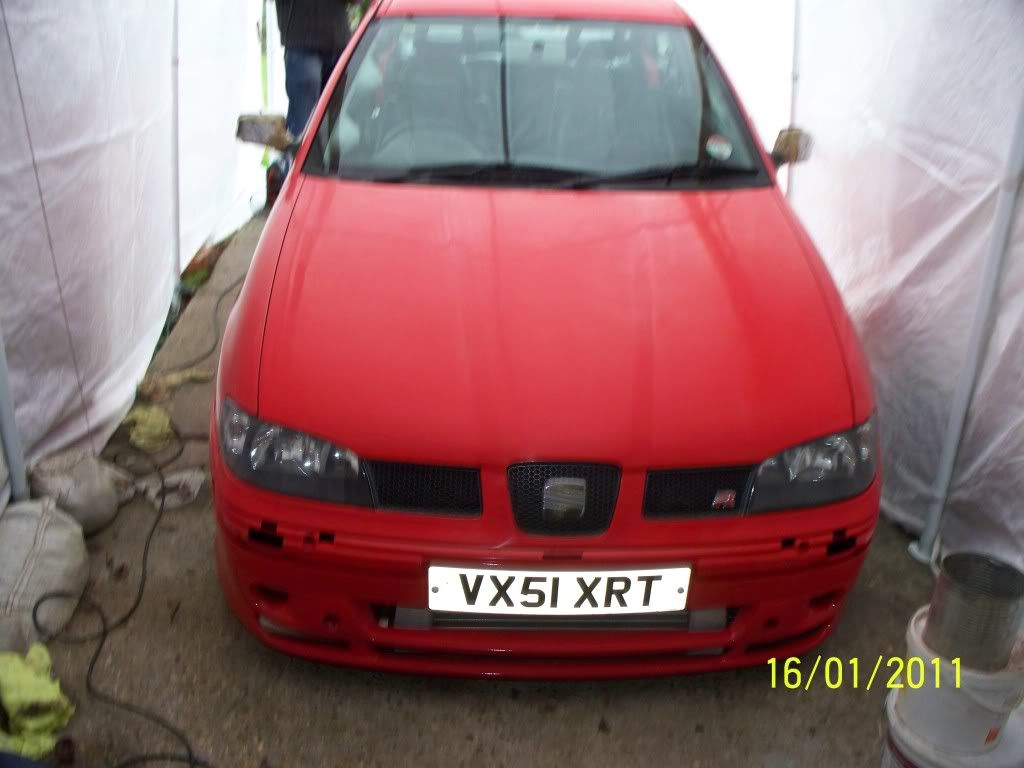
Car came out pretty well, I'm very pleased.
Only real bad point was that it's not quite perfect because I didn't use 2k primer the filler has sunk a little in certain places. Pretty sure it won't come out when cutting and polishing too
on the brighter side it is over 100 times better than it was before I took it off the road.Here's the final prep pics and the spraying itself - enjoy:
My mate helping me out from work:
Haven't got any pictures of the car going on the Transit Beavertail as it was pitch black, although when we go to the work shop there was plenty of light so a great opportunity to take some pics, eventhough they're not of the finest quality:
Final priming and sanding:
Bits in the booth:
Bit of a diaster with this door, the stand it was on wasn't able to take it's weight and ended up falling off after being on there for around 5 mins. Landed face down - of course - so meant we had to sand, filler and primer it again!
The boys in the booth that helped me out with masking and loading the car etc - cheers guys
It was then time to hand the car over to my mate who was to spray it.
Base coat going on:
Then the lacquer - 1.5 coats of this - sounds weird but that's what my mate recommends:
These were the first shots I got of the car after it came out of the booth:
After being sprayed and de-masked we had finally finished, at 1.30am Saturday morning. It was then a case of getting it taken home again by another mate who was pleased to help out. We put the car back into the pop up garage for the night and I went to bed!
Woke up this morning and went into the garage, was definitely shocked by the lingering smell of the 2k paint and lacquer really took my breath away...
Here's the pictures:
Who forgot to cover the wheels properly?!?! :cartman:
Spent all day today putting everything back together, the doors and rear bumper were fitted at the body shop last night but I still had to link up hinges fit front bumper with all trimmings. The lights are now fitted too so it's actually starting to look like a car again.
Still got to cut and polish the car - does anyone have any views on how long I should leave it? Also had EPC light come on - do people have an idea what this is too (I had cleared fault codes with VAG-COM after I last had the light pop up - after rebuilding engine)??
Cheers
Joe
Fairly small update - still waiting on a few bits to be painted - sprayer came down with the flu over Christmas so didn't get a chance to spray my remaining parts.
Apart from that -still working on the headunit conversion although I've built myself a little boot build:
Finally managed to find myself a battery which would fit in the tray, nice and powerful too.
The subwoofer is due to the car being a daily driver - I wanted some comforts such as; banging tunes
Here's a few pictures of the nearly finished article - iPhone only pictures so really doesn't do it justice
Let me know what you think.
Over Christmas a little present arrived from Tashacupra:
Starting to collect them:
Another Christmas pressie from a mates Mum, thought it was pretty cool:
Some damage from when the window men came....
All flatted down with P2000 then P4000 left overnight last night and started polishing it today with some 3M Fast Cut Plus.
Flattened comparison to Fast Cut bit:
Bit of masking:
Shiny shiny:
Everything seemed to look great until I pulled out these lights....
Couple of arty shots
Mate popped over to help with polishing:
As always comments welcome
Update time
the car had part of the bootlid resprayed after the paint damage, seen above.Also made a trip to go and meet Alex at Backdraft Motorsports where we would bead my intercooler pipework.
He's some pictures to keep you guys happy
:Guaranteed, of course to see some of these...
Taking all the pipe work off, tried to keep all the silicone the correct way so I would remember where it went:
Through into the room where the beading would commence:
Found this in the corner too:
All beaded up:
Selection of clips:
Before putting the coldside piping back into place thought we'd take the opportunity to angle grind off the annoying OEM intercooler bracket which was just in the way:
Then came the time to pressure test the system, we did it up to 30PSI/ 2Bar
Nice little Forge picture:
Yesterday was also an equally exciting day, last minute a mate asked me if I wanted to go to Surrey Rolling Road for a few runs, naturally I couldn't turn this opportunity down, so I dropped my last running in oil, refilled with Sikolene Pro S, warmed her up and took her down to the rolling road. Now bearing in mind that it's still running a standard map (10-11PSI boost) with the standard K03 turbo this is what I made:
WHP
AFR
FBHP
I seem to have an extra 30BHP from the intercooler, exhaust and air filter basically. Can someone tell me is this usual without a map?
I have a video which I'm currently uploading too, will add it when done
Let me know as always, what you think.
Joe
Ooops forgot the picture with my car on the RR, even if it looks like a salmon, weird lighting inside Surrey RR:
Here's some pictures from the other night to keep you lot entertained
:Car came out pretty well, I'm very pleased.
Haha here we go, Alex's old one from his Ibiza:
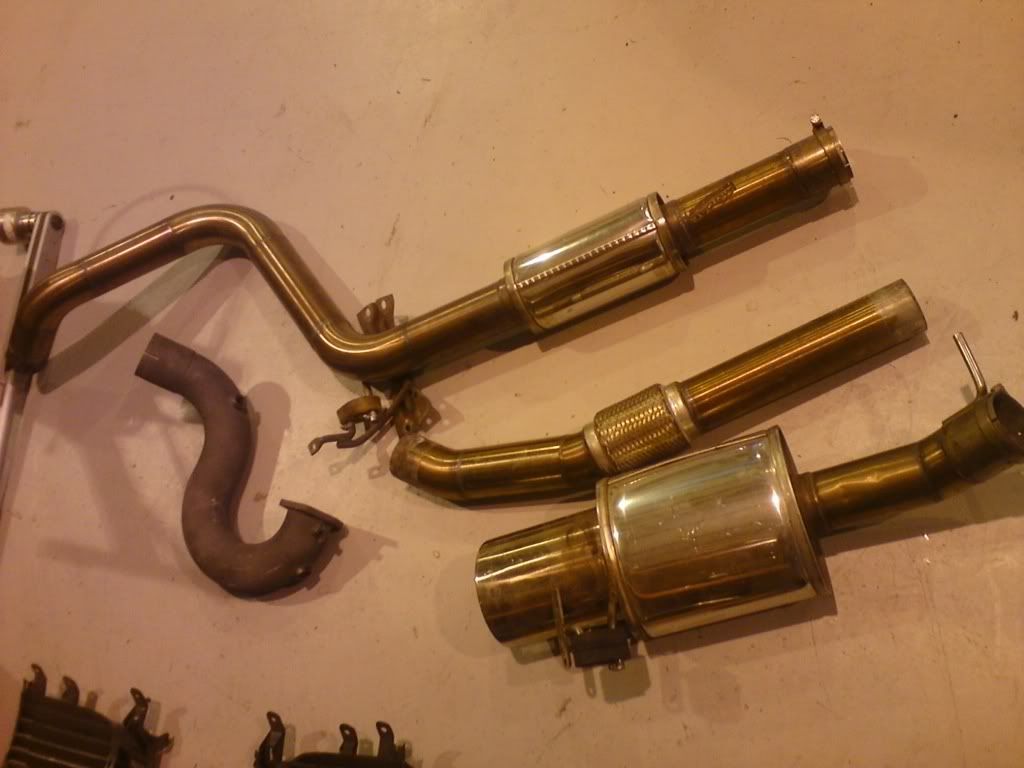
What do you think? Dark grey ceramic coated DP too.
Another little update, well I don't think it's little but I'm anal.
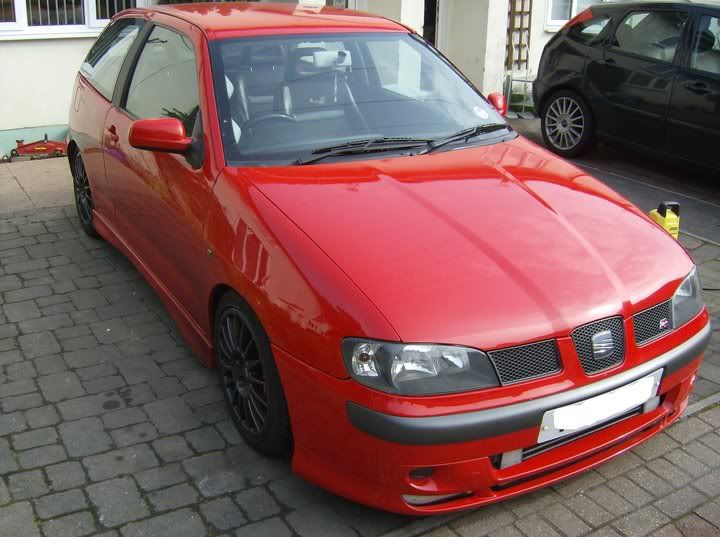
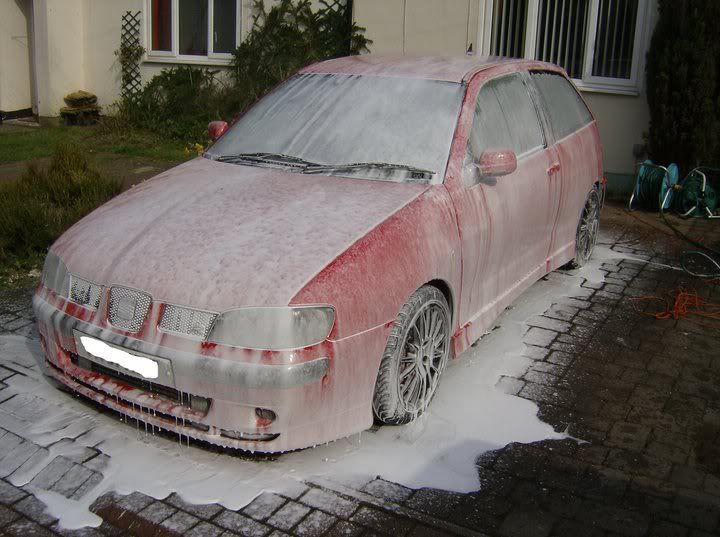
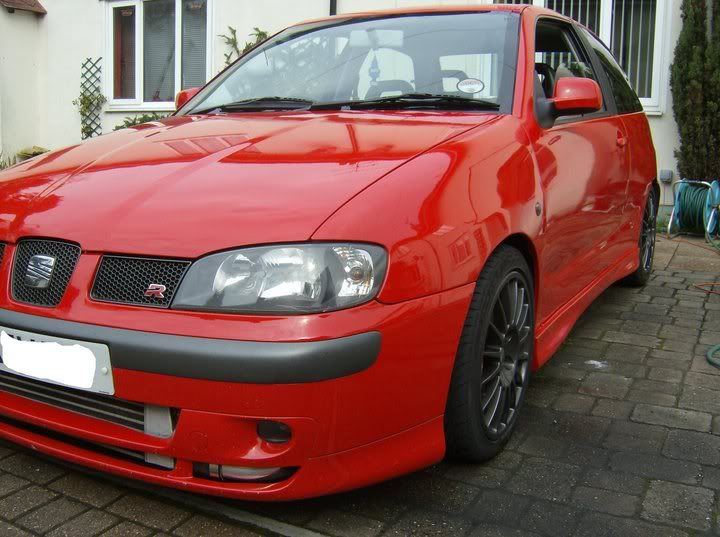
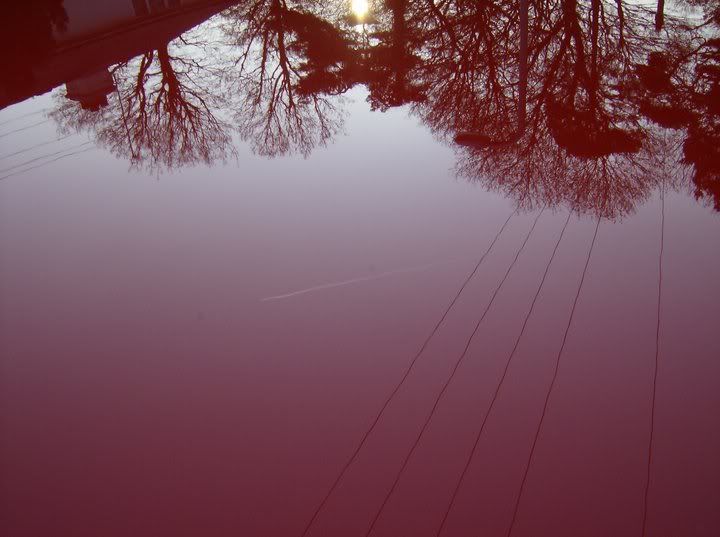
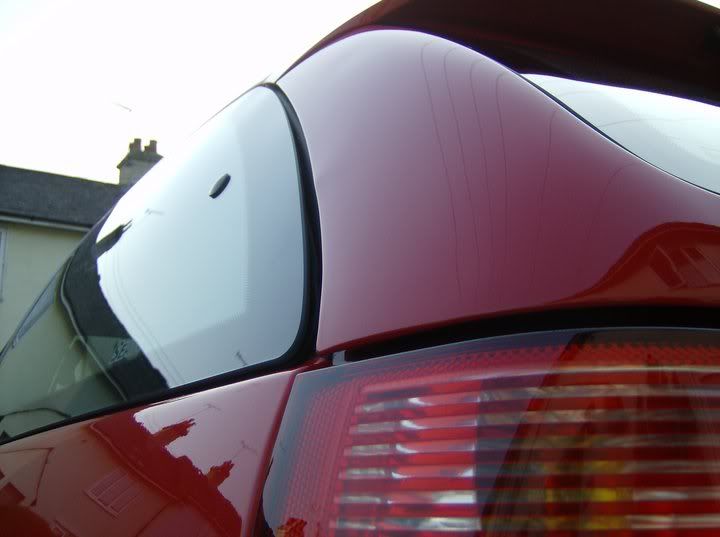
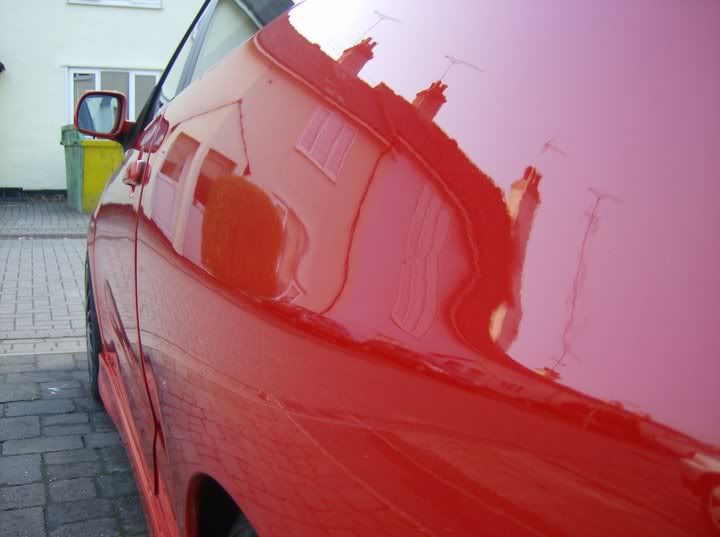
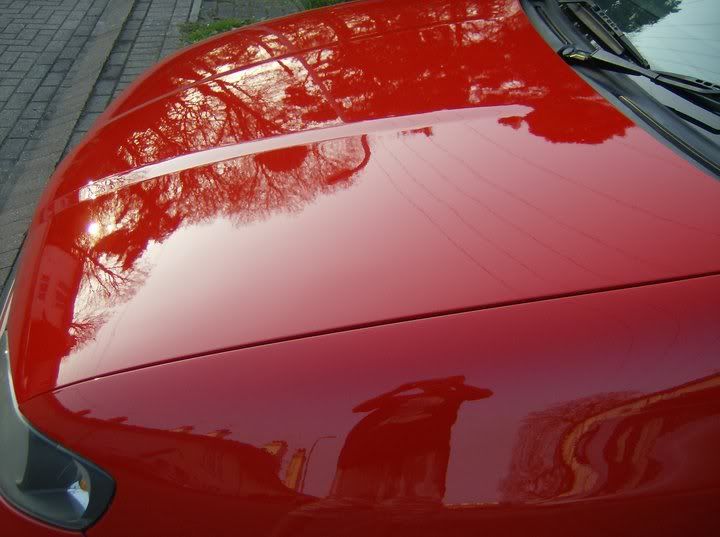
A mate of mine who does detailing had a look at my car not long ago and was shocked at the amount of swirl marks, mainly because I hadn't polished it up properly after flatting the paint, I also gathered lots of grit which didn't help! He also offered a very competitive price on detailing so I took him up on it and here's the results:
Before cleaning:
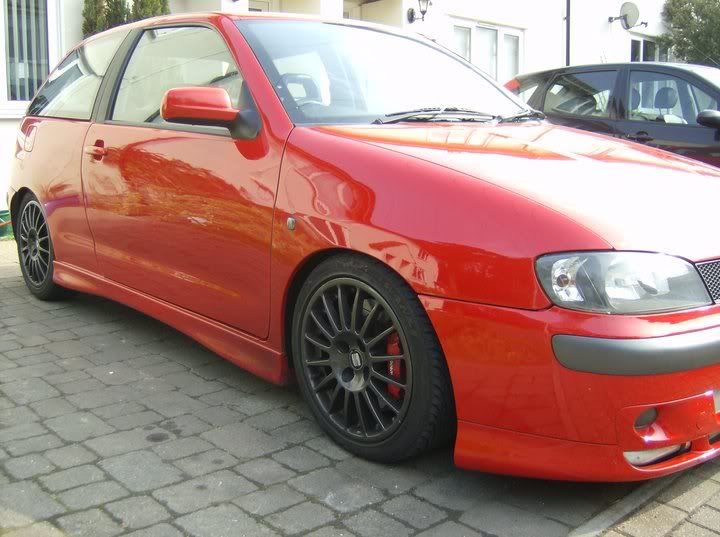
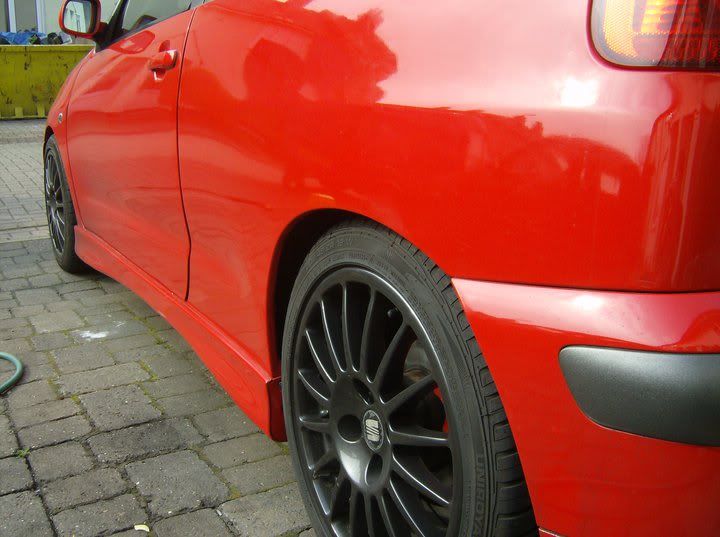
Snowfoam fun:
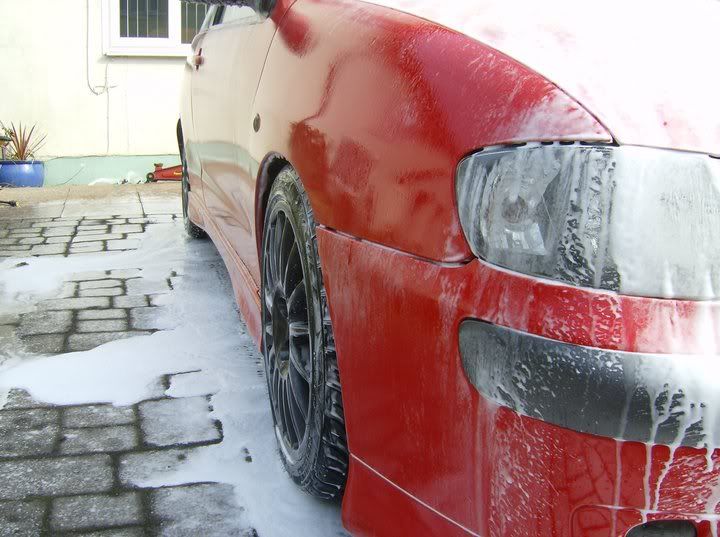
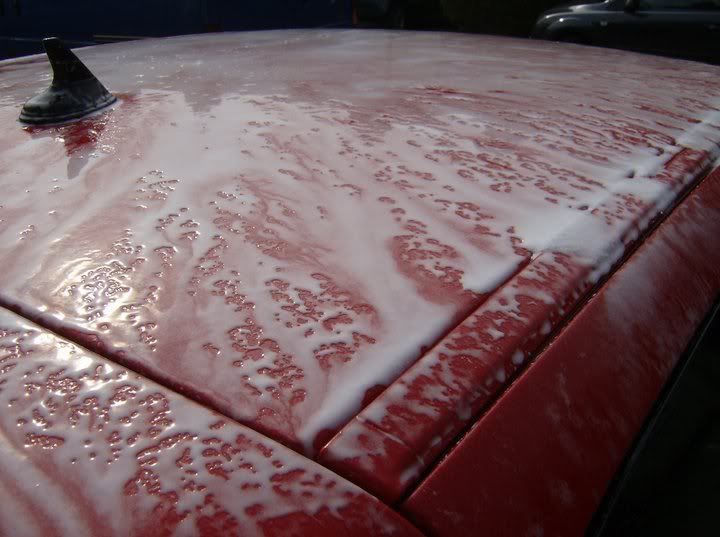
Dry it off:
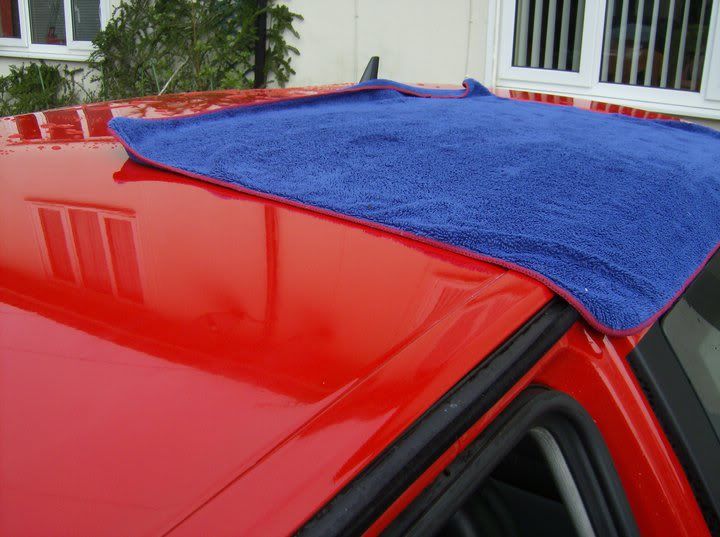
Then the correction began:
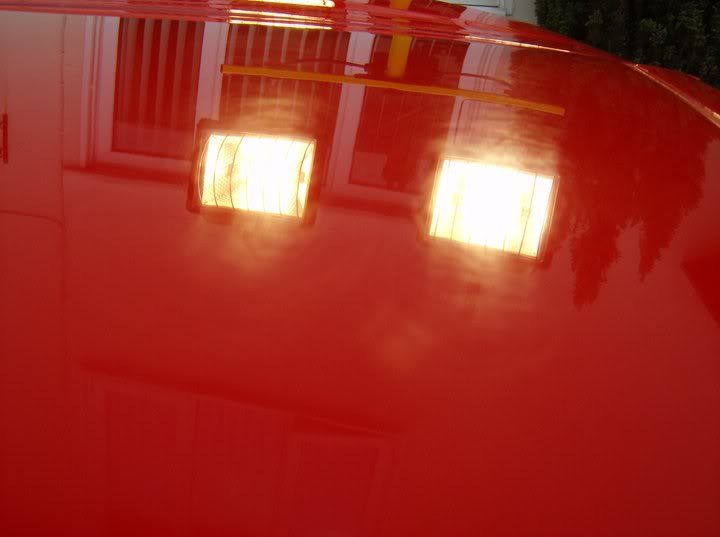
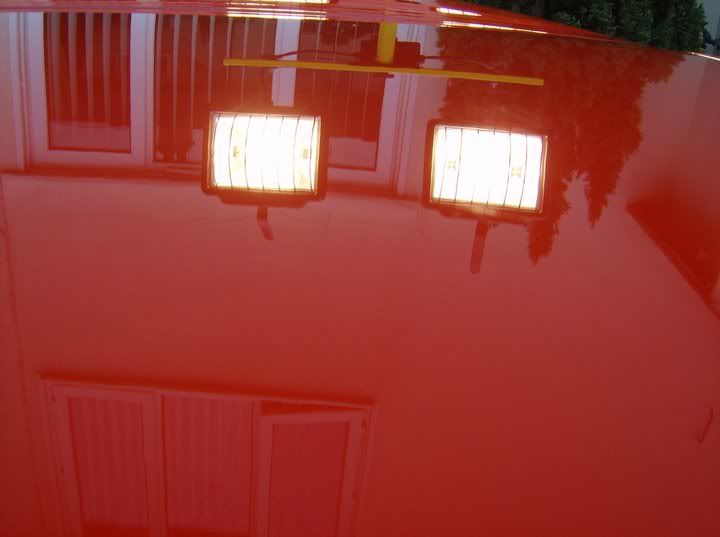
Then the nearside door
Before:
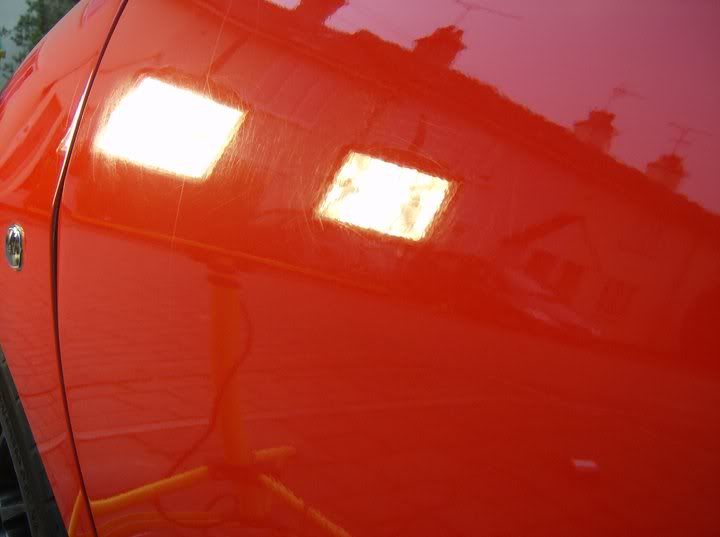
After:
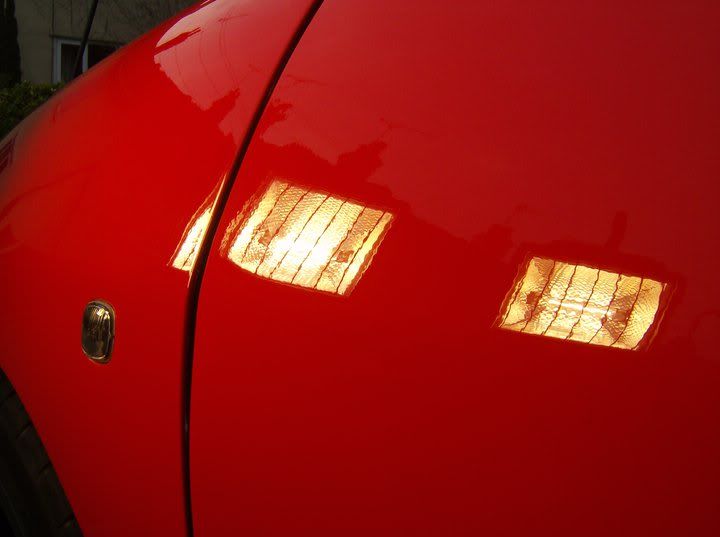
Before:
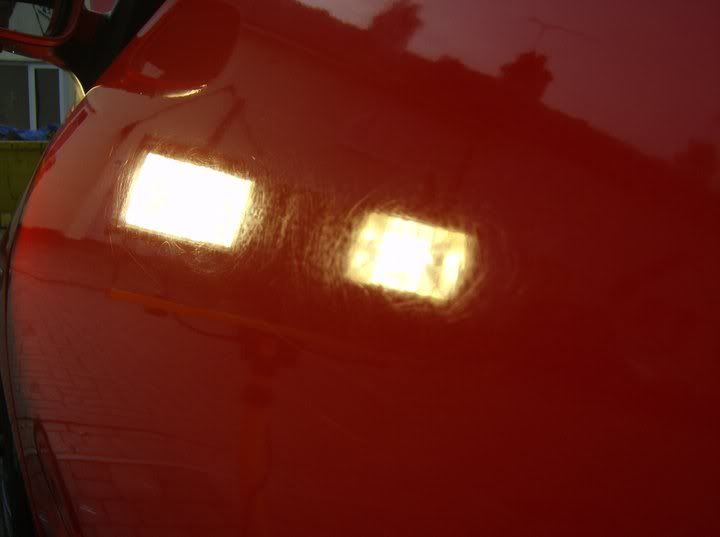
After:
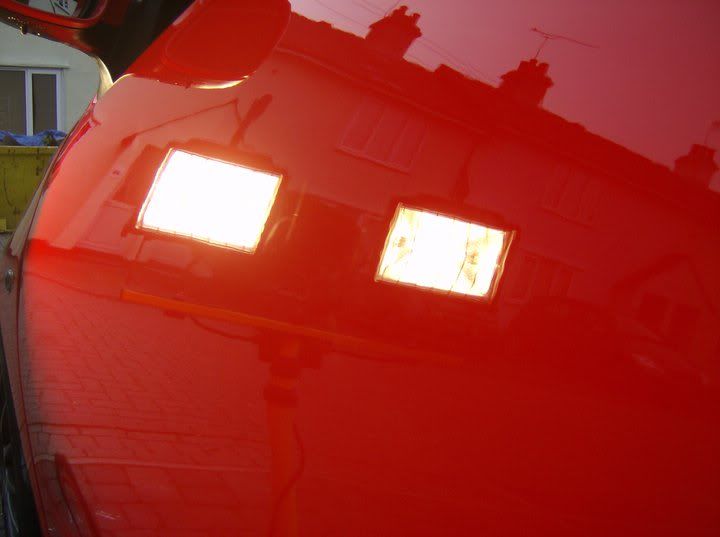
Cheers Berg.
Some more pictures and the process from the beginning to the end of the detailing;
APC spraydown
PH neutral snow foam
Washed with two bucket method Meguiars Washmitt and Meguiars Gold Class Shampoo
Rinsed and dried Masked up
Corrected using Hex-logic ornage pad with Menzerna PO85RD 3.02 with 3 passes!
Rewashed again with PH neutral
Dried
Glazed using Poorboys Wet-Mirror Finish on Hex Logic red pad.
Waxed with Collinite
Cleaned the wheels with Bilberry wheel cleaner and dressed tyres with Autoglym tyre dressing.
Polished the windows with autoglym window polish
The pictures:
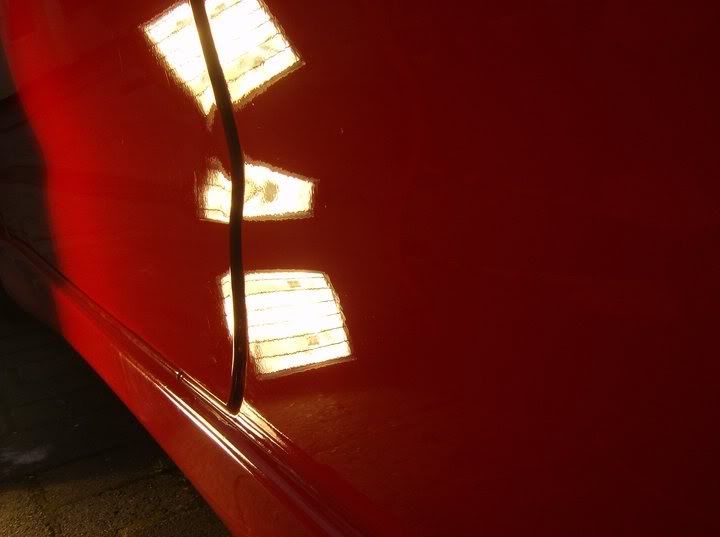
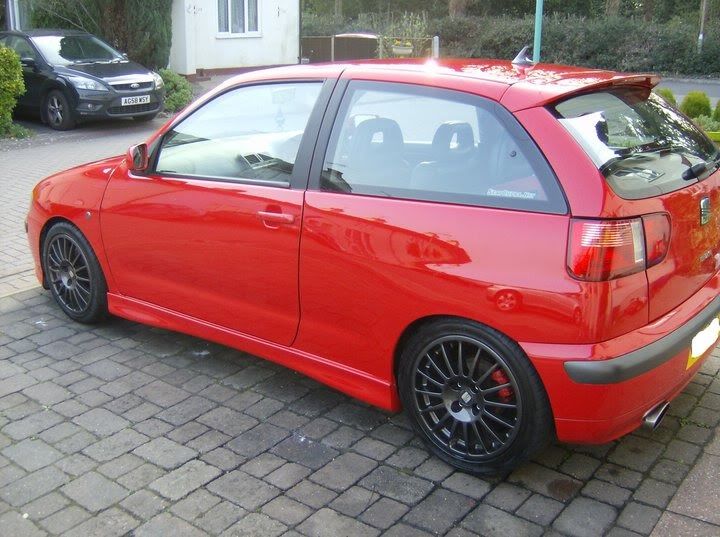
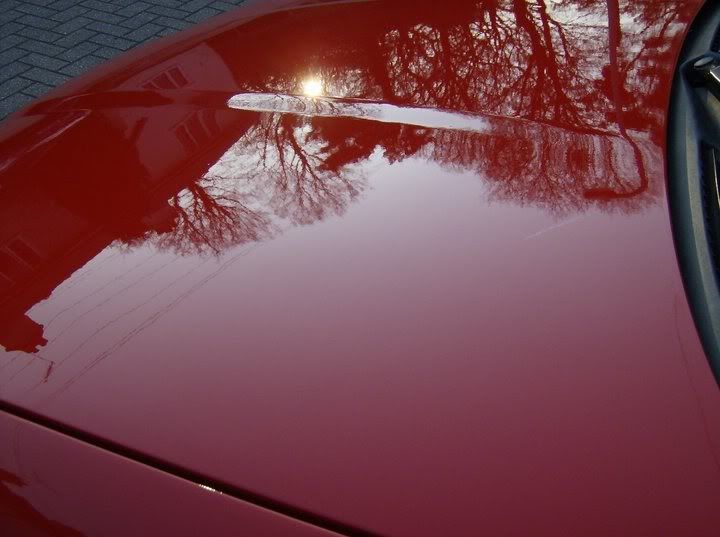
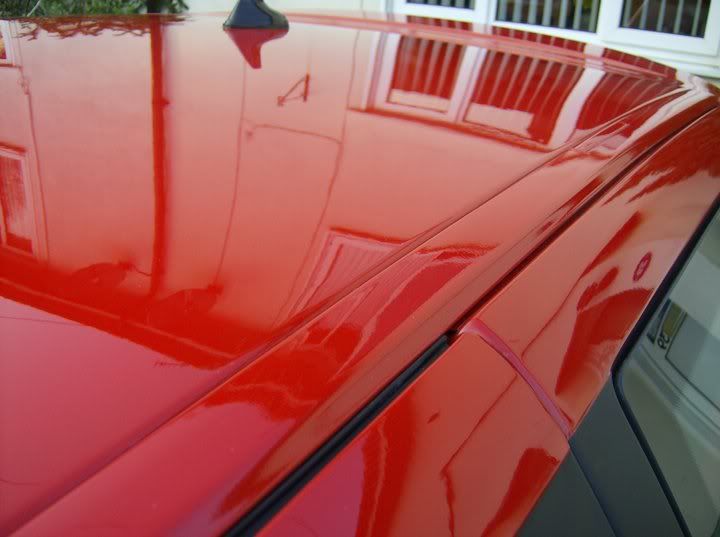
If anyone else local would like a quote for a detail please PM me.
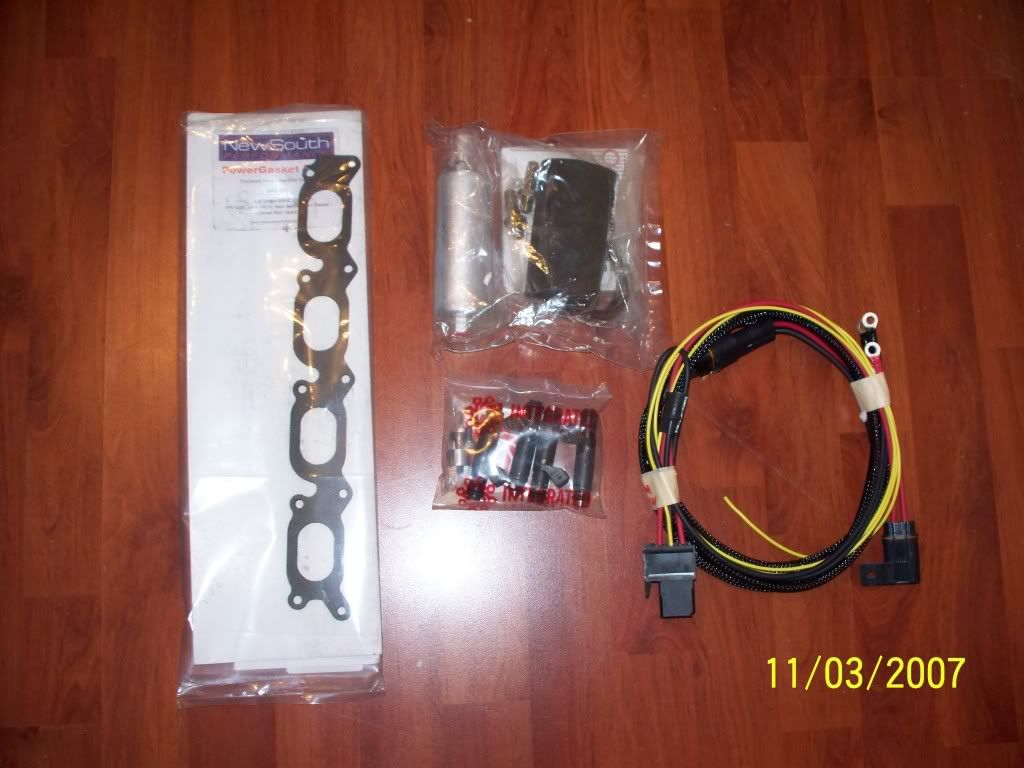
Thought I should post some pics of my Seimens Dekka 630cc Injectors, Walbro 255lph Fuel Pump and wiring harness. I walso picked up a phenolic gasket from Wak@VAGCheck for a steal of a price, still brand new
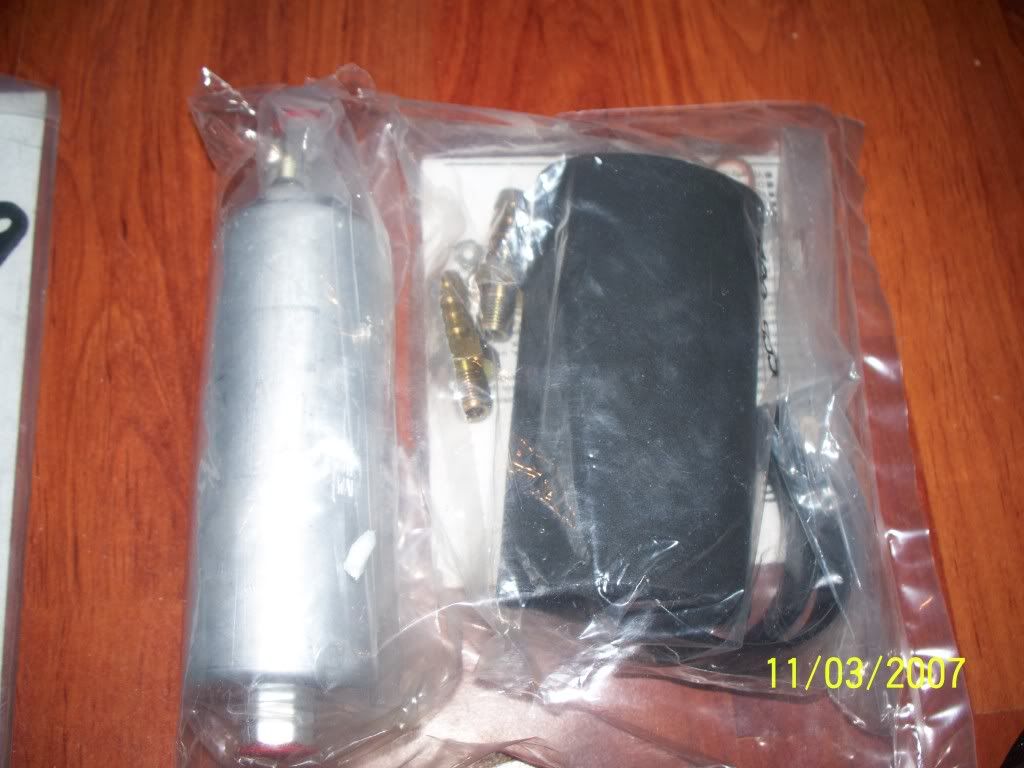
The pump:
Oh and all this arrived yesterday, a nice shopping basket full of car cleaning stuff from Autobrite:
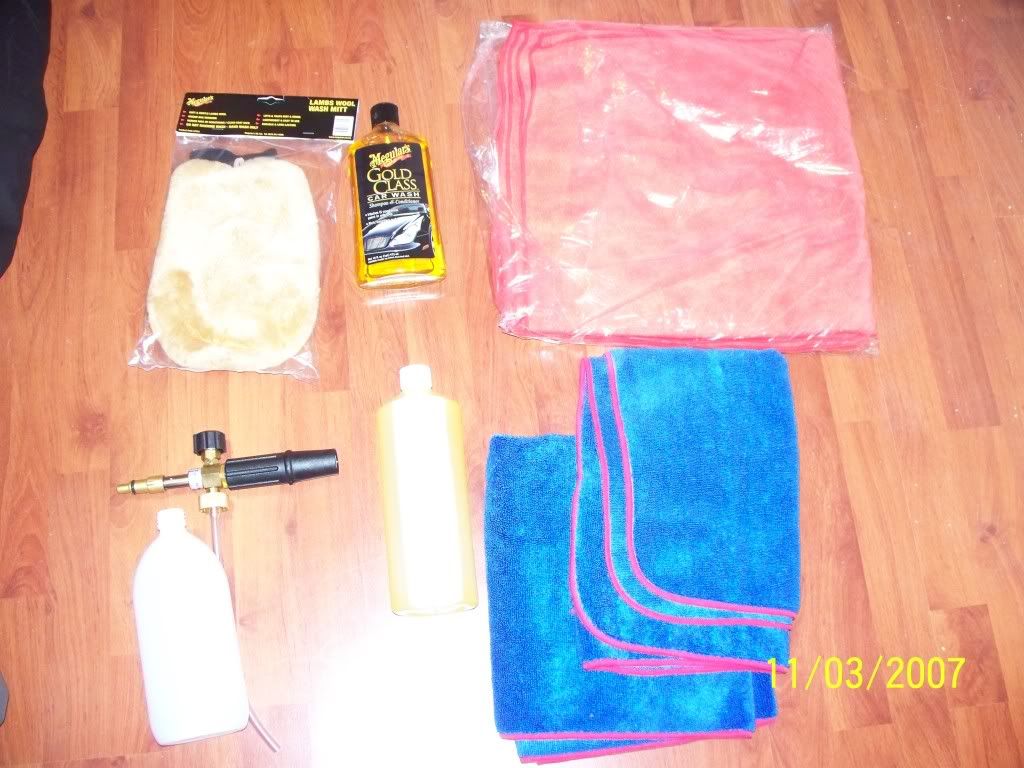
I bought a Meguairs sheepskin washmitt, Meguairs Gold Class Shampoo, Snow Foam lance and 1L of Snow Foam along with 2 large drying towels and 10 polishing microfibres.
Number one, been given a couple of days or so before the turbo will be ready for collection, most likely I won't get it this weekend, depends when Alex is about and/ or Backdraft is open.
In preparation to the BT install I spent last weekend installing the Walbro 255lph pump:
Started by taking off the OEM fuel feed from the rail
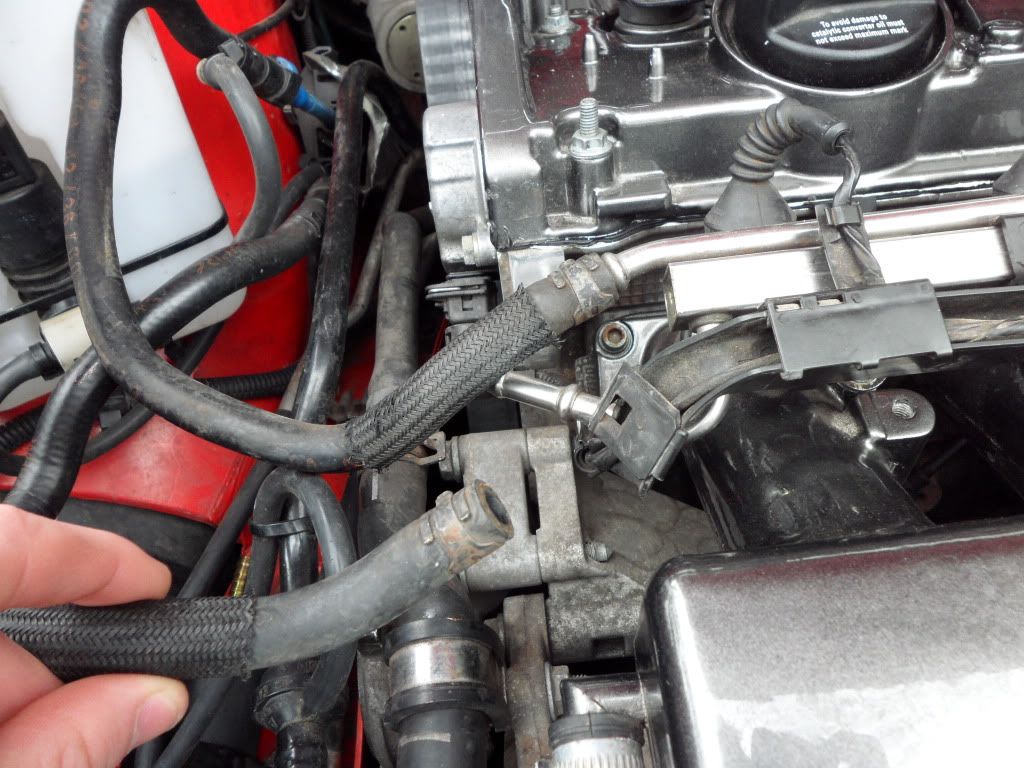
Then came the decision as to where to mount the pump, a few ideas have been thrown but I decided to go with here
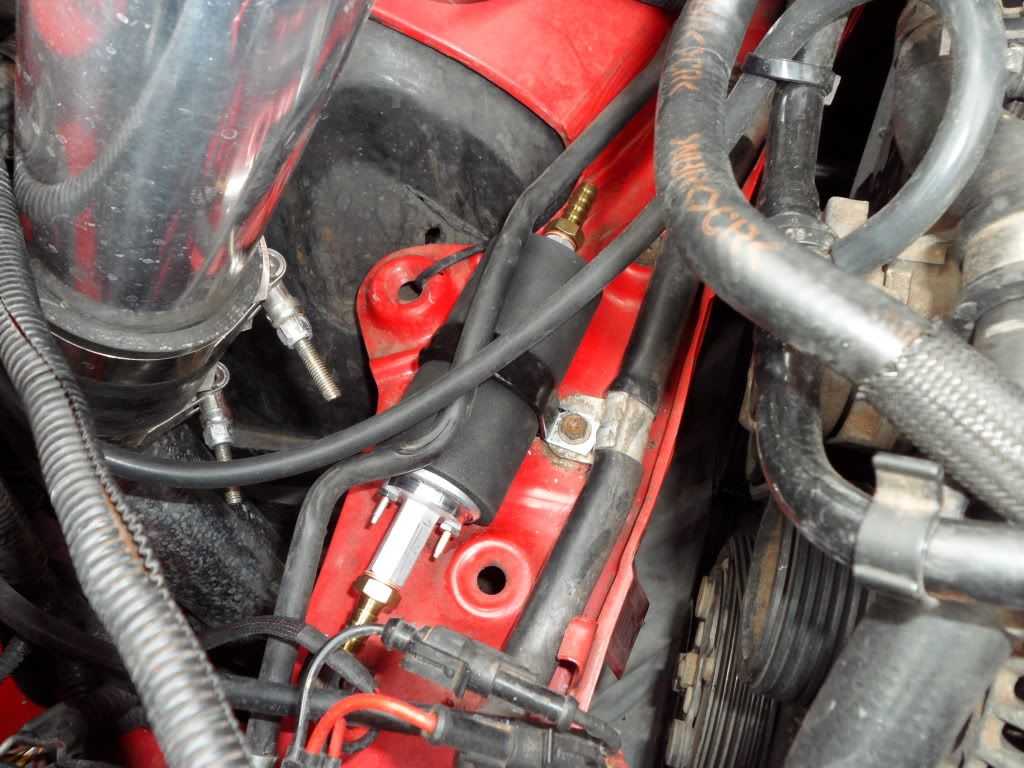
Trimmed the OEM fuel feed and connected it to the feed on the Walbro, then cut a piece of pipe accordingly for the feed from the Walbro to the fuel rail
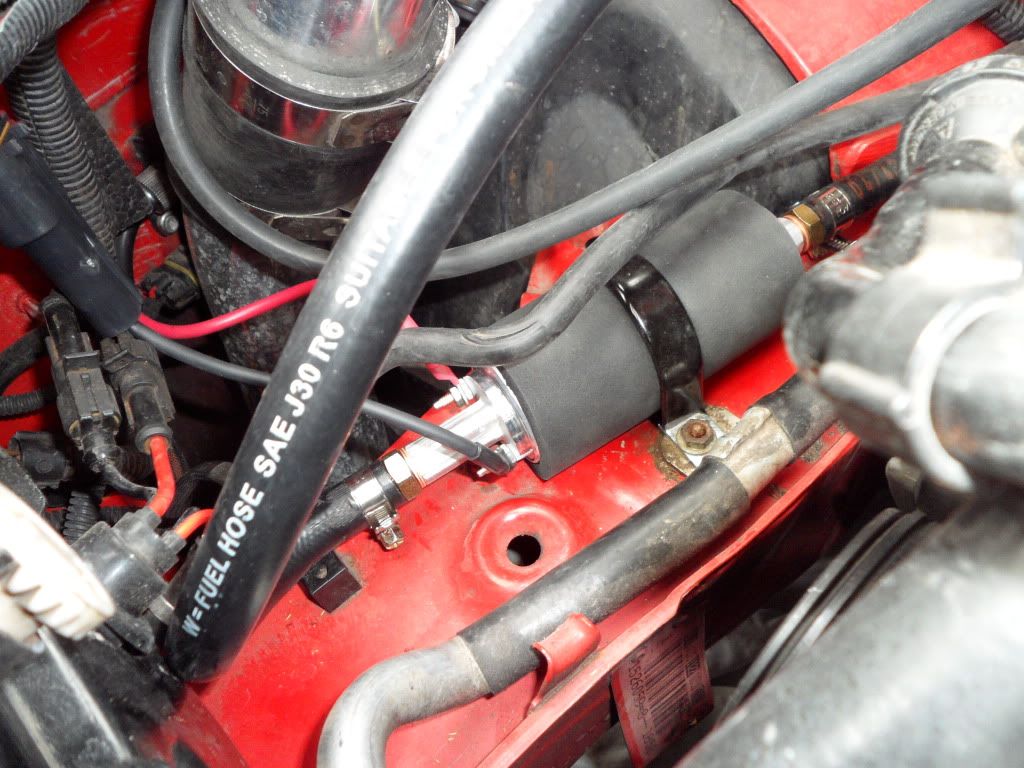
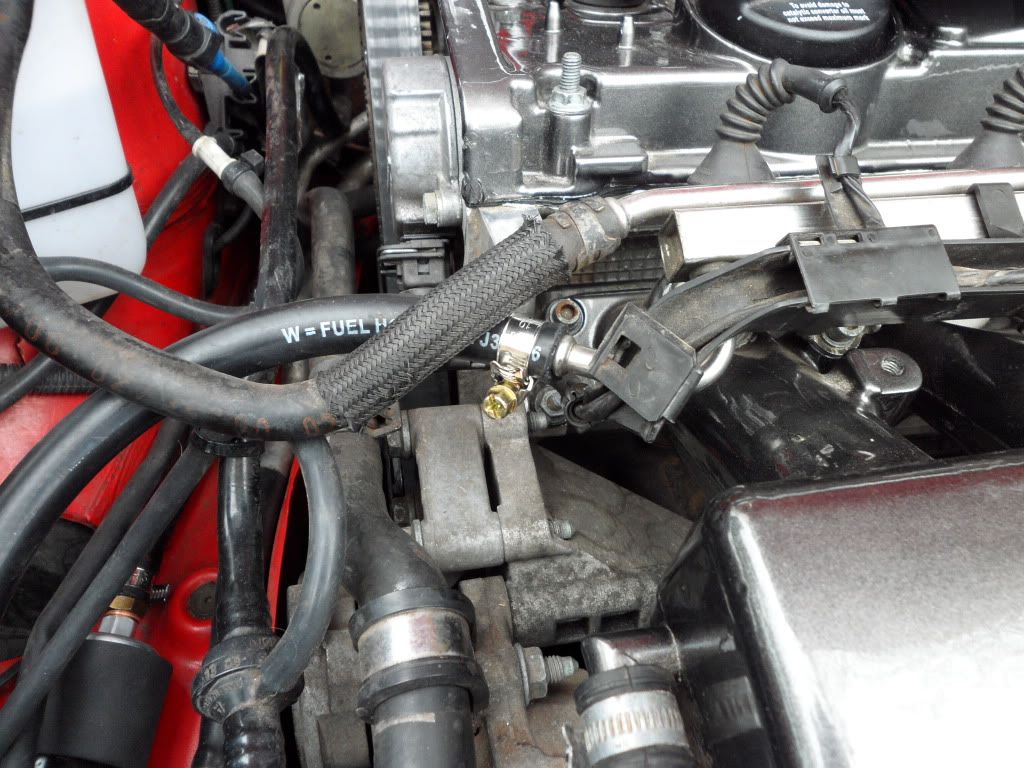
Then had the task of routing the, quite large, wiring loom supplied with the pump itself, I decided to start here
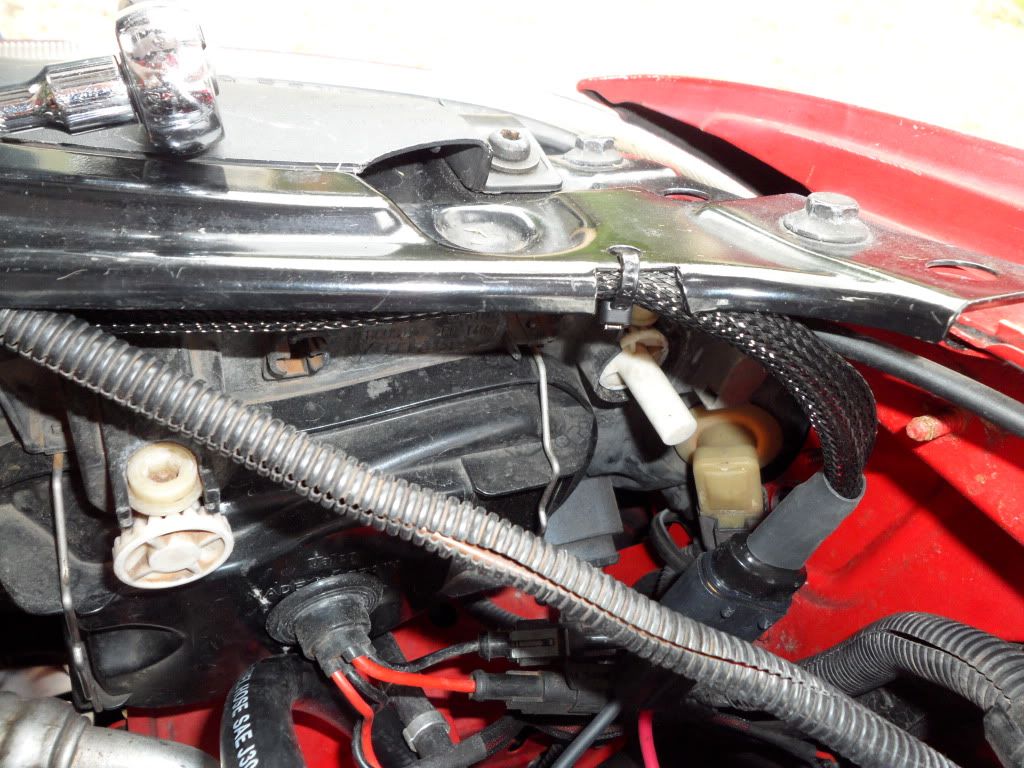
and ran it all the way under the slam panel until I got to here
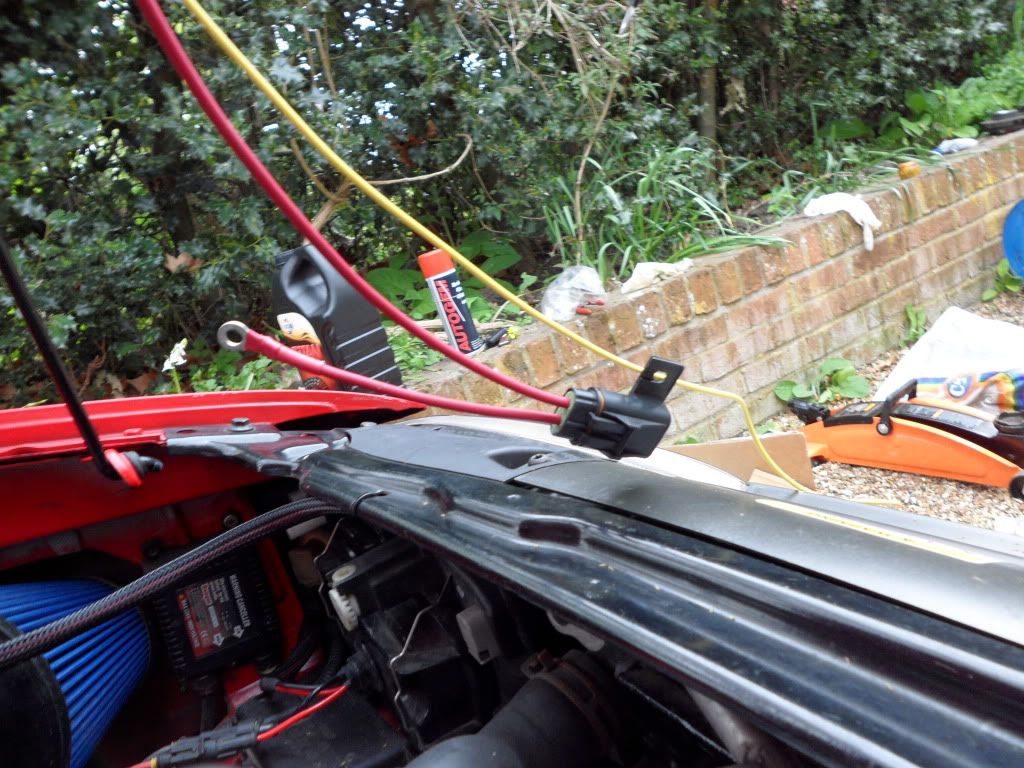
I used small cable ties through the small round holes along the panel to keep it looking subtle, gathered the excess wire and popped it down in the corner over the fusebox.
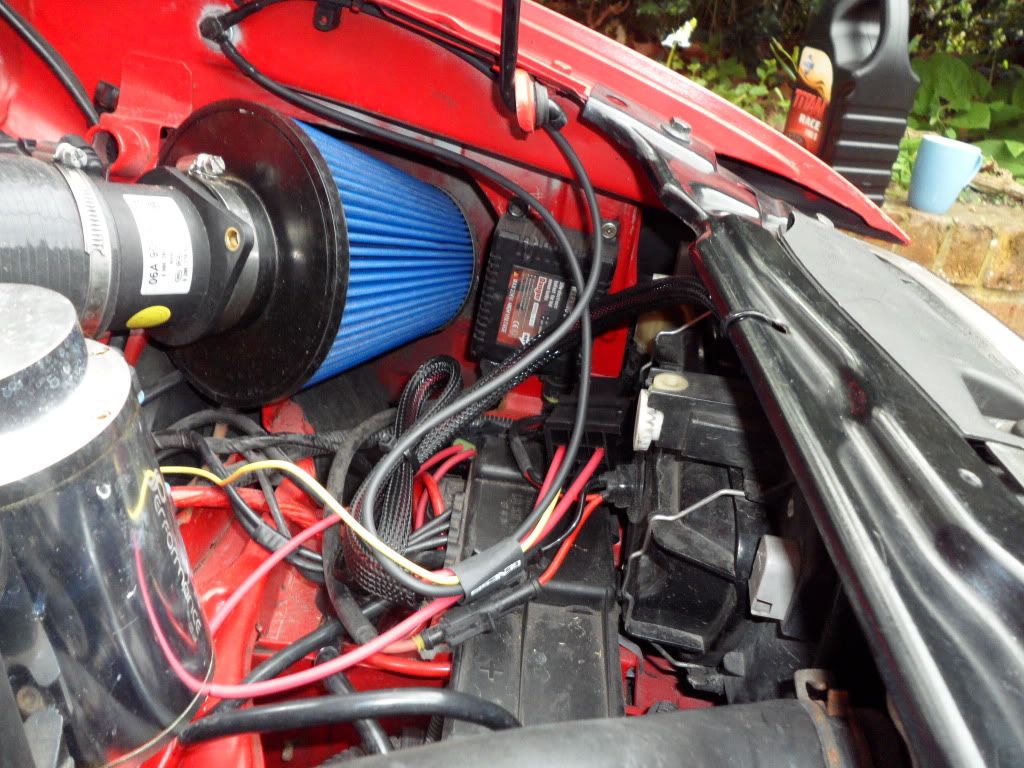
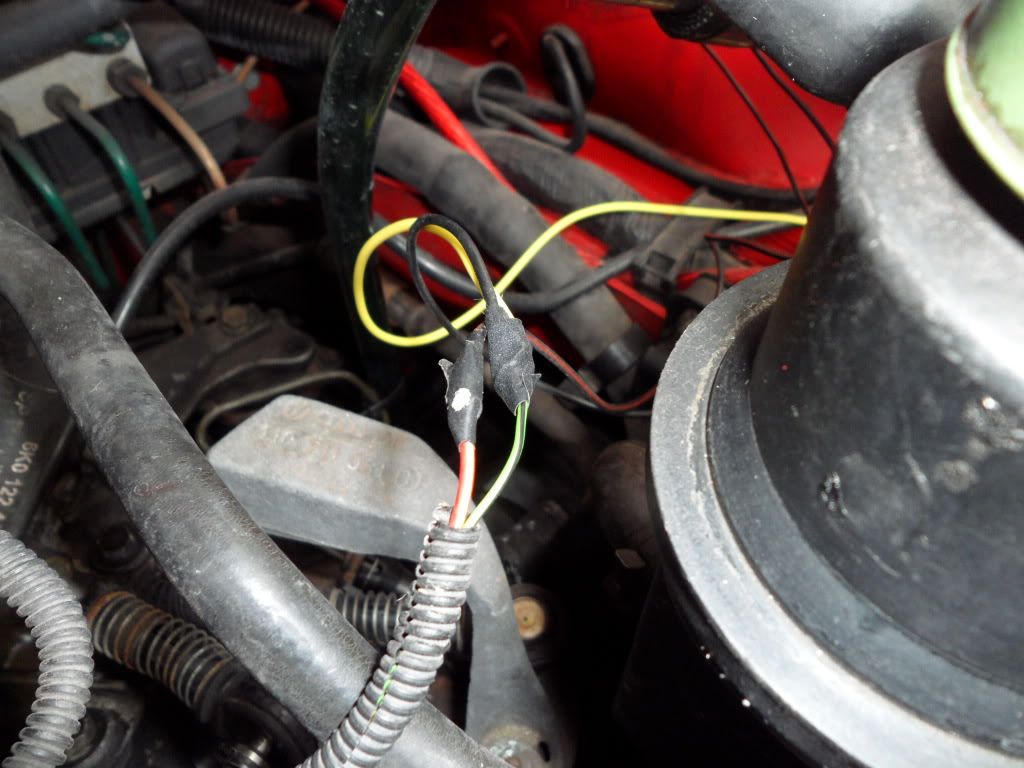
Finally for the relay to get signal I wired the pump into the N75 *Power* wire, this is the Red & Yellow wire. At first I did this wrong and wired it into the signal wire from the N75 which was Green & Black this will give bad results and cause overboost, so don't make the same mistake as me.
(This is the picture of the incorrect wiring) It's now wired into the other wire
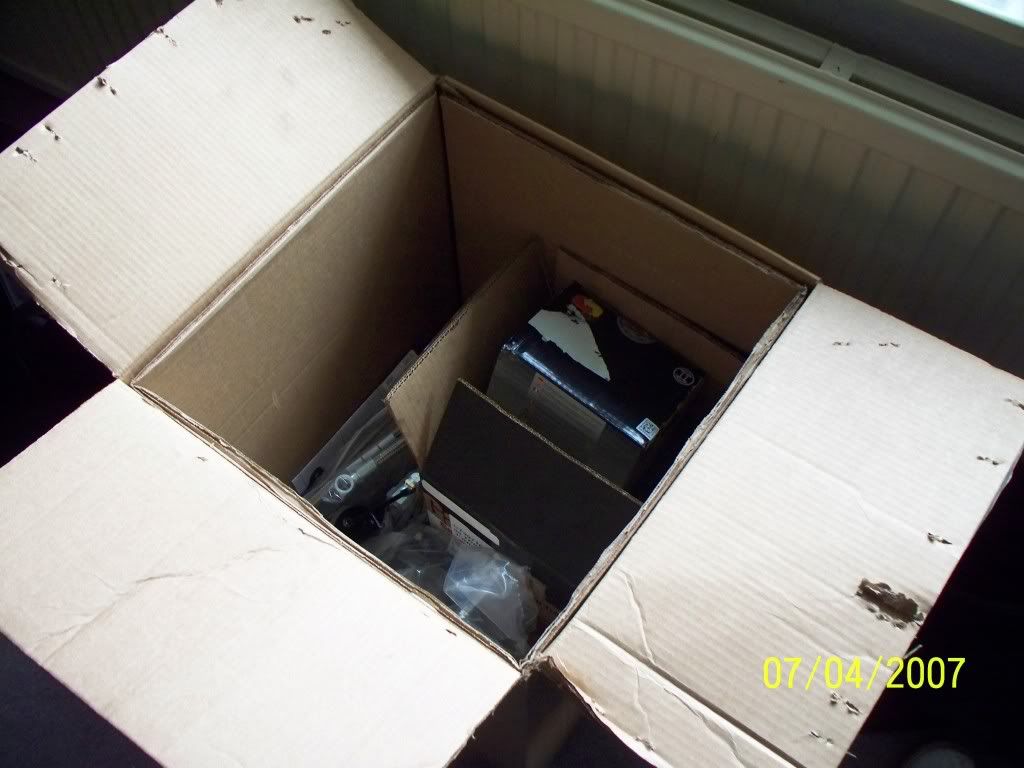
OK, so the time has come to get some pictures up of this beast, so here goes, after a fairly sleepless night me and a mate went to Backdraft this morning, got there around midday to be greated with this:
A box of stuff
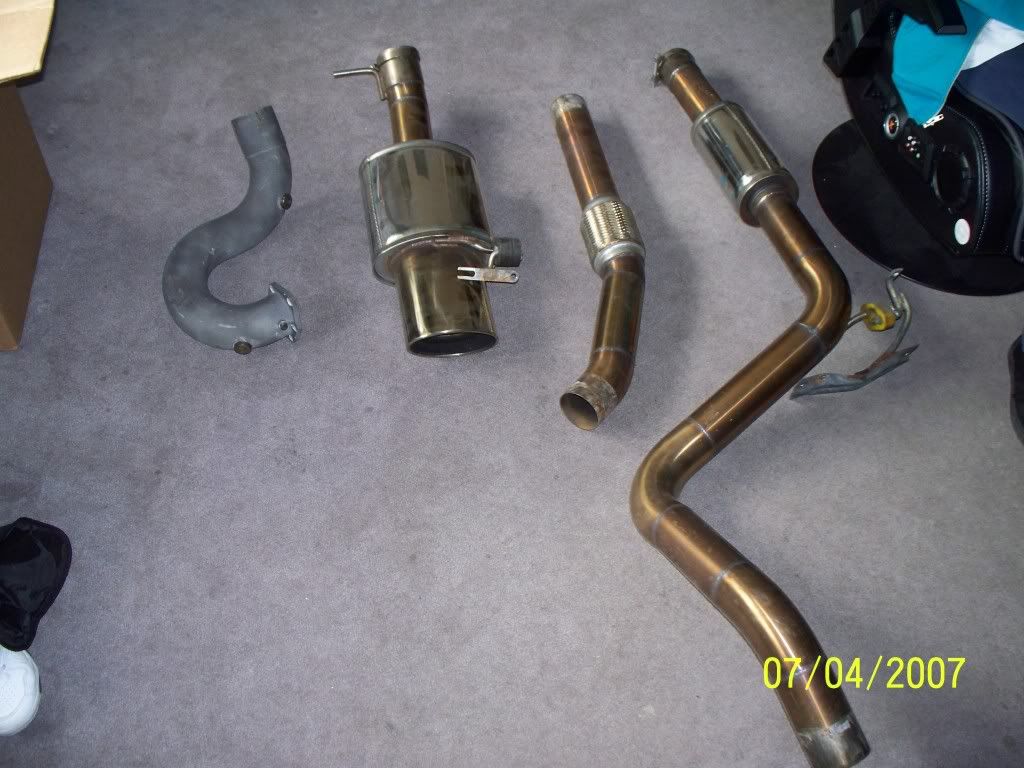
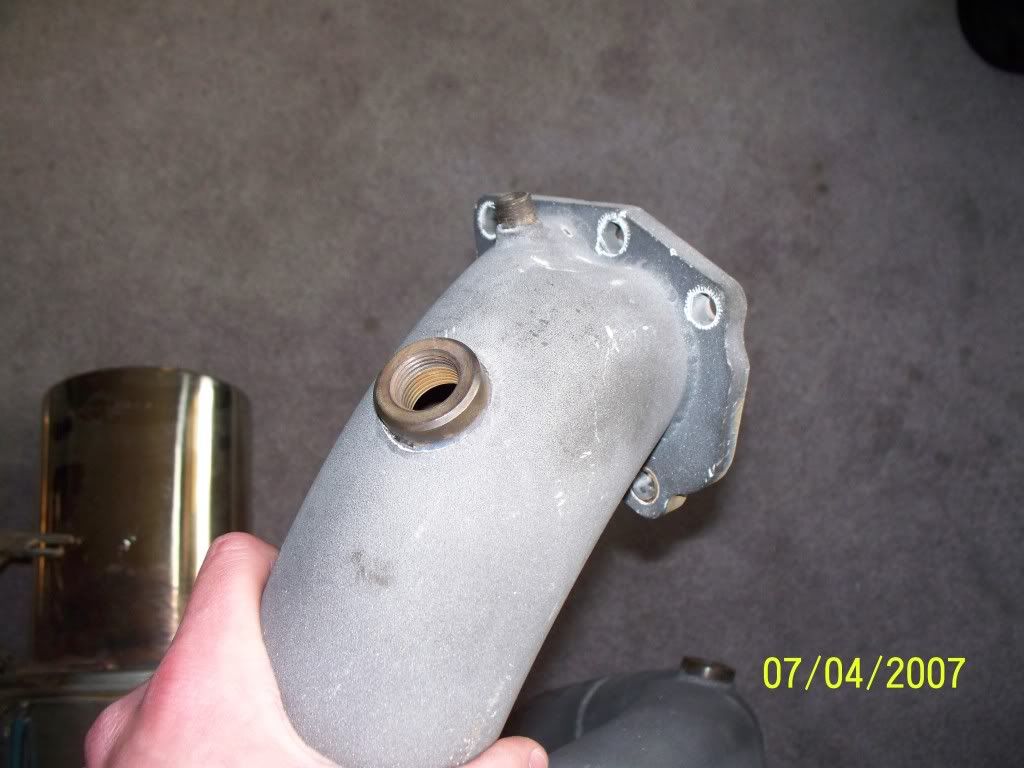
A custom 3" exhaust with 3" custom ceramic coated DP
EGT and pre cat lambda bungs
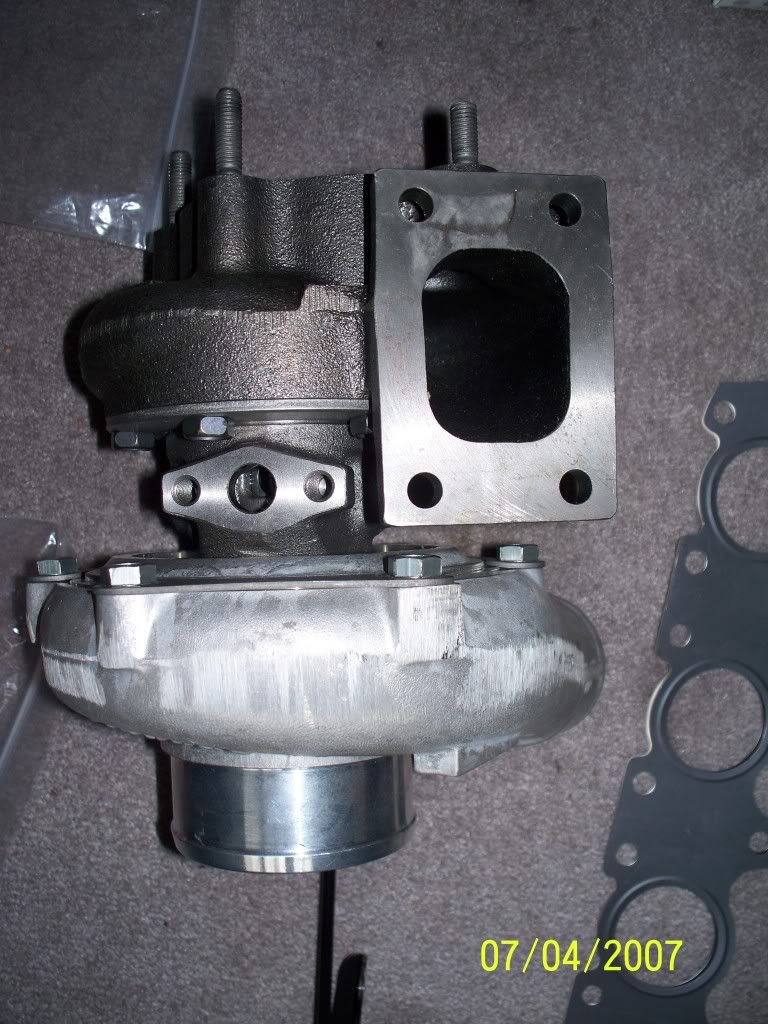
Here it is after I got it all home and laid it out
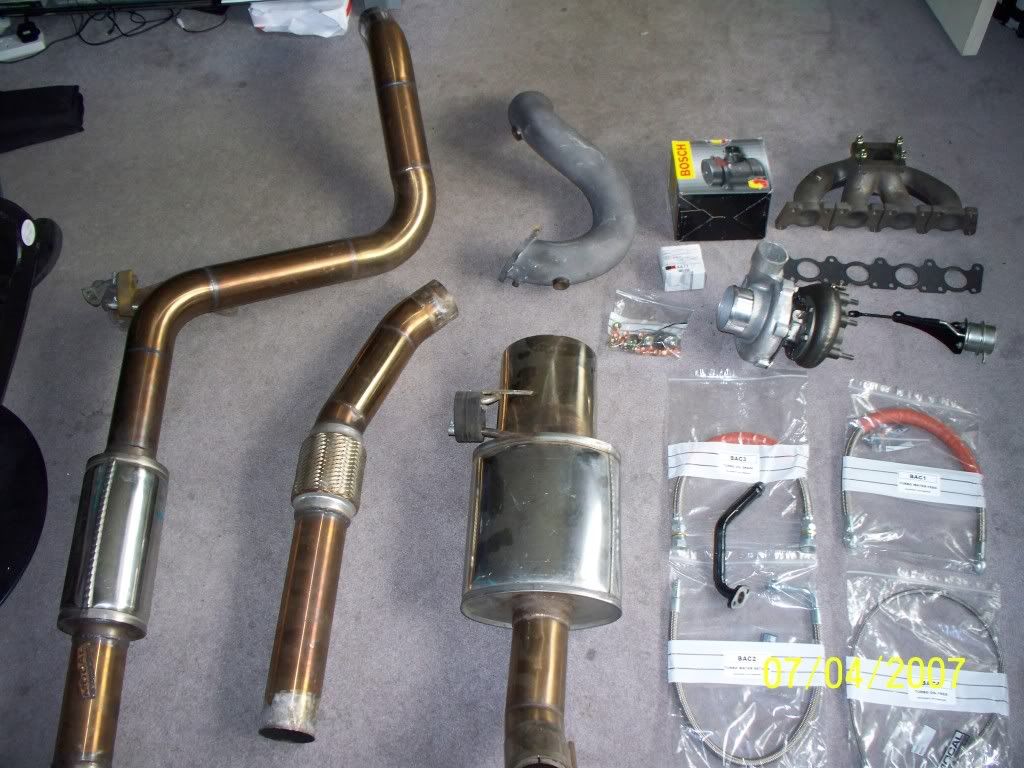
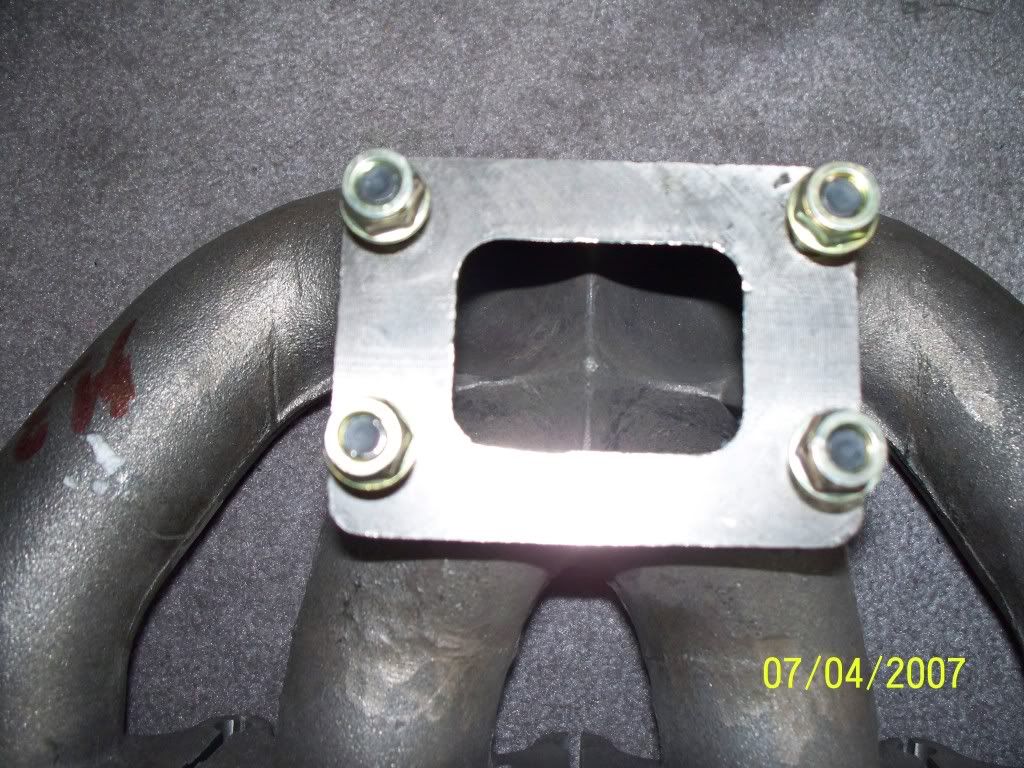
High flow BDM manifold
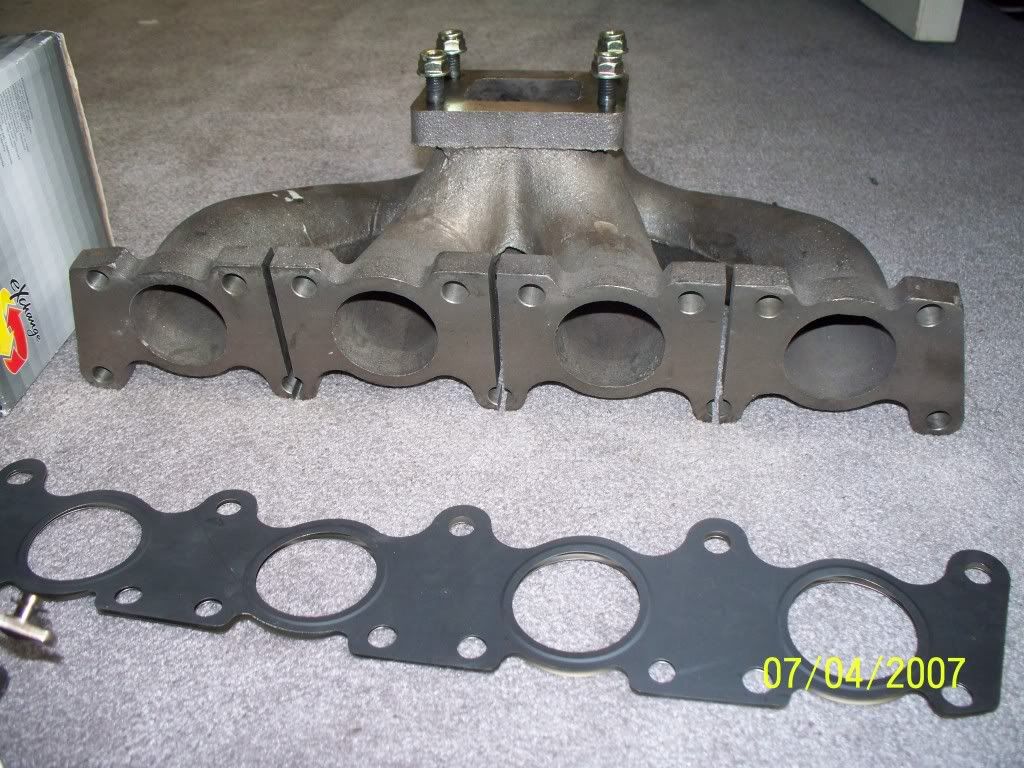
The porting inside it
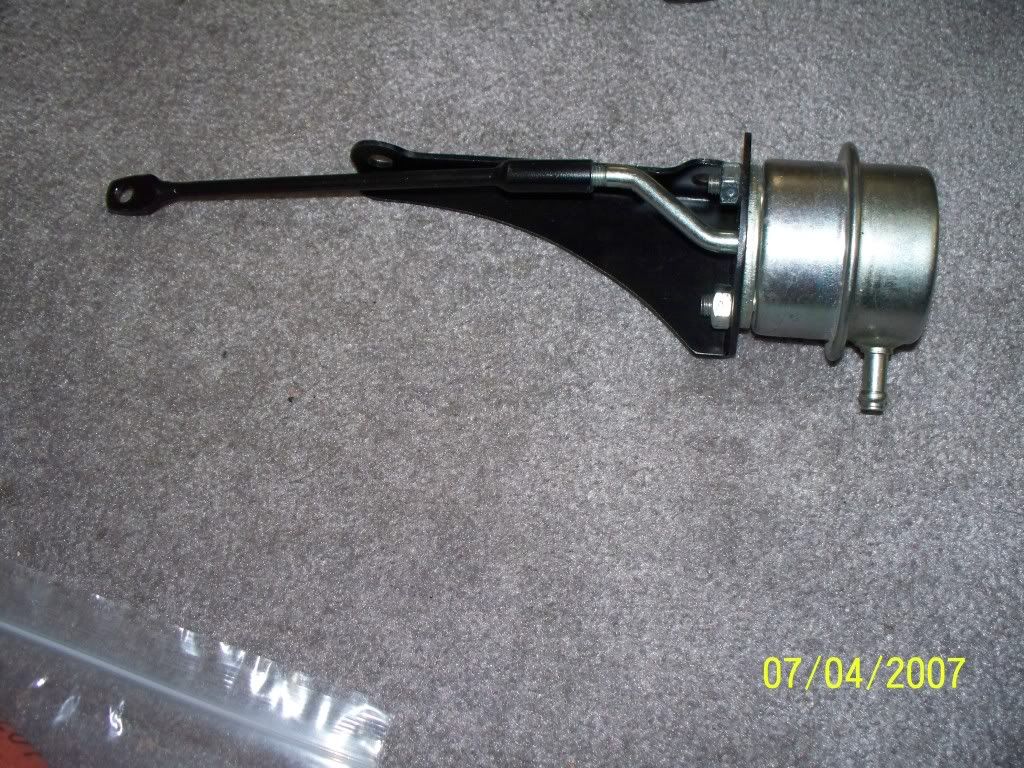
Actuator and arm
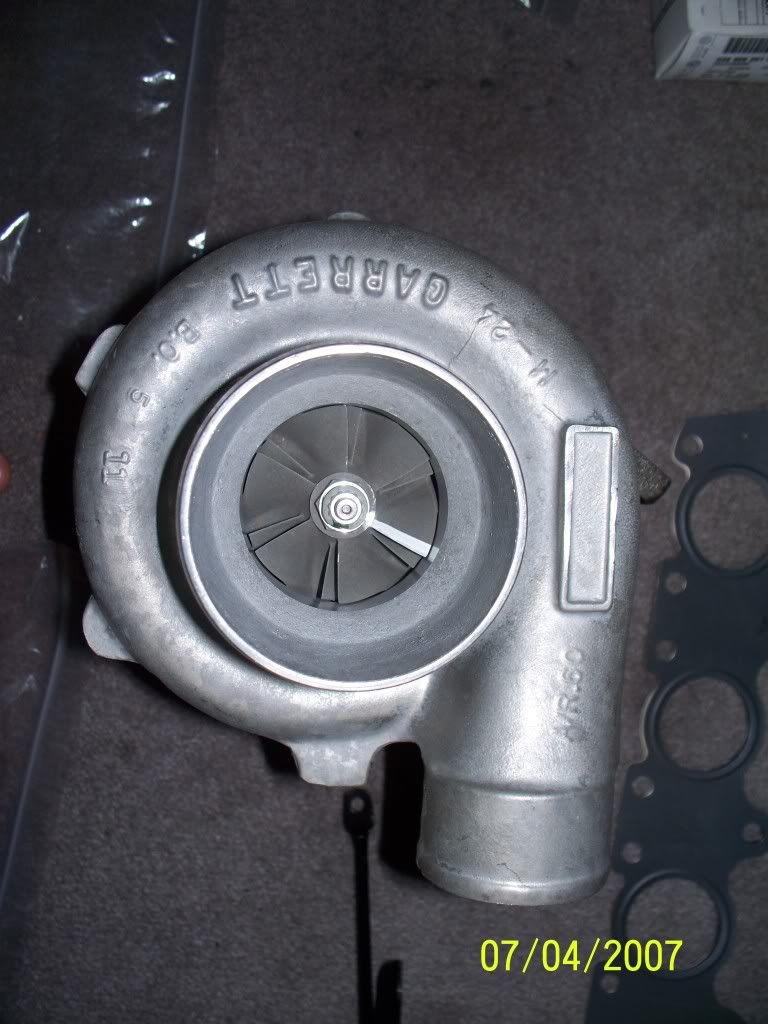
Here it is the compressor housing from a.....
GT3071R!!
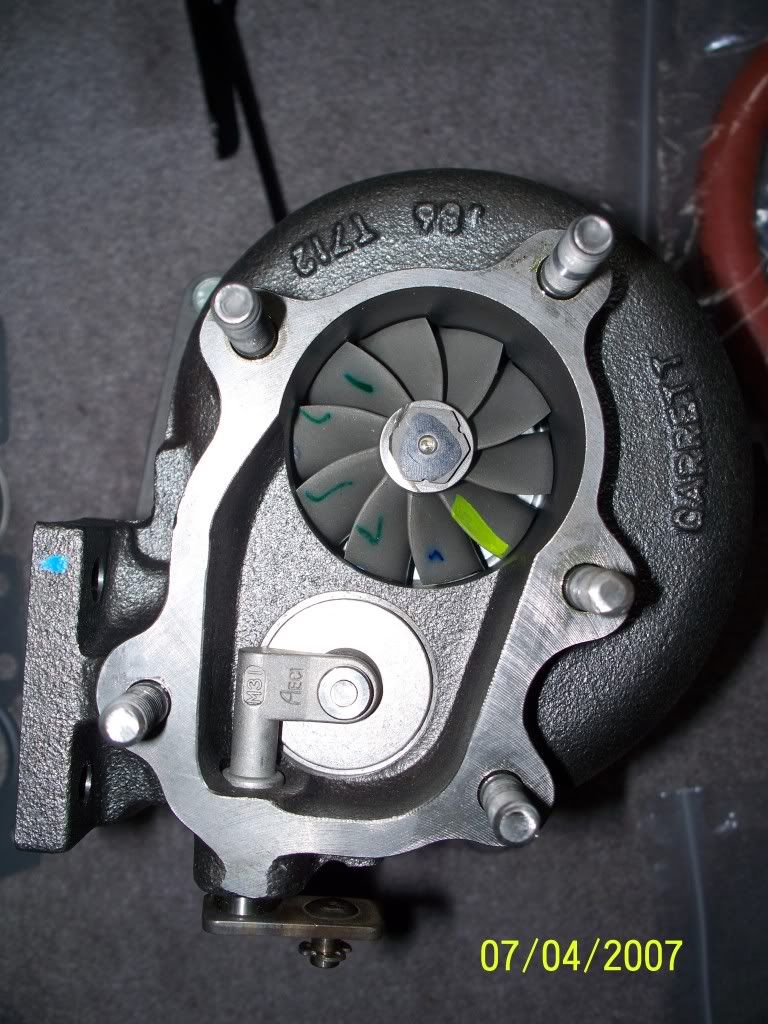
I've also decided to go with the larger hotside housing of 0.86 A/R
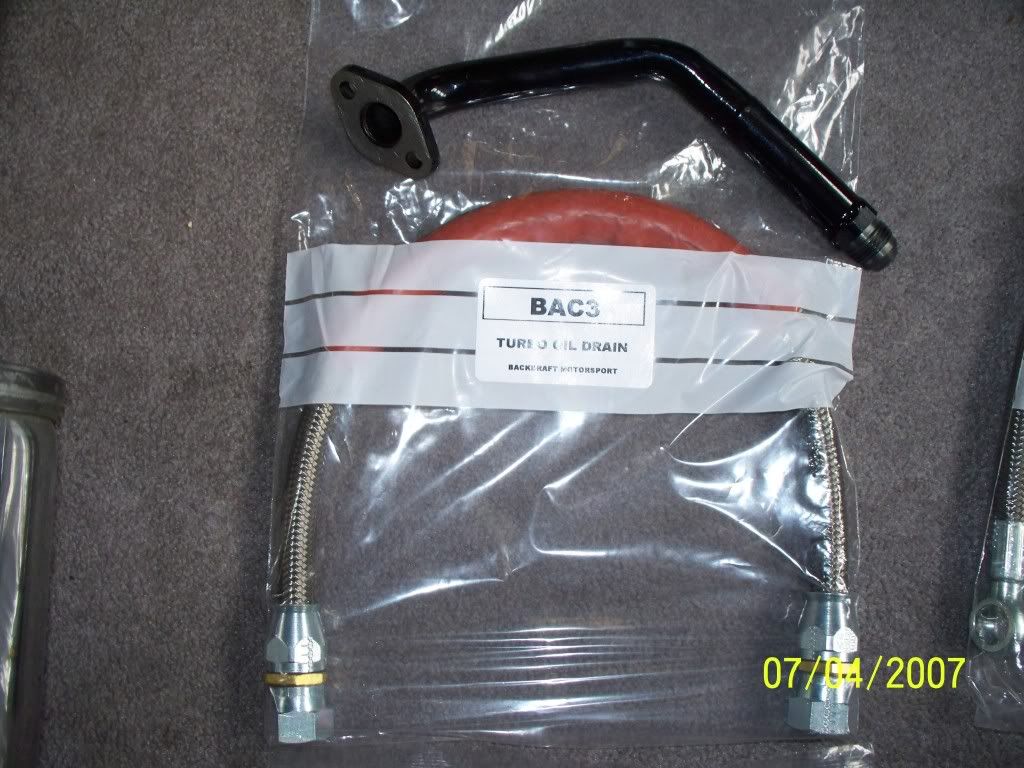
Custom made oil return hard pipe by Alex then braided hose
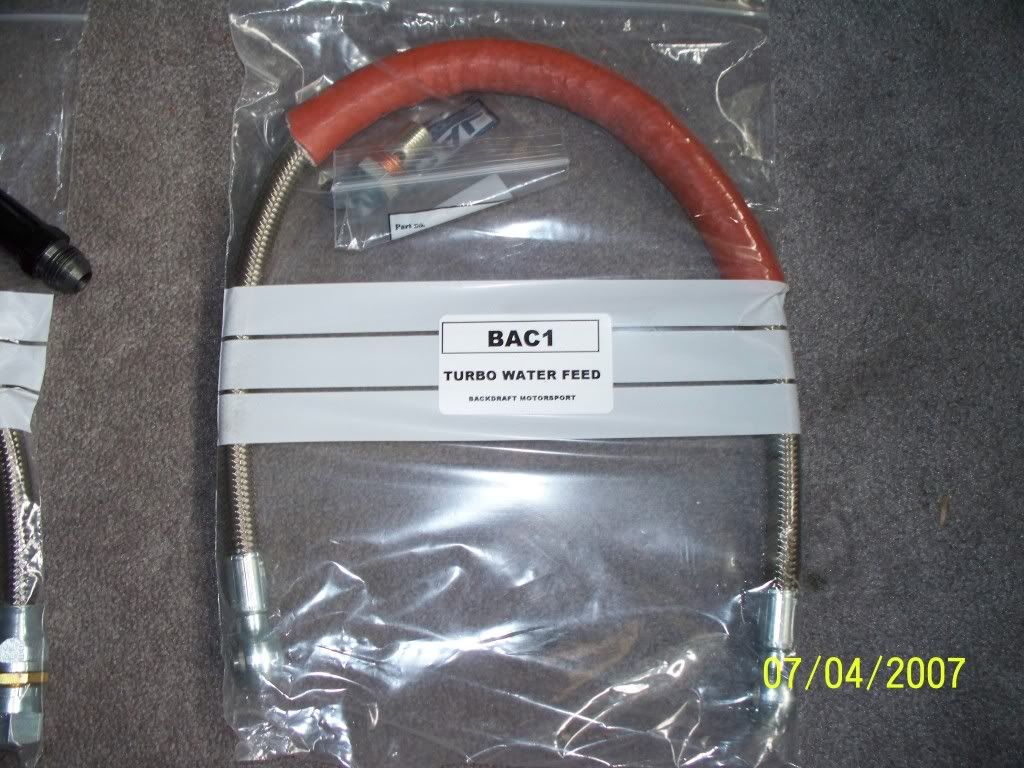
Turbo water feed
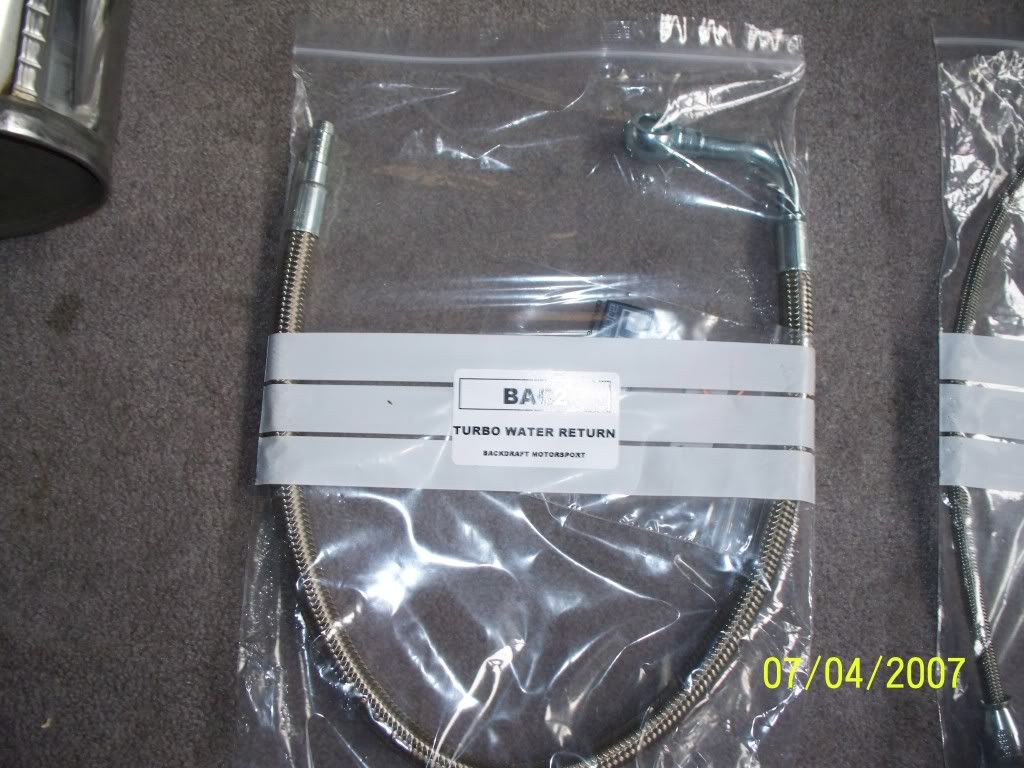
Turb water return
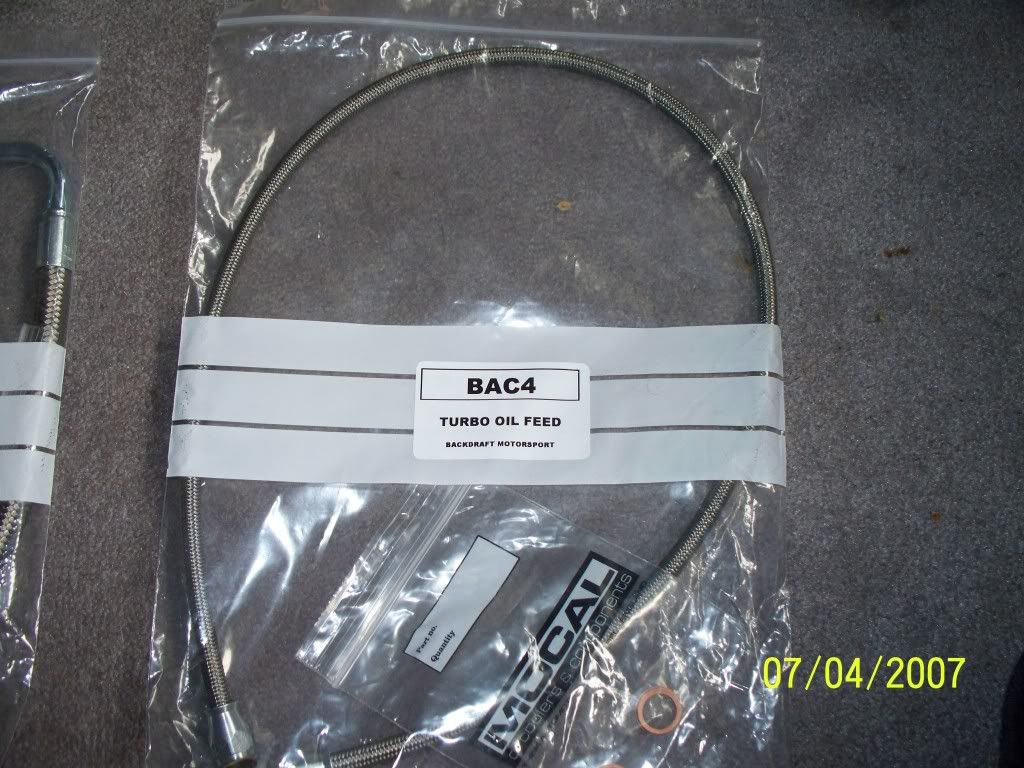
Turbo oil feed
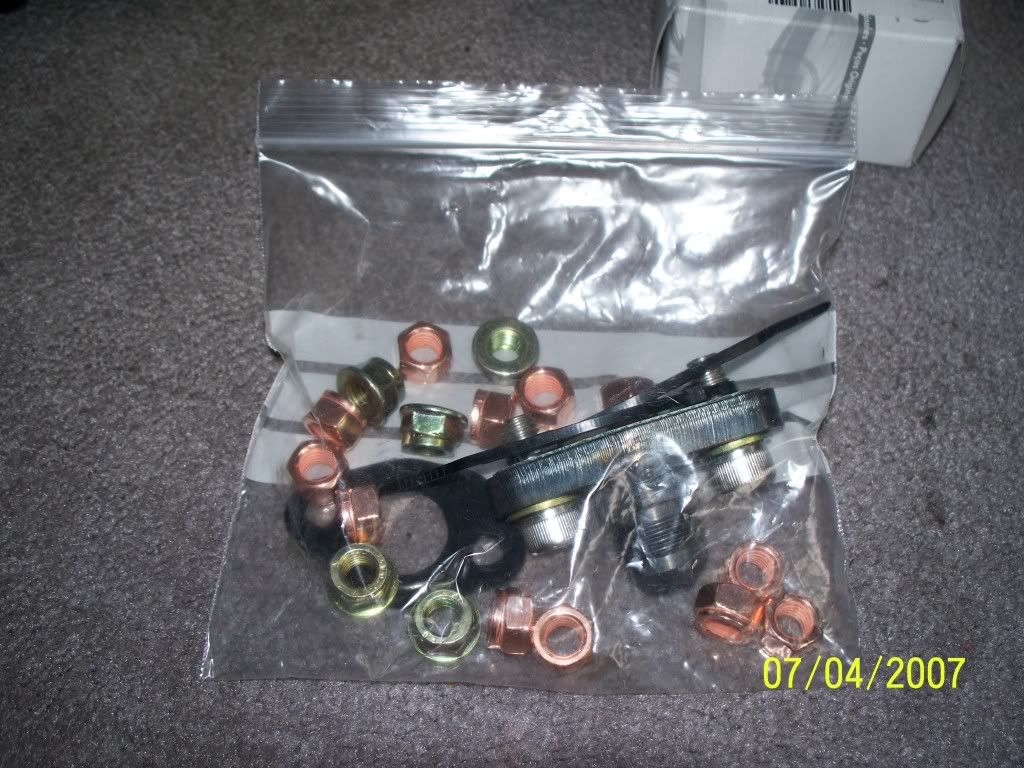
Bag of nuts for manifold and turbo flanges
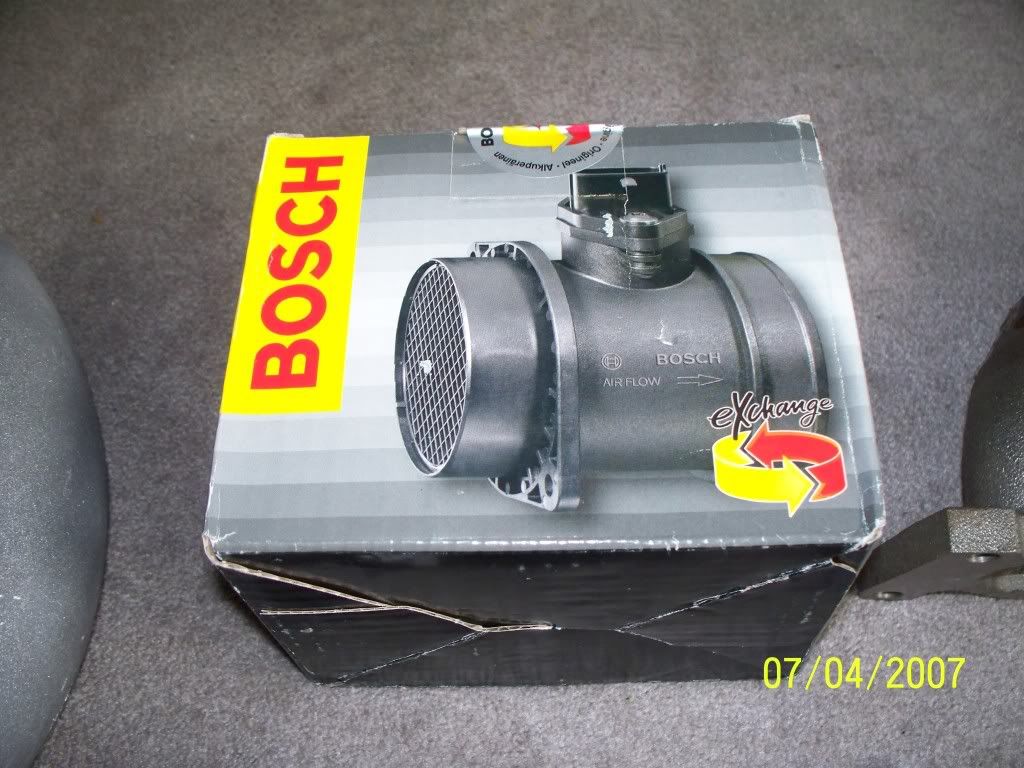
Finally the S4 MAF sensor
Let me know what you all think
Joe
Just ordered this:
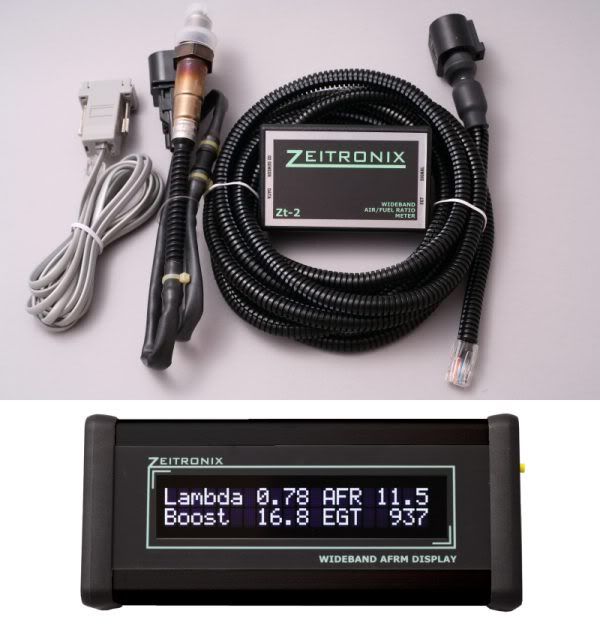
Well on the way to getting this turbo on now [B)]
Today I started wiring my Zeitronix ZT-2 controller, with the help of Bill's wiring.
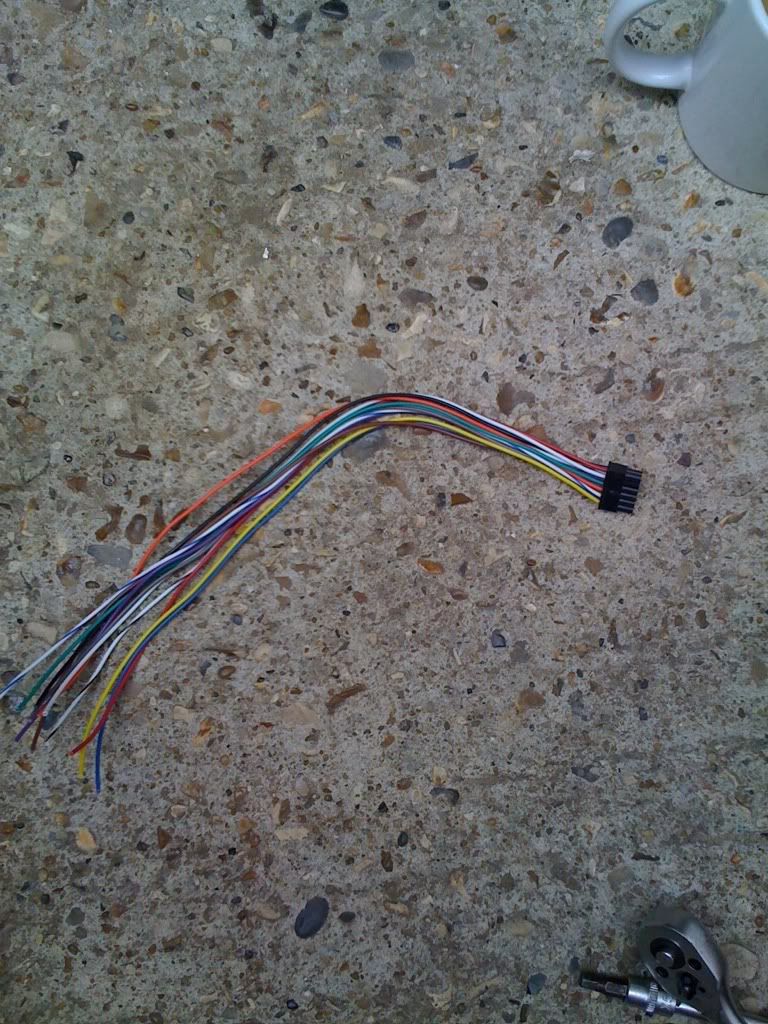
This is the loom you get with the Zeitronix kit, obviously meaning that every wire has to extended:
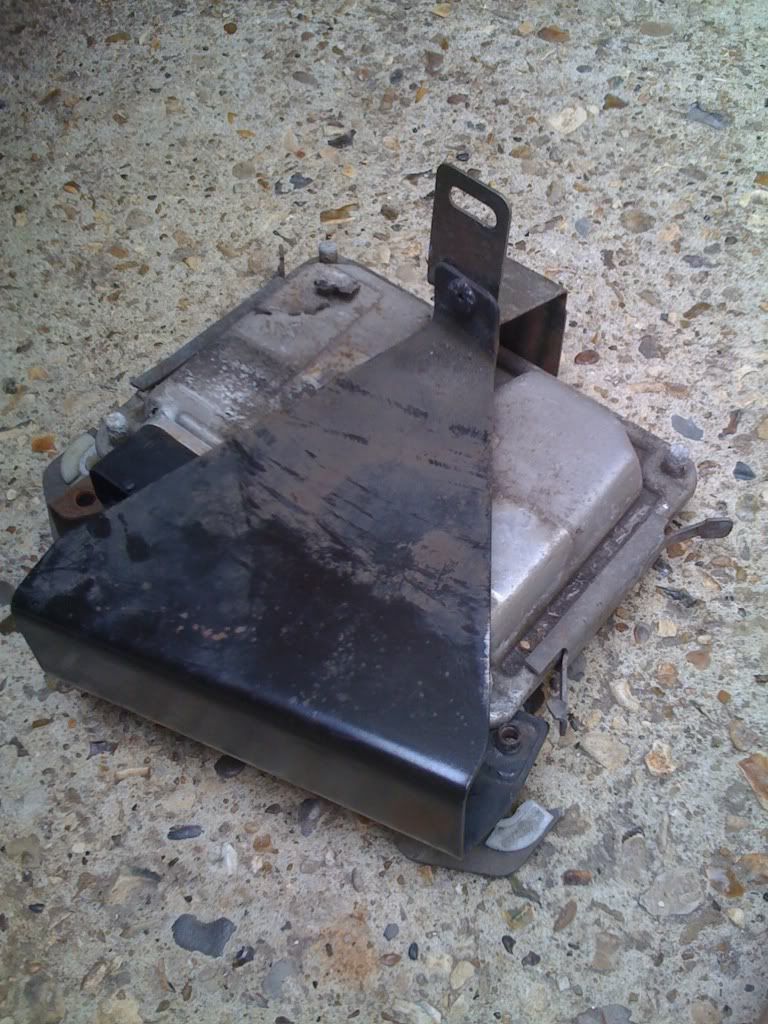
The ECU then had to be removed so that I could access the wires, do all ECU's have these annoying (black) brackets on them?
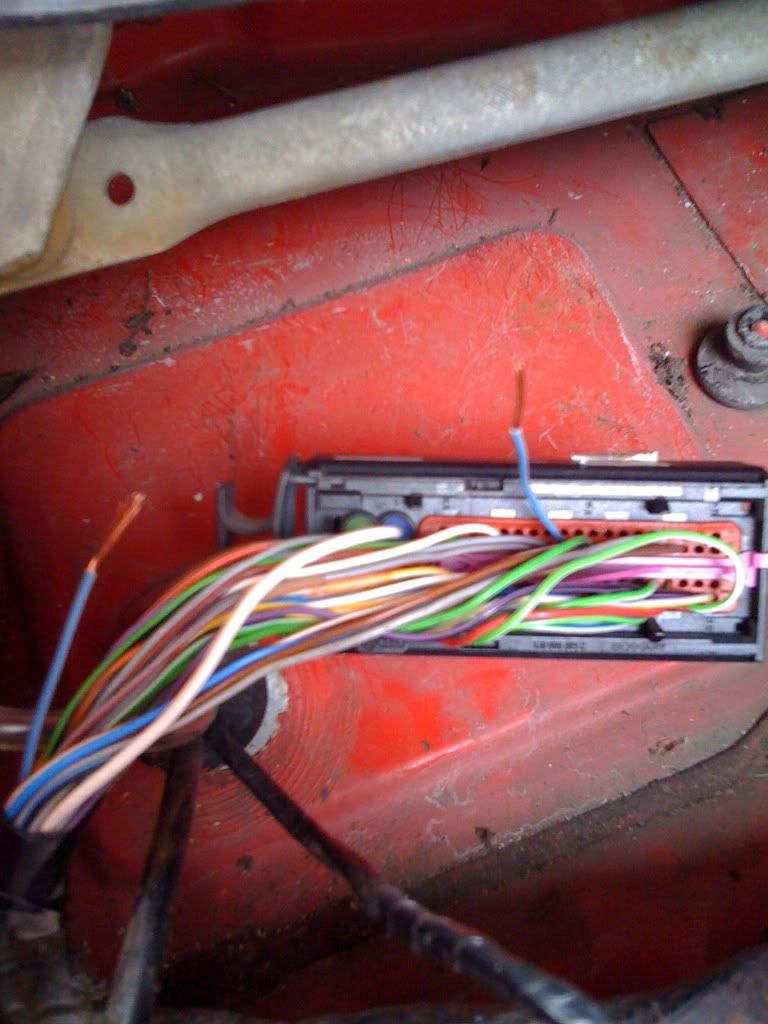
There are 2 plugs for the ECU one larger than the other, the larger plug (T121) I tapped into pin 35 wire (they're all labelled with increments of 5) which is grey & blue for the throttle position sensor.
The other plug I tapped into pin 102 wire for the RPM this wire is black & blue
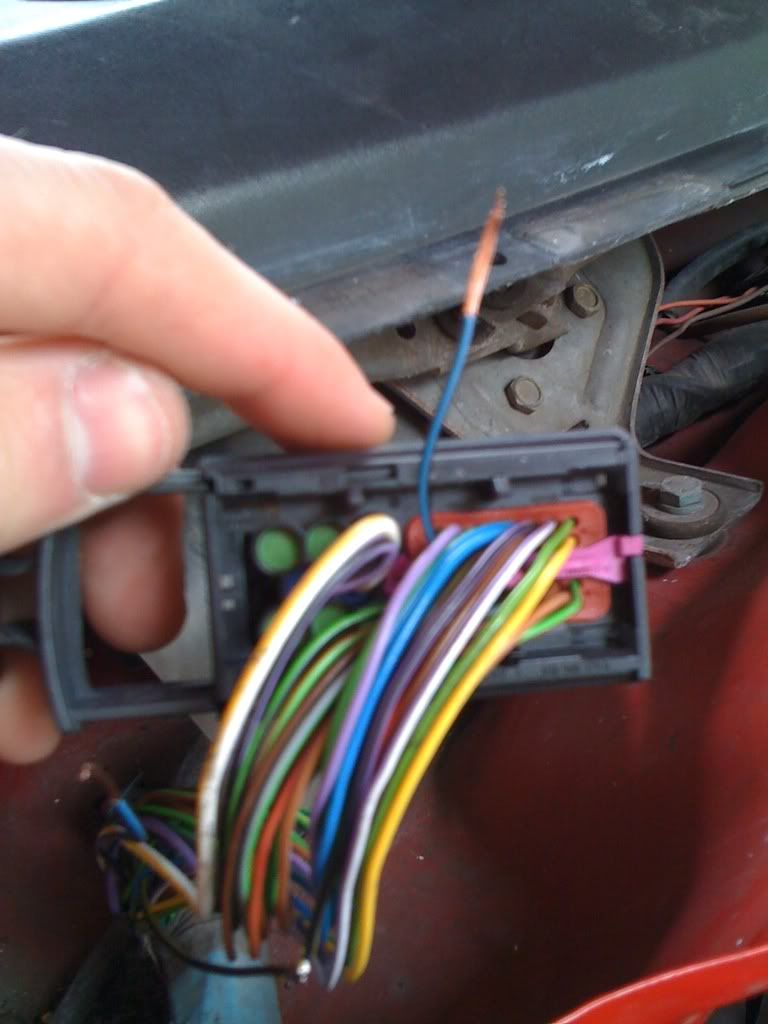
Now I haven't tested my connections yet as it got dark and I need to install the controller and connect it to a laptop to read RPM and TPS, I will do this tomorrow, but for now don't take it to be correct.
I'm going to post up the wiring and try and get it "stickied" as I think it could be very useful for anyone else wanting to install a device which needs to read RPM, TPS as well as other sensors.
What's in the box??
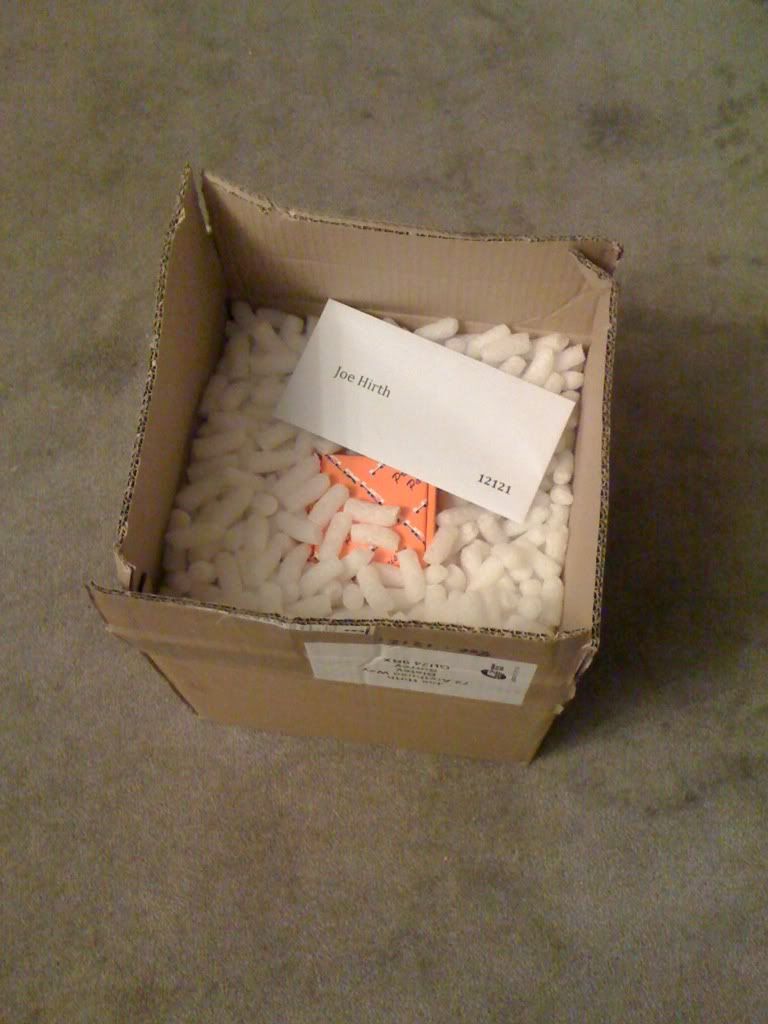
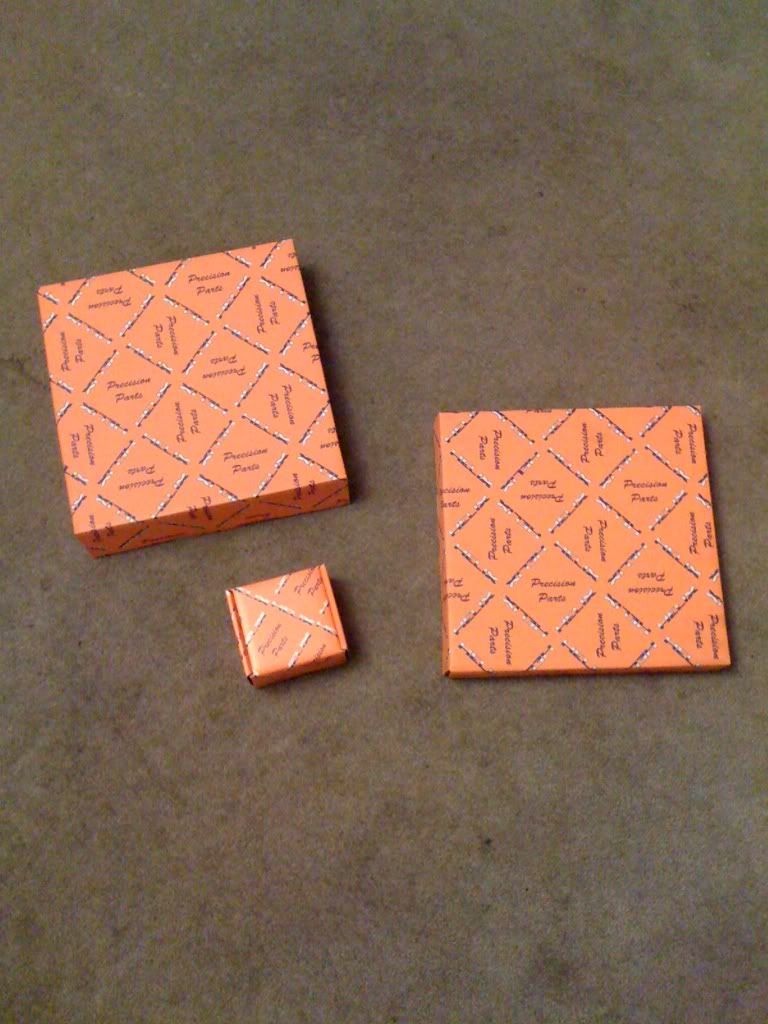
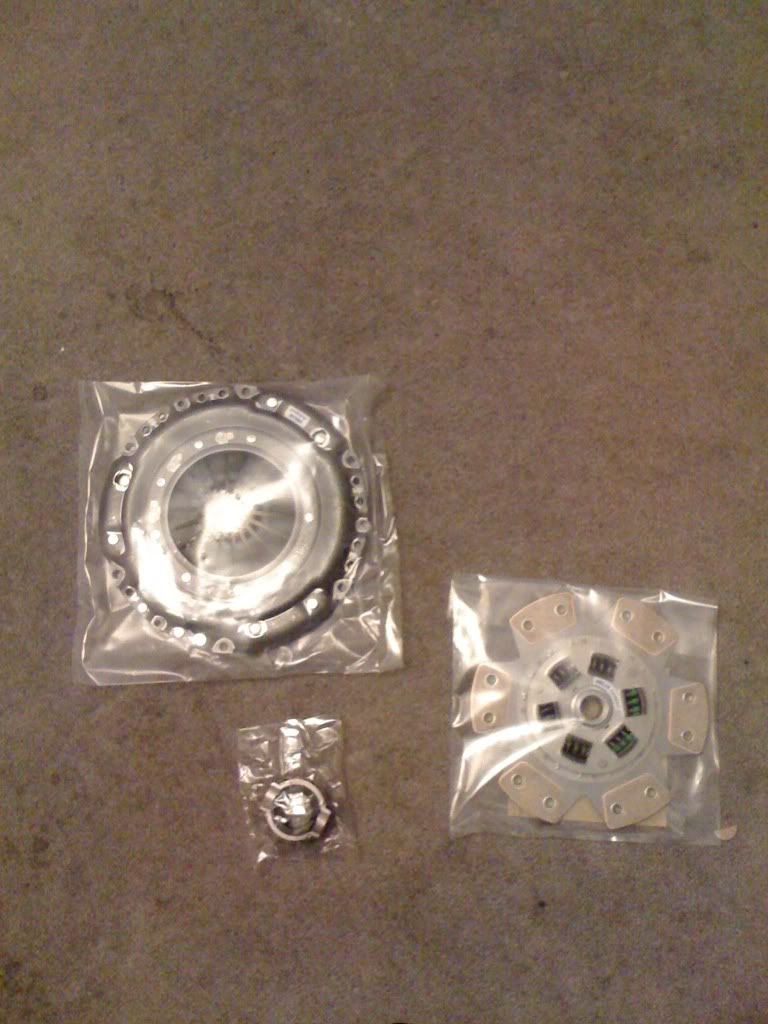
Helix 6 Paddle clutch with sprung centre plate. Having my G60/ ABF flywheel lightened to around 14lbs at the moment which should mate nicely with the Helix clutch kit.
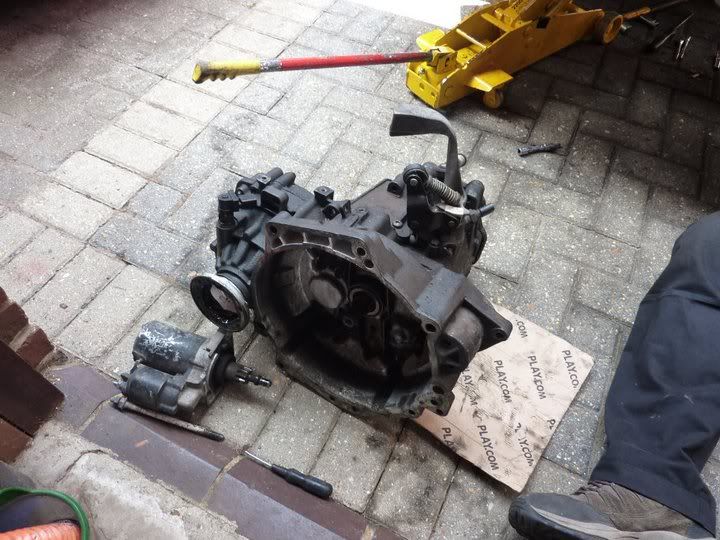
Had a real slog of a day today - ended up getting the gearbox out with my mate and fitting the 6 paddle Helix clutch.
Got some pictures of the clutch out the bag;
Box out:
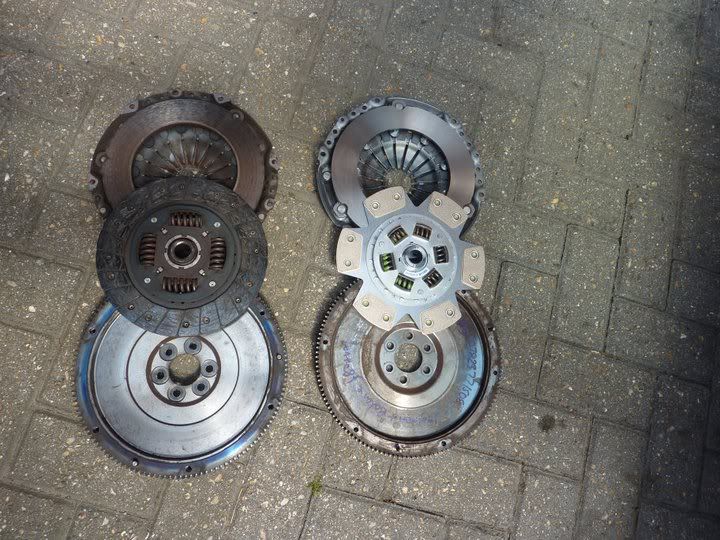
Clutch comparison:
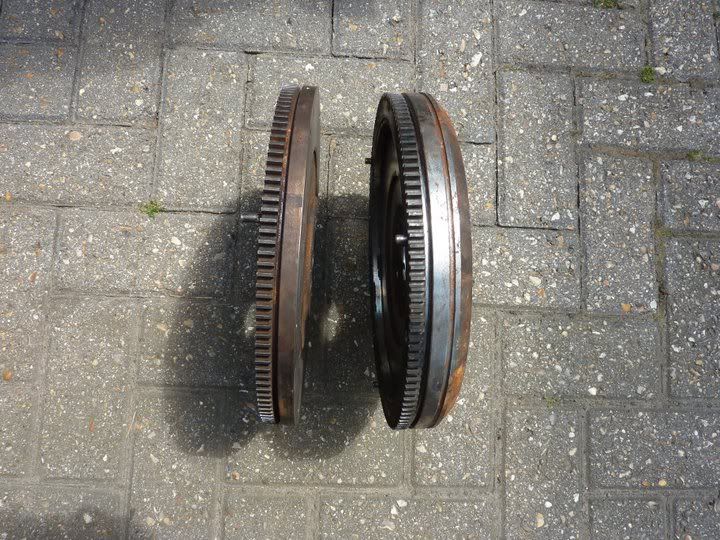
Flywheel comparison - had this machined down from around 21lbs to 14lbs:
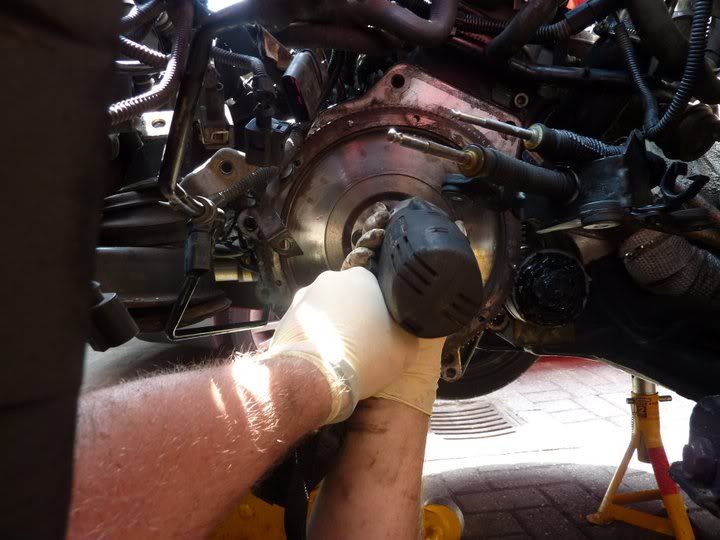
Bolting flywheel on:
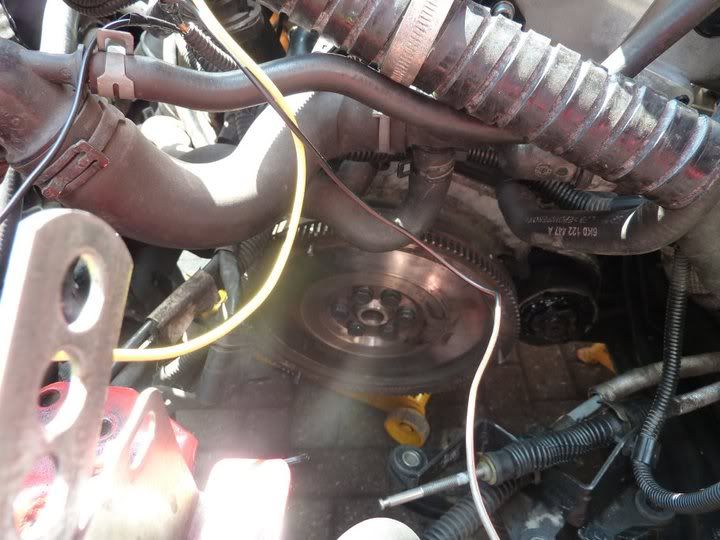
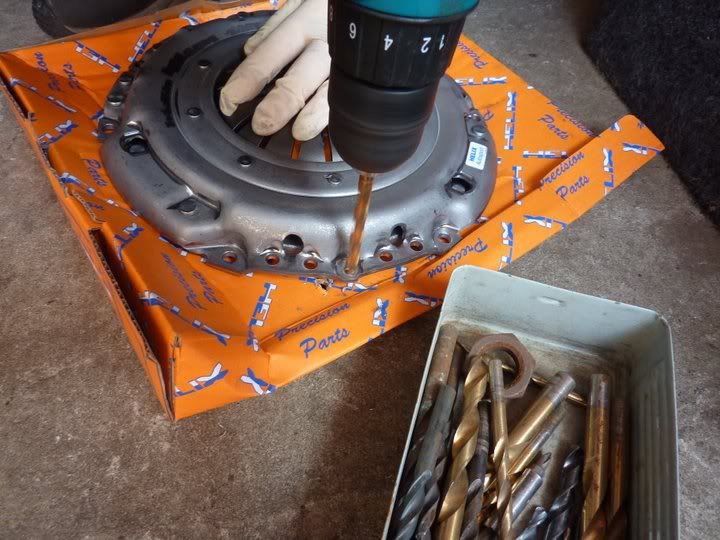
Now we had a few problems with this flywheel - it's an ABF or G60 flywheel, the studs/ dowels which are on it were a bit wonky so the cover plate didn't seat on it nicely. We ended up drilling the hole slightly bigger to allow the studs to fit through.
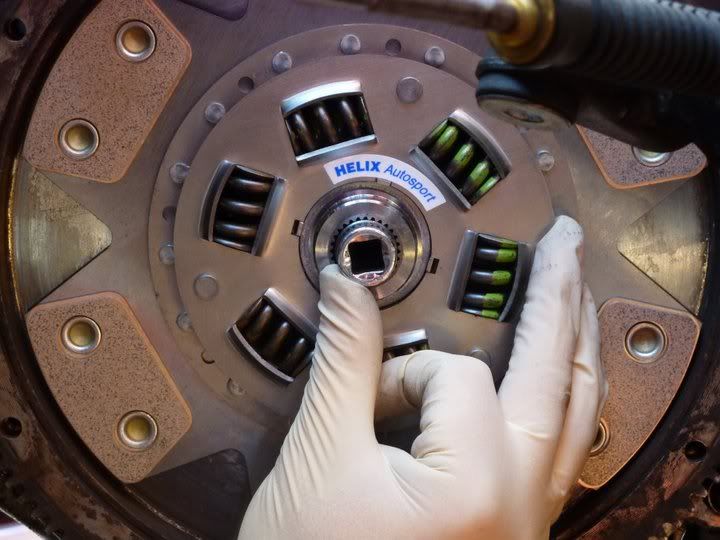
Lining up the centre plate - ghetto style with the 14mm deep socket - rather than the clutch aligning tool.
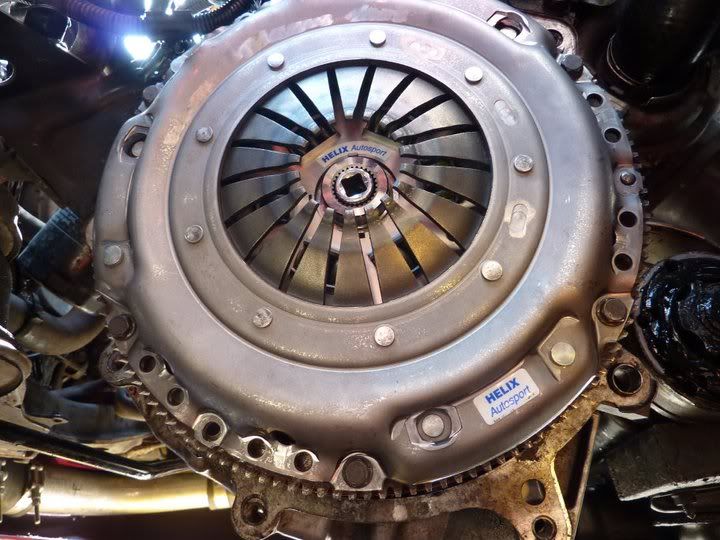
Finally all in place:
Of course we hit a problem whilst putting everything back together and over tightened one nut, this happened to be the nut for the live feed to the starter motor, rounding it off wasn't the issue but the fact that it snapped the 10 year old brittle plastic housing was. This meant that we had nothing to connect the live to meaning the motor is no more use.
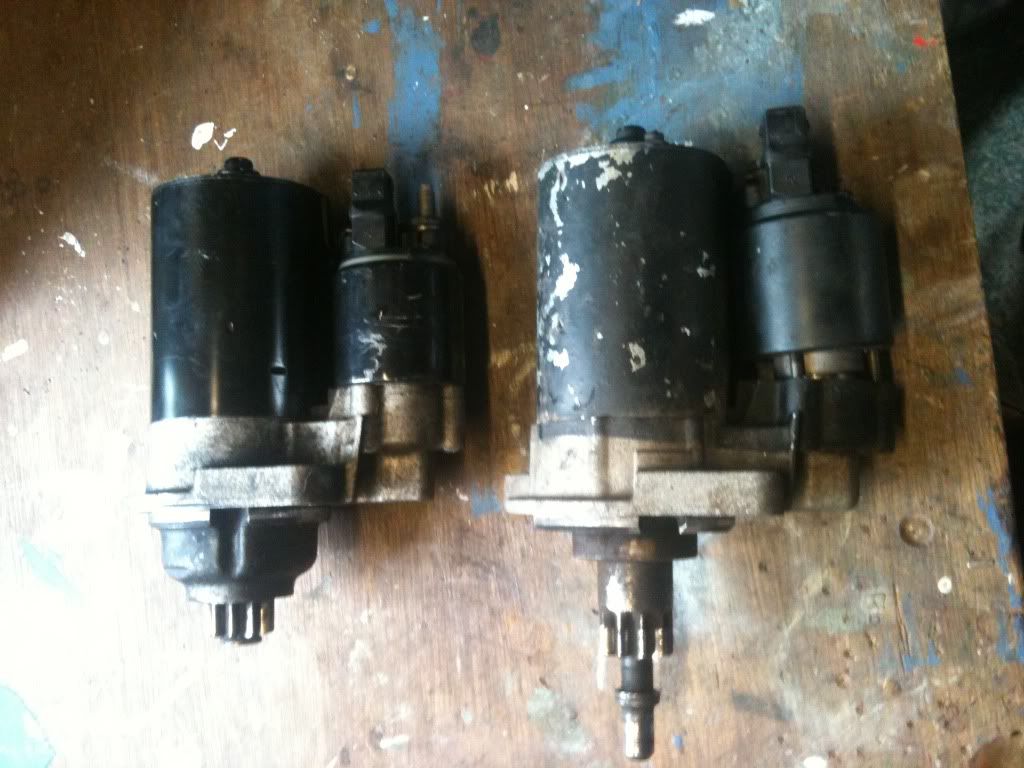
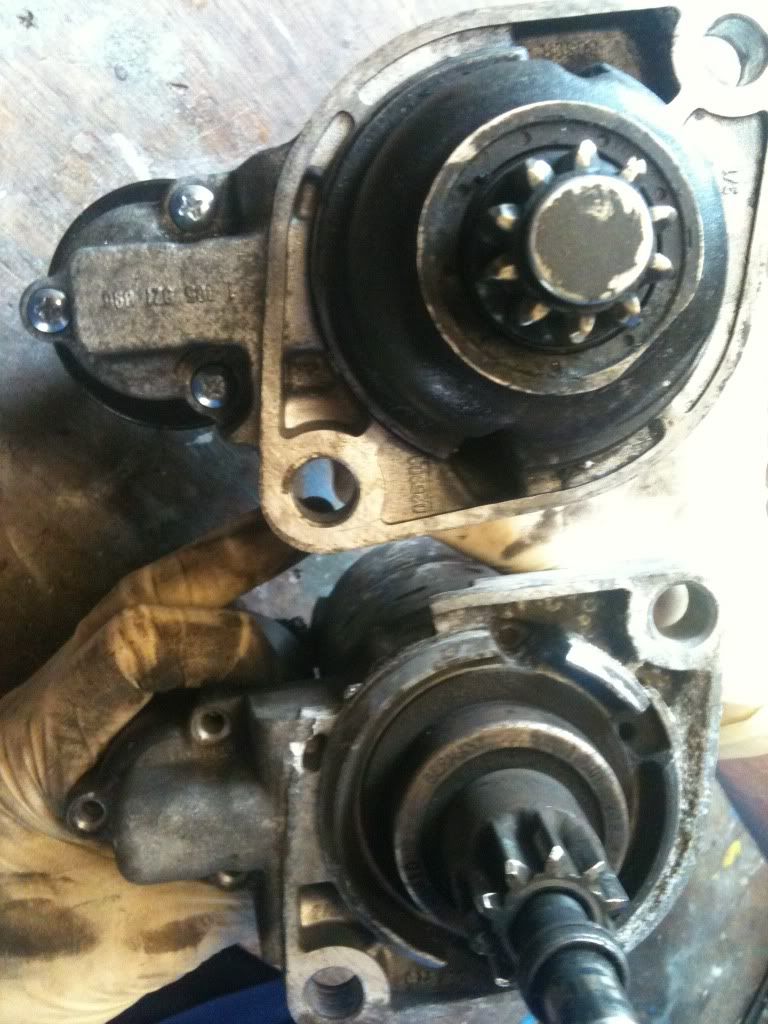
My mate luckily had a mate who was breaking a Octavia VRS so we thought we'd try and see if that start motor fits. This took us an extra hour and a half for the hassle but I compared the two motors and one looked different from the other (I have no pictures at this stage so I'll try to explain as best as possible). My original had some kind of aligning pin on the end of the motor (where the cog is which sits in the bell housing) The Octavia one doesn't - the two part numbers are exactly the same, so how can this be?
We fitted it all up and it all seemed OK, until I tried to start it. It turned over EXTREMELY slowly as if the battery was dead, although this was not the case The battery held it's voltage and the 750 odd amps too, even during cranking. It even got so bad that the car wouldn't start at all. Now the replacement ones seem to look the same as the Octavia ones (without the pin) so I don't think that this is the problem. The Octavia owner said the starter motor isn't that old but it hasn't been used in 2 years, could this be the problem, will it losen up?
On another note, finding the clutch hard to get used to so far - very juddery to start off, even changing down into 2nd whilst still rolling at low RPM. Kind of expected but it definitely has some bite to it
Any help appreciated on the starter motor front but overall the day went well.
Joe
Just come in from fixing the starter motor, basically I removed the old solenoid from the original motor as it was broken, then swapped it over for the working solenoid from the VRS.
Here you can see the comparison between the two starter motors with the same part number:
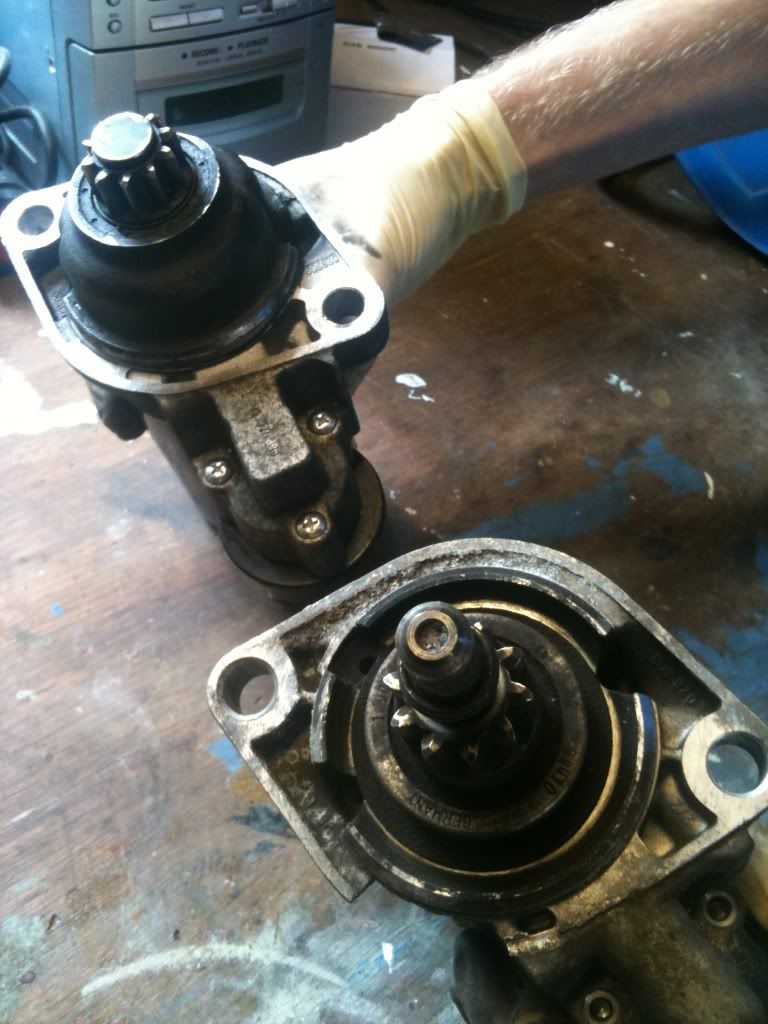
Damage to the previous solenoid unit:
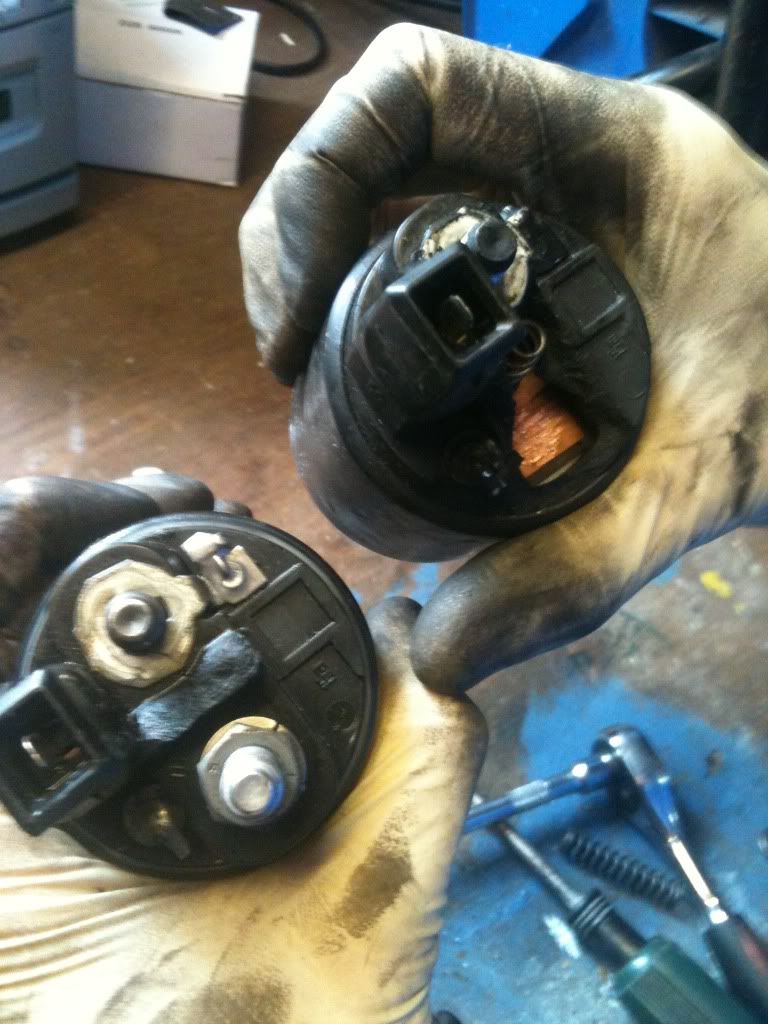
Obviously not all went to plan and the three bolts you can see holding the solenoid to the motor itself were all rusted. I ended up drilling these out and luckily I had some replacement bolts which happened to fit - so I changed them (as you can see in the picture).
Popped the old starter motor back in with the new solenoid and hey presto, started first time, no struggling or anything Now I'm a happy boy.
That is truely it for now, as I upload on SCN I will update this thread too.
Comments welcome please.
Joe
What do you think? Dark grey ceramic coated DP too.
Another little update, well I don't think it's little but I'm anal.
A mate of mine who does detailing had a look at my car not long ago and was shocked at the amount of swirl marks, mainly because I hadn't polished it up properly after flatting the paint, I also gathered lots of grit which didn't help! He also offered a very competitive price on detailing so I took him up on it and here's the results:
Before cleaning:
Snowfoam fun:
Dry it off:
Then the correction began:
Then the nearside door
Before:
After:
Before:
After:
Cheers Berg.
Some more pictures and the process from the beginning to the end of the detailing;
APC spraydown
PH neutral snow foam
Washed with two bucket method Meguiars Washmitt and Meguiars Gold Class Shampoo
Rinsed and dried Masked up
Corrected using Hex-logic ornage pad with Menzerna PO85RD 3.02 with 3 passes!
Rewashed again with PH neutral
Dried
Glazed using Poorboys Wet-Mirror Finish on Hex Logic red pad.
Waxed with Collinite
Cleaned the wheels with Bilberry wheel cleaner and dressed tyres with Autoglym tyre dressing.
Polished the windows with autoglym window polish
The pictures:
If anyone else local would like a quote for a detail please PM me.
Thought I should post some pics of my Seimens Dekka 630cc Injectors, Walbro 255lph Fuel Pump and wiring harness. I walso picked up a phenolic gasket from Wak@VAGCheck for a steal of a price, still brand new
The pump:
Oh and all this arrived yesterday, a nice shopping basket full of car cleaning stuff from Autobrite:
I bought a Meguairs sheepskin washmitt, Meguairs Gold Class Shampoo, Snow Foam lance and 1L of Snow Foam along with 2 large drying towels and 10 polishing microfibres.
Number one, been given a couple of days or so before the turbo will be ready for collection, most likely I won't get it this weekend, depends when Alex is about and/ or Backdraft is open.
In preparation to the BT install I spent last weekend installing the Walbro 255lph pump:
Started by taking off the OEM fuel feed from the rail
Then came the decision as to where to mount the pump, a few ideas have been thrown but I decided to go with here
Trimmed the OEM fuel feed and connected it to the feed on the Walbro, then cut a piece of pipe accordingly for the feed from the Walbro to the fuel rail
Then had the task of routing the, quite large, wiring loom supplied with the pump itself, I decided to start here
and ran it all the way under the slam panel until I got to here
I used small cable ties through the small round holes along the panel to keep it looking subtle, gathered the excess wire and popped it down in the corner over the fusebox.
Finally for the relay to get signal I wired the pump into the N75 *Power* wire, this is the Red & Yellow wire. At first I did this wrong and wired it into the signal wire from the N75 which was Green & Black this will give bad results and cause overboost, so don't make the same mistake as me.
(This is the picture of the incorrect wiring) It's now wired into the other wire
OK, so the time has come to get some pictures up of this beast, so here goes, after a fairly sleepless night me and a mate went to Backdraft this morning, got there around midday to be greated with this:
A box of stuff
A custom 3" exhaust with 3" custom ceramic coated DP
EGT and pre cat lambda bungs
Here it is after I got it all home and laid it out
High flow BDM manifold
The porting inside it
Actuator and arm
Here it is the compressor housing from a.....
GT3071R!!
I've also decided to go with the larger hotside housing of 0.86 A/R
Custom made oil return hard pipe by Alex then braided hose
Turbo water feed
Turb water return
Turbo oil feed
Bag of nuts for manifold and turbo flanges
Finally the S4 MAF sensor
Let me know what you all think
Joe
Just ordered this:
Well on the way to getting this turbo on now
[B)]Today I started wiring my Zeitronix ZT-2 controller, with the help of Bill's wiring.
This is the loom you get with the Zeitronix kit, obviously meaning that every wire has to extended:
The ECU then had to be removed so that I could access the wires, do all ECU's have these annoying (black) brackets on them?
There are 2 plugs for the ECU one larger than the other, the larger plug (T121) I tapped into pin 35 wire (they're all labelled with increments of 5) which is grey & blue for the throttle position sensor.
The other plug I tapped into pin 102 wire for the RPM this wire is black & blue
Now I haven't tested my connections yet as it got dark and I need to install the controller and connect it to a laptop to read RPM and TPS, I will do this tomorrow, but for now don't take it to be correct.
I'm going to post up the wiring and try and get it "stickied" as I think it could be very useful for anyone else wanting to install a device which needs to read RPM, TPS as well as other sensors.
What's in the box??
Helix 6 Paddle clutch with sprung centre plate. Having my G60/ ABF flywheel lightened to around 14lbs at the moment which should mate nicely with the Helix clutch kit.
Had a real slog of a day today - ended up getting the gearbox out with my mate and fitting the 6 paddle Helix clutch.
Got some pictures of the clutch out the bag;
Box out:
Clutch comparison:
Flywheel comparison - had this machined down from around 21lbs to 14lbs:
Bolting flywheel on:
Now we had a few problems with this flywheel - it's an ABF or G60 flywheel, the studs/ dowels which are on it were a bit wonky so the cover plate didn't seat on it nicely. We ended up drilling the hole slightly bigger to allow the studs to fit through.
Lining up the centre plate - ghetto style with the 14mm deep socket - rather than the clutch aligning tool.
Finally all in place:
Of course we hit a problem whilst putting everything back together and over tightened one nut, this happened to be the nut for the live feed to the starter motor, rounding it off wasn't the issue but the fact that it snapped the 10 year old brittle plastic housing was. This meant that we had nothing to connect the live to meaning the motor is no more use.
My mate luckily had a mate who was breaking a Octavia VRS so we thought we'd try and see if that start motor fits. This took us an extra hour and a half for the hassle but I compared the two motors and one looked different from the other (I have no pictures at this stage so I'll try to explain as best as possible). My original had some kind of aligning pin on the end of the motor (where the cog is which sits in the bell housing) The Octavia one doesn't - the two part numbers are exactly the same, so how can this be?
We fitted it all up and it all seemed OK, until I tried to start it. It turned over EXTREMELY slowly as if the battery was dead, although this was not the case
The battery held it's voltage and the 750 odd amps too, even during cranking. It even got so bad that the car wouldn't start at all. Now the replacement ones seem to look the same as the Octavia ones (without the pin) so I don't think that this is the problem. The Octavia owner said the starter motor isn't that old but it hasn't been used in 2 years, could this be the problem, will it losen up?On another note, finding the clutch hard to get used to so far - very juddery to start off, even changing down into 2nd whilst still rolling at low RPM. Kind of expected but it definitely has some bite to it
Any help appreciated on the starter motor front but overall the day went well.
Joe
Just come in from fixing the starter motor, basically I removed the old solenoid from the original motor as it was broken, then swapped it over for the working solenoid from the VRS.
Here you can see the comparison between the two starter motors with the same part number:
Damage to the previous solenoid unit:
Obviously not all went to plan and the three bolts you can see holding the solenoid to the motor itself were all rusted. I ended up drilling these out and luckily I had some replacement bolts which happened to fit - so I changed them (as you can see in the picture).
Popped the old starter motor back in with the new solenoid and hey presto, started first time, no struggling or anything
Now I'm a happy boy.That is truely it for now, as I upload on SCN I will update this thread too.
Comments welcome please.
Joe
Wow, that's quite some project, you rebuilt your engine without actually removing it? Glad it still looks very standard, will make a great sleeper.
Oh, one other thing, the power cable from battery to the starter looks a little weedy, I helped a friend do an M50 conversion on an E30 3er and the amount of issues we had and it turned out the power cable just wasn't up to the job. Hugely infuriating.
Great project, well done.
Oh, one other thing, the power cable from battery to the starter looks a little weedy, I helped a friend do an M50 conversion on an E30 3er and the amount of issues we had and it turned out the power cable just wasn't up to the job. Hugely infuriating.
Great project, well done.
minimatt1967 said:
Wow, that's quite some project, you rebuilt your engine without actually removing it? Glad it still looks very standard, will make a great sleeper.
Oh, one other thing, the power cable from battery to the starter looks a little weedy, I helped a friend do an M50 conversion on an E30 3er and the amount of issues we had and it turned out the power cable just wasn't up to the job. Hugely infuriating.
Great project, well done.
Thanks for the support guys.Oh, one other thing, the power cable from battery to the starter looks a little weedy, I helped a friend do an M50 conversion on an E30 3er and the amount of issues we had and it turned out the power cable just wasn't up to the job. Hugely infuriating.
Great project, well done.
Yep that's right - it only really needed a hone to deglaze the bores so no real need to take it out, aswell as the fact that I didn't have an engine cradle so it was easier to work on in situ.
The cable is 4AWG which is pretty thick, I also have a high ampage audio battery (750a). People complain about the ampage drop in the 5m length cable although I haven't noticed any problems as of yet, bearing in mind I use it daily and the battery has been set up like that for the last 6 months.
The two people who have complained about that hesitation when starting up have both used 4AWG but one has used a racing battery (which loses charge very quickly when left) and the other person had a duff starter motor. Both of these people have changed their weak points and now don't have any more problems.
On a side note does anyone know how to change the topic title? This thread originally got moved because I posted a picture in my newbie thread.
minimatt1967 said:
Fair enough, glad it's working for you
Oh try 'reporting' one of your posts and in the comment box asking a mod. Erupt kindly to change the name of the thread. HTH
Cheers for that. Sorry about the missing photo links (photobucket have a monthly upload limit and I've reached it this month) they shouls reappear next month.Oh try 'reporting' one of your posts and in the comment box asking a mod. Erupt kindly to change the name of the thread. HTH
Joe

Gassing Station | Readers' Cars | Top of Page | What's New | My Stuff