
1976 Carlton Corsa Resto-Mod : Project RetroBike
Discussion


In terms of bike maintenance, having never done anything more than changing an innertube when I was 14, I decided to get an old road bike and do it up in a style I had in my head. This was a clean brushed steel finish (no paint), complete with whatever age related marks it had, brown saddle and tape.
I acquired a rusty 1976 Carlton Corsa for nothing; it hadn't moved for 20 years. I stripped it down to nuts and bolts, ground, cleaned and polished all the parts, bought new wheels and a saddle, stripped the frame, clear powdercoated (for protection) and re-built it.
It was a lot of work. I'm really pleased with the result and I've learned an awful lot. Just some setting up work to do now before a test ride.
Here are the before and after photos. I took almost 300 during the works, mainly so that I had some reference points when putting it back together.
Before and After Summary 1976 Carlton Corsa "Proj:RetroBike"
The full works Full Works
Here's just a few from the album link above
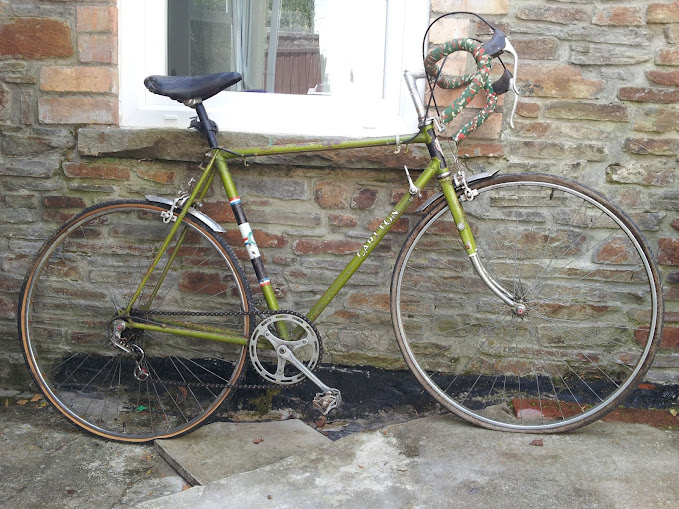
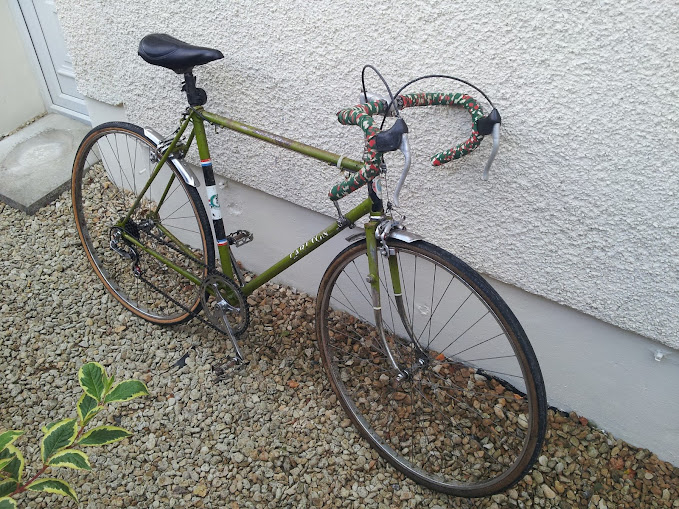
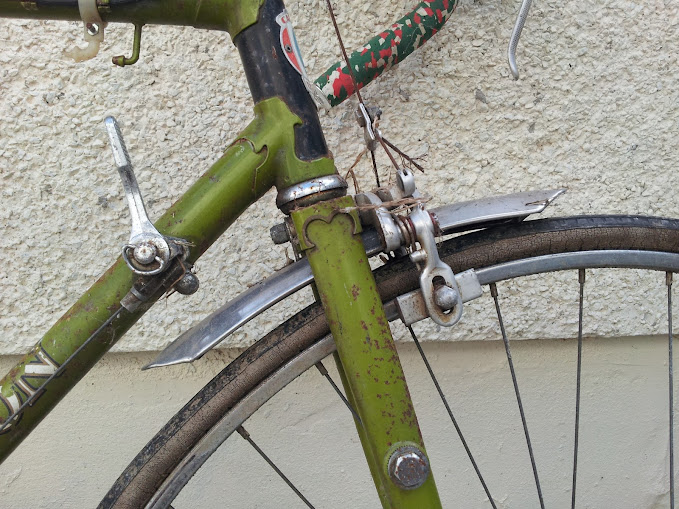
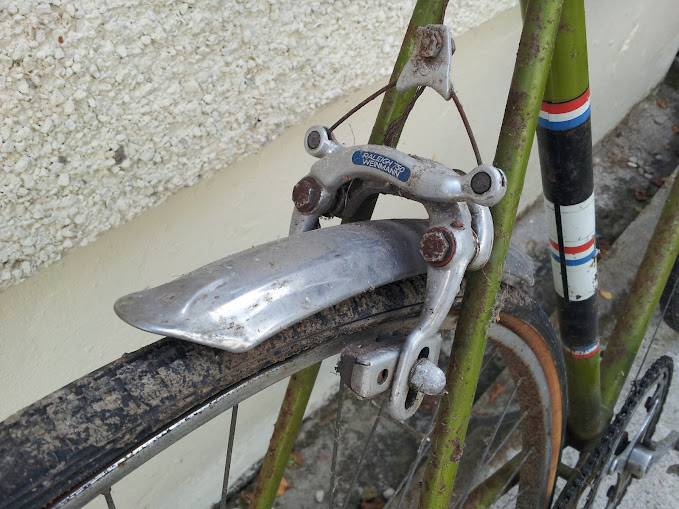
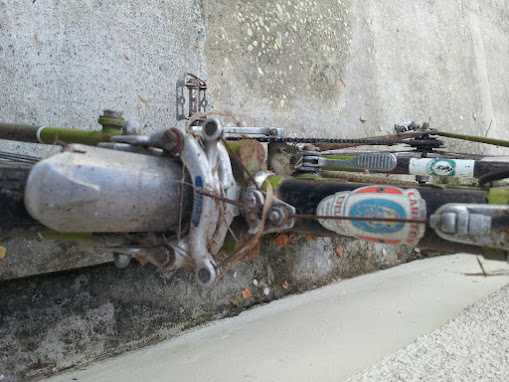
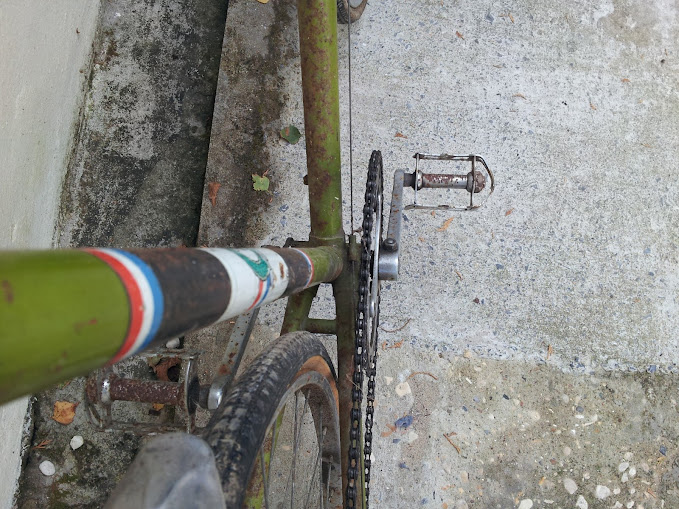
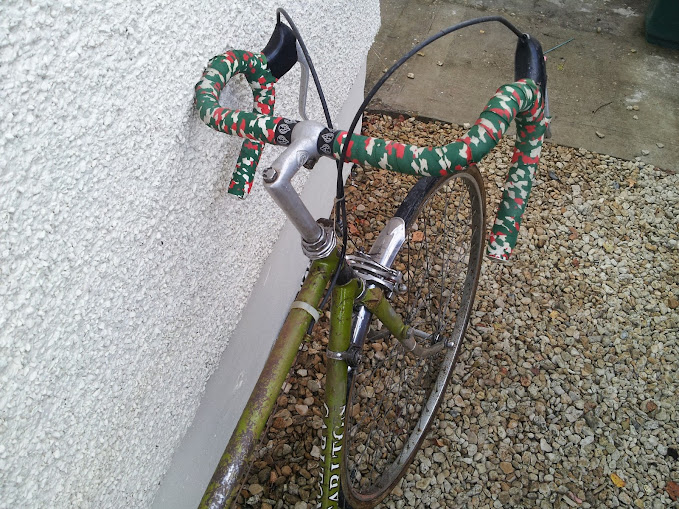
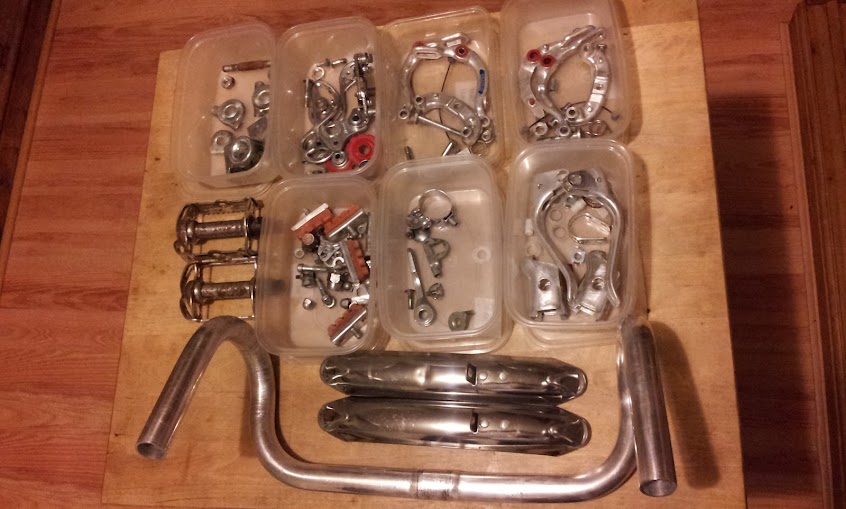
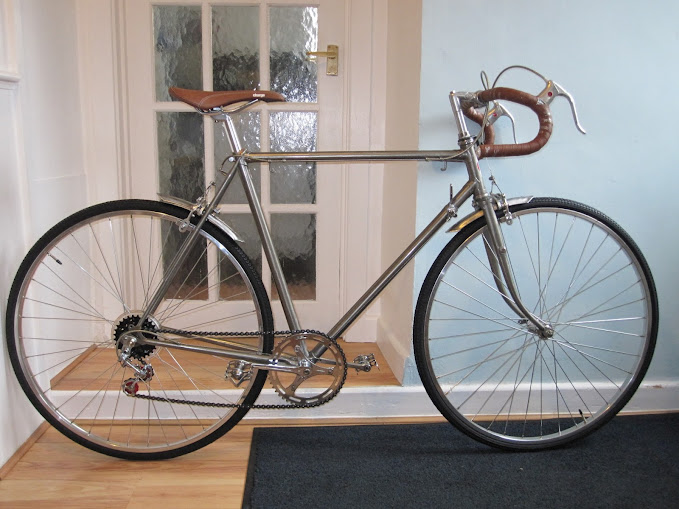
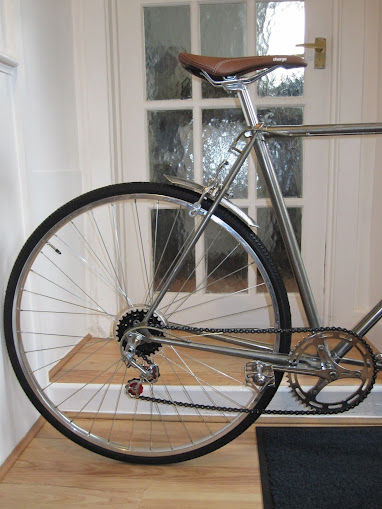
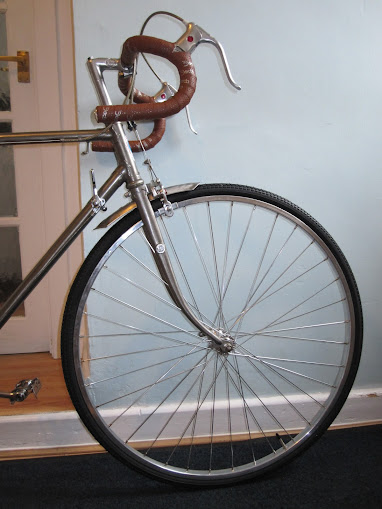
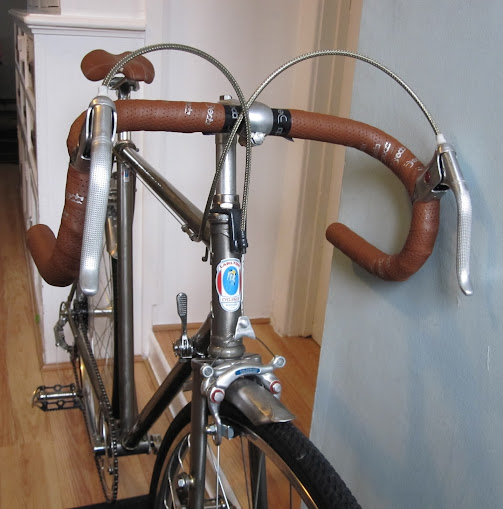
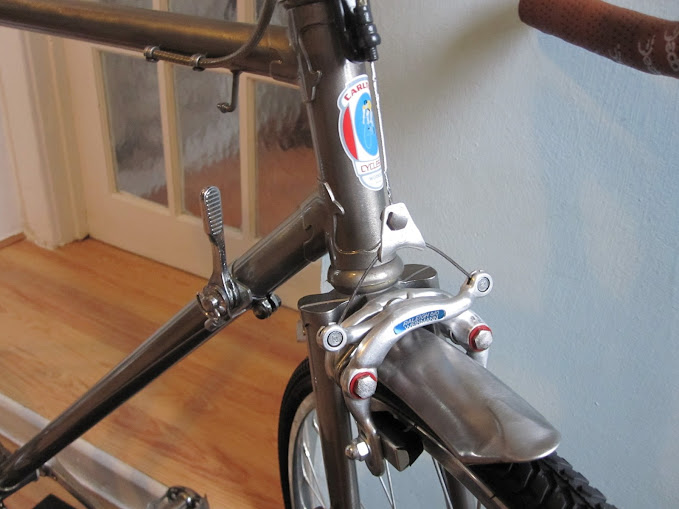
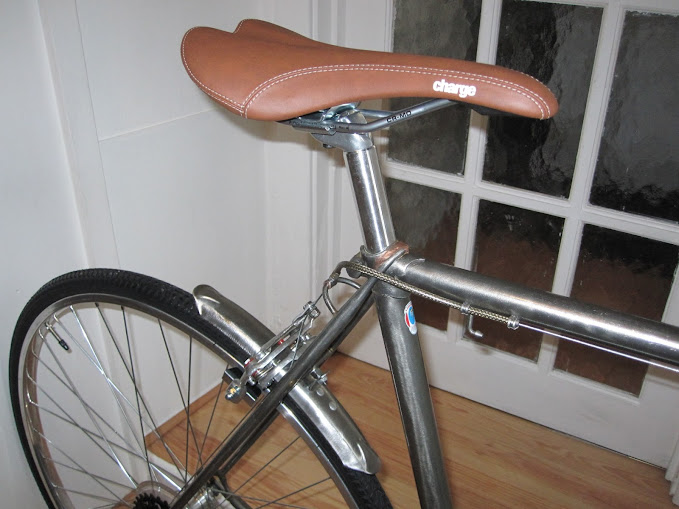
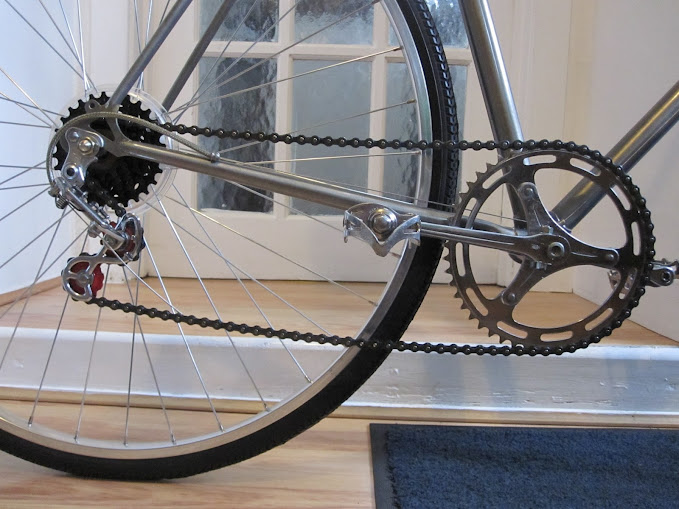
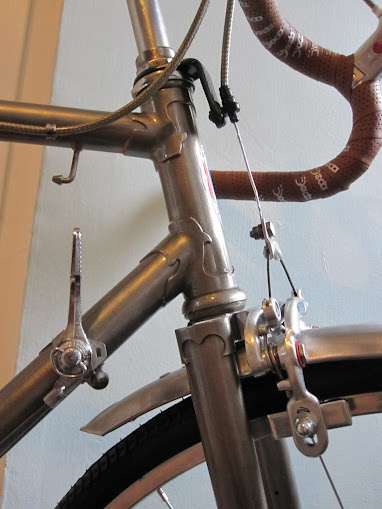
I acquired a rusty 1976 Carlton Corsa for nothing; it hadn't moved for 20 years. I stripped it down to nuts and bolts, ground, cleaned and polished all the parts, bought new wheels and a saddle, stripped the frame, clear powdercoated (for protection) and re-built it.
It was a lot of work. I'm really pleased with the result and I've learned an awful lot. Just some setting up work to do now before a test ride.
Here are the before and after photos. I took almost 300 during the works, mainly so that I had some reference points when putting it back together.
Before and After Summary 1976 Carlton Corsa "Proj:RetroBike"
The full works Full Works
Here's just a few from the album link above
Edited by iamrcb on Wednesday 10th October 21:30
joe58 said:
Your link doesn't work, but the bike is very smart. I would possible(to my possible vision)have put on a slim carbon seat and grey/ black bar tape. Technical to match the naked metal. Do like the braided brake tubes very much.
As this was very much a gamble/experiment, I needed to keep the costs to the bare minimum. I wanted brown saddle and tape and someone recommended a Charge Spoon, which suited my needs and was cheap.Edited by iamrcb on Wednesday 10th October 21:45
joe58 said:
Of course indeed, what did you soak the parts in to clean them?
Going by the state of my hands, they were soaked mainly in blood....A day in white spirit, just to get the grease off. Then in soapy hot water. Then in the dishwasher. Then used a wire wheel on a drill to remove the rust. Took days and days to do lots of parts, right down to washers.
I slapped some paint stripper on the frame, which didn't do a great deal. Then I had it sand blasted, which left an awful looking flat finish. Then I polished/brushed it with a wire wheel on a drill for days. Then had it clear powdercoated, which seems like a very tough finish.
I know its was/is a basic spec bike, but it was well worth the effort just for the lessons learned.
Edited by iamrcb on Wednesday 10th October 21:58
is this build over on retrobike?
http://www.retrobike.co.uk/
you've done a cracking job!
VERY NICE
here's my '84 raleigh resto!
http://www.pistonheads.com/gassing/topic.asp?t=117...
http://www.retrobike.co.uk/
you've done a cracking job!
VERY NICE
here's my '84 raleigh resto!
http://www.pistonheads.com/gassing/topic.asp?t=117...
slomax said:
is this build over on retrobike?
http://www.retrobike.co.uk/
you've done a cracking job!
VERY NICE
here's my '84 raleigh resto!
http://www.pistonheads.com/gassing/topic.asp?t=117...
Nice bike. Well done.http://www.retrobike.co.uk/
you've done a cracking job!
VERY NICE
here's my '84 raleigh resto!
http://www.pistonheads.com/gassing/topic.asp?t=117...
I'm going to sign up to retrobike
If you can find someone local who does powder coating (there's probably one on an industrial estate near you somewhere)then they can probably do it in a day or two for not a lot of cash. Its not like powder coating a car rollcage or chassis, they don't take a lot of time or materials.
Mine was done with rattle cans. Dont make the surface too smooth or the paint will never stick to it!!
I used an etching primer (couple of coats)
Then colour (4 or 5 light coats)
Then lacquer (3 coats)
Left it for a week then attacked it with some tcut to get it shiny.
There will be times when you go back and find flies, hairs and cracks in the paint, in this case the only solution is to rub back and do that area again....
Its a long and laborious task, if you can find someone who is willing to powdercoat it for around £40 i would snatch it up in an instant, all the work mine took, it seems like a bargain looking back now.
I used an etching primer (couple of coats)
Then colour (4 or 5 light coats)
Then lacquer (3 coats)
Left it for a week then attacked it with some tcut to get it shiny.
There will be times when you go back and find flies, hairs and cracks in the paint, in this case the only solution is to rub back and do that area again....
Its a long and laborious task, if you can find someone who is willing to powdercoat it for around £40 i would snatch it up in an instant, all the work mine took, it seems like a bargain looking back now.
IroningMan said:
Lovely stuff. I can testify to the sheer tedium of wire-brushing paint and rust off steel bike frames - I'm going to have burned through at least three wheels for the drill on my project:


mine will be painted black, though - I haven't the patience to send it off to be powdercoated.
That looks like a good jobmine will be painted black, though - I haven't the patience to send it off to be powdercoated.
I had mine blasted first, then had to polish/brush it up with the drill. It still took days and days. I used a little cordless drill (quieter), it was ok and the battery life lasted as long as the time I could spare, which was only and 3/4 of an hour in the night.
burriana said:
You NEED an old retro front light to go on those forks now 
Some of these may be pretty 'cool' if they're bright enough.http://copenhagenparts.com/products/magnetic-bike-...
Gassing Station | Pedal Powered | Top of Page | What's New | My Stuff