
Headlight refurbishment polish/kits
Discussion


We have a CRV that goes on like a champ, but the headlight covers are getting very cloudy, and really need some attention as winter looms.
Has anyone had any experience with the headlight refurbishment kits that are out on the market today, as far as I can see quite a few manufacturers have them available, 3M, Mothers and McGuires to name a few.
Then once cleaned up, does anyone have experience with replacing regular bulbs with higher output units, are there any issues with fuses etc?
Thanks in advance,
(Mods, if this is in the wrong area, apologies, please feel free to re-locate)
Has anyone had any experience with the headlight refurbishment kits that are out on the market today, as far as I can see quite a few manufacturers have them available, 3M, Mothers and McGuires to name a few.
Then once cleaned up, does anyone have experience with replacing regular bulbs with higher output units, are there any issues with fuses etc?
Thanks in advance,
(Mods, if this is in the wrong area, apologies, please feel free to re-locate)
They look like they would do the job.
What I've always done is got some wet and dry (1200, then got finer) and then used some G3 or whatever cutting compound I have lying around and they come up a treat everytime. (I am not a professional in anyway so I'm sure anyone could do it!)
Sore wrist though
What I've always done is got some wet and dry (1200, then got finer) and then used some G3 or whatever cutting compound I have lying around and they come up a treat everytime. (I am not a professional in anyway so I'm sure anyone could do it!)
Sore wrist though
HughesR1 said:
They look like they would do the job.
What I've always done is got some wet and dry (1200, then got finer) and then used some G3 or whatever cutting compound I have lying around and they come up a treat everytime. (I am not a professional in anyway so I'm sure anyone could do it!)
Sore wrist though
1200 grit Then T cut and finally silver polish. Took forever but nice and shiny. First time you will panic after the 1200 grit as it looks like it will be impossible to get shiny againWhat I've always done is got some wet and dry (1200, then got finer) and then used some G3 or whatever cutting compound I have lying around and they come up a treat everytime. (I am not a professional in anyway so I'm sure anyone could do it!)
Sore wrist though
Found this site
http://www.ehow.com/way_5567008_home-remedy-headli...
Had a go on my headlights the other day using the 3M kit.
Here's what they looked like when I bought the car:

Started off with the 500grit pads on the drill attachment:
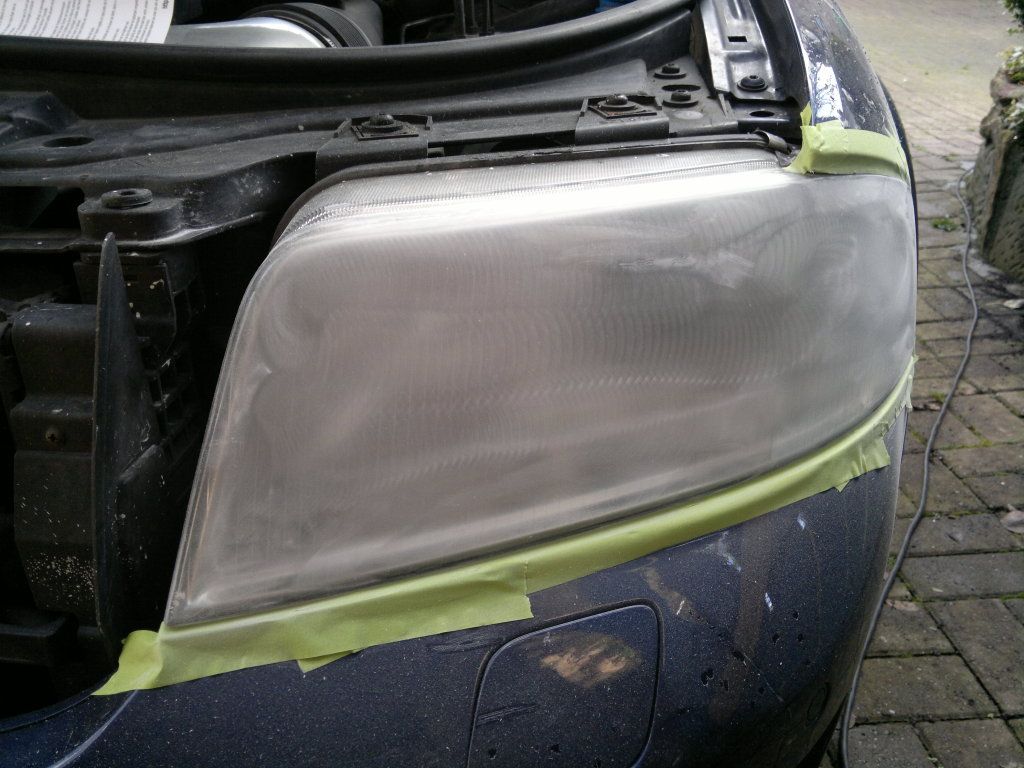
^^^at this point is where I started thinking what the hell have I done to some expensive headlamps!!!
Went up to 800 grit until the headlights were a lighter frost.
Then used the soft pad with a decent amount of water and started to look better:

Then finally the foam attachment with the cutting paste:
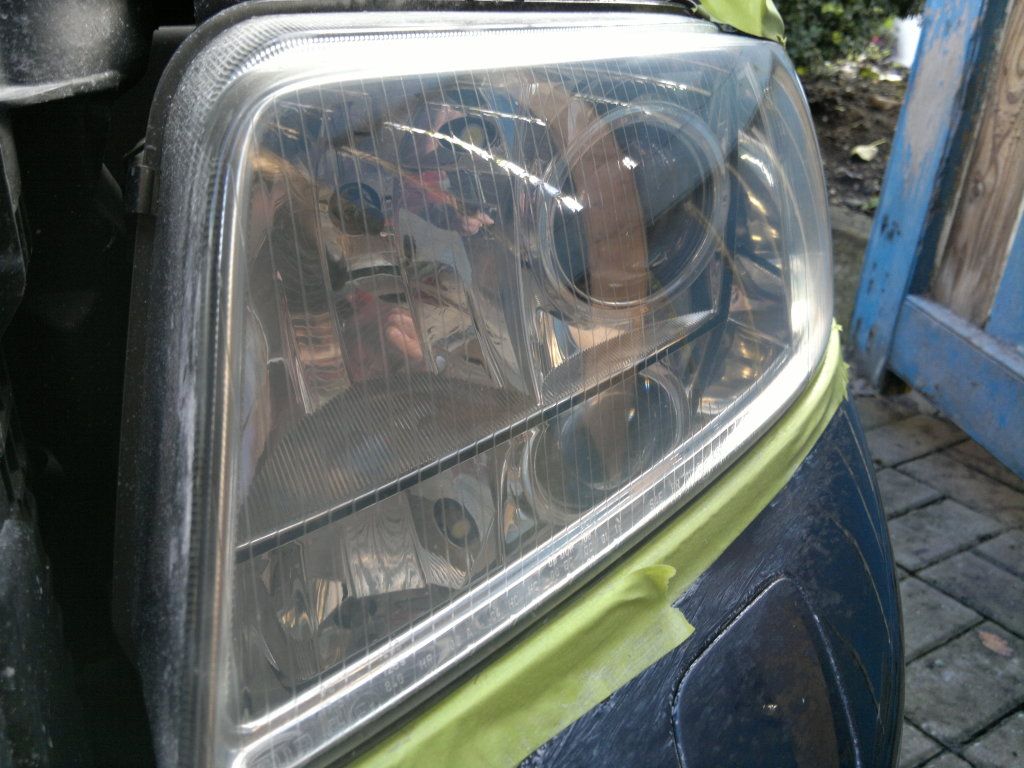
How they both look now:

Took me all of about 90 mins to do them both, just make sure they are well masked off and do not dwell on any areas at all otherwise it will overheat the polycarbonate and you'd be lucky to get that out. Overall I'm quite pleased with the outcome!
Here's what they looked like when I bought the car:
Started off with the 500grit pads on the drill attachment:
^^^at this point is where I started thinking what the hell have I done to some expensive headlamps!!!
Went up to 800 grit until the headlights were a lighter frost.
Then used the soft pad with a decent amount of water and started to look better:
Then finally the foam attachment with the cutting paste:
How they both look now:
Took me all of about 90 mins to do them both, just make sure they are well masked off and do not dwell on any areas at all otherwise it will overheat the polycarbonate and you'd be lucky to get that out. Overall I'm quite pleased with the outcome!
I did the same last night to my 2000 A6 difference was like night and day...... Can't beleive the FIL (who gave us the car) could have seen anything in the dark before, I could not even see the bulbs when looking down on the lights before I started!
I used Menzerna PF2500 Followed by the 4000 and they look almost like new now.
I used Menzerna PF2500 Followed by the 4000 and they look almost like new now.
Ug_lee said:
Had a go on my headlights the other day using the 3M kit.
Here's what they looked like when I bought the car:
Started off with the 500grit pads on the drill attachment:
^^^at this point is where I started thinking what the hell have I done to some expensive headlamps!!!
Went up to 800 grit until the headlights were a lighter frost.
Then used the soft pad with a decent amount of water and started to look better:
Then finally the foam attachment with the cutting paste:
How they both look now:
Took me all of about 90 mins to do them both, just make sure they are well masked off and do not dwell on any areas at all otherwise it will overheat the polycarbonate and you'd be lucky to get that out. Overall I'm quite pleased with the outcome!
Here's what they looked like when I bought the car:
Started off with the 500grit pads on the drill attachment:
^^^at this point is where I started thinking what the hell have I done to some expensive headlamps!!!
Went up to 800 grit until the headlights were a lighter frost.
Then used the soft pad with a decent amount of water and started to look better:
Then finally the foam attachment with the cutting paste:
How they both look now:
Took me all of about 90 mins to do them both, just make sure they are well masked off and do not dwell on any areas at all otherwise it will overheat the polycarbonate and you'd be lucky to get that out. Overall I'm quite pleased with the outcome!
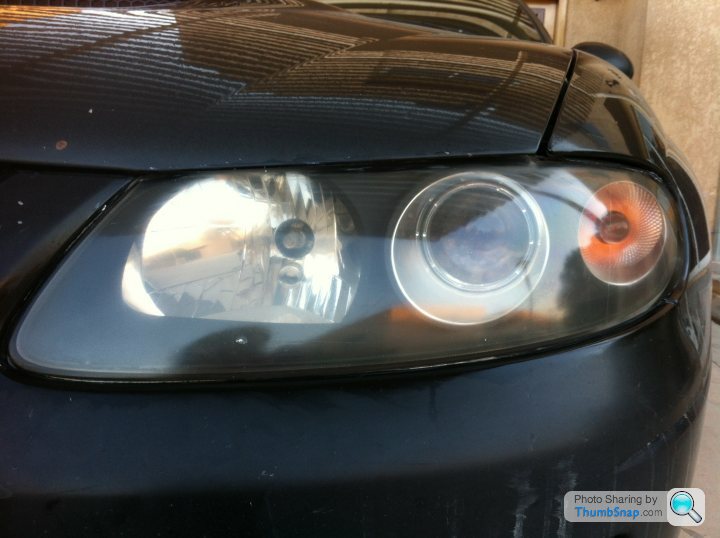
Did similar on my old shed. 800/1200/2000 grit wet and dry (used wet), then homemade mild abrasive (bicarbonate of soba and salt) in a paste. Then polish. Worked well, they they were really yellow after being attacked by fly remover spray that was supposed to be save for use on headlamps...


Gassing Station | Readers' Cars | Top of Page | What's New | My Stuff