Bottom Bracket removal
Author
Discussion

Rocksteadyeddie

Original Poster:

7,971 posts

256 months

Sunday 4th November 2012
quotequote all
This is what I was left with after 5 HOURS of struggle to get the damn thing out. It hasn't been out for as long as I can remember, and wIll now need the threads re-chased at a minimum. I now have a sore hand from where I belted it with the hammer a few times.


N.B. In no way should this be construed as maintenance advice!

Rocksteadyeddie

Original Poster:

7,971 posts

256 months

Sunday 4th November 2012
quotequote all
Yes..... Well......

okgo

42,128 posts

227 months

Sunday 4th November 2012
quotequote all
Buy cheap buy twice.

Rolls

1,502 posts

206 months

Sunday 4th November 2012
quotequote all
Would have been easier putting the BB edge in a vice, and using the frame as the "lever" I'd have thought!

Hope you've not done too much damage!

MadDad

3,835 posts

290 months

Monday 5th November 2012
quotequote all
Fairly sure there is a justification for a new bike in that picture...... wink

Rocksteadyeddie

Original Poster:

7,971 posts

256 months

Monday 5th November 2012
quotequote all
Rolls said:
Would have been easier putting the BB edge in a vice, and using the frame as the "lever" I'd have thought!

Hope you've not done too much damage!
This was stage 2 in what turned out to be a 5 stage process. It didn't work.

Rocksteadyeddie

Original Poster:

7,971 posts

256 months

Monday 5th November 2012
quotequote all
I know, I know. It shouldn't have been a big job though.

Ironically it was a maintenance task rather than a "must do".

IroningMan

10,598 posts

275 months

Monday 5th November 2012
quotequote all
swerni said:
Stage 1. - take to man in shop
Stage 2. - go out on other bike when it's being fixed.
Stage 3. - collect bike.
It is the duty of the wealthy man
To give employment to the artisan.

Catchme

169 posts

242 months

Monday 5th November 2012
quotequote all
Look like you may be 'going Italian' in the near future....

I've been lucky with one or two of my 70's rebuilds in not having to deal with that nightmare. I use copper grease when re-threading. Anyhow, You've probably buggered the whole thing, so just buy a new bike....

Digga

48,126 posts

312 months

Monday 5th November 2012
quotequote all
Brings a whole new meaning to the term "eccentric bottom bracket". hehe

sleep envy

62,260 posts

278 months

Monday 5th November 2012
quotequote all
Any pics of what it looked like once you'd cleaned & greased it and put it all back together?

I think it might trap some grit, just a hunch.

Rocksteadyeddie

Original Poster:

7,971 posts

256 months

Monday 5th November 2012
quotequote all
sleep envy said:
Any pics of what it looked like once you'd cleaned & greased it and put it all back together?

I think it might trap some grit, just a hunch.
The glue is drying.... wink

sleep envy

62,260 posts

278 months

Monday 5th November 2012
quotequote all
Careful you don't cross thread it.

Rocksteadyeddie

Original Poster:

7,971 posts

256 months

Monday 5th November 2012
quotequote all
I'll be using the small hammer for installation so I'd have to be really ham fisted to cross thread it


Digga

48,126 posts

312 months

Monday 5th November 2012
quotequote all
I think the picture caption should have been "I;ve got my bottom bracket in peices - now how do I put it back together?"

Rocksteadyeddie

Original Poster:

7,971 posts

256 months

Monday 5th November 2012
quotequote all
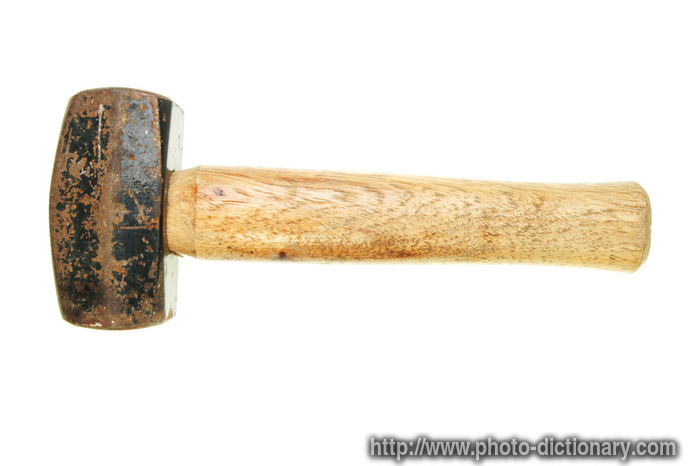
Here are some of the choice tools used in this precision job....


Apologies for crappy Iphone pic

sleep envy

62,260 posts

278 months

Monday 5th November 2012
quotequote all


Park have recently released a new BB removal tool.

Digga

48,126 posts

312 months

Monday 5th November 2012
quotequote all
sleep envy said:


Park have recently released a new BB removal tool.
Meh, too slow. And not enough fragmentation.


yellowjack

18,443 posts

195 months

Monday 5th November 2012
quotequote all
Digga said:
sleep envy said:


Park have recently released a new BB removal tool.
Meh, too slow. And not enough fragmentation.

Meh!

Too indiscriminate. Needs something a little more 'targeted'


The Charge Demolition No 14 (Hayrick) is a linear shaped charge unit filled with 5.3 kg of high explosive primed with a powerful HE booster unit to ensure good performance. The charges can be used individually or as a ‘necklace’ of five units. A kit consists of five Hayrick units plus links and clamps for attaching the ‘necklace’ to the target. Initiation is usually by the detonating cord passed through the hole in the priming pellet.

For something with a little more finesse, and far more 'James Bond', try this:


RDX based paste explosive for special blasting and demolition work. Utilisation of paste explosives proves to be especially advantageous in difficult to access places, and in EMOE (explosive method of entry). Surely that's the very definition of a stubborn bottom bracket wink

Digga

48,126 posts

312 months

Monday 5th November 2012
quotequote all
yellowjack said:


RDX based paste explosive for special blasting and demolition work. Utilisation of paste explosives proves to be especially advantageous in difficult to access places, and in EMOE (explosive method of entry). Surely that's the very definition of a stubborn bottom bracket wink
Difficult access - I take it from the shape of the applicator you can shift haemorroids with the stuff?