
My 996.2 GT3 Club Sport
Discussion


*** update on page 5 ***
After selling my much loved Impreza WR1 back in November...
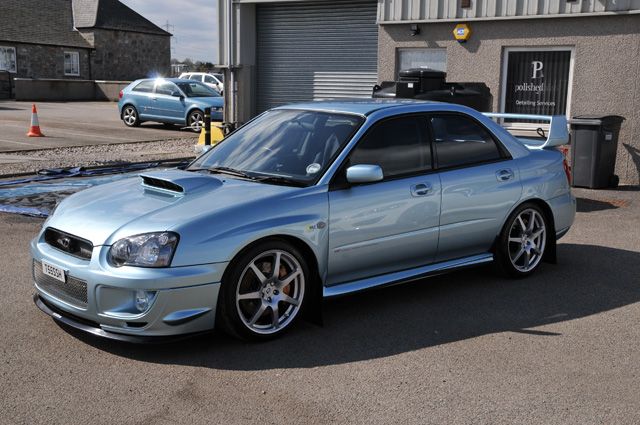
...This allowed me to start the long (or at least so I thought)search for it's replacement. What I was after was a Porsche 996 Mk2 GT3 Club Sport and it had to be in either Speed Yellow or Guards Red....
However approximately a week later a member on one of the Porsche forums contacted me saying he was moving to France in the summer and as a result his much pampered Club Sport was potentially available. It wasn't Yellow or Red but after getting full details of the car and sending a much respected Professional Detailer round to inspect it for me a deal was done - the car was just too good to miss!
Brief spec of the car was as follows:
- Just over 11,000 miles!
- Litronic Headlights.
- Porsche Ceramic Composite Brakes (PCCB)
- AC/Climate Control.
- FPSH.
- RS Air Intake.
- PARR Fast Road Set Up.
So the following weekend and after nervously watching the weather forecast as the snow continued to come and go my Dad and I flew down to sussex to collect the car. We couldn't have been more fortunate with the weather as it stayed completely dry 99% of the journey home except for a bit of rain at Birmingham and Glasgow.
Once I got it home on the Saturday evening I gave it a thorough rinse off just to get rid of the majority of dirt until the next morning.
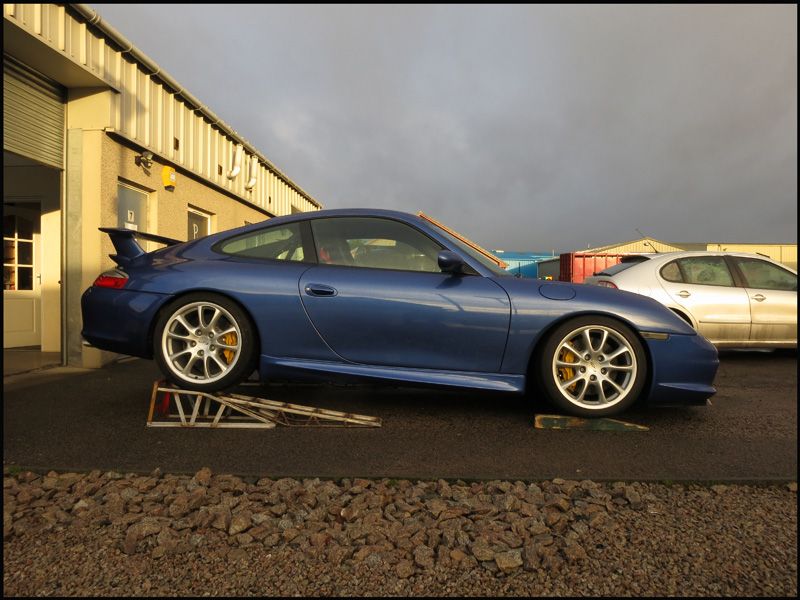
Sunday AM arrived and I was back at work as soon as it was light enough to get the car washed and get the underside all cleaned to remove any road salt:
Luckily the underside was still pretty clean so a good going over with a citrus degreaser was sufficient:
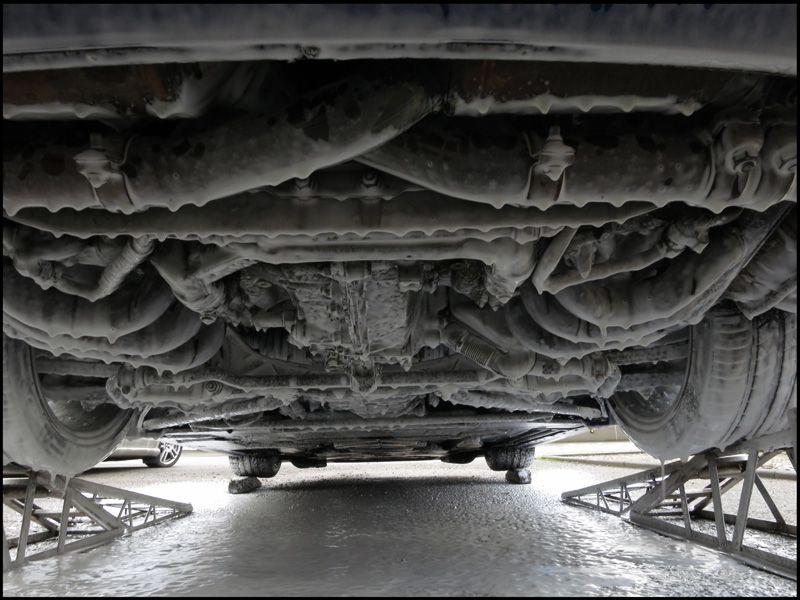
The plan is to get the underside completely sealed and protected with an undercarriage wax but the existing protection is still very good so that's for another day and another write up entirely!
From here on in not everything may have been done in this order but as the work was carried out over the last 3 weeks or so it's easier to read if I do it in this way
The wheels were removed to give the arches a quick going over to remove the worst of the dirt before paying more attention to them inside:
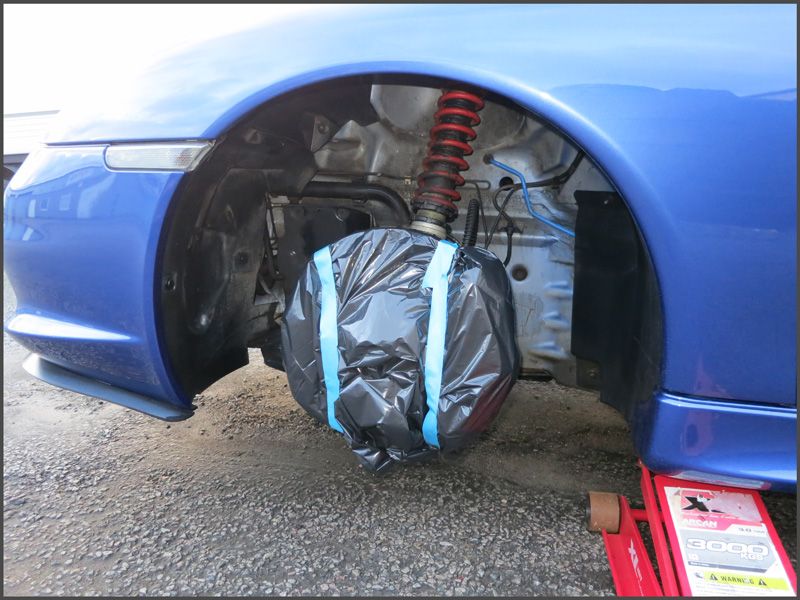
A combination of road grime and old wax protection applied from the factory detracted from the look:
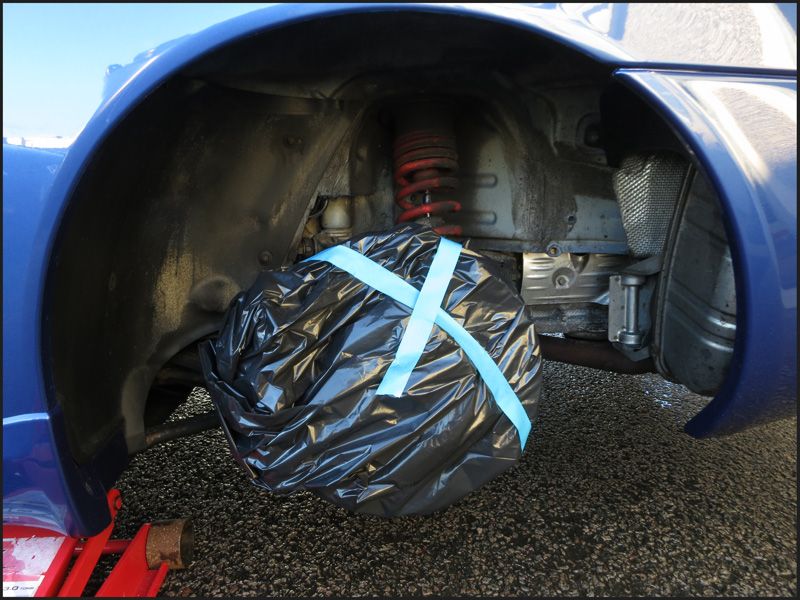
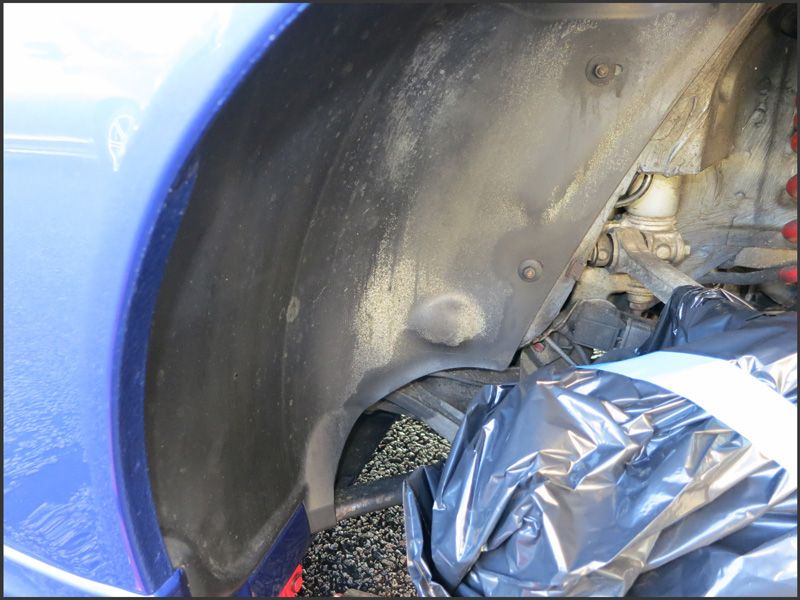
So after a thorough degrease and old wax removed with a tar and glue remover the arches were ready to be sealed with a new coating.
Masked up to prevent any overspray landing on the car:
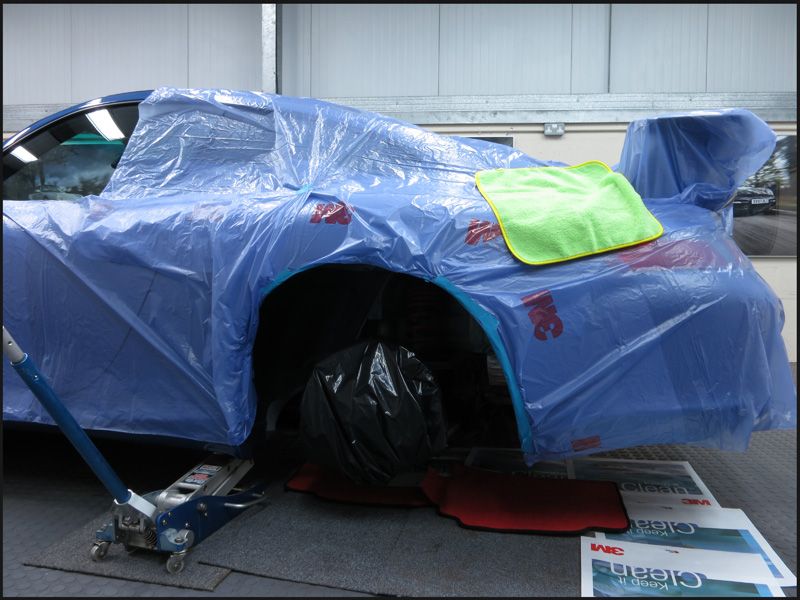
After a bit of research it seemed Bilt Hamber's Dynax UC was what I was after:
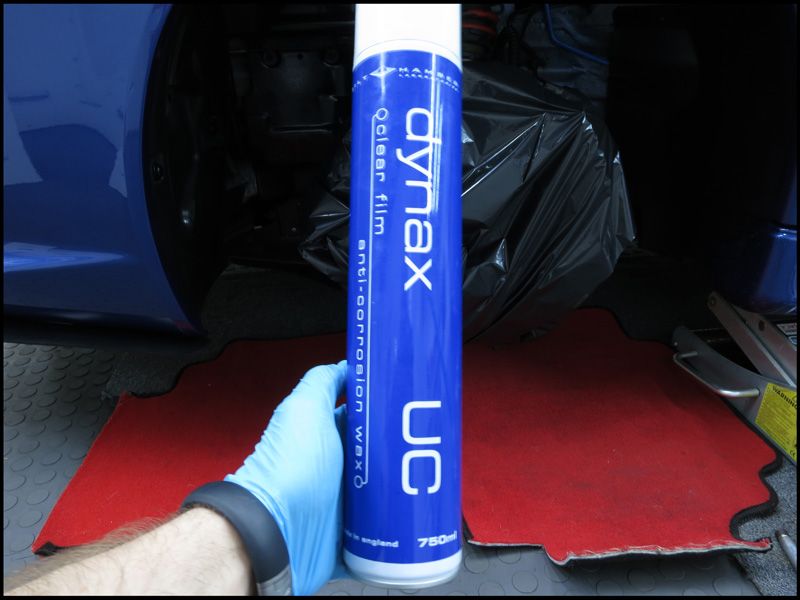
I'm not a fan of Black or Brown wax oil type products so with the Dynax UC's completely transparent appearance and corrosion inhibitors it seemed to be the perfect choice.
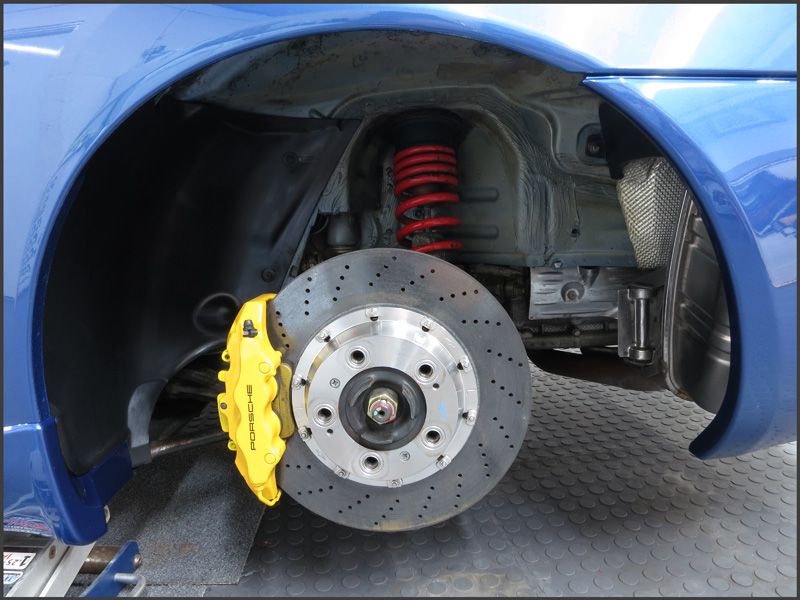
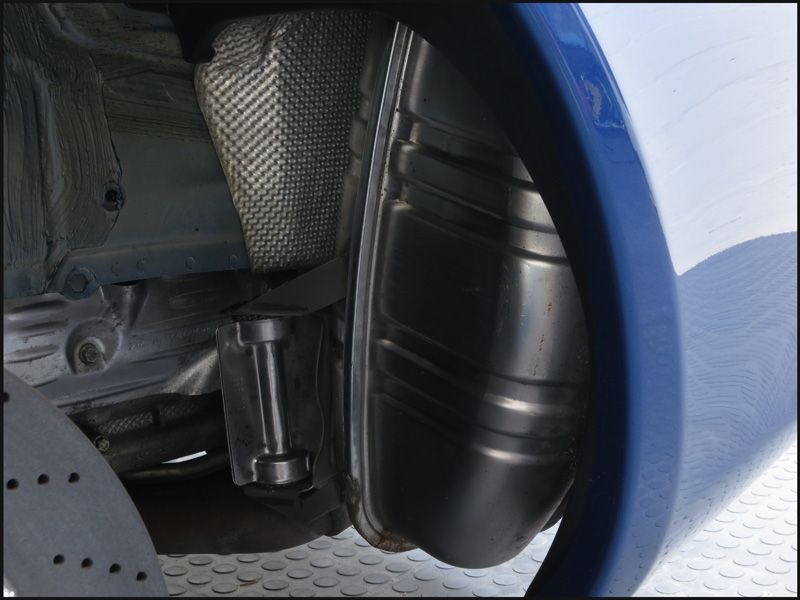
Rear arch after a bit of polishing and application of the Dynax (I'm going to have to sort the flaking paint on the springs as it's driving me mad!):
Front arch done:
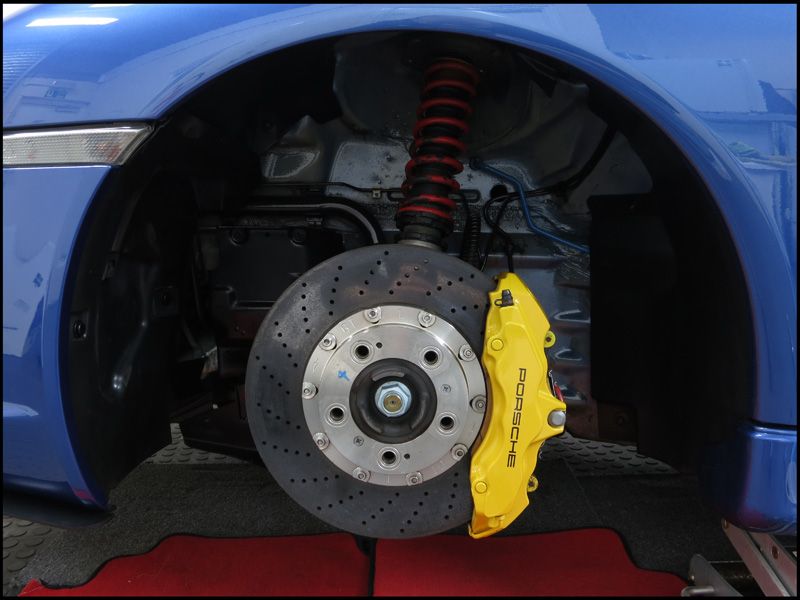
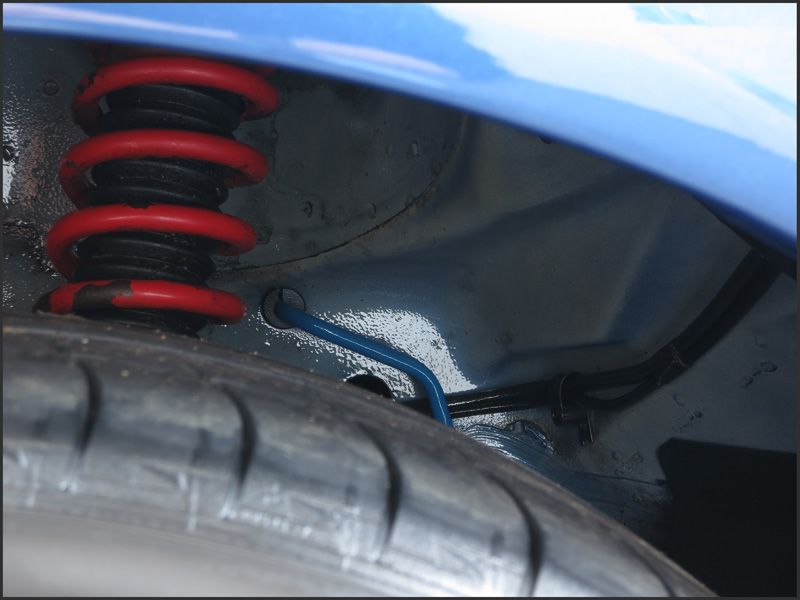
This pic shows the wax approx 10 minutes after application (3 thin-ish coats) - now that it's dried completely you can't even tell it's been applied:
Now onto the discs and calipers:
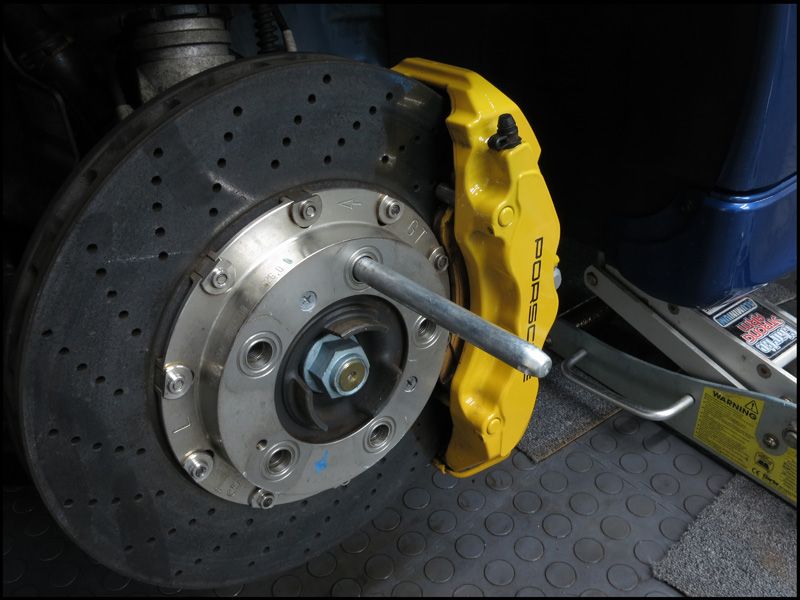
The long rod is one of Porsche's wheel removal tools which prevents the wheel from chipping those pricey discs. I ordered a 2nd one for extra safety and they really are such a simple but effective thing to have, especially for the rear wheels which are substantially wider than the fronts
The centres were slightly dull and had a bit of water spotting but a bit of light polishing with some metal polish did the trick:
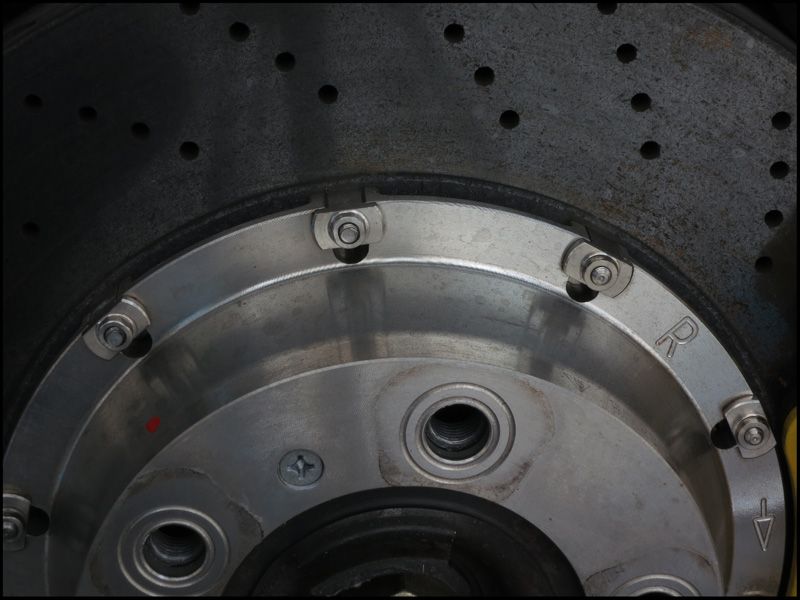
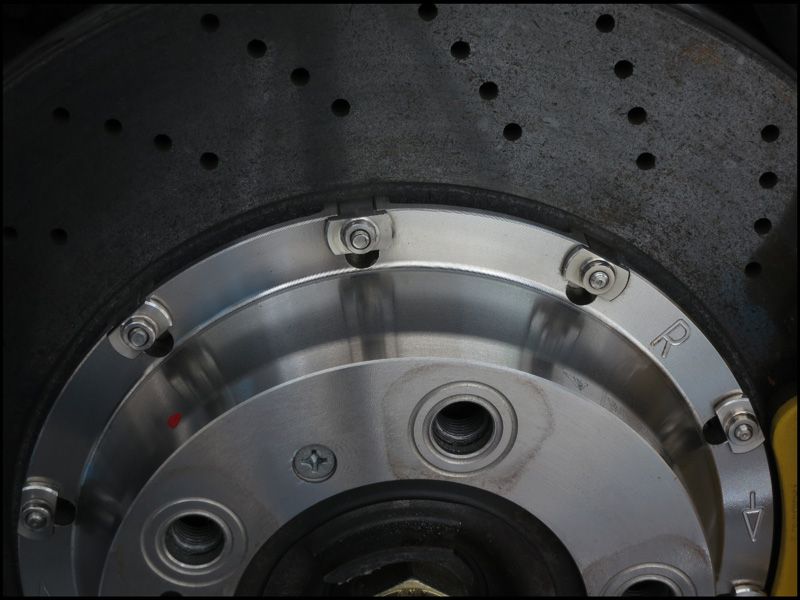
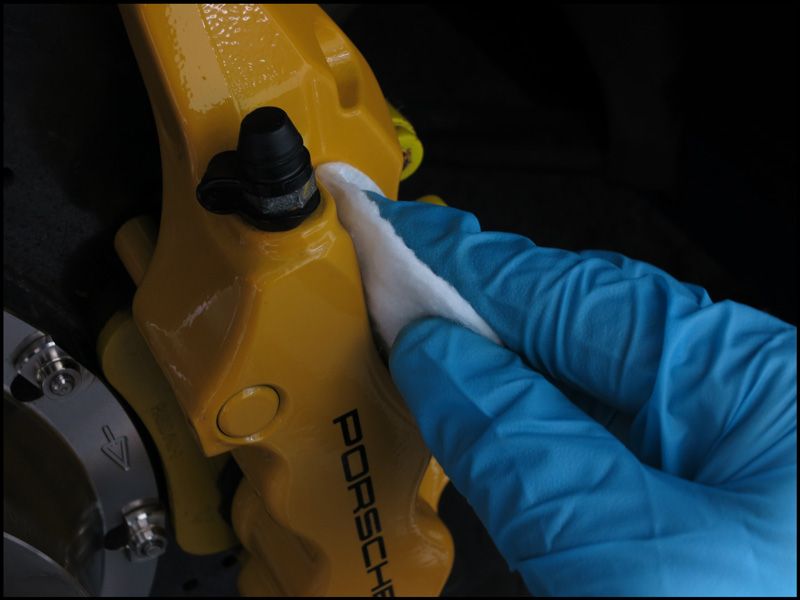
The calipers were then cleaned with IPA...
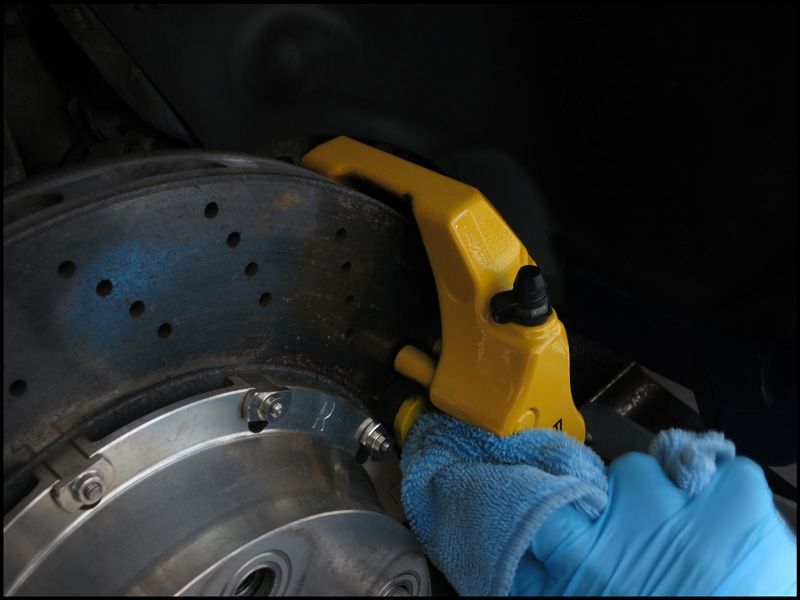
...and then sealed with a glass coating:
Same coating also applied to the wheels while they were off:
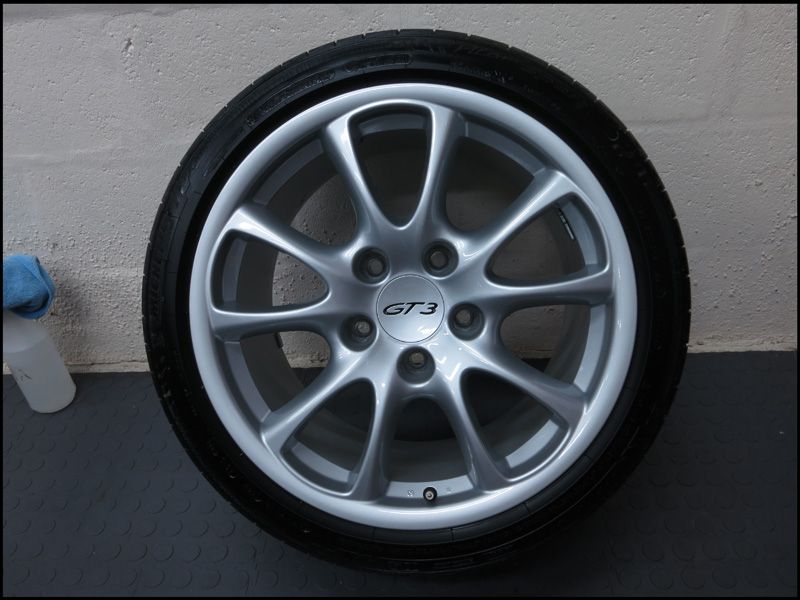
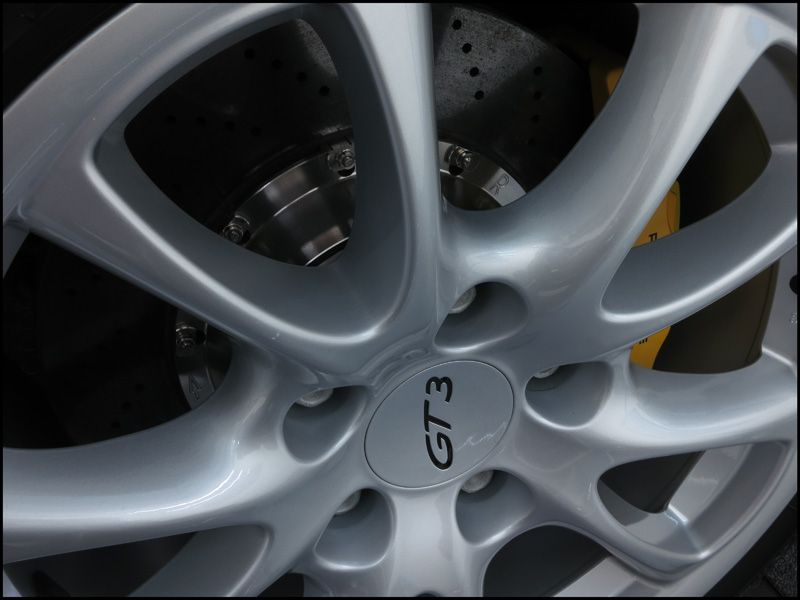
Back on and looking good!
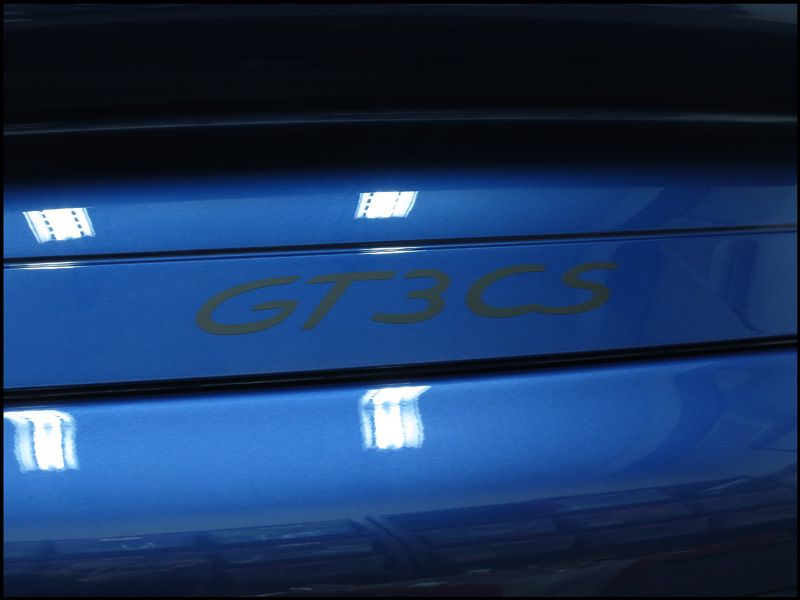
With the wheels and arches sorted it was then time to sort the paintwork out. First of all I removed the GT3 badge to allow for polishing behind:
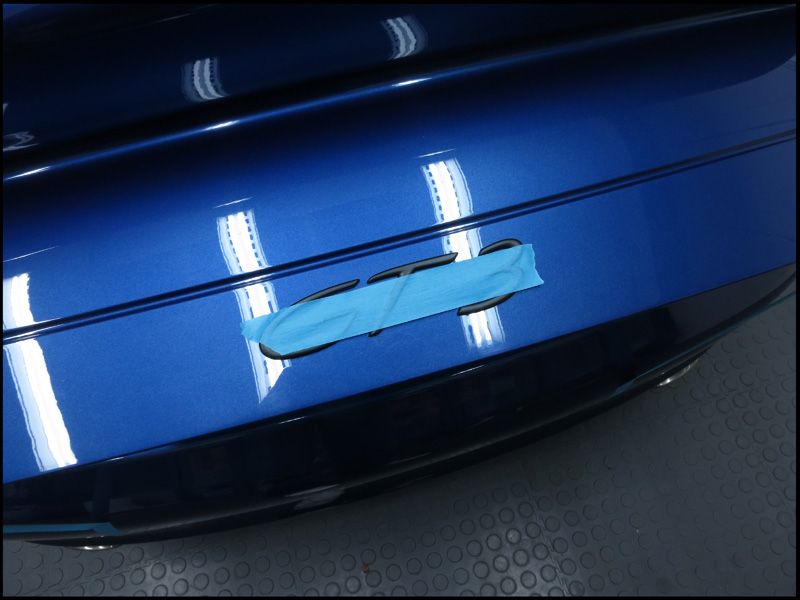
A line of tape accross the letters before removing keeps the spacing correct if you plan to re-use it.
I later fitted a Club Sport Decal instead as it makes cleaning easier and saves a bit of weight
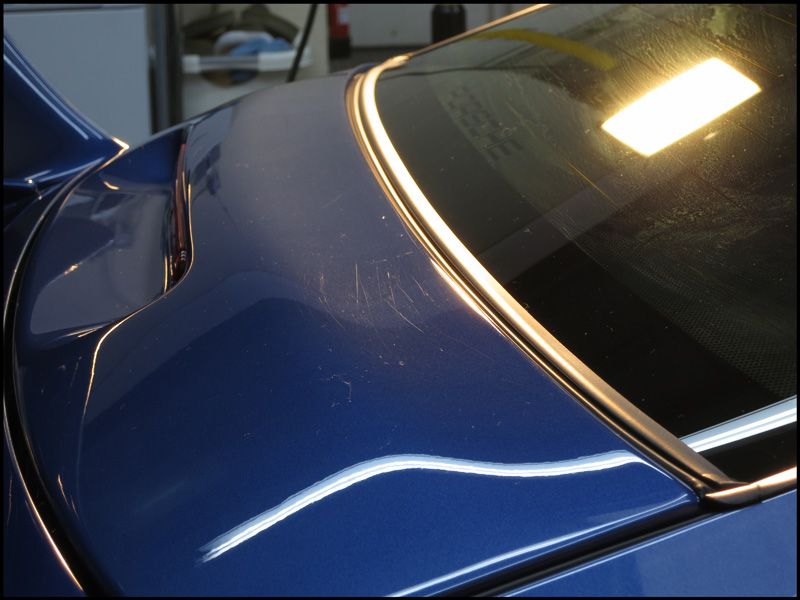
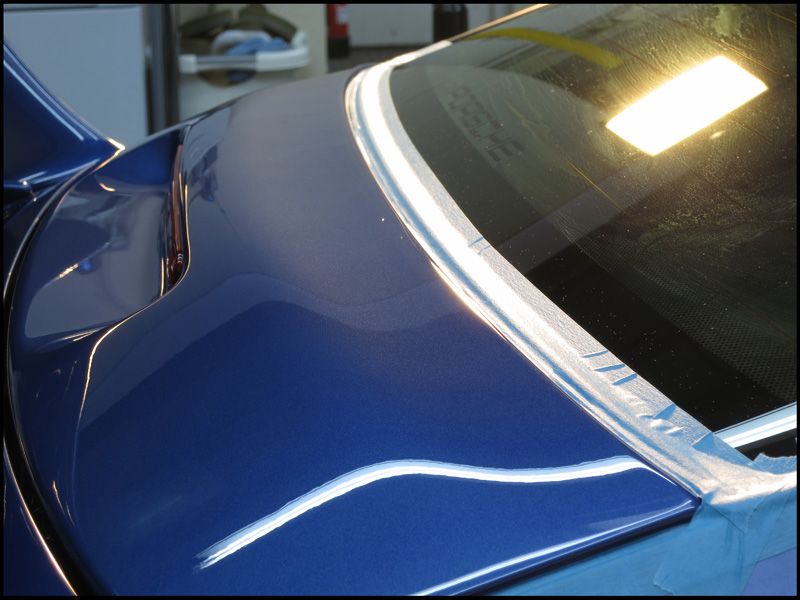
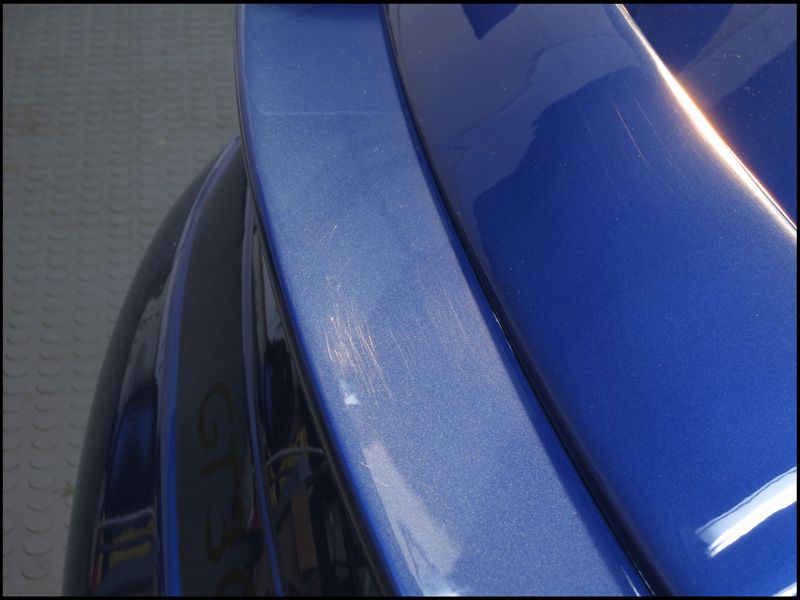
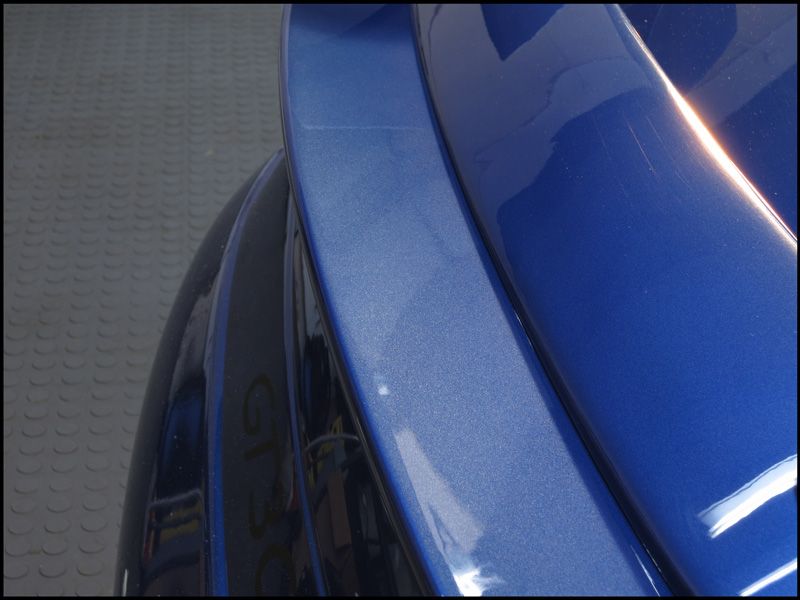
Overall, for a car that had never seen any paint correction before (the paint is all original too except for the air intake on the engine lid) the paintwork was in pretty good condition with just the odd collection of random scratches here and there.
The paint was really sticky (common theme with Porsches and especially the 996's) but fortunately this usually means the paint is easily corrected as sticky paints tend to be on the soft side. As a result, even the deeper marks were easily removed with the DA machine.
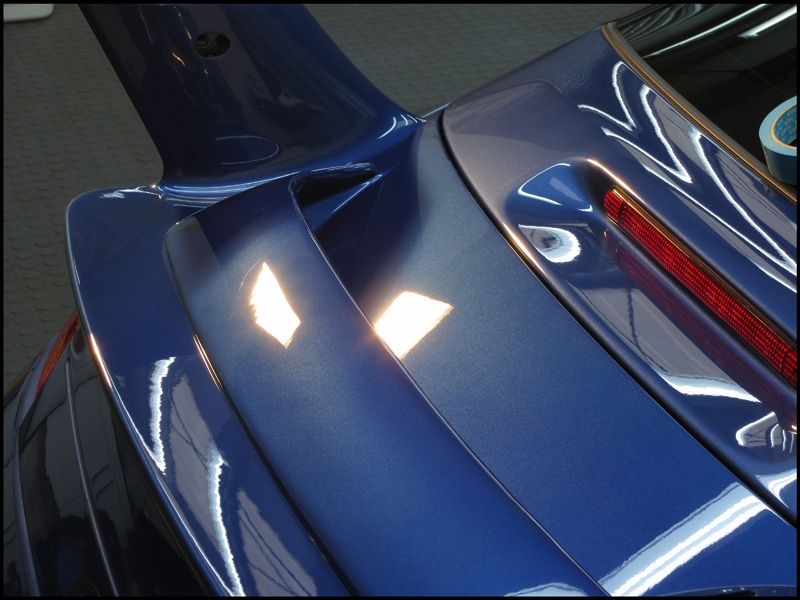
A few progress shots:
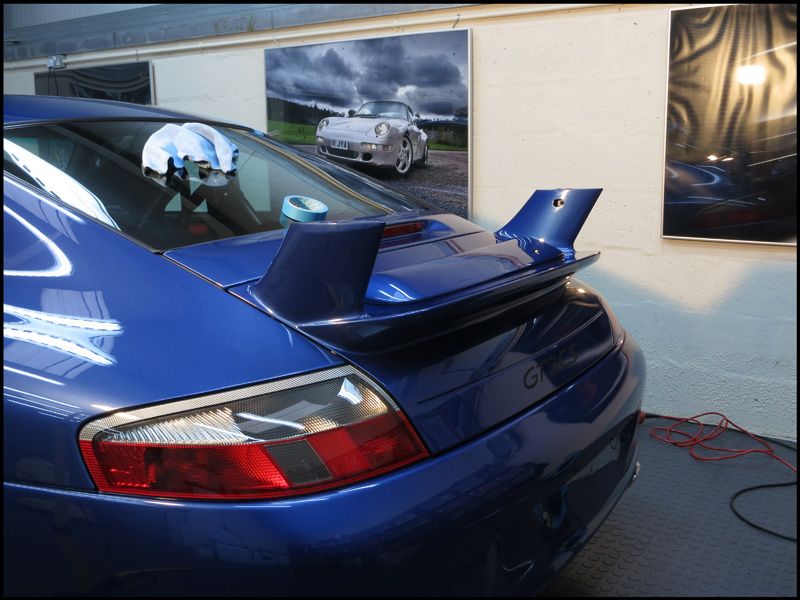
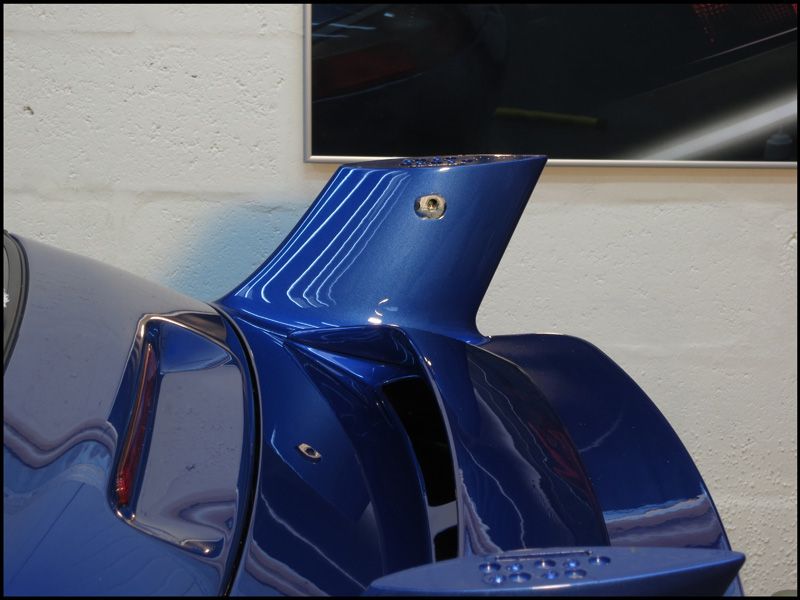
Rear wing removed to gain access underneath:
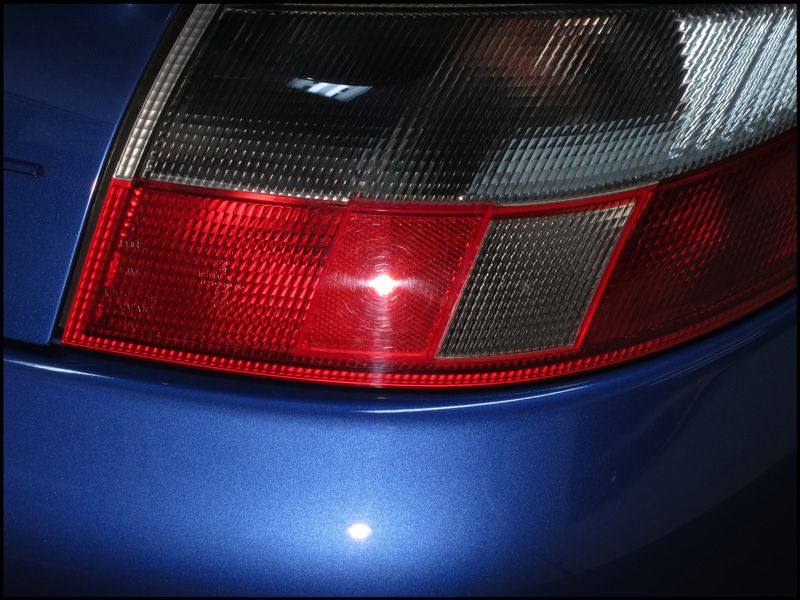
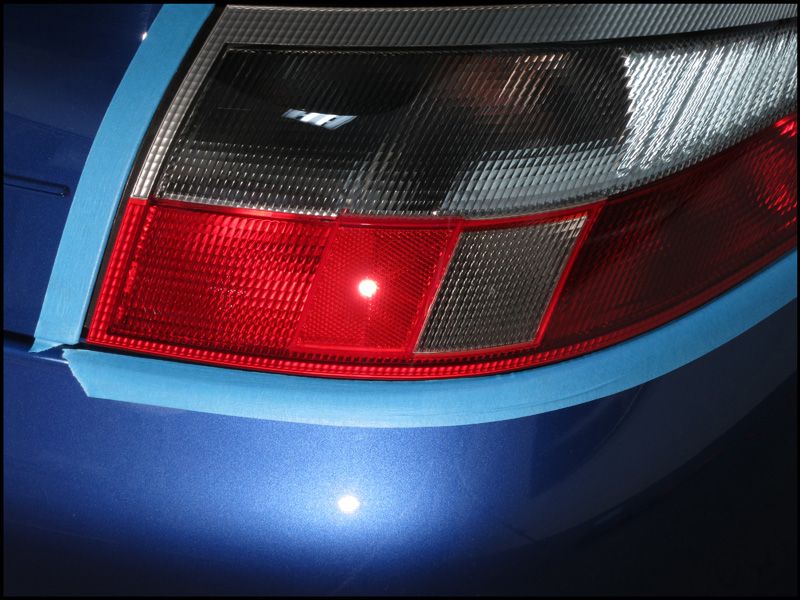
Rear light clusters before and after:
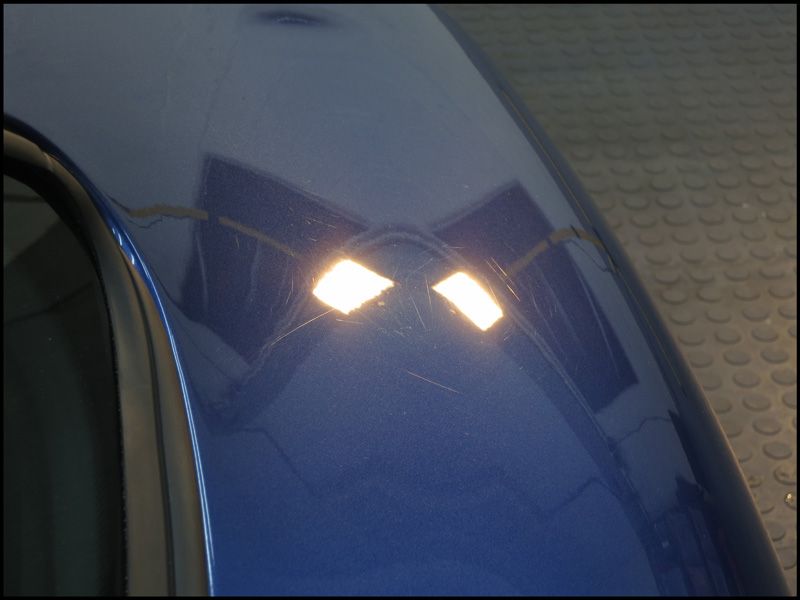
Rear quarter before and after:
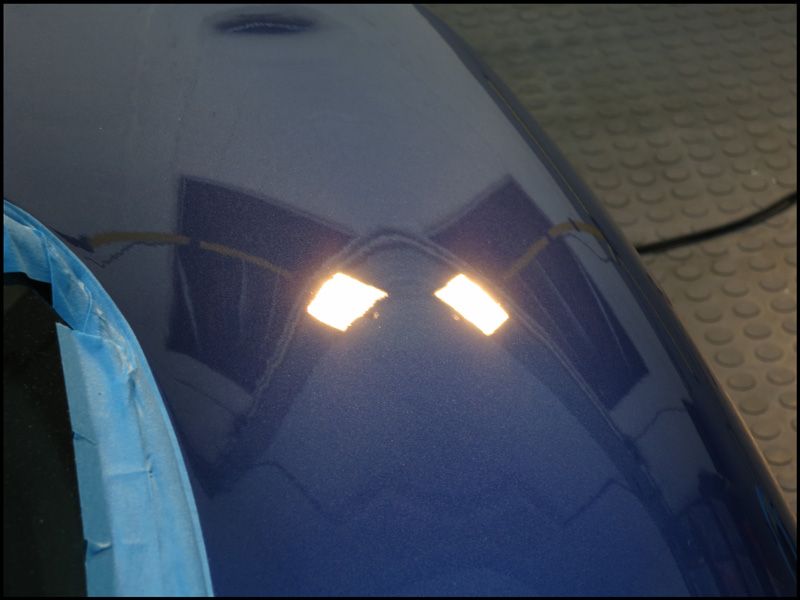
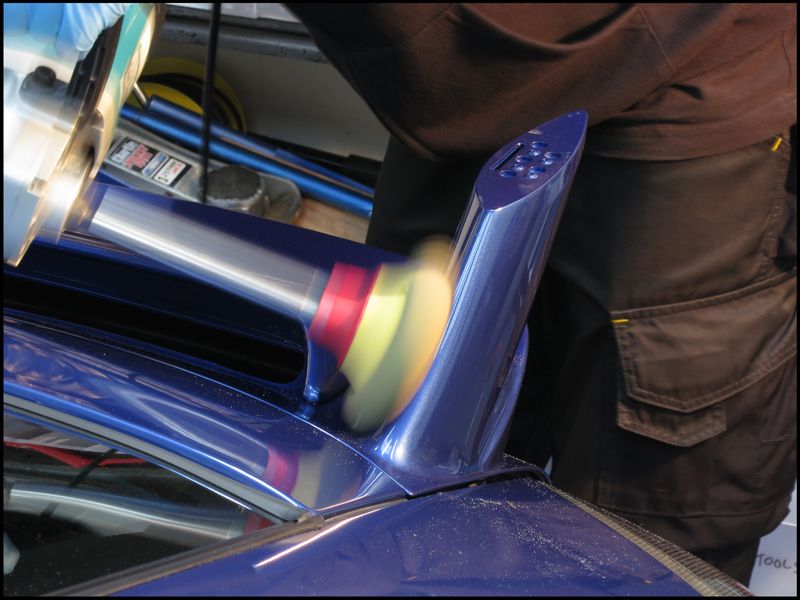
The plastic panels of the car were slightly tougher so a Microfibre cutting system was used:
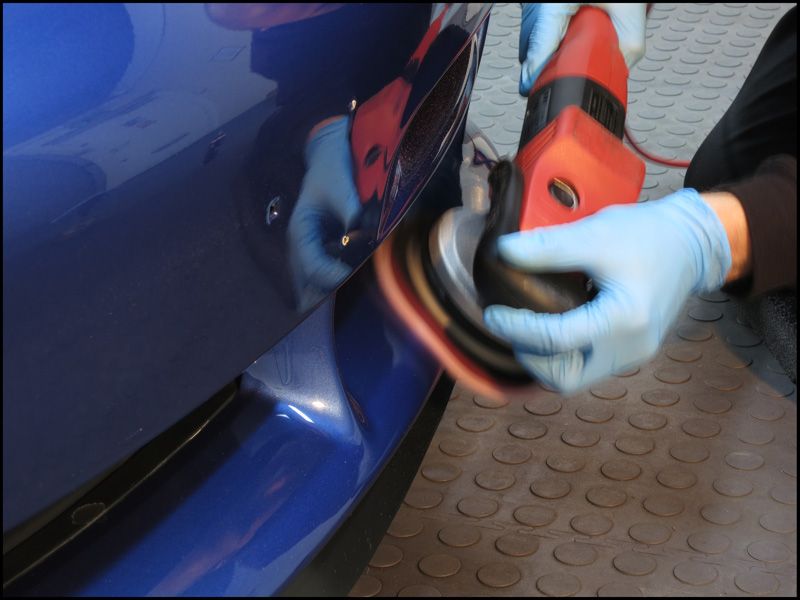
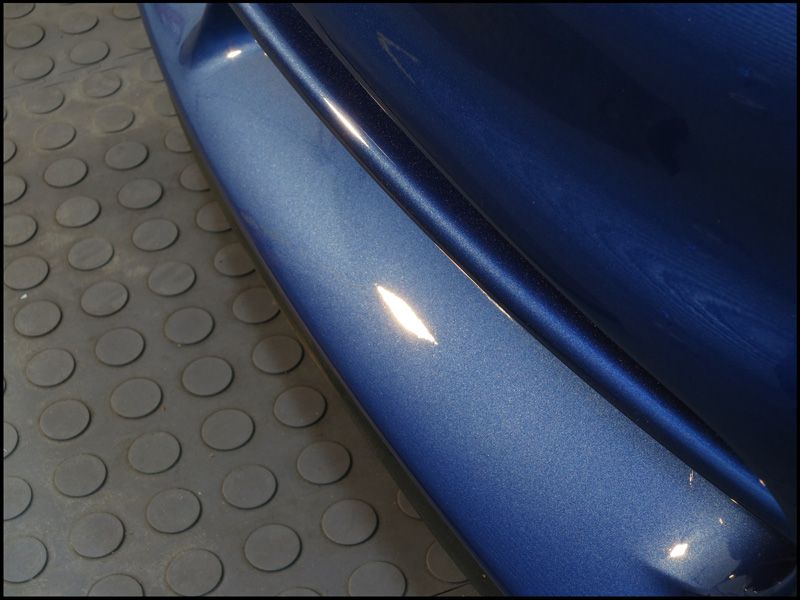
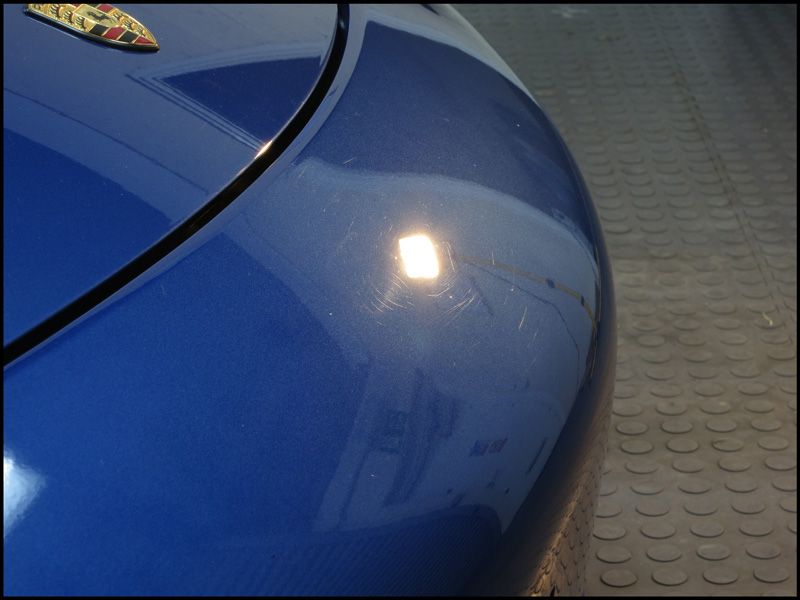
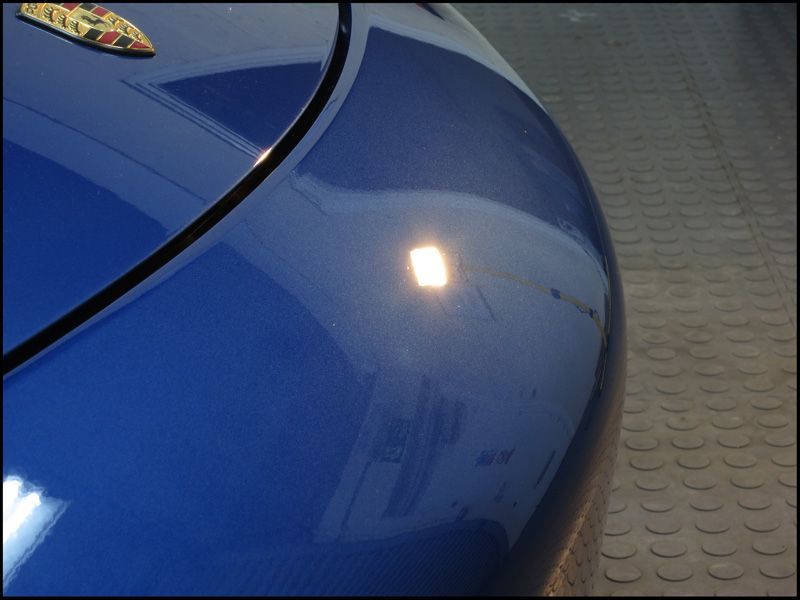
With the first stage of correction complete I took a break from polishing and decided to fit some new light bulbs that had arrived.
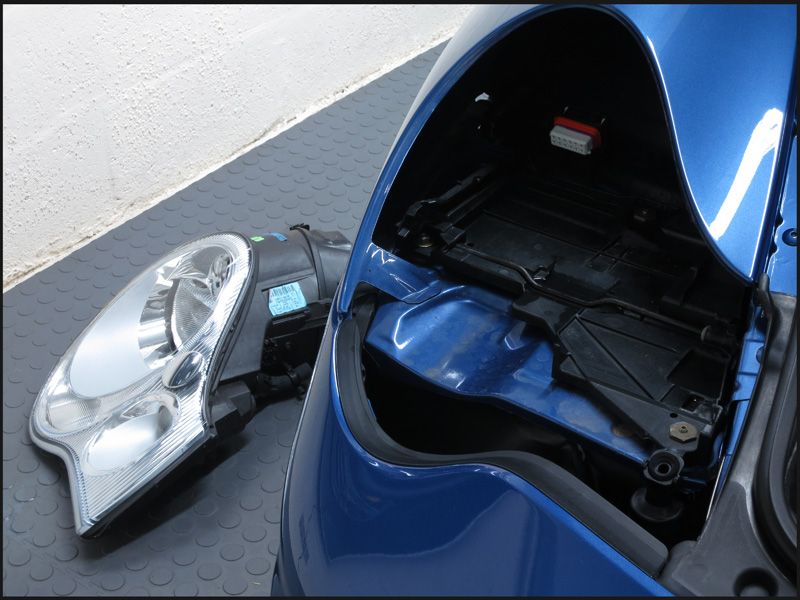
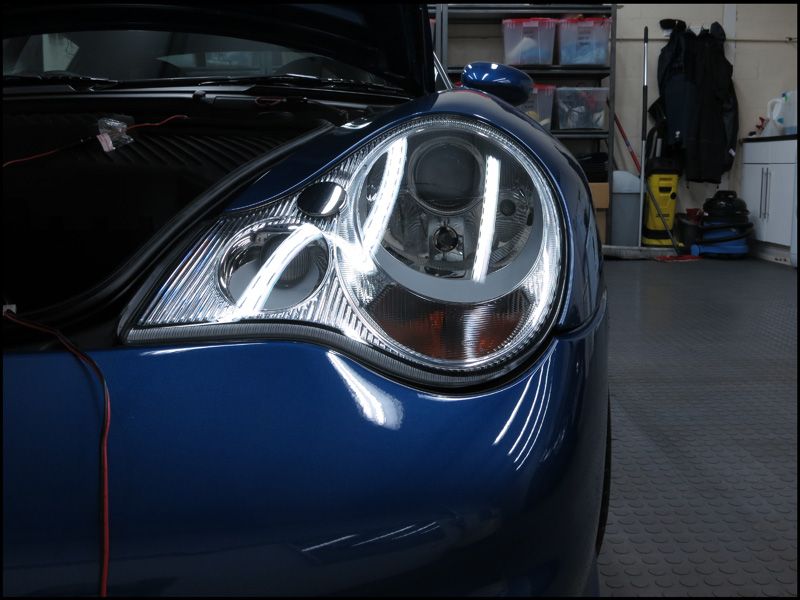
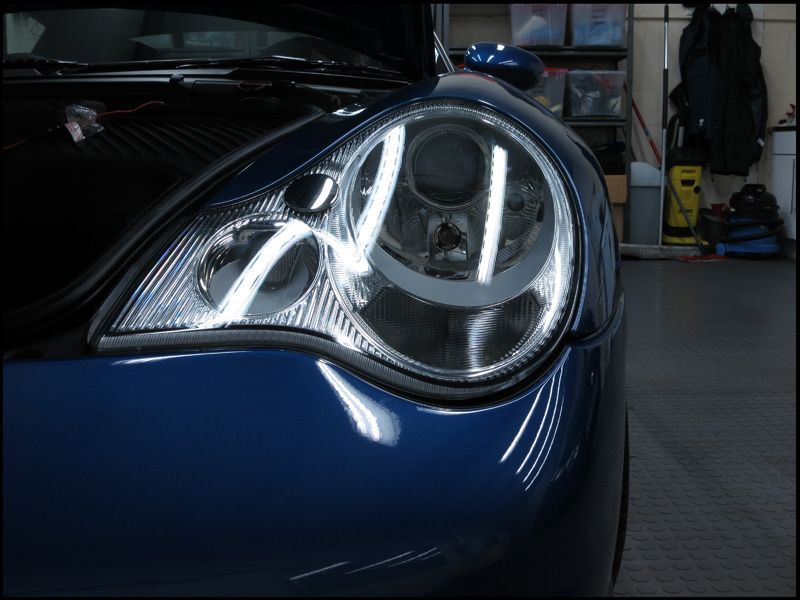
The orange indicator's were replaced with some nice chrome ones (that still flash orange):

This really freshens a car up in my opinion:
The same was done for the rear.
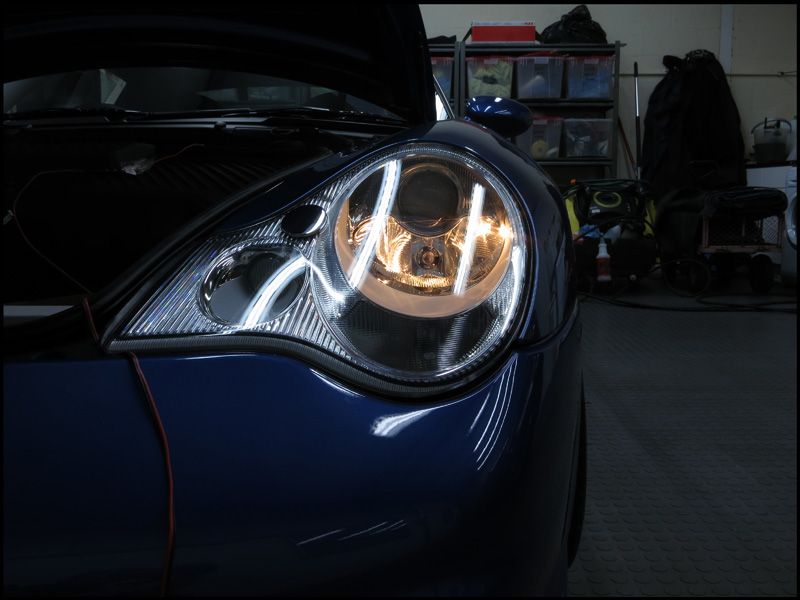
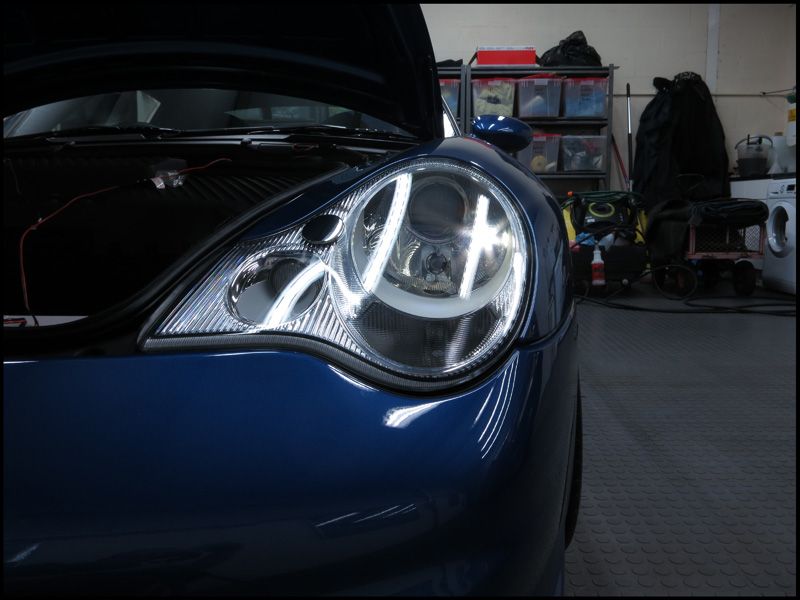
I also replaced the front side lights with LED's as their yellow appearance looked horrible compared to the white light of the Xenons:
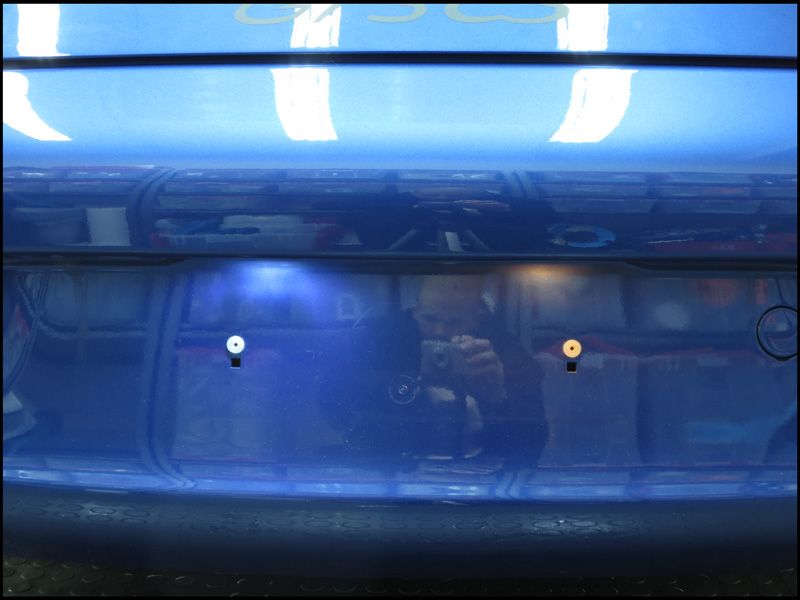
Number plate lights also got the LED treatment, I think it's fairly obvious which one is which:
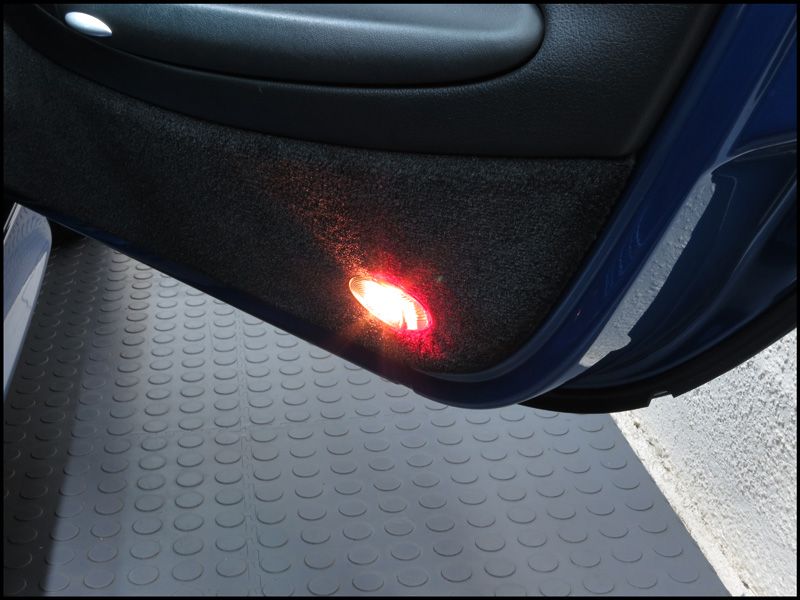
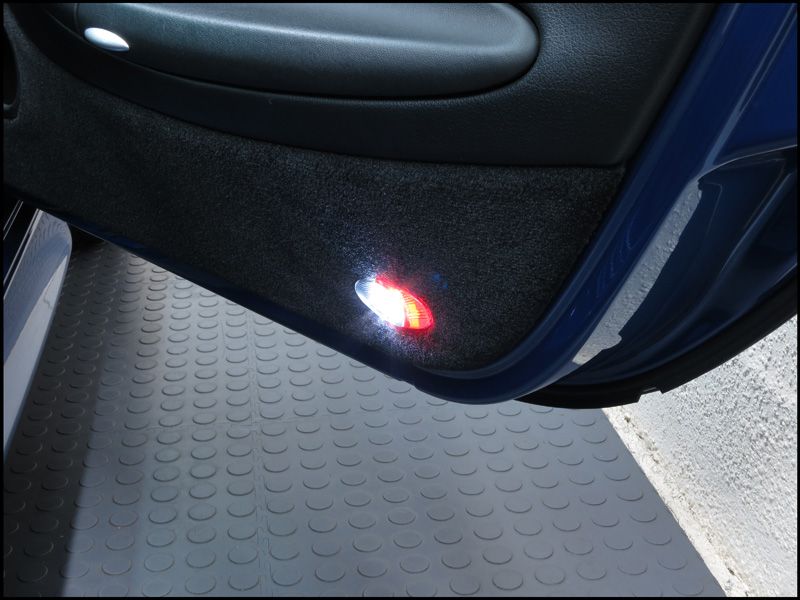
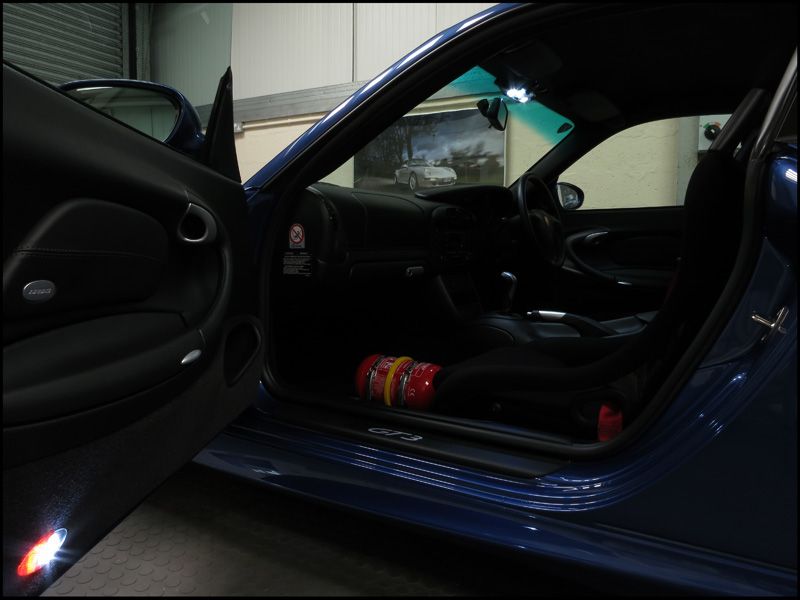
The interior also got the LED treatment:
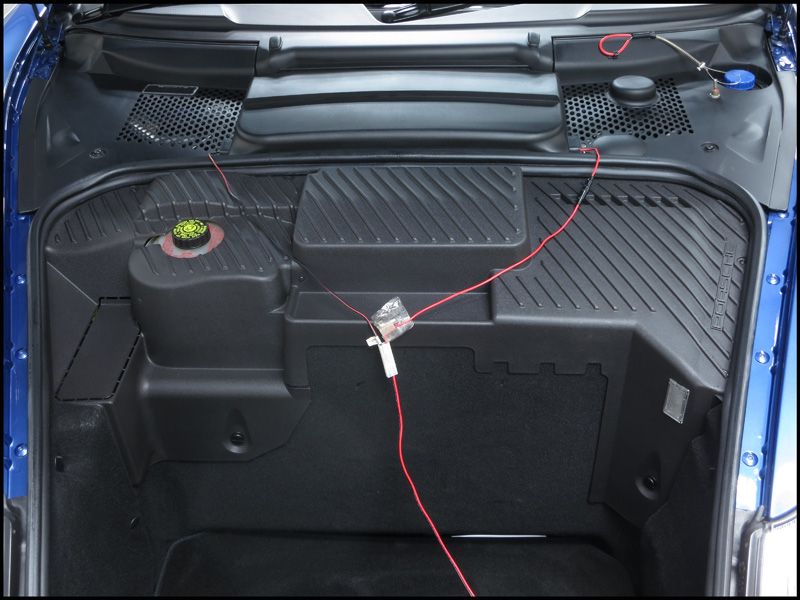
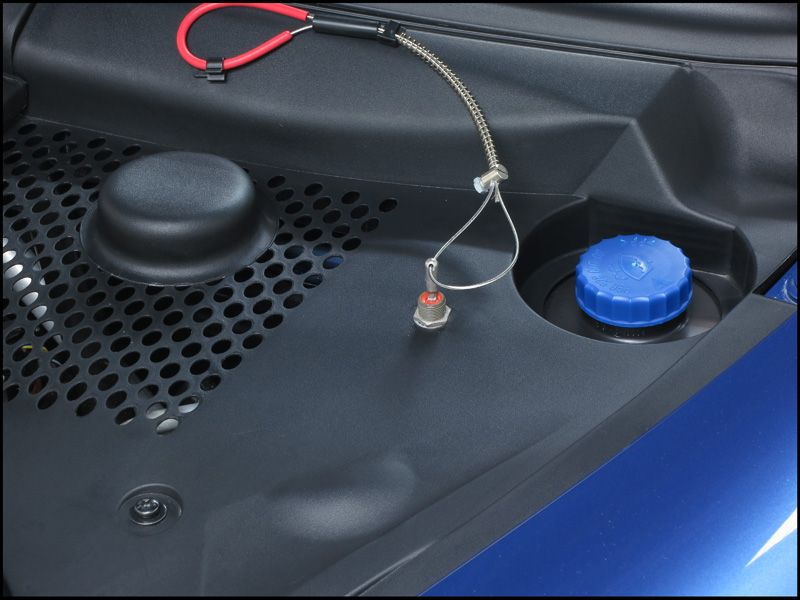
Whilst I was messing about with electrics I wired up a quick release plug from my battery conditioner to the battery to save having to remove the compartment lid every time I wanted to take the car out the garage:
Back to polishing now. The first stage had created a bit of dust so I gave the car a rinse off outside and then dried with the air drier.
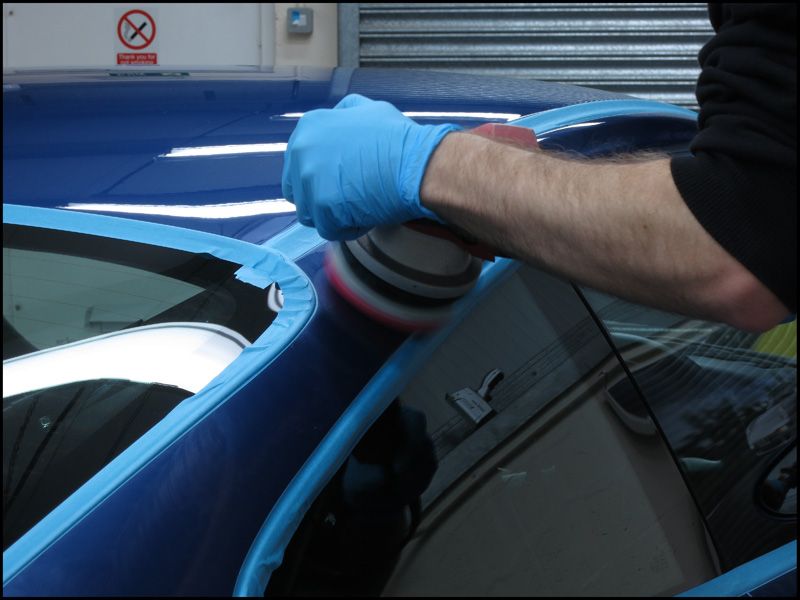
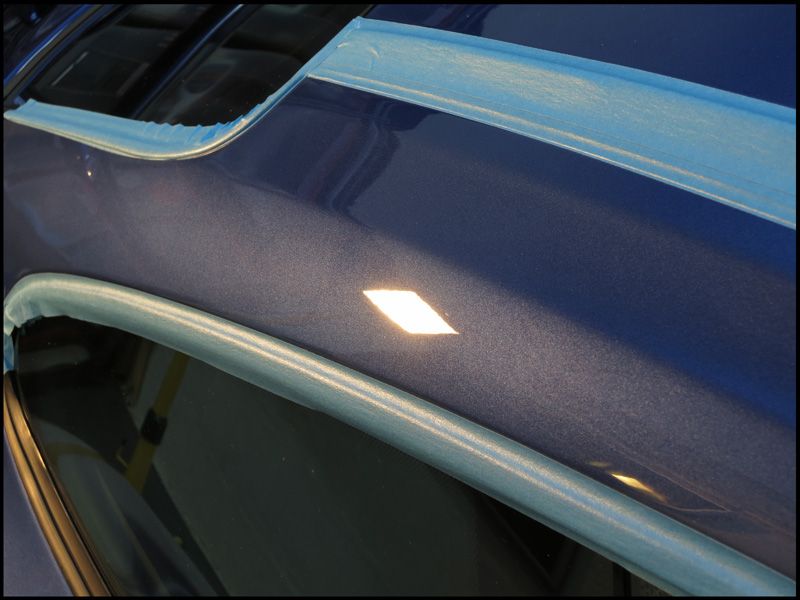
Stage 2 was the refining stage to really bring out the clarity in the paintwork:
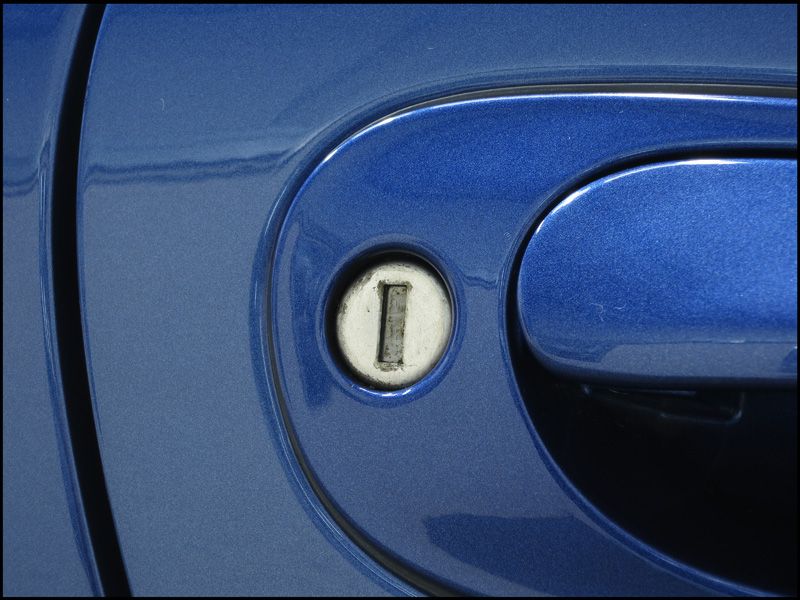
While doing the driver's door I noticed the lock could do with a bit of a spruce up so 30 seconds with a cotton bud and some metal polish did the trick:
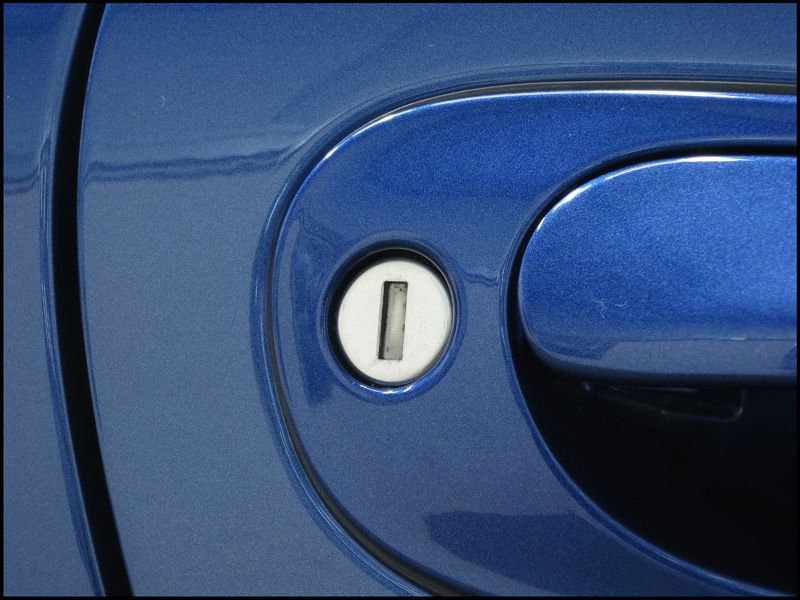
With the machine polishing finally completed and after a dust down with a lambswool duster the paintwork was then waxed.
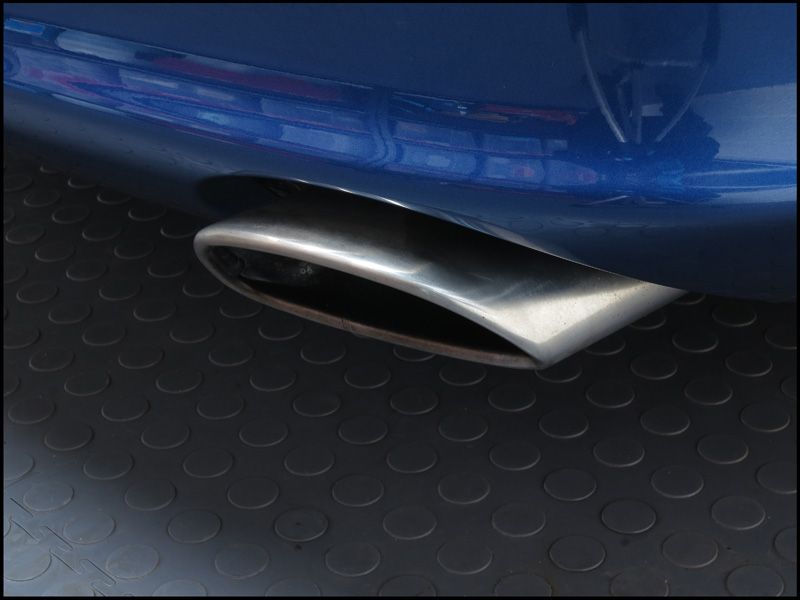
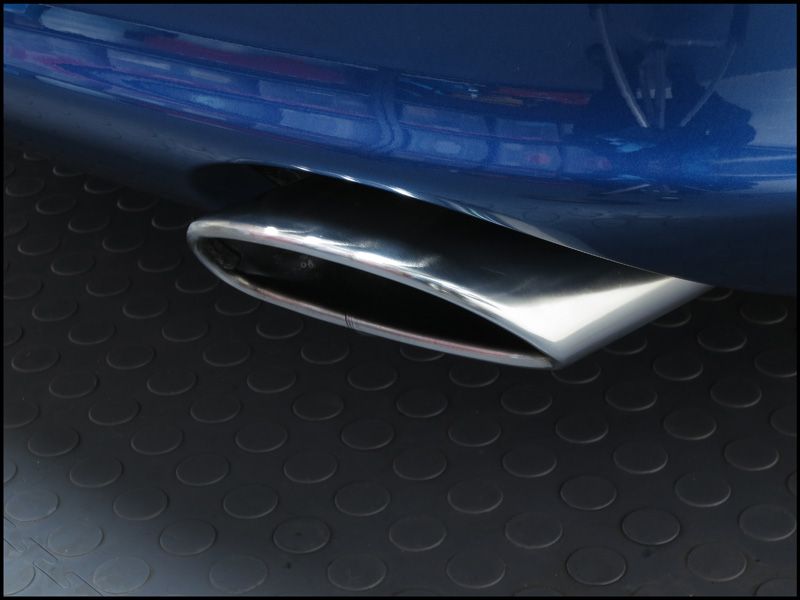
Tailpipes polished:
The exterior glass was cleaned with IPA and then protected with a Glass Sealant:
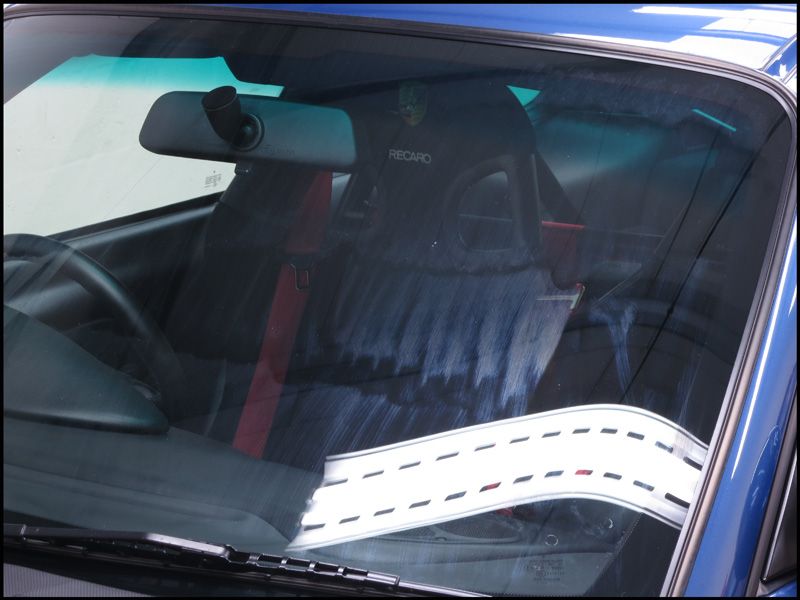
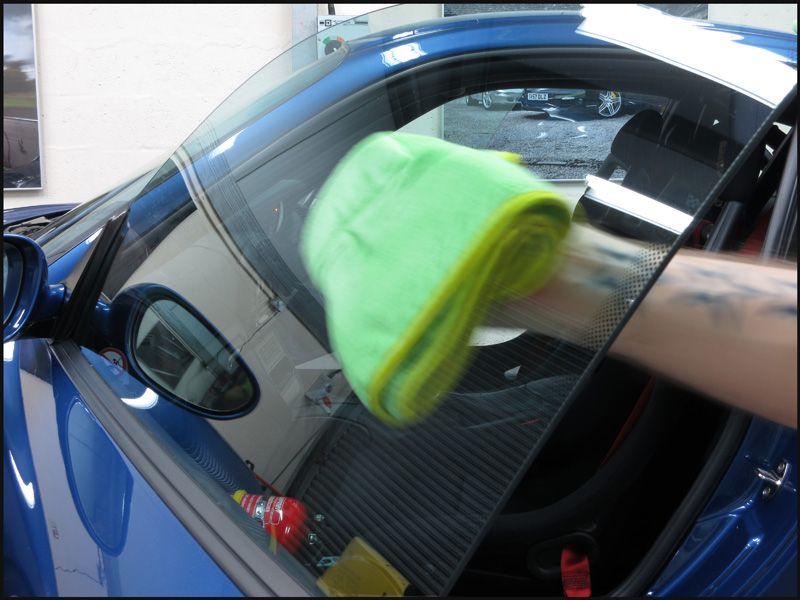
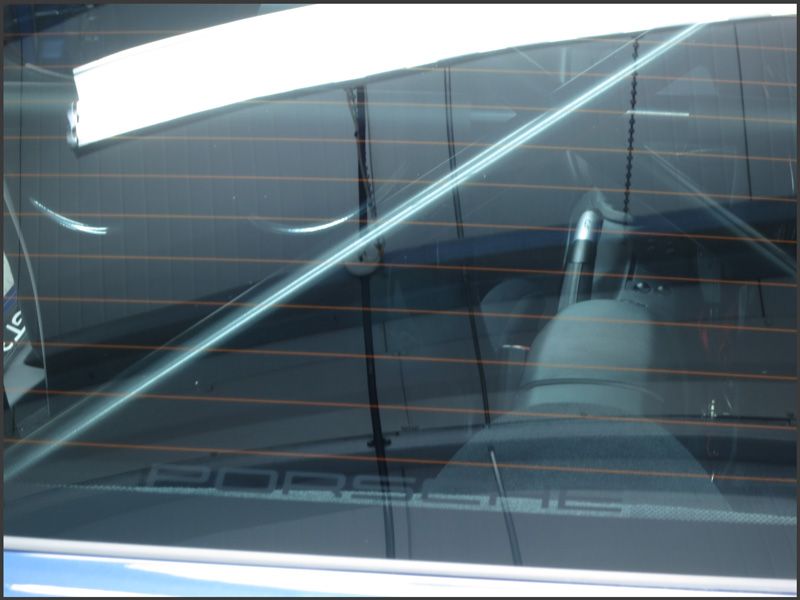
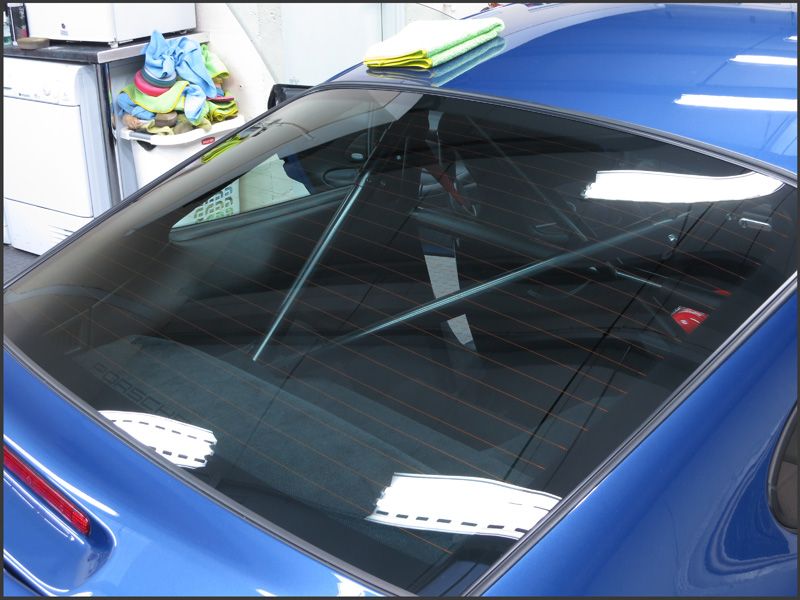
Interior glass being cleaned:
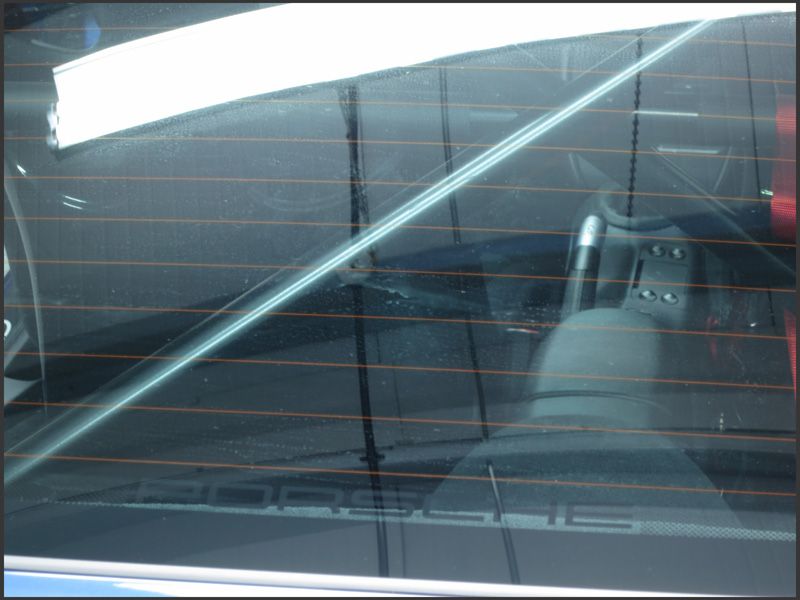
Including the absolute pain in the backside that is the rear screen - thanks largely to all the scaffolding getting in the way!
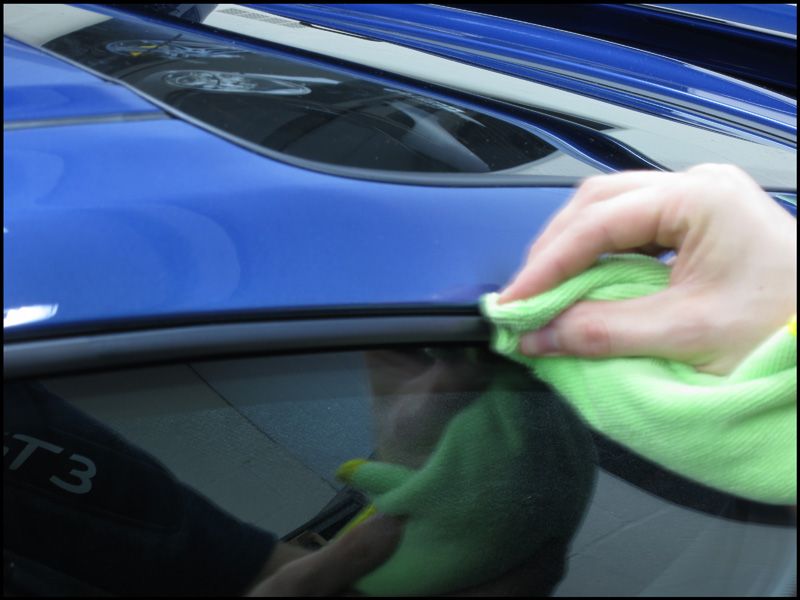
An Acrylic Sealant was applied to all the exterior window rubbers and plastic trim:
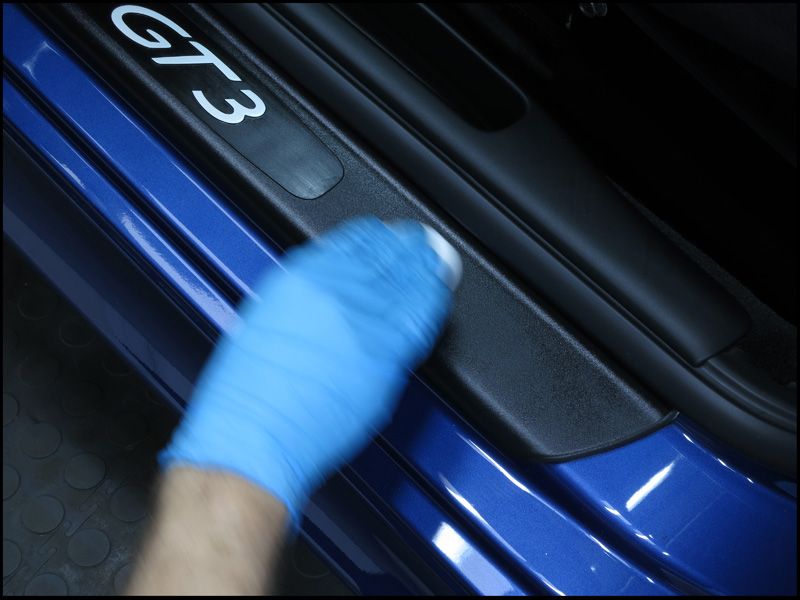
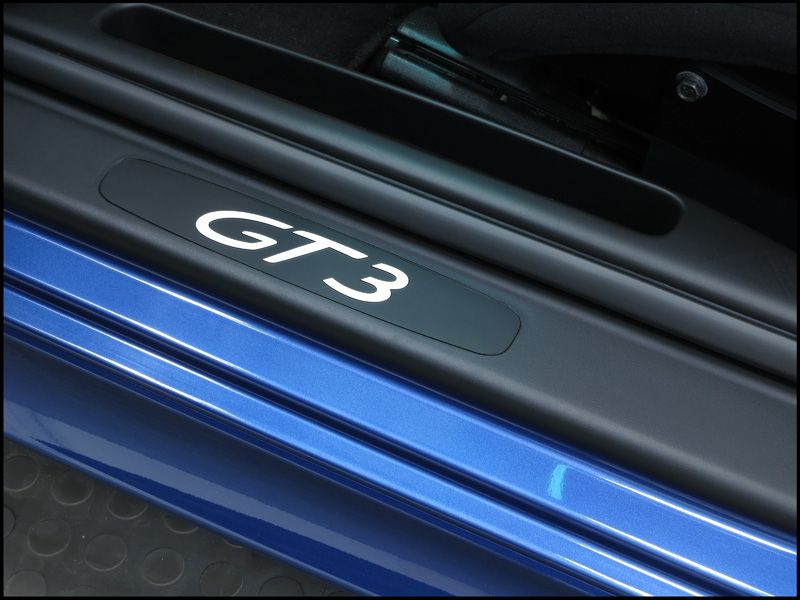
Sills also protected:
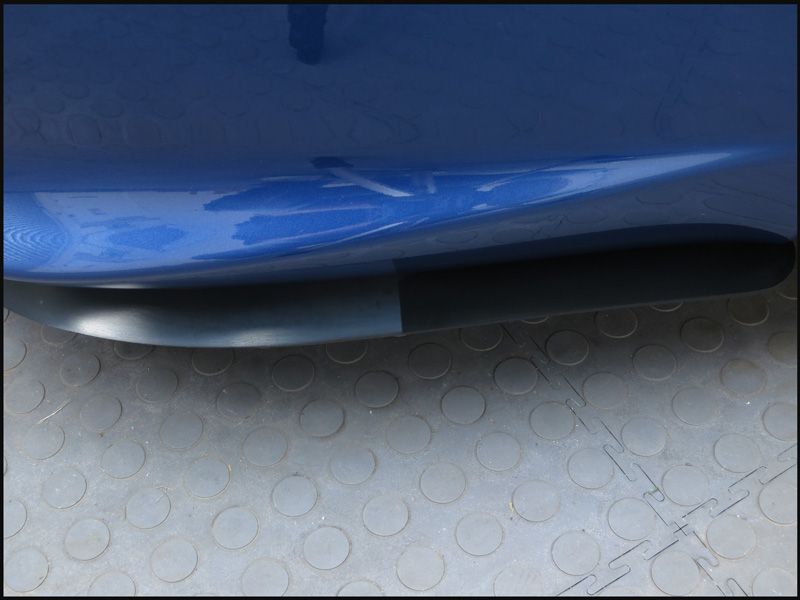
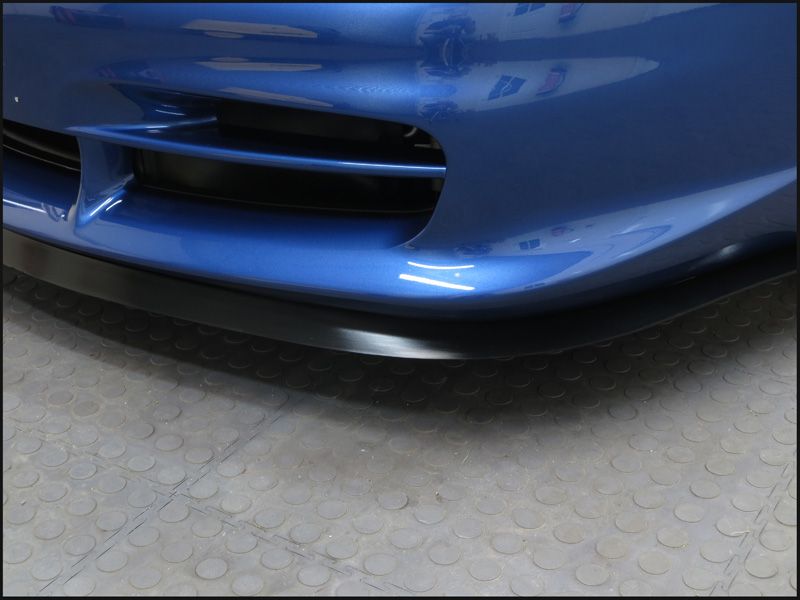
Same for the splitter...
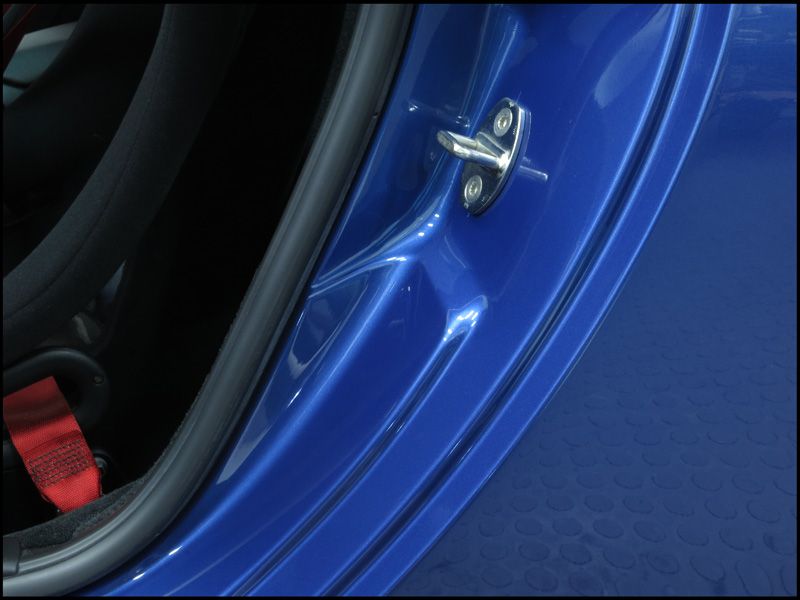
An all in one product was then used to polish and protect the door shuts:
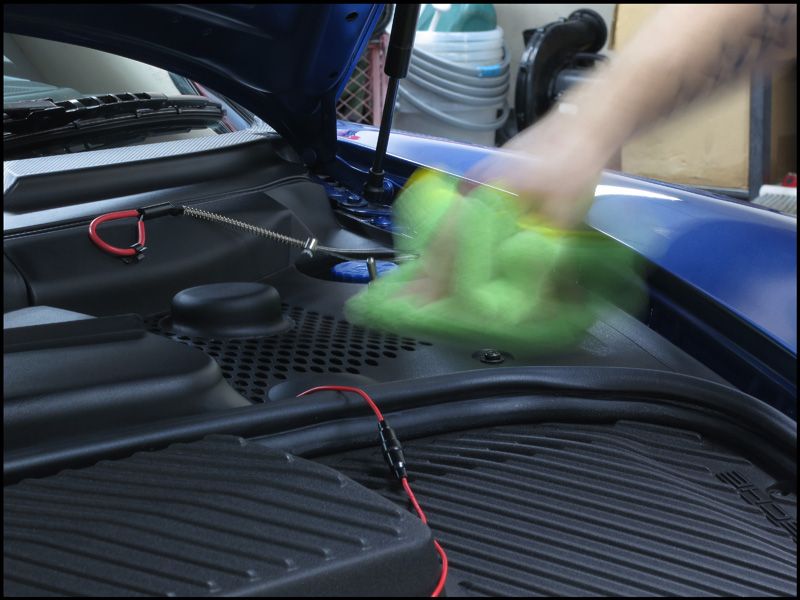
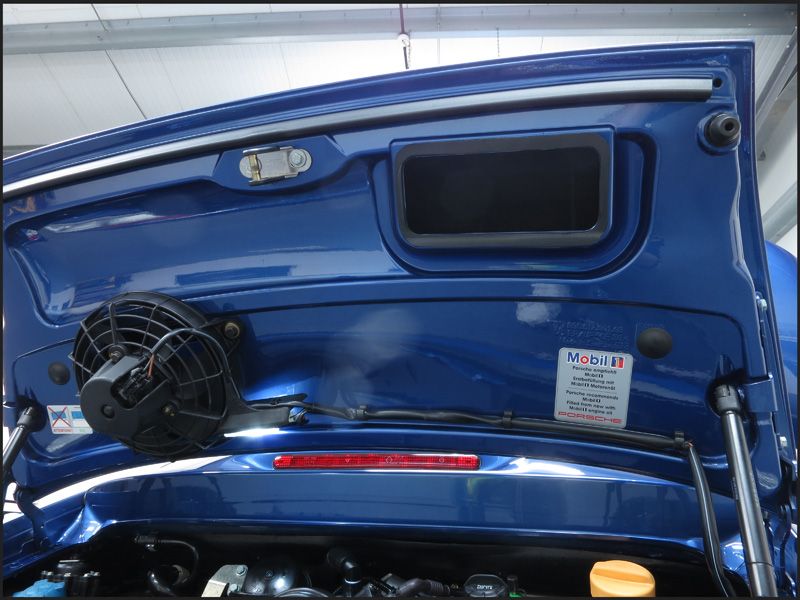
Engine bay paintwork also done:
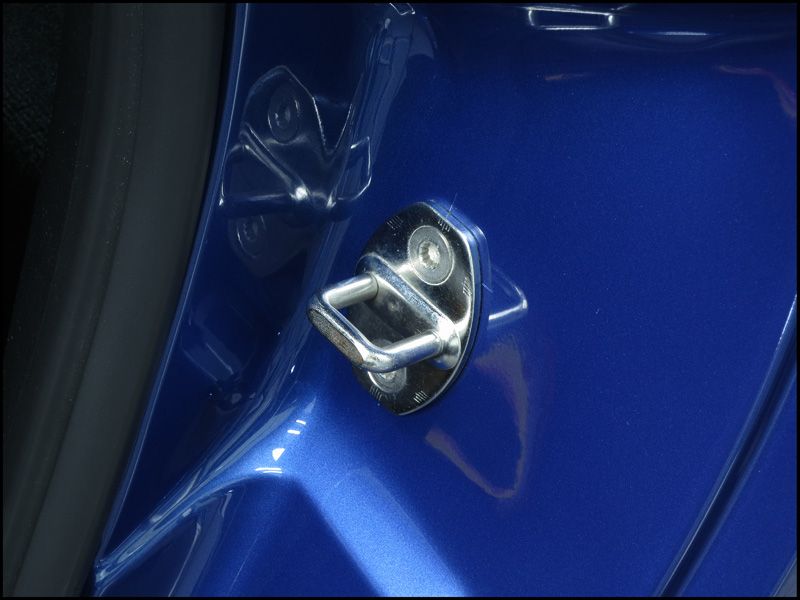
Another small job for the metal polish:

I then dusted down the interior...
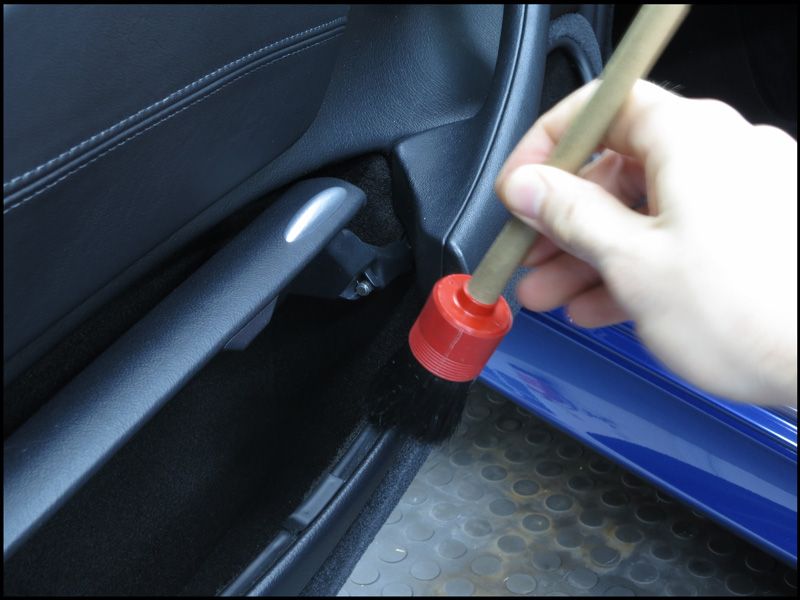
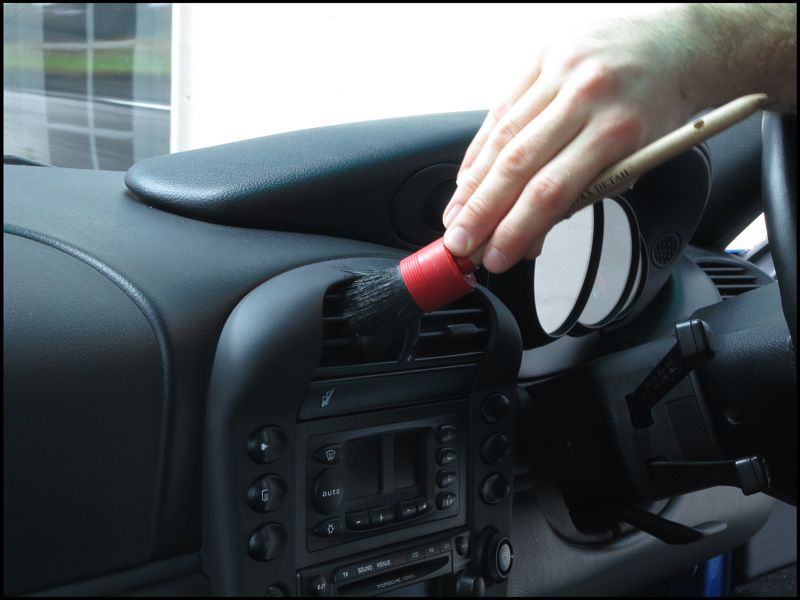
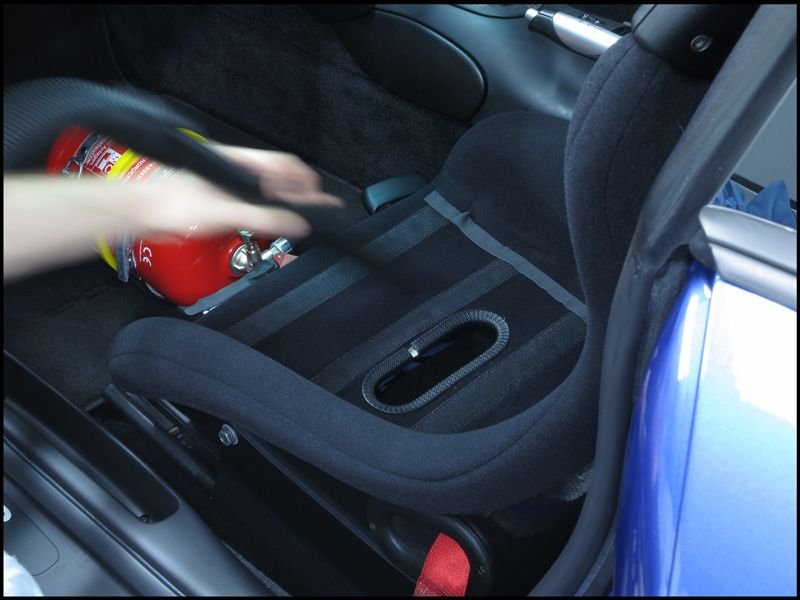
...before removing the padding from the seats to be able to hoover more thoroughly:
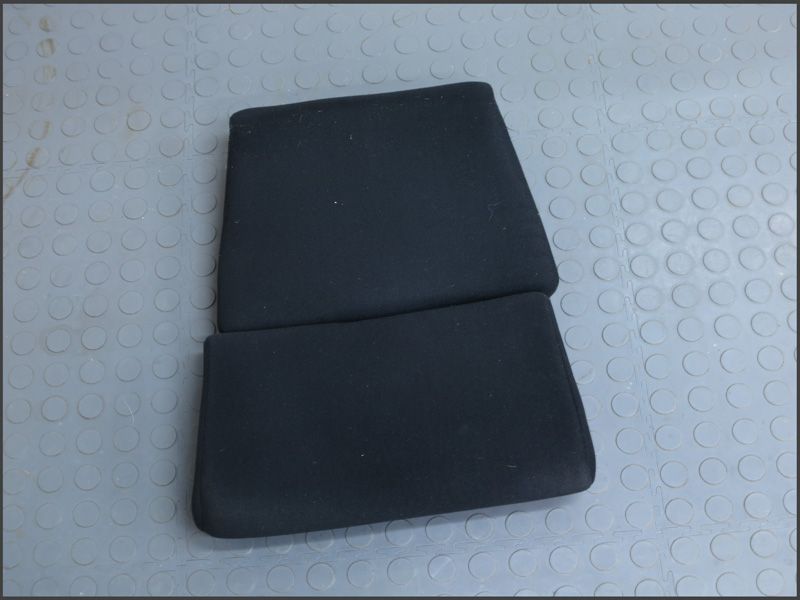
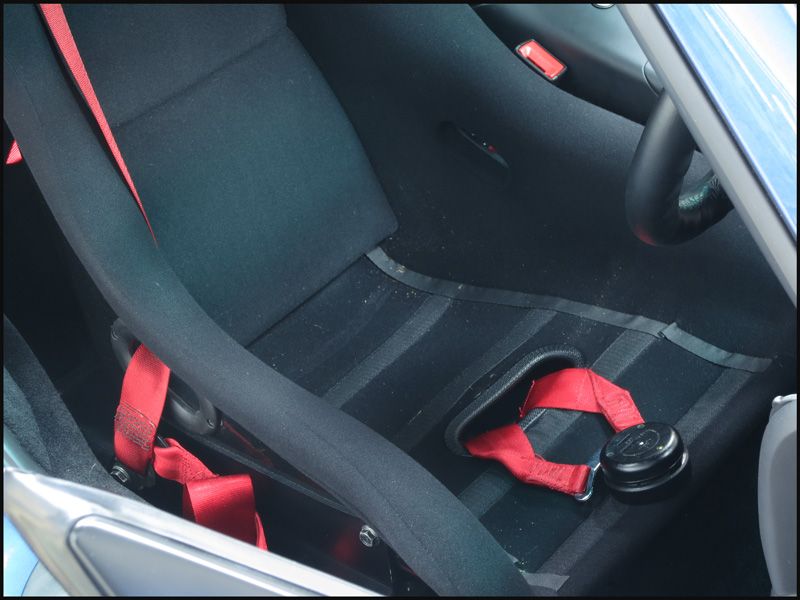
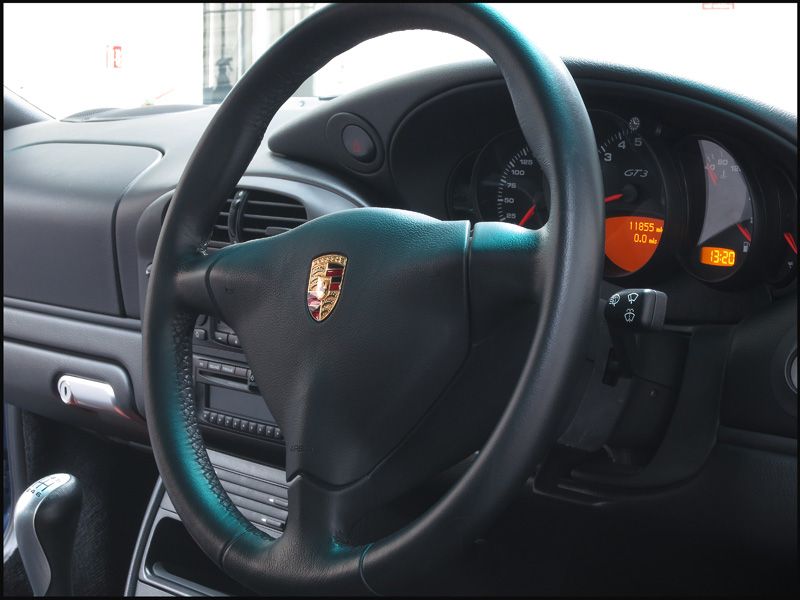
The leather and vinyl then got a wipe over with a damp MF towel leaving this:
Engine bay after being dressed with a water based product:
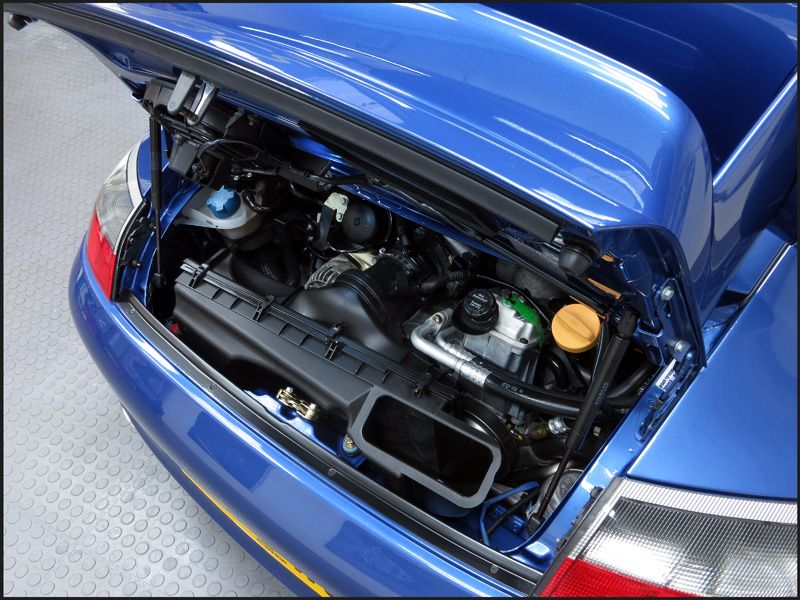
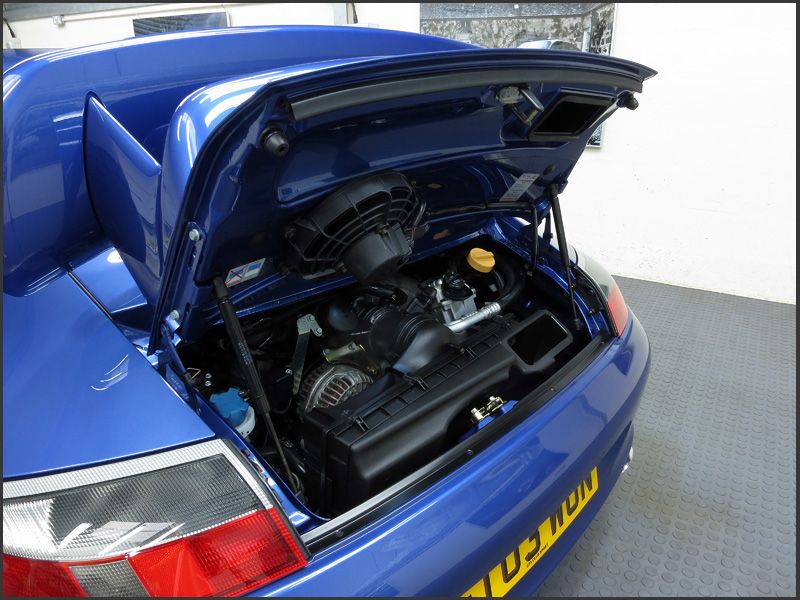
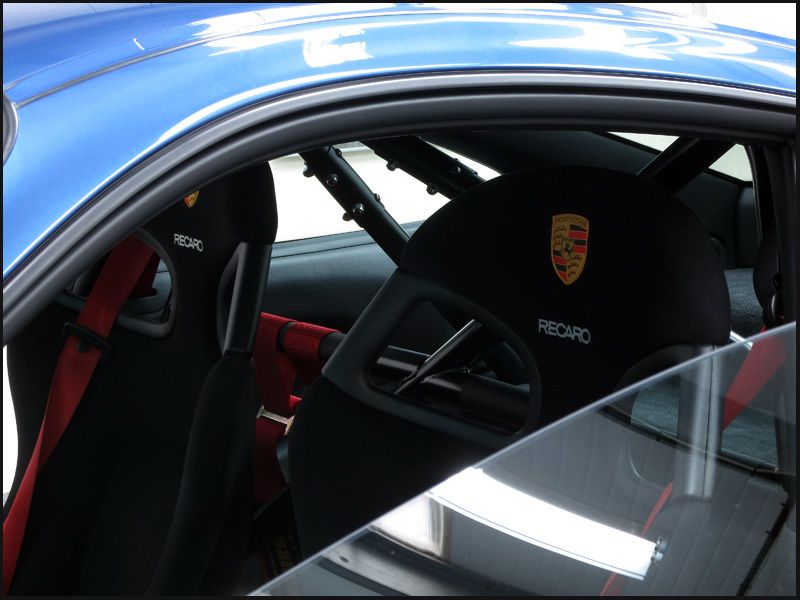
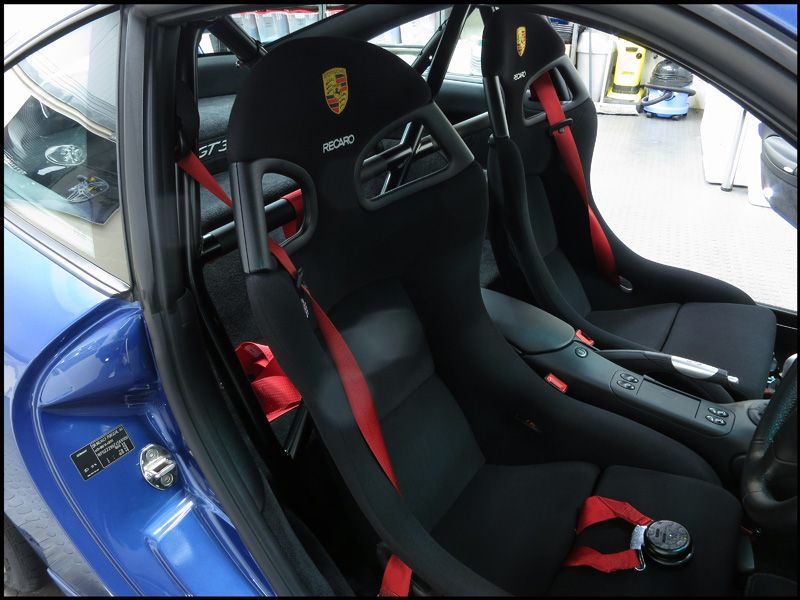
Finally it was finished, well done if you made it this far and here are the after shots
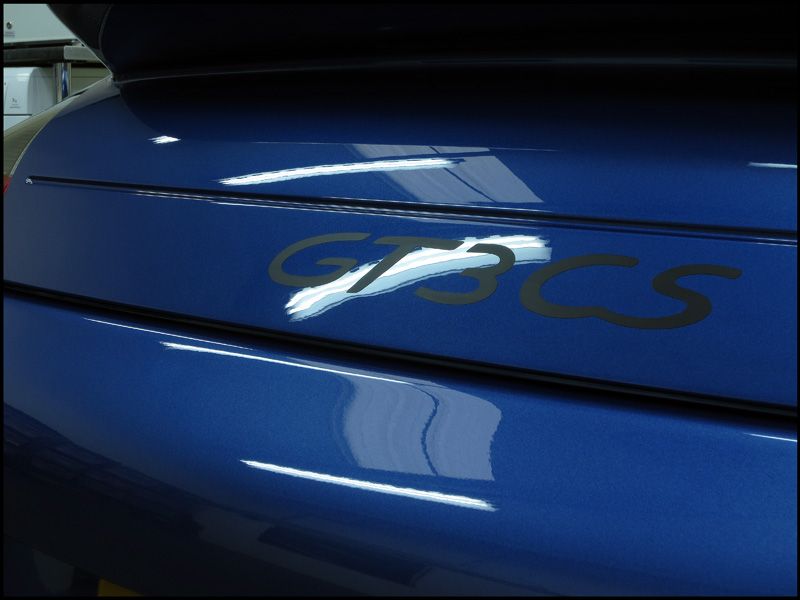
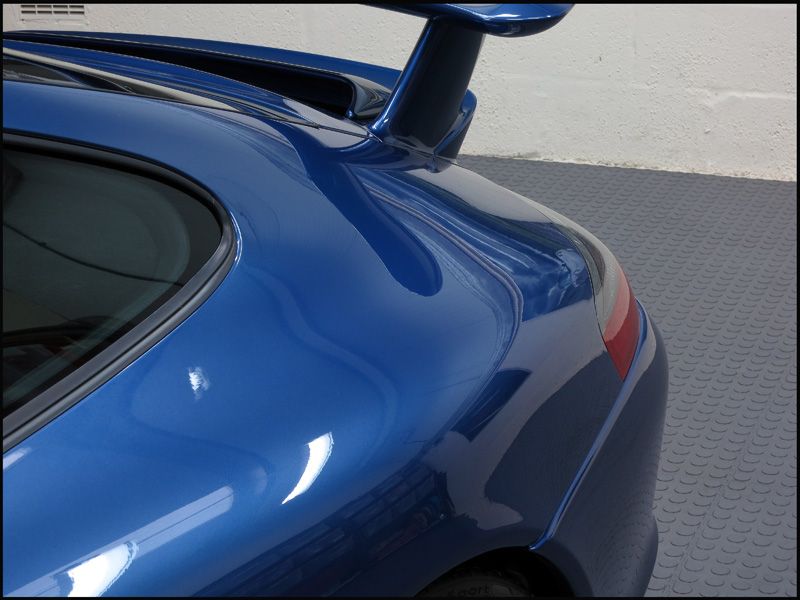
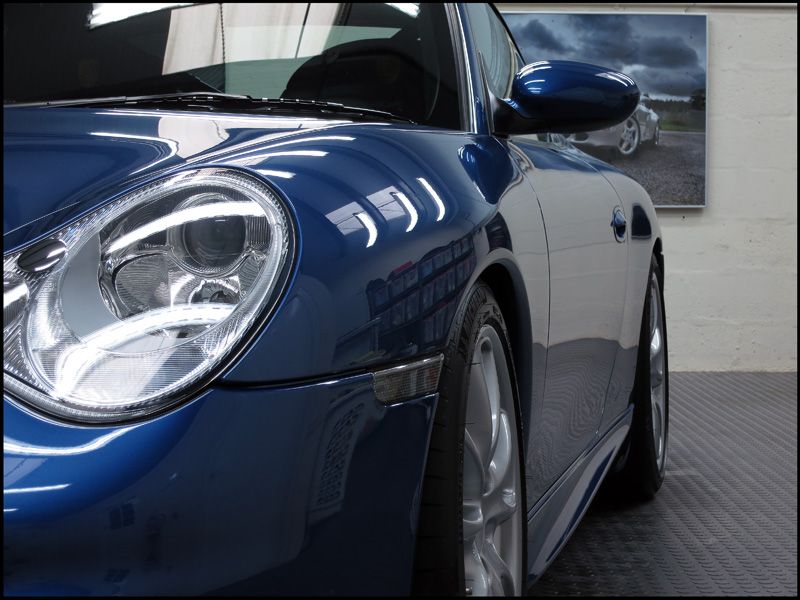
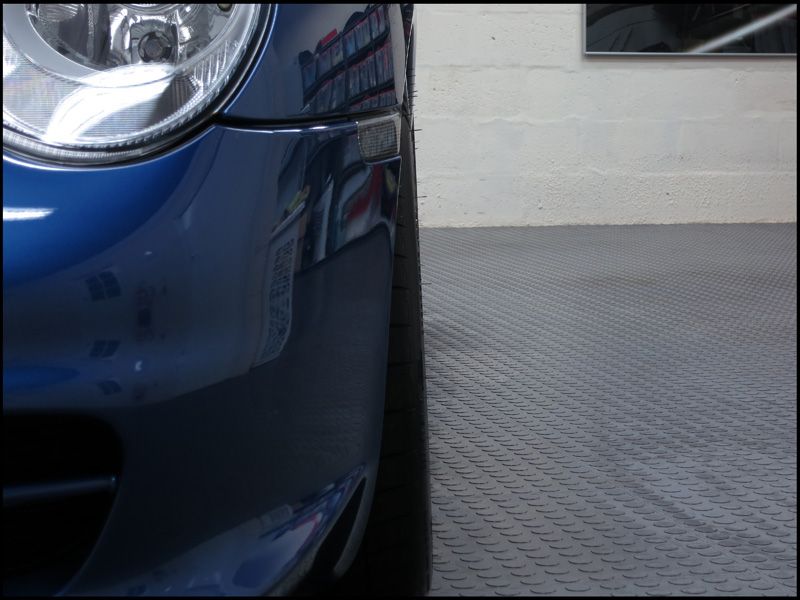
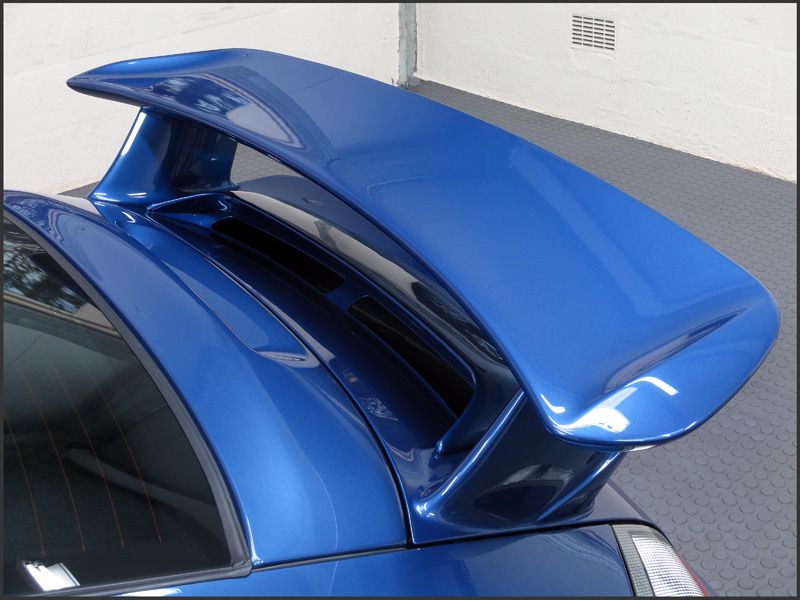
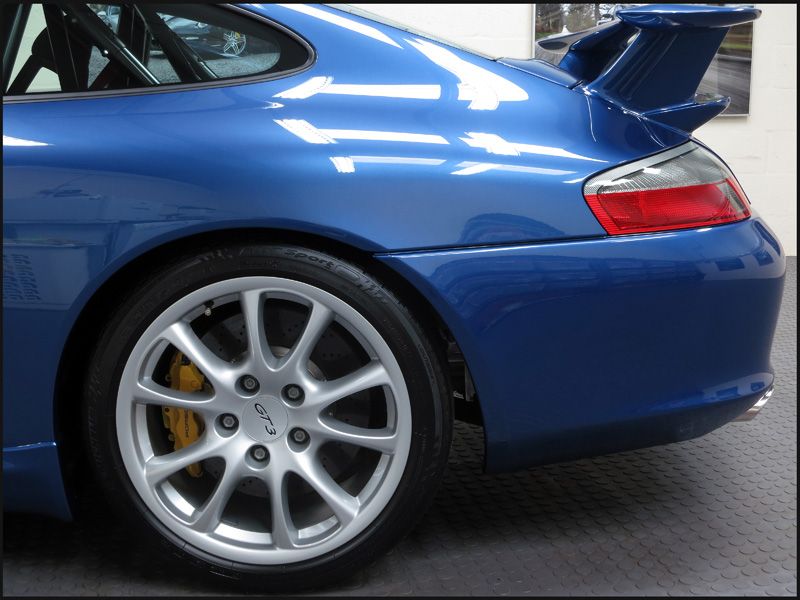
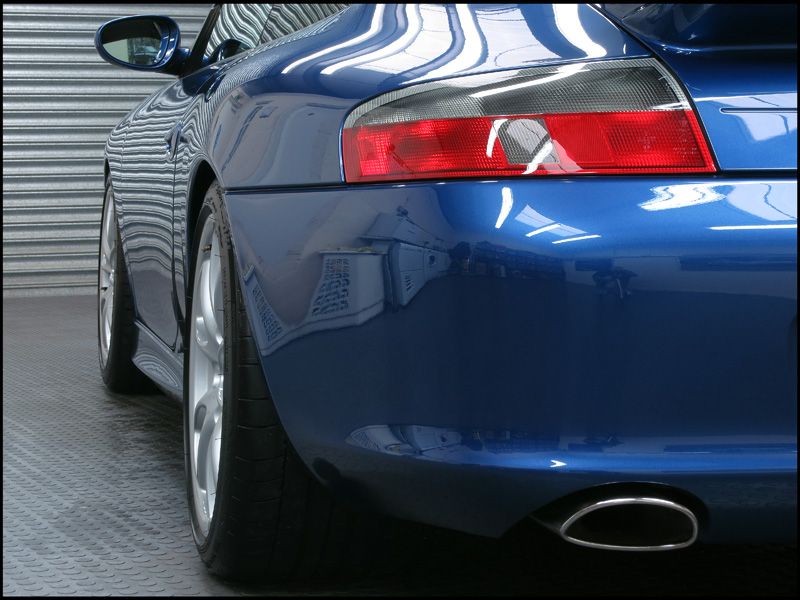
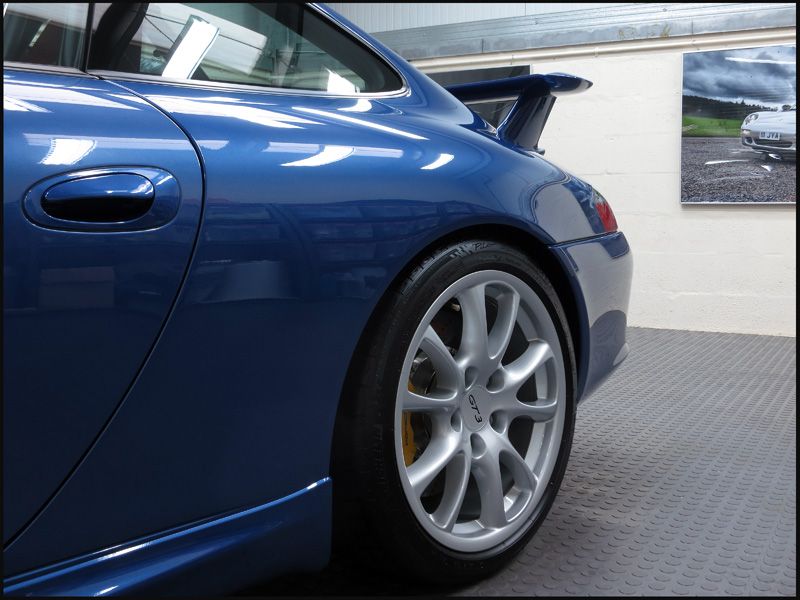
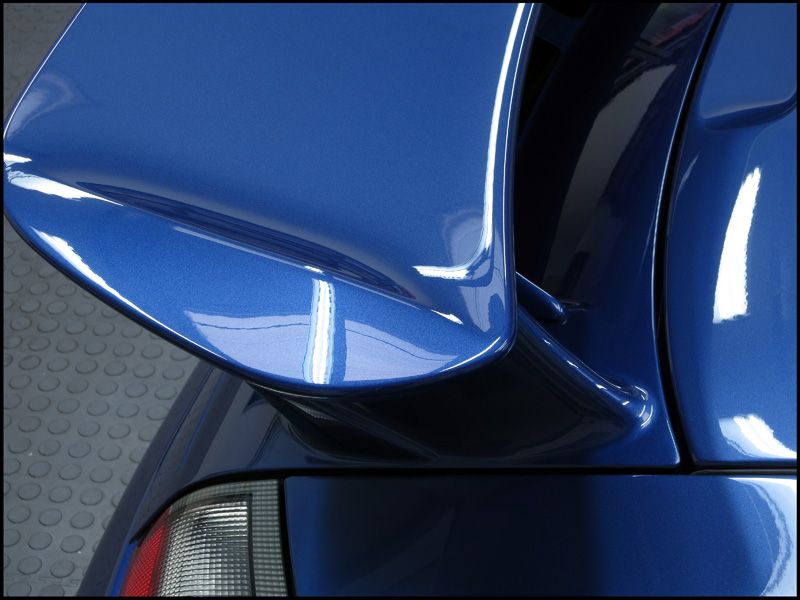
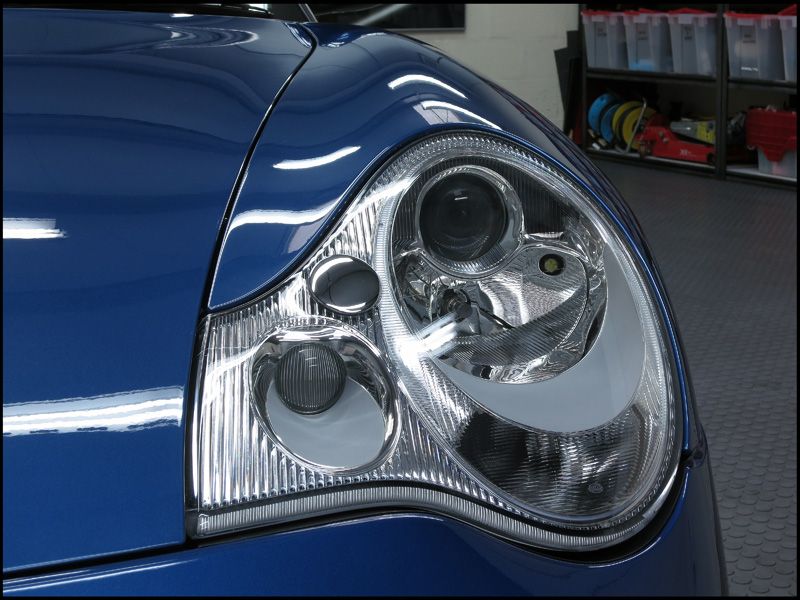
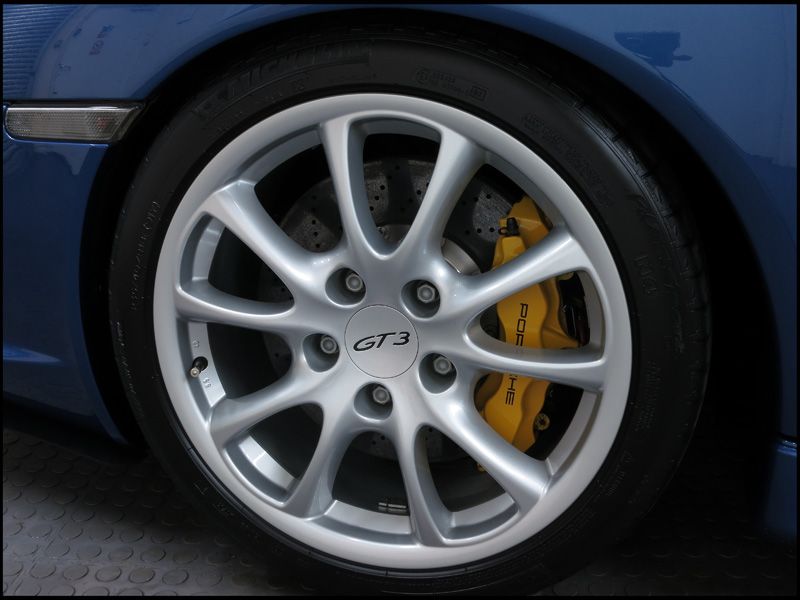
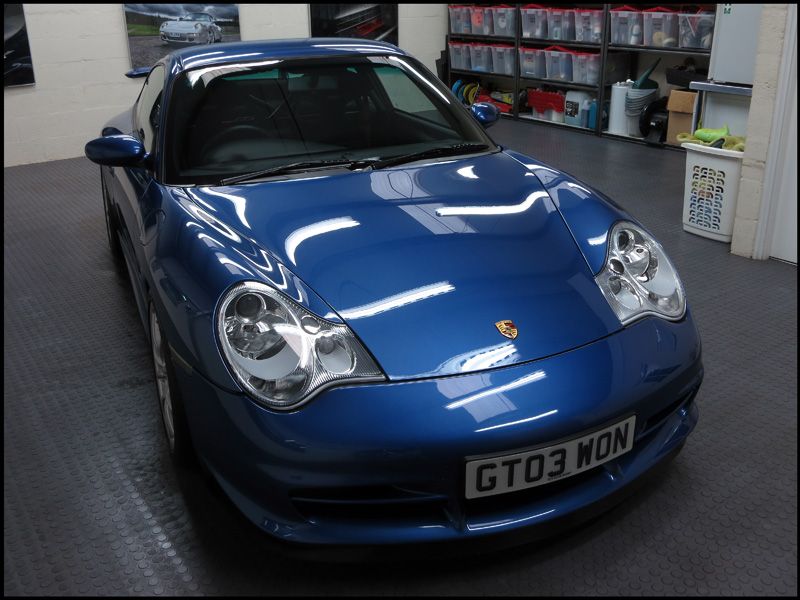
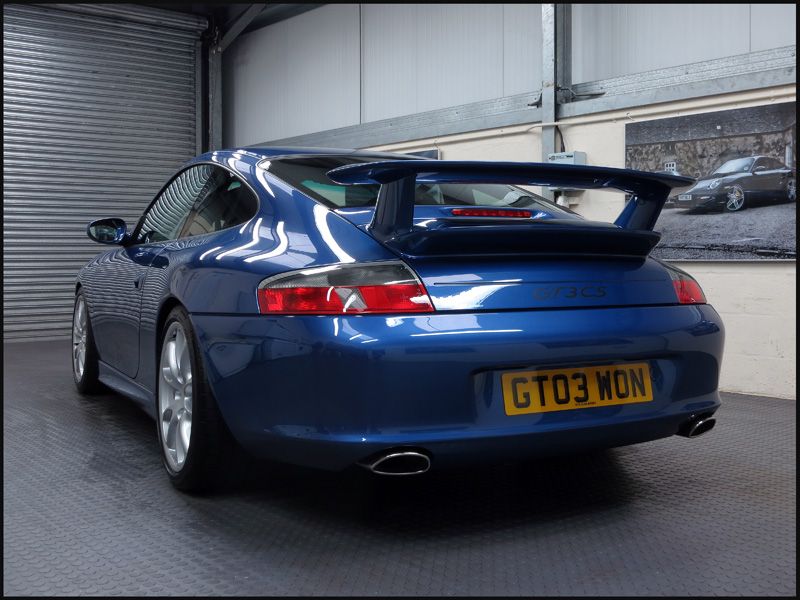
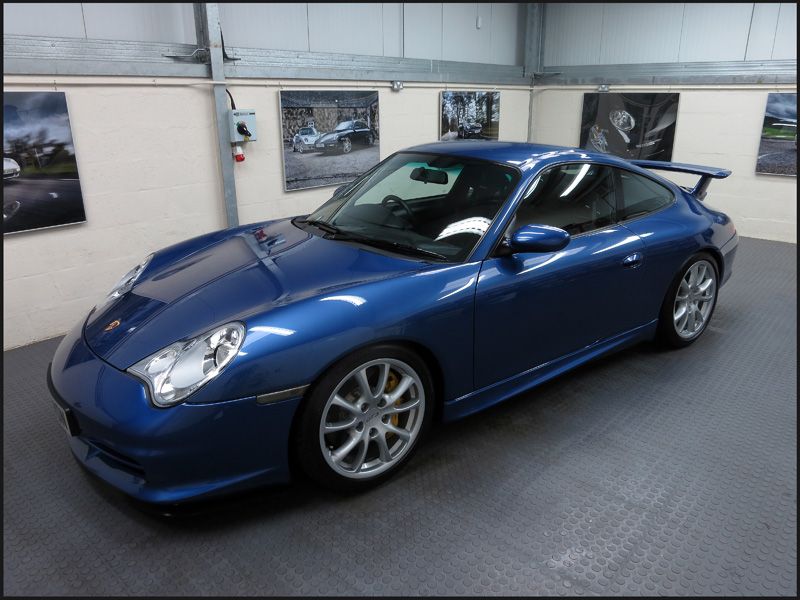
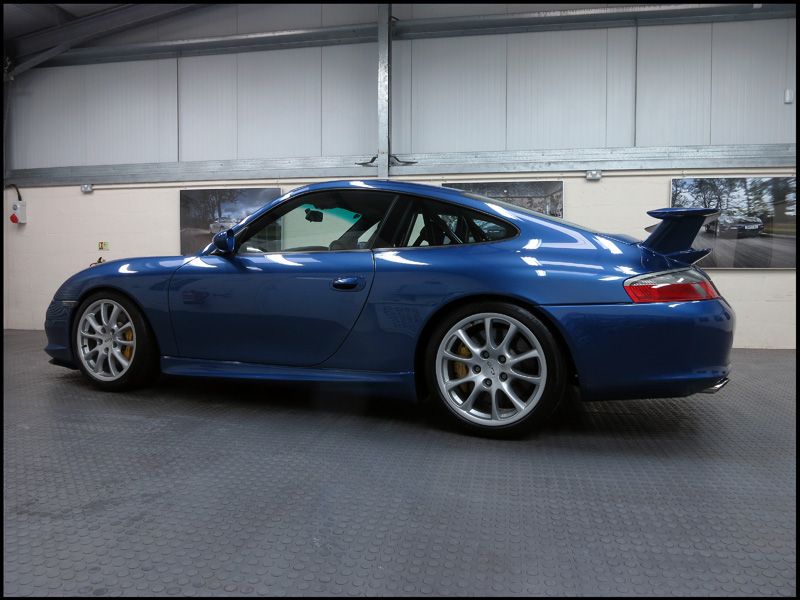
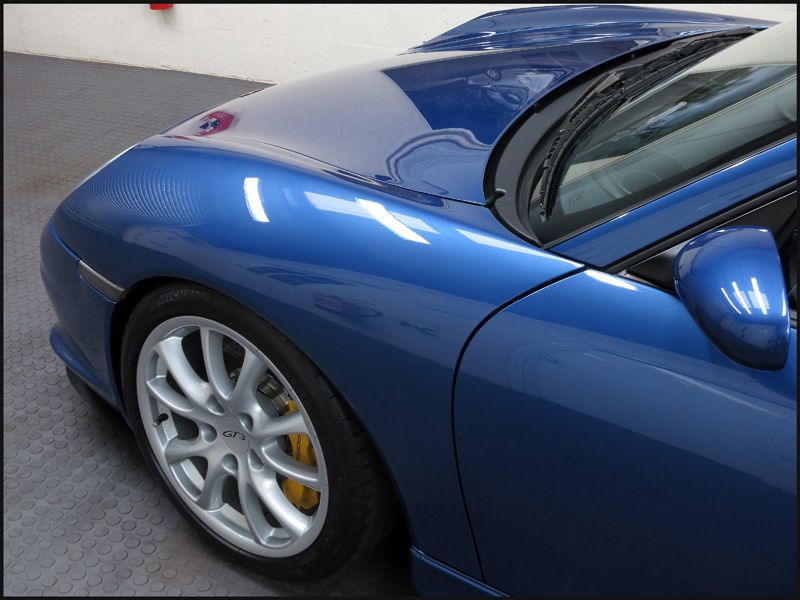
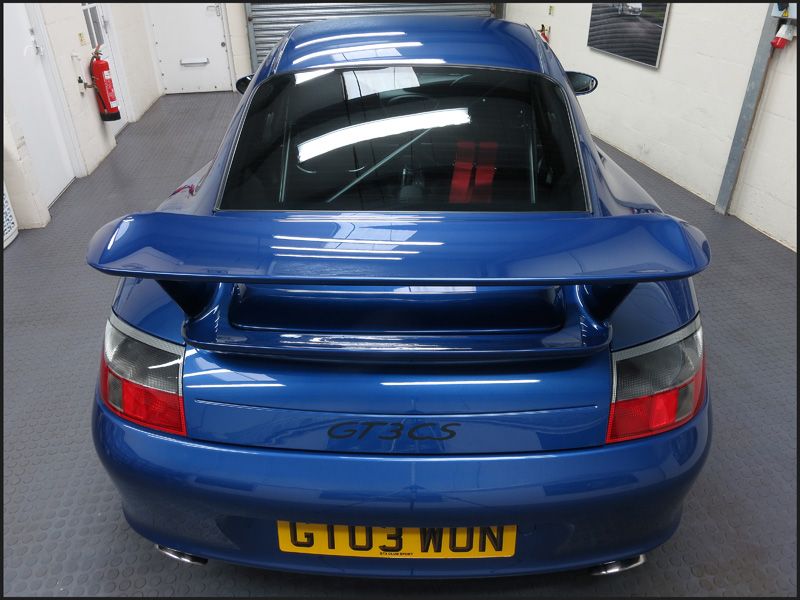
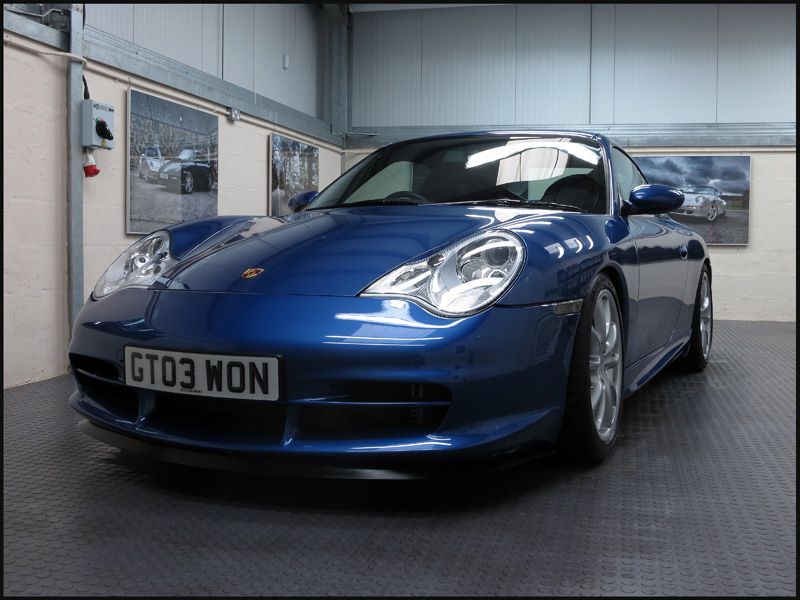
I then took a few pics outside as it looked like the sun was about to burst through...
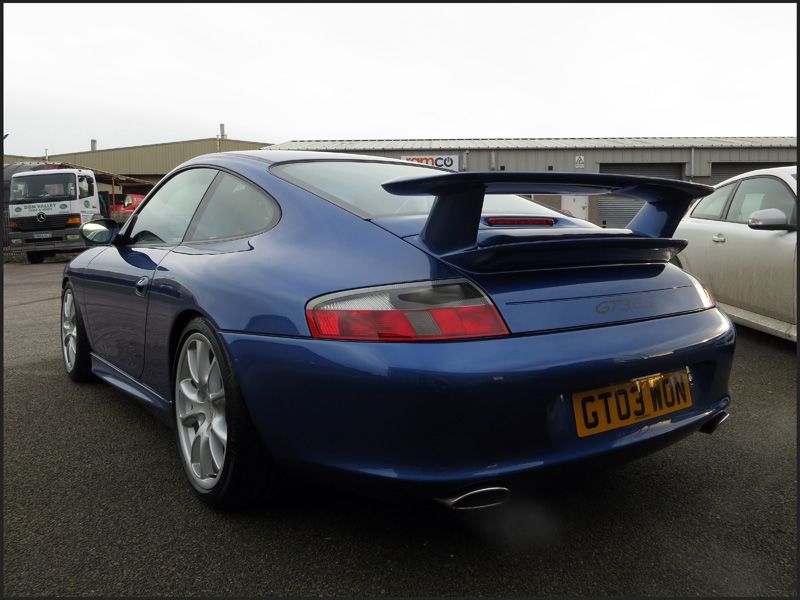
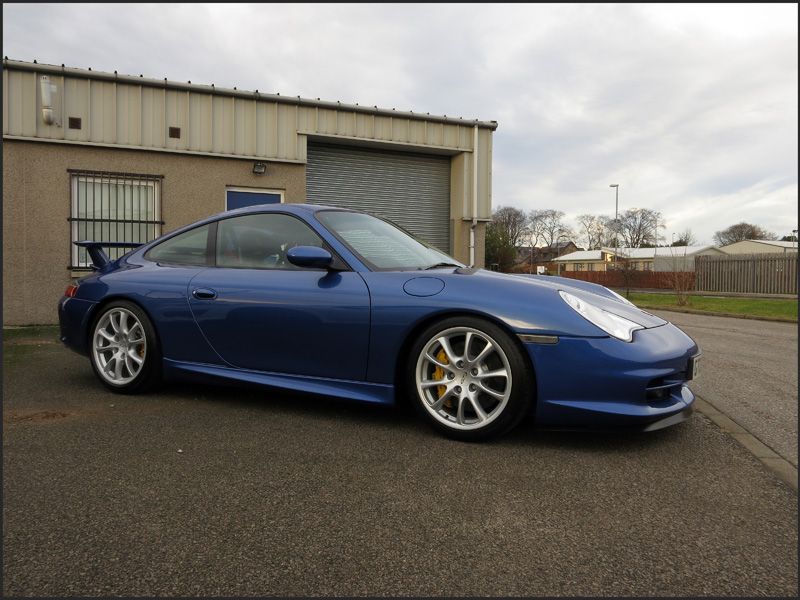
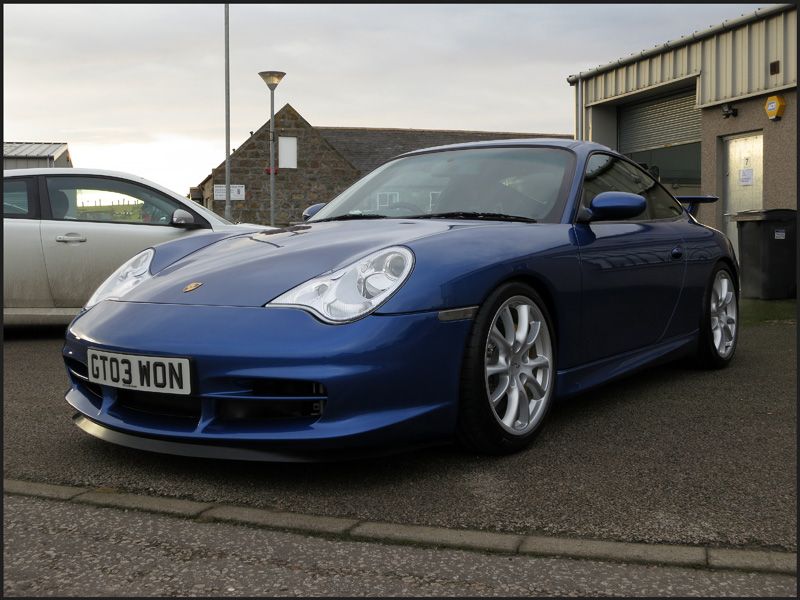

True to form though, it never did come out so I had to put the car back inside and make do with some imitation sun instead
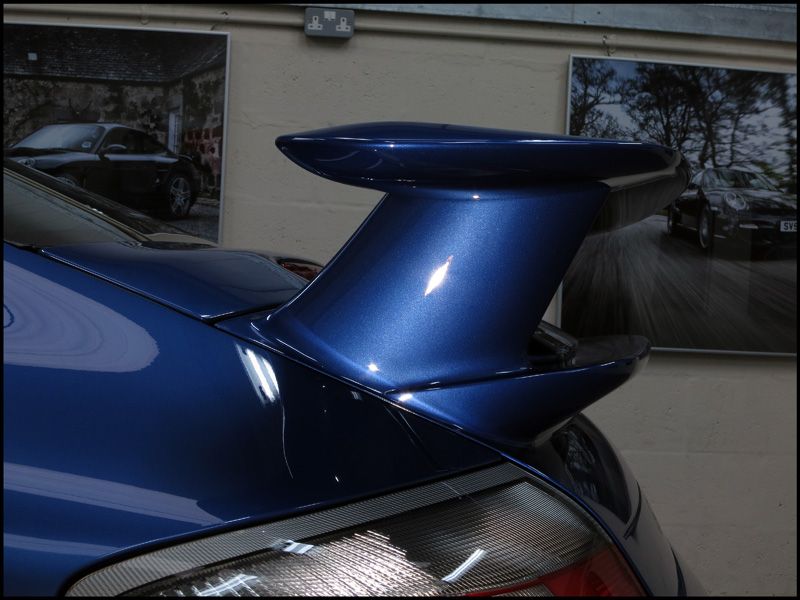
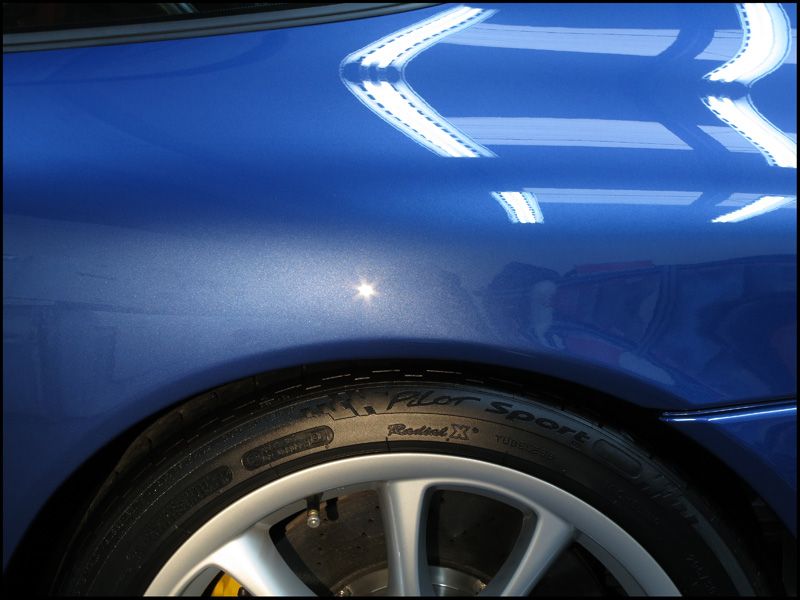
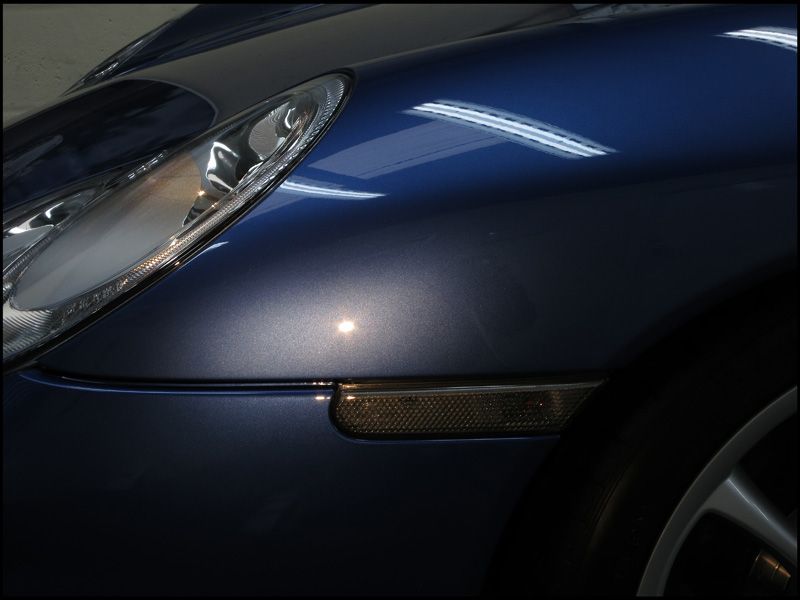
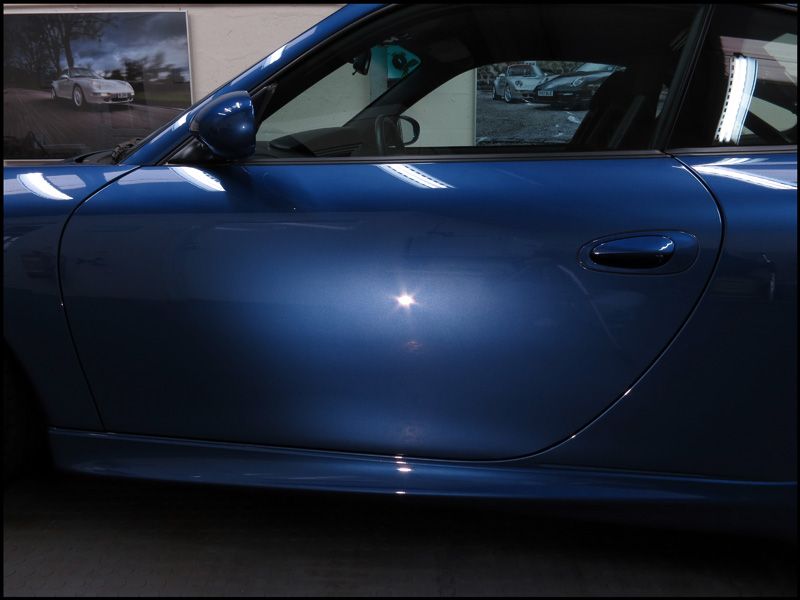
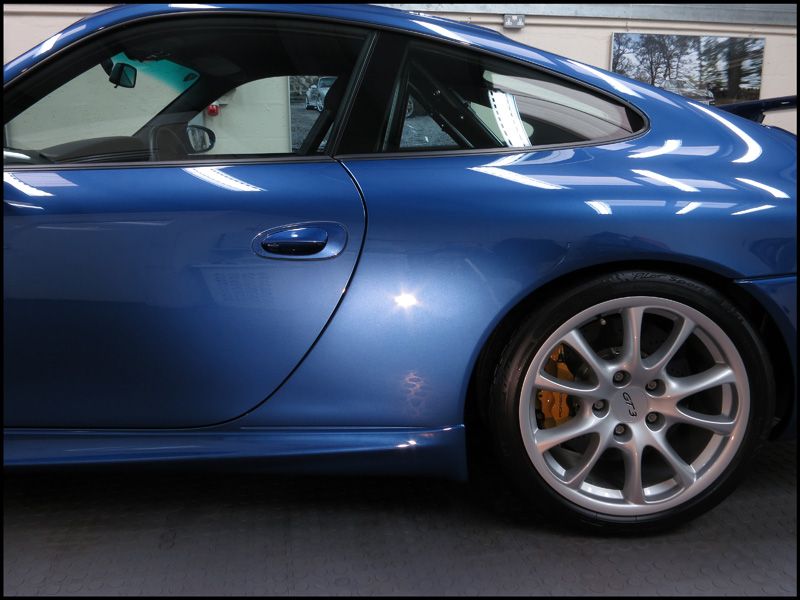
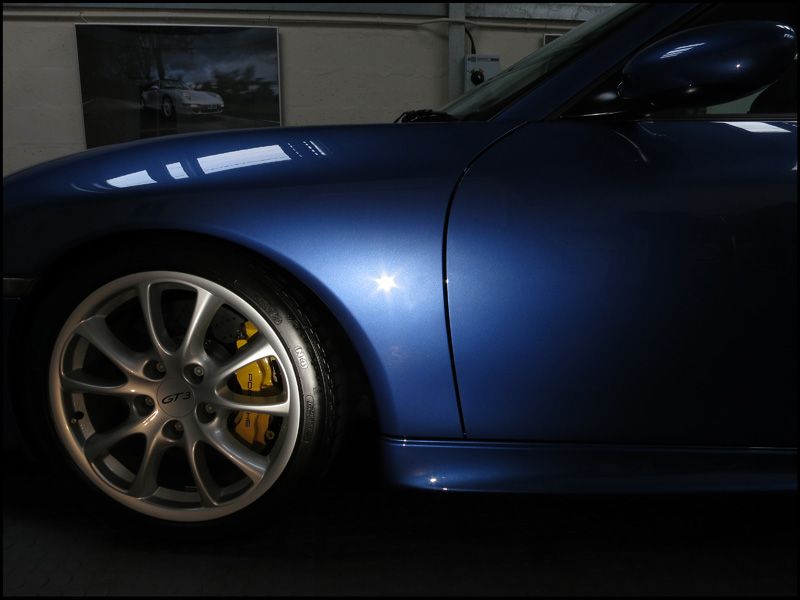
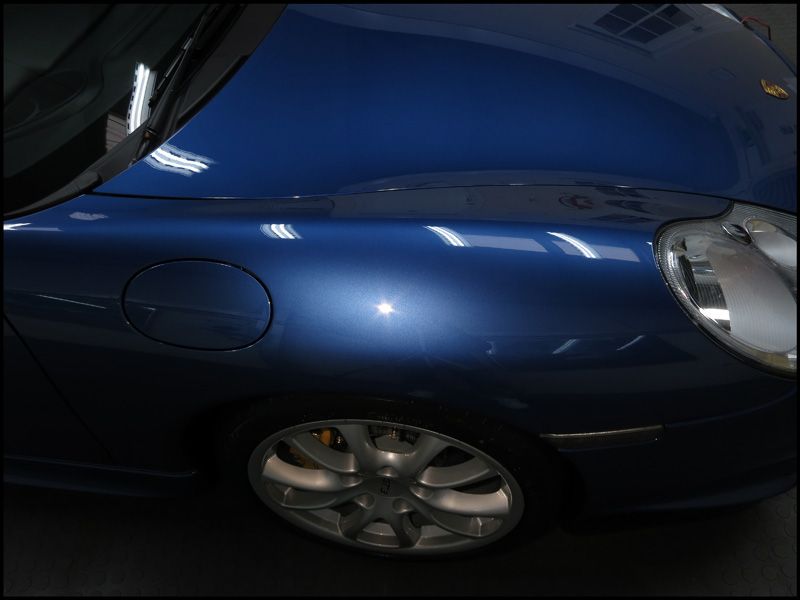
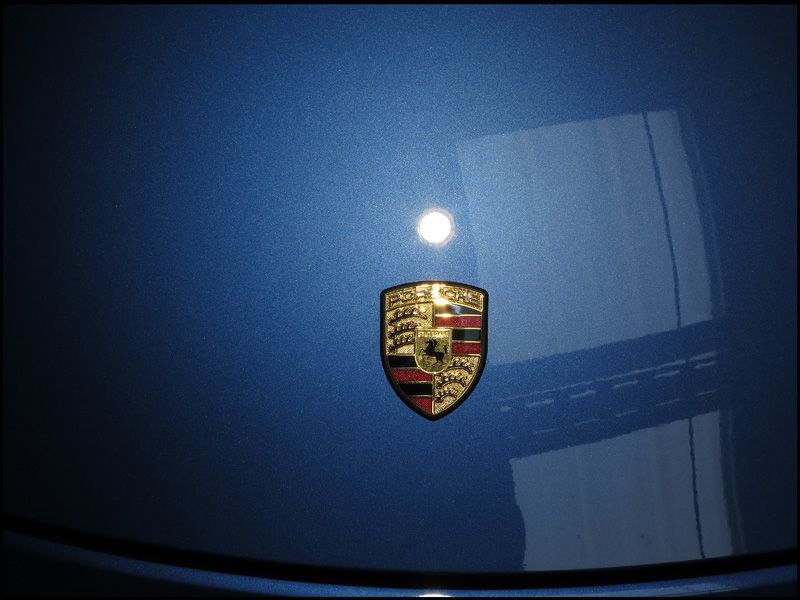
Thanks for looking - hope you like
P.S - don't worry, the car will get driven as much as it gets cleaned!
After selling my much loved Impreza WR1 back in November...
...This allowed me to start the long (or at least so I thought)search for it's replacement. What I was after was a Porsche 996 Mk2 GT3 Club Sport and it had to be in either Speed Yellow or Guards Red....
However approximately a week later a member on one of the Porsche forums contacted me saying he was moving to France in the summer and as a result his much pampered Club Sport was potentially available. It wasn't Yellow or Red but after getting full details of the car and sending a much respected Professional Detailer round to inspect it for me a deal was done - the car was just too good to miss!
Brief spec of the car was as follows:
- Just over 11,000 miles!
- Litronic Headlights.
- Porsche Ceramic Composite Brakes (PCCB)
- AC/Climate Control.
- FPSH.
- RS Air Intake.
- PARR Fast Road Set Up.
So the following weekend and after nervously watching the weather forecast as the snow continued to come and go my Dad and I flew down to sussex to collect the car. We couldn't have been more fortunate with the weather as it stayed completely dry 99% of the journey home except for a bit of rain at Birmingham and Glasgow.
Once I got it home on the Saturday evening I gave it a thorough rinse off just to get rid of the majority of dirt until the next morning.
Sunday AM arrived and I was back at work as soon as it was light enough to get the car washed and get the underside all cleaned to remove any road salt:
Luckily the underside was still pretty clean so a good going over with a citrus degreaser was sufficient:
The plan is to get the underside completely sealed and protected with an undercarriage wax but the existing protection is still very good so that's for another day and another write up entirely!
From here on in not everything may have been done in this order but as the work was carried out over the last 3 weeks or so it's easier to read if I do it in this way
The wheels were removed to give the arches a quick going over to remove the worst of the dirt before paying more attention to them inside:
A combination of road grime and old wax protection applied from the factory detracted from the look:
So after a thorough degrease and old wax removed with a tar and glue remover the arches were ready to be sealed with a new coating.
Masked up to prevent any overspray landing on the car:
After a bit of research it seemed Bilt Hamber's Dynax UC was what I was after:
I'm not a fan of Black or Brown wax oil type products so with the Dynax UC's completely transparent appearance and corrosion inhibitors it seemed to be the perfect choice.
Rear arch after a bit of polishing and application of the Dynax (I'm going to have to sort the flaking paint on the springs as it's driving me mad!):
Front arch done:
This pic shows the wax approx 10 minutes after application (3 thin-ish coats) - now that it's dried completely you can't even tell it's been applied:
Now onto the discs and calipers:
The long rod is one of Porsche's wheel removal tools which prevents the wheel from chipping those pricey discs. I ordered a 2nd one for extra safety and they really are such a simple but effective thing to have, especially for the rear wheels which are substantially wider than the fronts
The centres were slightly dull and had a bit of water spotting but a bit of light polishing with some metal polish did the trick:
The calipers were then cleaned with IPA...
...and then sealed with a glass coating:
Same coating also applied to the wheels while they were off:
Back on and looking good!
With the wheels and arches sorted it was then time to sort the paintwork out. First of all I removed the GT3 badge to allow for polishing behind:
A line of tape accross the letters before removing keeps the spacing correct if you plan to re-use it.
I later fitted a Club Sport Decal instead as it makes cleaning easier and saves a bit of weight
Overall, for a car that had never seen any paint correction before (the paint is all original too except for the air intake on the engine lid) the paintwork was in pretty good condition with just the odd collection of random scratches here and there.
The paint was really sticky (common theme with Porsches and especially the 996's) but fortunately this usually means the paint is easily corrected as sticky paints tend to be on the soft side. As a result, even the deeper marks were easily removed with the DA machine.
A few progress shots:
Rear wing removed to gain access underneath:
Rear light clusters before and after:
Rear quarter before and after:
The plastic panels of the car were slightly tougher so a Microfibre cutting system was used:
With the first stage of correction complete I took a break from polishing and decided to fit some new light bulbs that had arrived.
The orange indicator's were replaced with some nice chrome ones (that still flash orange):
This really freshens a car up in my opinion:
The same was done for the rear.
I also replaced the front side lights with LED's as their yellow appearance looked horrible compared to the white light of the Xenons:
Number plate lights also got the LED treatment, I think it's fairly obvious which one is which:
The interior also got the LED treatment:
Whilst I was messing about with electrics I wired up a quick release plug from my battery conditioner to the battery to save having to remove the compartment lid every time I wanted to take the car out the garage:
Back to polishing now. The first stage had created a bit of dust so I gave the car a rinse off outside and then dried with the air drier.
Stage 2 was the refining stage to really bring out the clarity in the paintwork:
While doing the driver's door I noticed the lock could do with a bit of a spruce up so 30 seconds with a cotton bud and some metal polish did the trick:
With the machine polishing finally completed and after a dust down with a lambswool duster the paintwork was then waxed.
Tailpipes polished:
The exterior glass was cleaned with IPA and then protected with a Glass Sealant:
Interior glass being cleaned:
Including the absolute pain in the backside that is the rear screen - thanks largely to all the scaffolding getting in the way!
An Acrylic Sealant was applied to all the exterior window rubbers and plastic trim:
Sills also protected:
Same for the splitter...
An all in one product was then used to polish and protect the door shuts:
Engine bay paintwork also done:
Another small job for the metal polish:
I then dusted down the interior...
...before removing the padding from the seats to be able to hoover more thoroughly:
The leather and vinyl then got a wipe over with a damp MF towel leaving this:
Engine bay after being dressed with a water based product:
Finally it was finished, well done if you made it this far and here are the after shots
I then took a few pics outside as it looked like the sun was about to burst through...
True to form though, it never did come out so I had to put the car back inside and make do with some imitation sun instead
Thanks for looking - hope you like
P.S - don't worry, the car will get driven as much as it gets cleaned!
Edited by Polished_Bliss on Friday 4th January 22:45
Edited by ClarkPB on Friday 26th September 22:39
Edited by ClarkPB on Tuesday 6th October 16:20

Porkupine said:
Absolutely stunning. And great right up.
The colour is just awesome. Suits the car so well. I was surprised. Dont think ir seen a 996 in cobalt.
The fact it's not very common was one of the main reasons I hadn't considered it as I had basically forgotten about the colour but now I have it I'd have to say it should have been near the top of my list!The colour is just awesome. Suits the car so well. I was surprised. Dont think ir seen a 996 in cobalt.
There is another cobalt GT3 for sale on PH at the moment,185k on the clock


Gassing Station | Readers' Cars | Top of Page | What's New | My Stuff