
Vauxhall Nova Irmscher Sprint C Replica
Discussion


Here's a build thread for my Vauxhall Nova, I've copied over from another forum the last three weeks work. The car is fitted with a very rare irmscher sprint c wide arch kit, engine is a 290 bhp C20let. I will update the rest of the spec as the car is built back up. Proberly not everyone's cup of tea but some of you may find it interesting.
So after 10 years of ownership the paint work and general condition of the shell needed some attention. Over the years I've got the car pretty much how i want it, so there wont be to many major changes, just putting everything right.
The plans For this rebuild are as follow.
Remove any rust! After all, it is a nova.....
Fit door bars to roll cage And weld in spreader plates for rollcage.
Cut out old seat mountings and weld in new stronger rails.
Remove all unwanted brackets from car
Strip and re-seal underneath.
Strengthen around the Corsa brake servo as it tends to flex the battery tray
Fit braided fuel and brake lines
Fit quaife LSD
Replace the drivers side wide arch
Respray the whole shell
Clean and paint all parts before refitting
Plus there will be a few more purchases as it progresses
The whole build has to be finished by the end of may, so it ready for my yearly trip to lemans.
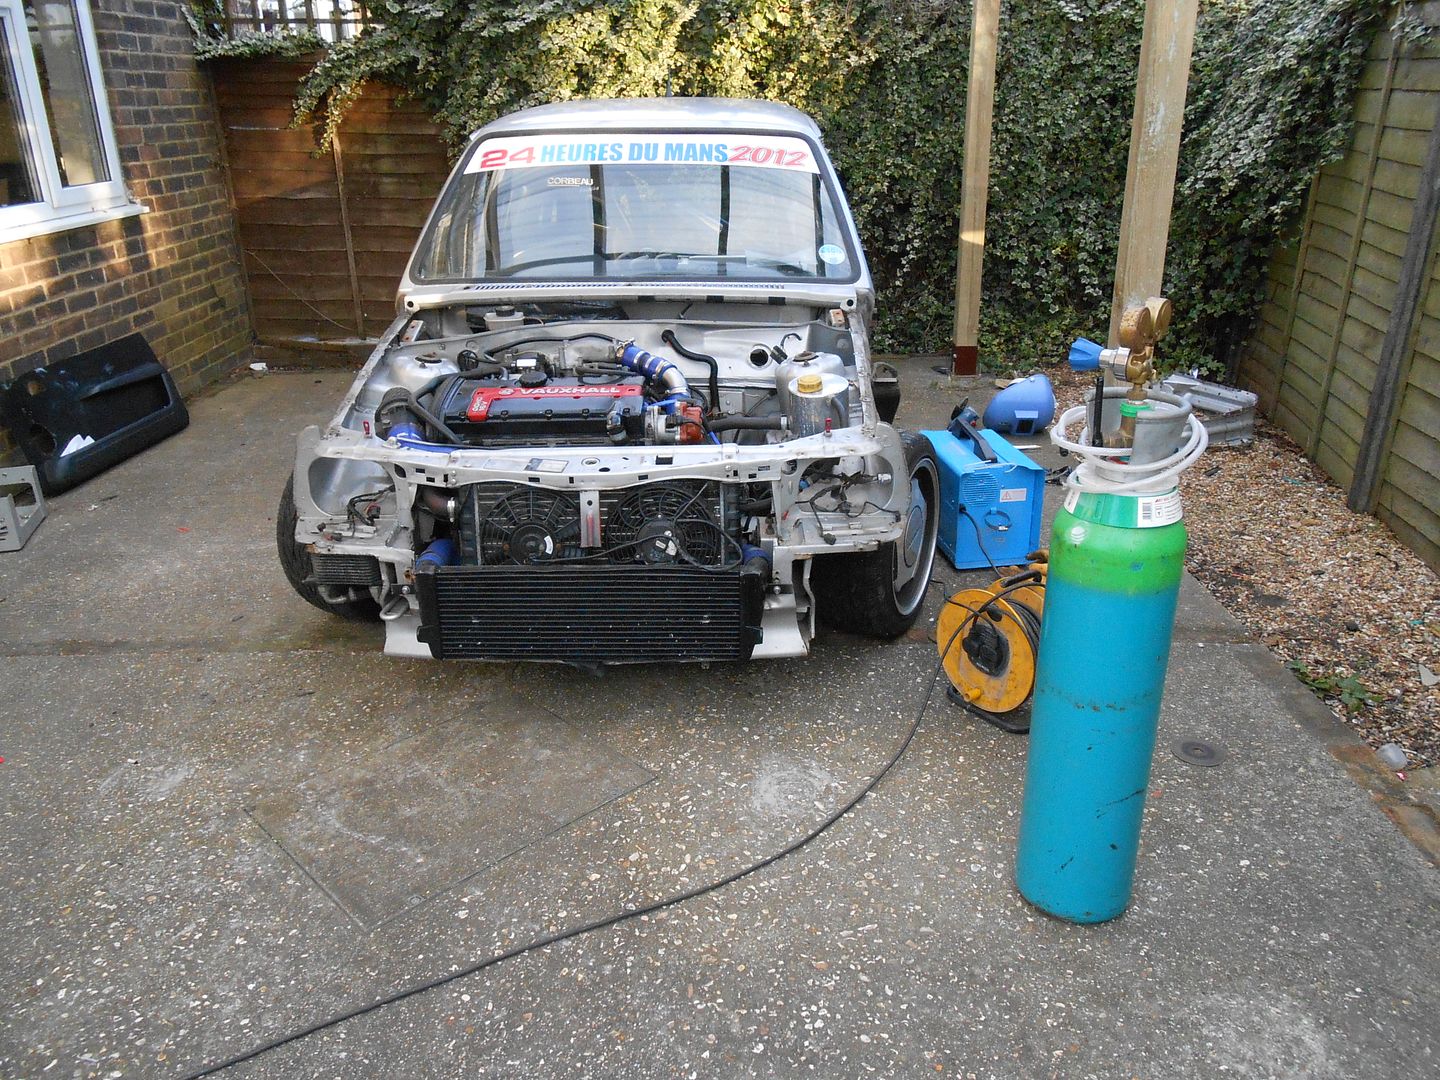
Here's how the car looks currently
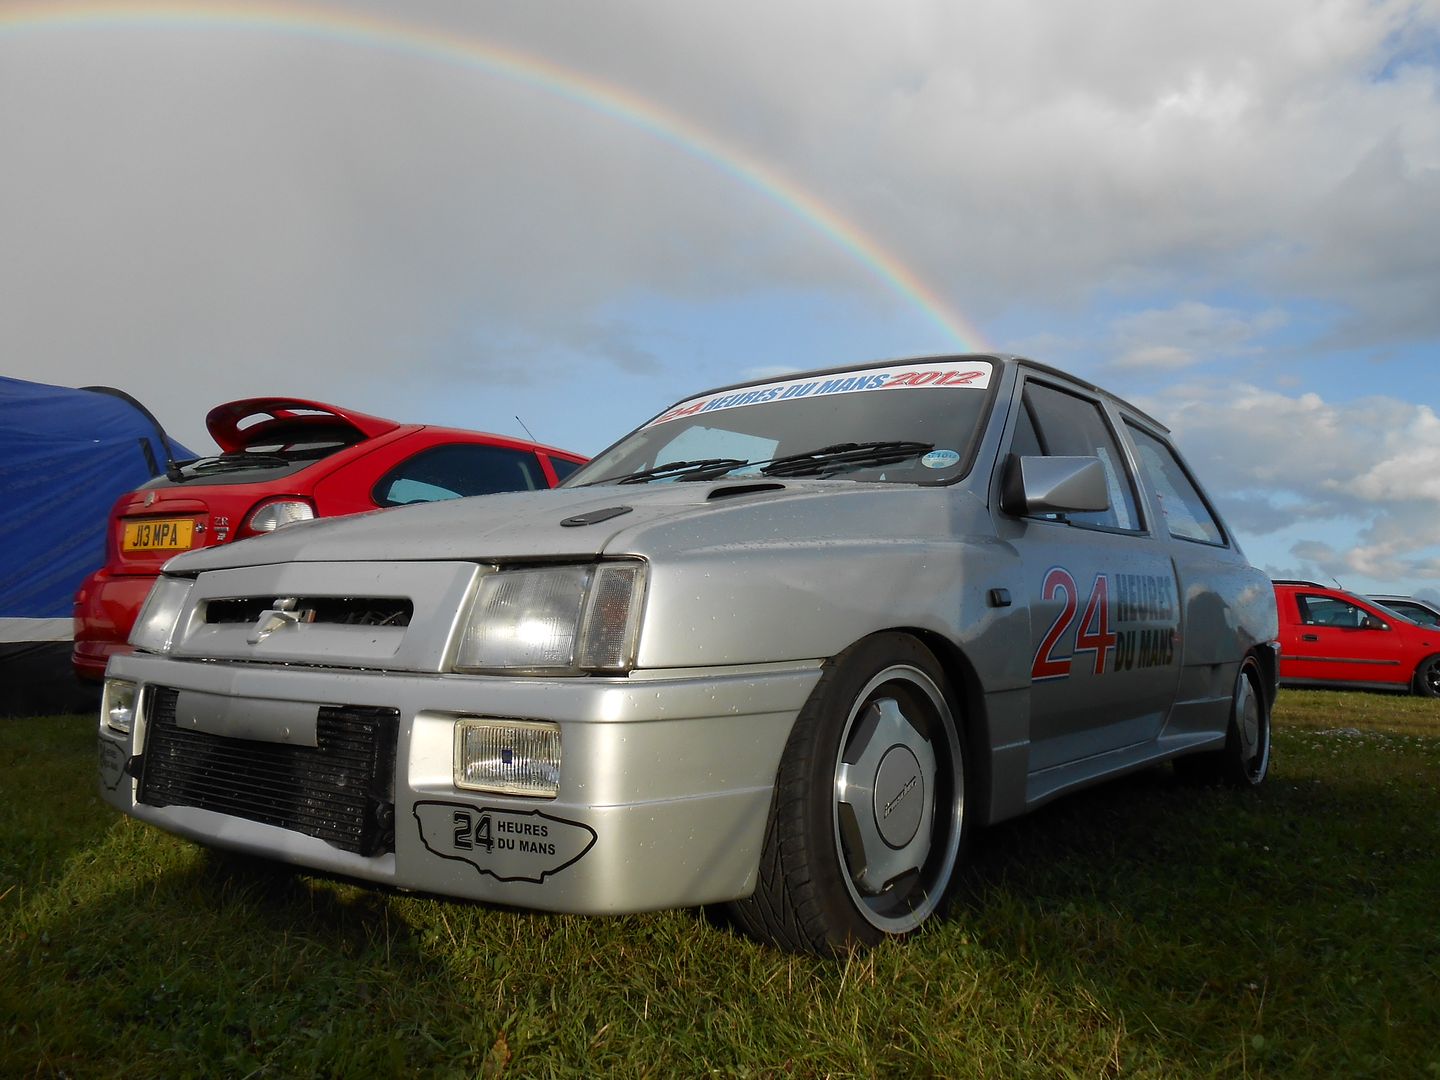
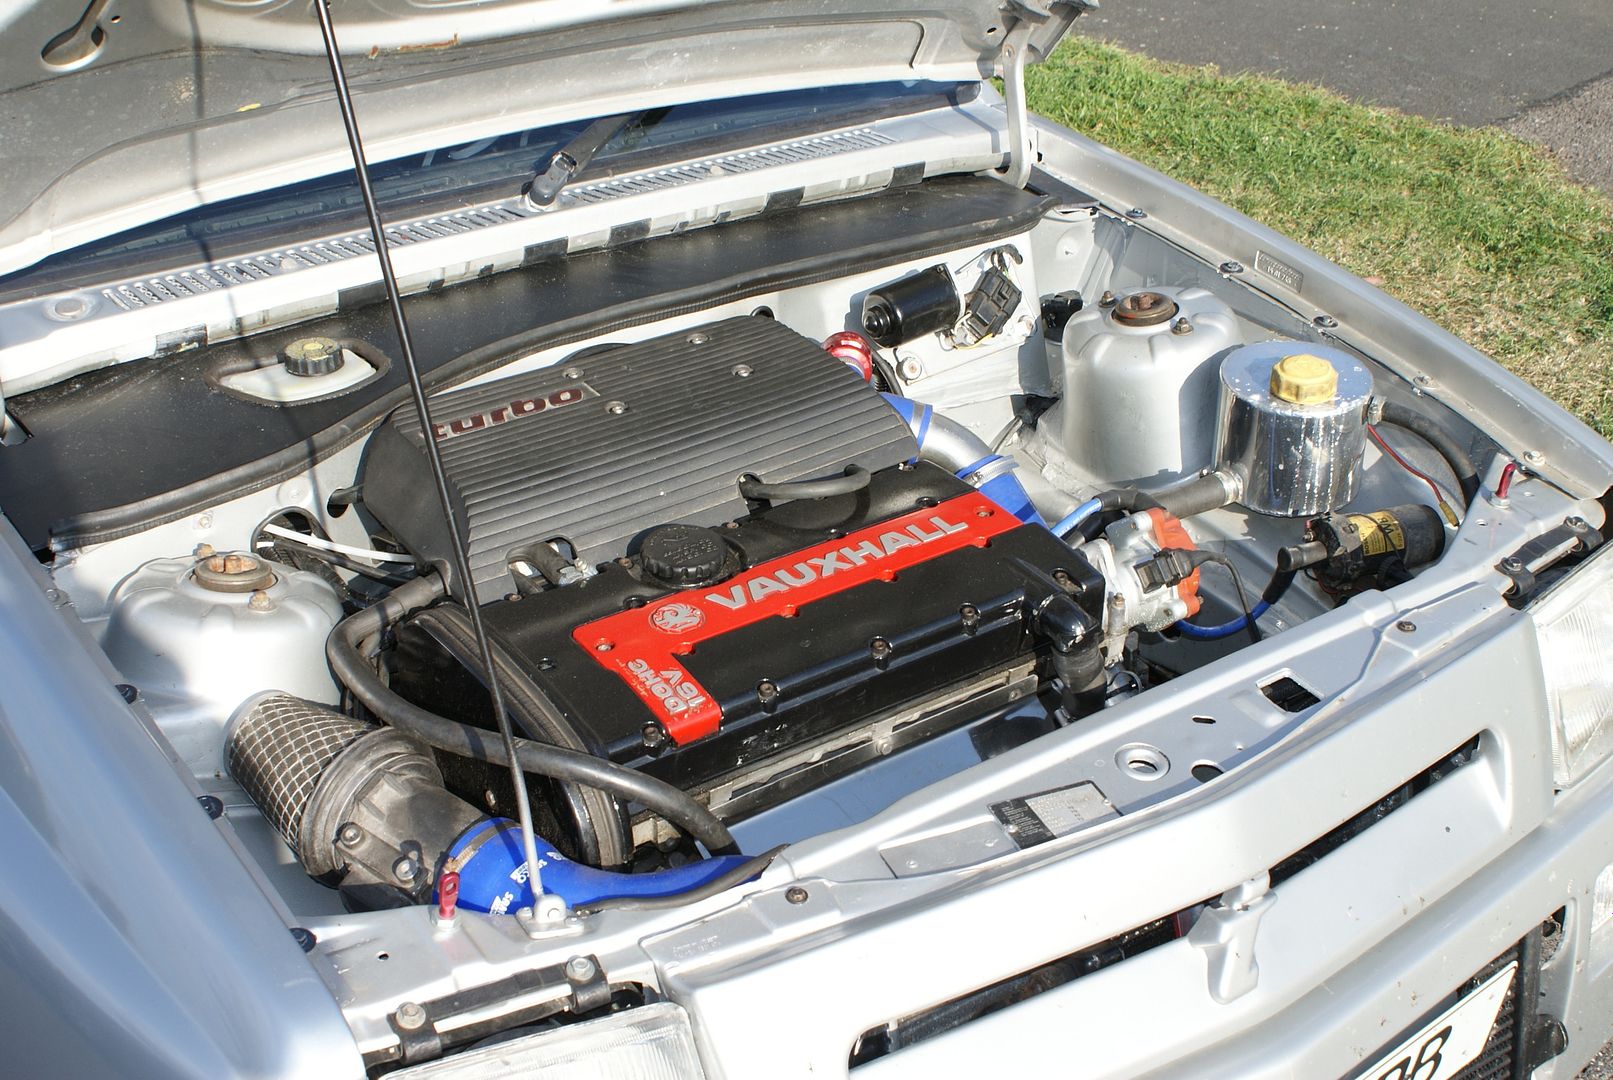
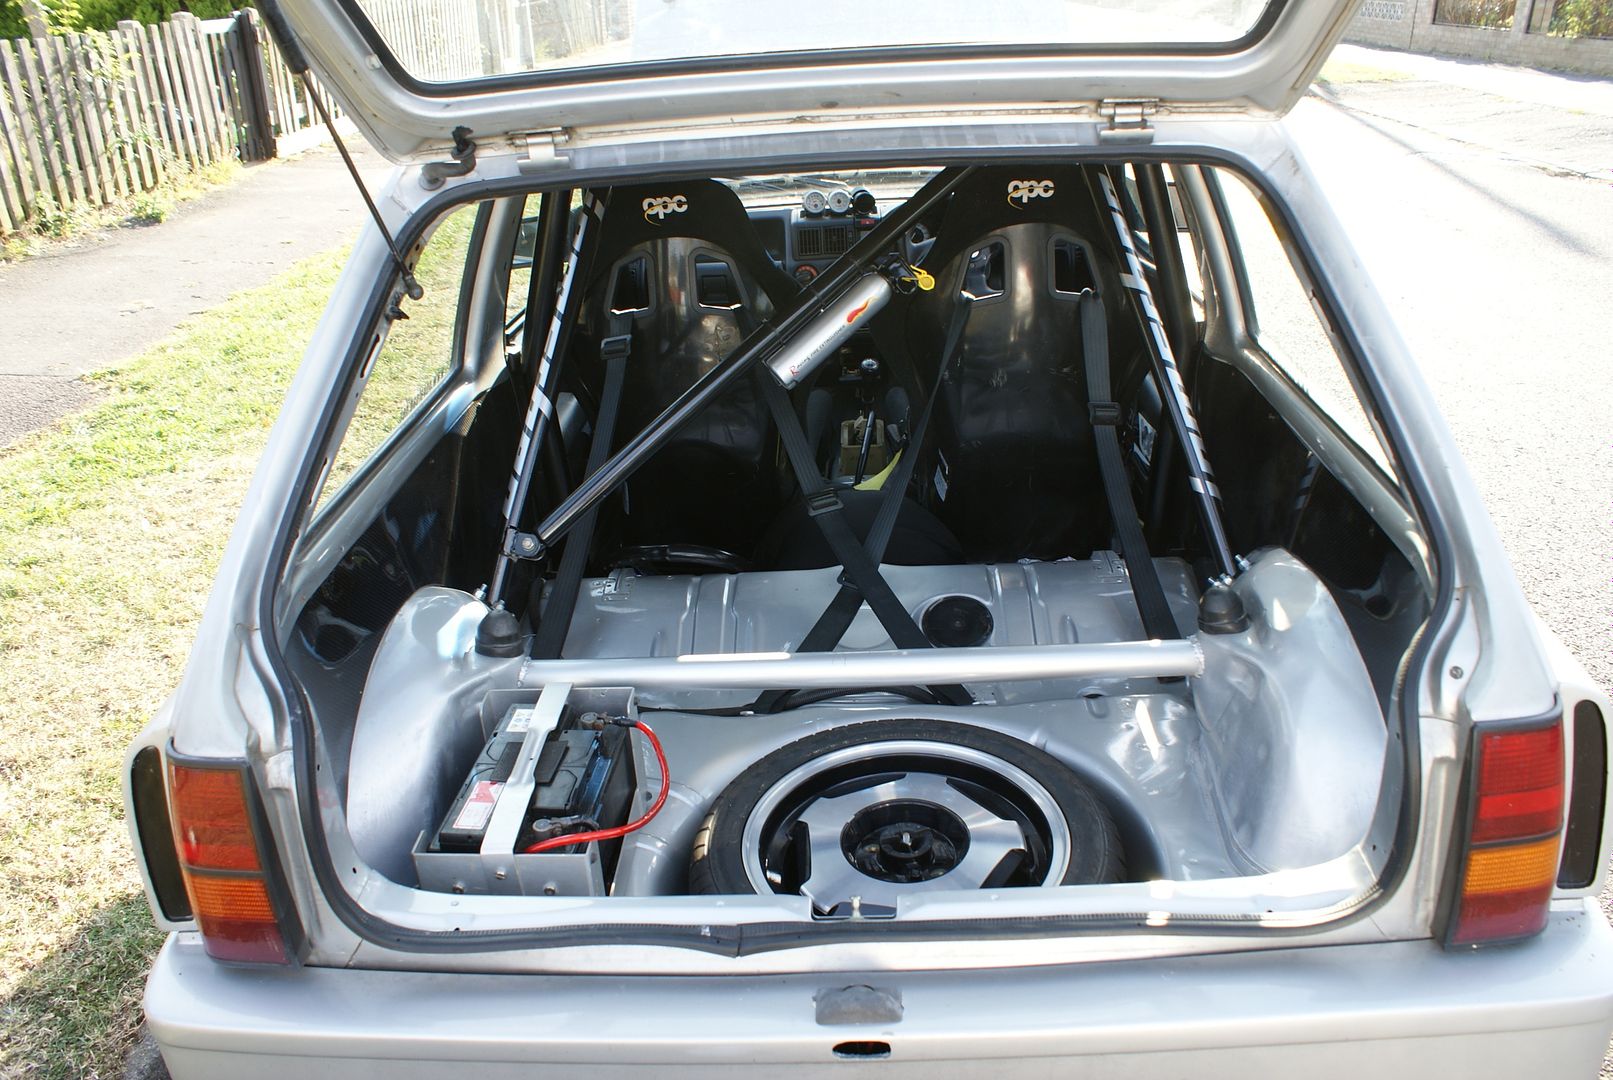
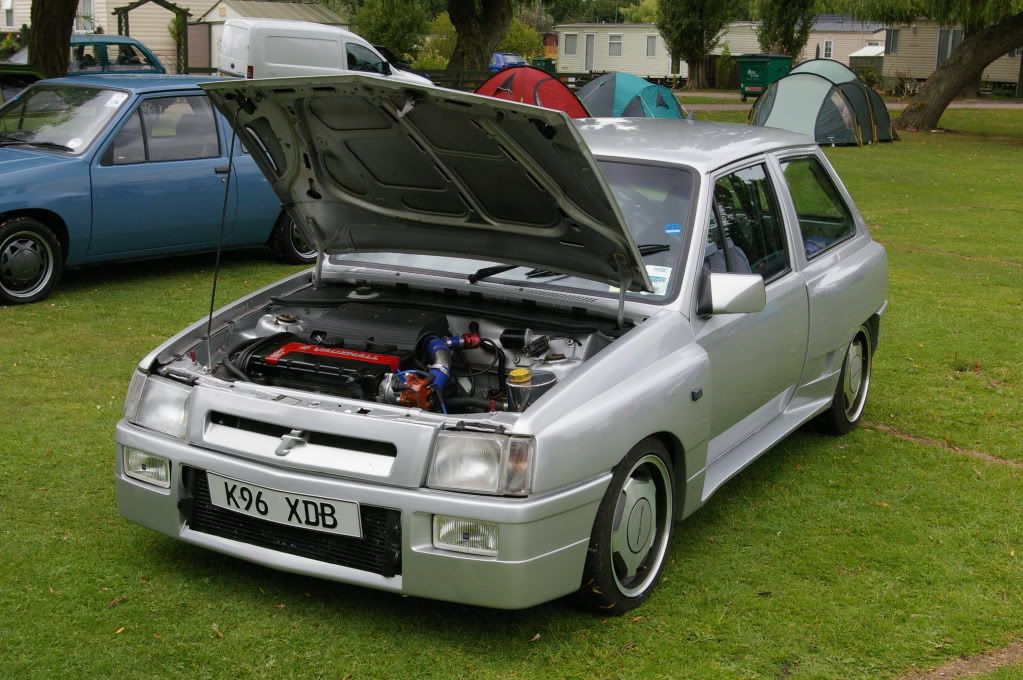
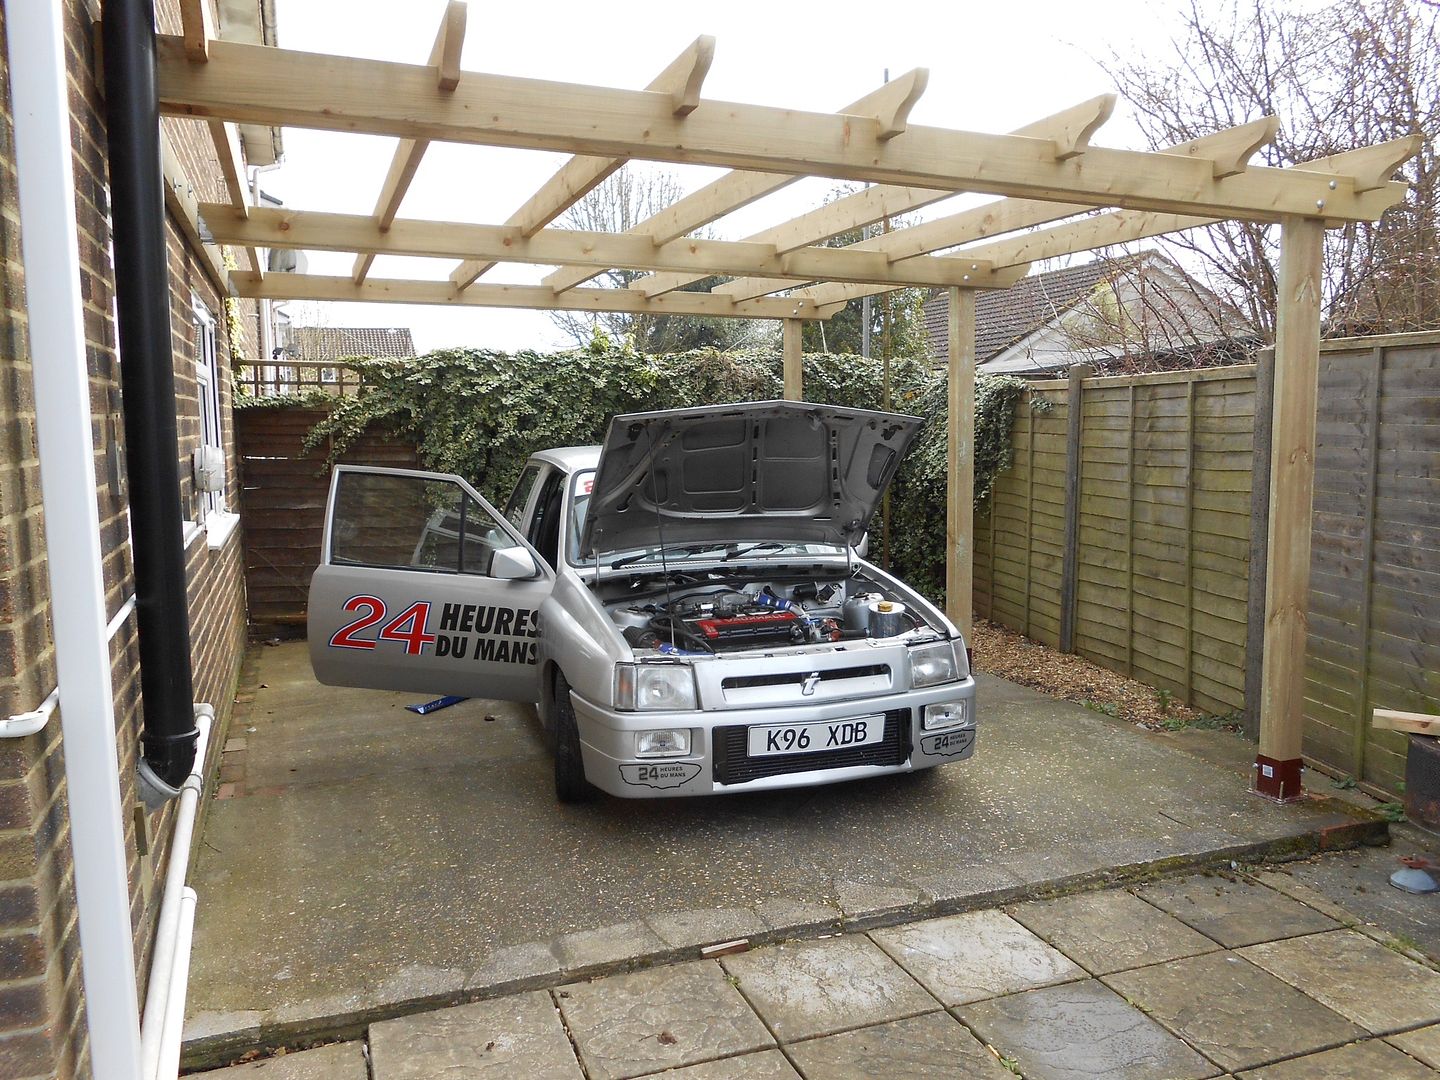
The first task was to build a shelter to work under as I don't have a garage at the mo.
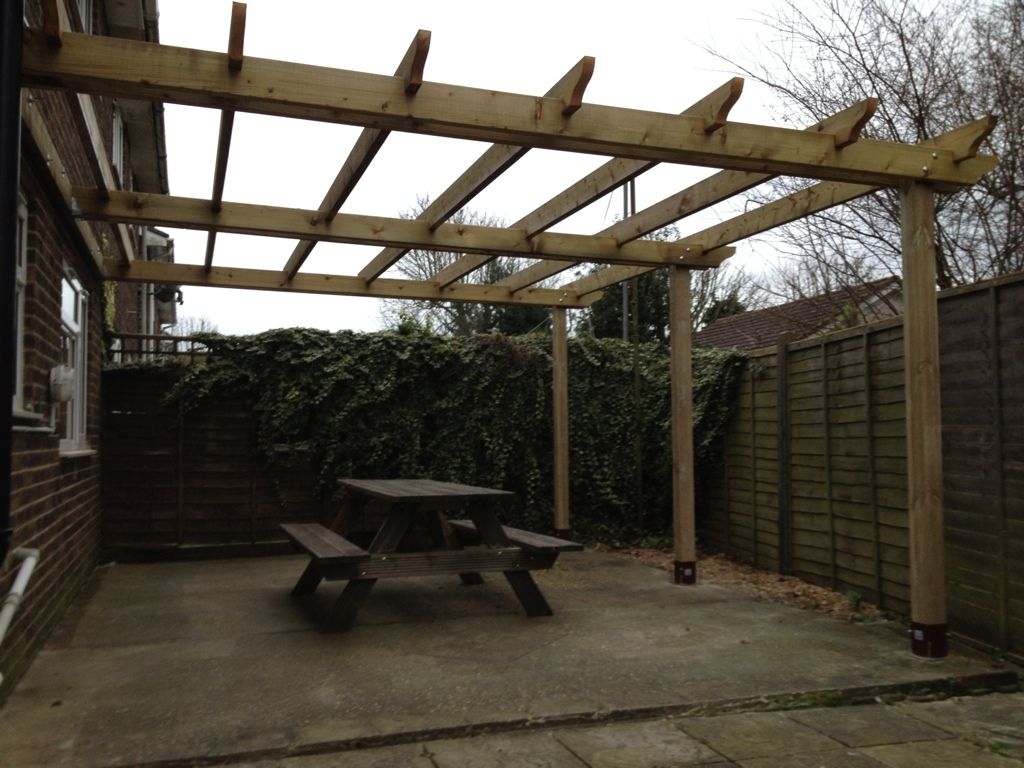
Nova is in its resting place for the next few months
Interior being striped out
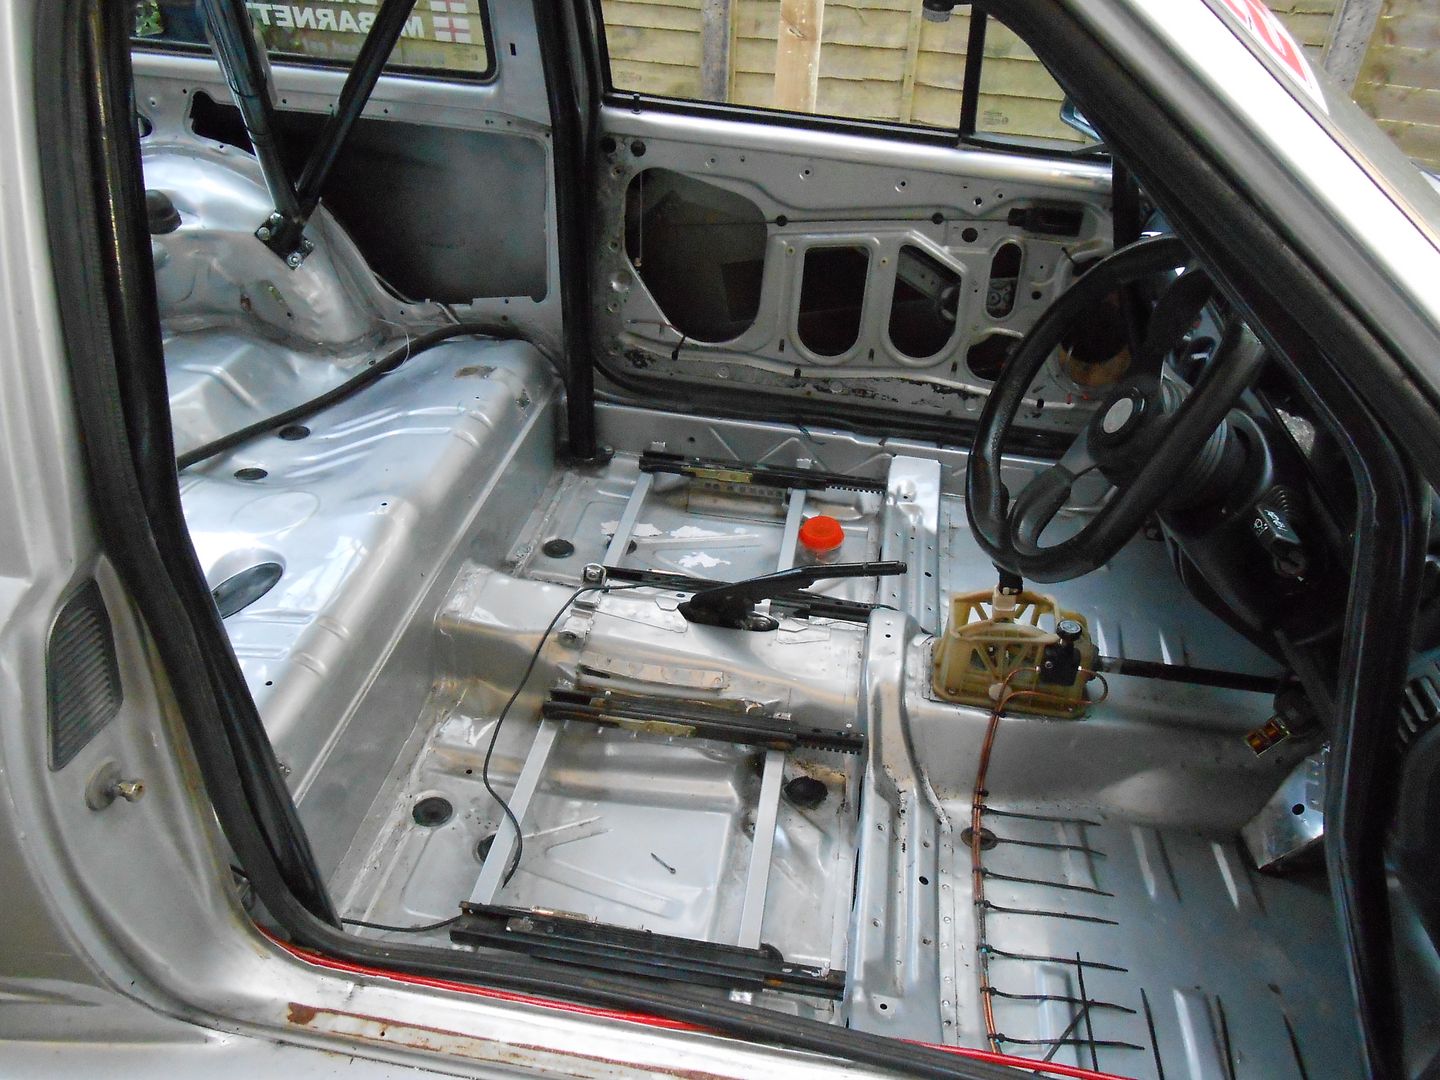
Seat brackets removed
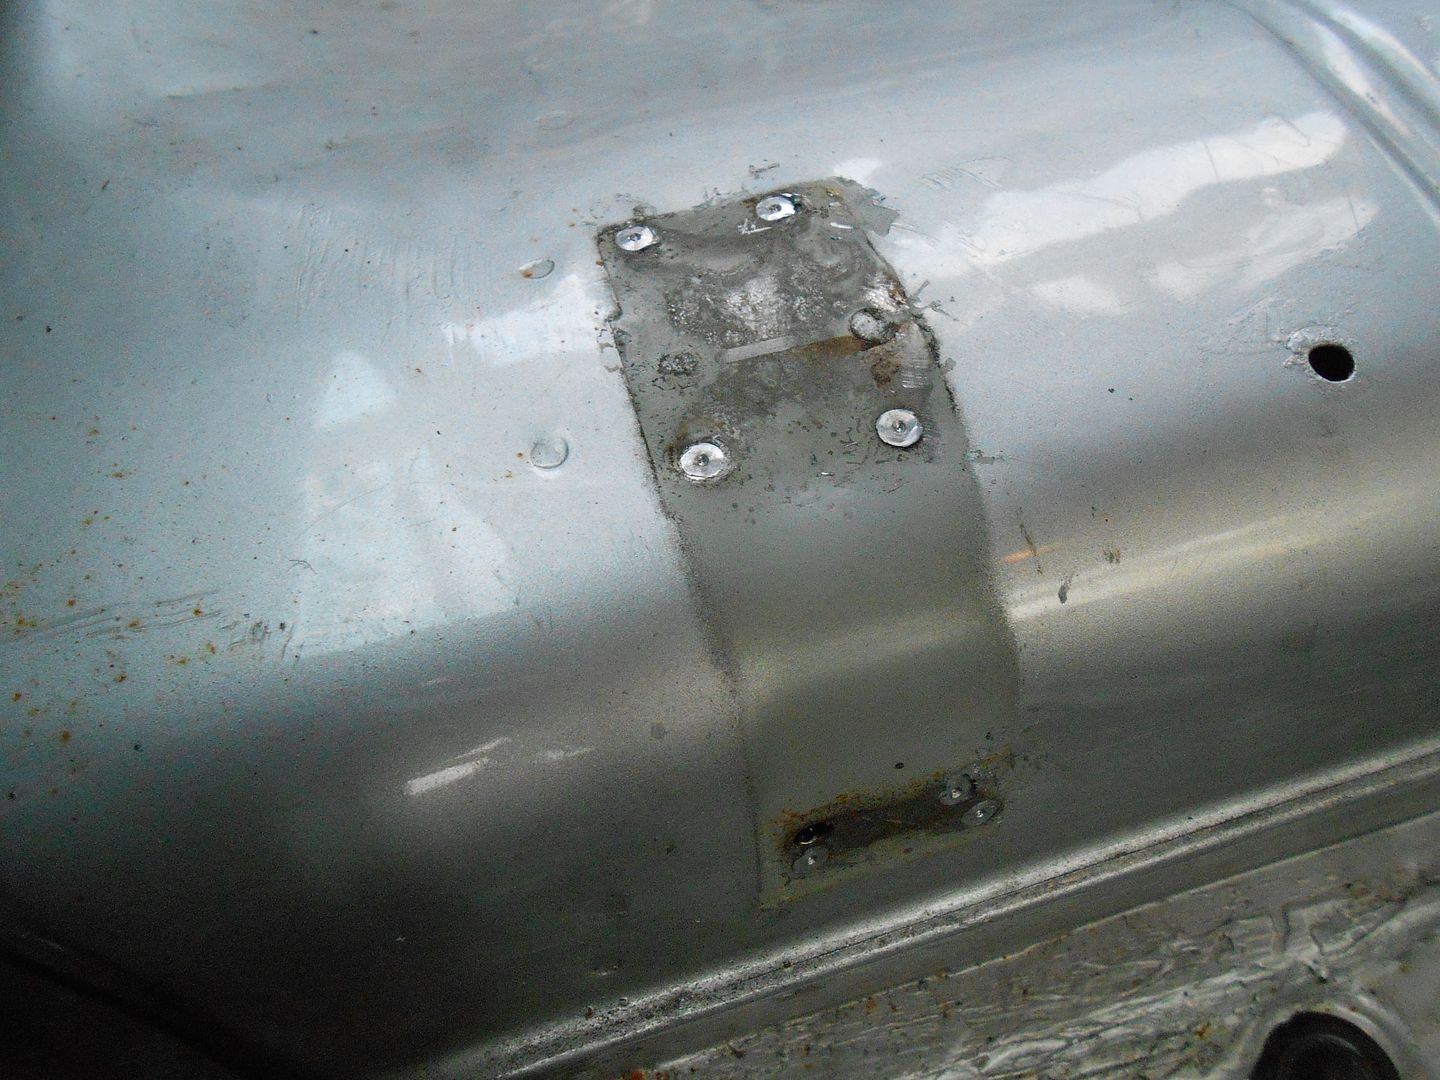
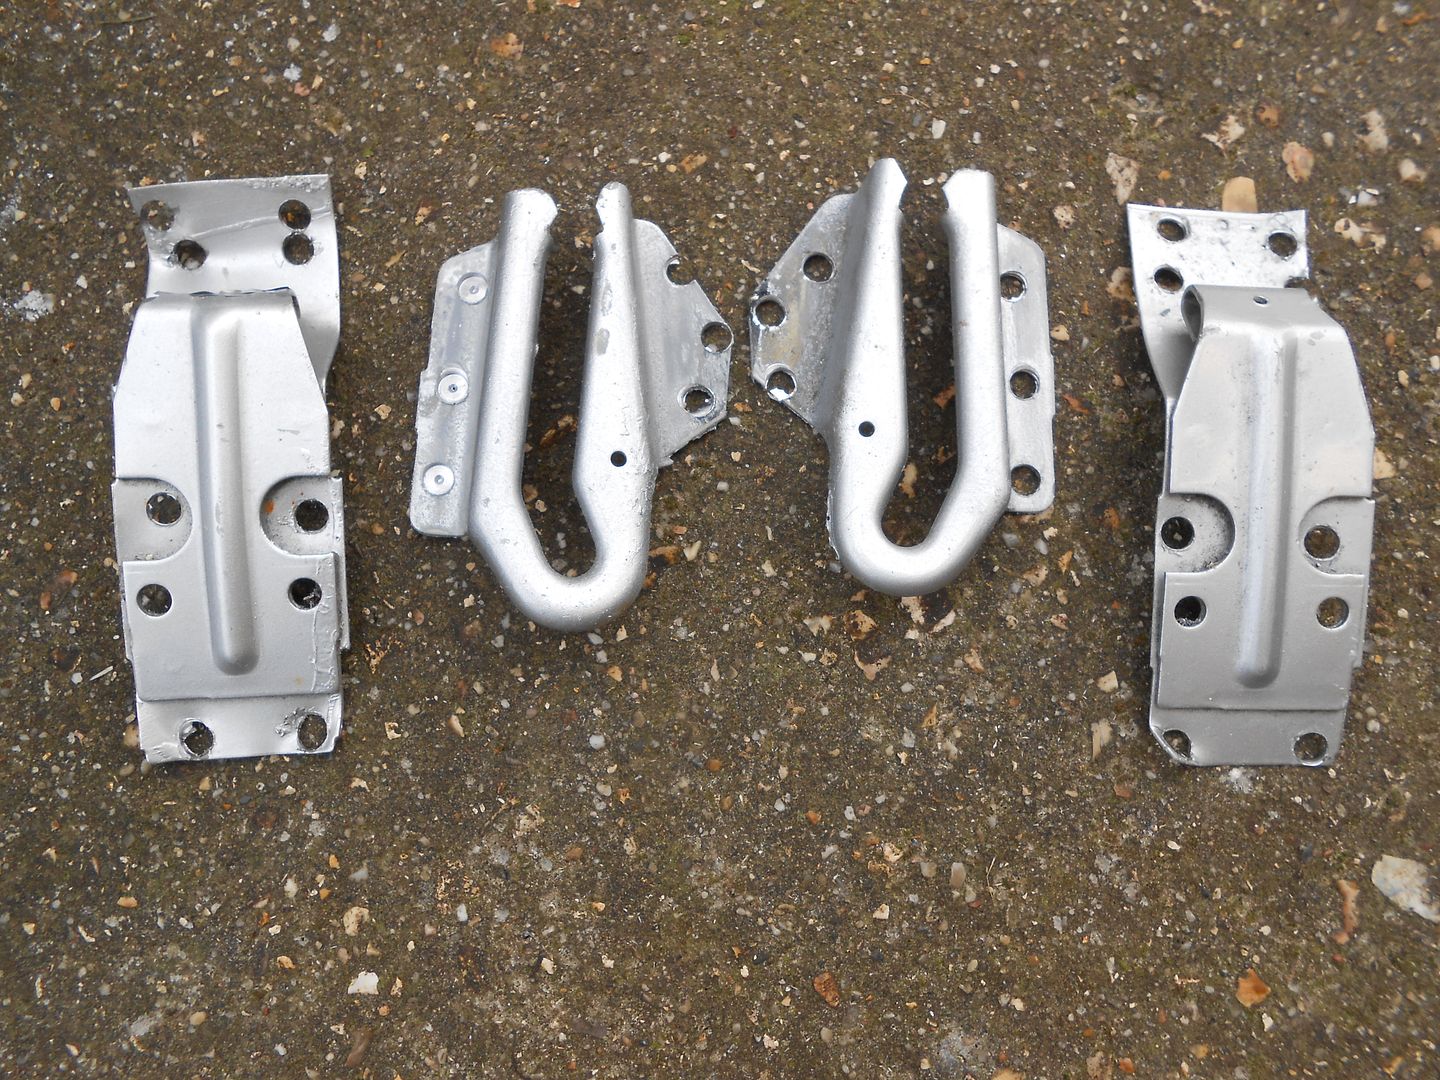
Cross member out, sick of drilling spot welds at this point
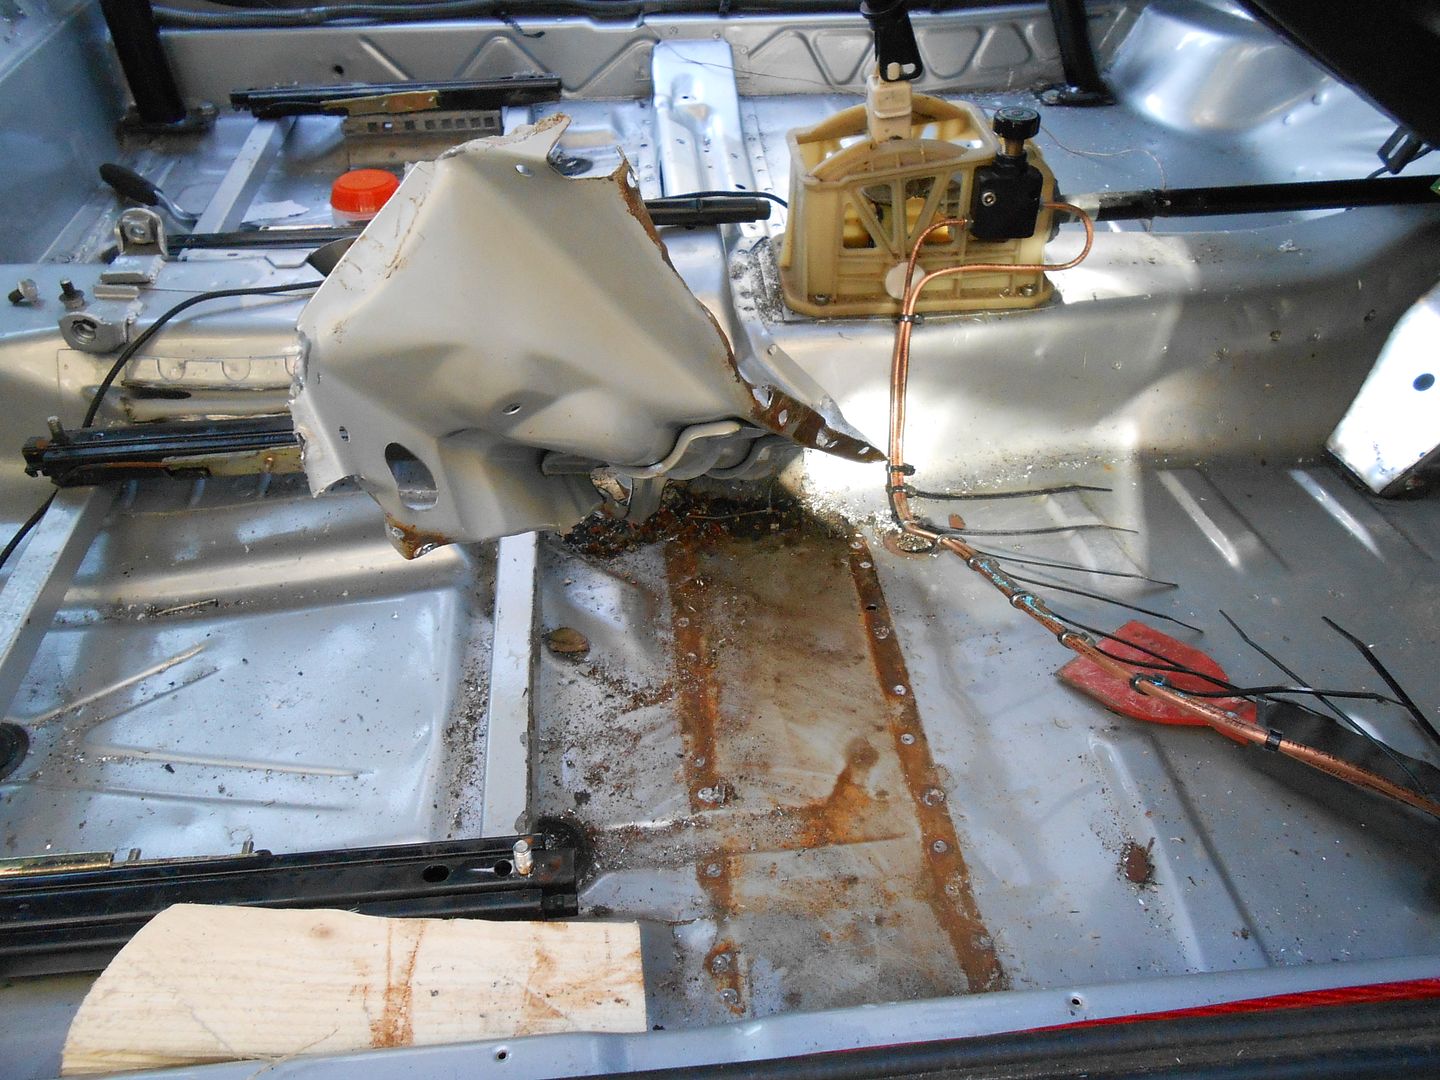
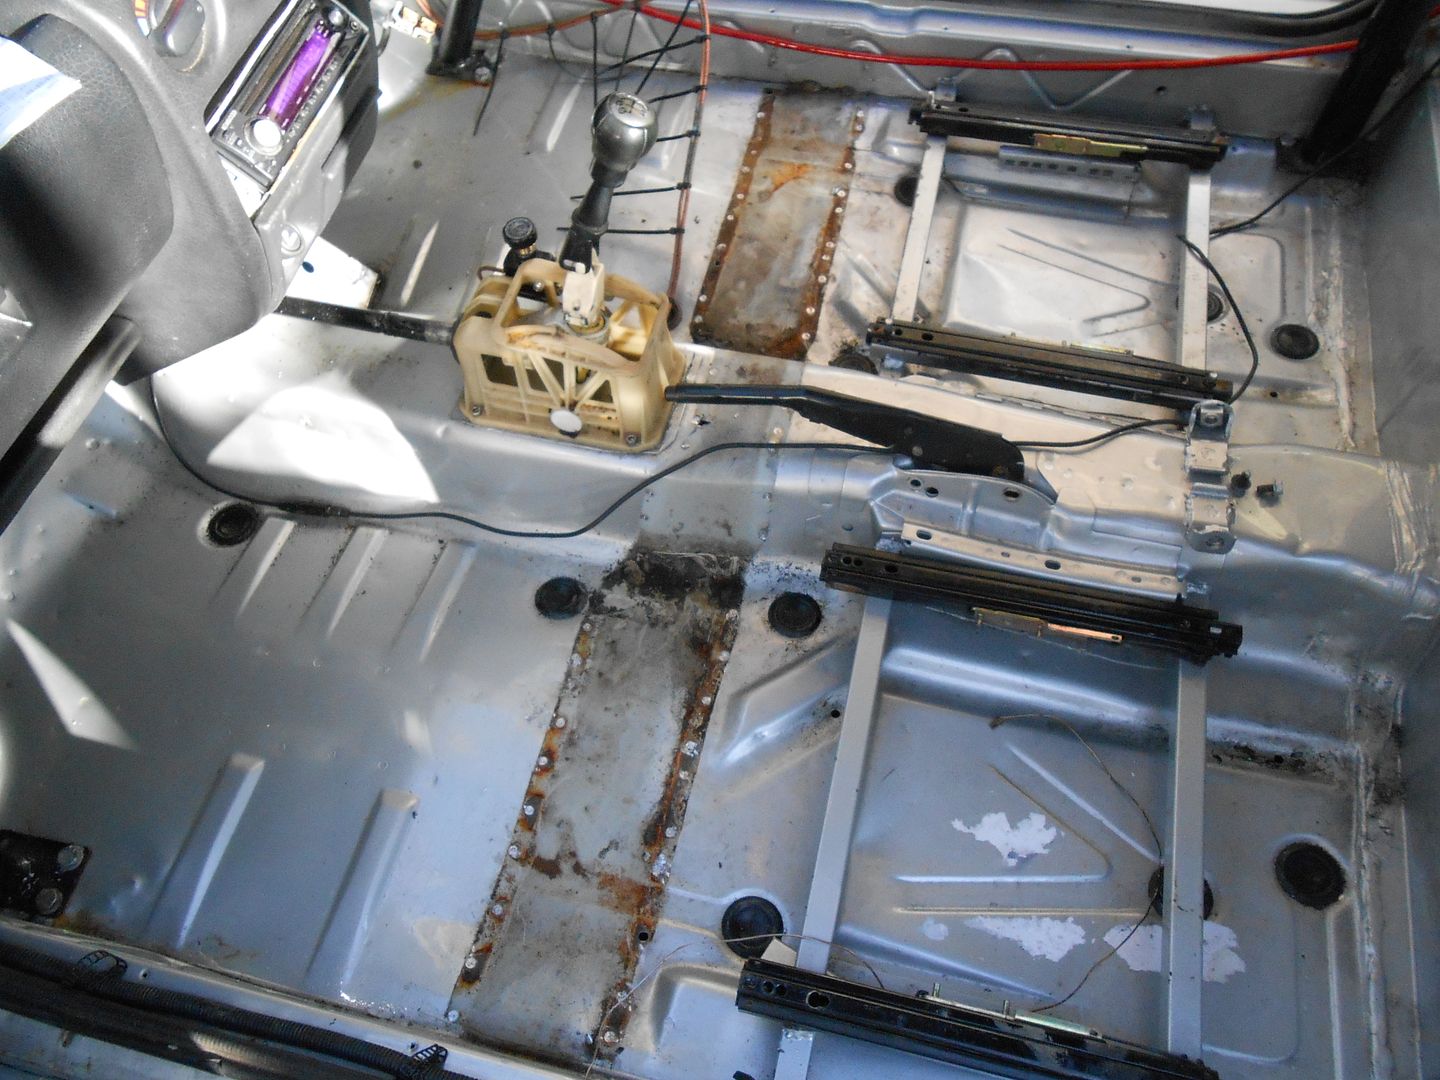
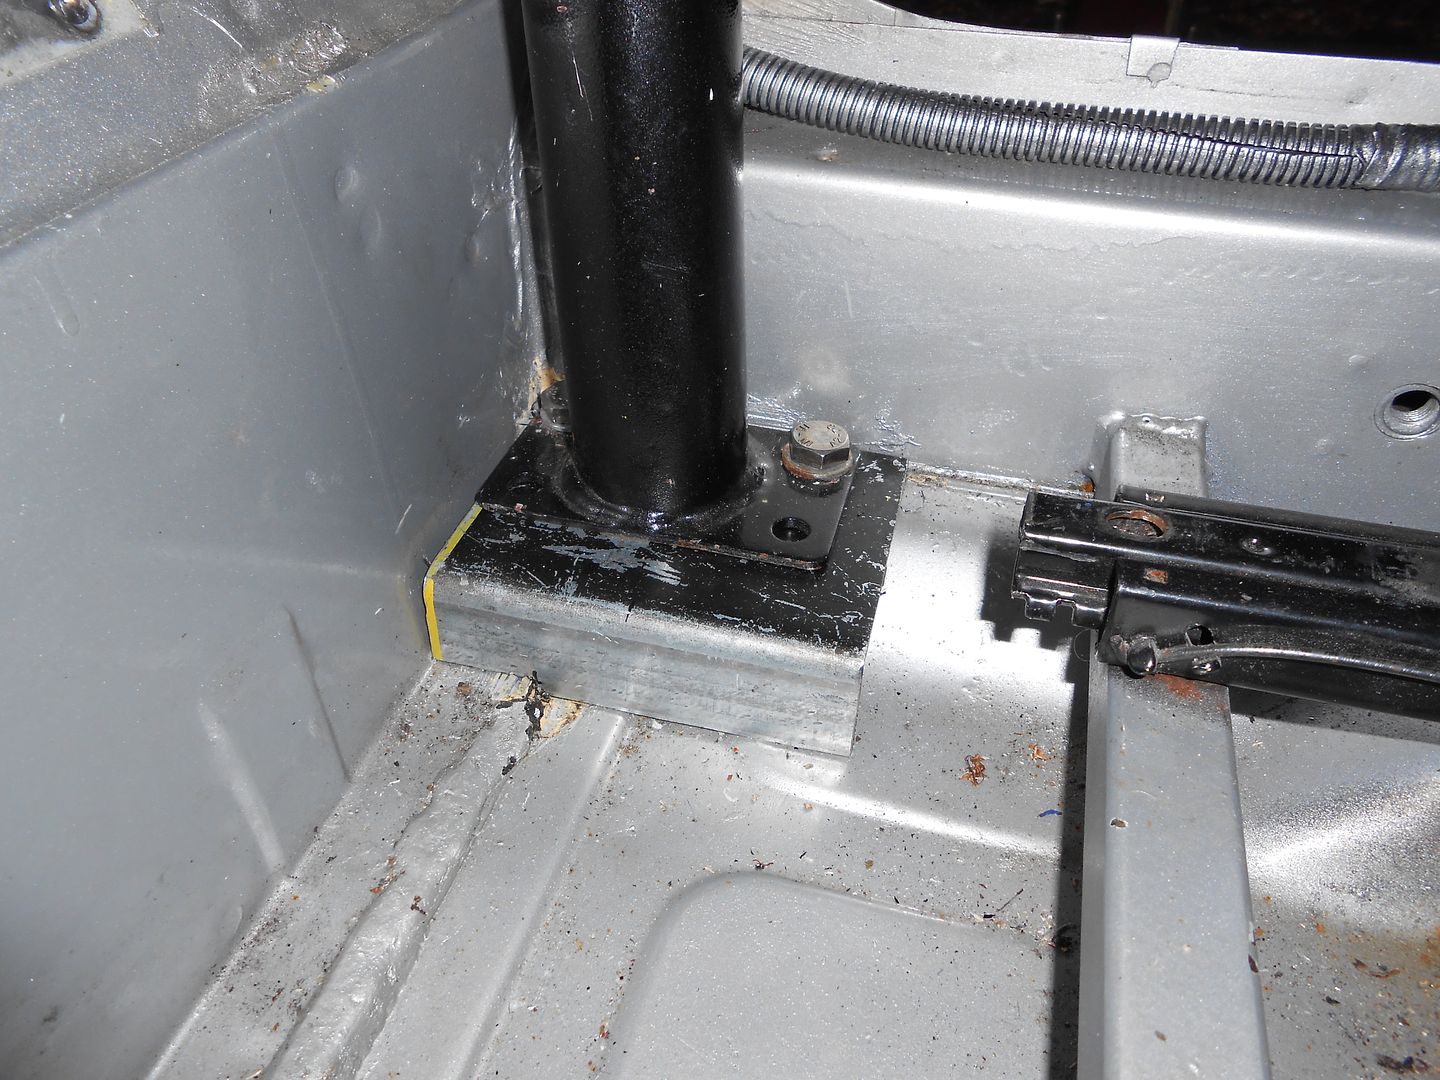
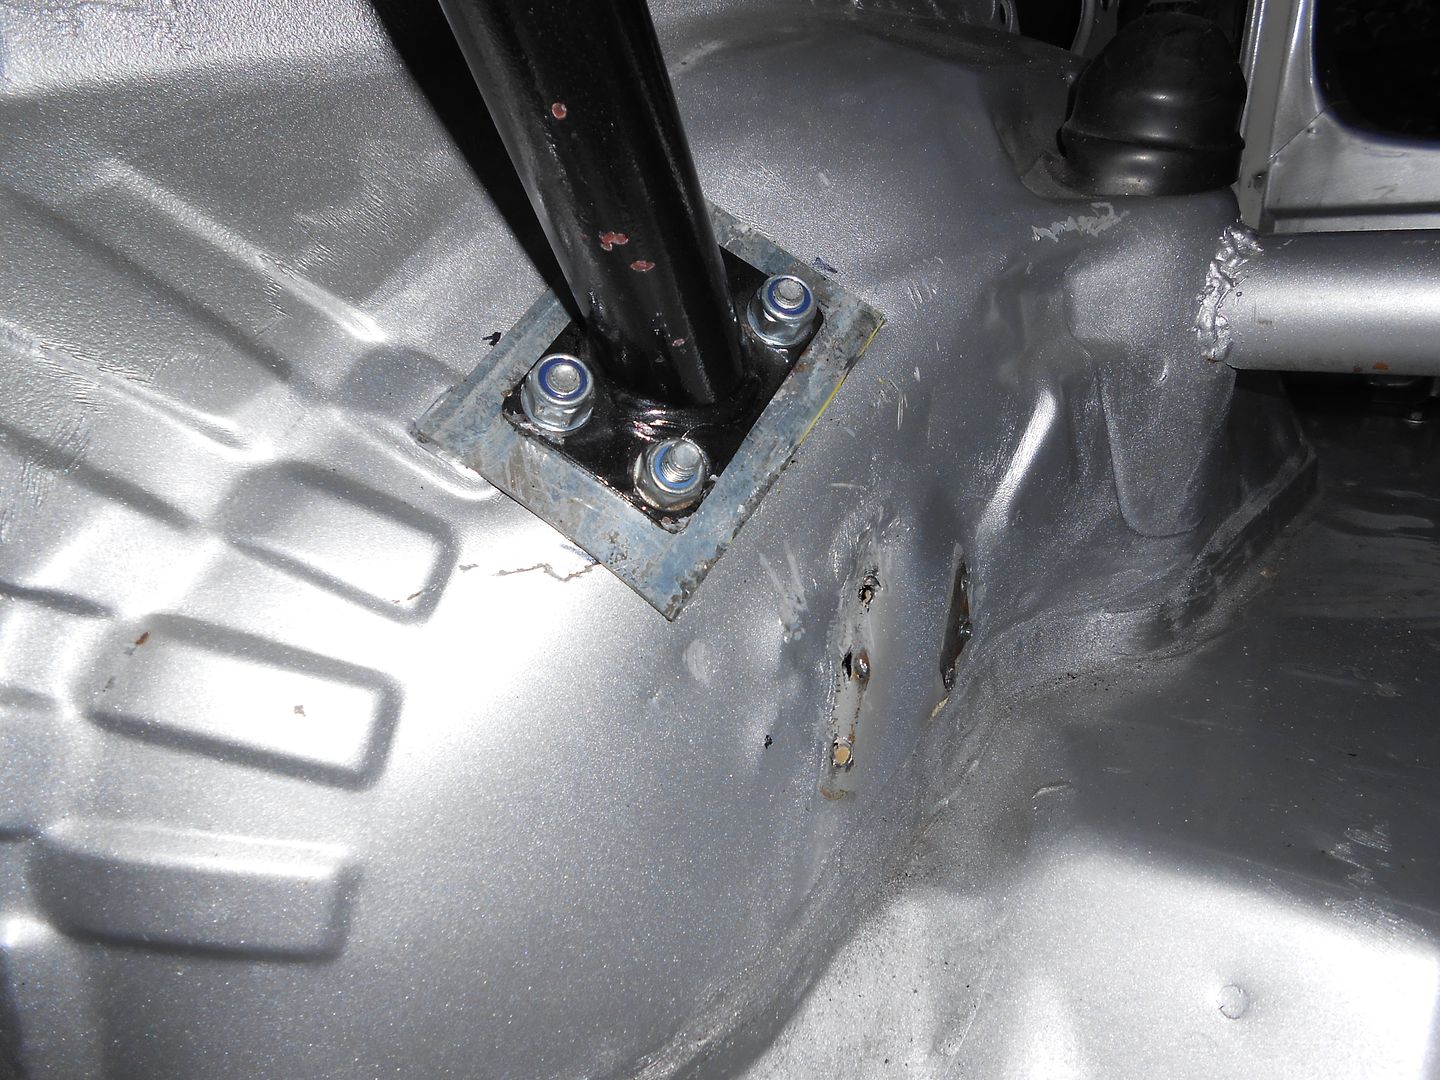
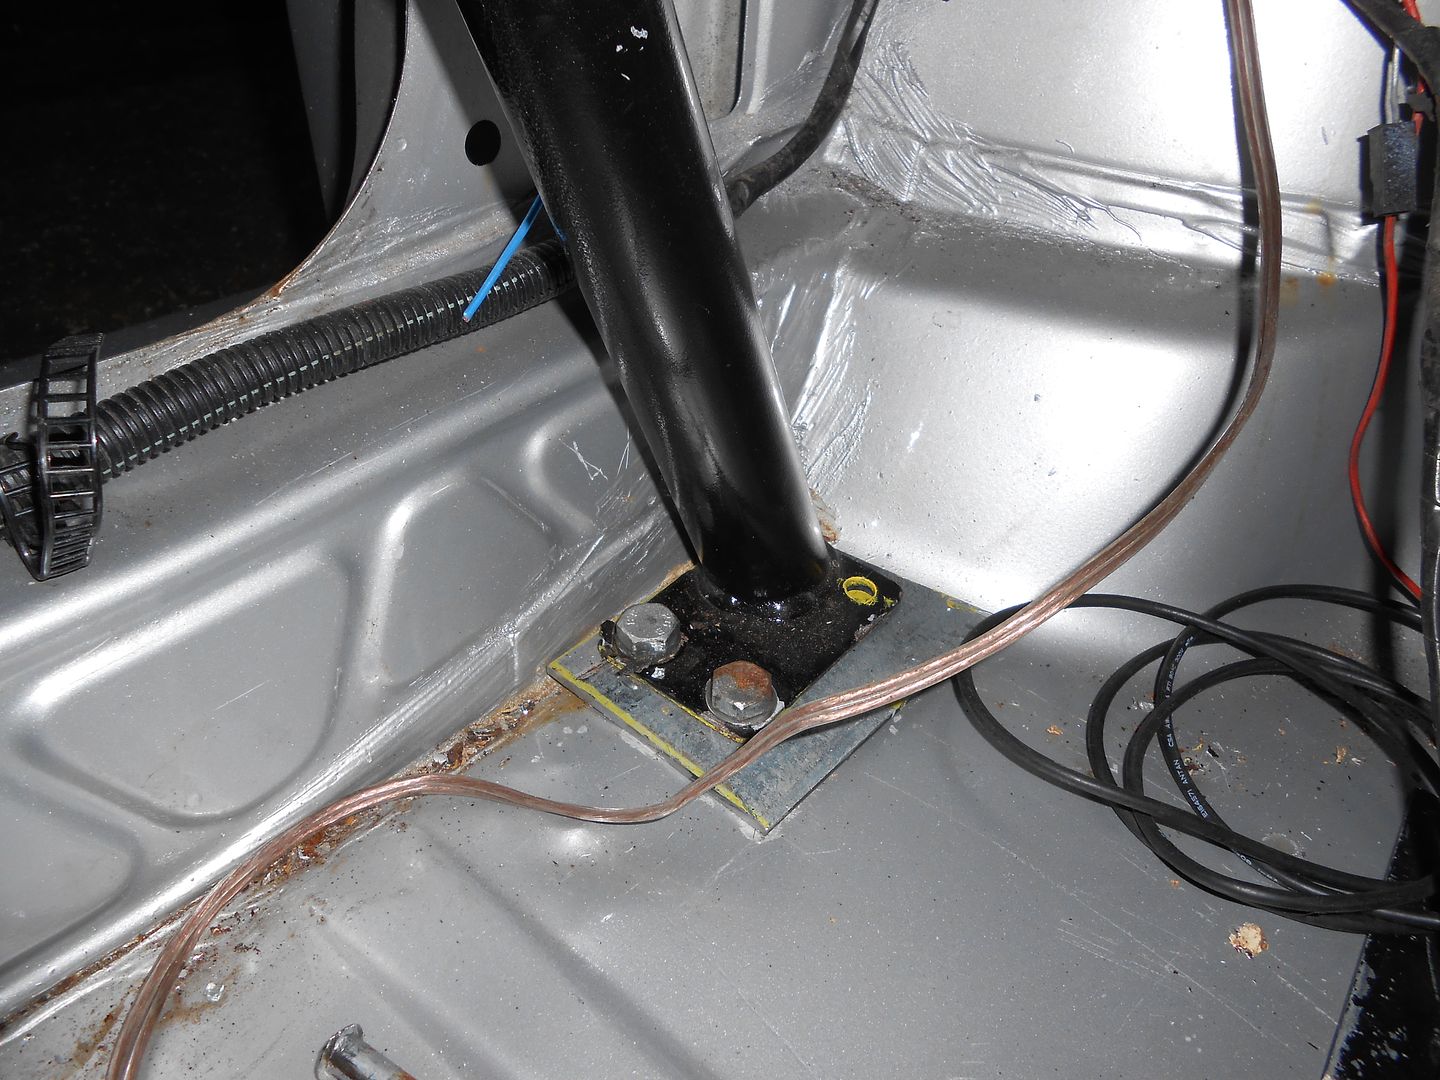
Spreader plates cut
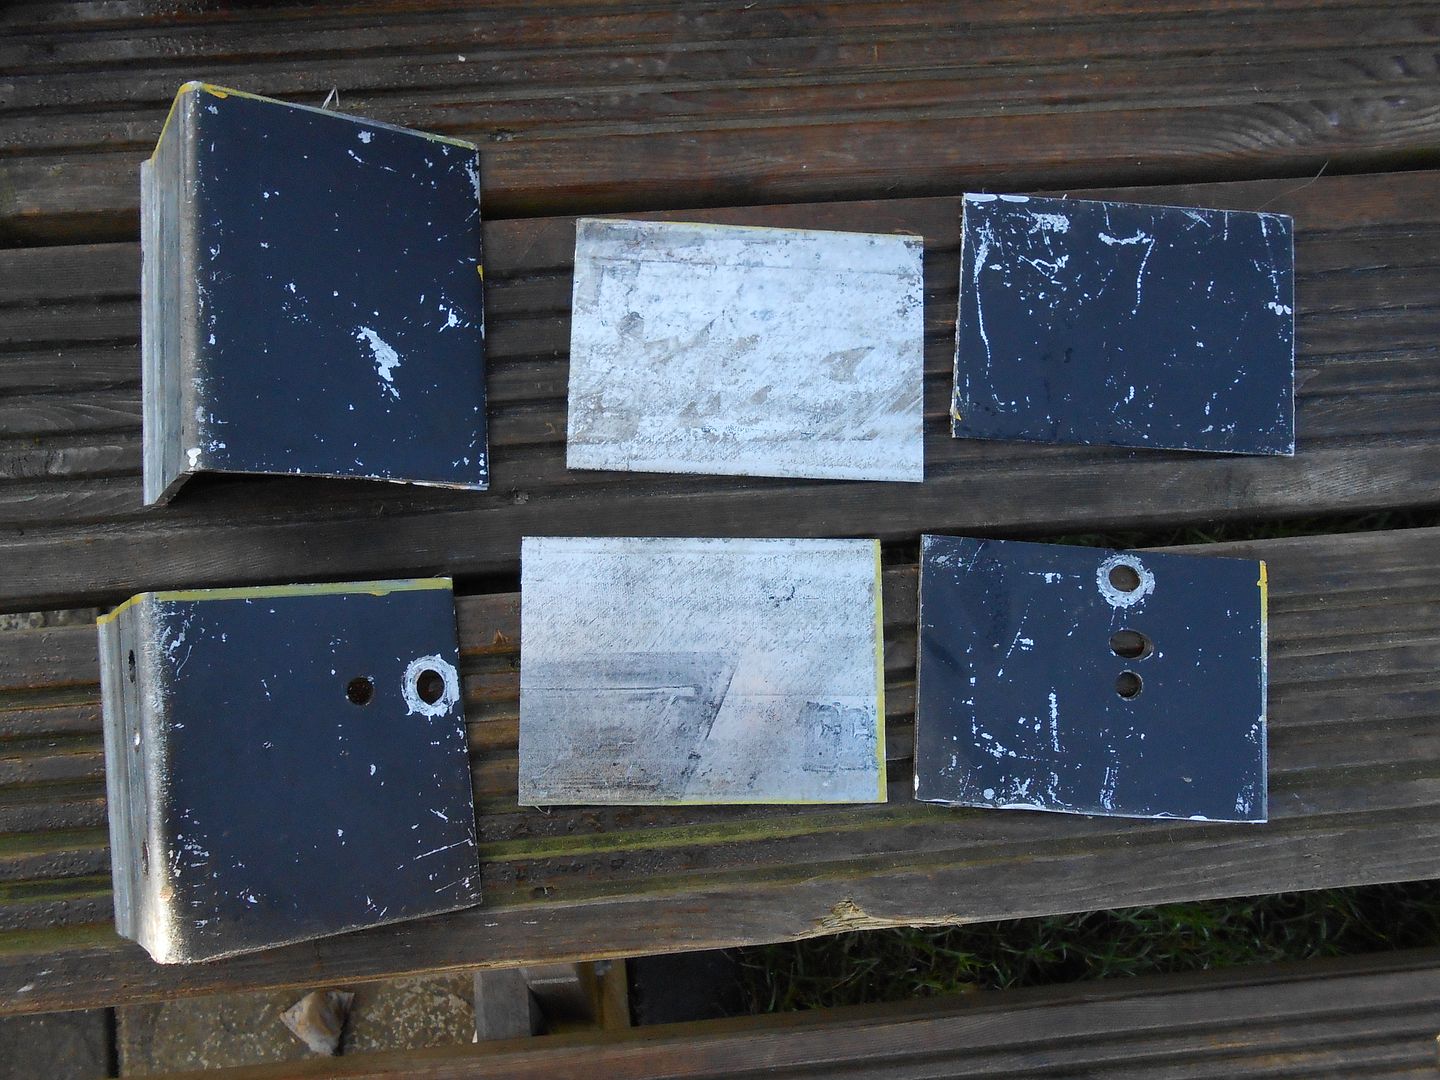
And bolted in ready for welding
Doors, bumpers, boot & bonnet removed
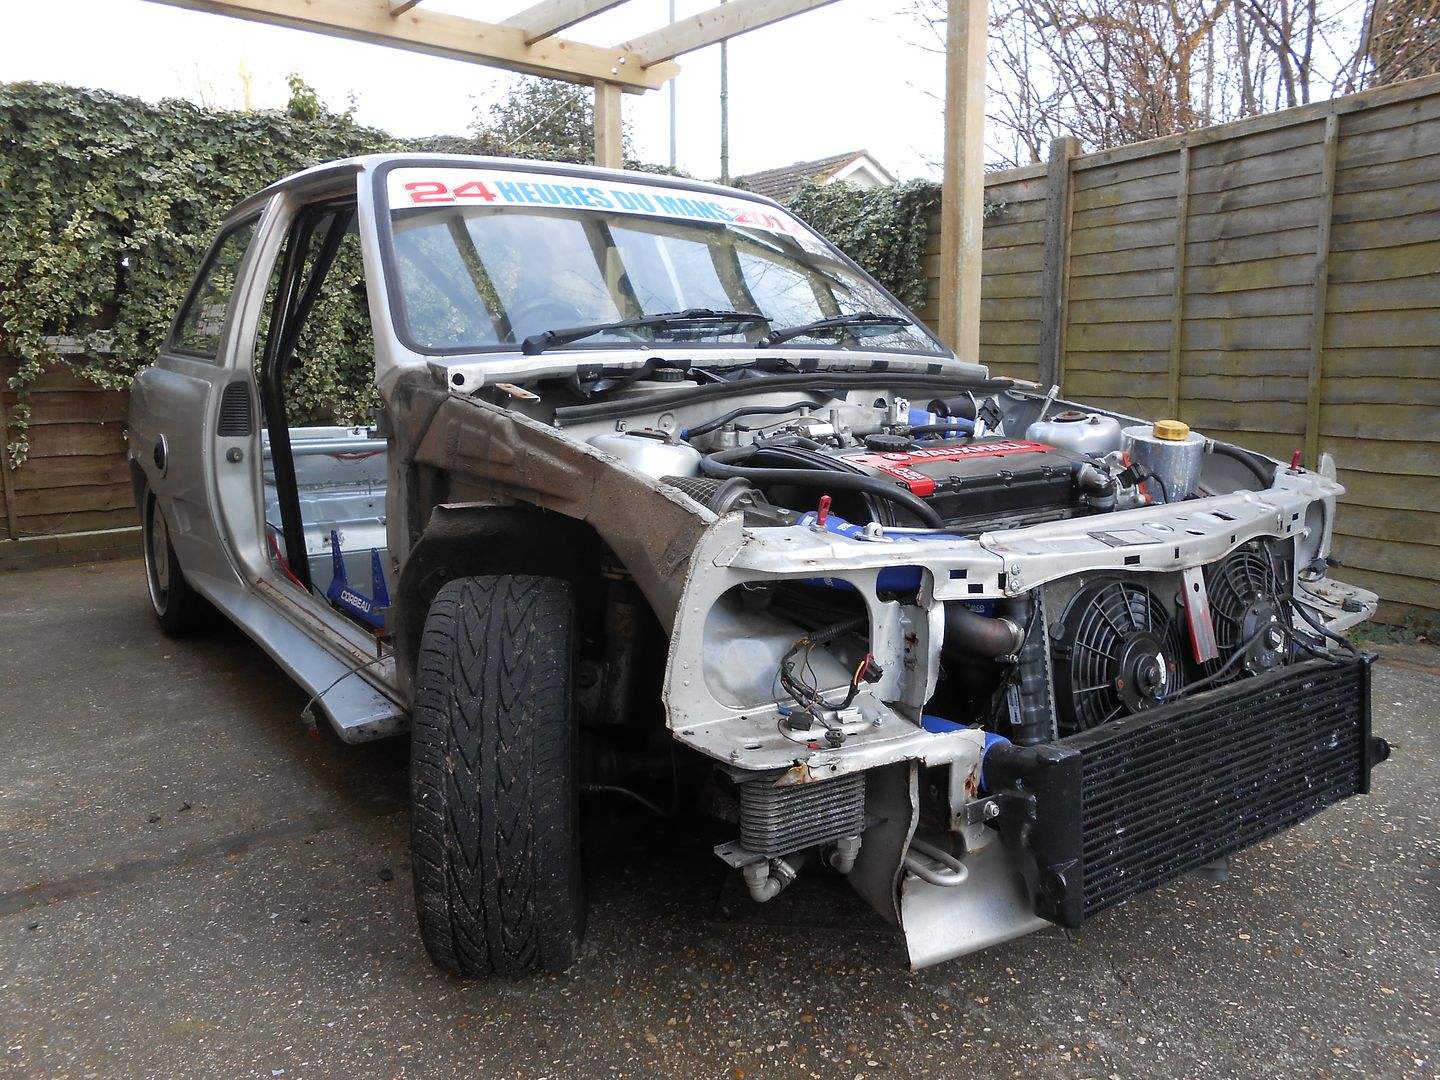
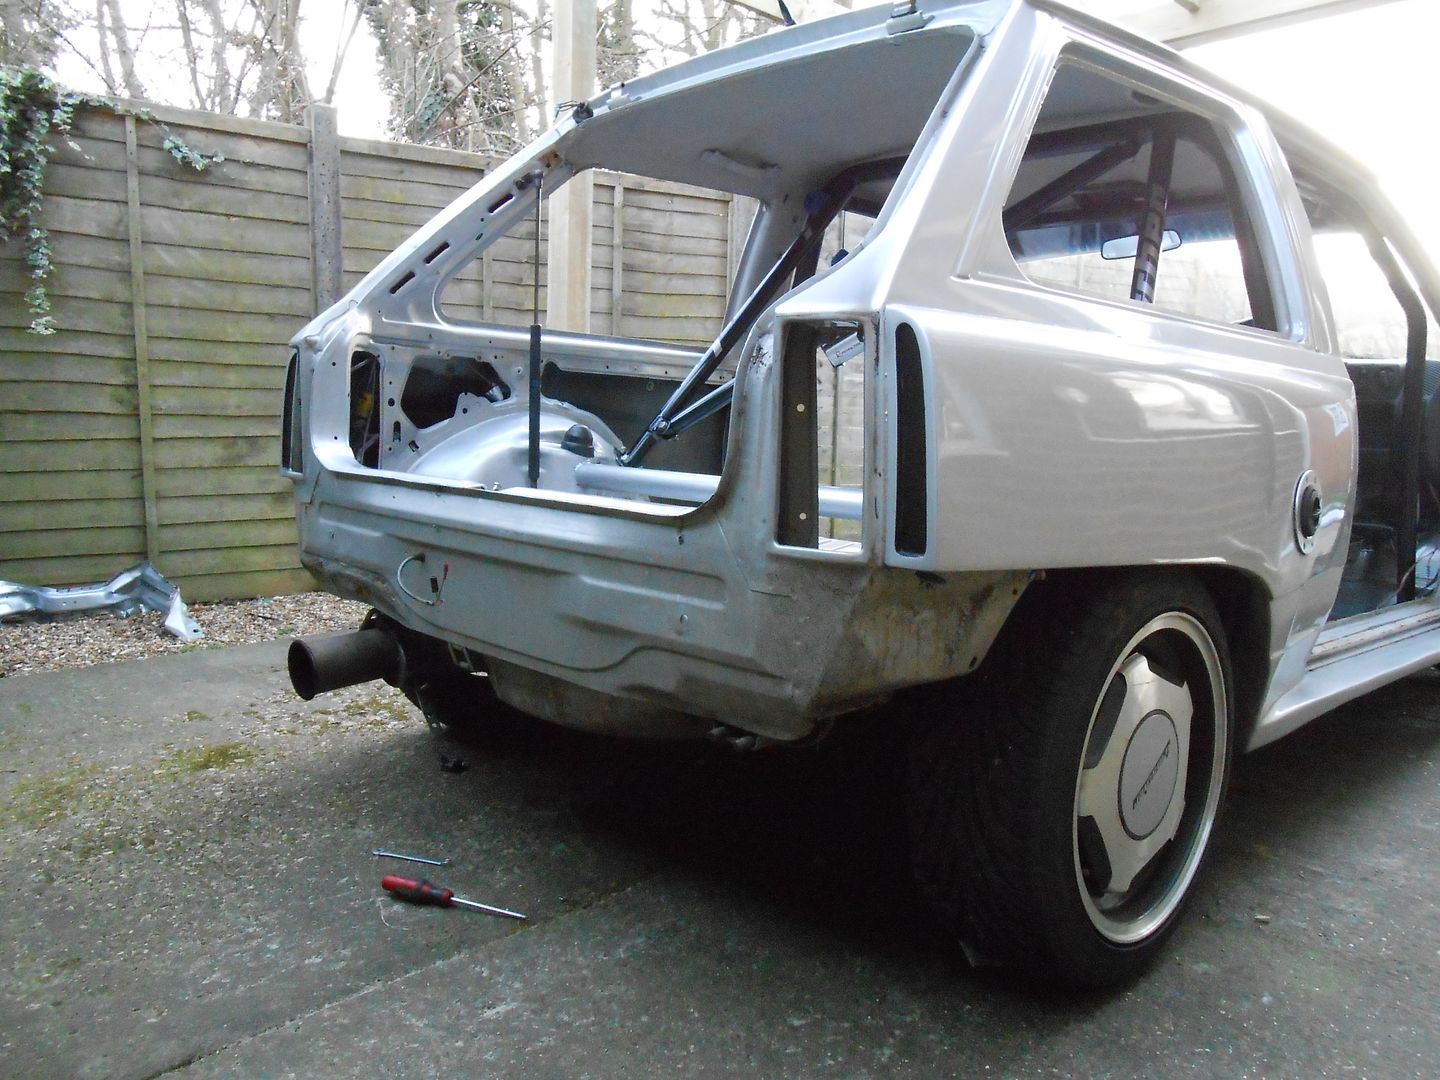
The usual troublesome areas are all looking pretty solid:-)
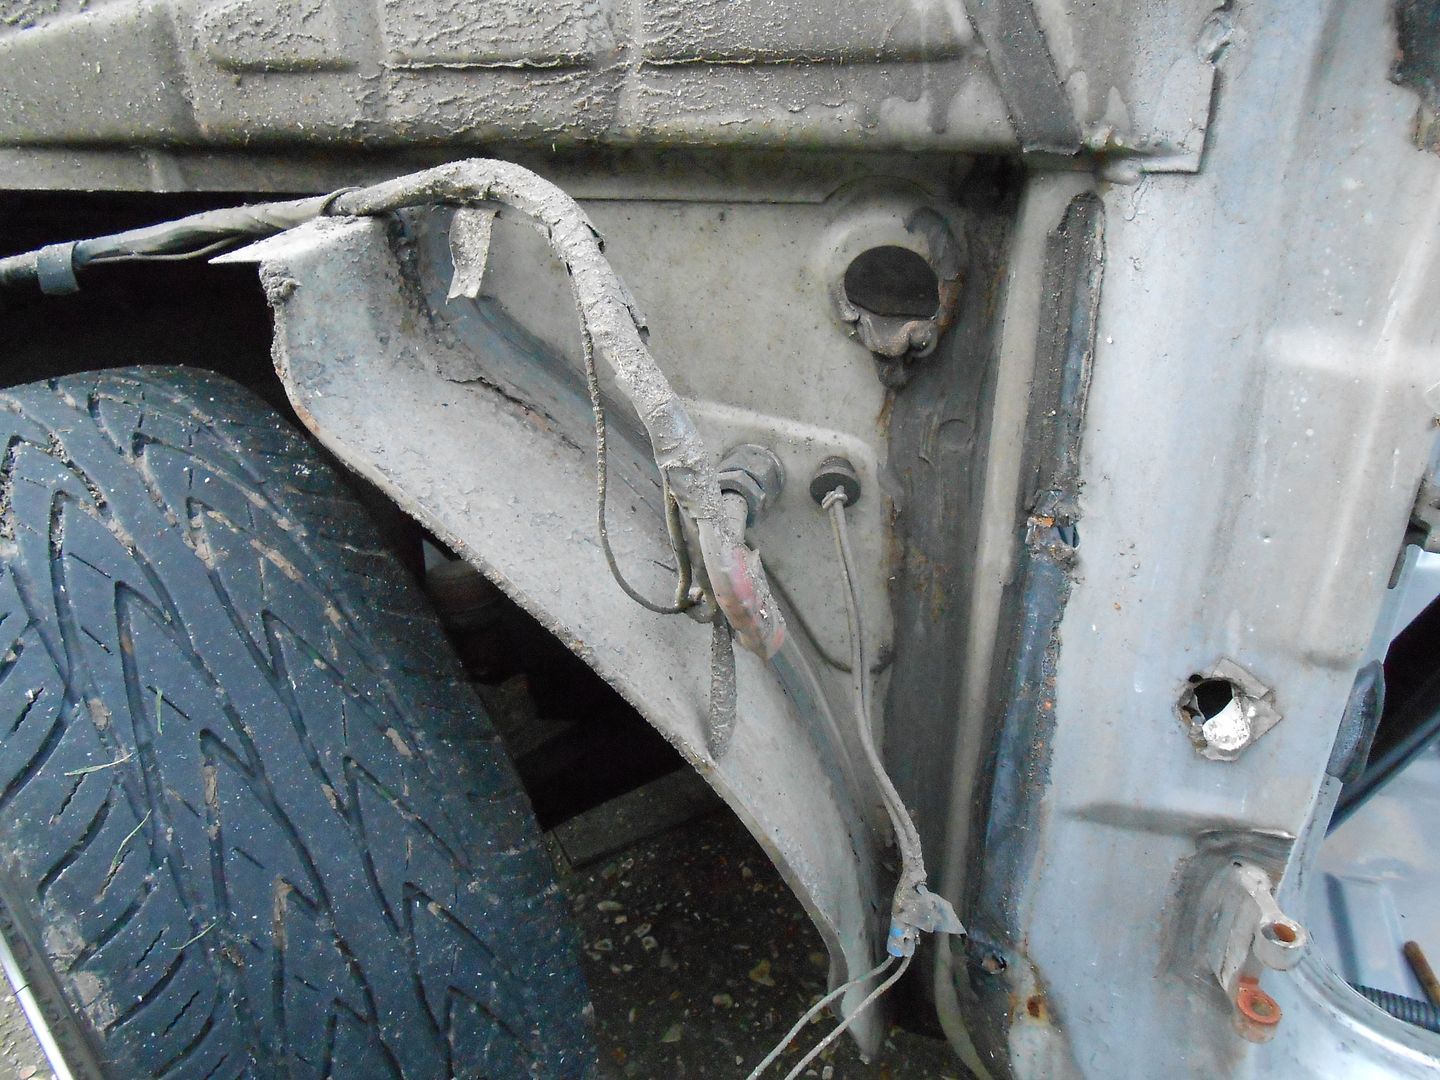
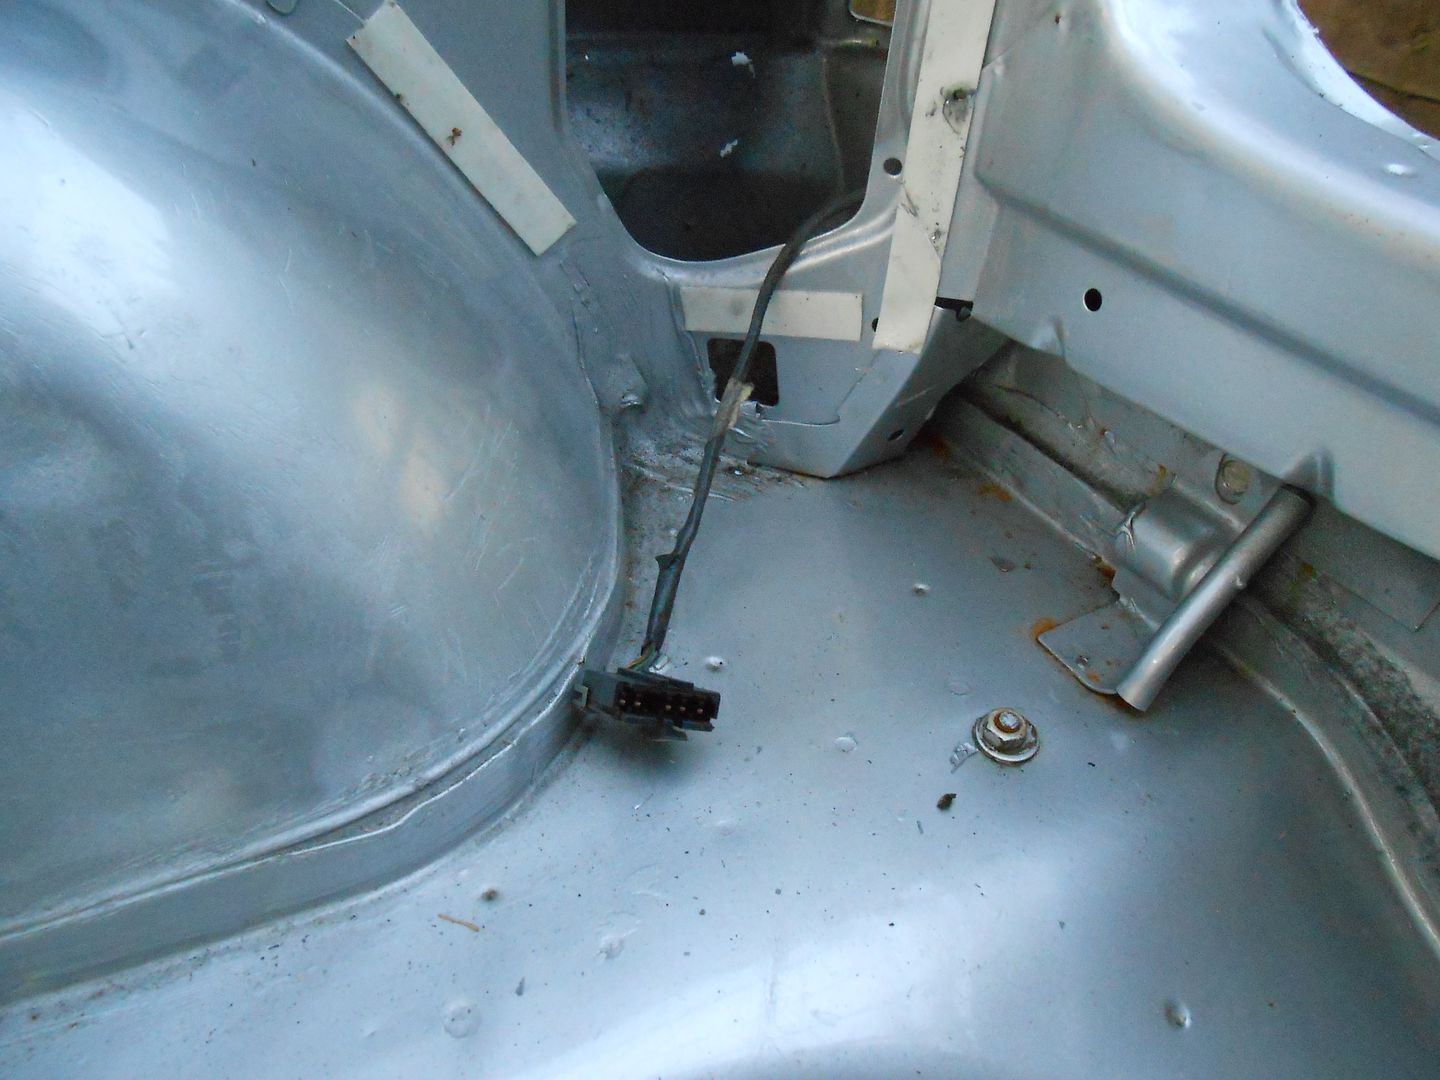
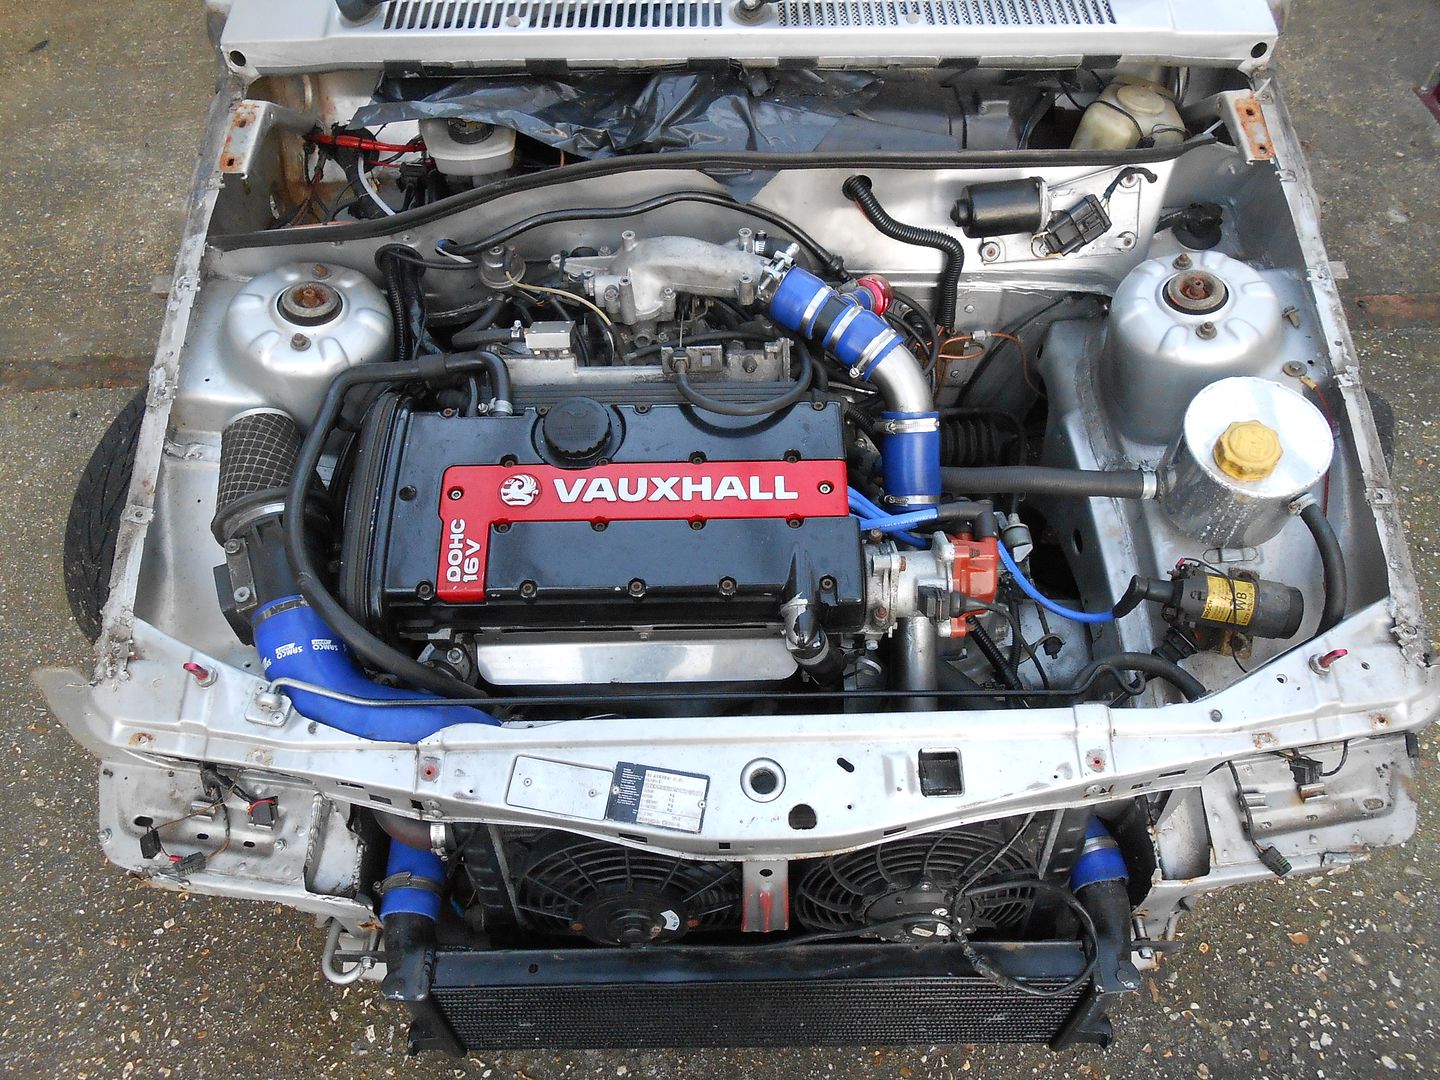
Door bars cut welded and trial fitted, brackets are just tacked in for now. Will fully weld when cage is out the car.
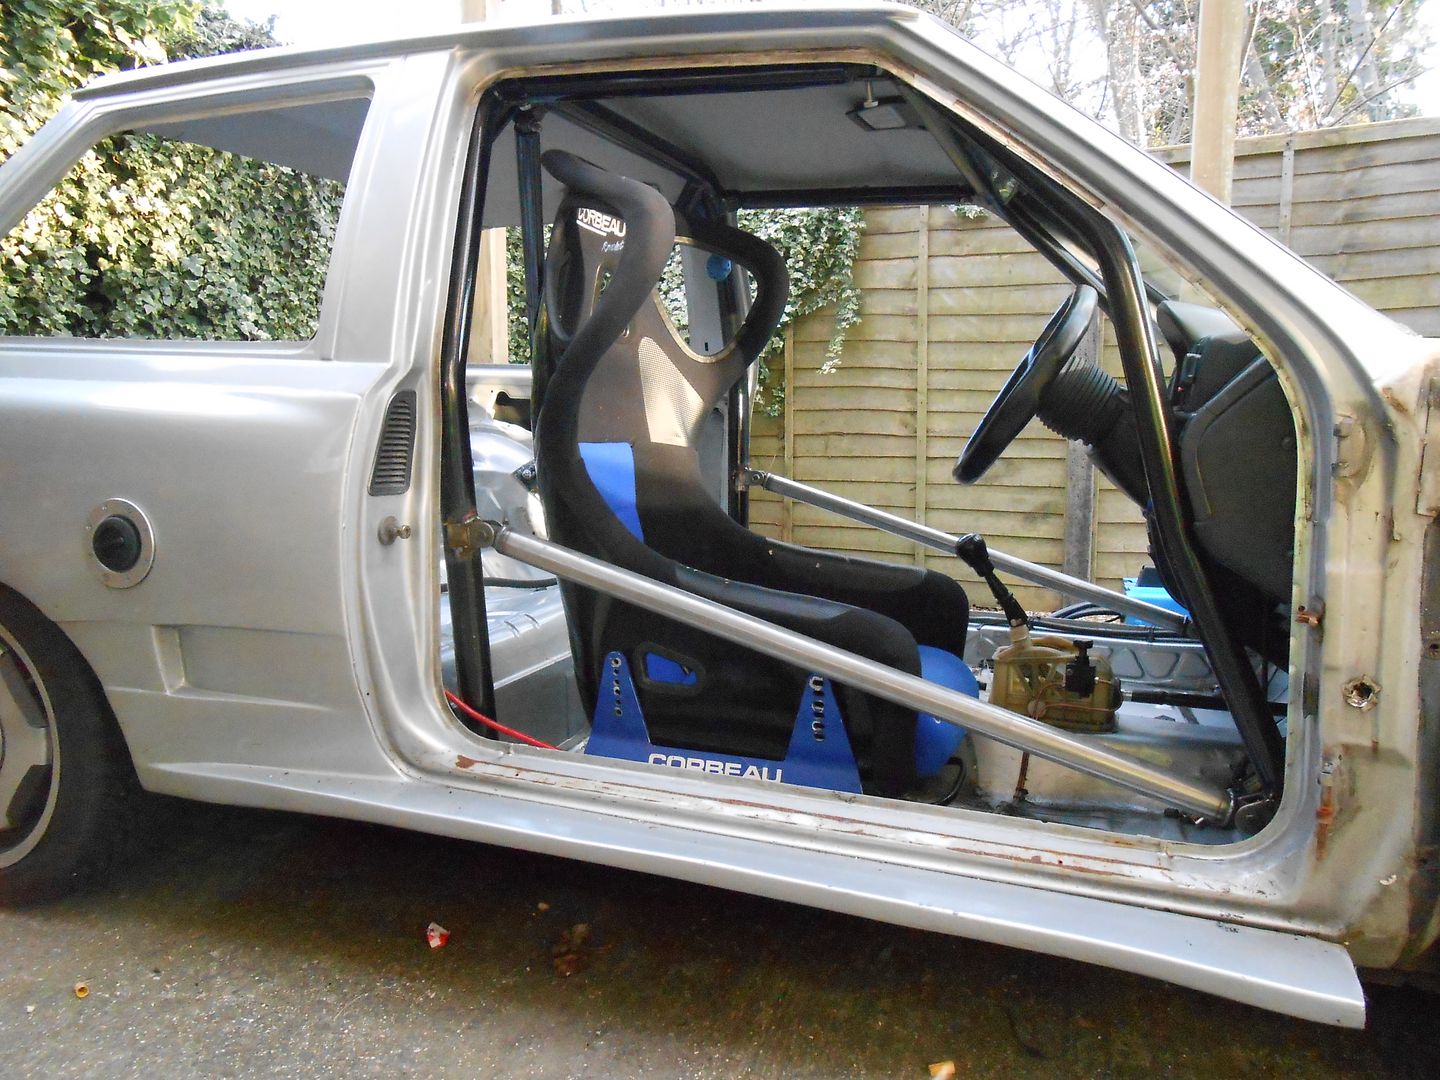
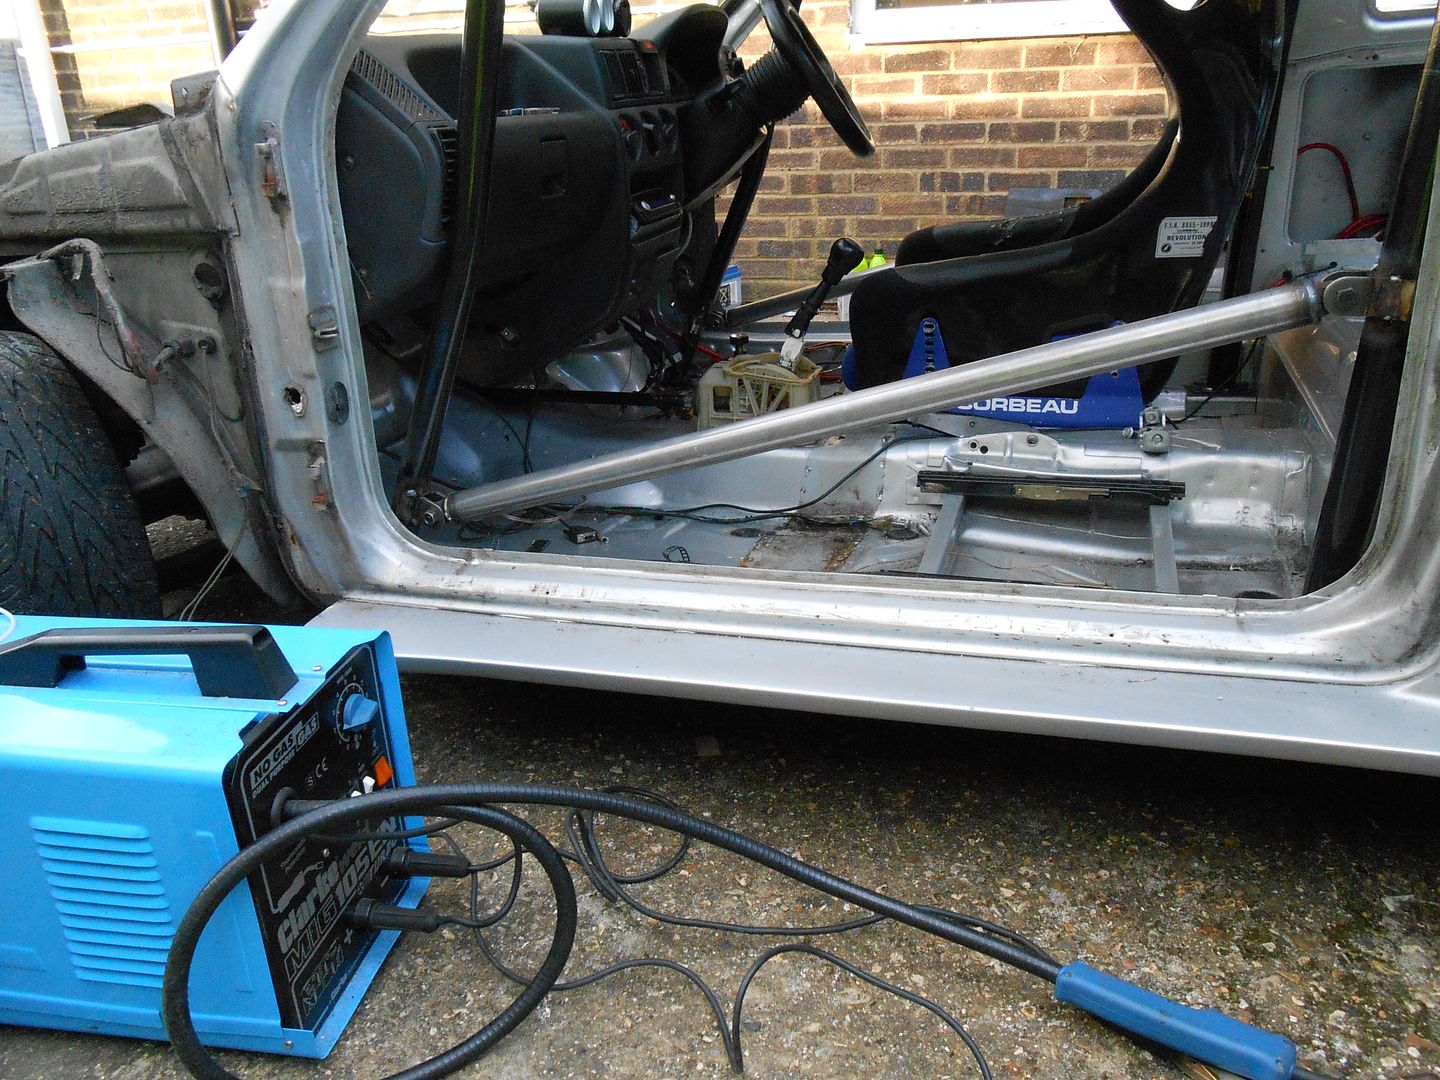
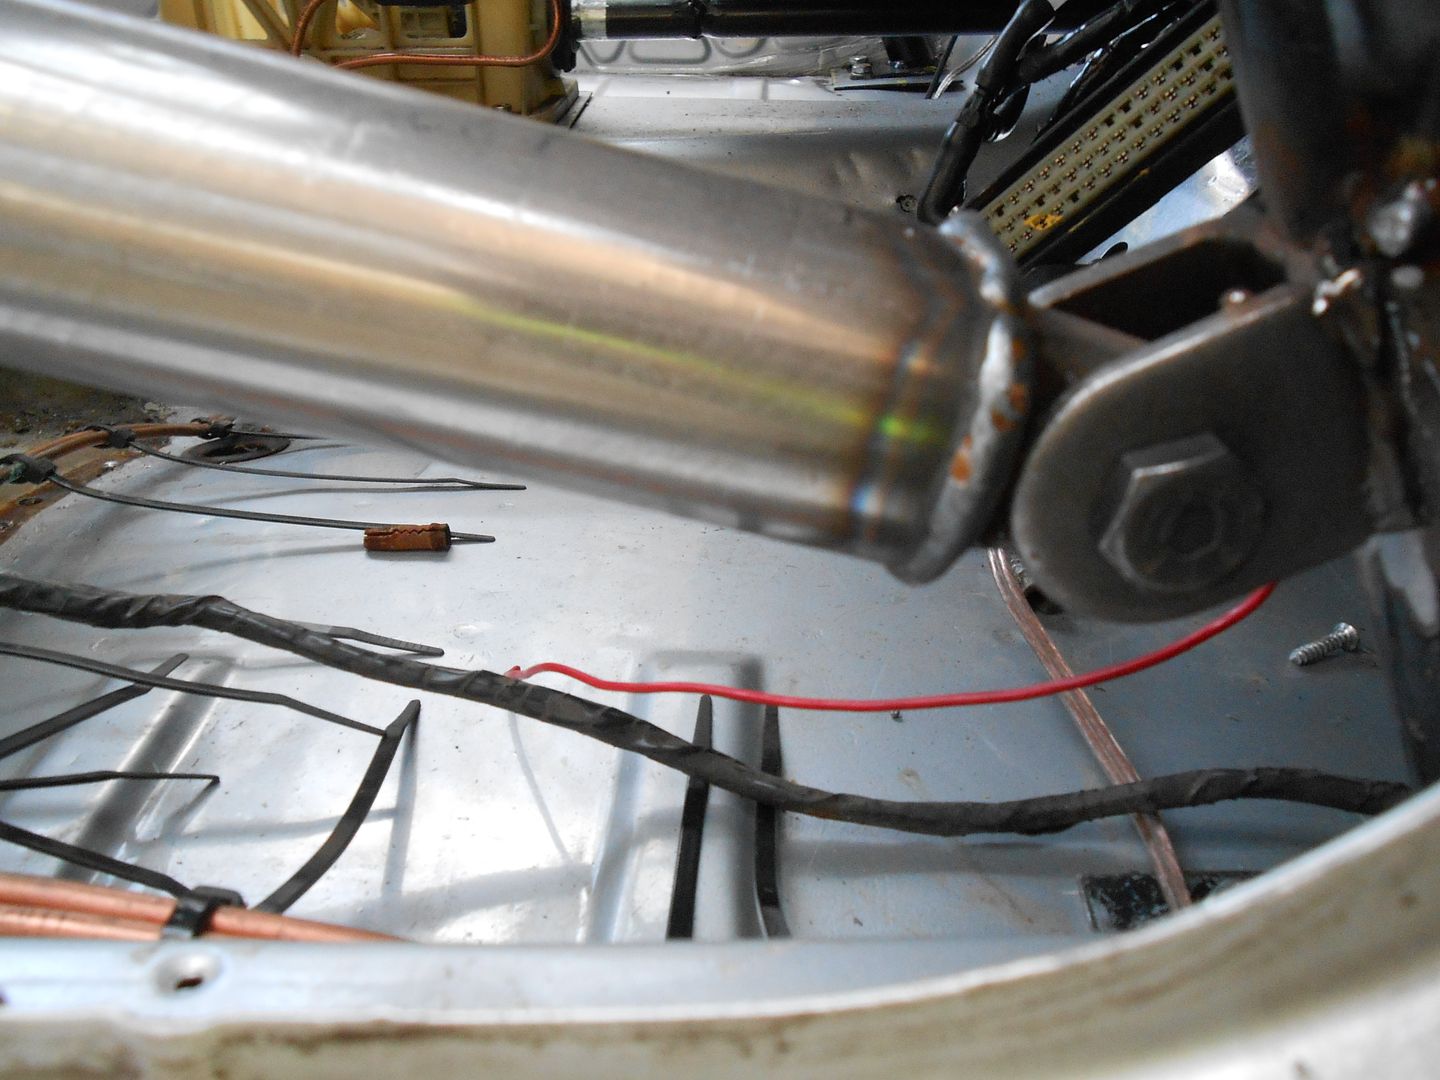
Welded in the spreader plates, will tidy up the welds once the cage is back out.
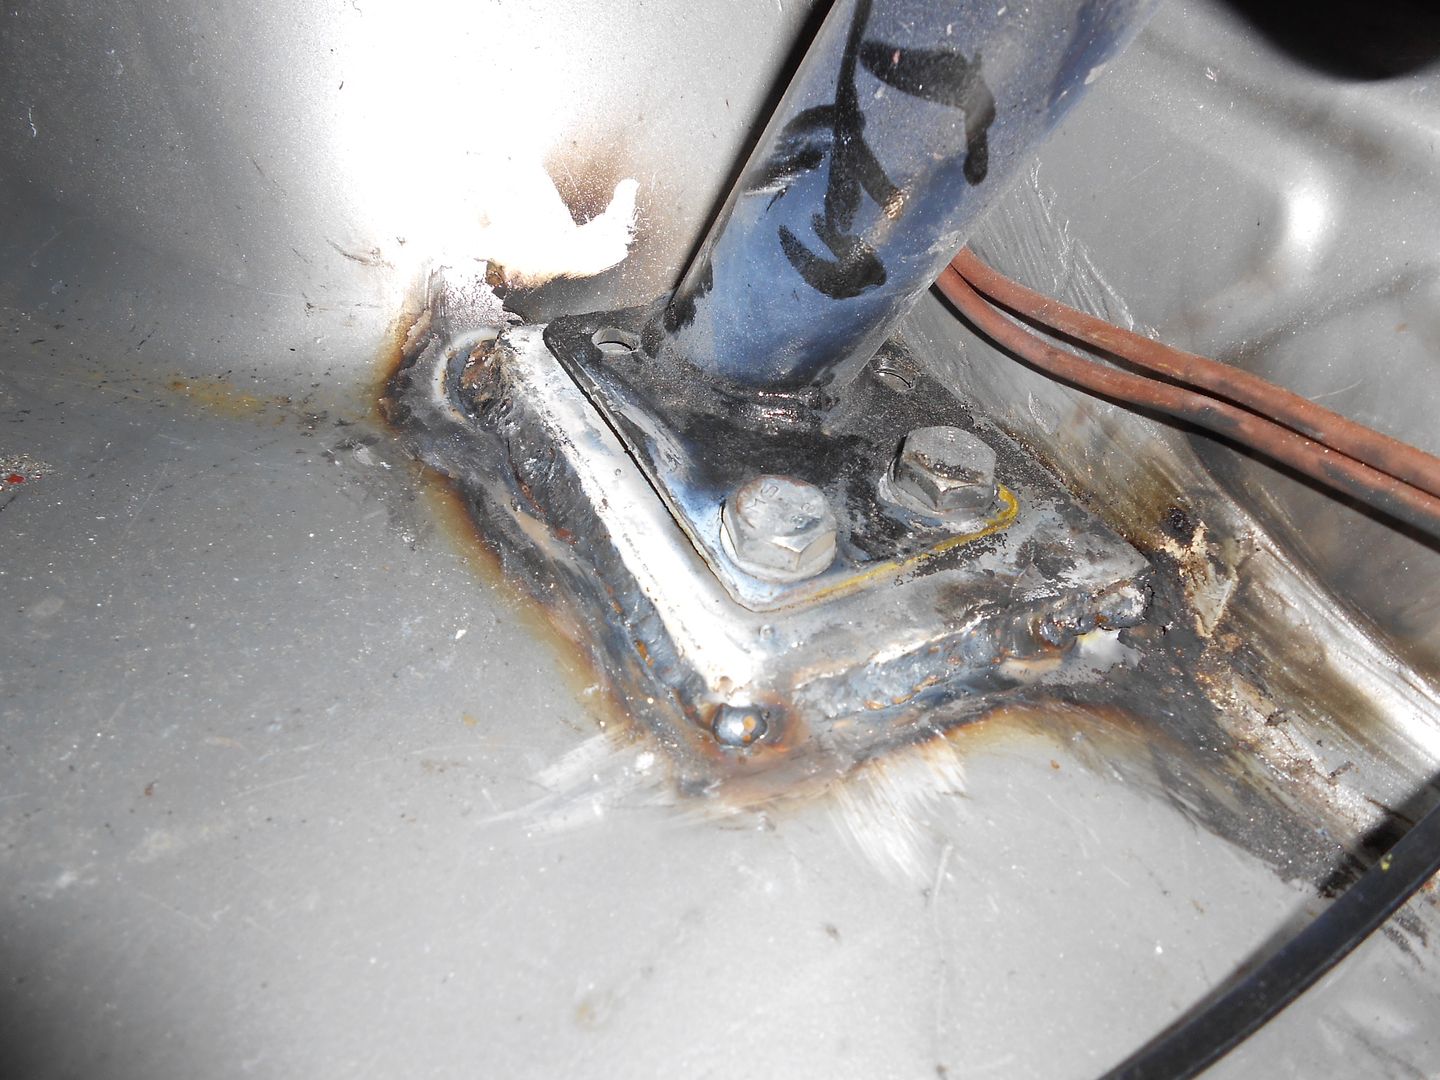
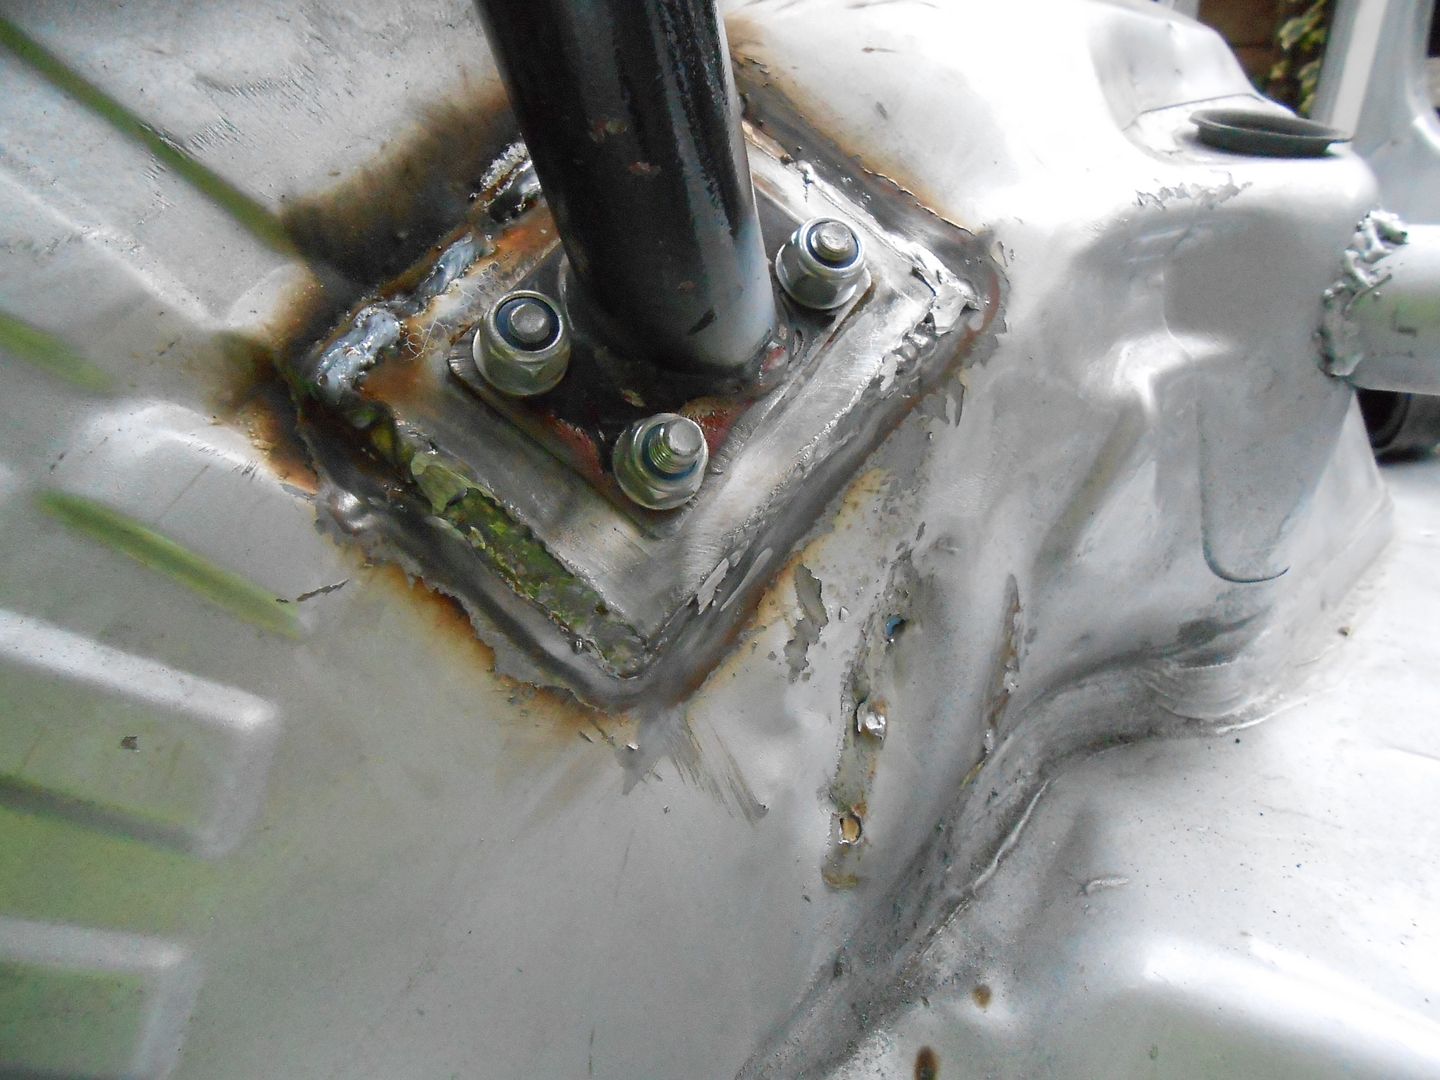
Removed the old seat rails on the passenger side
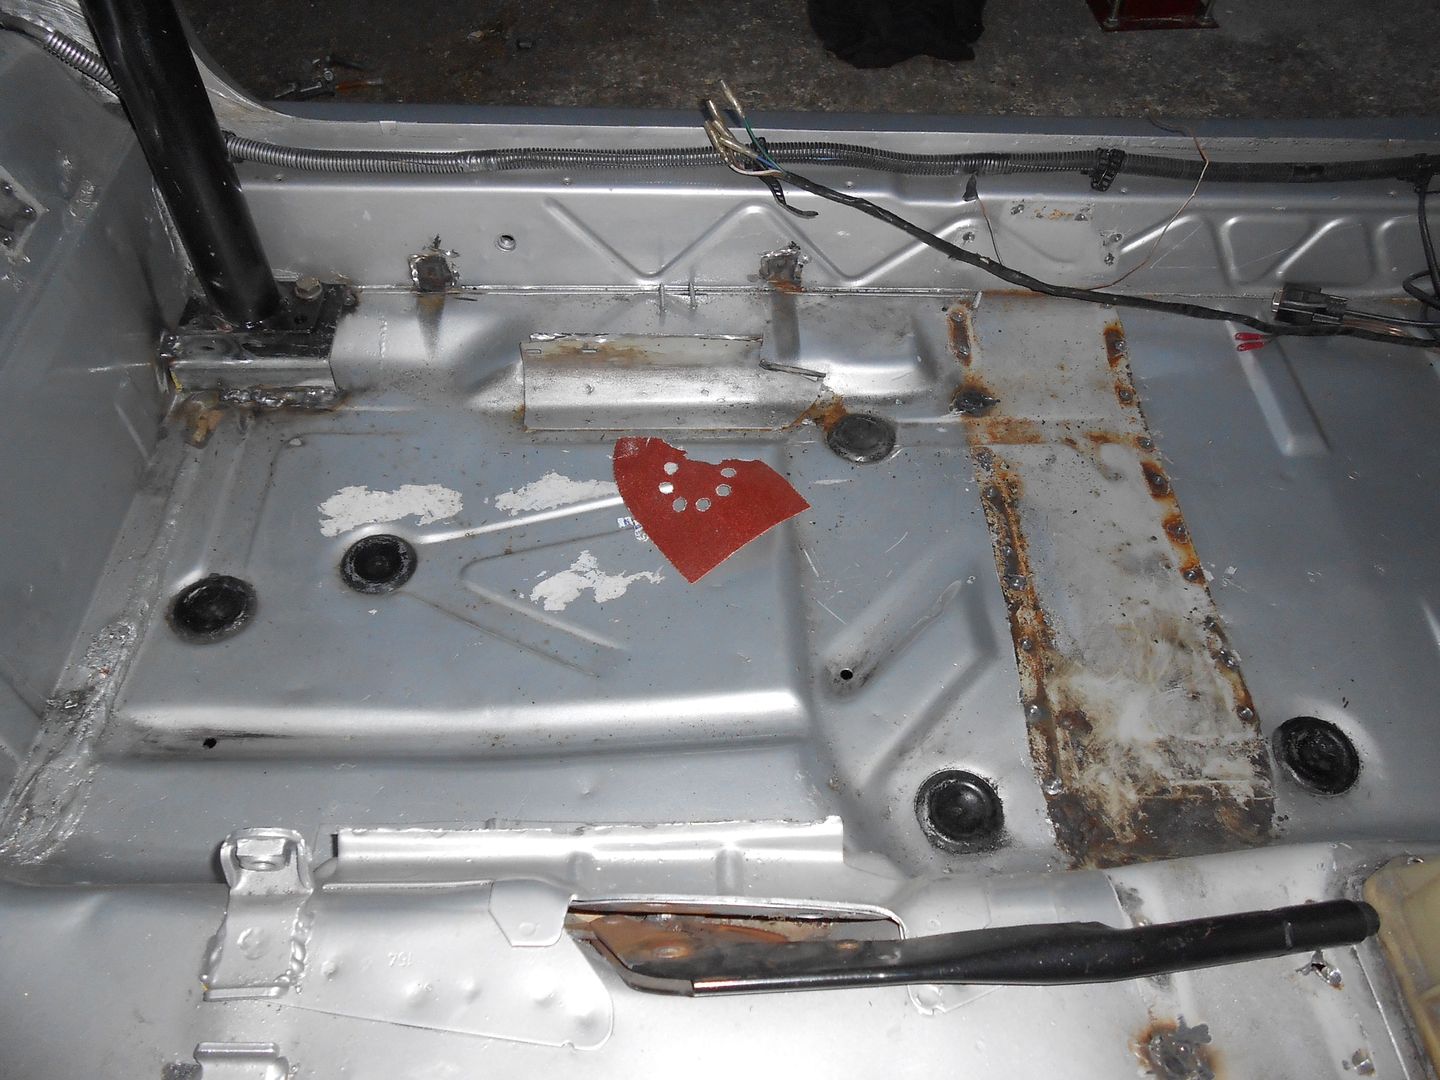
Then removed the engine, exhaust, running gear and fuel tank.
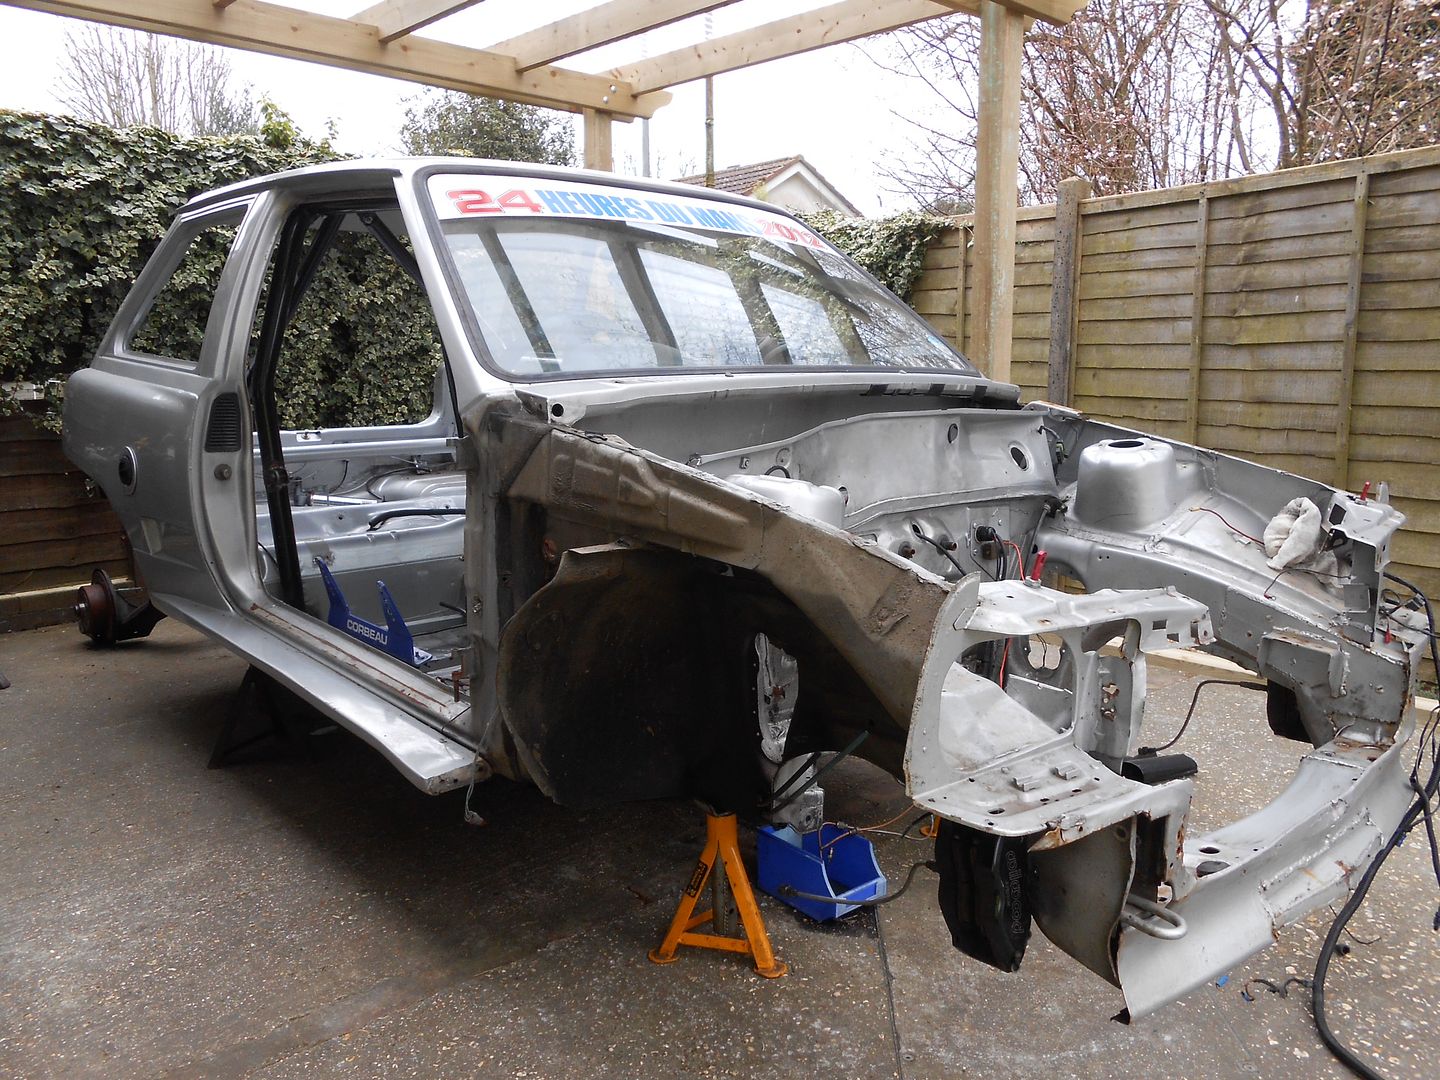
Seats rails will arrive next week, so once they are in the roll cage will come out and it will be ready to go onto the roll over jig.
Small update, drivers side seat rails finished. I've welded in the passenger side rails, just need to weld the brackets in. Welds aren't perfect but are functional.
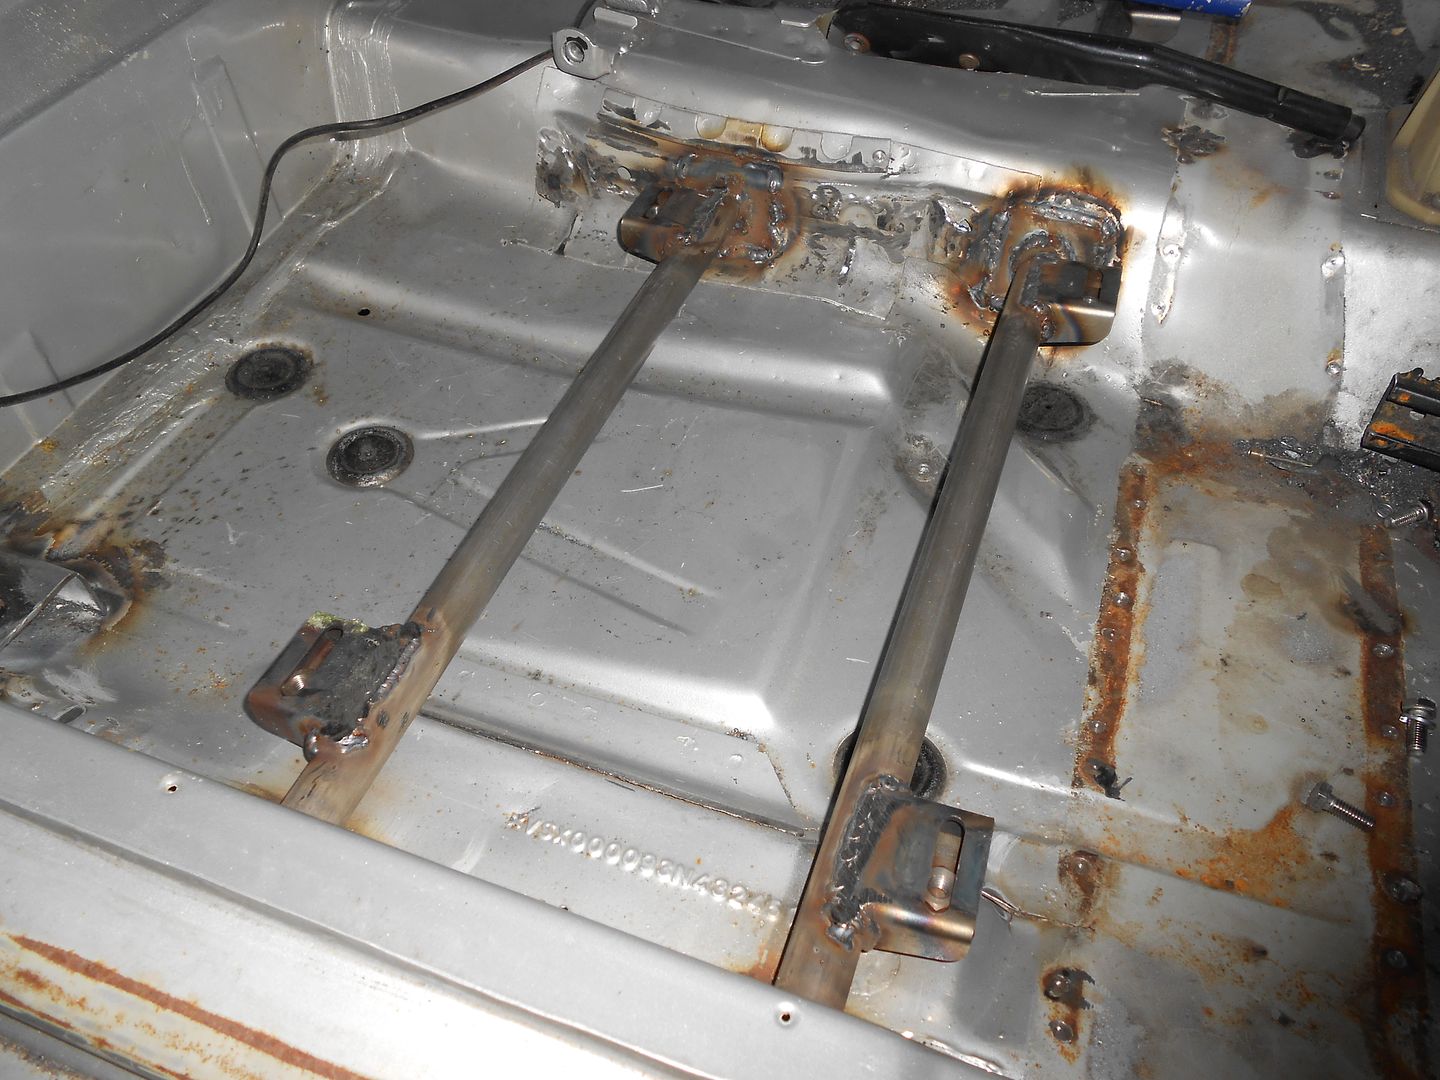
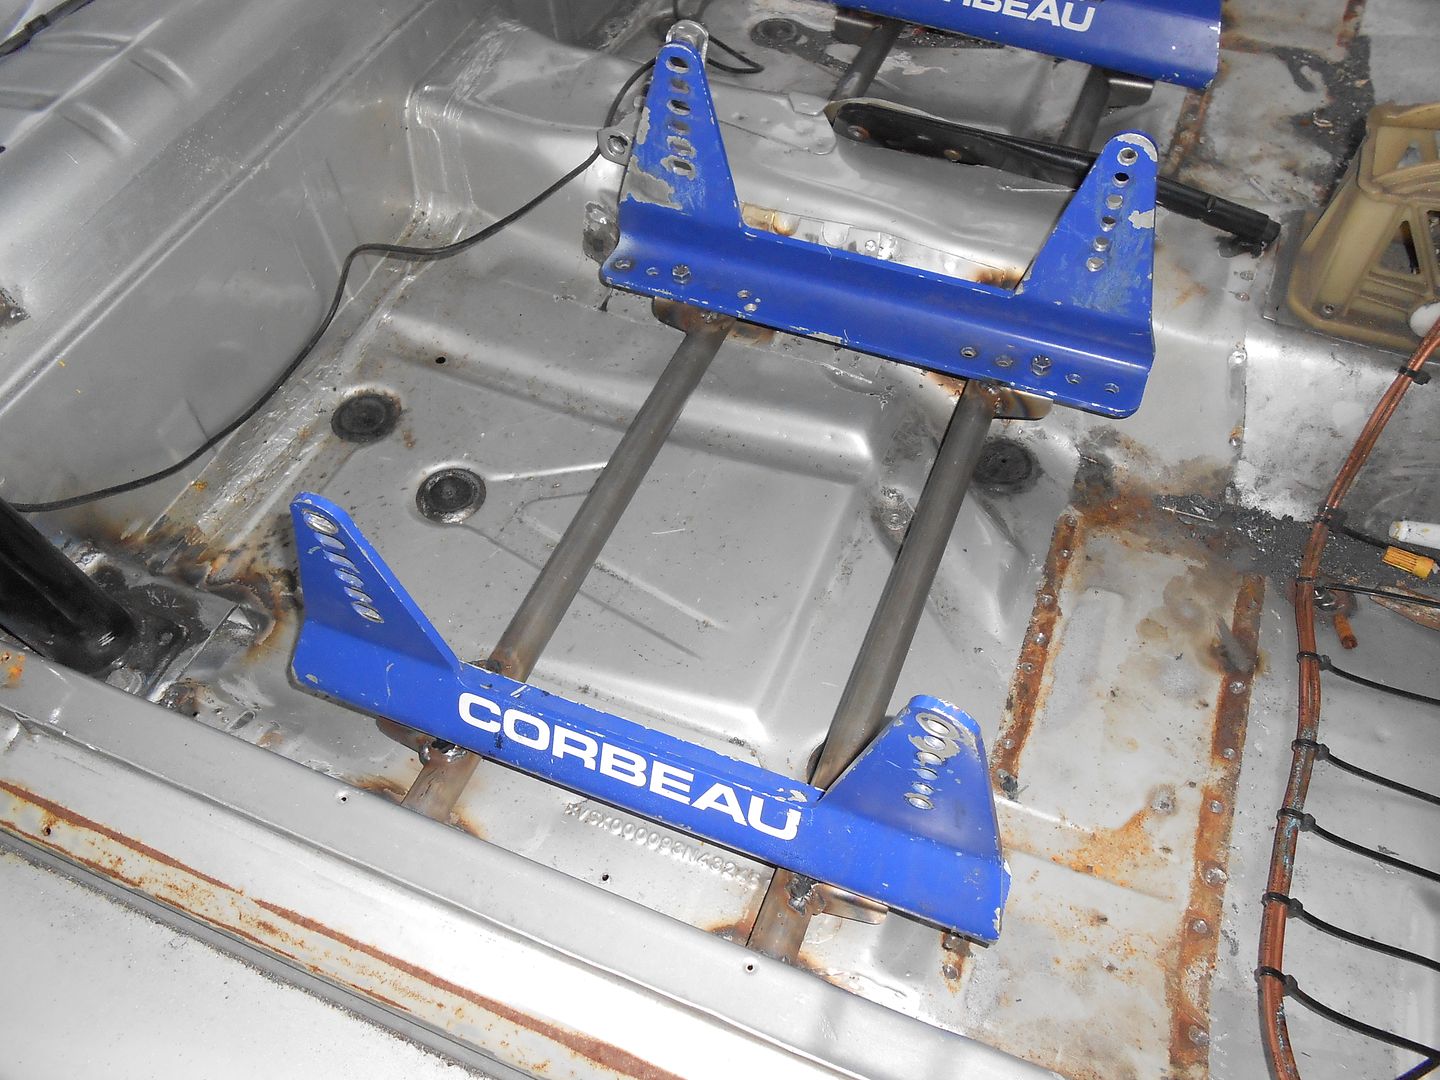
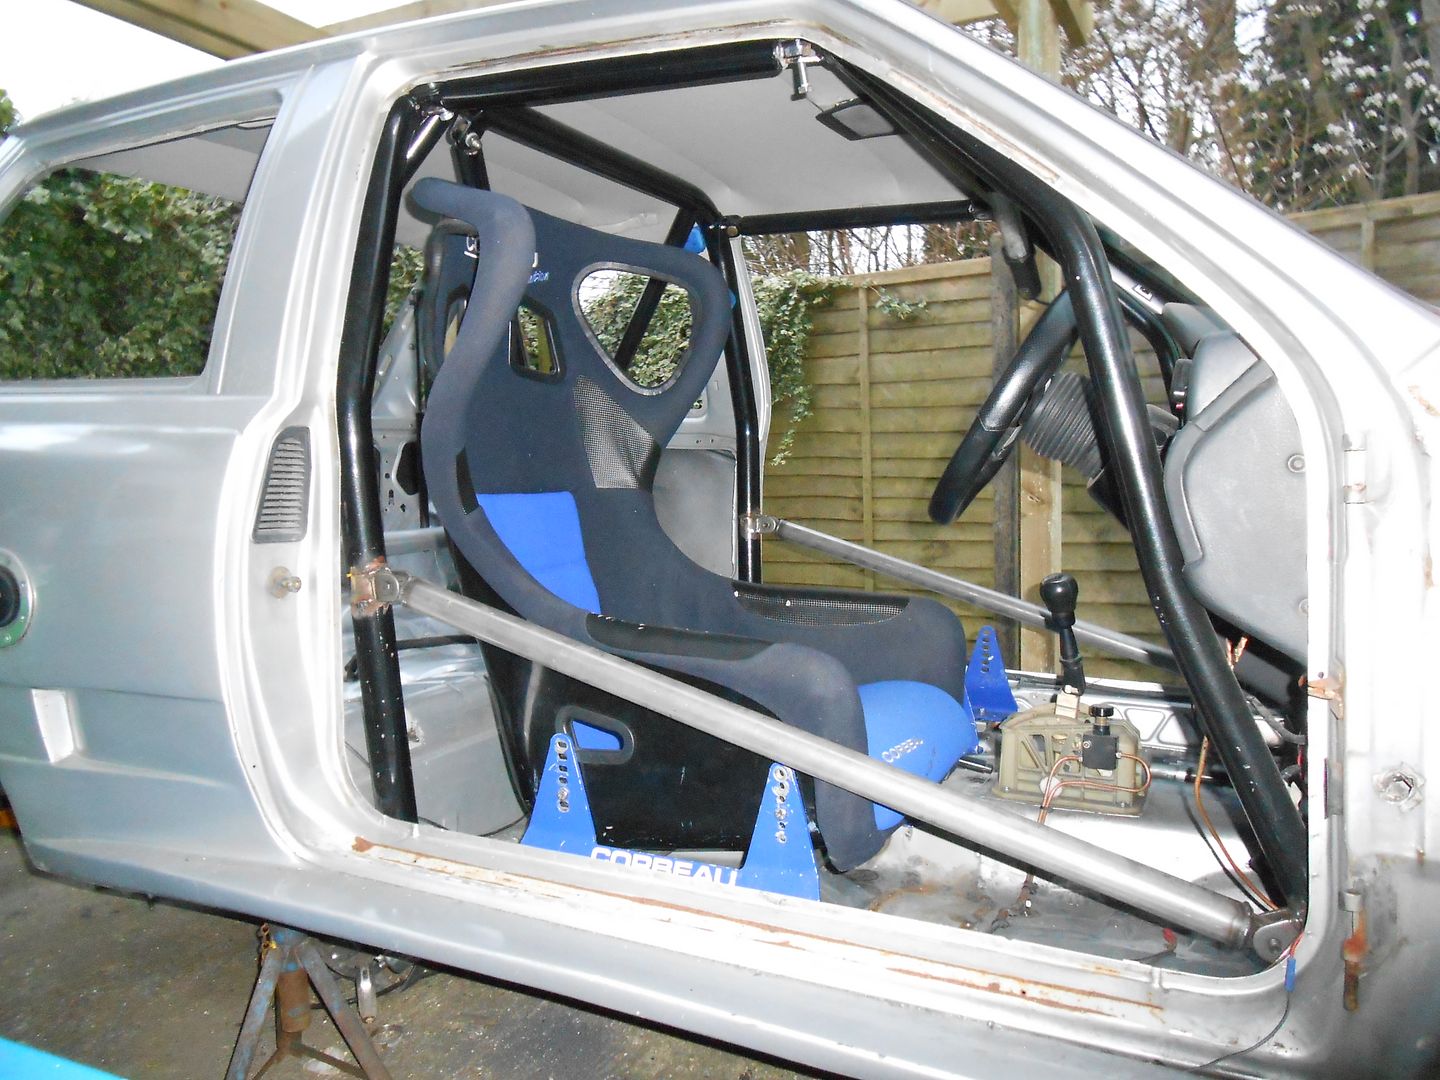
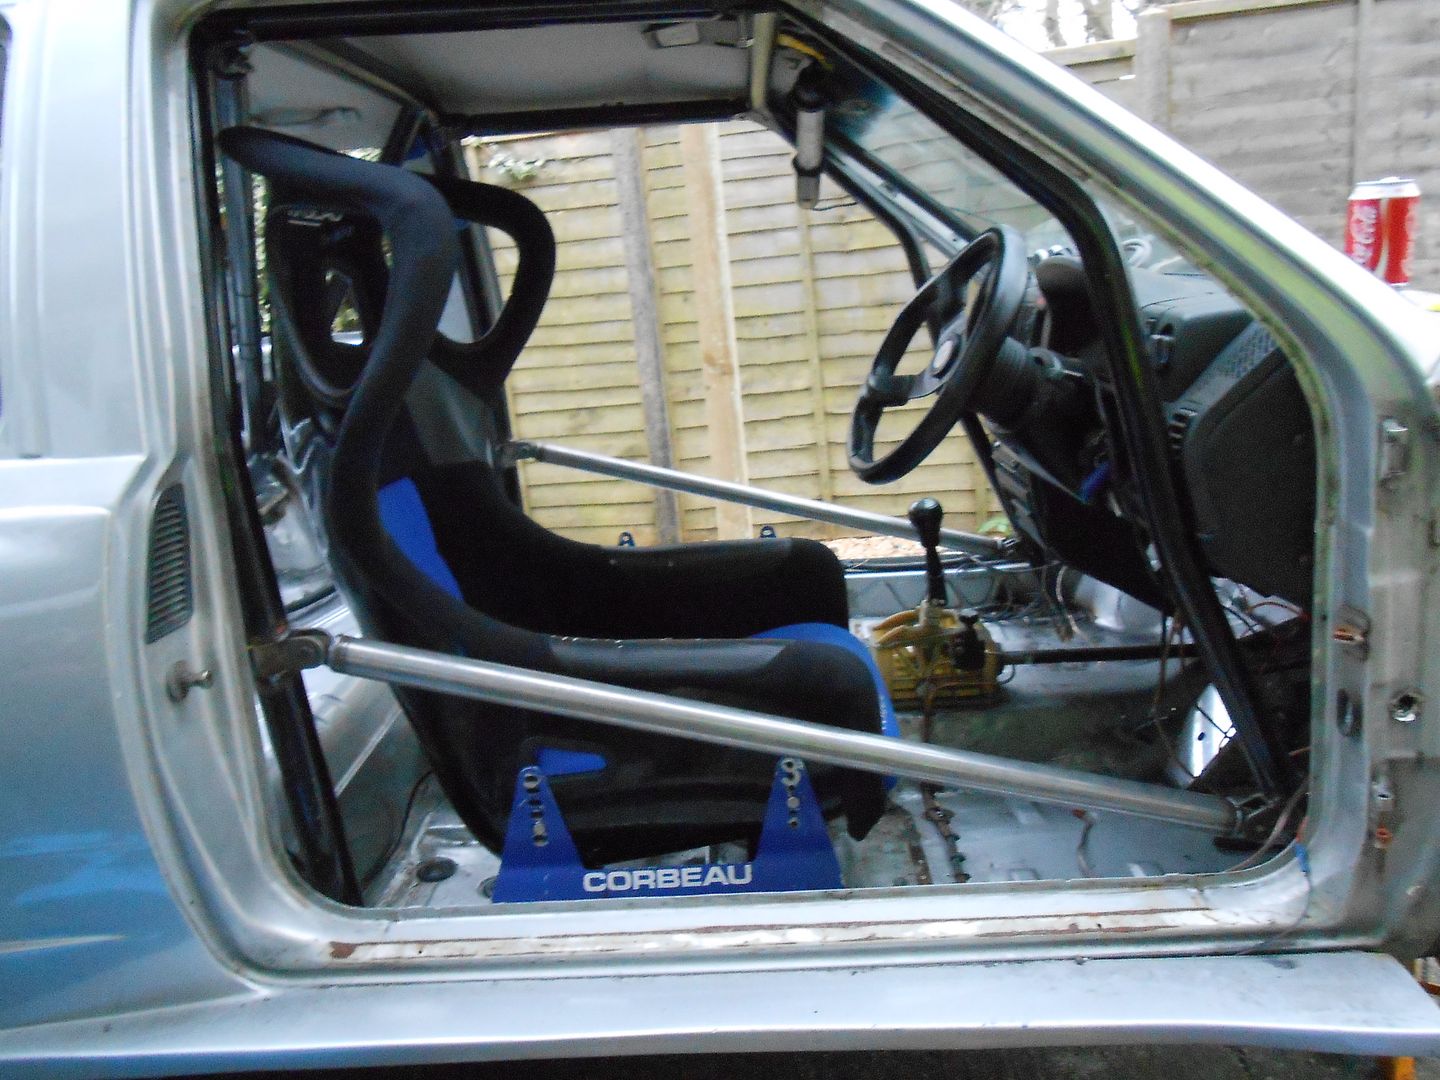
Bit of an update, finished welding in the passenger seats rails.

Welding starting to improve

Then moved onto the b pillar spreader plate


Then cleaned it all back and gave it a coat of red oxide


Striped the seam sealer off around the arches, cleaned painted the rear spreader plates.
 .
.
Striped out the rest of the car.

And on closer inspection, I found where the water is getting in :-(


More to come over the weekend. Roll over jig should be here Friday!
Here's the weekends progress.
The roll over jig arrived Saturday I bought it in kit form so had to spend the next 3 hours welding it all together. Unfortunately due to a late start Saturday I only got as far as mounting the car on the jig.


First job was to weld new plates in for the harnesses to mount to. I found the original holes where to far forward.


Then came the pain staking task of removing all the old under sealer.once this was complete I stitch welded the chassis legs, repaired a small section of rust on the floor plan and welded a 2mm plate to strengthen the tunnel.


So tonight's task was to tackle these areas


Didn't think it was to bad, unfortunately as soon as I cutting I just ended up chasing the rust, amazing how much sealer hides. So I set about cutting it all out and ended up with this.


I'm happy I've cut it far enough back, now I've planned to strengthen the battery tray up because of the Corsa servo so I'm going to weld in a 3mm plate that's looks like this.

Then a plate up from the inside.

I'm going to clean back and treat the surface rust that is left tomorrow and then cut the plates ready to weld in.
I didn't expect to have to cut out this much but I'd rather make sure it's done properly.
Got cracking with the repairs and patched the sections I cut out


All the welds need cleaning back etc,
Then made a start welding the plate in


By this point it was late and and needed to hammer the last section of the plate before finishing the welding, so that will have to wait until tomorrow. I m quite happy with how its turned out. It gives me a nice solid and flat surface for the brake servo.
So tonight I finished welding the 3mm plate in. I then welded a plate where all the cables came through the bulkhead. I want to drill the hole higher to prevent water coming through and the other holes are no longer needed. cleaned back the metal and gave it a nice thick coat of epoxy primer. I know this doesn't look pretty but it's function over form. It will be rubbed back and painted with the rest of the shell. I have a scuttle panel cover so none of it is seen. I worked the primer right into the welds and im pretty sure I'm not going to get any more rust issues here.


So after sorting one lot of rust I moved onto the next. I found a few pin holes in the splash guard, on further inspection I found that it was rusted where it meets the body. So I decided to remove a section of it so I can repair it, sort out the rust and then weld it back in.


Tomorrow I plan to weld this back in, remove all the old paint from the rest of the arch and paint it with the epoxy primer.
Update for the weekend.
My plan was to repair the section of splash guard I cut out, but as I've got wide arches the splash guards didn't do a lot any way. So I decided to have a go at making some new one's.
Started with a cardboard template

Then transferred it onto 1.5mm steel and welded it in. Took some work to get the shape right but I'm pretty happy with how it turned out. Next was to spend two hours cleaning the arch back to bare metal and apply some rust killer treatment.


Gave it a good wipe down ready for painting

On with the epoxy primer


On to the passenger side, as with the drivers side the small patch of visible rust soon turned out to be a lot bigger than expected. So started chopping it out.
Here's the bit I didn't want to cut out as its an awkward shape to remake.

But with my very limited fabricating tools I managed to make something up to replace it


Moved on to the next piece.


And the final piece

That left me with the splash guard to make up.


Made a small patch at the bottom of the splash guard.


And on with the paint


So that's it for the weekend. Off to Devon for the week now, a well needed break!
So after 10 years of ownership the paint work and general condition of the shell needed some attention. Over the years I've got the car pretty much how i want it, so there wont be to many major changes, just putting everything right.
The plans For this rebuild are as follow.
Remove any rust! After all, it is a nova.....
Fit door bars to roll cage And weld in spreader plates for rollcage.
Cut out old seat mountings and weld in new stronger rails.
Remove all unwanted brackets from car
Strip and re-seal underneath.
Strengthen around the Corsa brake servo as it tends to flex the battery tray
Fit braided fuel and brake lines
Fit quaife LSD
Replace the drivers side wide arch
Respray the whole shell
Clean and paint all parts before refitting
Plus there will be a few more purchases as it progresses
The whole build has to be finished by the end of may, so it ready for my yearly trip to lemans.
Here's how the car looks currently
The first task was to build a shelter to work under as I don't have a garage at the mo.
Nova is in its resting place for the next few months
Interior being striped out
Seat brackets removed
Cross member out, sick of drilling spot welds at this point
Spreader plates cut
And bolted in ready for welding
Doors, bumpers, boot & bonnet removed
The usual troublesome areas are all looking pretty solid:-)
Door bars cut welded and trial fitted, brackets are just tacked in for now. Will fully weld when cage is out the car.
Welded in the spreader plates, will tidy up the welds once the cage is back out.
Removed the old seat rails on the passenger side
Then removed the engine, exhaust, running gear and fuel tank.
Seats rails will arrive next week, so once they are in the roll cage will come out and it will be ready to go onto the roll over jig.
Small update, drivers side seat rails finished. I've welded in the passenger side rails, just need to weld the brackets in. Welds aren't perfect but are functional.
Bit of an update, finished welding in the passenger seats rails.
Welding starting to improve
Then moved onto the b pillar spreader plate
Then cleaned it all back and gave it a coat of red oxide
Striped the seam sealer off around the arches, cleaned painted the rear spreader plates.
.Striped out the rest of the car.
And on closer inspection, I found where the water is getting in :-(
More to come over the weekend. Roll over jig should be here Friday!
Here's the weekends progress.
The roll over jig arrived Saturday I bought it in kit form so had to spend the next 3 hours welding it all together. Unfortunately due to a late start Saturday I only got as far as mounting the car on the jig.
First job was to weld new plates in for the harnesses to mount to. I found the original holes where to far forward.
Then came the pain staking task of removing all the old under sealer.once this was complete I stitch welded the chassis legs, repaired a small section of rust on the floor plan and welded a 2mm plate to strengthen the tunnel.
So tonight's task was to tackle these areas
Didn't think it was to bad, unfortunately as soon as I cutting I just ended up chasing the rust, amazing how much sealer hides. So I set about cutting it all out and ended up with this.
I'm happy I've cut it far enough back, now I've planned to strengthen the battery tray up because of the Corsa servo so I'm going to weld in a 3mm plate that's looks like this.
Then a plate up from the inside.
I'm going to clean back and treat the surface rust that is left tomorrow and then cut the plates ready to weld in.
I didn't expect to have to cut out this much but I'd rather make sure it's done properly.
Got cracking with the repairs and patched the sections I cut out
All the welds need cleaning back etc,
Then made a start welding the plate in
By this point it was late and and needed to hammer the last section of the plate before finishing the welding, so that will have to wait until tomorrow. I m quite happy with how its turned out. It gives me a nice solid and flat surface for the brake servo.
So tonight I finished welding the 3mm plate in. I then welded a plate where all the cables came through the bulkhead. I want to drill the hole higher to prevent water coming through and the other holes are no longer needed. cleaned back the metal and gave it a nice thick coat of epoxy primer. I know this doesn't look pretty but it's function over form. It will be rubbed back and painted with the rest of the shell. I have a scuttle panel cover so none of it is seen. I worked the primer right into the welds and im pretty sure I'm not going to get any more rust issues here.
So after sorting one lot of rust I moved onto the next. I found a few pin holes in the splash guard, on further inspection I found that it was rusted where it meets the body. So I decided to remove a section of it so I can repair it, sort out the rust and then weld it back in.
Tomorrow I plan to weld this back in, remove all the old paint from the rest of the arch and paint it with the epoxy primer.
Update for the weekend.
My plan was to repair the section of splash guard I cut out, but as I've got wide arches the splash guards didn't do a lot any way. So I decided to have a go at making some new one's.
Started with a cardboard template
Then transferred it onto 1.5mm steel and welded it in. Took some work to get the shape right but I'm pretty happy with how it turned out. Next was to spend two hours cleaning the arch back to bare metal and apply some rust killer treatment.
Gave it a good wipe down ready for painting
On with the epoxy primer
On to the passenger side, as with the drivers side the small patch of visible rust soon turned out to be a lot bigger than expected. So started chopping it out.
Here's the bit I didn't want to cut out as its an awkward shape to remake.
But with my very limited fabricating tools I managed to make something up to replace it
Moved on to the next piece.
And the final piece
That left me with the splash guard to make up.
Made a small patch at the bottom of the splash guard.
And on with the paint
So that's it for the weekend. Off to Devon for the week now, a well needed break!
Edited by Twag on Sunday 10th March 23:59


This weekends update.
First job was to finish stitchwelding the floor.


Then I spent the rest of the day cleaning back the floor ready for painting. Not fun!!!!!

On with the paint

Meanwhile my mate came round to lend a hand, he cracked on with removing the seam sealer from the rear end.

Sunday - lacking some enthusiasm today but tried to continue making progress. Cleaned the rear floor pan back with some thinners to reveal any rust. No major issues here and will just require some surface rust to sort out.

Then my mate turned up to help out, so we tackled the boring task of stripping the seam sealing from the rear arches. This is a job I do not want to ever have to do again


After a couple hours of that, I decided I'd had enough and moved to removing the drivers side arch. I am replacing this as it has been previously damaged, and the repair wasn't perfect. It took a good 1 1/2 hours to remove.


Tomorrow evening I will be removing the passenger arch as well, I wasn't going to do this but due to corrosion on the end of the sill, I need to remove it to gain access :-(

First job was to finish stitchwelding the floor.
Then I spent the rest of the day cleaning back the floor ready for painting. Not fun!!!!!
On with the paint
Meanwhile my mate came round to lend a hand, he cracked on with removing the seam sealer from the rear end.
Sunday - lacking some enthusiasm today but tried to continue making progress. Cleaned the rear floor pan back with some thinners to reveal any rust. No major issues here and will just require some surface rust to sort out.
Then my mate turned up to help out, so we tackled the boring task of stripping the seam sealing from the rear arches. This is a job I do not want to ever have to do again
After a couple hours of that, I decided I'd had enough and moved to removing the drivers side arch. I am replacing this as it has been previously damaged, and the repair wasn't perfect. It took a good 1 1/2 hours to remove.
Tomorrow evening I will be removing the passenger arch as well, I wasn't going to do this but due to corrosion on the end of the sill, I need to remove it to gain access :-(
Had to work all of last weekend so progress has been slow. Car is going for paint on Tuesday, so need to get cracking!
Plated up the two lots of holes where the original master cylinder was mounted.

I've started to stitch weld the rear end, just got to do around the arches


Holes redrilled for the brake servo and trail fitted

Passenger side arch removed

I've made up a mount so that the ecu can be mounted under the passenger side of the dash,

This will be extended to mount my extra mini fuse/relay box

Holes drilled to enable the wiring loom to run inside the wing. The larger grommets mean the headlight plugs will fit through the holes


made the trollies up so I can get the shell the Bodyshop, just got to weld the uprights in place that will then bolt to the rear axle mount and front lower arm mounts.

New aero fuel cap, I'm not sure if this is going to look a bit small compared to my old one.

And finally a bit of an impulse buy, some ap coilovers. I bought these without doing any research, so does any one have feedback on what they are like.

Plated up the two lots of holes where the original master cylinder was mounted.
I've started to stitch weld the rear end, just got to do around the arches
Holes redrilled for the brake servo and trail fitted
Passenger side arch removed
I've made up a mount so that the ecu can be mounted under the passenger side of the dash,
This will be extended to mount my extra mini fuse/relay box
Holes drilled to enable the wiring loom to run inside the wing. The larger grommets mean the headlight plugs will fit through the holes
made the trollies up so I can get the shell the Bodyshop, just got to weld the uprights in place that will then bolt to the rear axle mount and front lower arm mounts.
New aero fuel cap, I'm not sure if this is going to look a bit small compared to my old one.
And finally a bit of an impulse buy, some ap coilovers. I bought these without doing any research, so does any one have feedback on what they are like.
Chr1sch said:
Awesome, LSD I presume with 290 bhp?!
Not tempted to convert the rears to take coilovers too? (you certainly seem to have the fabrication skills!)
Thanks! LSD will be ordered next week, i was set on getting a quaiffe diff but a couple of people have advised me not to and go for a plate style lsd instead. Not sure what to go for now.Not tempted to convert the rears to take coilovers too? (you certainly seem to have the fabrication skills!)
Twag said:
Evo said:
Excellent job, how much welding experience before starting this?
Thanks! To be honest I didn't really have any experience, I had played around with a mig welded a couple of times before but nothing like this. Keep up the large number of photo's I'm sure along with everyone else here there's nothing better than seeing a car come apart, get fixed and go back together seeing all the huge effort and skill it takes from people like you. It does get hard and sometimes you could just take that screwdriver and ram it in the car somewhere, we're all watching a cracking ar come together, keep up the excellent work chap.
Gassing Station | Readers' Cars | Top of Page | What's New | My Stuff