
Unbolting seats...
Discussion


I've just taken mine out. It's a 10 minute job and that includes getting your tools out!!
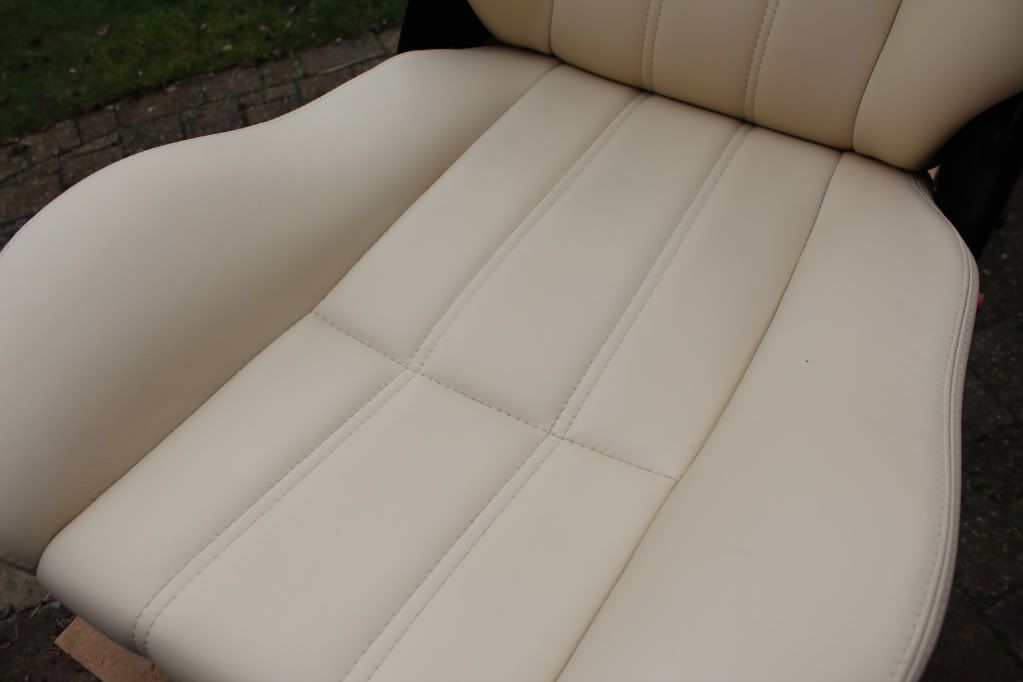
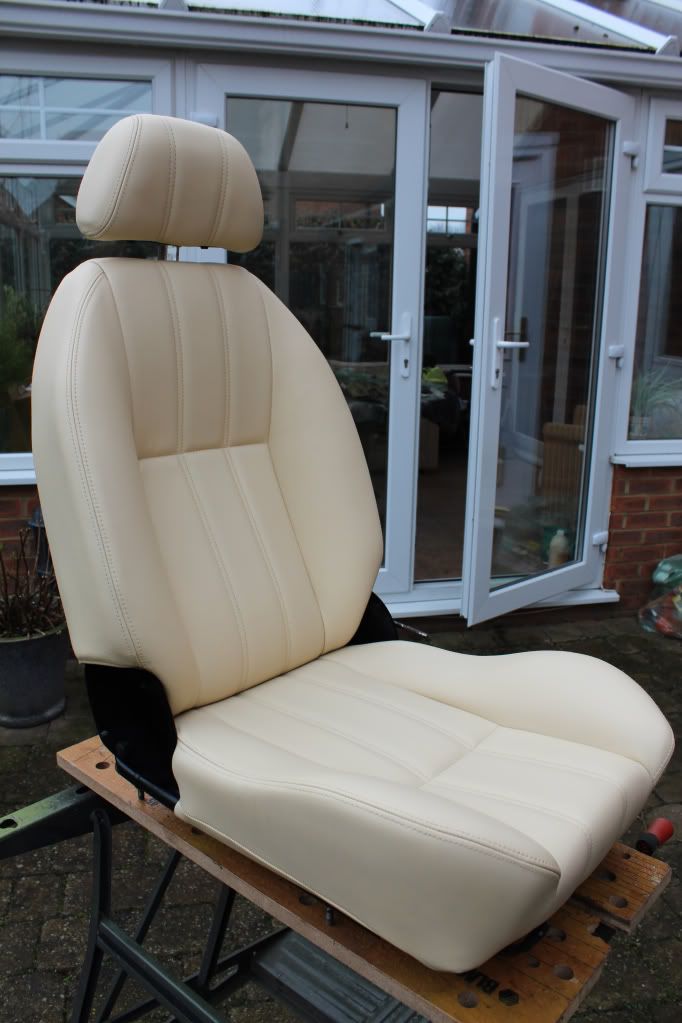
I've just done the passenger seat with a Furniture Clinic kit and very pleased with the results. I'll do the drivers seat this weekend.
On a separate note, I suggest you take FC up on their offer of a free compressor though (just put a refundable deposit down) and strain the paint with paint strainers.
Good luck.

I've just done the passenger seat with a Furniture Clinic kit and very pleased with the results. I'll do the drivers seat this weekend.
On a separate note, I suggest you take FC up on their offer of a free compressor though (just put a refundable deposit down) and strain the paint with paint strainers.
Good luck.
Edited by A900ss on Wednesday 10th July 20:23
chris1972 said:
Damn, thanks for that!!! I was hoping to get away without getting under the car again for a few weeks, but looks like I'm not going to manage it!
PS - you won't need to raise the car to get to the bolts. You can access them all very easily with the wheels on the ground. QBee said:
That looks good, A900ss
What is the exact name of that kit please? I have a sofa to refurb
This is the kit I bought (medium size) but I do recommend getting paint strainers and the free compressor hire at the same time. What is the exact name of that kit please? I have a sofa to refurb
Good luck
Karl.
http://www.furnitureclinic.co.uk/Leather_Colourant...
chrispitman said:
Abit off topic but The Furniture clinic kits, can they be used on vinyl as well have leather seats but the rest of the trim is vinyl I think.
I did, with good resultshttp://www.pistonheads.com/gassing/topic.asp?h=0&a...
Seeing as you're taking them out, it's a good time to fit larger washers as the factory fitted ones seem a little small considering you're fitting an important part of the car into fibreglass. You might need to bend the edges of the washers in a vice to get thn to fit the contours of the floor, but it's a worthwhile mod
That and nylon lined nuts
That and nylon lined nuts
Cheers for the responses. Seats came out easy enough. I lifted straight out of the roof so to avoid scratching everything.
First thing I did was vacuum the car and get in there with the carpet dye and penetrating solution. I'll let it that dry overnight and go over the main areas with a second coat. Looks better, although not perfect. It has decreased the bleacking on the carpet, but obviously it is still visible when you look for it as its a shade lighter than the unbleached parts!
Once I finished this, I split the seats, cleaned them with Ultra Clean and then rubbed with prepping solution and alcohol solution, before applying the leather binding agent. I'll give them the first coat of leather paint tomorrow AM. I plan to use a hairdryer between coats to expedite the process, although tomorrow is set to be sunny as well. I'll hopefully be putting it all back together tomorrow eve, ready for a spin on Saturday! Fingers crossed.
First thing I did was vacuum the car and get in there with the carpet dye and penetrating solution. I'll let it that dry overnight and go over the main areas with a second coat. Looks better, although not perfect. It has decreased the bleacking on the carpet, but obviously it is still visible when you look for it as its a shade lighter than the unbleached parts!
Once I finished this, I split the seats, cleaned them with Ultra Clean and then rubbed with prepping solution and alcohol solution, before applying the leather binding agent. I'll give them the first coat of leather paint tomorrow AM. I plan to use a hairdryer between coats to expedite the process, although tomorrow is set to be sunny as well. I'll hopefully be putting it all back together tomorrow eve, ready for a spin on Saturday! Fingers crossed.
chris1972 said:
Cheers for the responses. Seats came out easy enough. I lifted straight out of the roof so to avoid scratching everything.
First thing I did was vacuum the car and get in there with the carpet dye and penetrating solution. I'll let it that dry overnight and go over the main areas with a second coat. Looks better, although not perfect. It has decreased the bleacking on the carpet, but obviously it is still visible when you look for it as its a shade lighter than the unbleached parts!
Once I finished this, I split the seats, cleaned them with Ultra Clean and then rubbed with prepping solution and alcohol solution, before applying the leather binding agent. I'll give them the first coat of leather paint tomorrow AM. I plan to use a hairdryer between coats to expedite the process, although tomorrow is set to be sunny as well. I'll hopefully be putting it all back together tomorrow eve, ready for a spin on Saturday! Fingers crossed.
Are you changing the colour or refreshing the current colour?First thing I did was vacuum the car and get in there with the carpet dye and penetrating solution. I'll let it that dry overnight and go over the main areas with a second coat. Looks better, although not perfect. It has decreased the bleacking on the carpet, but obviously it is still visible when you look for it as its a shade lighter than the unbleached parts!
Once I finished this, I split the seats, cleaned them with Ultra Clean and then rubbed with prepping solution and alcohol solution, before applying the leather binding agent. I'll give them the first coat of leather paint tomorrow AM. I plan to use a hairdryer between coats to expedite the process, although tomorrow is set to be sunny as well. I'll hopefully be putting it all back together tomorrow eve, ready for a spin on Saturday! Fingers crossed.
I did mine in freezing conditions in February and using a hair dryer between coats made for 15 minutes between coats, in the current weather, it should be a very quick job!
Good luck, I look forward to pics of the finished job.
Gassing Station | Chimaera | Top of Page | What's New | My Stuff