
Scottish MINI Cooper Cup Racecar
Discussion


So this year I've been helping my mate who bought Alan Waugh's Celtic Speed Scottish MINI Cooper Cup car.
Taking on running it ourselves along with Gerry from PerformanceTek, the first couple of rounds were spent ironing out faults and fixing things that came up. Crapping a gearbox at round 1 wasn't ideal but ESK loaned us a box to get the car back out. Round 2 the car managed to bend a rear strut (must have been the car, driver protests his innocence :lol: )
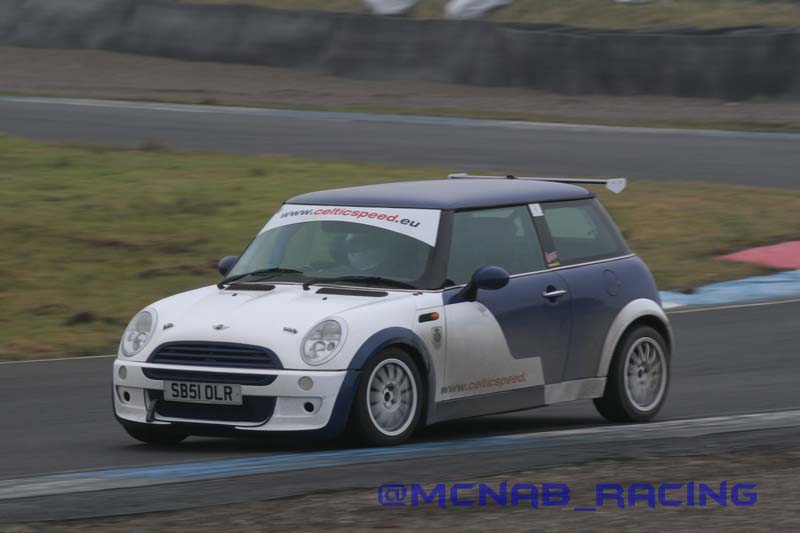
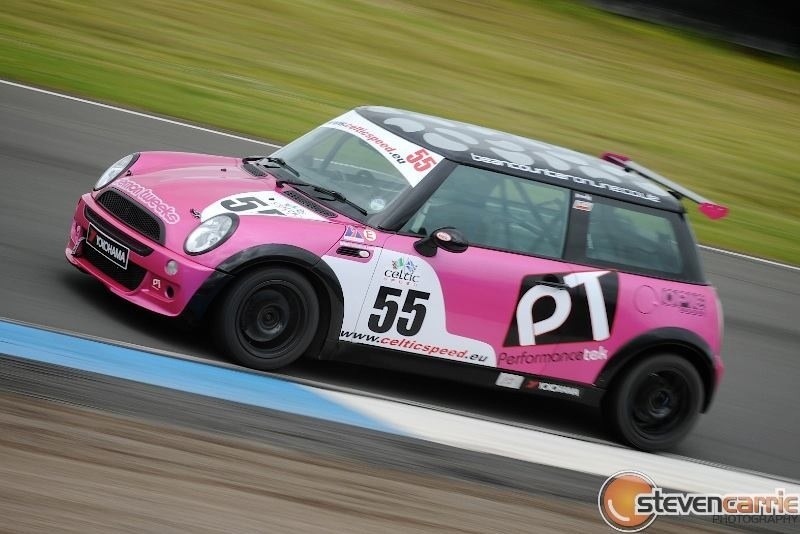
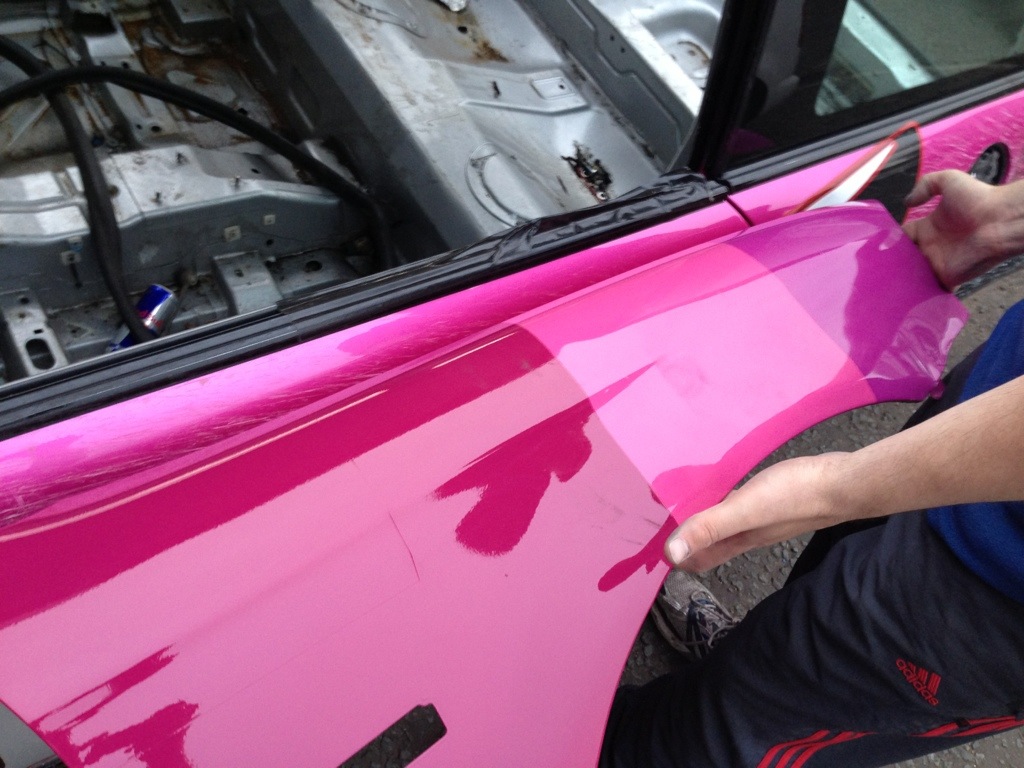
The damper couldn't be repaired in time for Oulton Park so we missed that round and gave her a fresh paint job and general tidy up
[/quote]
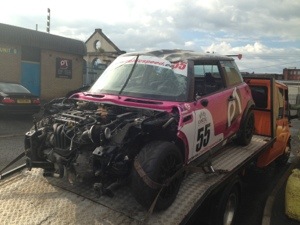
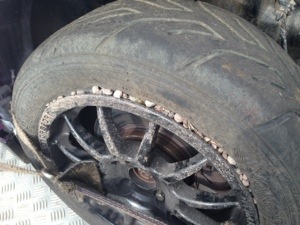
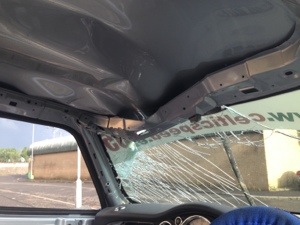
Then it all went a bit wrong on a tracknight at Knockhill...
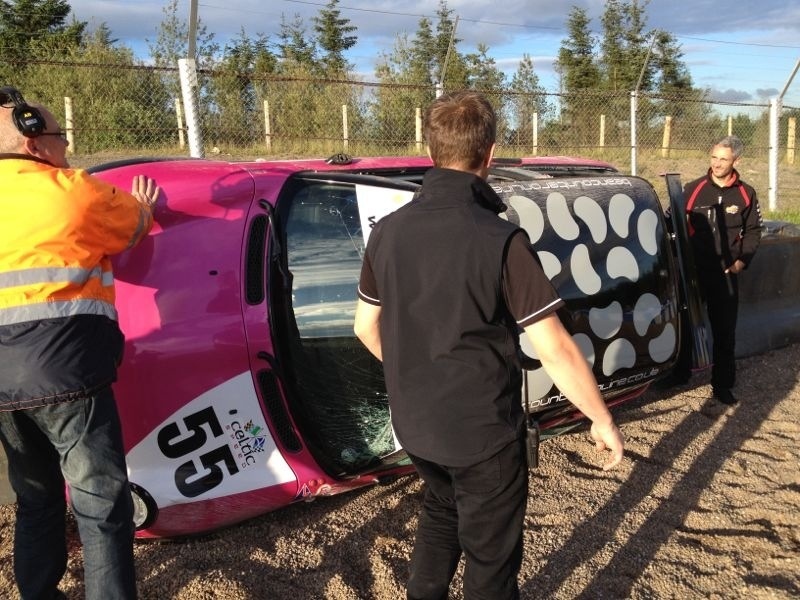
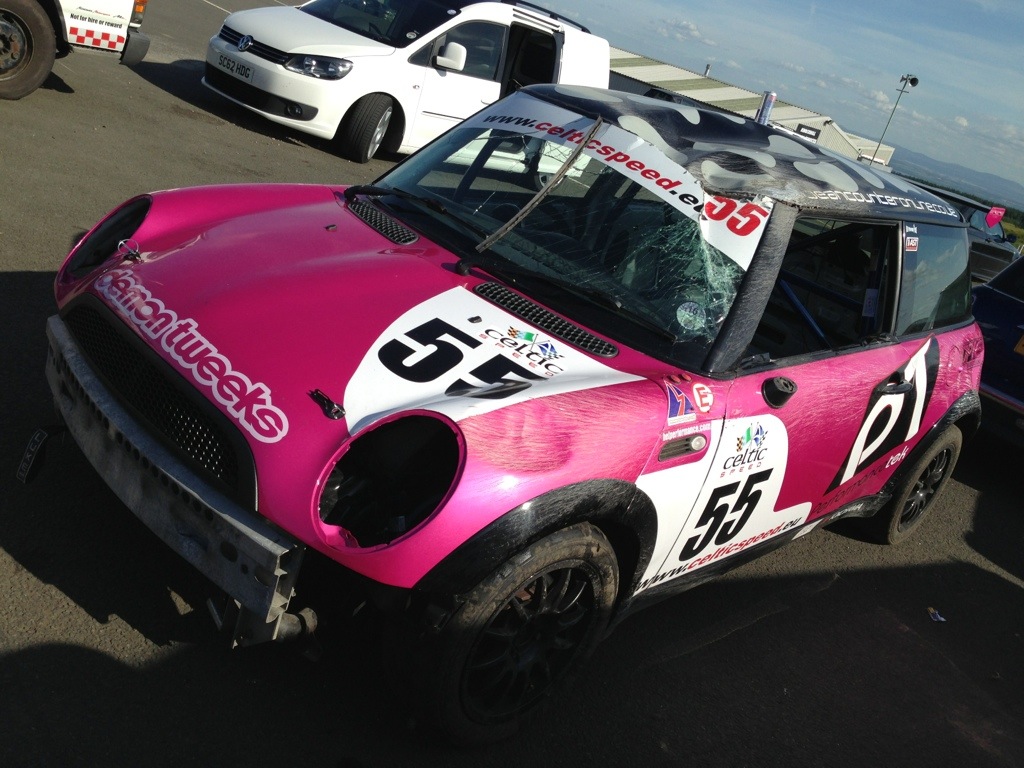
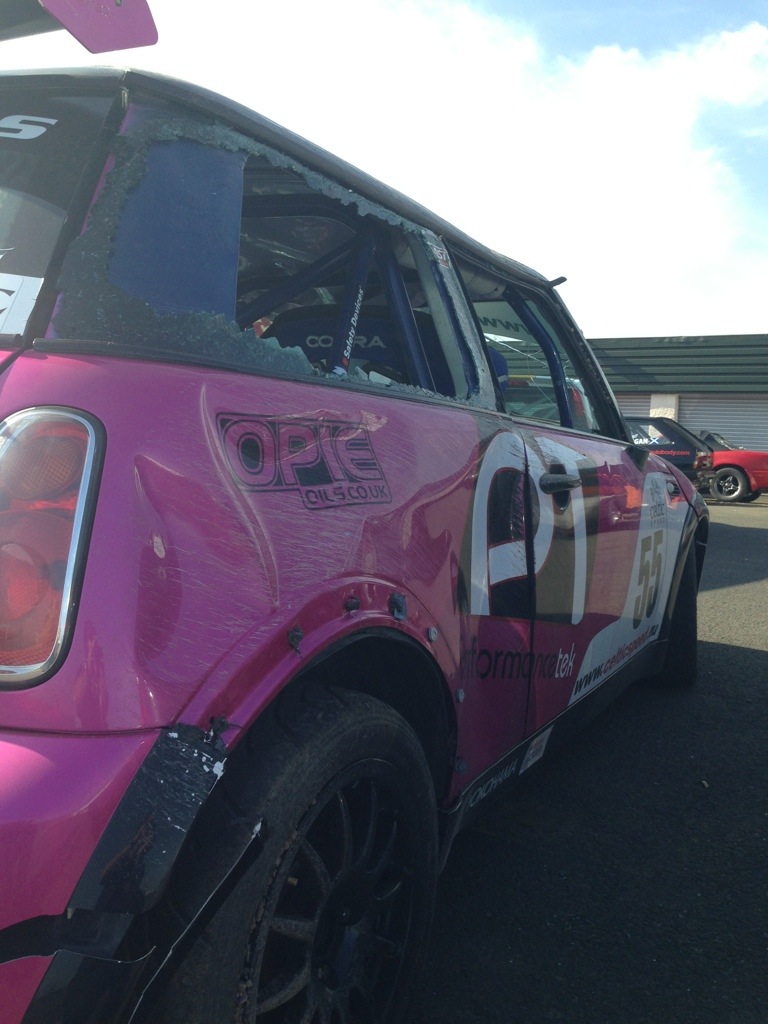
Although initially the damage didn't look that bad, the car has had a roof replaced following a previous roll. With low weight one of this cars bonuses filling the quarters with cataloy wasn't highly desirable either. So new roof, bonnet, bootlid, rear bumper, doors, osr quarter, nsr quarter would have been the shopping list. Then we spotted the tunnel was kinked. Game over for this shell.
Taking on running it ourselves along with Gerry from PerformanceTek, the first couple of rounds were spent ironing out faults and fixing things that came up. Crapping a gearbox at round 1 wasn't ideal but ESK loaned us a box to get the car back out. Round 2 the car managed to bend a rear strut (must have been the car, driver protests his innocence :lol: )
The damper couldn't be repaired in time for Oulton Park so we missed that round and gave her a fresh paint job and general tidy up
[/quote]
Then it all went a bit wrong on a tracknight at Knockhill...
Although initially the damage didn't look that bad, the car has had a roof replaced following a previous roll. With low weight one of this cars bonuses filling the quarters with cataloy wasn't highly desirable either. So new roof, bonnet, bootlid, rear bumper, doors, osr quarter, nsr quarter would have been the shopping list. Then we spotted the tunnel was kinked. Game over for this shell.
Stage one of the re-shell is well under way, although the cars are limited in modifications there's still a lot of prep work required before it can be rebuilt.
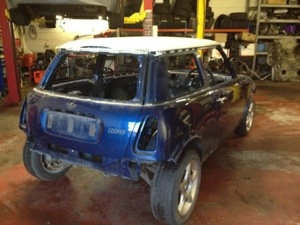
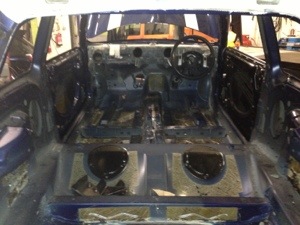
After stripping the entire interior including wiring harness, engine and running gear and all windows from the car, we brought it back to base and got to work on the sound deadening material and superfluous bracketry.
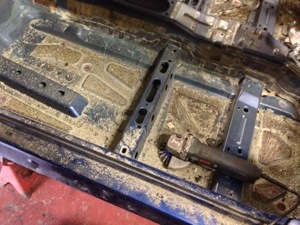
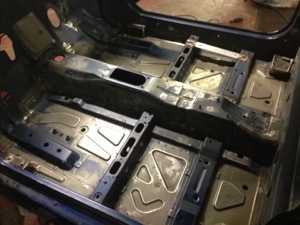
Even though the bulk of the weight is in items like the seats and carpets, there's a good few kilos in the sound deadening and it tends to be everywhere you don't want weight in the car. Additionally, there's bordering on a metric ton of seam sealer liberally splattered all over the inside of the car. Although not a huge weight saving, it looks unsightly if left in place and every kilo helps! Here's a before and after of the tunnel.
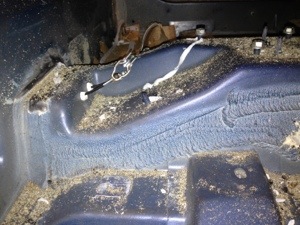
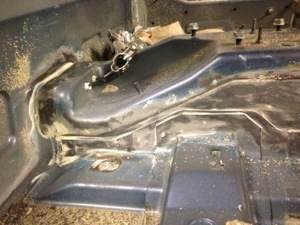
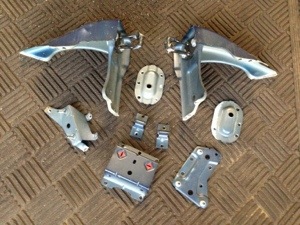
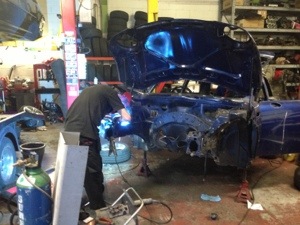
With all the sound deadening and sealant removed its almost time to weld the new cage mounts in to the blue shell. Roughly 3kg of seam sealer in total removed [don’t know an exact figure, we blew a load of it out with the airline the first night] in addition to the adhesive goo the roof insulation was stuck on with and the random bits of foam bonded plastic in the rear quarters.
Meanwhile Alicia has been brought back down from race HQ for final stripping and removal of the engine and box.
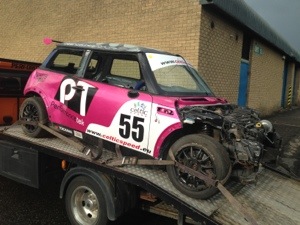
The chassis legs have also been stitch welded as per the regulations [only area allowed additional welding], should be ready for paint by the weekend.
After stripping the entire interior including wiring harness, engine and running gear and all windows from the car, we brought it back to base and got to work on the sound deadening material and superfluous bracketry.
Even though the bulk of the weight is in items like the seats and carpets, there's a good few kilos in the sound deadening and it tends to be everywhere you don't want weight in the car. Additionally, there's bordering on a metric ton of seam sealer liberally splattered all over the inside of the car. Although not a huge weight saving, it looks unsightly if left in place and every kilo helps! Here's a before and after of the tunnel.
With all the sound deadening and sealant removed its almost time to weld the new cage mounts in to the blue shell. Roughly 3kg of seam sealer in total removed [don’t know an exact figure, we blew a load of it out with the airline the first night] in addition to the adhesive goo the roof insulation was stuck on with and the random bits of foam bonded plastic in the rear quarters.
Meanwhile Alicia has been brought back down from race HQ for final stripping and removal of the engine and box.
The chassis legs have also been stitch welded as per the regulations [only area allowed additional welding], should be ready for paint by the weekend.
So seam sealer ground out, we got the chassis legs welded as per the regulations. With the punishment the cars take over the kerbs the legs can start to flex slightly and it only takes a few mm of flex to pop a driveshaft due to the location of the gearbox mounts.
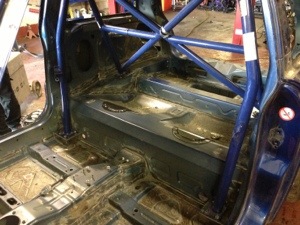
Next up, the cage was offered up the floor plates tack welded in then the cage removed to allow seam welding.
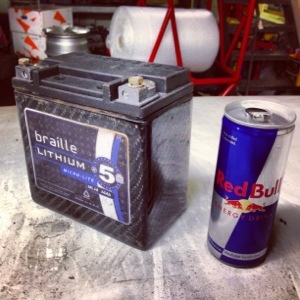
Whilst pulling apart the old car I actually had a proper look at the battery for the first time [never had cause to pull it out the batter box before hand]. It’s a Braille lithium ion unit, powers the car well enough to perform repeated starts yet weighs just 5lb / 2.2kg! That’s a standard 250ml can of RedBull I pictured it next to for a sense of scale…
Next up, the cage was offered up the floor plates tack welded in then the cage removed to allow seam welding.
Whilst pulling apart the old car I actually had a proper look at the battery for the first time [never had cause to pull it out the batter box before hand]. It’s a Braille lithium ion unit, powers the car well enough to perform repeated starts yet weighs just 5lb / 2.2kg! That’s a standard 250ml can of RedBull I pictured it next to for a sense of scale…
Our unit at Knockhill is right next to Minimax where you would have seen Craig's gang of 8-10 parked up.
31/07 Update:
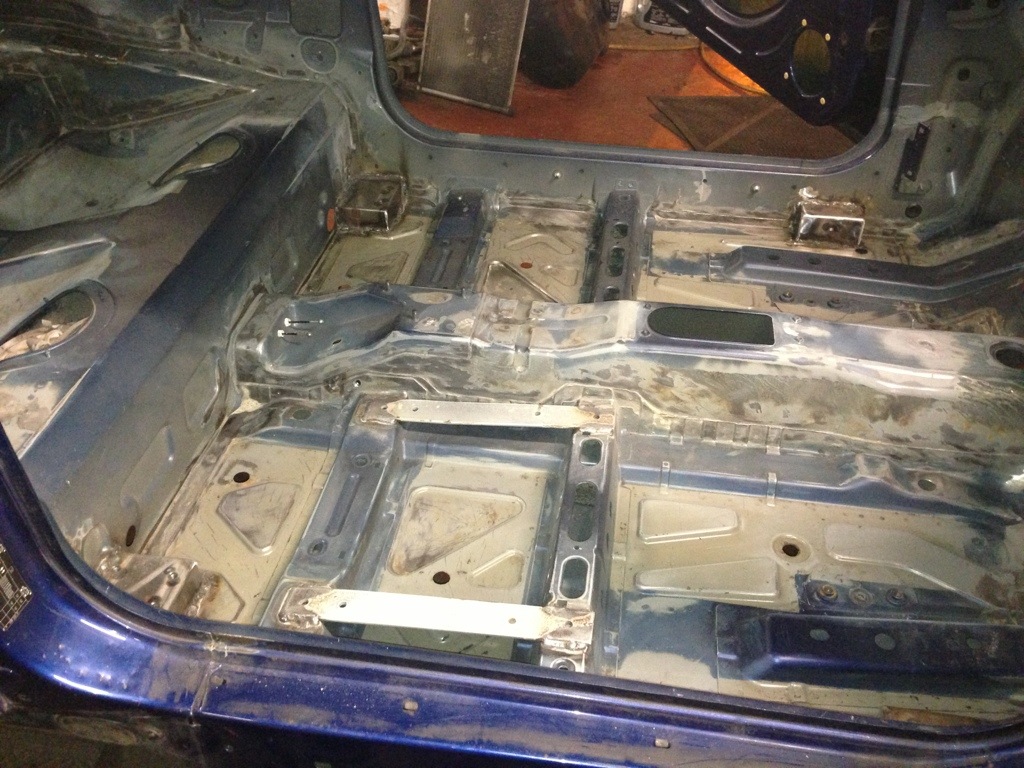
Cage brackets all welded in so last thing to do inside wise is prep for paint.
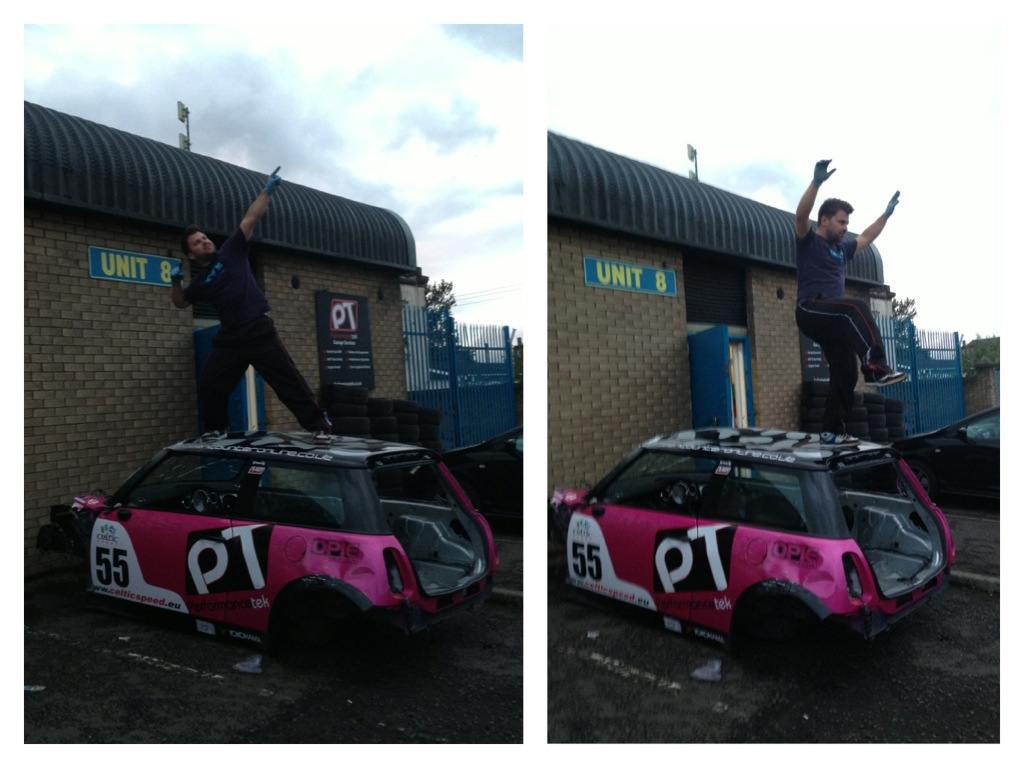
After taking some cliched poses on the old shell of course...
After removing the sound deadening you're always left with the residue, nothing for it but some old skool elbow grease.
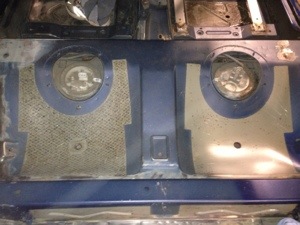
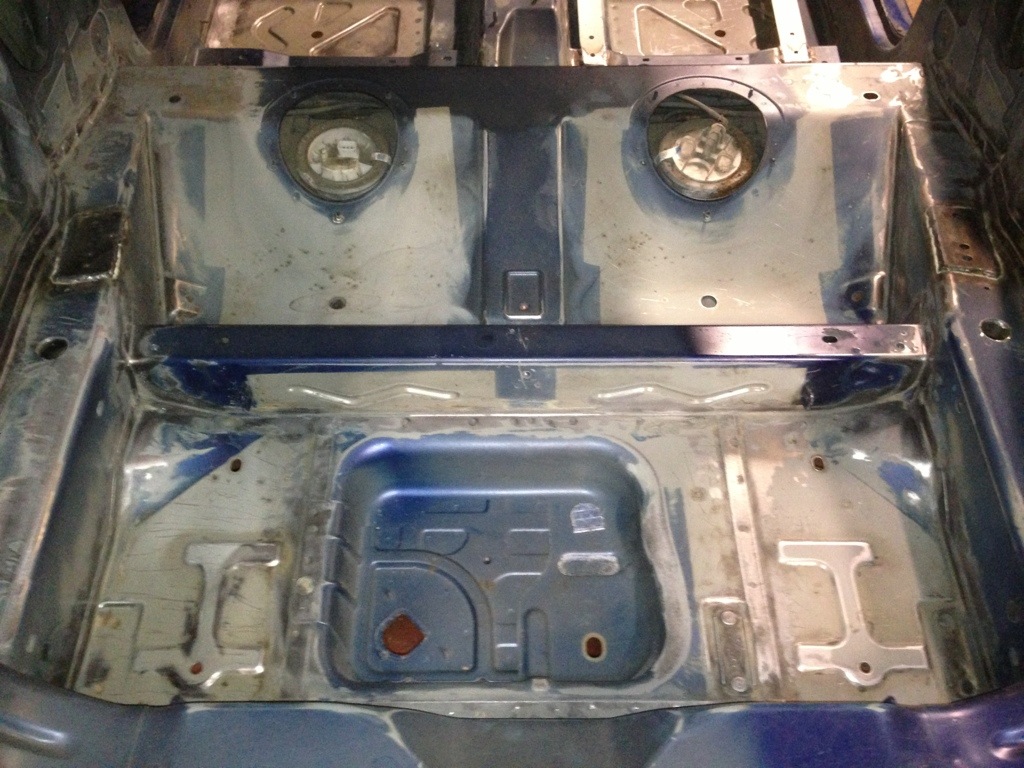
Sanded, hoovered out and ready for primer
31/07 Update:
Cage brackets all welded in so last thing to do inside wise is prep for paint.
After taking some cliched poses on the old shell of course...
After removing the sound deadening you're always left with the residue, nothing for it but some old skool elbow grease.
Sanded, hoovered out and ready for primer
Edited by emicen on Wednesday 31st July 22:15
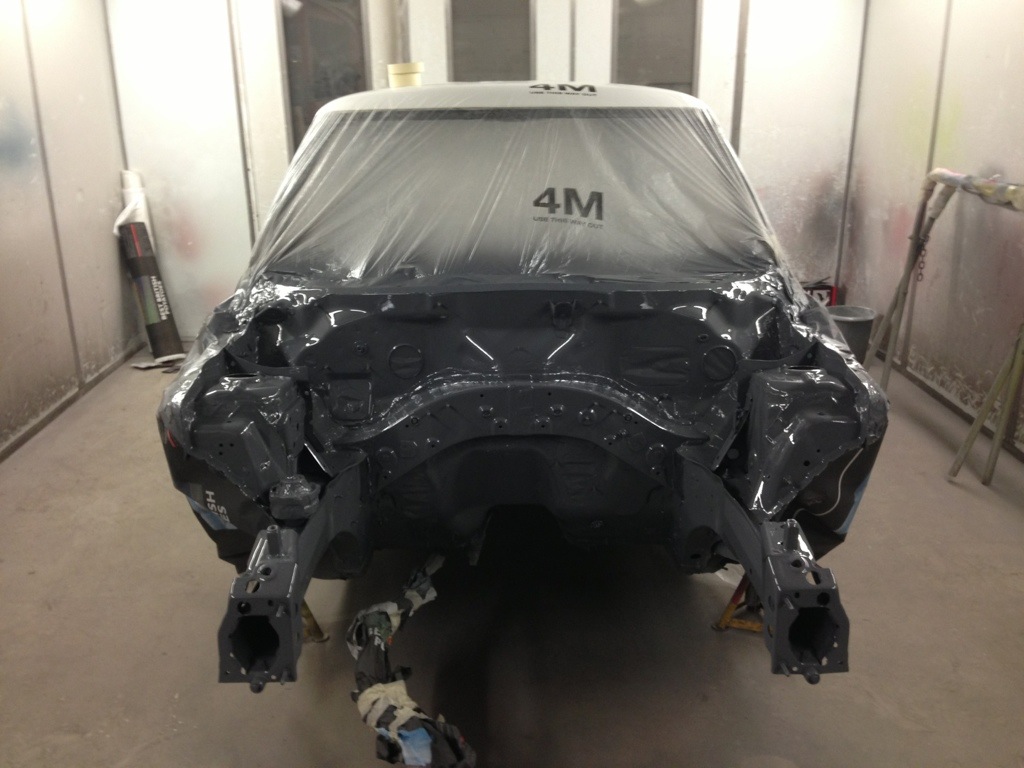
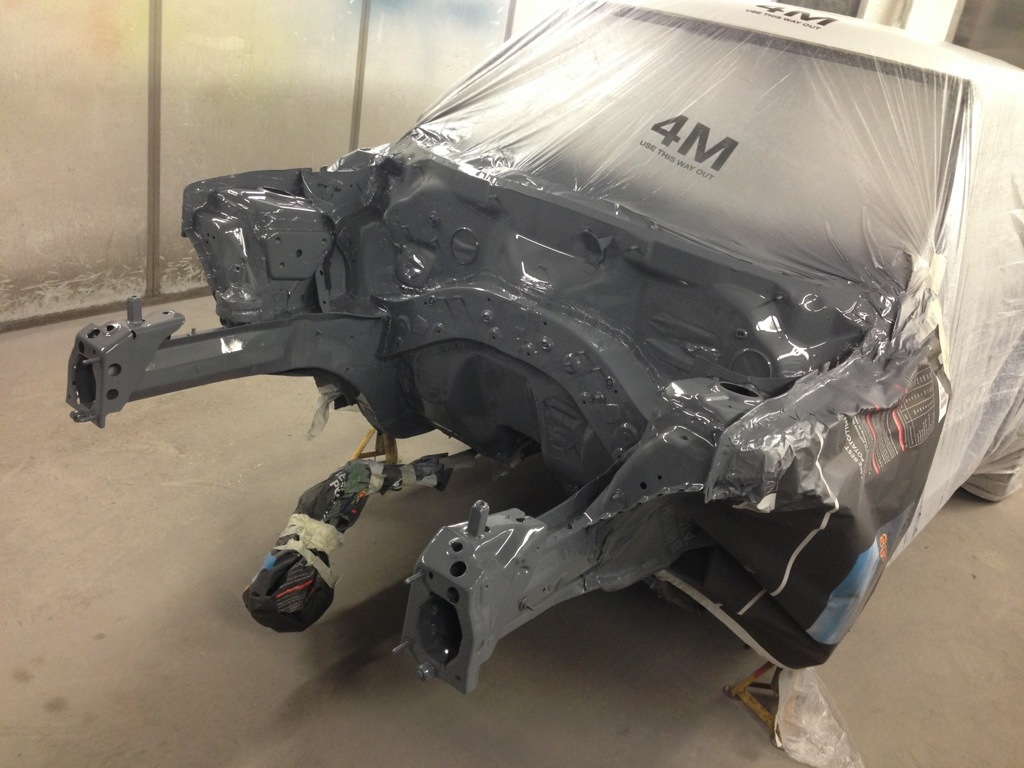
Interior spraying is go!
Immy and Kev at IA Bodyshop getting the primer on in the spray booth as I type.
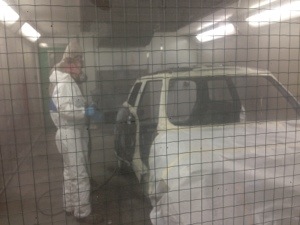
Immy and Kev at IA Bodyshop getting the primer on in the spray booth as I type.
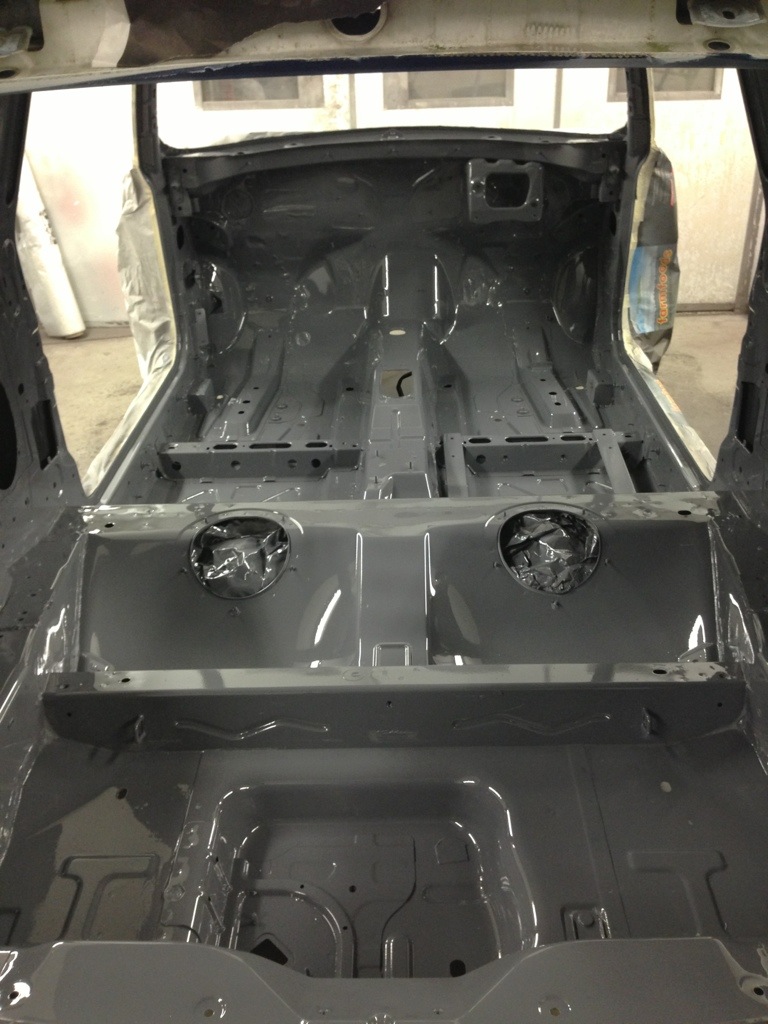
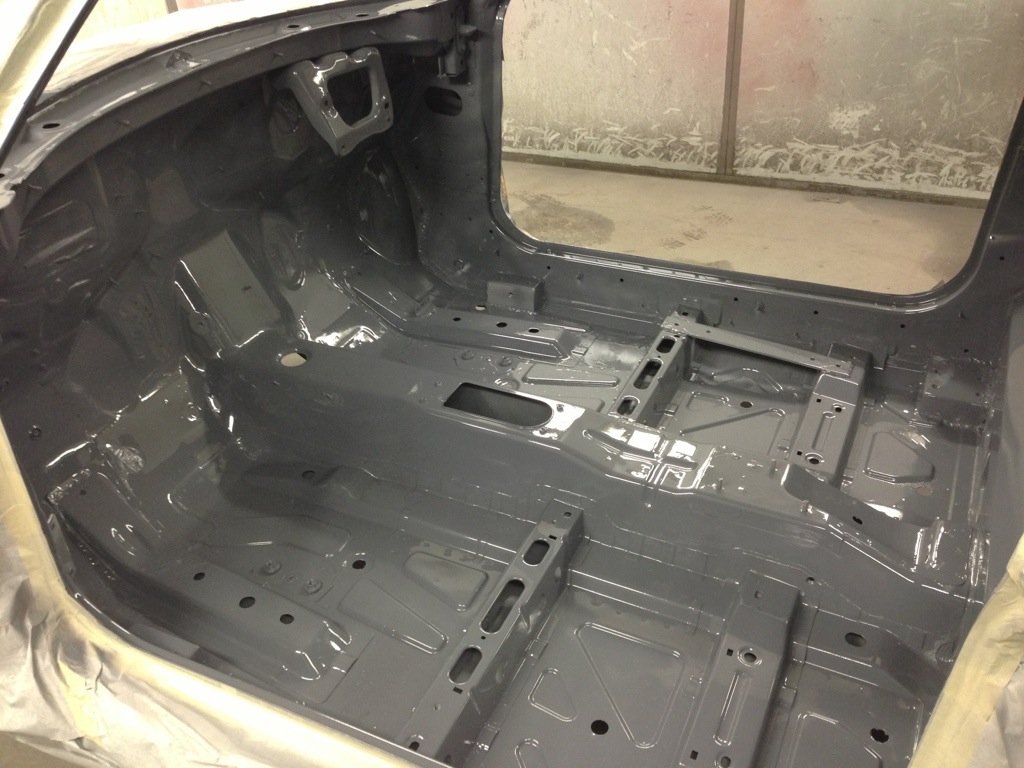
Now the interior is painted, it's time to prep the exterior.
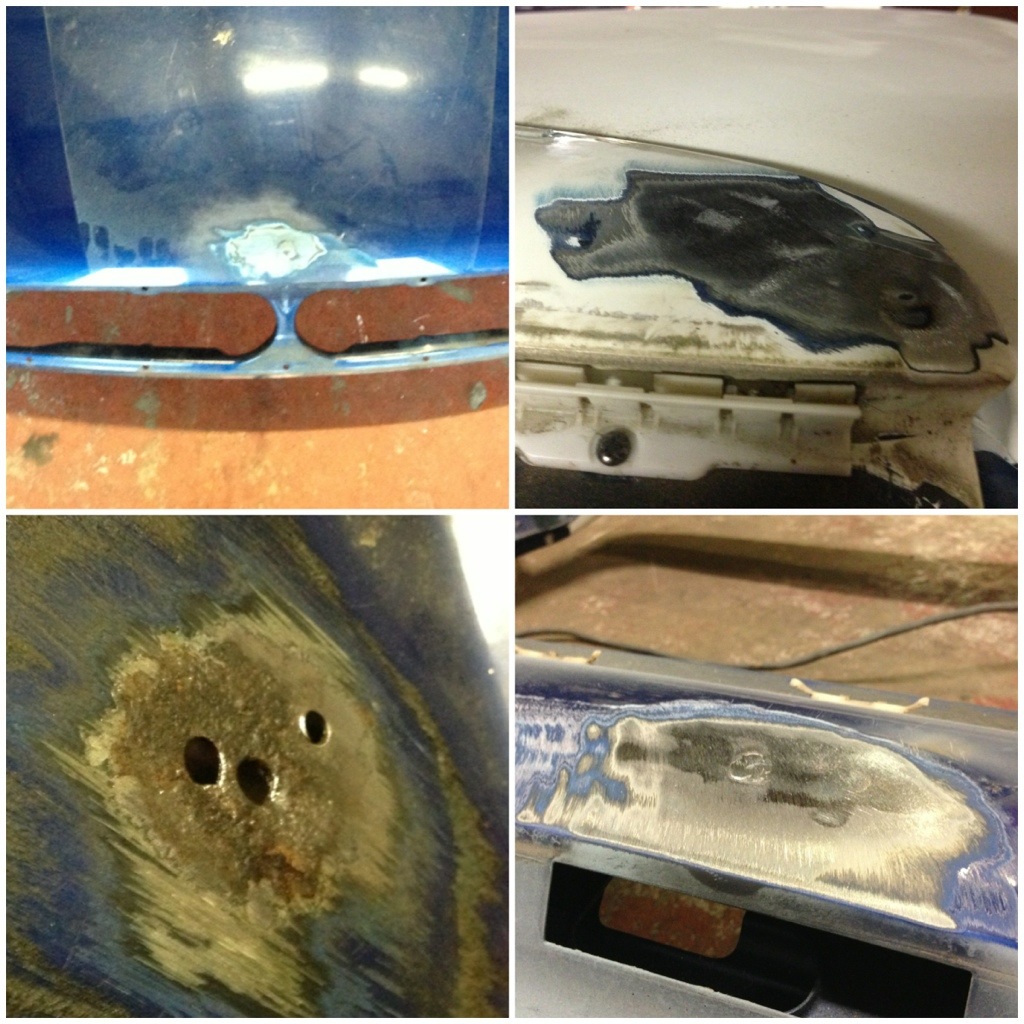
First up, boot and bonnet pins:
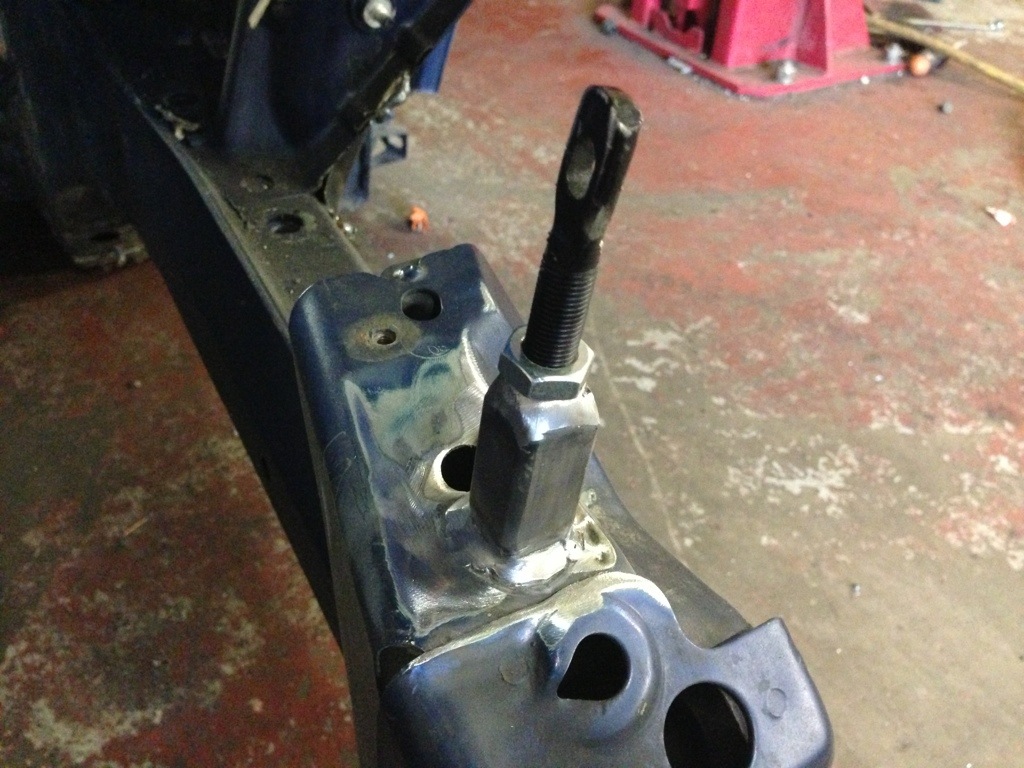
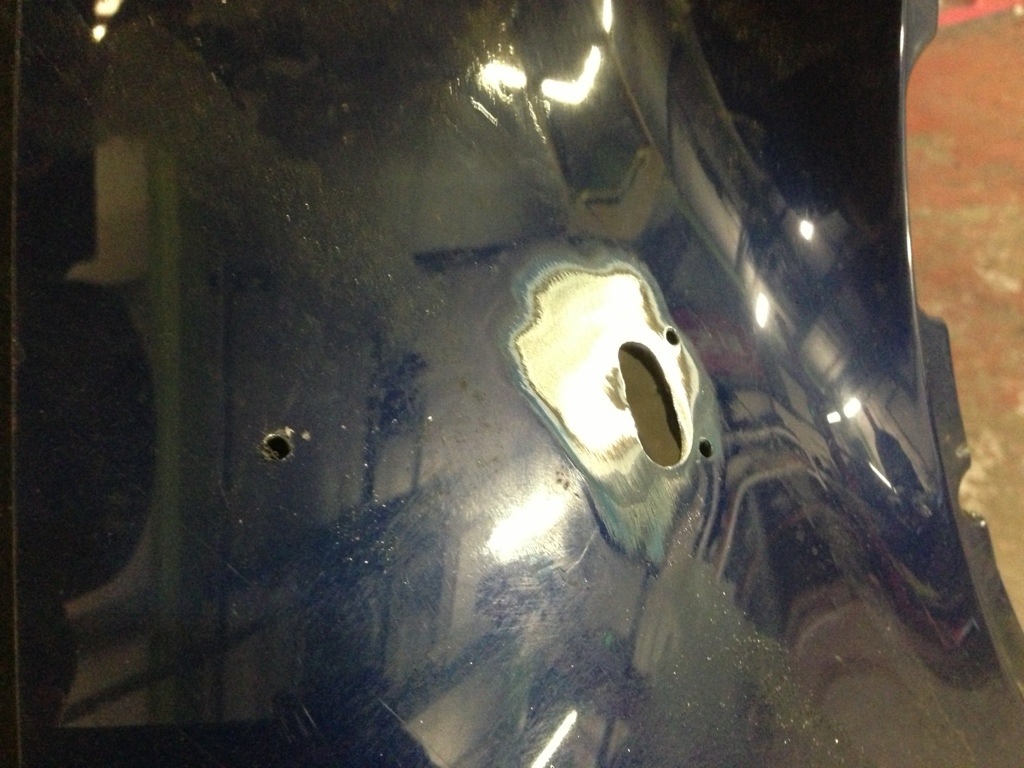
Also a good opportunity to take care of plugging the holes where the bonnet and boot badges came off, then plug the holes where the original boot spoiler was mounted and try and plug the holes where someone went to town with the self tapping screws trying to mount a number plate:
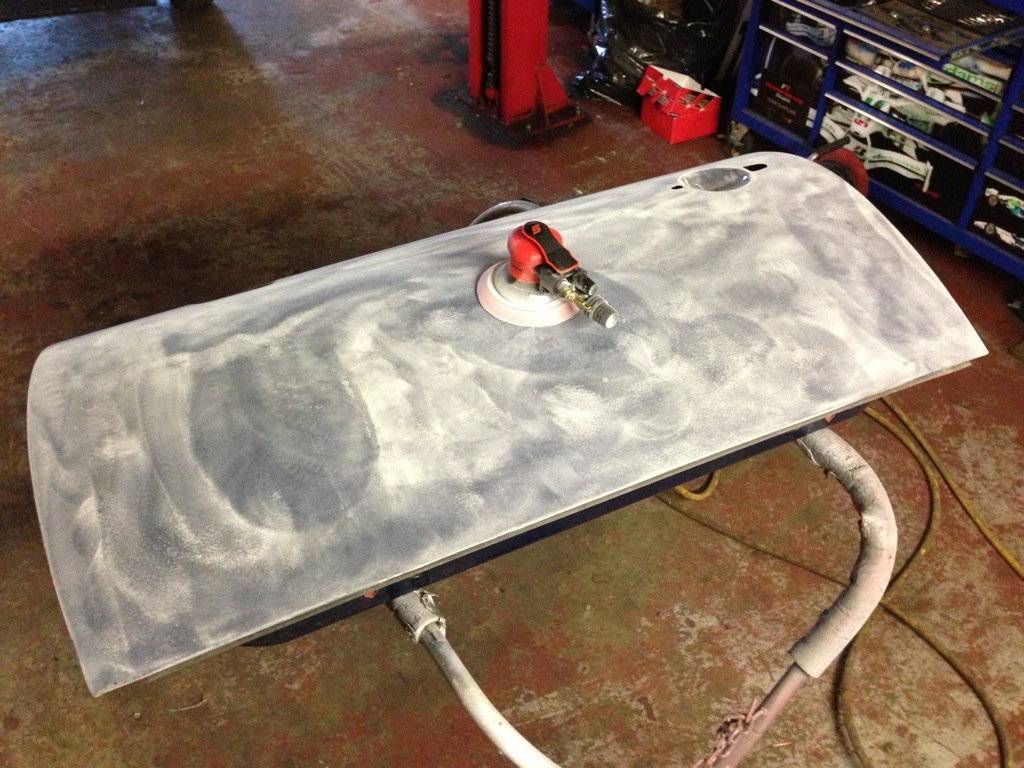
No escaping it, it's DA sander'o'clock:
In the mean time, Hendy has been sanding down the engine bay where we can't attack with the DA and I've been getting in to the insides of the doors with some scotchbrite.
First up, boot and bonnet pins:
Also a good opportunity to take care of plugging the holes where the bonnet and boot badges came off, then plug the holes where the original boot spoiler was mounted and try and plug the holes where someone went to town with the self tapping screws trying to mount a number plate:
No escaping it, it's DA sander'o'clock:
In the mean time, Hendy has been sanding down the engine bay where we can't attack with the DA and I've been getting in to the insides of the doors with some scotchbrite.
Edited by emicen on Friday 9th August 00:05
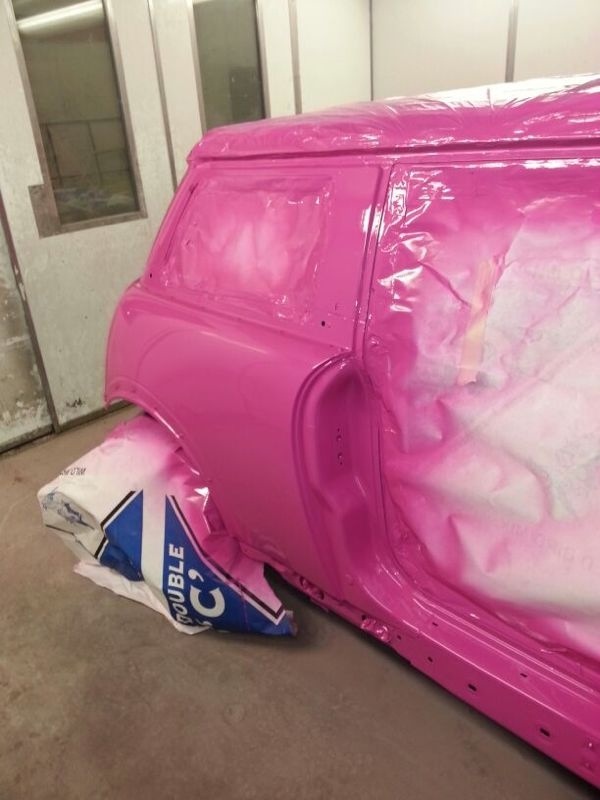
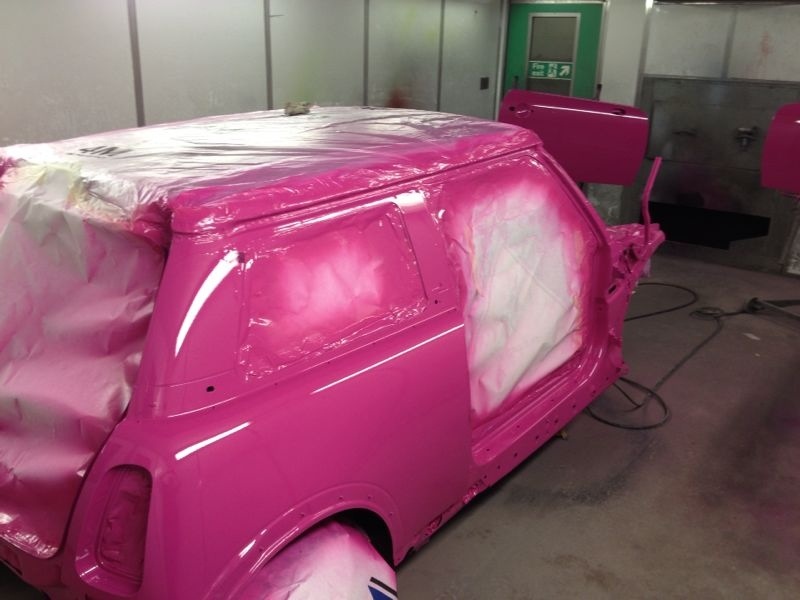
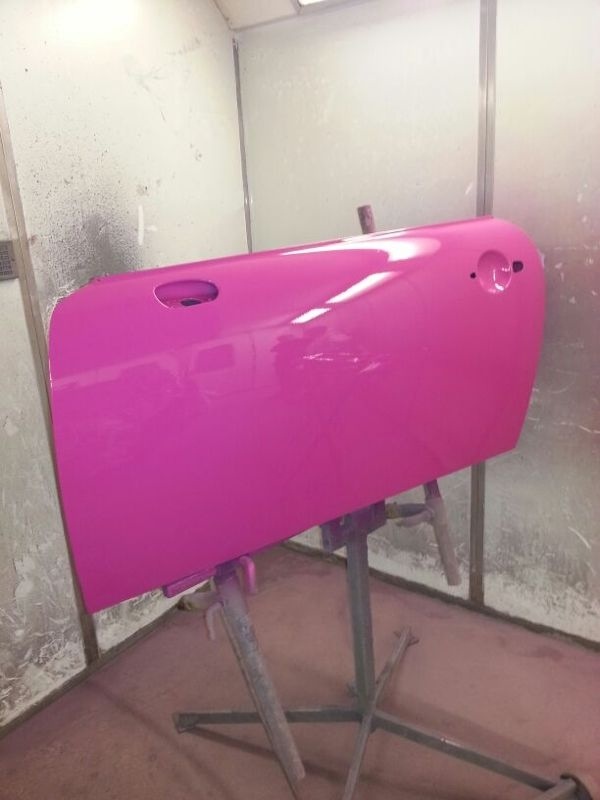
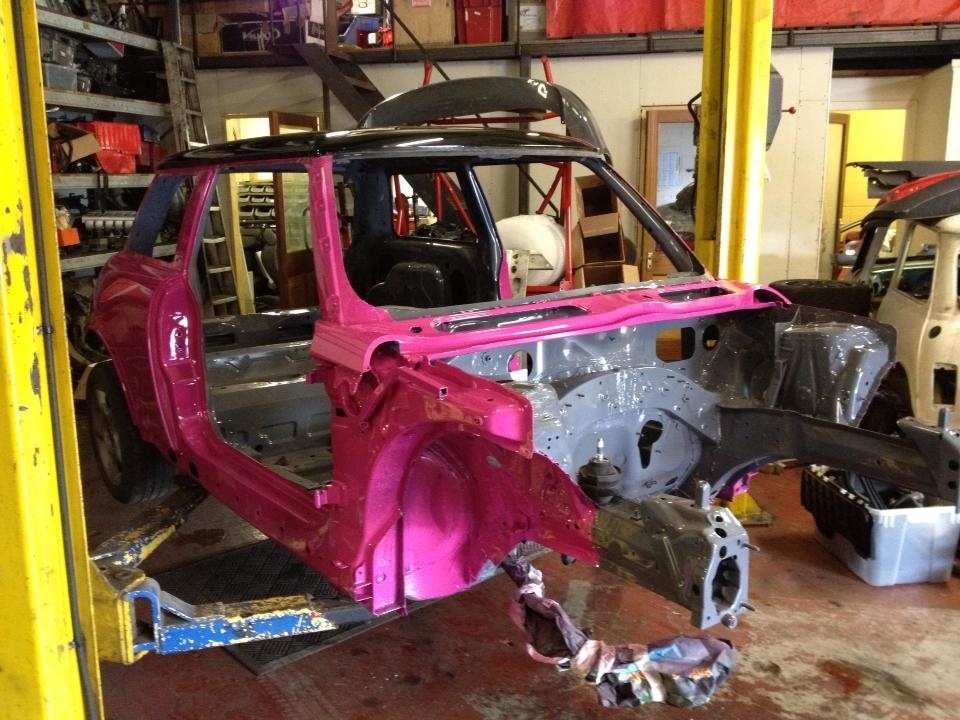
It's funny, we've always said you could build one in a weekend if you properly set about it. You could, but it wouldn't be one you'd really want to drive/own! The majority of the car is now prep'd for paint, only really 1 door to go and the guys at IA Bodyshop got set about skimming the bootlid and bonnet last night.
Car needs to be ready 2 weeks today for testing before the Knockhill BTCC round we're supporting. We're racing this weekend so not much getting done until Monday now. No pressure then
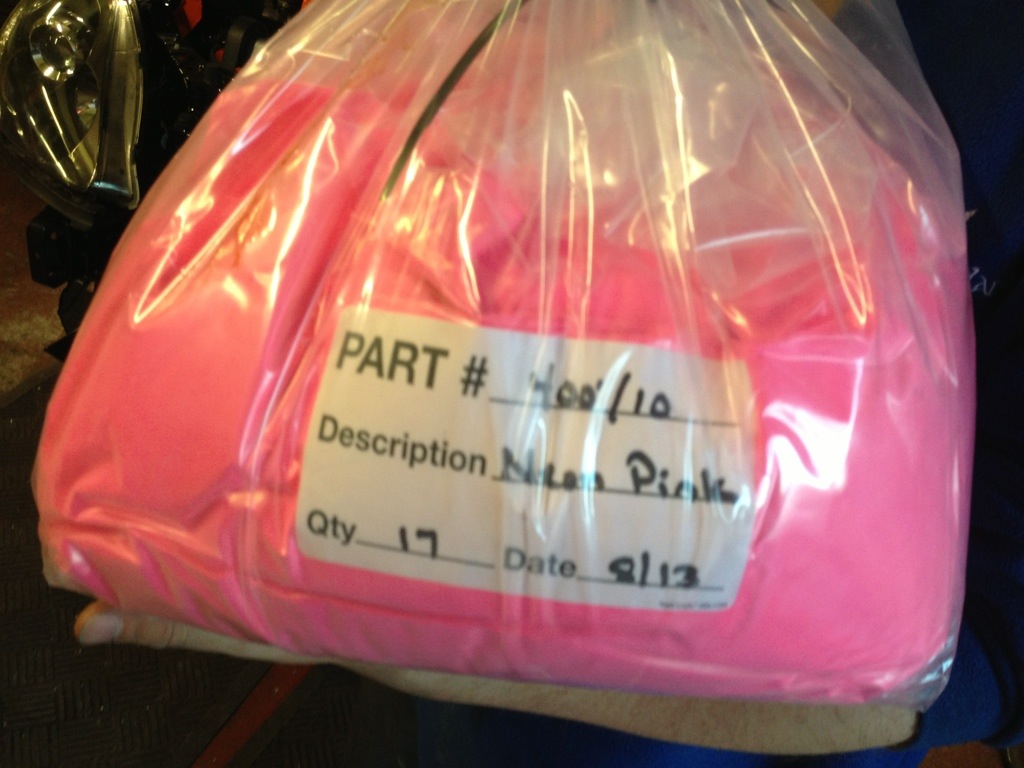
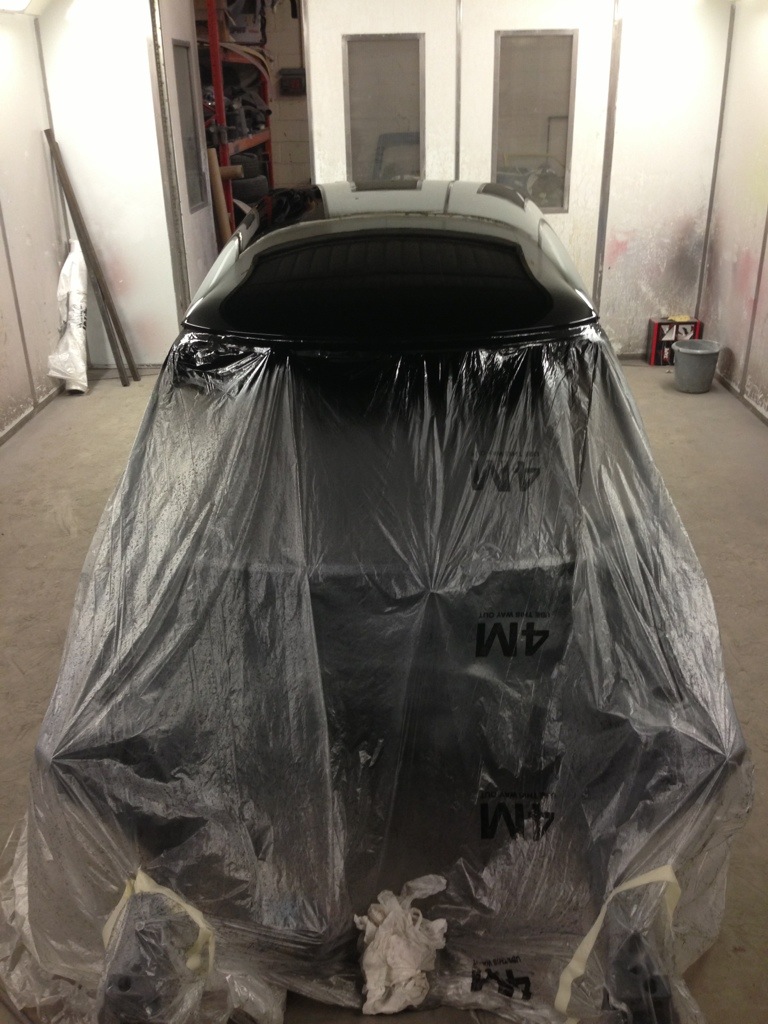
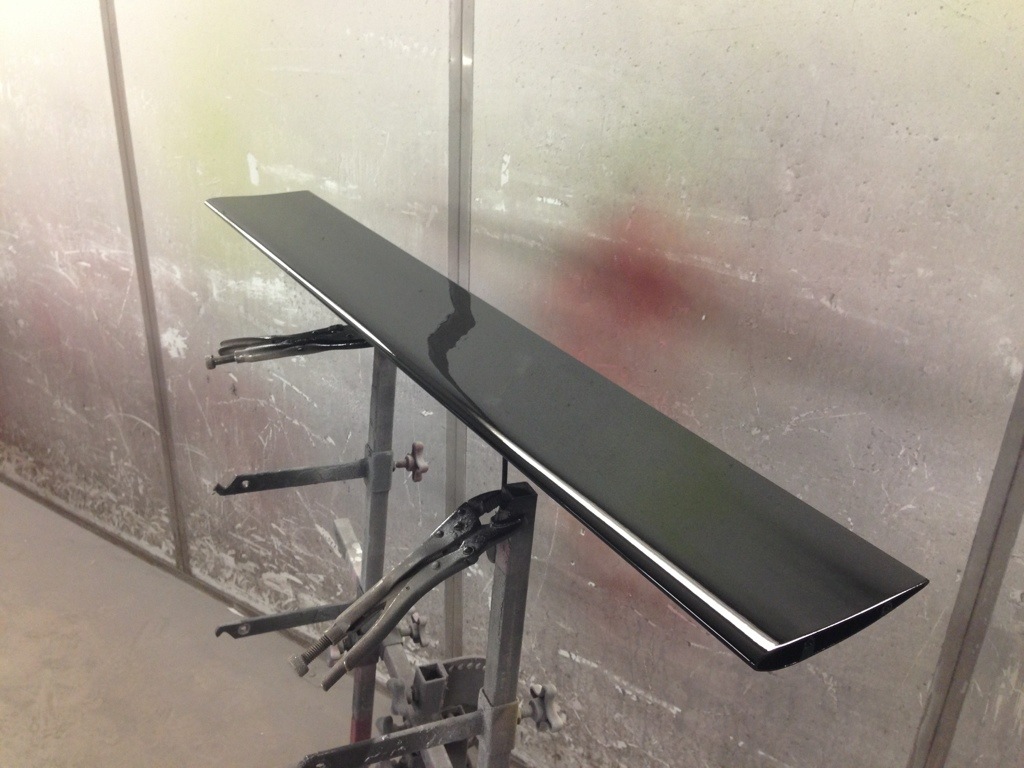
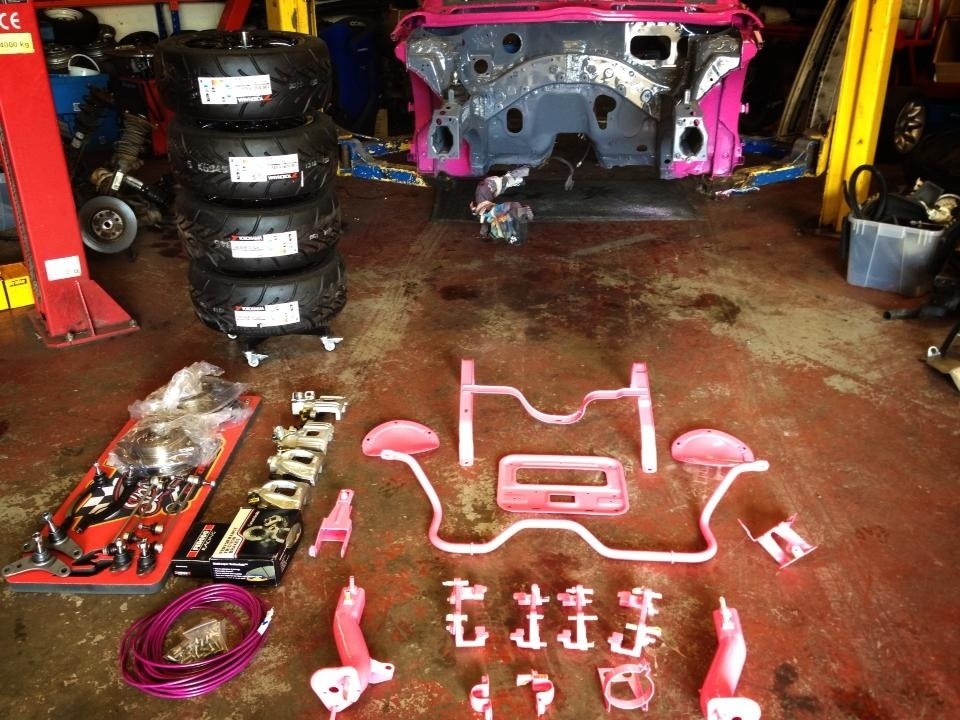
Pretty much all the subframes and suspension components are going off to powder coating today so once the shell is painted early next week we'll be on to reassembly and wiring.
Car needs to be ready 2 weeks today for testing before the Knockhill BTCC round we're supporting. We're racing this weekend so not much getting done until Monday now. No pressure then
Pretty much all the subframes and suspension components are going off to powder coating today so once the shell is painted early next week we'll be on to reassembly and wiring.
Gassing Station | Readers' Cars | Top of Page | What's New | My Stuff