
My day in pictures......
Discussion


My day in pictures
I'd recently waxoiled the chassis rail and then noticed a bit of waxoil oozing out of a scabby bit on the chassis rail - well I couldn't leave it like that!!!
I'd already hit it hard with a zip wheel when I was cleaning up the underside and it didn't turn to dust but it obviously wasn't as sound as I thought.......

Chop chop
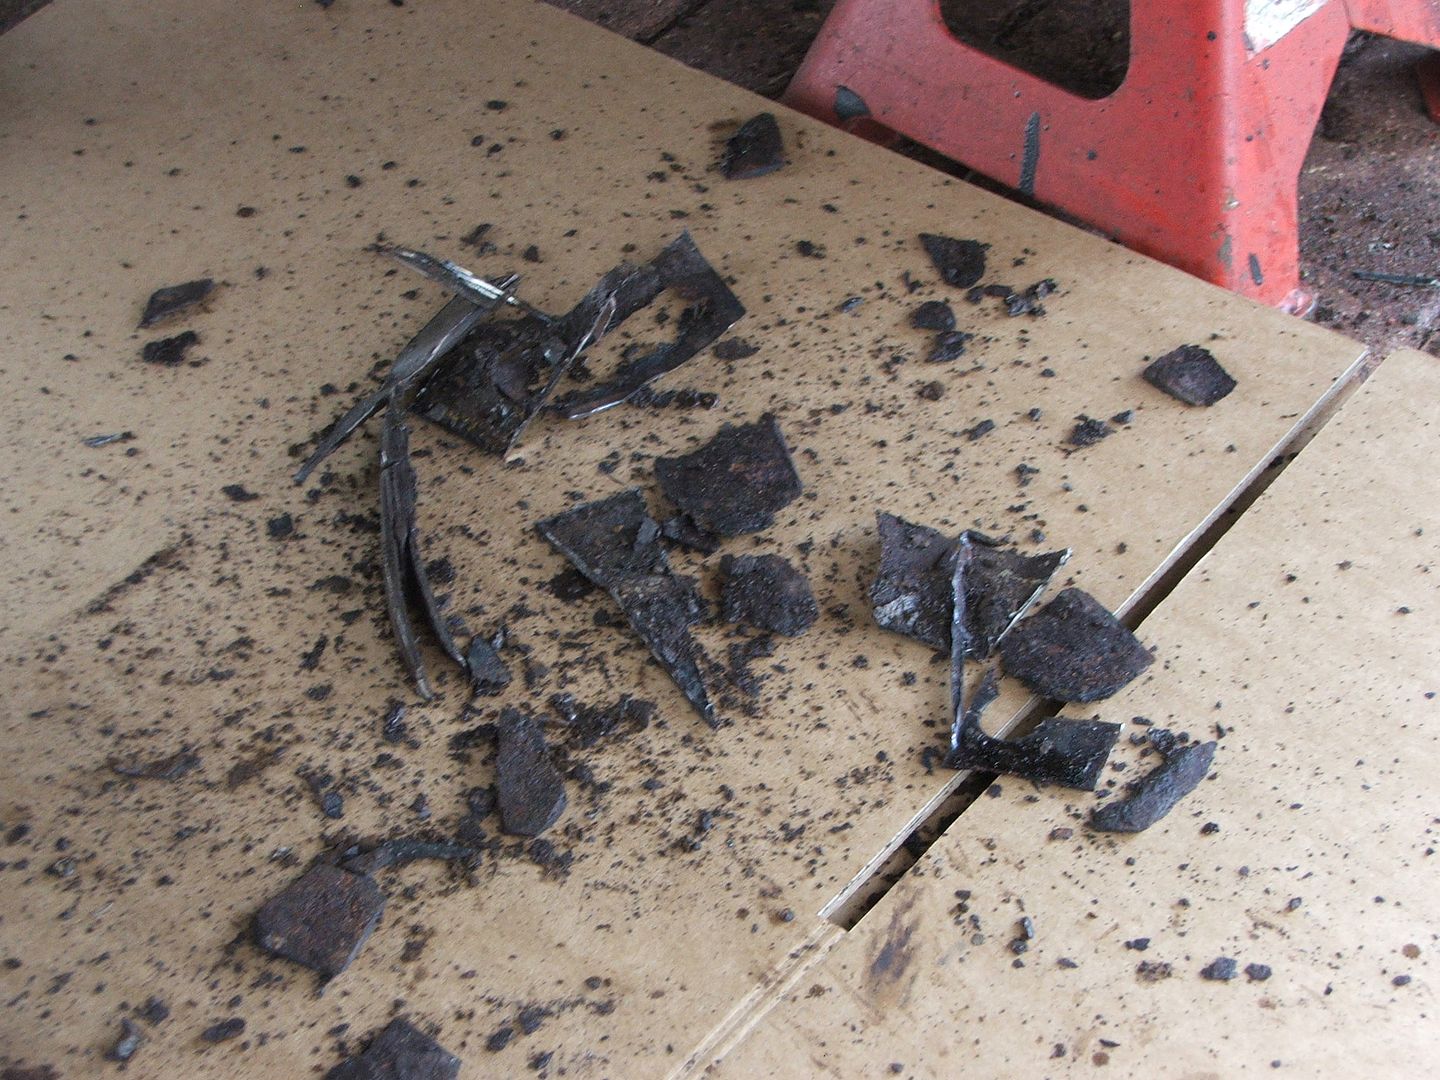
Glad I did - had to go a fair way over till I got to good steel
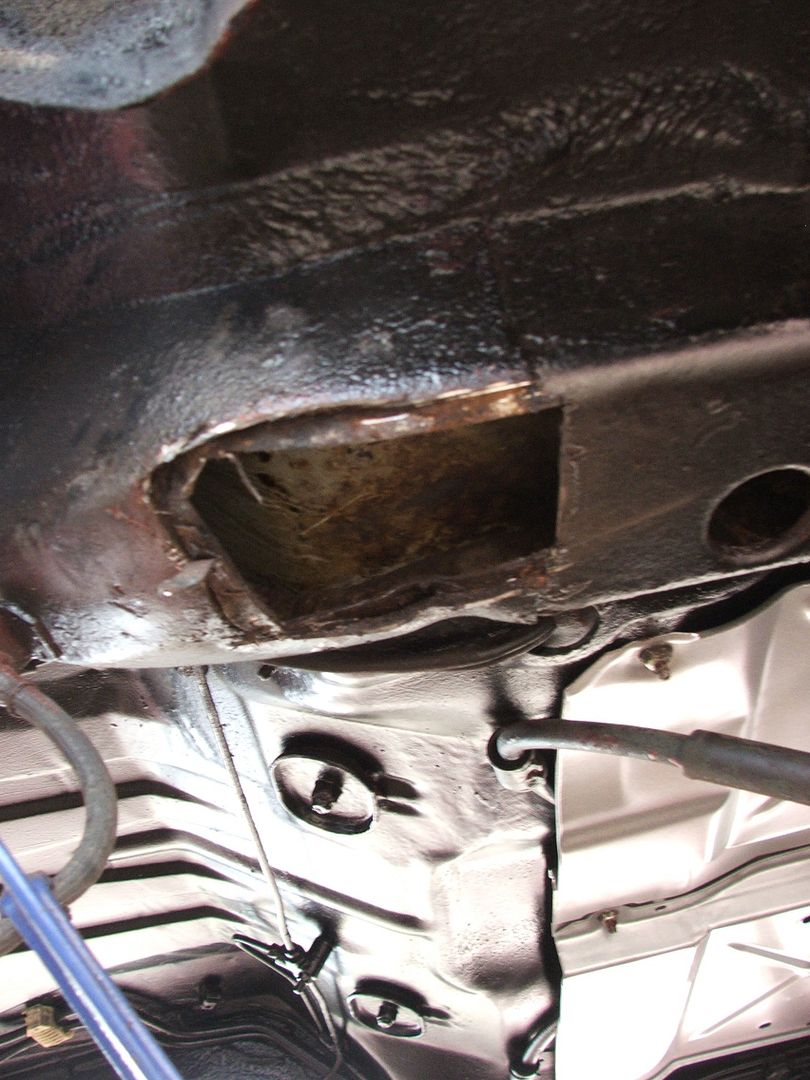
Grind grind - shiney steel

I'd had me cornflakes so the box came in handy - make a card template

Transfer to 1.5 mm steel
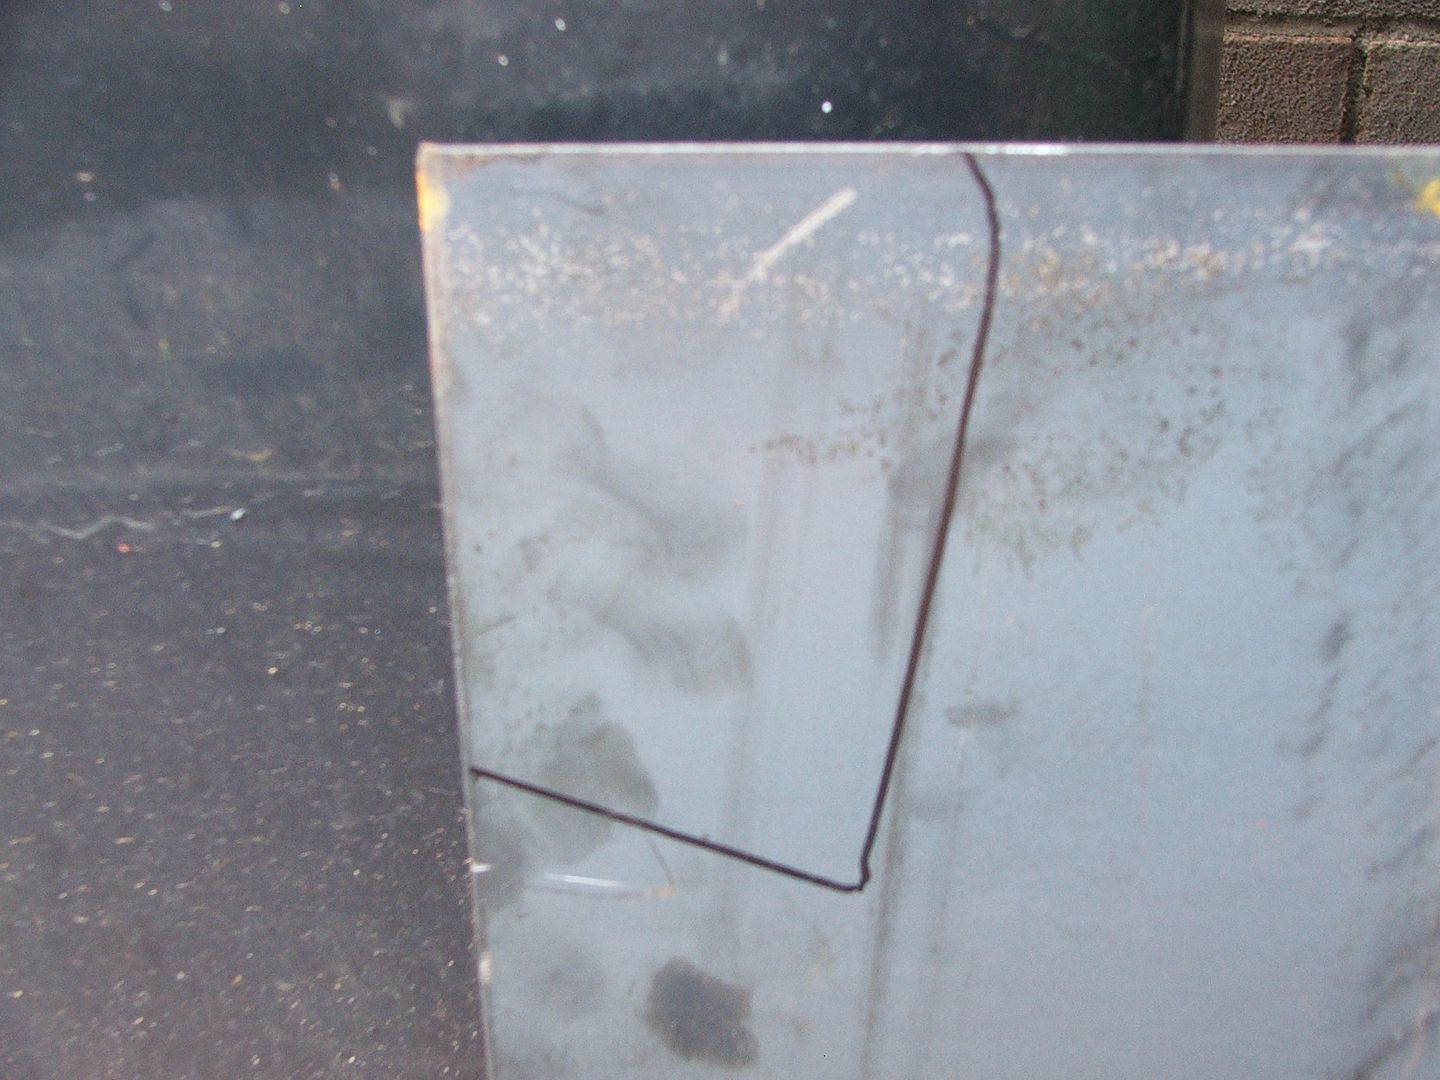
Cut, sand, hammer and splash a bit of weld thro primer on it

Same with the chassis rail that remained
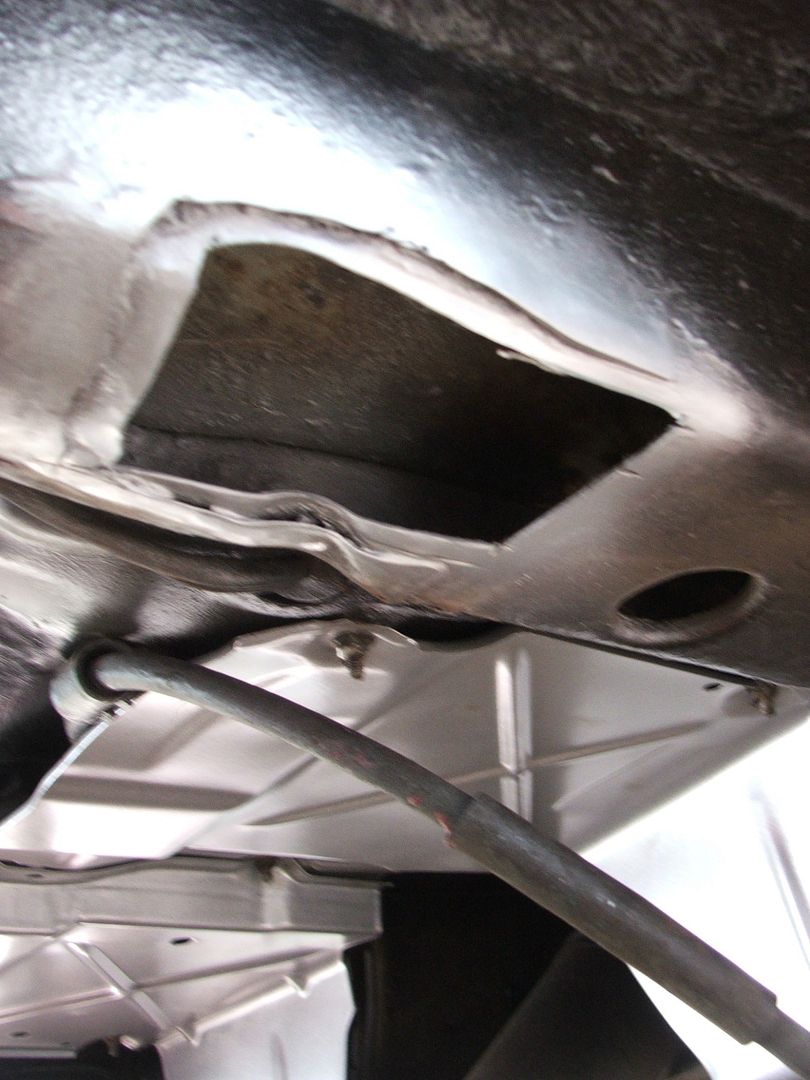
Had a few hard drive failures over the years - recently liberated a few magnets out of the dead ones - make great fixings for butt welding - even better when you can find more than one of them - bloody mini in the garage seems to have eaten them all
Don't try to weld near one does weird sh!t to the arc!!
I know it looks a bit "gappy" but with multiple curves I find it easier to weld it in where it touches and then go round beating it into the shape that closes up the gaps - works well with chassis sections - not so well with bodywork!!!
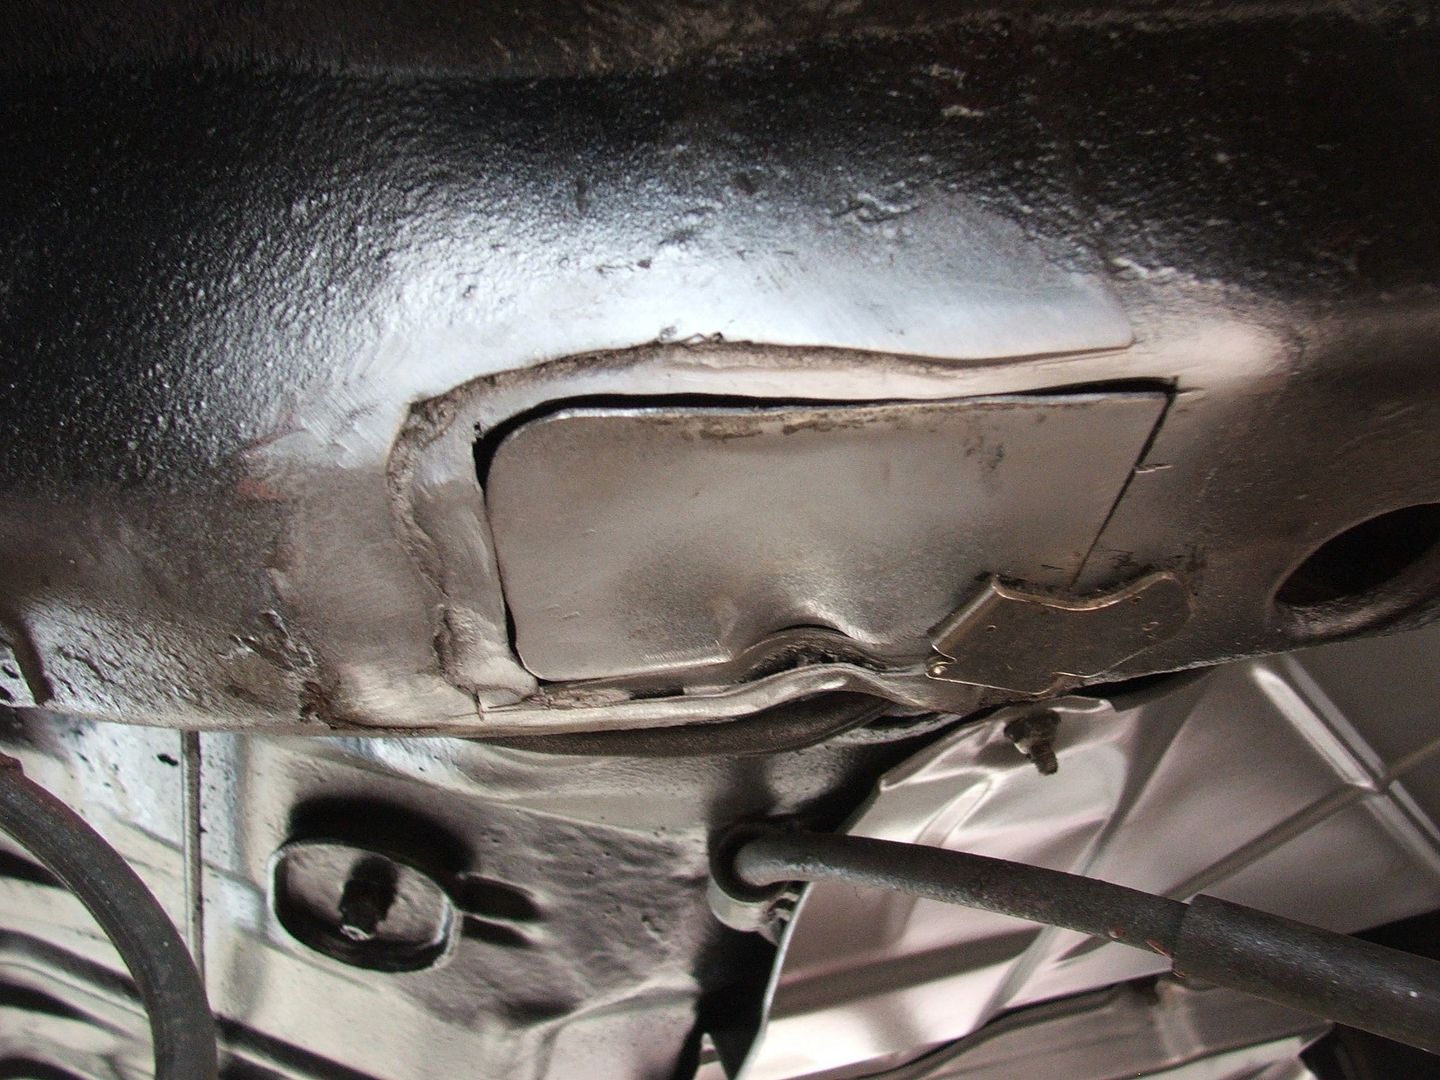
Yes it did catch fire - but I was ready for it - I knew that the wax oil would flame up quite nicely

First piece in

Grind it back
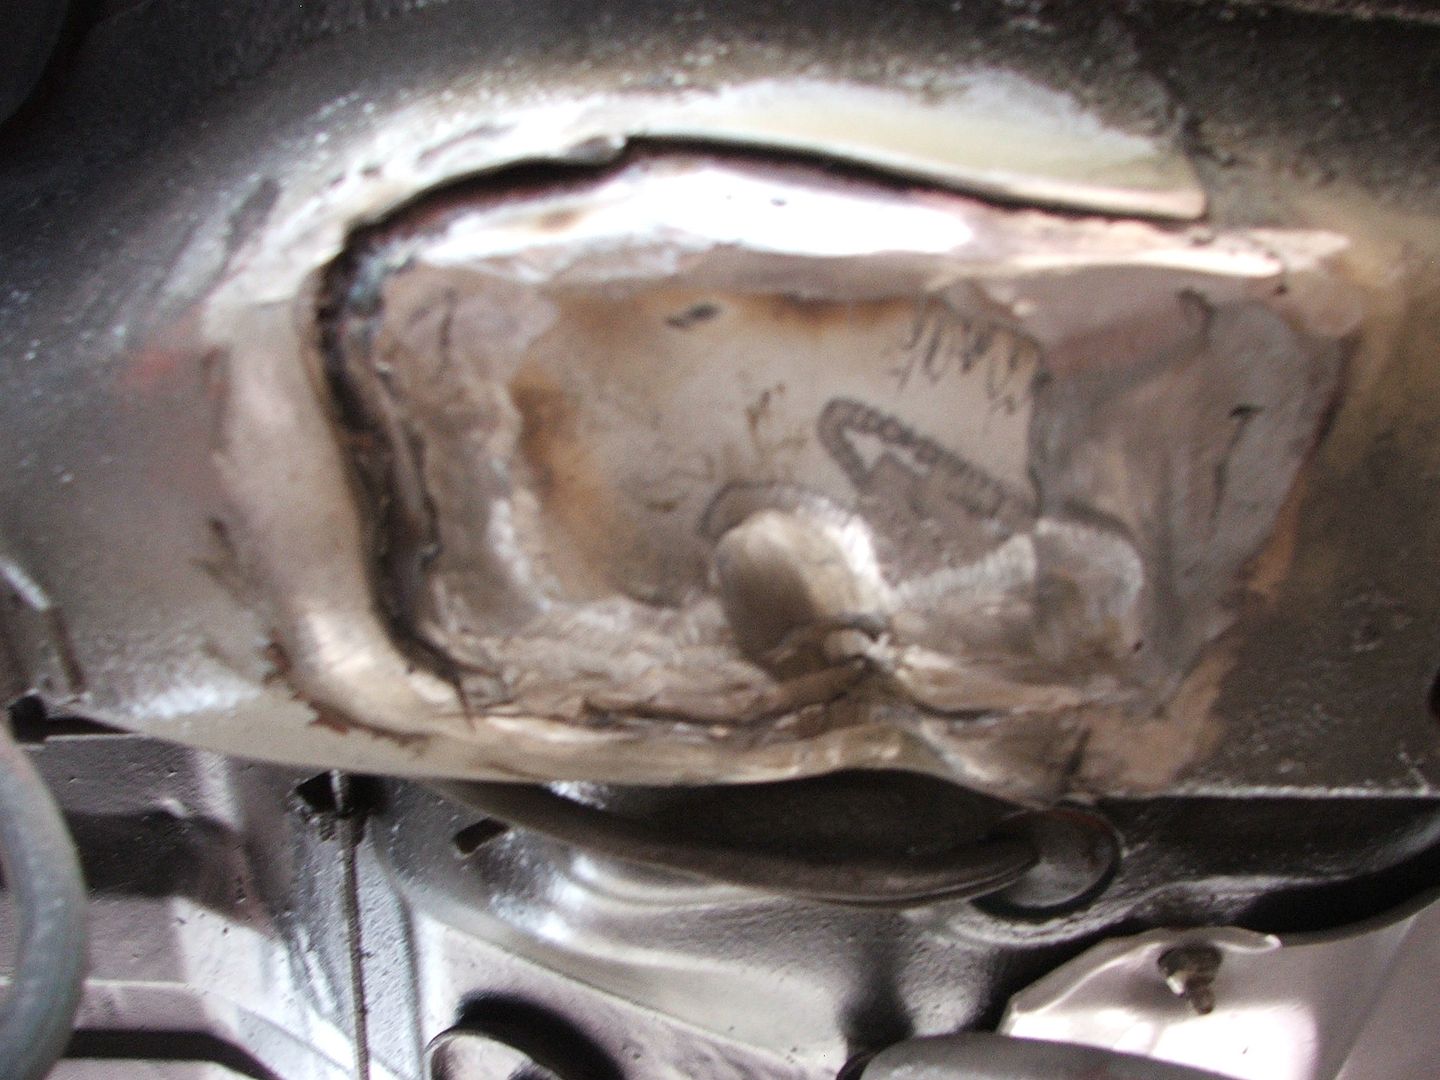
Cornflake box and scissors I have plenty so knock the next bit up (holes are for a few puddle welds - spot welds with a MIG) My Portamig was appreciating the break as it's not been on power 5 out of 12 for a while - minis don't like anything more than 15 amps
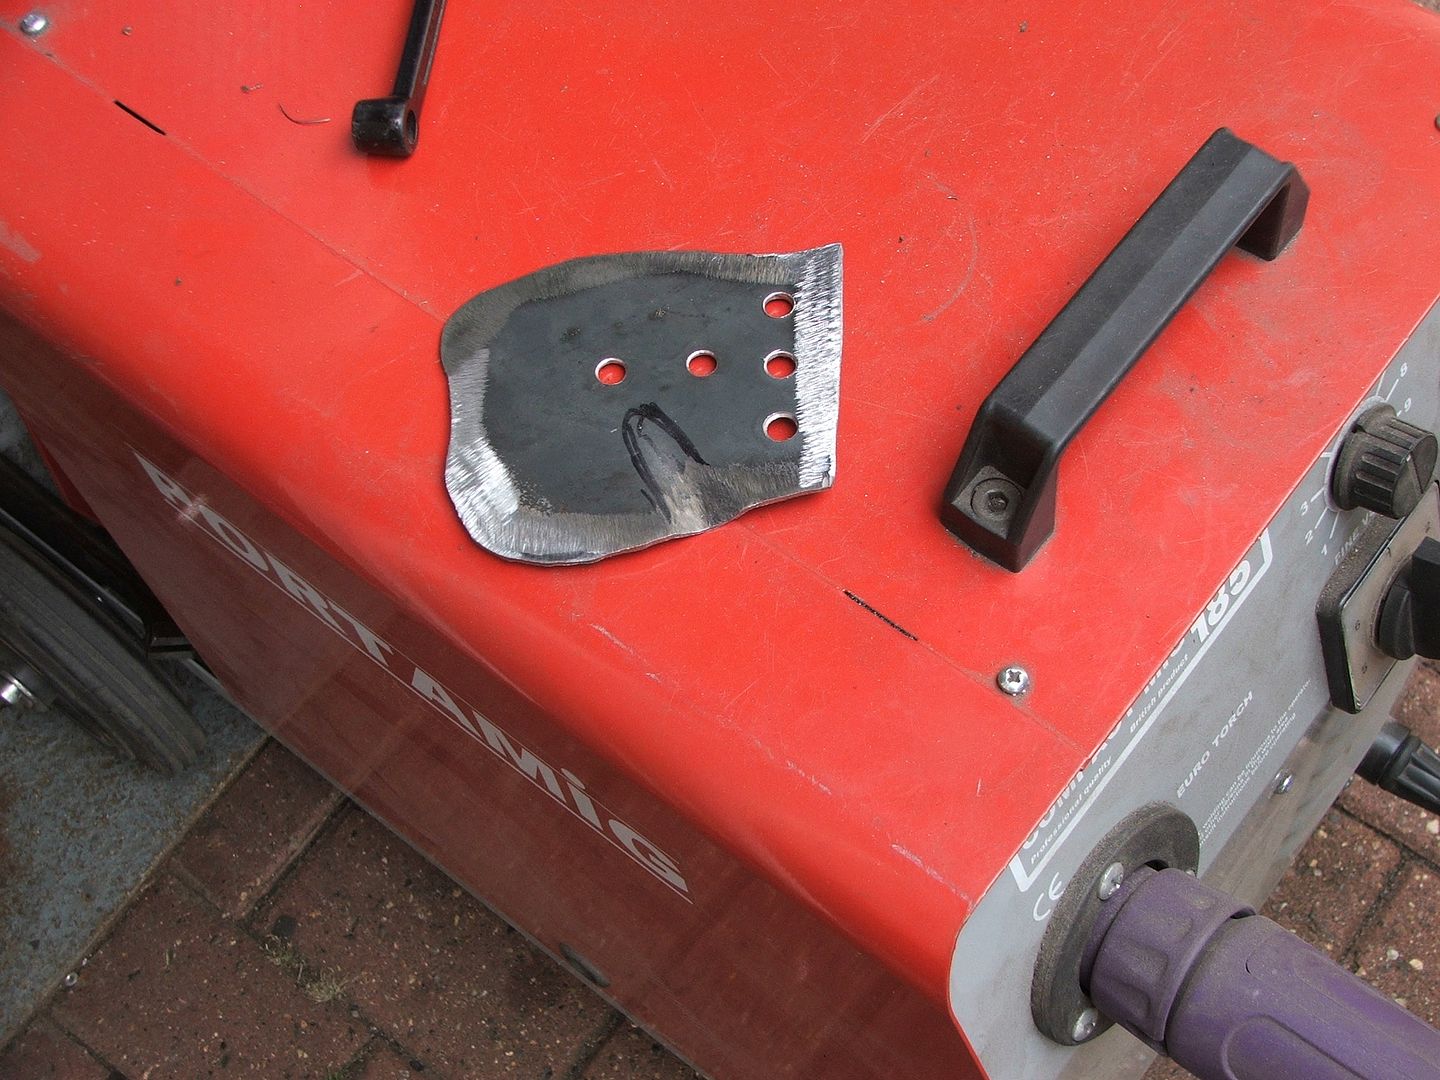
Splash a bit of weld thro on it
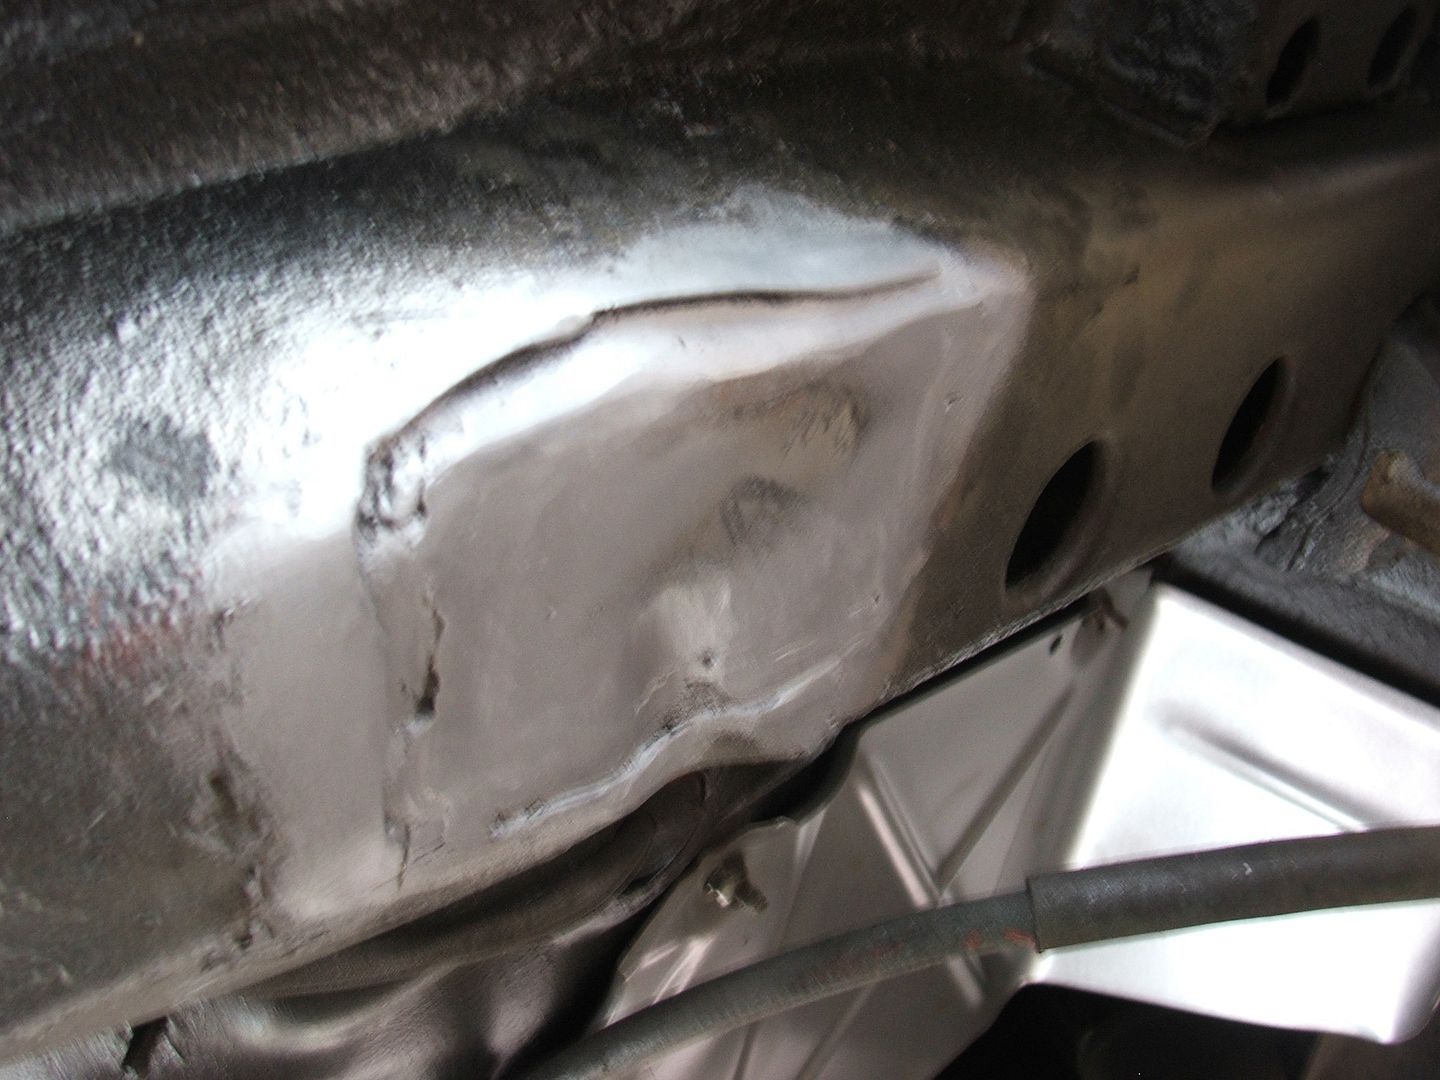
Hit it with the sparkly stick
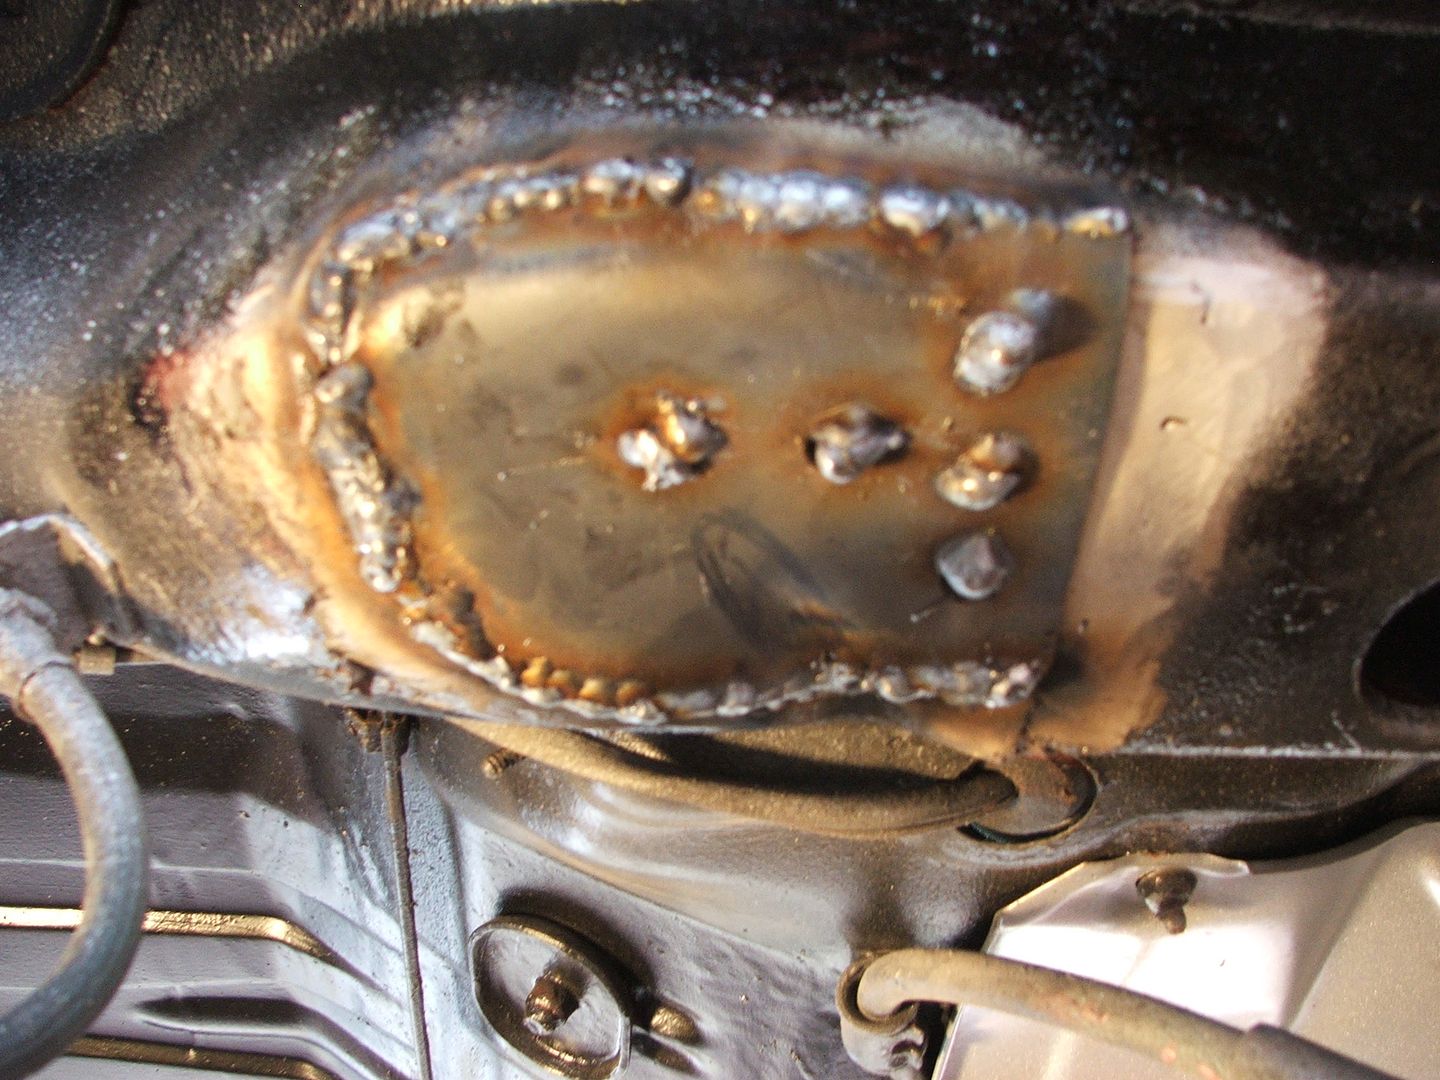
Upside down welding - yeah that's my strong point - NOT

Grind it back (just the weld so as not to thin the metal)

Bit of Red (Pink) Oxide - I remembered to drill a new drain hole

Am I happy with that......

Well a blind man on a galloping horse would be so
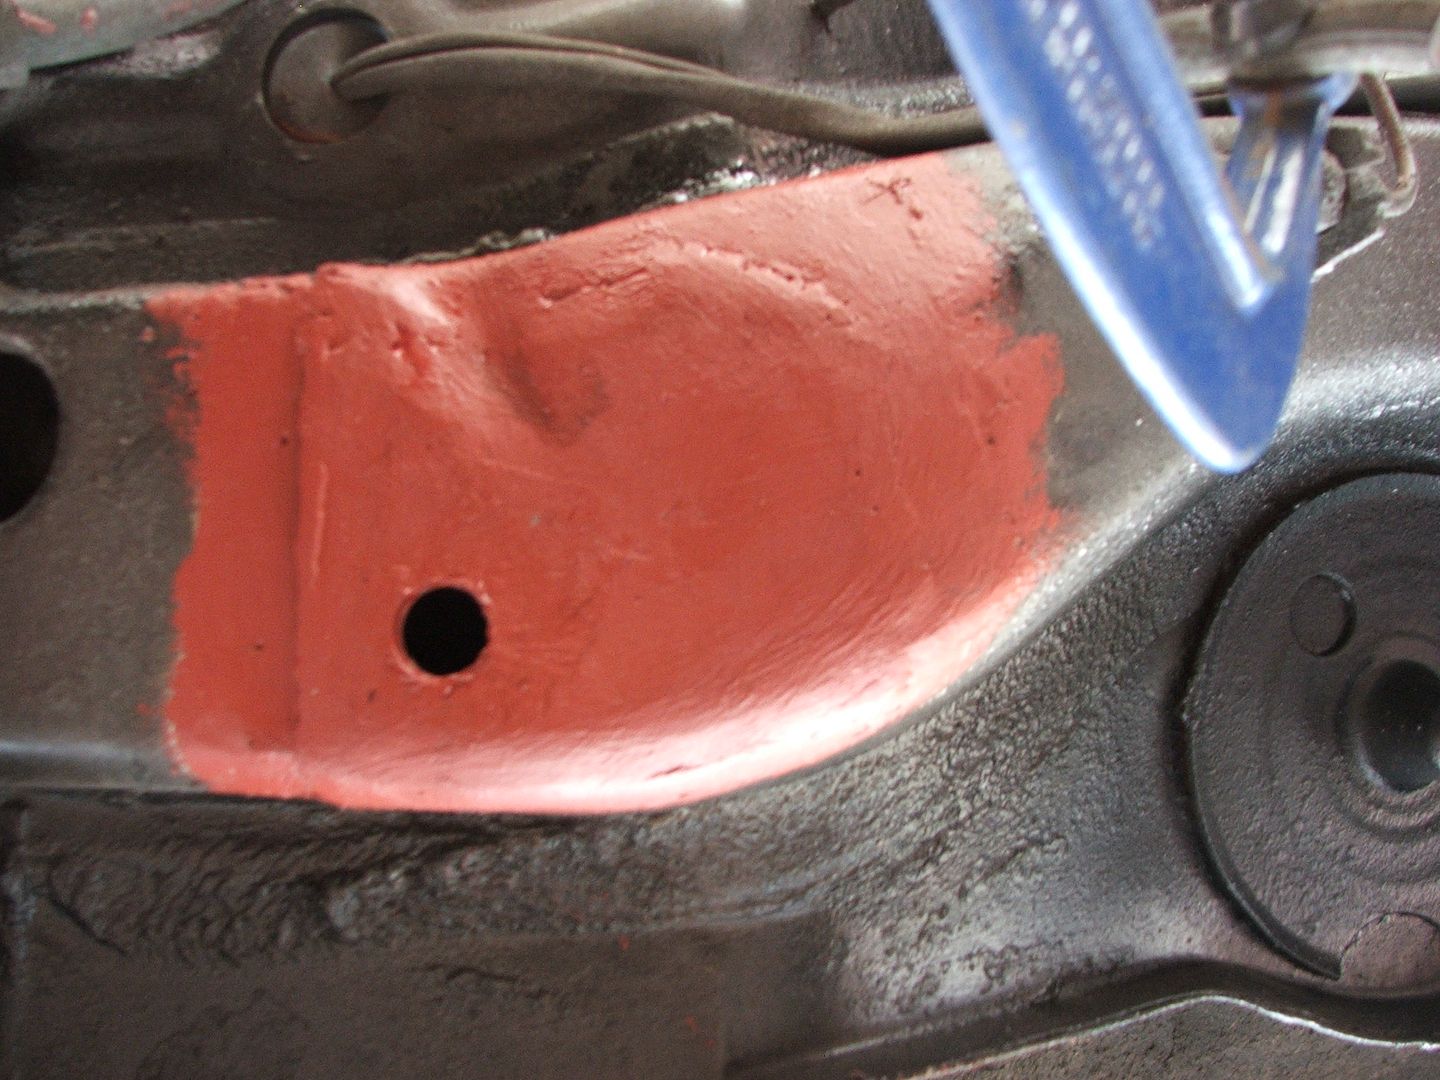
Slap some chassis black on it then
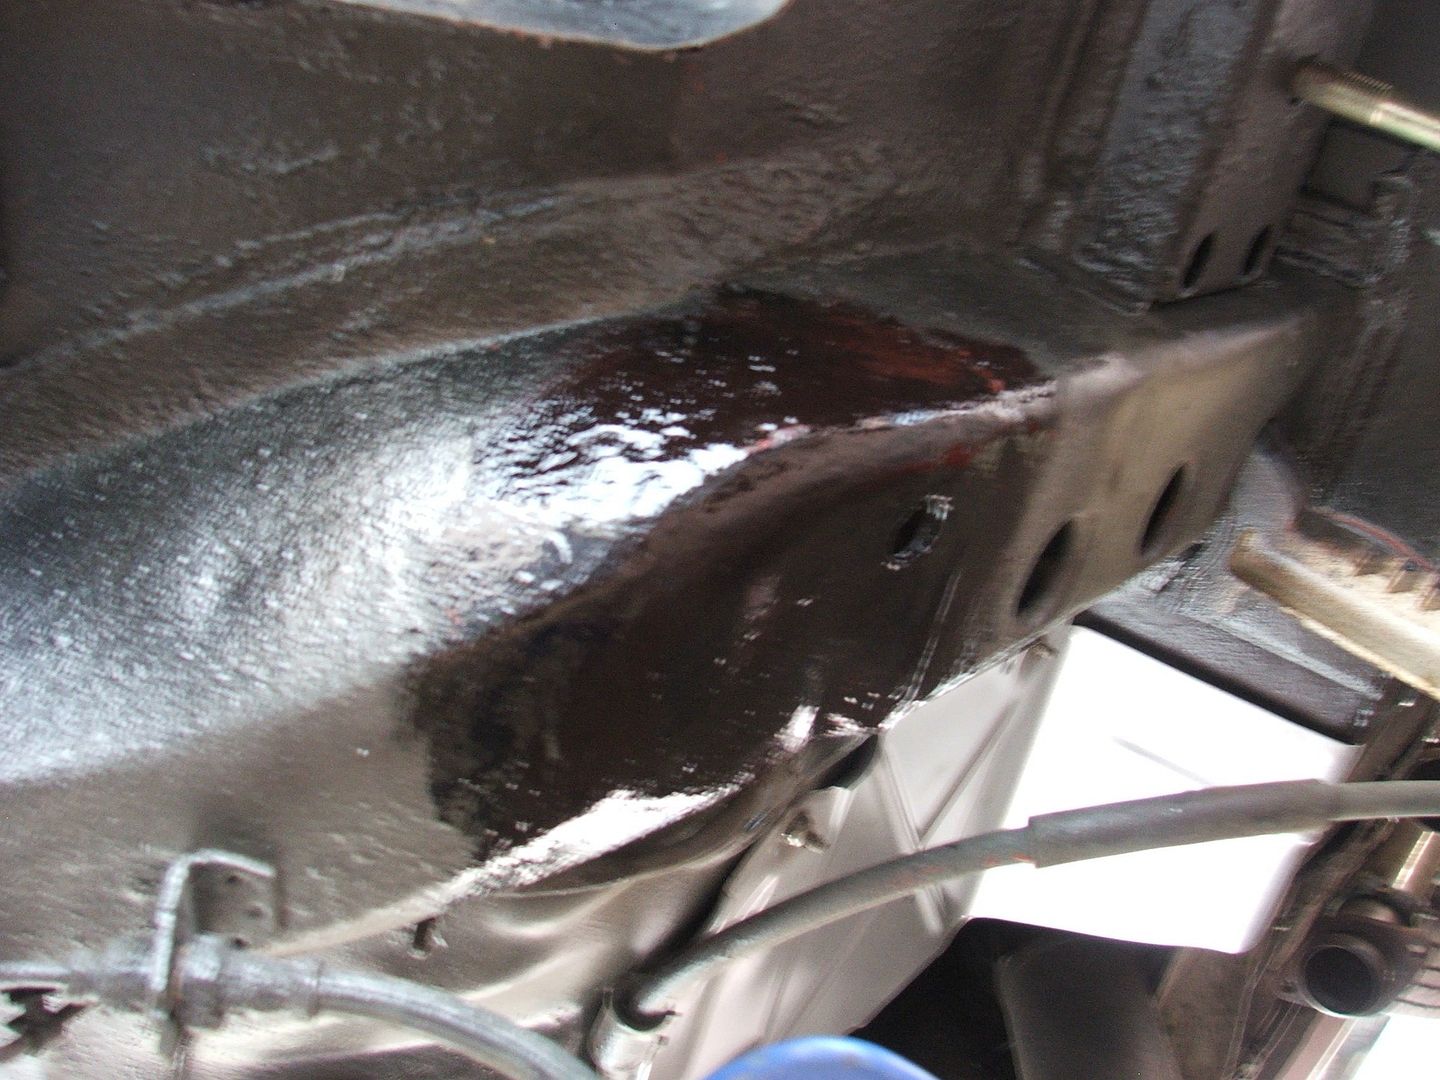
There I did it - I posted pics of my not so invisible repair and "functional" welding - who'd have thunk it!!!
Subframe can go back up tommorrow and then I can tackle the Sills and rear quarter and boot floor.....
I'd recently waxoiled the chassis rail and then noticed a bit of waxoil oozing out of a scabby bit on the chassis rail - well I couldn't leave it like that!!!
I'd already hit it hard with a zip wheel when I was cleaning up the underside and it didn't turn to dust but it obviously wasn't as sound as I thought.......

Chop chop

Glad I did - had to go a fair way over till I got to good steel

Grind grind - shiney steel

I'd had me cornflakes so the box came in handy - make a card template

Transfer to 1.5 mm steel

Cut, sand, hammer and splash a bit of weld thro primer on it

Same with the chassis rail that remained

Had a few hard drive failures over the years - recently liberated a few magnets out of the dead ones - make great fixings for butt welding - even better when you can find more than one of them - bloody mini in the garage seems to have eaten them all
Don't try to weld near one does weird sh!t to the arc!!
I know it looks a bit "gappy" but with multiple curves I find it easier to weld it in where it touches and then go round beating it into the shape that closes up the gaps - works well with chassis sections - not so well with bodywork!!!

Yes it did catch fire - but I was ready for it - I knew that the wax oil would flame up quite nicely

First piece in

Grind it back

Cornflake box and scissors I have plenty so knock the next bit up (holes are for a few puddle welds - spot welds with a MIG) My Portamig was appreciating the break as it's not been on power 5 out of 12 for a while - minis don't like anything more than 15 amps

Splash a bit of weld thro on it

Hit it with the sparkly stick

Upside down welding - yeah that's my strong point - NOT

Grind it back (just the weld so as not to thin the metal)

Bit of Red (Pink) Oxide - I remembered to drill a new drain hole

Am I happy with that......

Well a blind man on a galloping horse would be so

Slap some chassis black on it then

There I did it - I posted pics of my not so invisible repair and "functional" welding - who'd have thunk it!!!
Subframe can go back up tommorrow and then I can tackle the Sills and rear quarter and boot floor.....
J4CKO said:
Nice job, it's great being able to tackle stuff like that yourself, been doing some on my 944 but don't get as much time on it as I would like, need to get it finished
My day resulted in this construction, hence why no welding,

Not big enough surely?!My day resulted in this construction, hence why no welding,
However I do love your kindling shelf in there

J4CKO said:
Nice job, it's great being able to tackle stuff like that yourself, been doing some on my 944 but don't get as much time on it as I would like, need to get it finished
Thank you - have you got a thread going on your 944?J4CKO said:
My day resulted in this construction, hence why no welding,
Now that impresses me - Proper big too judging by the fence and BBQ - I do like "built not bought" poing said:
I wish I could do stuff like that. A welder and grinder in my hands would almost certainly end up in a fireball that can be seen from space and some specialist plastic surgery.
Good job.
Thank youGood job.
A few years ago I'd have been begging a mate to do it........ I didn't have the skills - but then I bought a cheap and nasty SIP welder - joined www.mig-welding.co.uk - great advice and help on that forum.
Unfortunately I realised I gone about it the wrong way round I should have asked first and then bought a welder (The welder I'd bought was never going to perform well especially on car body work) so I sold my soul to the devil and bought a Portamig (UK Built) (probably the most expensive garage purchase I have ever made) and never looked back........
I could have bought another better hobby welder for a fraction of the price but bought a Portamig as it would do me for the rest of my life.........
Note - There are hobby welders out there that do work fairly well out of the box go to Mig-welding.co.uk and you'll quickly see which ones are good and which to avoid

digger the goat said:
Good on yer !!!
Just read this with ' St Elmos fire ' playing in the background.... Made me giggle !!
I had Blow Monkeys "choice" playingJust read this with ' St Elmos fire ' playing in the background.... Made me giggle !!
The other half said why didn't you just let it burn.... She's not a fan of the car as it makes her womb feel funny when it accelerates

Good work, welding upside down is a job and half.
When i bought my first welder i disapeared into the garage for a week and spent it welding anything and every thing, its great fun.
Tips for welding for those thinking of starting up,
1, spend £60 on an automatic welding mask, keeps both hands on the torch and you can see what your doing before it arcs up
2, keep both hands on the torch
3, wear gloves and dont be frightened of the spatter
4, spend time making the welding area as clean as possible, till it shines, it makes a difference
5, buy the right welder for the job, car bodywork, i find only requires a 90 Amp machine or there abouts.
Practice practice practice.
Cheers
When i bought my first welder i disapeared into the garage for a week and spent it welding anything and every thing, its great fun.
Tips for welding for those thinking of starting up,
1, spend £60 on an automatic welding mask, keeps both hands on the torch and you can see what your doing before it arcs up
2, keep both hands on the torch
3, wear gloves and dont be frightened of the spatter
4, spend time making the welding area as clean as possible, till it shines, it makes a difference
5, buy the right welder for the job, car bodywork, i find only requires a 90 Amp machine or there abouts.
Practice practice practice.
Cheers

sinbaddio said:
Makes me feel somewhat emasculated! Good work BC
Unfortunately This is my Sunday in Pictures (same as Saturday just different stuff to weld)So removing bodykits on an LC is always a scary job in my mind as a result
I didn't know quite how far my little "there's a hole in my bucket etc" issue went so here are some before pics
Passenger Side

Looks like just a little clean up - maybe a small repair - repaint and I get to leave the arch on
Drivers Side

Needed to remove the arch because I remember the "Herald of Free Enterprise" LC Picture - 2 bolts sheared - two came out fine
Bloody sunroof drains

And once I get the skirt off the drivers side I can assess the true extent of the Sill work required (yes the nut holding the front on is rusted solid)

Later in the week I had a chop chop session so this was were I was up to before the weekend
Passenger side wheel arch behind the bumper - hit it with a zip wheel and it didn't like it - so I cut out the cancer

Clean up job on the back bumper - strip disc and treated


Drivers side sill

Going to need to do something with the arch now the cover is off

Behind the bumper (D/S) (it's not all out yet but I need to put some steel back in before I cut the inner arch out or I'll have sod all to work with)

Fresh steel rough cut and marked out - going to work with me tommorrow to take advantage of a nice industrial folding machine
Found another small hole further up the sill by a water drain hole - go figure!!!
Also on the list for work - 14 x little square plates with holes in to fix the skirt to the sill - in stainless instead of rust
OK so I had a weekend welding
Repairs to the rear quarter (slapped some primer on the bare metal and welds to stop the fresh metal rusting – still needs a proper grind back etc)


Sill section replaced (no pictures of the rebuilt middle sill as I was cracking on and the camera batteries died so needed recharging)
It all needs grinding back as it was too late to grind outside on Sunday evening!


Still a little localised repair to do – be we know how they quickly turn into big sections....

The passenger Sill Cover/skirt fought me just like the bloody drivers side did but I finally got it removed..... So I get to see the state of the other side – good job I bought both sides really even if I am only going to use them as repair sections


Three days left to go and it's got no rear end in it and MOT is booked for Thursday.........
Edited by B'stard Child on Monday 12th August 18:58
Sooty Zorsts said:
B'stard Child said:
Three days left to go and it's got no rear end in it and MOT is booked for Thursday.........
It's a race against time!! 
Good for you sir


Taken 1 min ago when I decided the next thing to do would probably be antisocial....... I think an airgun would be.... maybe not!!!
OK it's not all back together but it's a sizable chunk!!!!
Edited by B'stard Child on Tuesday 13th August 00:02
Krikkit said:
Nice work, how's the Portamig treat you? I've been ogling one for its great 15A setting, but £600 is a bit steep for now! I had the misfortune of testing a friend's out, such a nice machine. I'll make do with my Sealey Supermig for now.
insert every happy expletive you can before the word brilliant, if it had been £1200 it would have still been brilliant. I never wanted to buy another welder so it had to be a good one to last my car lifetime and i have no doubts that it will. I must admit it seemed a bit over hyped on the mig welding forum (too good to be true) but it's not at allWell the chances of getting the car ready are now slim to none.......  - Hey ho always new it was a tall order....
Finished the grinding on the Drivers side (it's all hidden so doesn't need to be perfect)

Stitched a new bit in the hole further up (I never realised that the outer sill profile changes along it's length so my large section of front sill is now in two pieces.....)

And I got cracking at the passenger side - typically it needed a middle sill repair
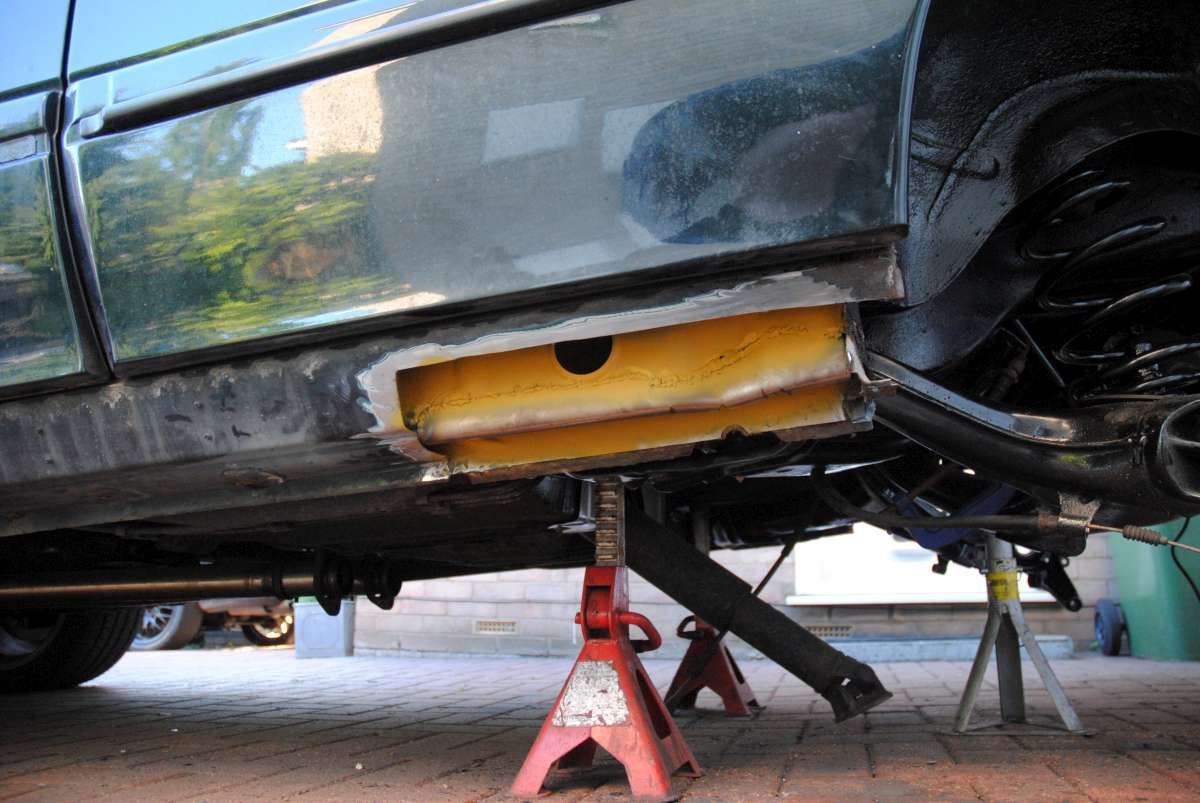
Can get that finished this afternoon and I have templates for the driver and passenger side door shuts made but with all the other things I need to do I think the b'stard car has beaten me...........
I have a plan C but I'd need a whole heap of luck and I've not had much of that recently with this car.....
- Hey ho always new it was a tall order....Finished the grinding on the Drivers side (it's all hidden so doesn't need to be perfect)

Stitched a new bit in the hole further up (I never realised that the outer sill profile changes along it's length so my large section of front sill is now in two pieces.....)

And I got cracking at the passenger side - typically it needed a middle sill repair

Can get that finished this afternoon and I have templates for the driver and passenger side door shuts made but with all the other things I need to do I think the b'stard car has beaten me...........
I have a plan C but I'd need a whole heap of luck and I've not had much of that recently with this car.....
Gassing Station | General Gassing | Top of Page | What's New | My Stuff