
My '98 E36 328i Sport
Discussion


I decided to join pistonhead recently as all the other forums I am on have little activity.
I figured I should make a thread on my 328i Sport project car.
I bought it from a member of the E36 coupe forum around a year ago and done around 4000 miles in it, averaging around 26mpg
So here's my story so far:
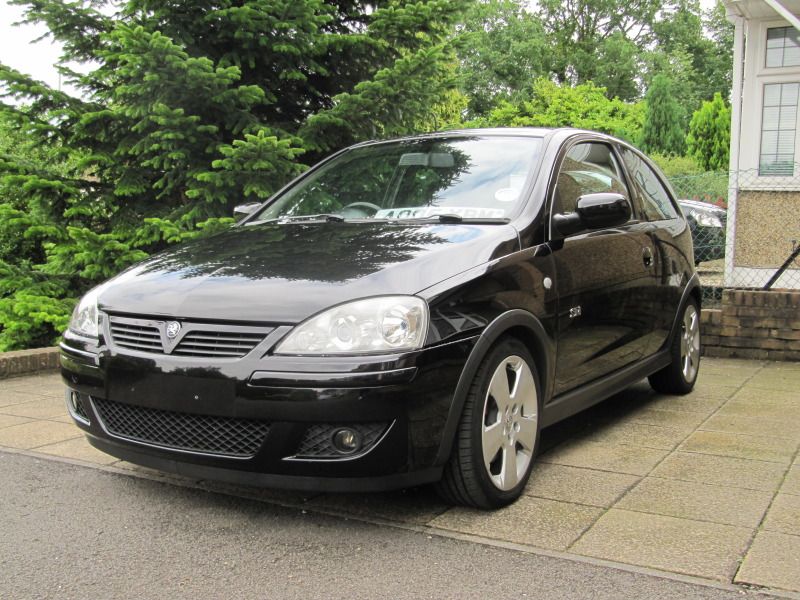
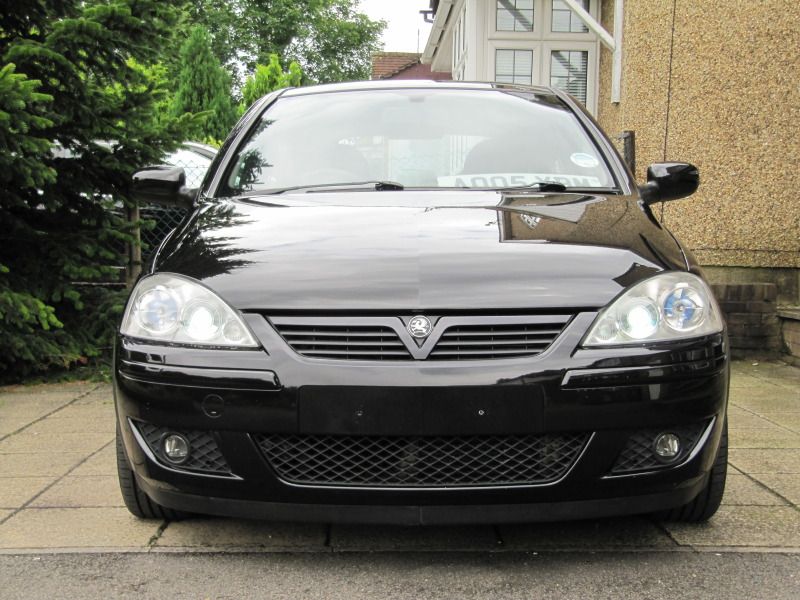
After owning my 1.7CDTi Corsa for just over a year I decided to buy a 328i.
Here is a picture of the Corsa:
So about the 328i.
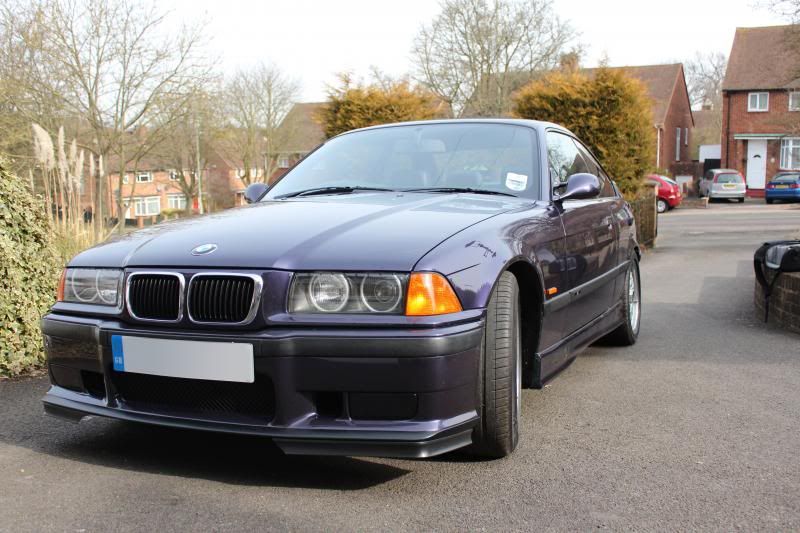
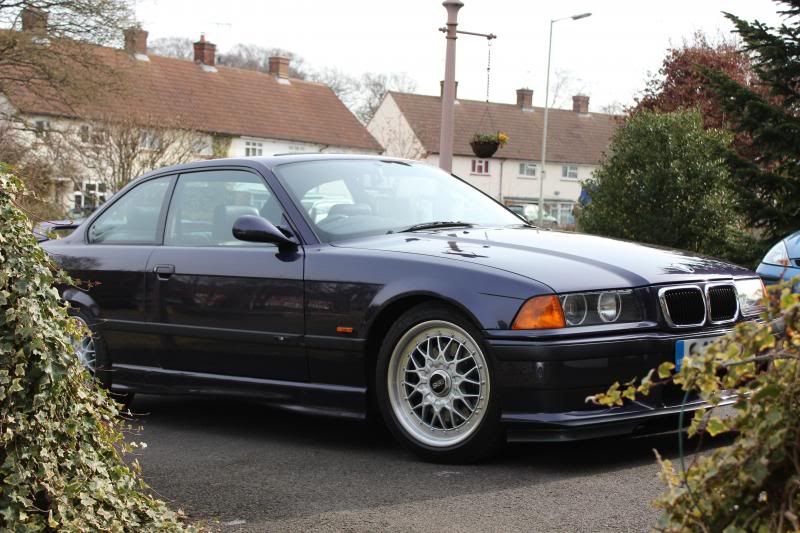
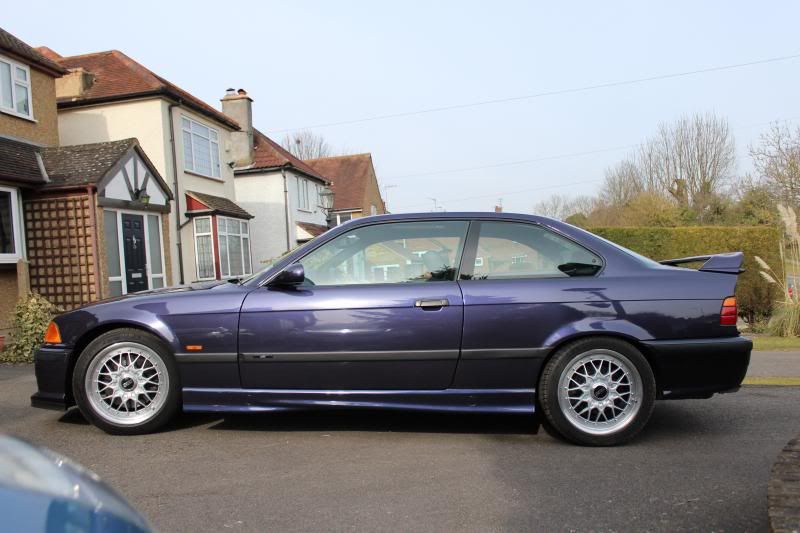
It's a June 1998 car in the stunning Techno Violet.
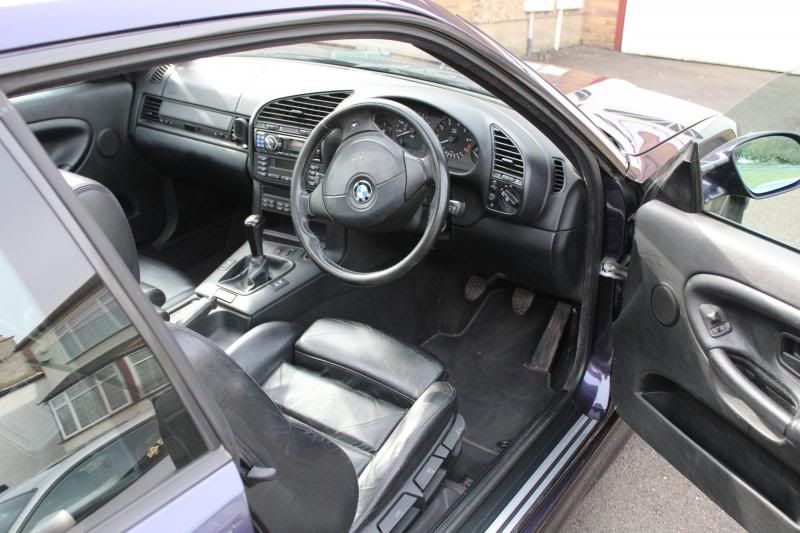
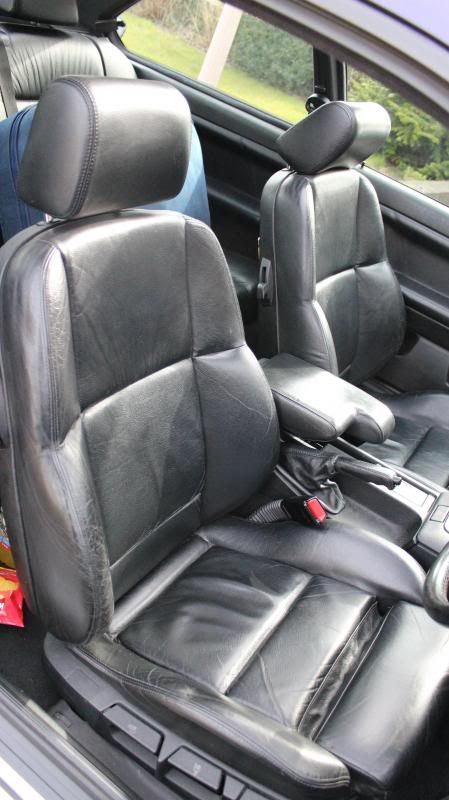
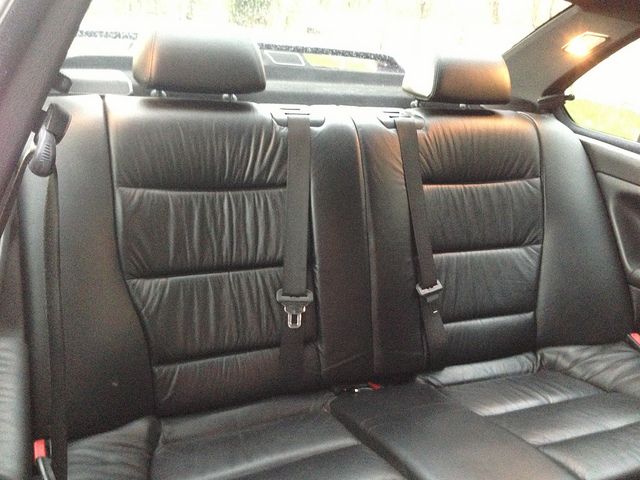
It's a very nice spec with the 18 button obc, sunroof, air conditioning, split folding rear seats and black Dakota leather.
It had done 95k and came with lots of mods including
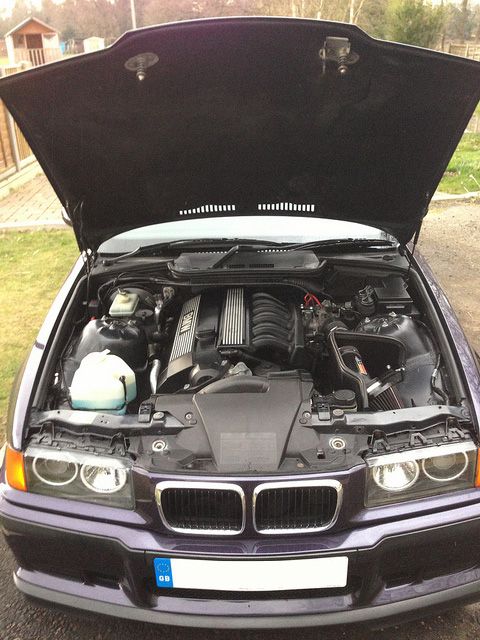
- K&N Gen II Performance Induction
- M3 3.15 LSD
- B&M short shift kit
- Eibach pro springs
- Bilstein B8 shocks
- E46 M3 rear top mounts
- Z3 reinforcement plates
- All suspension bushings upgraded to powerflex polyurethane
- M3 evo brakes with floating discs 315mm diameter (Front)
- Brand new Performance Friction brake pads (Front & Back)
- Goodridge braided brake lines
- 6000k HID's with matching 6000k CCFL angel eyes
- Genuine GT2 Spoiler
- Genuine BMW fog light blanks painted techno violet
- M3 evo front splitter with GT corner splitters
- Genuine electric M3 mirrors
- Most exterior rubbers have been changed last year (Side windows, door handle surrounds and side skirt gaskets)
- Amber indicators
- Freshly painted side skirts
- Brand new rear bumper from BMW
- Brand new set of rear body mouldings from BMW
- Brand new rear diffuser from BMW
- Brand new chrome exhaust tips from BMW
- BBS RC041/042 with mirror polished lips and centre caps with the centres in BMW Titan silver and the bolts all chrome plated. Fitted with Richbrook short aluminium valves.
- Tyres are Michelin Pilot Sport 3's all round in 225/45/17 front and 245/40/17 rear



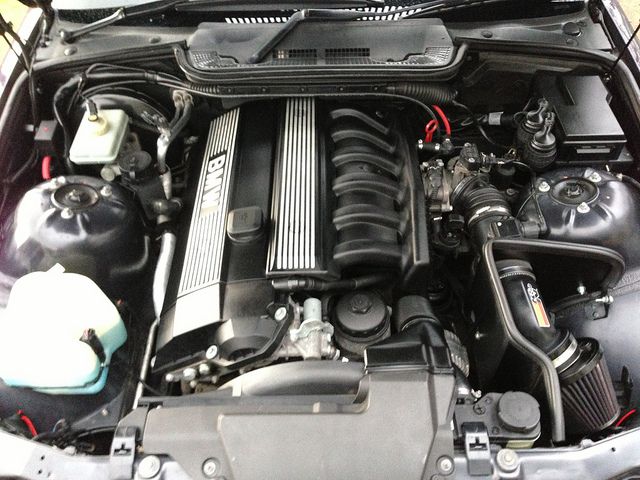
The first bit of progress was to change the induction boot this morning as the old one did this:

and get two new front tyres fitted as the old ones were bald on the inside edges and at about 1mm everywhere else
I then did a little bit of cleaning.
Took all the plastic parts out of the boot and gave them a clean (No pics though)
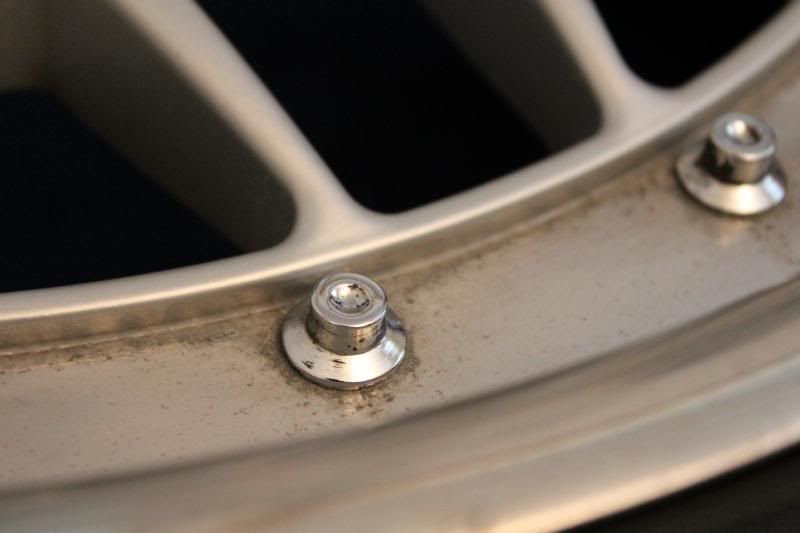
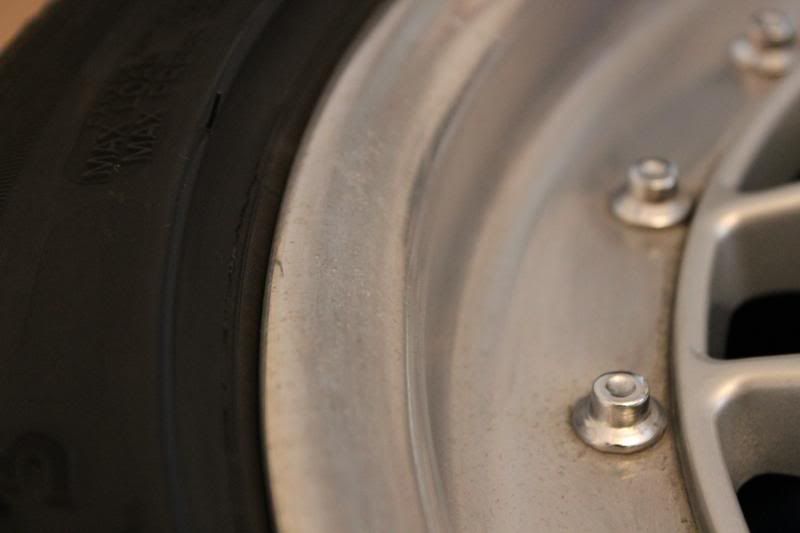
and got the spare wheel out and gave it a clean and polish.
Before:

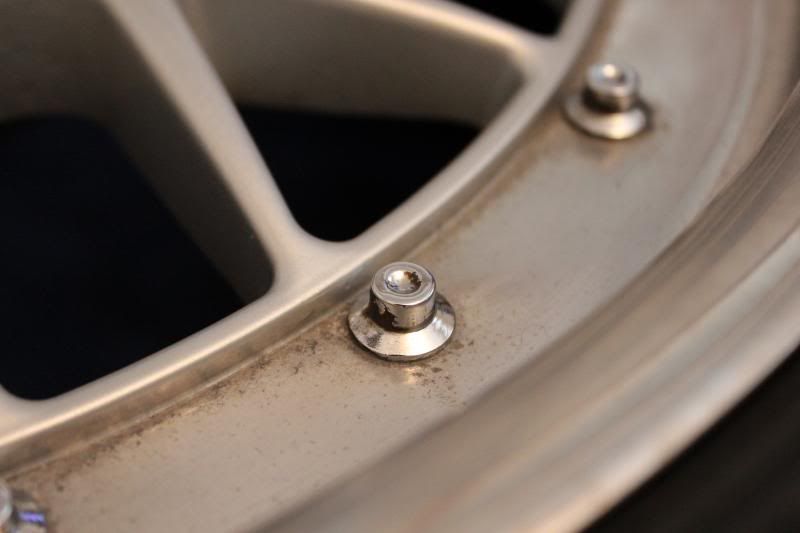
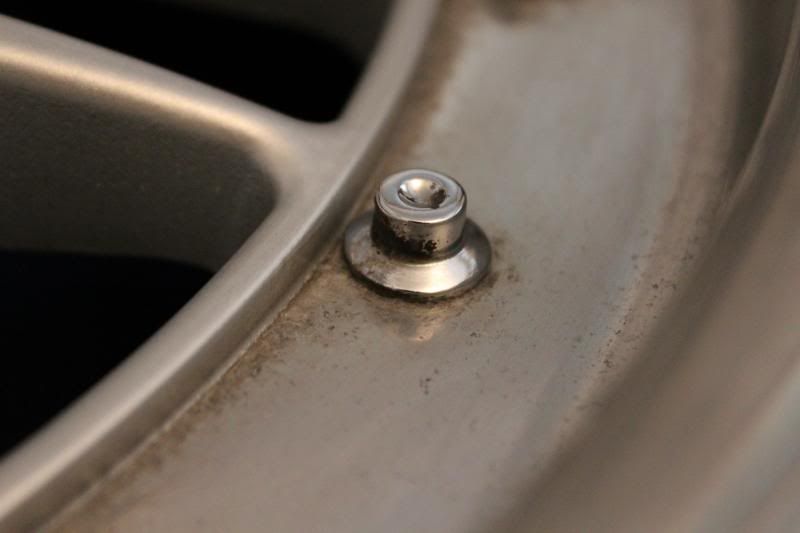
During:
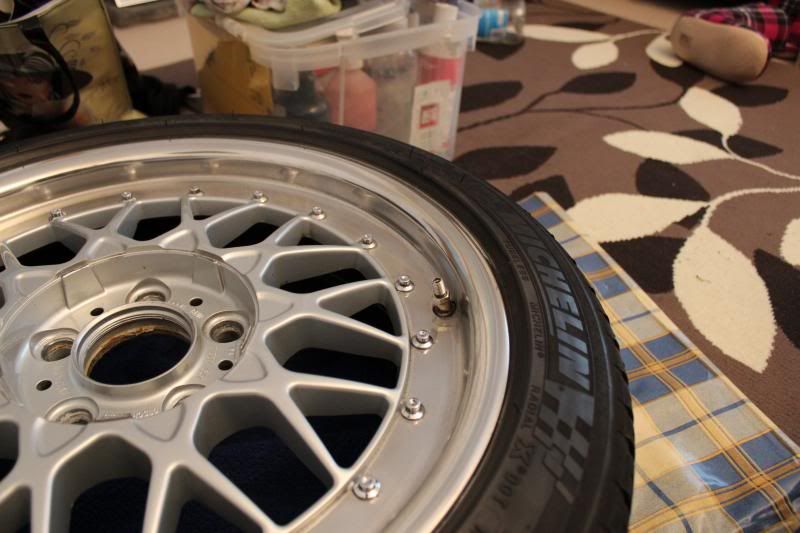
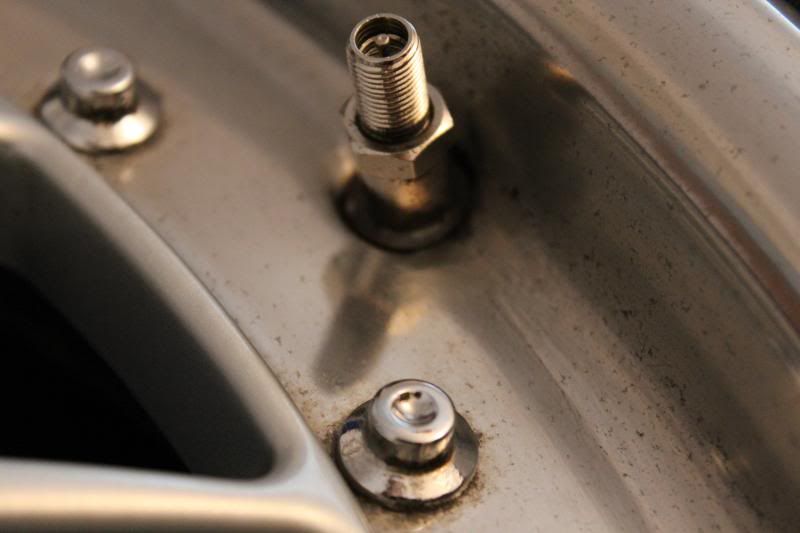
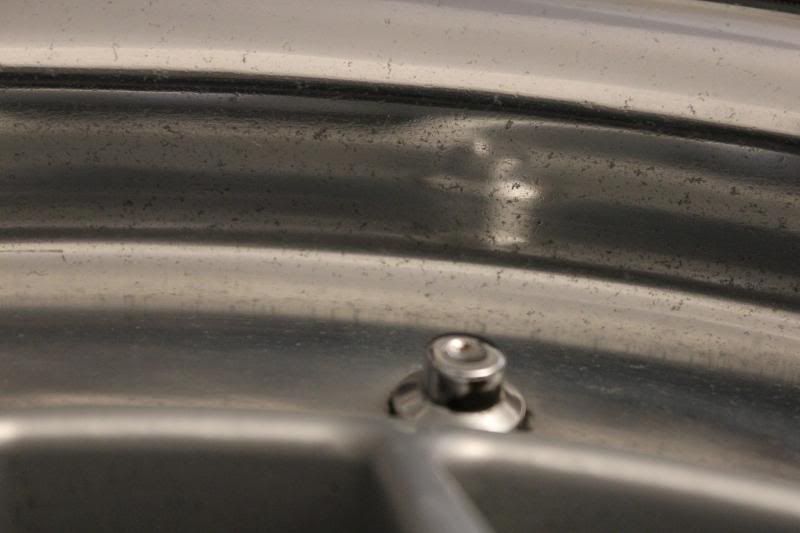
Finished:
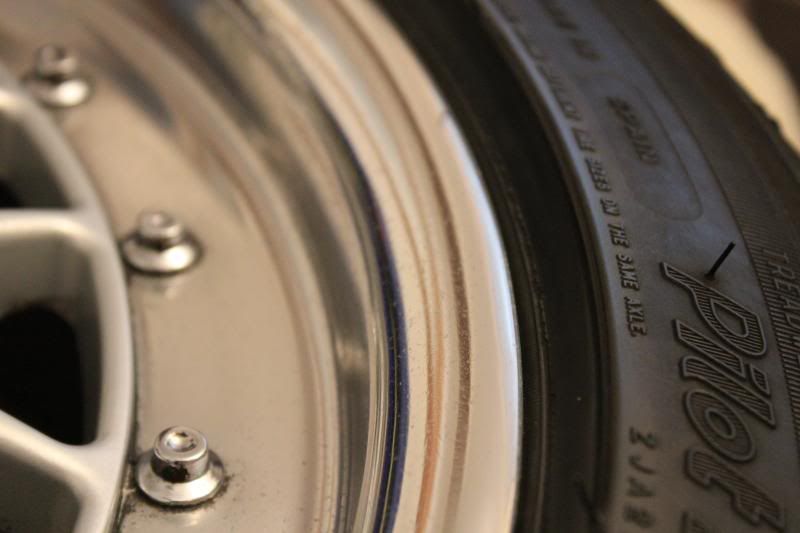
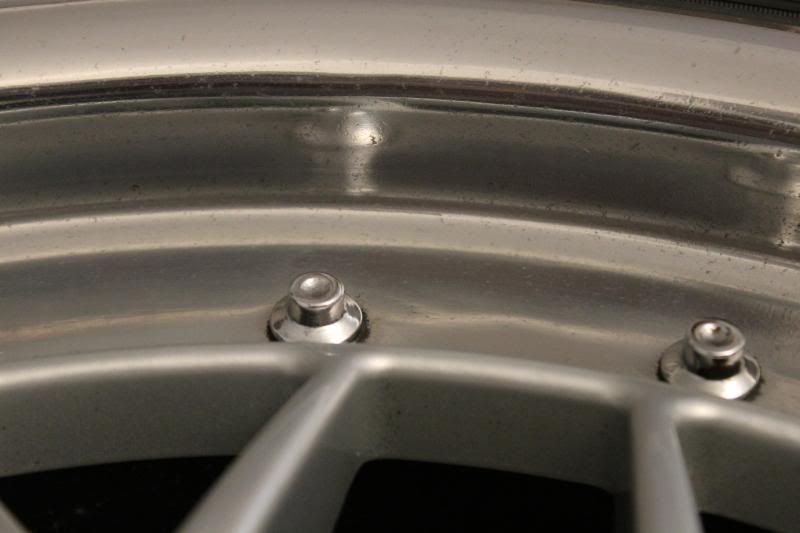
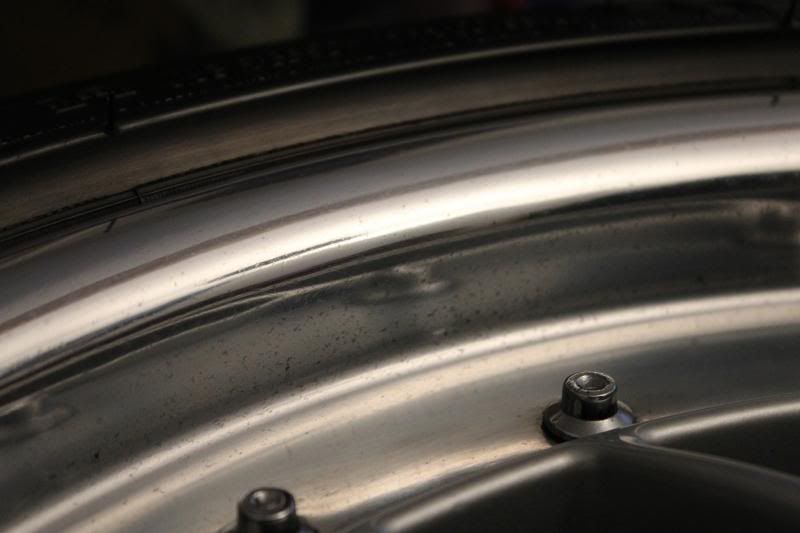
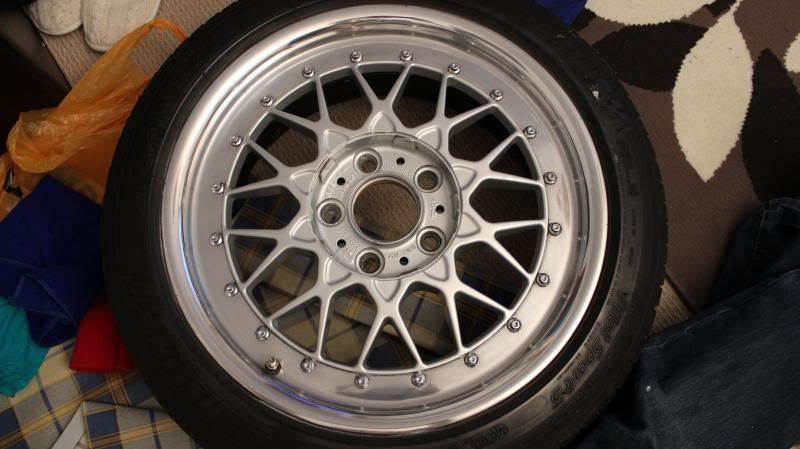
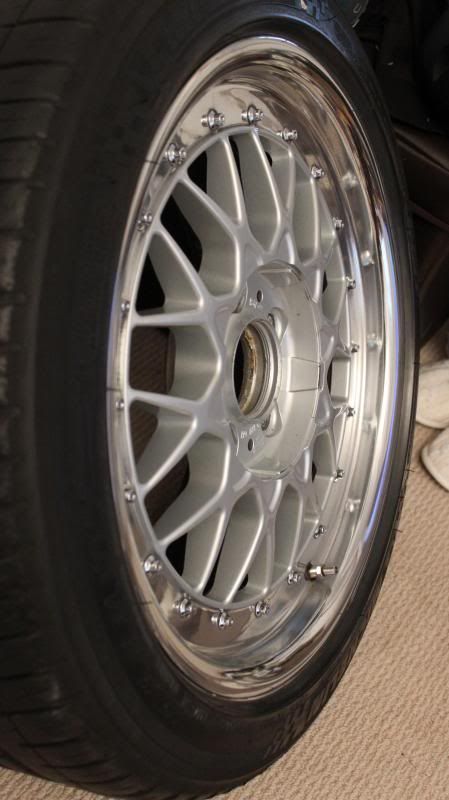
Really they need removing and doing properly as the backs are terrible and corroded So I might do a full refurb in summer using a different colour for the centers and new bolts etc.
I also managed to give the interior a massive clean using All purpose cleaner, CarPro PERL and Autoglym Leather cleaner and balm.
Next step is to change the accelerator cable, Headlight bulbs, get it tracked, get it serviced and fit new BMW dealer numberplates.
I figured I should make a thread on my 328i Sport project car.
I bought it from a member of the E36 coupe forum around a year ago and done around 4000 miles in it, averaging around 26mpg
So here's my story so far:
After owning my 1.7CDTi Corsa for just over a year I decided to buy a 328i.
Here is a picture of the Corsa:
So about the 328i.
It's a June 1998 car in the stunning Techno Violet.
It's a very nice spec with the 18 button obc, sunroof, air conditioning, split folding rear seats and black Dakota leather.
It had done 95k and came with lots of mods including
- K&N Gen II Performance Induction
- M3 3.15 LSD
- B&M short shift kit
- Eibach pro springs
- Bilstein B8 shocks
- E46 M3 rear top mounts
- Z3 reinforcement plates
- All suspension bushings upgraded to powerflex polyurethane
- M3 evo brakes with floating discs 315mm diameter (Front)
- Brand new Performance Friction brake pads (Front & Back)
- Goodridge braided brake lines
- 6000k HID's with matching 6000k CCFL angel eyes
- Genuine GT2 Spoiler
- Genuine BMW fog light blanks painted techno violet
- M3 evo front splitter with GT corner splitters
- Genuine electric M3 mirrors
- Most exterior rubbers have been changed last year (Side windows, door handle surrounds and side skirt gaskets)
- Amber indicators
- Freshly painted side skirts
- Brand new rear bumper from BMW
- Brand new set of rear body mouldings from BMW
- Brand new rear diffuser from BMW
- Brand new chrome exhaust tips from BMW
- BBS RC041/042 with mirror polished lips and centre caps with the centres in BMW Titan silver and the bolts all chrome plated. Fitted with Richbrook short aluminium valves.
- Tyres are Michelin Pilot Sport 3's all round in 225/45/17 front and 245/40/17 rear


The first bit of progress was to change the induction boot this morning as the old one did this:
and get two new front tyres fitted as the old ones were bald on the inside edges and at about 1mm everywhere else
I then did a little bit of cleaning.
Took all the plastic parts out of the boot and gave them a clean (No pics though)
and got the spare wheel out and gave it a clean and polish.
Before:


During:


Finished:


Really they need removing and doing properly as the backs are terrible and corroded So I might do a full refurb in summer using a different colour for the centers and new bolts etc.
I also managed to give the interior a massive clean using All purpose cleaner, CarPro PERL and Autoglym Leather cleaner and balm.
Next step is to change the accelerator cable, Headlight bulbs, get it tracked, get it serviced and fit new BMW dealer numberplates.
Next I took the car to my dad's workshop to fit new steering arms and some other bits:
On the ramp:


After the arms were fitted we re-tracked it.

Then Re-gassed the aircon:

Whilst it was on the ramp i took some quick photos of the freshly painted calipers and rusty arch


Recently I bought a low mileage leather passenger seat from a mate at work.


As you can see it has minimal wear. But i stripped it down, fixed the hole that was appearing in the bolster foam and transplanted the leather and foam onto my worn driver's seat.
My seat:


New leather:

Seat stripped:

Whilst stripping I found these beauties. Certainly made me laugh.

And finally after finding some speakers hidden in my room I decided to make them fir the coupe.
New vs Old:

Adaptor Ring:

Fitted:


Just need to replicate it on the driver's side and make a grill to cover them.
Next it's hopefully some wood for the interior, a custom stainless gearknob, removal of the GT spoiler and repairing the rusty arches.
On the ramp:


After the arms were fitted we re-tracked it.

Then Re-gassed the aircon:

Whilst it was on the ramp i took some quick photos of the freshly painted calipers and rusty arch


Recently I bought a low mileage leather passenger seat from a mate at work.


As you can see it has minimal wear. But i stripped it down, fixed the hole that was appearing in the bolster foam and transplanted the leather and foam onto my worn driver's seat.
My seat:


New leather:

Seat stripped:

Whilst stripping I found these beauties. Certainly made me laugh.

And finally after finding some speakers hidden in my room I decided to make them fir the coupe.
New vs Old:

Adaptor Ring:

Fitted:


Just need to replicate it on the driver's side and make a grill to cover them.
Next it's hopefully some wood for the interior, a custom stainless gearknob, removal of the GT spoiler and repairing the rusty arches.
De-lensed and removed the angel eye rings earlier today.
Completely transforms the front end and I'm much happier with how it looks now.

IMG_0596 by Dann Bowdery, on Flickr

IMG_0595 by Dann Bowdery, on Flickr

IMG_0597b by Dann Bowdery, on Flickr

IMG_0598a by Dann Bowdery, on Flickr
Completely transforms the front end and I'm much happier with how it looks now.
IMG_0596 by Dann Bowdery, on Flickr
IMG_0595 by Dann Bowdery, on Flickr
IMG_0597b by Dann Bowdery, on Flickr
IMG_0598a by Dann Bowdery, on Flickr
Finished my custom machined stainless steel gearknob today and got it fitted.
It weighs 570g so a little more than the Storm V1
It needs a little bit more work but when I'm next at my parents house I'll get it in the lathe and polish it properly.

E36 Gearknob by Dann Bowdery, on Flickr

E36 Gearknob Profile by Dann Bowdery, on Flickr

E36 Gearknob close by Dann Bowdery, on Flickr

E36 Gearknob by Dann Bowdery, on Flickr
It weighs 570g so a little more than the Storm V1
It needs a little bit more work but when I'm next at my parents house I'll get it in the lathe and polish it properly.
E36 Gearknob by Dann Bowdery, on Flickr
E36 Gearknob Profile by Dann Bowdery, on Flickr
E36 Gearknob close by Dann Bowdery, on Flickr
E36 Gearknob by Dann Bowdery, on Flickr
Thought I'd update this thread as it's been a while.
So I got Wood :hihi


Then gave it a wash and had a photo w e session.
Next update will be de-spoilered bootlid, M3 Brake servo/master cylinder, Re-polished wheel lips, Resprayed front end (National Windscreens fked my paint) and a full detail ready for Pod.


Before the trip up to the BMW Show at Santa Pod I got the new bootlid fitted and gave it a massive clean.
All the comments I got from the BMW show were positive with lots of people commenting on how clean and tidy I've got the car.


I'm much happier with the way the car looks now and the GF can actually open the boot easily. Got a few more bits to do before winter including full oil changes (Engine, GBox and LSD), Mot and some random bits.
Also the spoiler is up for sale on here :mrgreen:
So I got Wood :hihi
Then gave it a wash and had a photo w
e session.Next update will be de-spoilered bootlid, M3 Brake servo/master cylinder, Re-polished wheel lips, Resprayed front end (National Windscreens f
ked my paint) and a full detail ready for Pod.Before the trip up to the BMW Show at Santa Pod I got the new bootlid fitted and gave it a massive clean.
All the comments I got from the BMW show were positive with lots of people commenting on how clean and tidy I've got the car.


I'm much happier with the way the car looks now and the GF can actually open the boot easily. Got a few more bits to do before winter including full oil changes (Engine, GBox and LSD), Mot and some random bits.
Also the spoiler is up for sale on here :mrgreen:
Got my retrimmed steering wheel fitted yesterday.
So much nicer to hold and jack @ royal steering wheels did a cracking job.
Decided to live on the edge and leave the battery connected whilst doing it which was fun. All in all it took me about 20mins to change.


Thanks for the appreciation. I will be getting new non GB plates after xmas from the BMW dealer in Portsmouth.
Today I removed the CDV and fitted the M3 brake servo and master cylinder.
Also fitted my winter wheels and winter tyres.

So much nicer to hold and jack @ royal steering wheels did a cracking job.
Decided to live on the edge and leave the battery connected whilst doing it which was fun. All in all it took me about 20mins to change.
Thanks for the appreciation. I will be getting new non GB plates after xmas from the BMW dealer in Portsmouth.
Today I removed the CDV and fitted the M3 brake servo and master cylinder.
Also fitted my winter wheels and winter tyres.
Modified the exhaust next:
Exhaust progress today
Chopped the top half and tailpipes off along with removing the insides:

Cut two 2.5" perforated tube sections to size.

Welded the perforated tube into position

I then stuffed the inside with stainless wire wool and welded the top back on.
Then cut two lengths of 70mm tube and welded then on the end.
Then painted it and polished the tips.


And got it fitted.


Couple of videos.
https://www.youtube.com/watch?v=J-mr-ep-Ne4&fe...
https://www.youtube.com/watch?v=UTgm_kFcQ8c&fe...
All in it cost me £35 and a days work
And some better photos of the interior:


Exhaust progress today
Chopped the top half and tailpipes off along with removing the insides:
Cut two 2.5" perforated tube sections to size.
Welded the perforated tube into position
I then stuffed the inside with stainless wire wool and welded the top back on.
Then cut two lengths of 70mm tube and welded then on the end.
Then painted it and polished the tips.
And got it fitted.


Couple of videos.
https://www.youtube.com/watch?v=J-mr-ep-Ne4&fe...
https://www.youtube.com/watch?v=UTgm_kFcQ8c&fe...
All in it cost me £35 and a days work
And some better photos of the interior:


Small update.
Just about to click up to the 99k mark and I've nearly owned it a year. That means I will have done about 4k in it.
As I had some xmas money left I bought a lip spoiler:


Then gave it a wash and wax for the first time in 2014.


I'll be getting new number plates without the GB part for my birthday next week and I will be refurbing the RC041/2s before putting them back on next month.
Just about to click up to the 99k mark and I've nearly owned it a year. That means I will have done about 4k in it.
As I had some xmas money left I bought a lip spoiler:


Then gave it a wash and wax for the first time in 2014.


I'll be getting new number plates without the GB part for my birthday next week and I will be refurbing the RC041/2s before putting them back on next month.
Neil G60 said:
Nice car and some good decisions about upgrades I reckon. I'm not sure I would have gone down the wood interior route though ;-)
Thanks.I love the wood, much nicer than the fake leather-look vinyl and the car is too old for carbon IMO
BorkFactor said:
That looks lovely, I really like the attention to detail 
I am probably in the minority, but I much prefer the wood and the winter wheels look fantastic. What "style" are they? Thinking of upgrading my E46 to 17s and I like these ones.
Keep up the good work, and enjoy that I6 howl!
Thanks.I am probably in the minority, but I much prefer the wood and the winter wheels look fantastic. What "style" are they? Thinking of upgrading my E46 to 17s and I like these ones.
Keep up the good work, and enjoy that I6 howl!
They are Style 44s (17 x 8j) and I picked them up on eBay for about £100.
CallorFold said:
Neil G60 said:
Nice car and some good decisions about upgrades I reckon. I'm not sure I would have gone down the wood interior route though ;-)
As above looks fantastic but why the wood!?Quhet said:
Stunning car mate 
Thanks So today I changed the front discs as the old ones were miles below min thickness and were lipped and rusty.
Also got the summer wheels on so now the car looks sexy again.
I've had a couple of emails about the GT spoiler.
Yes it was genuine and no I don't have it anymore. It got sold on ebay along with the bootlid for a very tidy amount.
Also got the summer wheels on so now the car looks sexy again.
I've had a couple of emails about the GT spoiler.
Yes it was genuine and no I don't have it anymore. It got sold on ebay along with the bootlid for a very tidy amount.
Update time:
As I had winter wheels on and it was starting to get warm again I decided it was a perfect time for a wheel refurb.
I started off by splitting my RC041/2s.

Then bought the most cheap and nasty paint stripper I could find (B&Q - 1 Litre was £5) and stripped the wheels down. Little did I know all it would do is make the paint soft and give me 600% more work sanding them.
So I ended up taking them back to bare metal.


Then gave them about 2 coats of etch primer and about 6 of normal grey primer. (I bought 36 cans of paint from eBay for £50)


Then painted them gloss black.


After a few coats of black I flatted them down and gave them a couple more:


By which time they had had many coats of paint and looked really good. I followed it up with around 6 coats of clear lacquer leaving me with this:


In the mean time my dad took the centers to work and had them painted in a secret dark silver. I assembled the center caps and got them ready for some pictures:


As I had winter wheels on and it was starting to get warm again I decided it was a perfect time for a wheel refurb.
I started off by splitting my RC041/2s.

Then bought the most cheap and nasty paint stripper I could find (B&Q - 1 Litre was £5) and stripped the wheels down. Little did I know all it would do is make the paint soft and give me 600% more work sanding them.
So I ended up taking them back to bare metal.


Then gave them about 2 coats of etch primer and about 6 of normal grey primer. (I bought 36 cans of paint from eBay for £50)


Then painted them gloss black.


After a few coats of black I flatted them down and gave them a couple more:


By which time they had had many coats of paint and looked really good. I followed it up with around 6 coats of clear lacquer leaving me with this:


In the mean time my dad took the centers to work and had them painted in a secret dark silver. I assembled the center caps and got them ready for some pictures:


Then after buying new bolts from Pertsch and partner for £140 and being sent 60 dud ones I eventually got replacements, got the wheels assembled (Loctited and torqued up to 30NM) then balanced and fitted to the car.

And on the car:


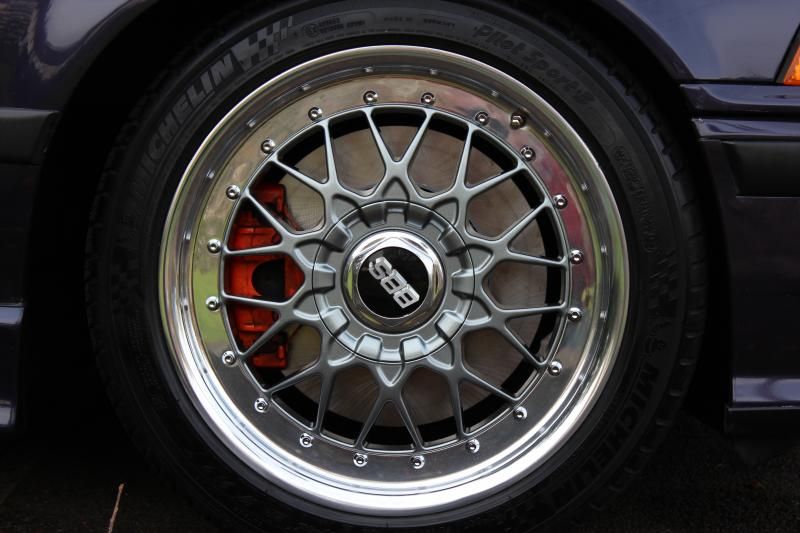


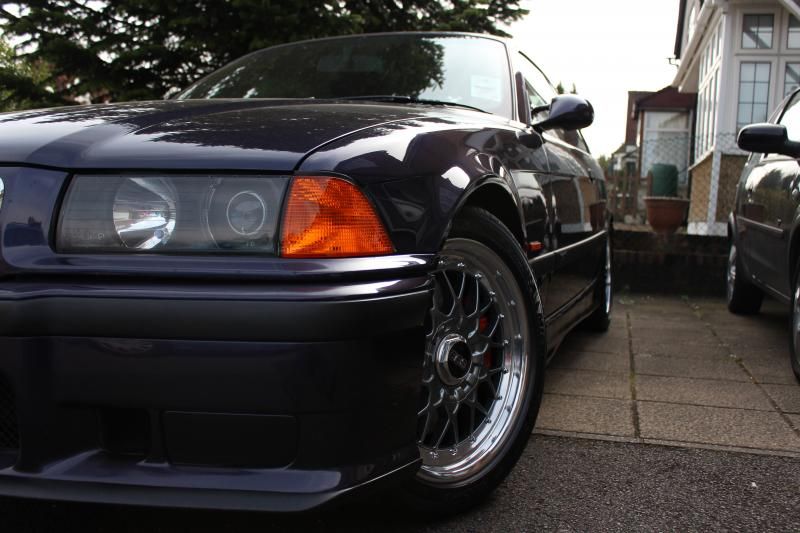


I also got new M3 Evo Floating Discs fitted and new main dealer number plates:


And on the car:


I also got new M3 Evo Floating Discs fitted and new main dealer number plates:


Gassing Station | Readers' Cars | Top of Page | What's New | My Stuff