1/48 Short Sunderland
Discussion


I bought this in autumn last year. I thought I'd make a start. It's a Sanger vacuum formed kit, and it'll be a lot of work so I'll chip away at this between other things.
I began by drawing around the fuselage halves with a sharpie pen, scoring between 1 and 2mm from the edge of the parts and snapping them out of the sheet.
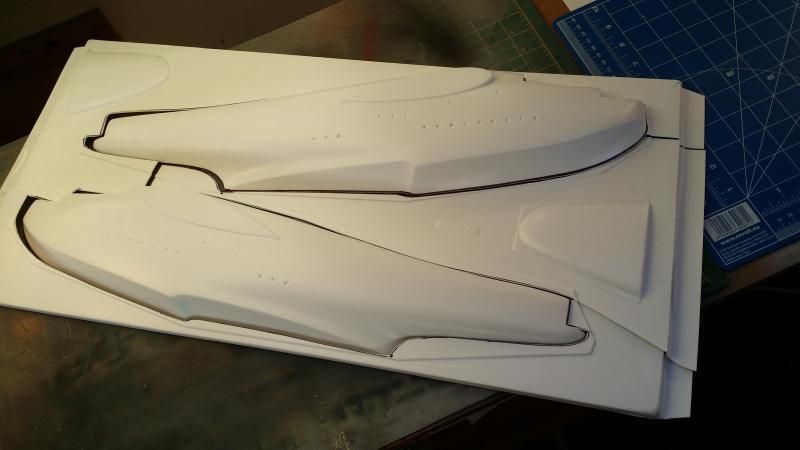
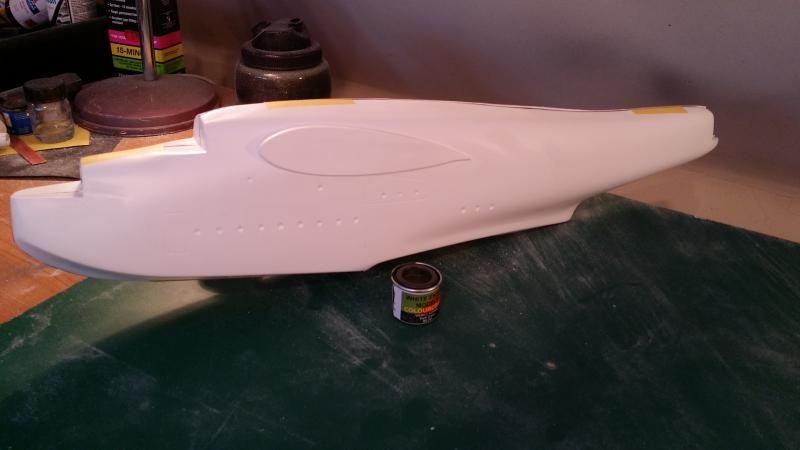
Next I taped a couple of sheets of 180 grit wet and dry to my table and sanded. And sanded. And sanded. When the 1~2mm lip I left when scoring peeled away from the part it's close to being right. The sharpie pen marks also give a good reference. If you still have white to sand before reaching the black, keep going. If you're down to the black, make sure you really mean it!
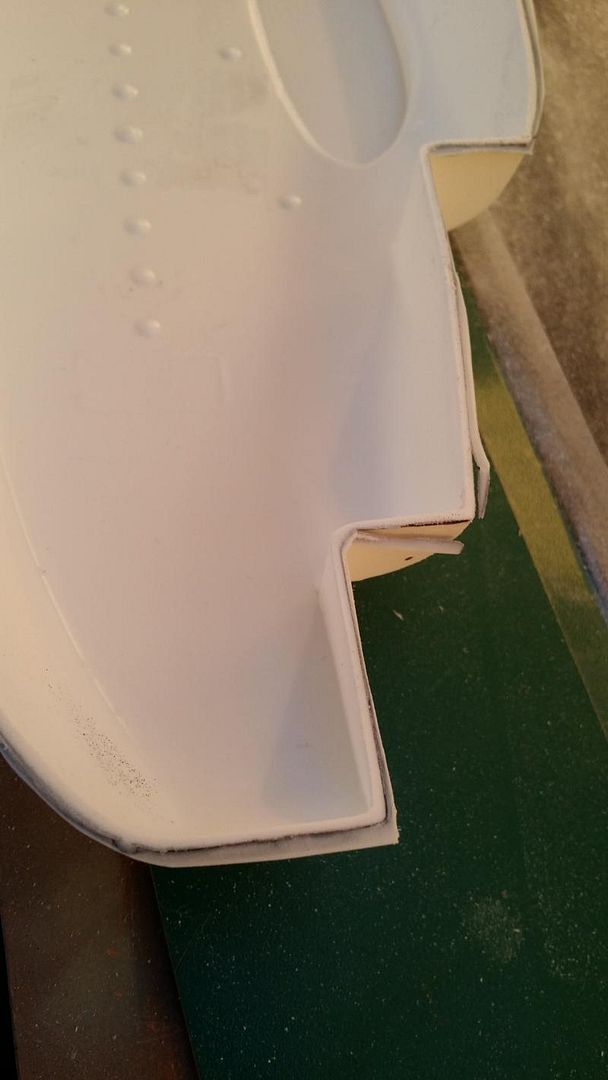
Next, the canopy was offered up. Needless to say, another 2mm had to come out of the fuselage width. That's now been done, and I've had enough of sanding dust for one night!
I began by drawing around the fuselage halves with a sharpie pen, scoring between 1 and 2mm from the edge of the parts and snapping them out of the sheet.

Next I taped a couple of sheets of 180 grit wet and dry to my table and sanded. And sanded. And sanded. When the 1~2mm lip I left when scoring peeled away from the part it's close to being right. The sharpie pen marks also give a good reference. If you still have white to sand before reaching the black, keep going. If you're down to the black, make sure you really mean it!


Next, the canopy was offered up. Needless to say, another 2mm had to come out of the fuselage width. That's now been done, and I've had enough of sanding dust for one night!
Thank you Eric. I've found my first shape error. The top of the fuselage comes to an apex. It shouldn't be too hard to fix but I'll need to keep it in mind.
There is no interior whatsoever in the kit. I should pick up the Italeri 1/72 kit for reference really, but it's a lot of money for a look-see.
There is no interior whatsoever in the kit. I should pick up the Italeri 1/72 kit for reference really, but it's a lot of money for a look-see.
Great topic to model
I wouldn't spend a lot on a model just to make bigger copies of its innards

I think you will find plenty of interior pictures on the net
Make shapes to suit the photographs in paper or thin card, testfit then cut the real bits out of plasticard
Simples
If its any help I have some shots of the Hendon Sunderland interior I think some are of the galley and weapons bay details
dohh
here're the best ones
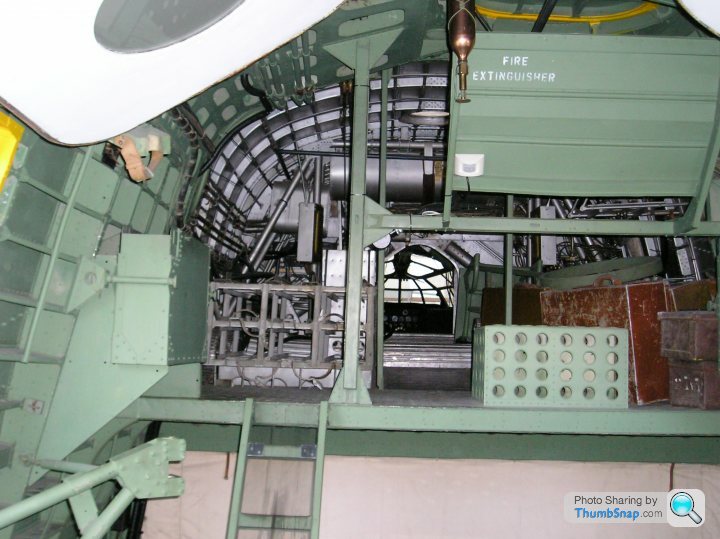


here's the bit that rolls the depth charges/bombs out under the wings

I have a few similar but these are prolly the best for an interior builder
I wouldn't spend a lot on a model just to make bigger copies of its innards
I think you will find plenty of interior pictures on the net
Make shapes to suit the photographs in paper or thin card, testfit then cut the real bits out of plasticard
Simples
If its any help I have some shots of the Hendon Sunderland interior I think some are of the galley and weapons bay details
dohh
here're the best ones
here's the bit that rolls the depth charges/bombs out under the wings
I have a few similar but these are prolly the best for an interior builder
Edited by perdu on Saturday 17th January 21:10
Thank you both very much 
I've got a small stash of images Perdu but the more the better really (O/T - are you the same Perdu on the IPMS forum?).
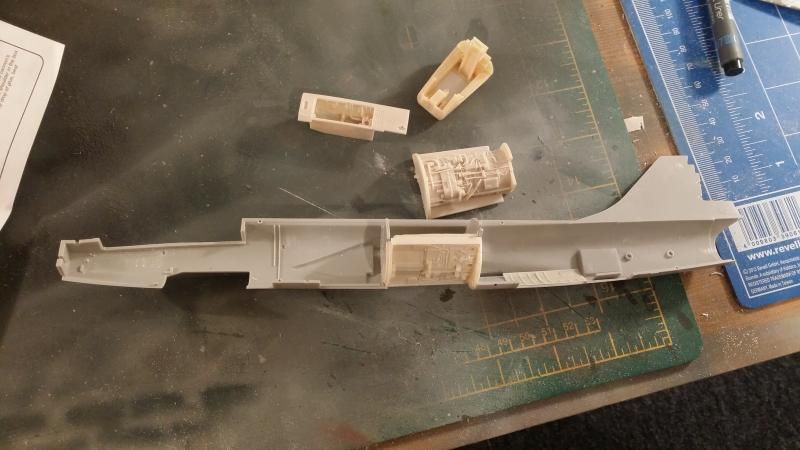
Also, some pictures of what's inside the Italeri might be useful if you wouldn't mind Starfighter (O/T to give me a break from cutting and sanding plastic I, erm, started cutting and sanding plastic and resin on this Starfighter - but really it's intended to be some detail painting relief from the somewhat monotonous task of vacuum formed kits)
I've got a small stash of images Perdu but the more the better really (O/T - are you the same Perdu on the IPMS forum?).
Also, some pictures of what's inside the Italeri might be useful if you wouldn't mind Starfighter (O/T to give me a break from cutting and sanding plastic I, erm, started cutting and sanding plastic and resin on this Starfighter - but really it's intended to be some detail painting relief from the somewhat monotonous task of vacuum formed kits)


Some interesting threads on Britmodeller....
http://www.britmodeller.com/forums/index.php?/topi...
http://www.britmodeller.com/forums/index.php?/topi...
http://www.britmodeller.com/forums/index.php?/topi...
http://www.britmodeller.com/forums/index.php?/topi...
Gassing Station | Scale Models | Top of Page | What's New | My Stuff