Revell 1/144 ME262A
Discussion


This is for a group build organised by JanScaleModelling for 1/144 scale.
Pressure to complete it on time (20-Mar) as the kit I ordered arrived on Friday.
Here's what's in the box:

The whole model (apart from a stand and the canopy) is all on one sprue:

Alas, not of great quality:


There are many fit issues. Here is the build status at the end of day 1:

You might notice the arrive in the starboard engine - I got so confused on the port one, when I did the starboard one I wrote the direction on the parts to ensure I mated them in the correct orientation. It's also possible to see straight through the cockpit and out the wheel wells, so I've put in a floor (cut from a bubble pack).
End of day 2, on the second round of fillerizing all the join (in the loosest possible sense) lines. It's just resting on the engine nacelles:


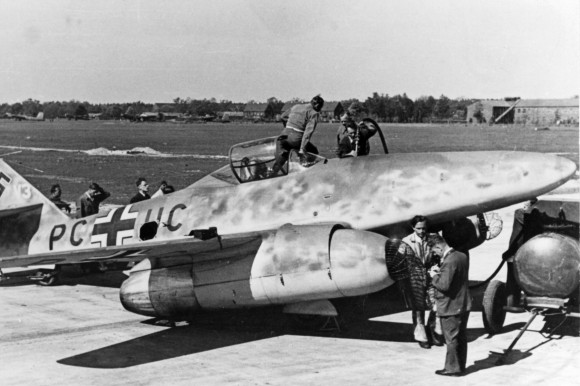
The front nose wheel is filled, as are the gun ports, as I am converting it into the third prototype PC+UC that had traditional undercarriage. Previous prototypes had BMW jets, supplemented by a small propellor engine in the fuselage's nose to allow the aircraft to return to base if (and indeed when) the BMW engines failed. PC+UC was the first prototype to have only jet engines; the Jumo004s that were used in the production aircraft. The backwash from the jet exhausts reflected off the runway and disrupted the airflow over the elevator controls making take off impossible without dabbing the brakes to rotate the aircraft! The solution was to develop the tricycle layout.
ETA: Couple of links for the history:
https://youtu.be/9ERVlpB-Uwk
http://militaryhistory.about.com/od/worldwariiairc...
Pressure to complete it on time (20-Mar) as the kit I ordered arrived on Friday.
Here's what's in the box:
The whole model (apart from a stand and the canopy) is all on one sprue:
Alas, not of great quality:
There are many fit issues. Here is the build status at the end of day 1:
You might notice the arrive in the starboard engine - I got so confused on the port one, when I did the starboard one I wrote the direction on the parts to ensure I mated them in the correct orientation. It's also possible to see straight through the cockpit and out the wheel wells, so I've put in a floor (cut from a bubble pack).
End of day 2, on the second round of fillerizing all the join (in the loosest possible sense) lines. It's just resting on the engine nacelles:
The front nose wheel is filled, as are the gun ports, as I am converting it into the third prototype PC+UC that had traditional undercarriage. Previous prototypes had BMW jets, supplemented by a small propellor engine in the fuselage's nose to allow the aircraft to return to base if (and indeed when) the BMW engines failed. PC+UC was the first prototype to have only jet engines; the Jumo004s that were used in the production aircraft. The backwash from the jet exhausts reflected off the runway and disrupted the airflow over the elevator controls making take off impossible without dabbing the brakes to rotate the aircraft! The solution was to develop the tricycle layout.
ETA: Couple of links for the history:
https://youtu.be/9ERVlpB-Uwk
http://militaryhistory.about.com/od/worldwariiairc...
Edited by sad61t on Sunday 15th March 10:10

Judging from the amount of flash on the parts, this must be a fairly elderly moulding. I wonder is it from one of the old Crown moulds.
Your "reference photos" show the prototype, which had a tailwheel. Production 262s had nosewheels.
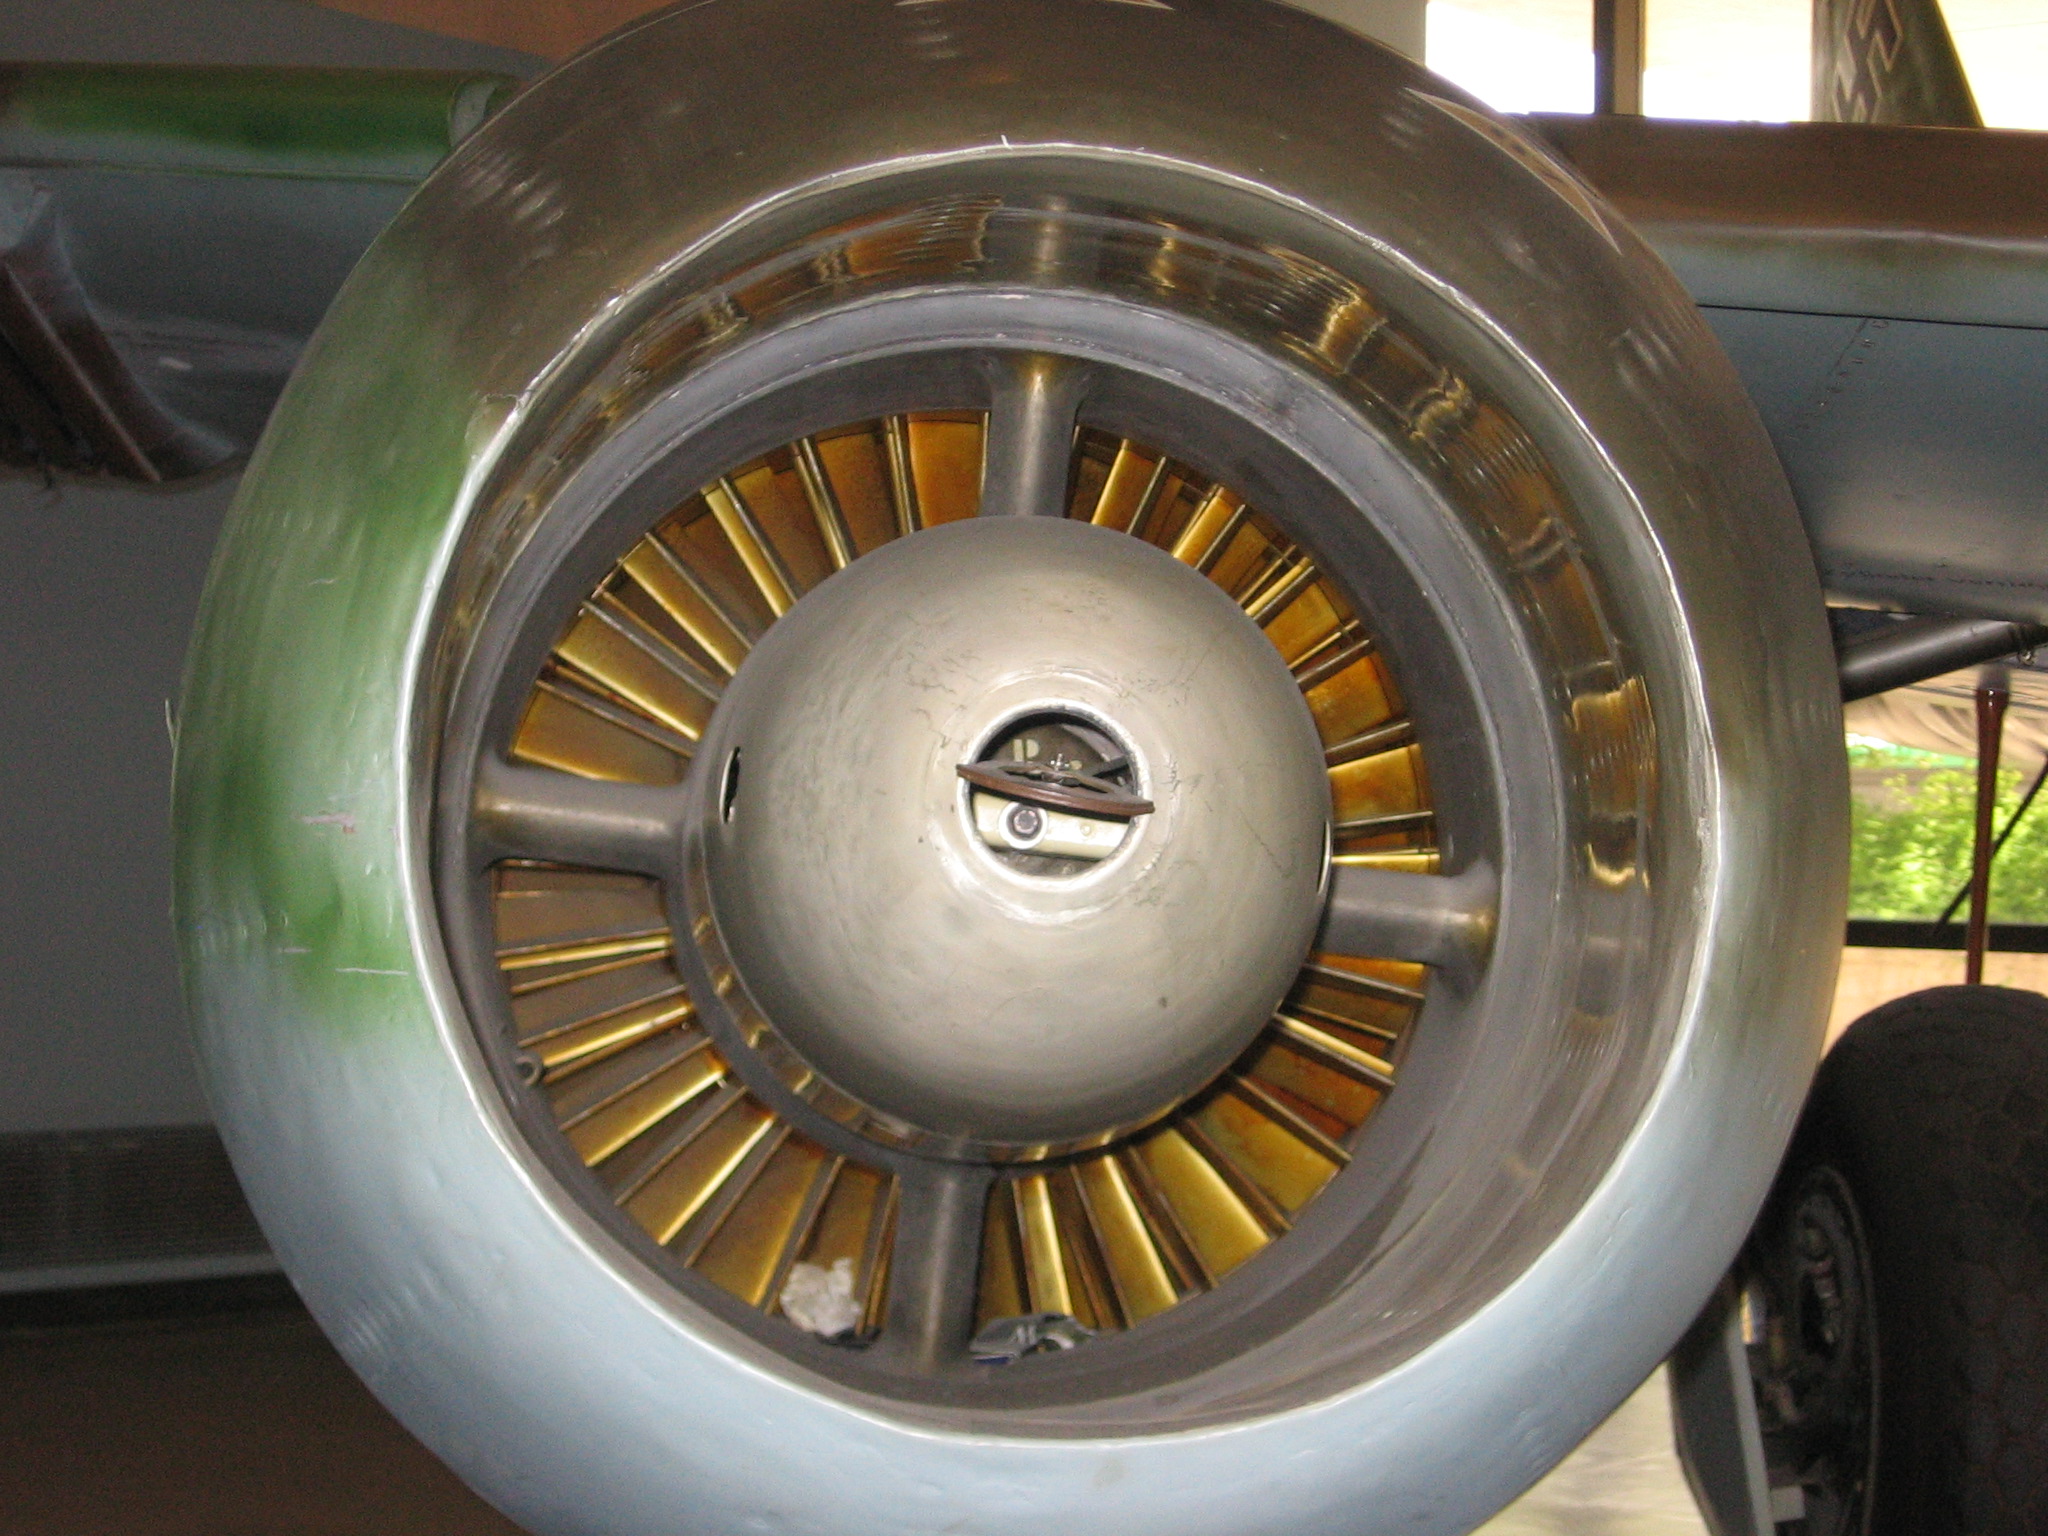
262 intakes did have a bullet fairing. Inside each fairing was a small 2 stroke petrol engine, which acted as the driver to get the axial jet compressors blades up and spinning. They were activated by pulling a D Ring - like on a petrol lawnmower.
Your "reference photos" show the prototype, which had a tailwheel. Production 262s had nosewheels.
262 intakes did have a bullet fairing. Inside each fairing was a small 2 stroke petrol engine, which acted as the driver to get the axial jet compressors blades up and spinning. They were activated by pulling a D Ring - like on a petrol lawnmower.
Edited by Eric Mc on Sunday 15th March 10:44
Hi Eric,
Here's the instruction for the engines:

It looks to me, and how I built it, that they put the domed insert (with the starter engine) at the back and the cone at the front. Like you say, it's not the end of the world - the things are barely visible at this scale - but I'd have liked to have got it right.
Converting the standard kit to the prototype will be a challenge at this scale. I've found a suitable tail wheel (from the 1/72 Tiger Moth) which looks reasonably to scale, and I'll make some undercarriage doors from scratch. I've got dry transfers for the registration letters.
Here's the instruction for the engines:
It looks to me, and how I built it, that they put the domed insert (with the starter engine) at the back and the cone at the front. Like you say, it's not the end of the world - the things are barely visible at this scale - but I'd have liked to have got it right.
Converting the standard kit to the prototype will be a challenge at this scale. I've found a suitable tail wheel (from the 1/72 Tiger Moth) which looks reasonably to scale, and I'll make some undercarriage doors from scratch. I've got dry transfers for the registration letters.


Gassing Station | Scale Models | Top of Page | What's New | My Stuff