It's in it's in!
Discussion


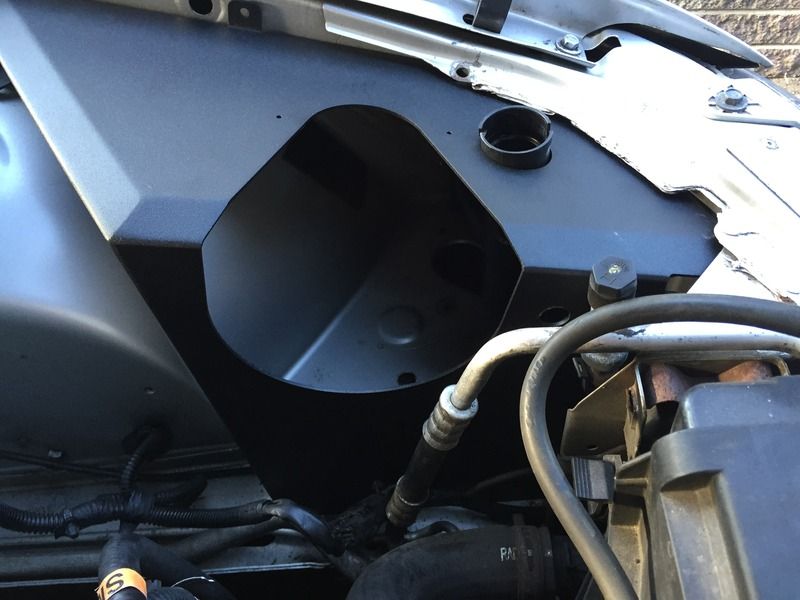
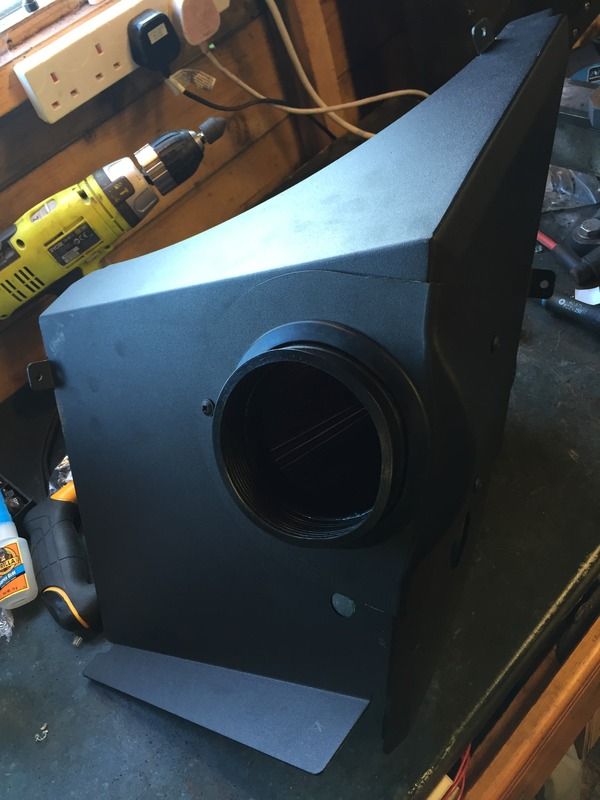
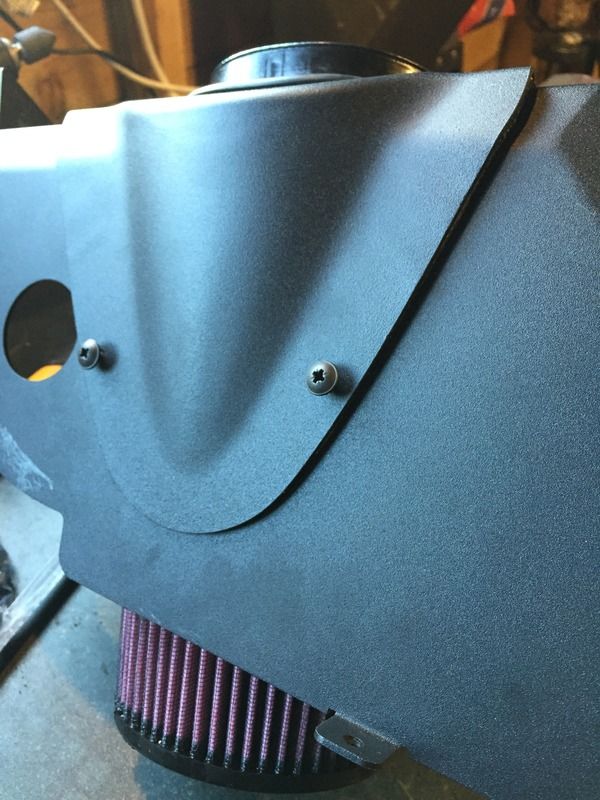
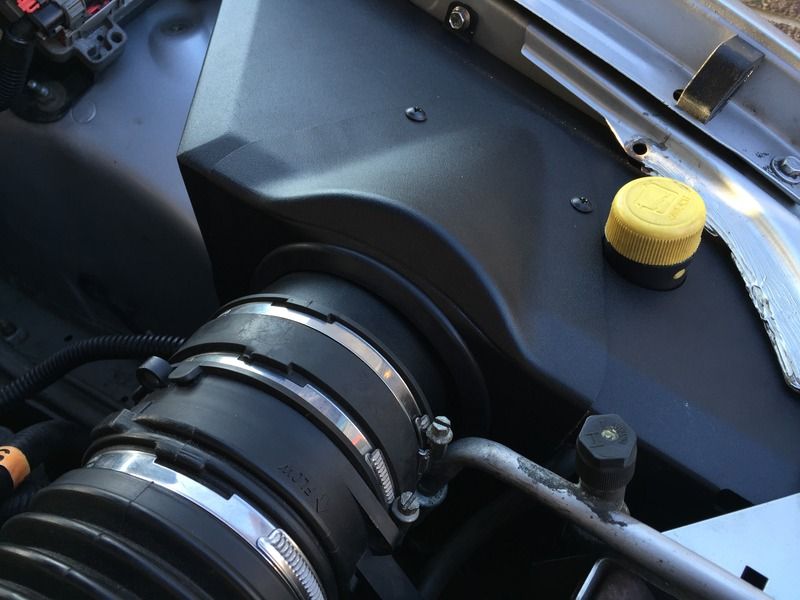
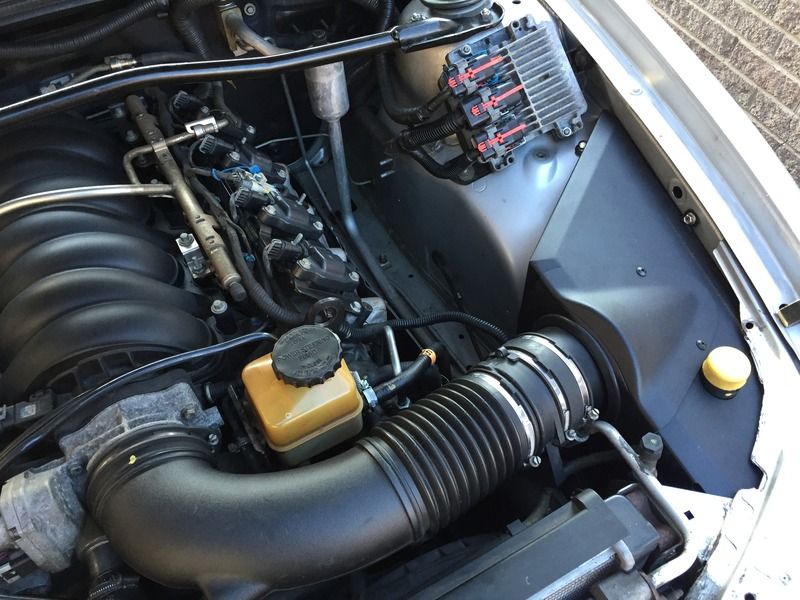
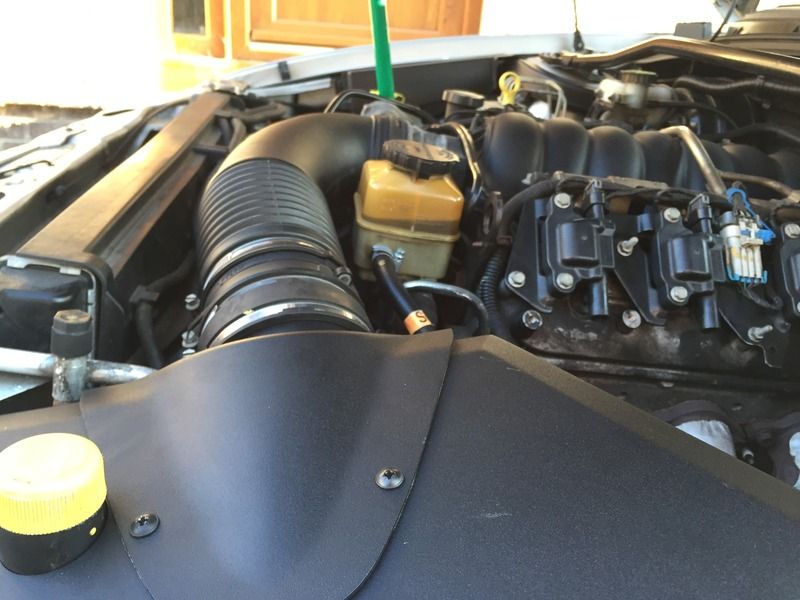
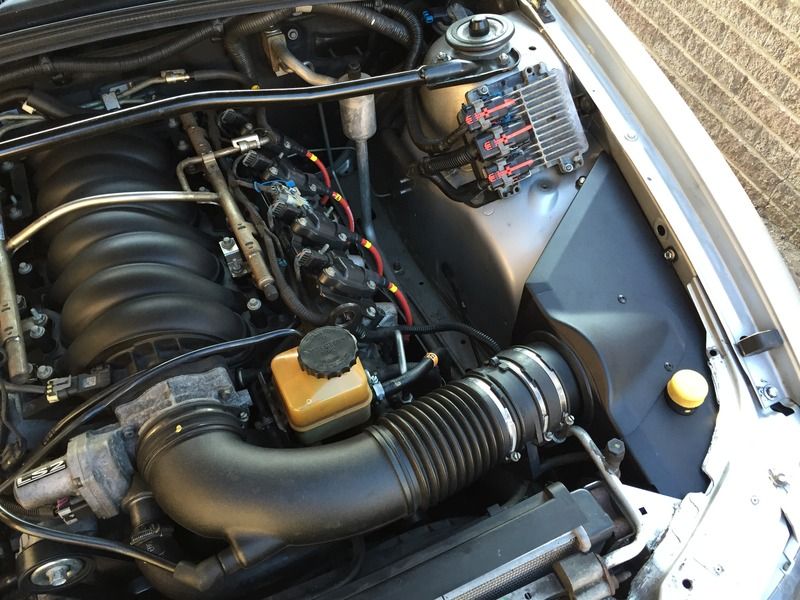
That's right, believe it or not the VCM heatshield is in. I wouldn't say that it's the best fit in the world and it's a shame it comes with no instructions nor bolts/nuts/screws whatever. No modification of the shield was required, everything did fit, just a little snug.
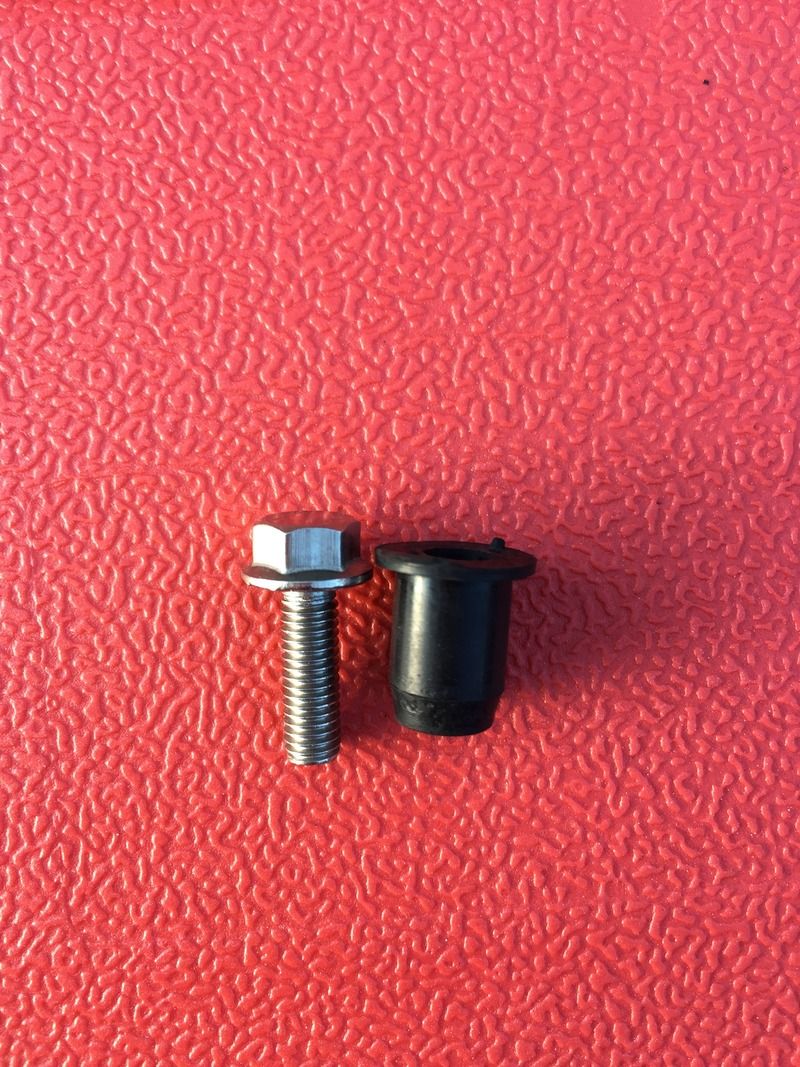
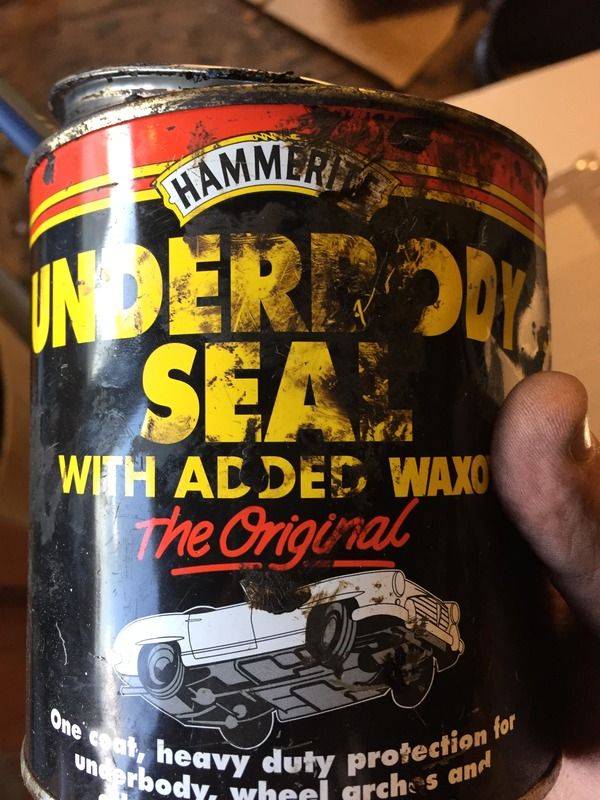
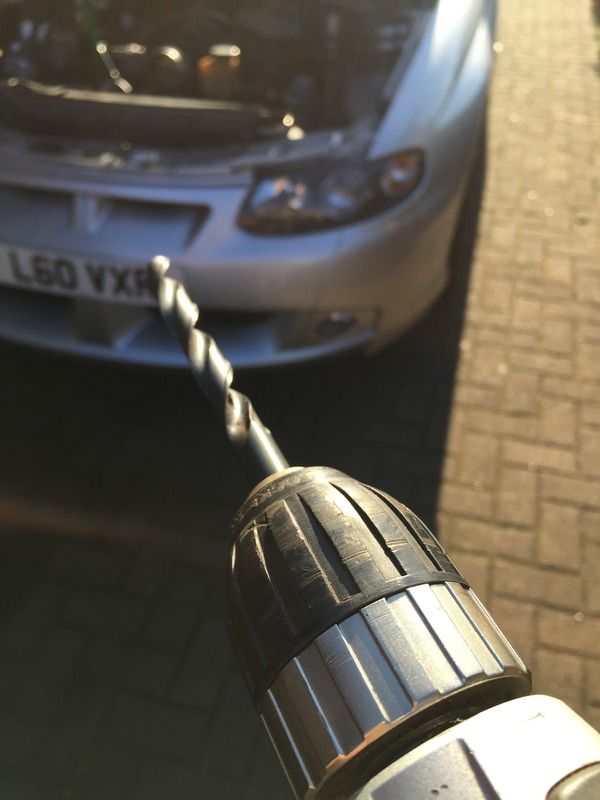
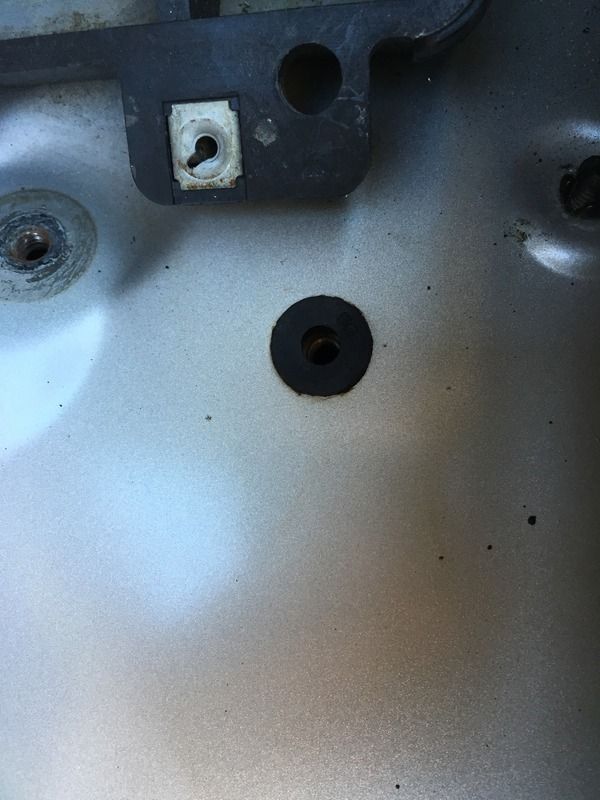
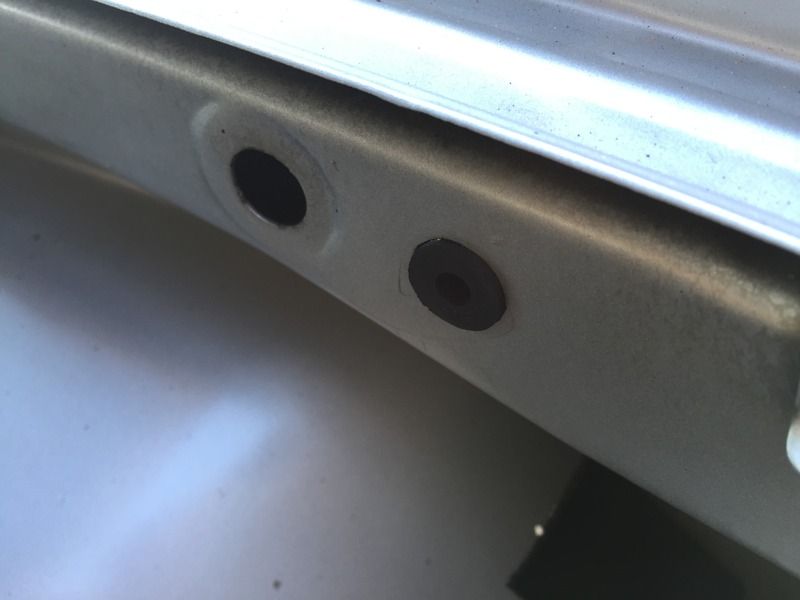
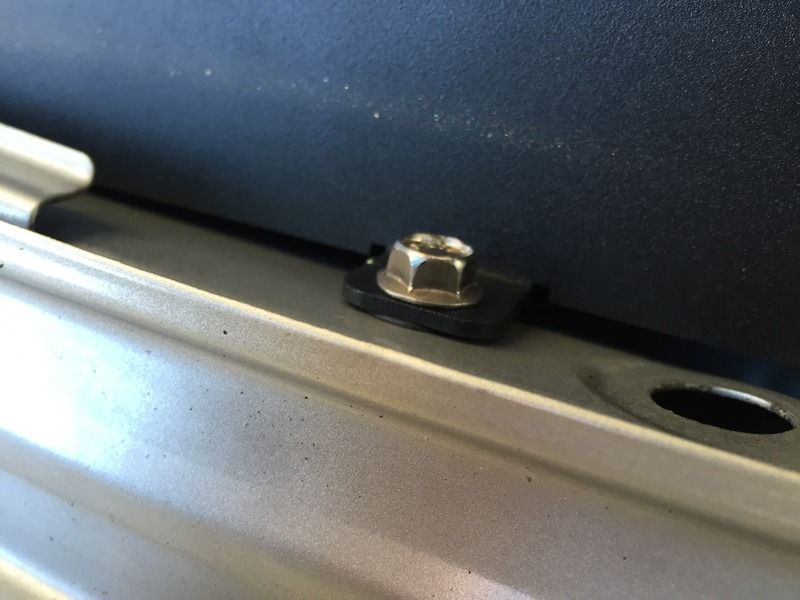
Anyway I took the airbox side of the engine to bits and looked at the available space. I test fitted the heat shield, man handled it into place and then once I was happy with it I marked the holes where the bolts were intended to go through. I then took a metal drill bit and after hesitating about drilling into the cars metal I took the plunge and did it. 3 holes were required and in a bid to make this installation a clean one I purchased some rubber well nuts and also coated the newly drilled holes in wax oil before popping these rubber nuts through.
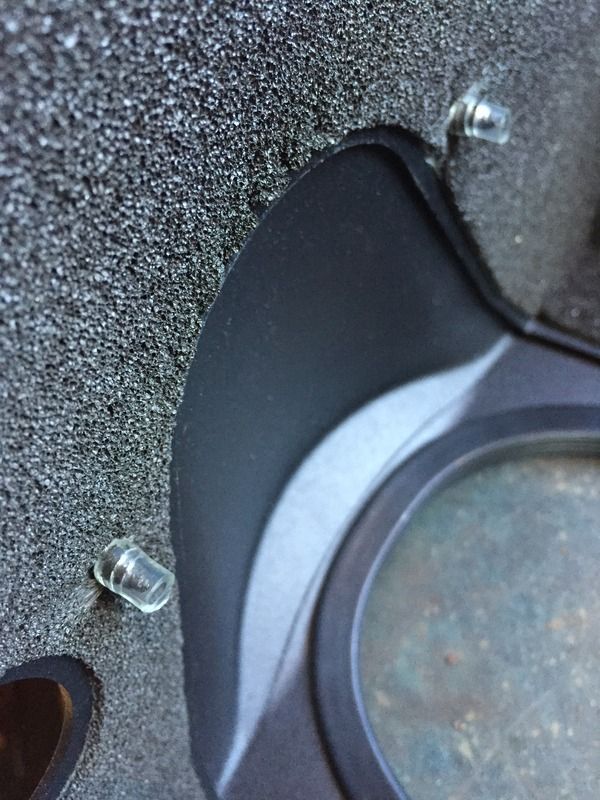
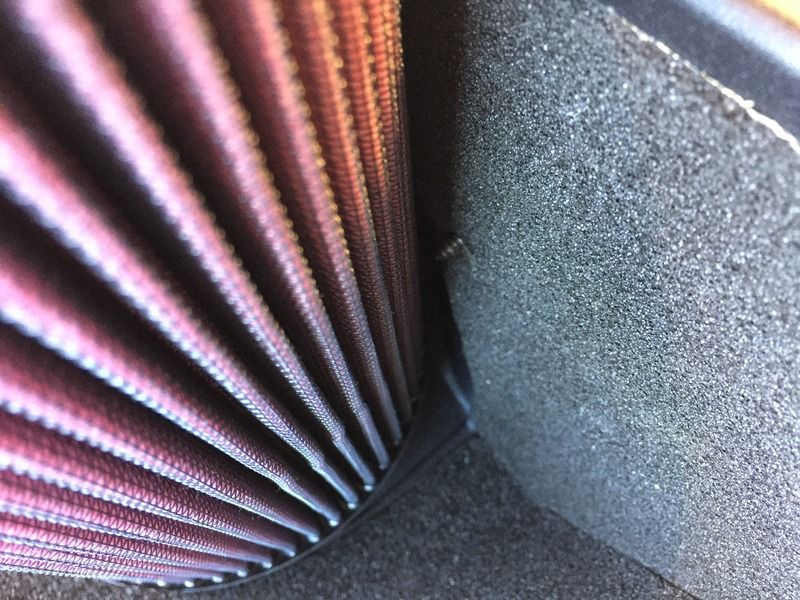
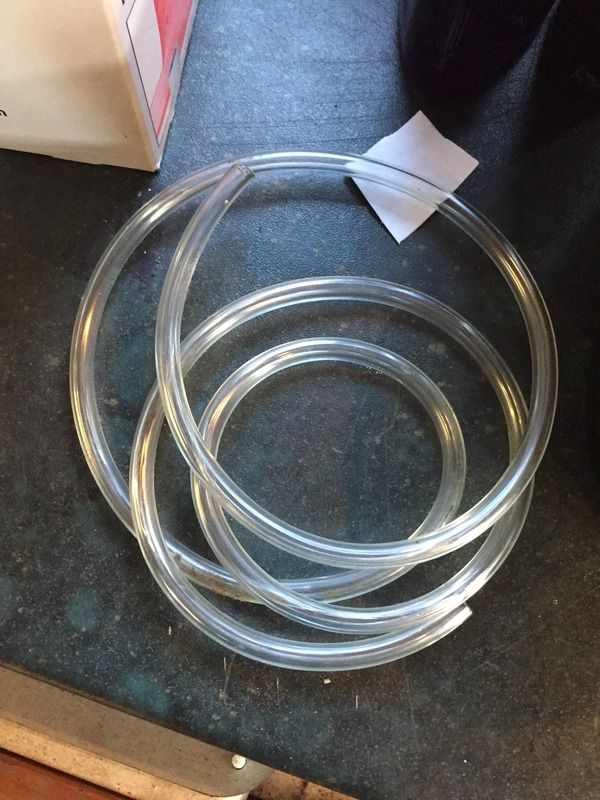
You don't event get screws or bolts to join the two sections of the heat shield together so I had to use my own which isn't a problem it's just that this isn't a cheap unit and I've never seen so little given for so much money. I was worried however that the self tapping screws although short, would fowl on the filter itself so I cut some clear vacuum hose down and covered them with it to create protective ends.
A couple of hours later and the jobs a good un.
Anyway I took the airbox side of the engine to bits and looked at the available space. I test fitted the heat shield, man handled it into place and then once I was happy with it I marked the holes where the bolts were intended to go through. I then took a metal drill bit and after hesitating about drilling into the cars metal I took the plunge and did it. 3 holes were required and in a bid to make this installation a clean one I purchased some rubber well nuts and also coated the newly drilled holes in wax oil before popping these rubber nuts through.
You don't event get screws or bolts to join the two sections of the heat shield together so I had to use my own which isn't a problem it's just that this isn't a cheap unit and I've never seen so little given for so much money. I was worried however that the self tapping screws although short, would fowl on the filter itself so I cut some clear vacuum hose down and covered them with it to create protective ends.


A couple of hours later and the jobs a good un.


Edited by Yanayaya on Monday 7th September 12:48
Edited by Yanayaya on Monday 7th September 12:49
ARAF said:
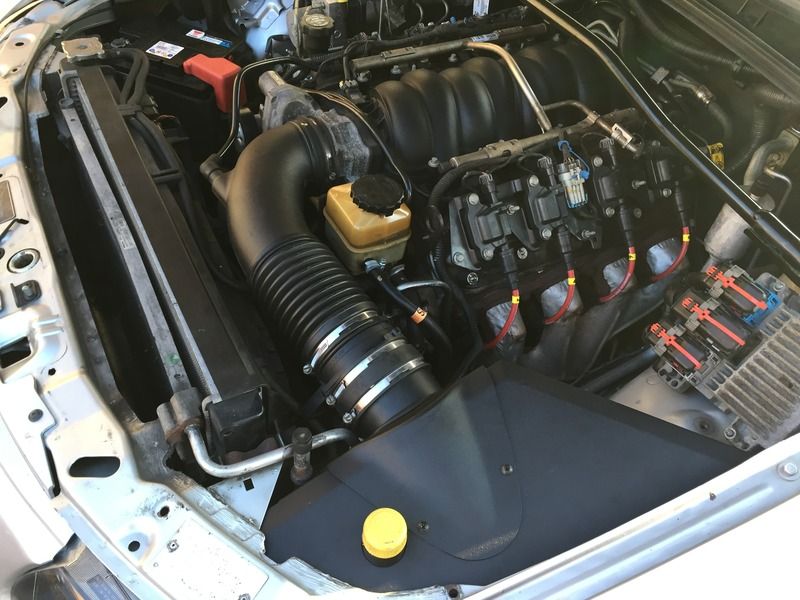
It looks like a neat installation, but I wonder how efficient it is. It looks like there's a massive gap behind the heat shield, through which warm air will get drawn in.
It's not bad actually, it curves over the arch quite nicely. I would suggest that you could easily add some additional edging around the metal if you really wanted to fully seal it even more.Tests today reveal a massive difference, where as without the shield the car would sometimes hesitate (heatsoak) where as with the shield you get a nice consistent feel across the throttle and when you unload there is no resistance you are just off.
Are you sure it was heat soak?
There can be quite a placebo effect with modifications, and heat soak wouldn't immediately disappear. I'm not suggesting it is, but hesitancy can just as easily be caused by a lean mixture, which can be solved with restricting the air flow.
It's a really nice modification (really looks well made), but without independent figures to back it up on your car, we will never know if it really works for you.


TheLeatherman said:
Surely that can't be right???? It should be sealed so it can only get external air getting to the filter. way too much option to draw in hot under the hood air. Have you logged the IAT's before and after???
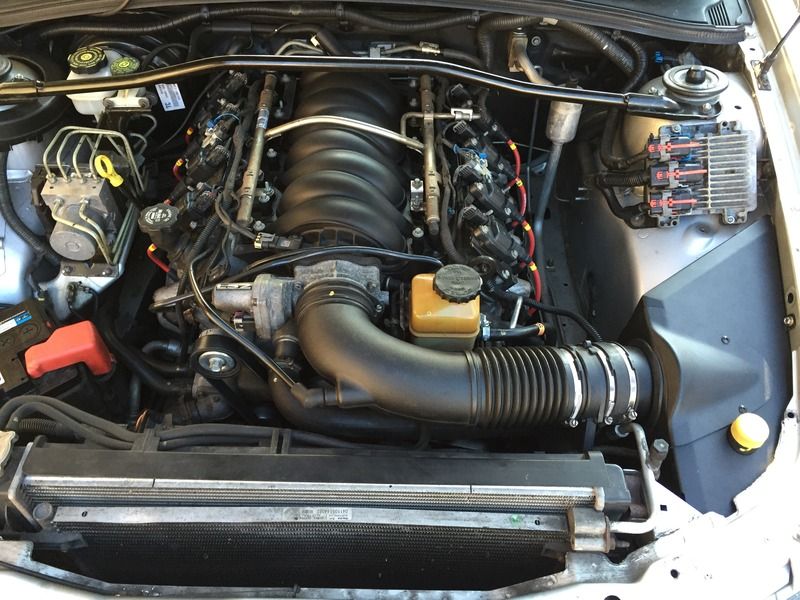
Surely what can't be right mate? It only goes in one way, the backis not open by the way, I don't think thats clear from the picsYanayaya said:
Surely what can't be right mate? It only goes in one way, the backis not open by the way, I don't think thats clear from the pics
I can see now, that there is a side at the rear (or is that a back?), which follows the contour of the inner wing better. I think it should be set on mastic, or at least a rubber gasket, to seal the edge to the wing though.TheLeatherman said:
Surely that can't be right???? It should be sealed so it can only get external air getting to the filter. way too much option to draw in hot under the hood air. Have you logged the IAT's before and after???
Although this looks like a very nice install, he's right, if there are any gaps at all, the airflow will take the path of least resistance and you will get air in from the engine compartment, defeating the object of the mod'. You may get a benefit from the cone element having a larger surface area than the stock flat panel, but I'd like to see some figures that prove an improvement in IATs, MAP etc.(I was making nearly 600 at the wheels from a stock LS2 intake box with a K&N flat panel filter.)
ARAF said:
I can see now, that there is a side at the rear (or is that a back?), which follows the contour of the inner wing better. I think it should be set on mastic, or at least a rubber gasket, to seal the edge to the wing though.
Correct, I also agree that it could use a small seal as well but to be honest it's been performing very well since it was installed. Whether that's just a placebo effect because I'm overwhelmed with joy that I got the bar stand to fit remains to be seen, without the benifit of some actual number crunching I'll never know. Gassing Station | HSV & Monaro | Top of Page | What's New | My Stuff