BanDai 1:12 scale Star Wars Scout Trooper & Speeder Bike
Discussion


While in the process of getting started on my Ducati model build, this model kit from Japan arrived on my doorstep. I have always wanted to build a speeder bike ever since seeing the Revell/Ertle? kit from the 80/90's. This recent offering from BanDai is amongst quite a few other models they produce from the Star Wars franchise. As it is less daunting than the Tamiya Ducati I thought I would start on this first.
You can build the kit straight out of the box, with components clicking together once they have been cut from the sprues. They are moulded in roughly the correct colour with details taken care of via waterslide or adhesive decals. Of course for my kit I will be painting with Tamiya acrylics and Humbrol enamels. At some point I will need to weather the trooper and bike so everything looks well used. Any weathering tips would be greatly received!
Here is how the kit box looks
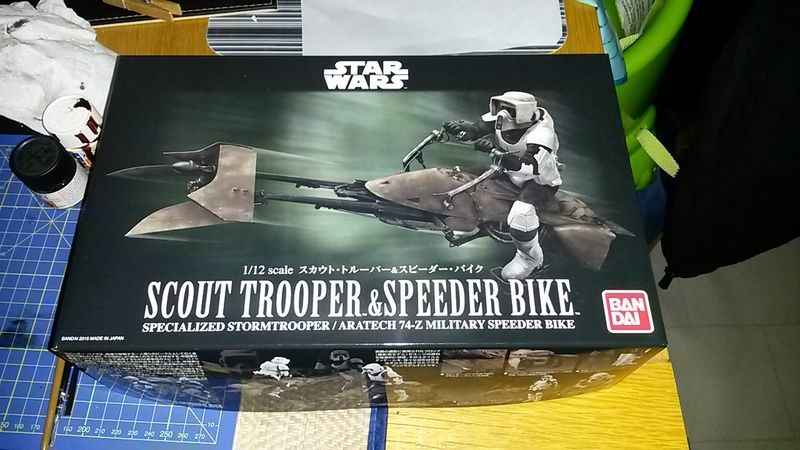
Construction starts with the troopers head/helmet, so far all I have done is trim the parts and fit together, with the "mouthpiece" painted German Grey. Next came the torso with the black area's receiving a coat of matt black paint. The "fabric" below the chest armour received a coat of matt white. After assembly the head was connected to the torso.
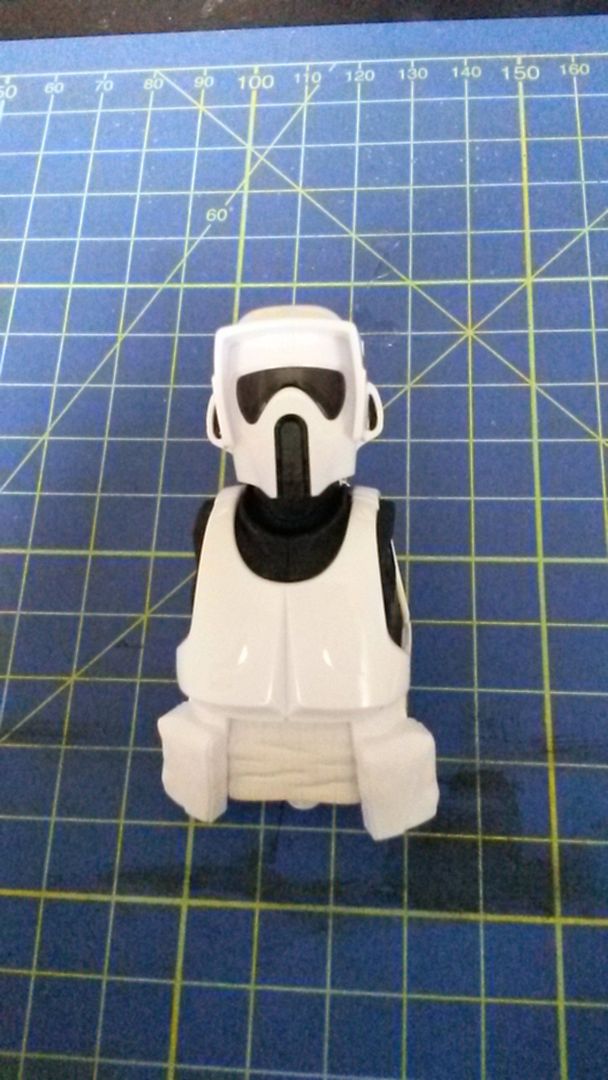
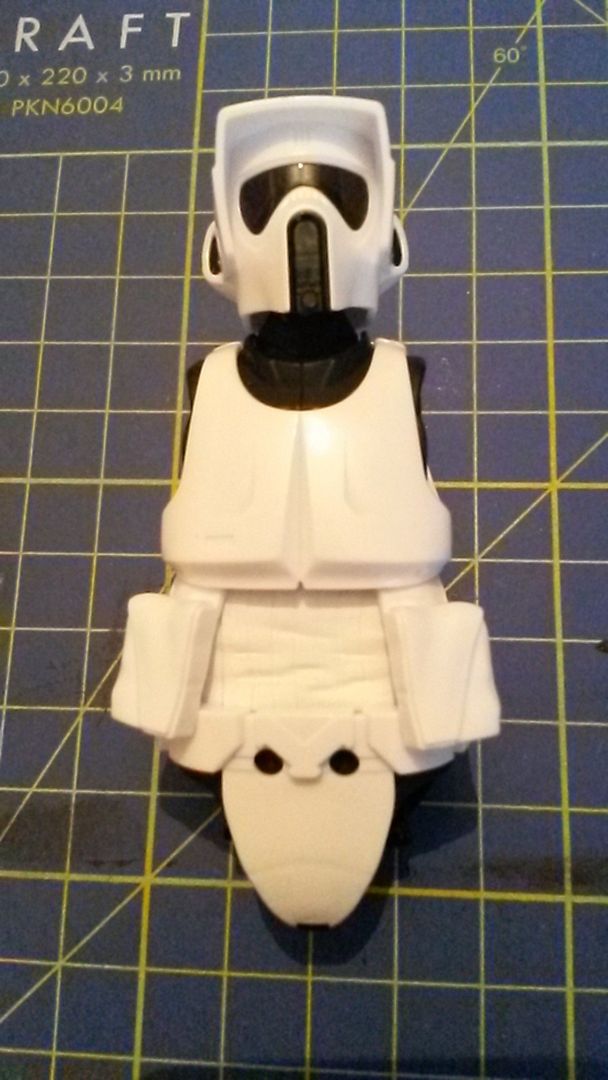
The pelvic region was then constructed and added to the upper torso.
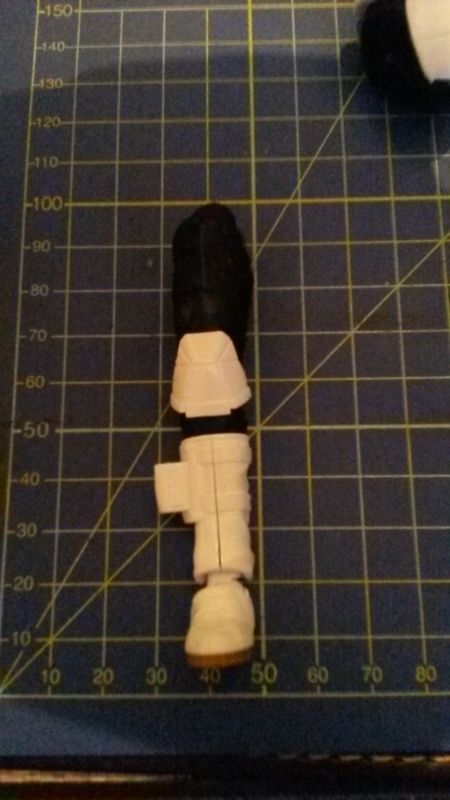
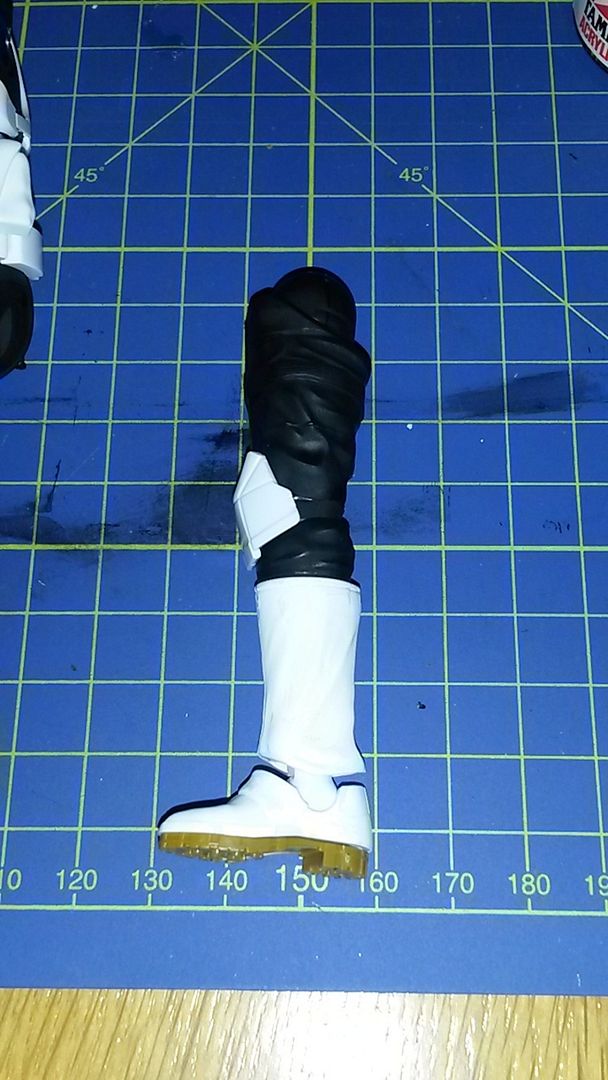
Next came construction of the right leg which has the holster for the troopers sidearm, so far all the white armour has been left in the colour the plastic was moulded in. As they designed the kit to be made without painting, the parts join together where there is a boundary between the different colours on the trooper. This makes painting much easier as you can paint them before joining together, so no need for careful masking. The boots however didn't come together so well, the result means I will have to fill the gap, sand and paint.
After the right came the left leg. All the limbs articulate at the anatomical joints, however this does mean they look somewhat unrealistic. As before, all the black areas received some matt black paint, otherwise they looked too shiny.
The 2 legs were then clicked into place on the torso to give a standing trooper who looks like he has been attacked with a lightsaber!
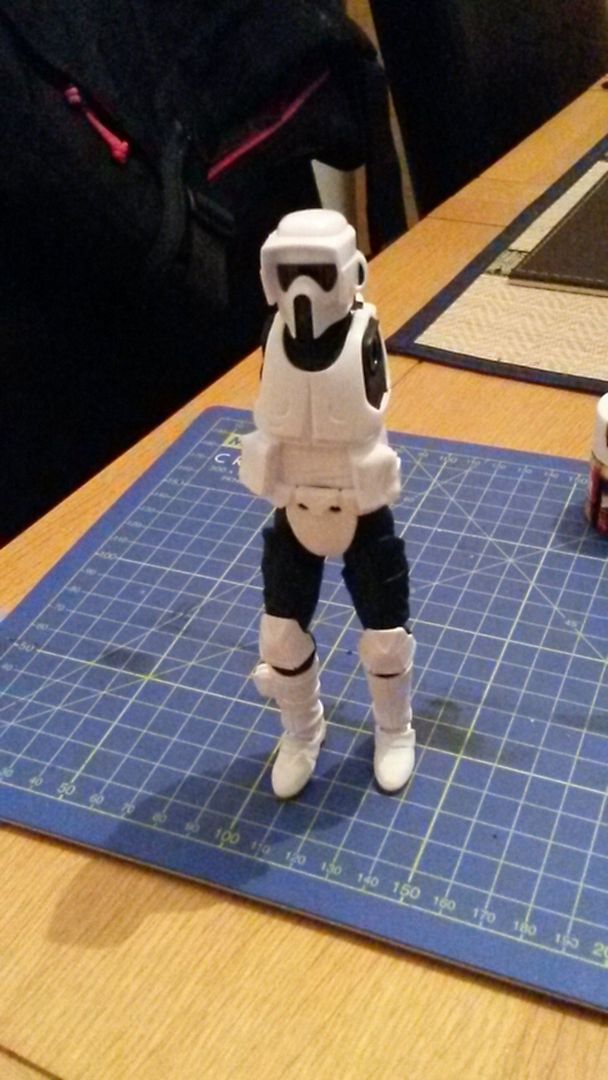
The next stage will be construction of the arms.
You can build the kit straight out of the box, with components clicking together once they have been cut from the sprues. They are moulded in roughly the correct colour with details taken care of via waterslide or adhesive decals. Of course for my kit I will be painting with Tamiya acrylics and Humbrol enamels. At some point I will need to weather the trooper and bike so everything looks well used. Any weathering tips would be greatly received!
Here is how the kit box looks
Construction starts with the troopers head/helmet, so far all I have done is trim the parts and fit together, with the "mouthpiece" painted German Grey. Next came the torso with the black area's receiving a coat of matt black paint. The "fabric" below the chest armour received a coat of matt white. After assembly the head was connected to the torso.
The pelvic region was then constructed and added to the upper torso.
Next came construction of the right leg which has the holster for the troopers sidearm, so far all the white armour has been left in the colour the plastic was moulded in. As they designed the kit to be made without painting, the parts join together where there is a boundary between the different colours on the trooper. This makes painting much easier as you can paint them before joining together, so no need for careful masking. The boots however didn't come together so well, the result means I will have to fill the gap, sand and paint.
After the right came the left leg. All the limbs articulate at the anatomical joints, however this does mean they look somewhat unrealistic. As before, all the black areas received some matt black paint, otherwise they looked too shiny.
The 2 legs were then clicked into place on the torso to give a standing trooper who looks like he has been attacked with a lightsaber!
The next stage will be construction of the arms.
Edited by EagleMoto4-2 on Wednesday 27th January 14:35
Been a while but some progress made with finishing the Scout figure.
Arms and various utility packs painted where necessary and assembled
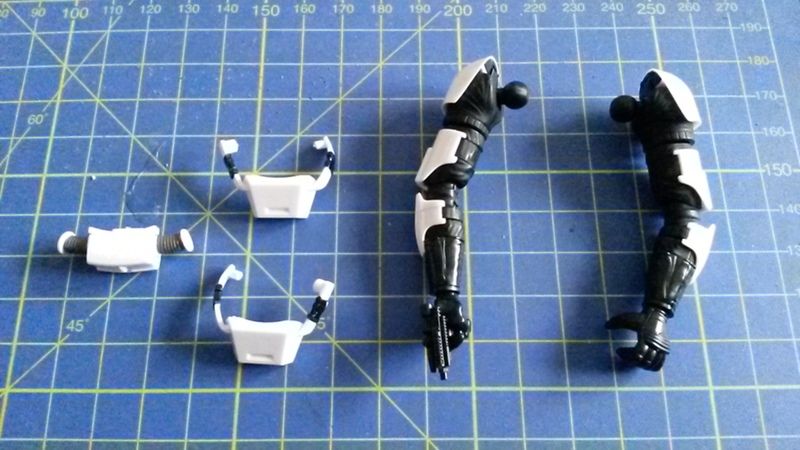
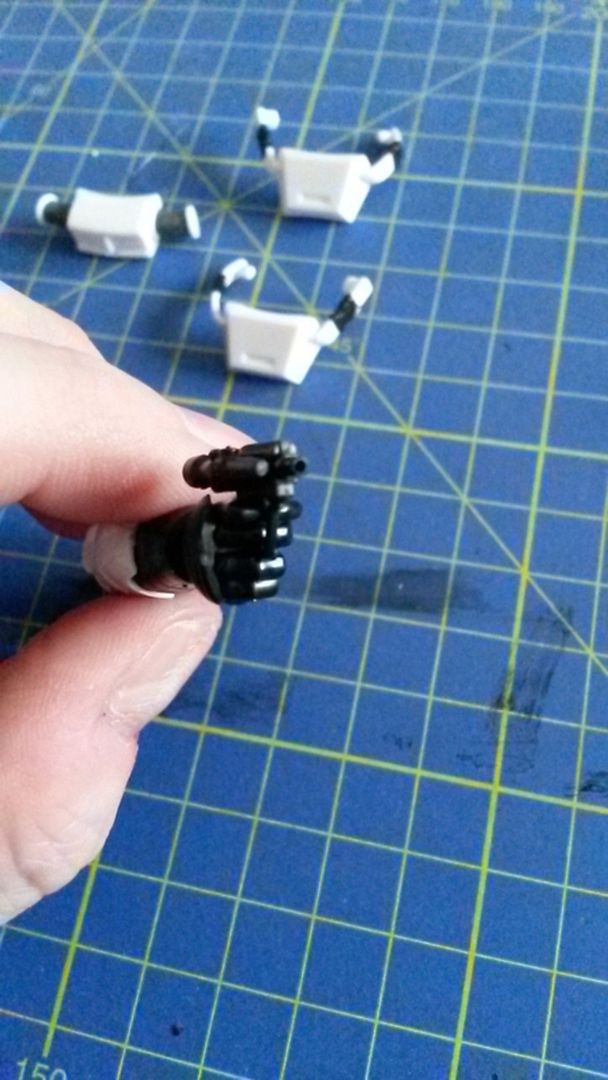
Barrel of the sidearm drilled out with a <1mm drill bit to look a bit more realistic.
Fully assembled trooper now waiting for his Speeder Bike!
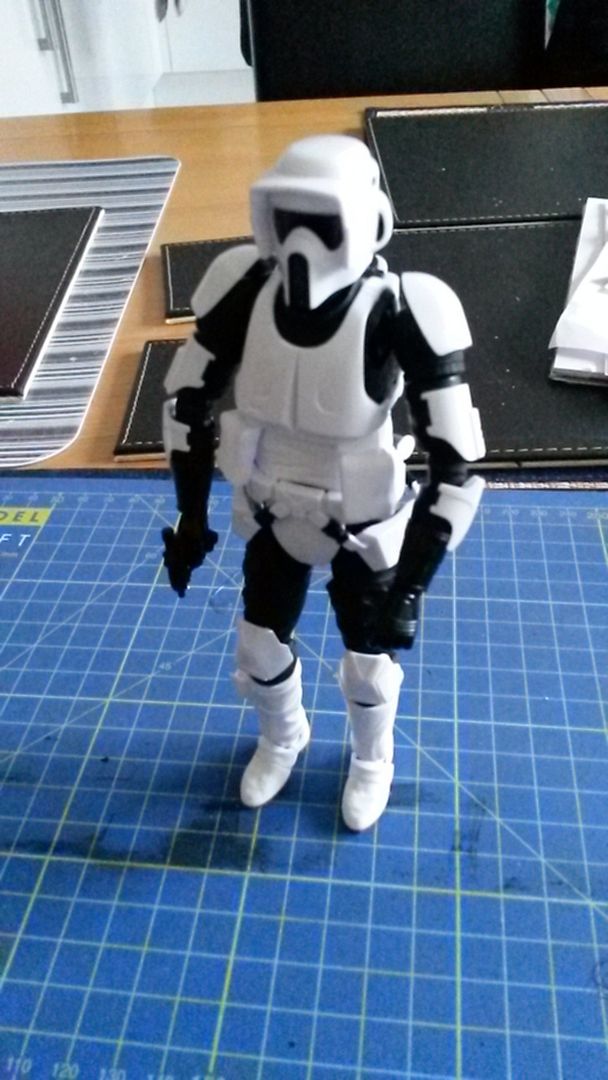
Still needs a bit of weathering here and there but doesnt look too bad. Next stage is assembling the bike itself.
Arms and various utility packs painted where necessary and assembled
Barrel of the sidearm drilled out with a <1mm drill bit to look a bit more realistic.
Fully assembled trooper now waiting for his Speeder Bike!
Still needs a bit of weathering here and there but doesnt look too bad. Next stage is assembling the bike itself.
Gassing Station | Scale Models | Top of Page | What's New | My Stuff