Back to work...
Discussion


Not sure where the winter went, got plenty to do ready for the season starting, decided to get my finger out being as it's tipping it down.
No prizes for guessing what I started with
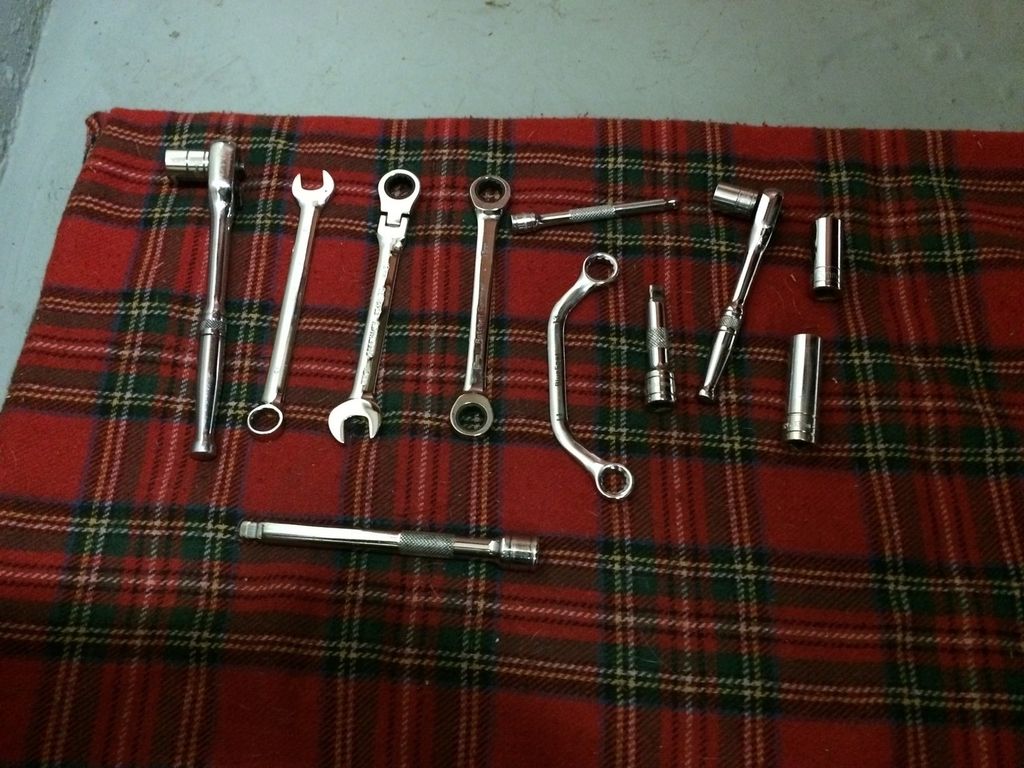
Got the manifolds off successfully, wasn't too worried as they were off when the body was lifted. Must say that I find the 3/8 drive ratchet with 13mm socket as valuable as the banana spanner. Ready for the new ones to go on.
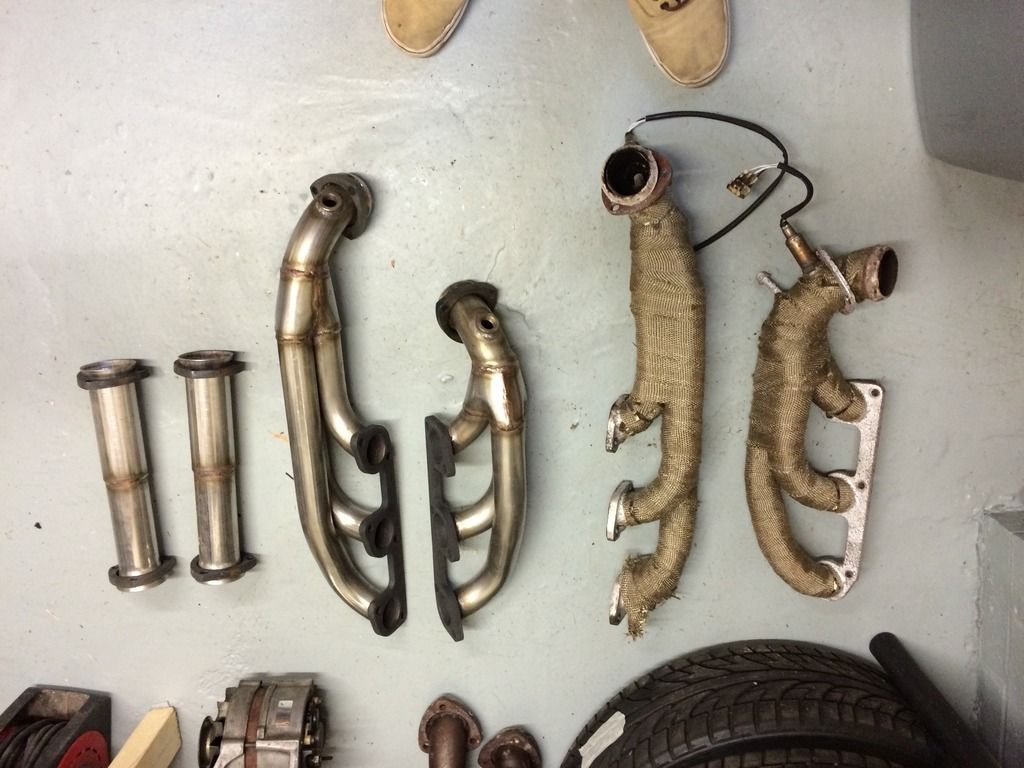
Don't reckon much to TVR's port matching compared to JP Exhausts.
TVR

JP

Would just like to add, anyone thinking of wrapping their manifolds, don't bother, it's not worth the pain.
Engine mounts next...
No prizes for guessing what I started with
Got the manifolds off successfully, wasn't too worried as they were off when the body was lifted. Must say that I find the 3/8 drive ratchet with 13mm socket as valuable as the banana spanner. Ready for the new ones to go on.
Don't reckon much to TVR's port matching compared to JP Exhausts.
TVR
JP
Would just like to add, anyone thinking of wrapping their manifolds, don't bother, it's not worth the pain.
Engine mounts next...

No, they're what I assume to be original, just covered in stainless paint 
I had them on and off four times pre s club last year and couldn't get a good seal, so I thought, one of them actually has a crack around the joint to the de-cat pipe, I'm sure that wouldn't be too much of a problem to sort. The existing de-cats are a tad too long and I just wanted it all sorted once and for all.
I had them on and off four times pre s club last year and couldn't get a good seal, so I thought, one of them actually has a crack around the joint to the de-cat pipe, I'm sure that wouldn't be too much of a problem to sort. The existing de-cats are a tad too long and I just wanted it all sorted once and for all.
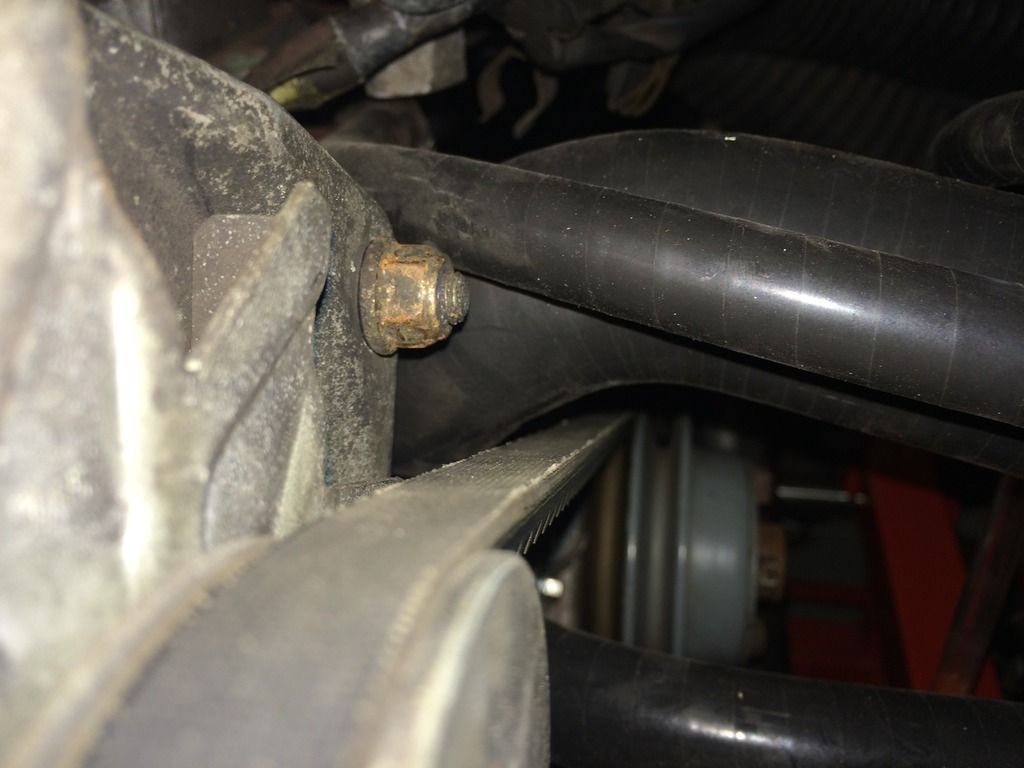
That part in the pic is the evaporative control purge valve - S3c and S4c only I believe. Instead of venting fuel vapours in the tank straight to atmosphere, they are collected in a carbon canister, and that valve opens when the engine is running (not all the time, but controlled by the Ecu) to draw those fumes from the canister into the engine under vacuum.
LawrieS said:
Thanks for that info, hadn't really noticed it before.
Is it detrimental to the running of the engine?
Obviously I'll sort the connection, just curious.
Cheers
It's default position is closed, when it has no effect.Is it detrimental to the running of the engine?
Obviously I'll sort the connection, just curious.
Cheers
With an electrical signal from the Ecu, it opens at certain times to vent the tank. If it doesn't open, the tank doesn't vent but the engine is still ok.
If it sticks open for some reason, then the effect could be the same as a slight inlet leak - it draws air when it shouldn't so the mixture might be weak, or the idle speed too high. If you think it's sticking open, put a brake hose clamp on the hose between that valve and the plenum - if that solves the problem, then it was leaking!
Engine mounts and manifolds etc done, exhaust back on.
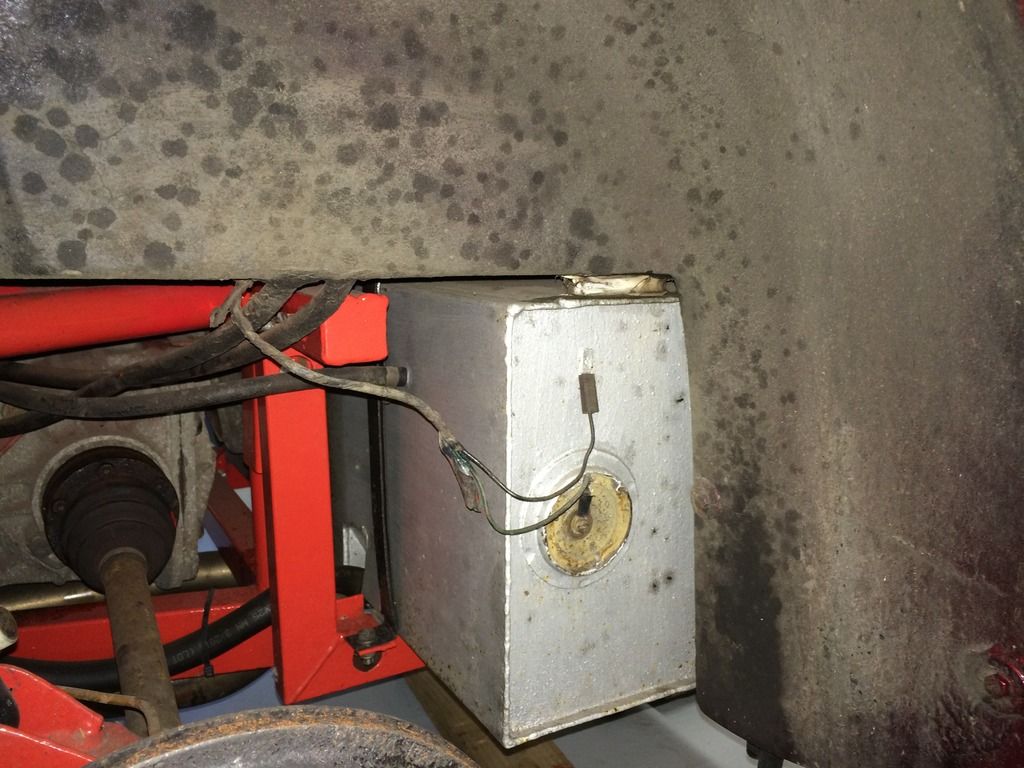
Plenty of clearance now to ARB and plenty more ground clearance, need to do something with the rear exhaust mount, appears I've lost mine at some point


Only problem now is that the fan belt sits quite close to the top hose on the swirl pot, I'll have to see if it will twist a little to give some extra room.
So back to the usual service items, rear wheel off to change fuel filter and looks like the CV boots need some attention.

Both on nearside, offside seem ok.
Are the joints available? Rough price? Just wondering if it's worth replacing them whilst everything's off.
Also need to get the fan sorted this week, diagnosis so far, the fuse is ok (is it right that the dash has to be pulled so far to get the panel to drop? It's hinged to the bulkhead, is that normal?) The relay clicks when otter switch connections joined. The plug under the fan doesn't look too great so I have a replacement weather proof one on order, and will change along with the plug for the purge valve. How do I test the connections to the fan? (Sorry if I've asked this before but can't find it)
Any recommendations for 'mud flap' material? I'd like to do something to protect the front of the outriggers, probably the entire horizontal tube and the diagonal.
Thanks
Lawrie
Plenty of clearance now to ARB and plenty more ground clearance, need to do something with the rear exhaust mount, appears I've lost mine at some point
Only problem now is that the fan belt sits quite close to the top hose on the swirl pot, I'll have to see if it will twist a little to give some extra room.
So back to the usual service items, rear wheel off to change fuel filter and looks like the CV boots need some attention.
Both on nearside, offside seem ok.
Are the joints available? Rough price? Just wondering if it's worth replacing them whilst everything's off.
Also need to get the fan sorted this week, diagnosis so far, the fuse is ok (is it right that the dash has to be pulled so far to get the panel to drop? It's hinged to the bulkhead, is that normal?) The relay clicks when otter switch connections joined. The plug under the fan doesn't look too great so I have a replacement weather proof one on order, and will change along with the plug for the purge valve. How do I test the connections to the fan? (Sorry if I've asked this before but can't find it)
Any recommendations for 'mud flap' material? I'd like to do something to protect the front of the outriggers, probably the entire horizontal tube and the diagonal.
Thanks
Lawrie
LawrieS said:
Any recommendations for 'mud flap' material?
On my "travels" I came across some industrial conveyor belt material, like a reinforced rubber mat,works a treat.A bit of searching should find plenty of CV joint info/advice, readily available and only around £100 for all four. Got mine from J & R


Why not get some Foamex and make some outrigger protectors? This stuff is amazing; it can be formed by heating and bending. Bluezeeland did this on his Griff. There is a thread over on the Griff forum. IMHO they look a lot better than the rally car look one gets from mud flaps, as they are formed around the shape of the outrigger.
ETA a link to the Griff thread
Link
ETA a link to the Griff thread
Link
Edited by Oldred_V8S on Wednesday 6th April 10:10
Read this in particular the bit which says "If the metals are dry, bimetallic (galvanic) corrosion cannot occur."
Now can we just drop this? Or is this now the new "pressure-cap argument".
Oh no! what if you had a stainless pressure cap on an aluminium swirl tank? I won't be able to sleep tonight now
Now can we just drop this? Or is this now the new "pressure-cap argument".
Oh no! what if you had a stainless pressure cap on an aluminium swirl tank? I won't be able to sleep tonight now
Gassing Station | S Series | Top of Page | What's New | My Stuff