Chimaera fan heater - removal and refit to cure noise
Discussion


You guys weren't kidding when you said the fan heater was a pig to get out of the passenger wing area!
After three evenings lying upside down with various tools and prybars I finally managed to lever it out of the wing. Yes - I should have removed the passenger seat but I knew that it would uncover another host of fibreglass relate bodges from previous owners. One disaster at a time please!
This journey started after I fixed the connections to my fan heater switch. I found that my fan was making a horrible squeak at all speeds. After a couple of months it started to get worse and it finally started to stall. Time to sort it!
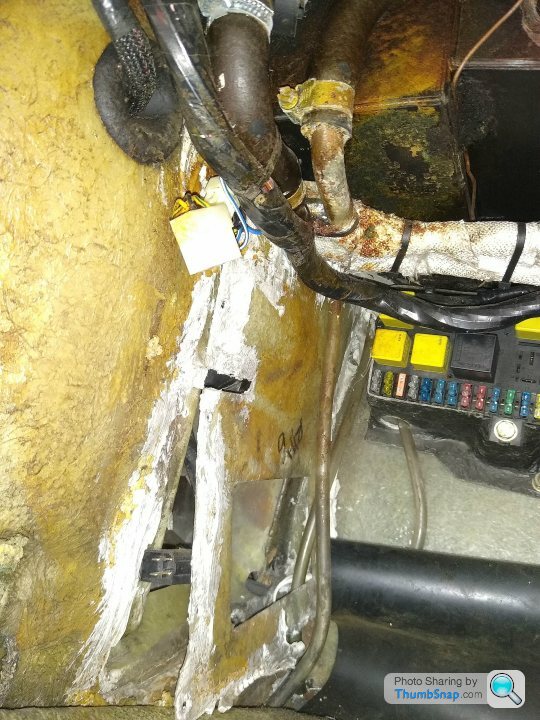
I read the various posts about this devil of a job and finally gathered enough courage to get out the drill and tackle it. First of all, I cleared out all the wiring and the fuse box to the far end of the passenger well. Luckily the previous owner had moved the battery to the boot (a bit of a bodge job that needs sorting later) so that space was clear. The heater pipes I just pushed out of the way as needed.
Once the area was as clear, I drilled out the rivets and then cut and removed as much of the original sealant as possible. The front, back and bottom sides were easy to cut through and remove but there was so much sealant at the top and this was where I found it took the most time and patience with. Next I put on a stout pair of gripper gloves and tried to pull the side panel towards the centre of the car. It didn't budge of course. Eventually, I found that I had to really cut and remove as much of that sealant at the top of the panel before it would move. No cutting of the panel is required and it will eventually come out complete. The fibreglass is very, very tough stuff. The final eureka moment came when I used a piece of 20mmx40mm wood across the top of the panel joint to lever it free. Unfortunately I don't have a picture of the piece of wood in place but I'm sure you get the impression of what is required when you come to do the job. As other people have mentioned, you can remove and refit the fan with the heater pipes in place. A little maneouvering is required but it is definitely possible.
Apologies for the blurry pictures and the uploader seems to have rotated them!
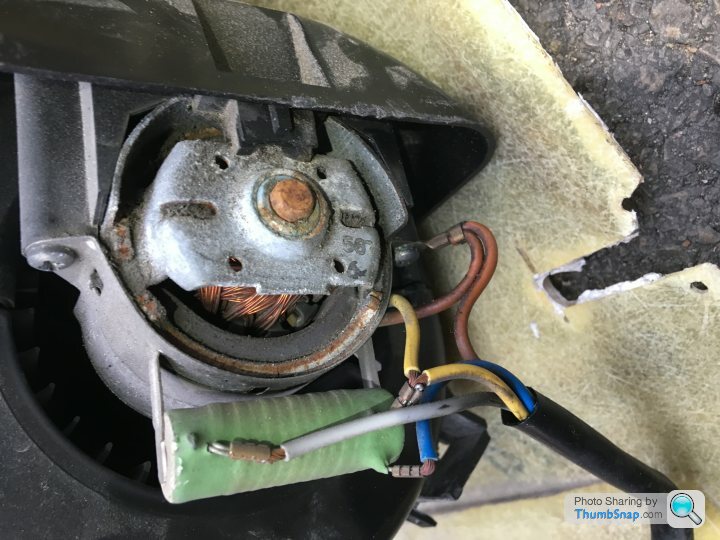
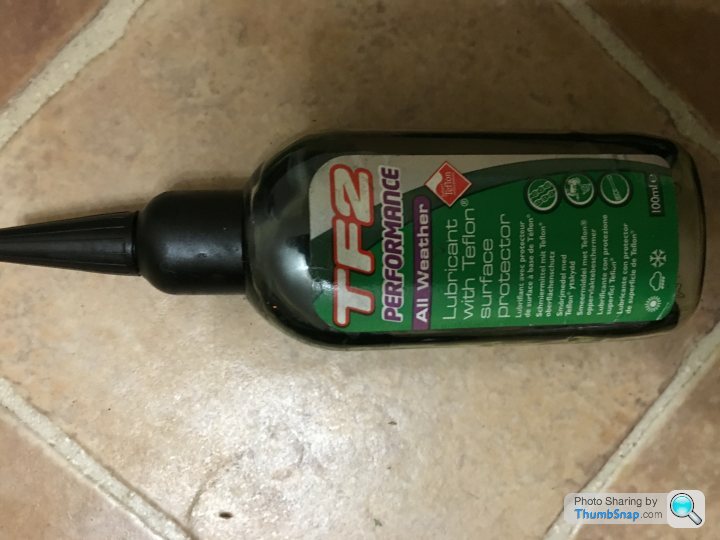
At last it was free! I re-lubricated the bearings with some thick bicycle chain oil I had and the fan quietened down immediately. No disassembly was required, I just made sure the lube travelled into the end bearings as much as possible. I might have given it the odd spray of WD too.
Anyway, I connected the fan back up and tried it at all speeds over a couple of days unfitted to make sure all was well before the final refit.
Refitting was quite straightforward as compared to removal, just a bit tricky to get around the heater pipes. Once fitted, I used self tappers instead of rivets just in case for next time... and then resealed using white silicone. Not the neatest I know but the original wasn't either.
Final test and still really quiet. Job done! Now to tidy up the cabling, fusebox, ECU...
After three evenings lying upside down with various tools and prybars I finally managed to lever it out of the wing. Yes - I should have removed the passenger seat but I knew that it would uncover another host of fibreglass relate bodges from previous owners. One disaster at a time please!
This journey started after I fixed the connections to my fan heater switch. I found that my fan was making a horrible squeak at all speeds. After a couple of months it started to get worse and it finally started to stall. Time to sort it!
I read the various posts about this devil of a job and finally gathered enough courage to get out the drill and tackle it. First of all, I cleared out all the wiring and the fuse box to the far end of the passenger well. Luckily the previous owner had moved the battery to the boot (a bit of a bodge job that needs sorting later) so that space was clear. The heater pipes I just pushed out of the way as needed.
Once the area was as clear, I drilled out the rivets and then cut and removed as much of the original sealant as possible. The front, back and bottom sides were easy to cut through and remove but there was so much sealant at the top and this was where I found it took the most time and patience with. Next I put on a stout pair of gripper gloves and tried to pull the side panel towards the centre of the car. It didn't budge of course. Eventually, I found that I had to really cut and remove as much of that sealant at the top of the panel before it would move. No cutting of the panel is required and it will eventually come out complete. The fibreglass is very, very tough stuff. The final eureka moment came when I used a piece of 20mmx40mm wood across the top of the panel joint to lever it free. Unfortunately I don't have a picture of the piece of wood in place but I'm sure you get the impression of what is required when you come to do the job. As other people have mentioned, you can remove and refit the fan with the heater pipes in place. A little maneouvering is required but it is definitely possible.
Apologies for the blurry pictures and the uploader seems to have rotated them!
At last it was free! I re-lubricated the bearings with some thick bicycle chain oil I had and the fan quietened down immediately. No disassembly was required, I just made sure the lube travelled into the end bearings as much as possible. I might have given it the odd spray of WD too.
Anyway, I connected the fan back up and tried it at all speeds over a couple of days unfitted to make sure all was well before the final refit.
Refitting was quite straightforward as compared to removal, just a bit tricky to get around the heater pipes. Once fitted, I used self tappers instead of rivets just in case for next time... and then resealed using white silicone. Not the neatest I know but the original wasn't either.
Final test and still really quiet. Job done! Now to tidy up the cabling, fusebox, ECU...
Thanks for a great write up, Im sure I'll need it one day.
I have chatted to Matt Smith about this - or something related.
One of the reasons, he reckons, for all the hot air inside the car (assuming the missus is not there) is that the fan draws air through the wing space. Because this is a large area of dead space, this allows the air to heat up before going into the fan - his theory, not mine.
We thought that if I ever had my heater out, we might run a ducting pipe forward to the intake area so that the dead space was minimised. An alternative would be to put in a vent near the hinges, so the air did not rest in the shell any longer than necessary.
Which brings me to... did you get an idea of whether this would be possible, with only two joints in your arms? Or would you need to be an octopus to do this?
Cheers
Richard
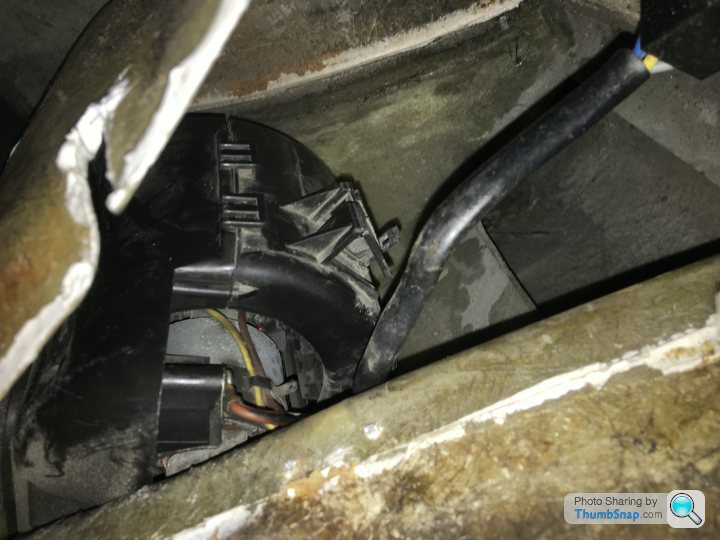
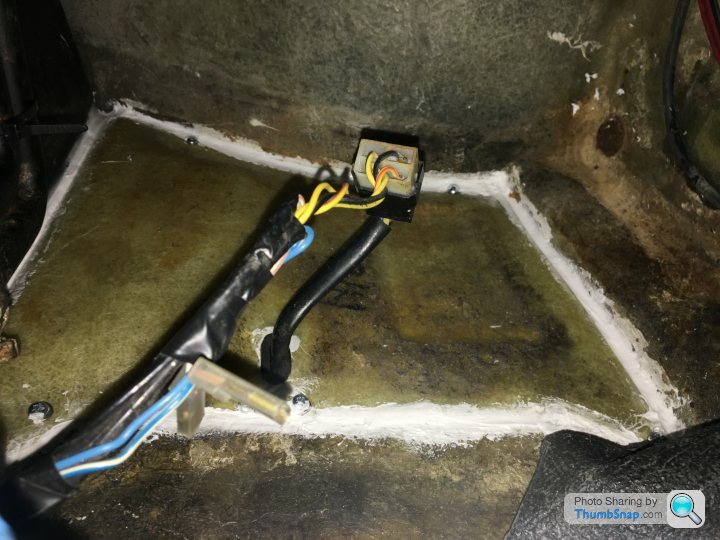
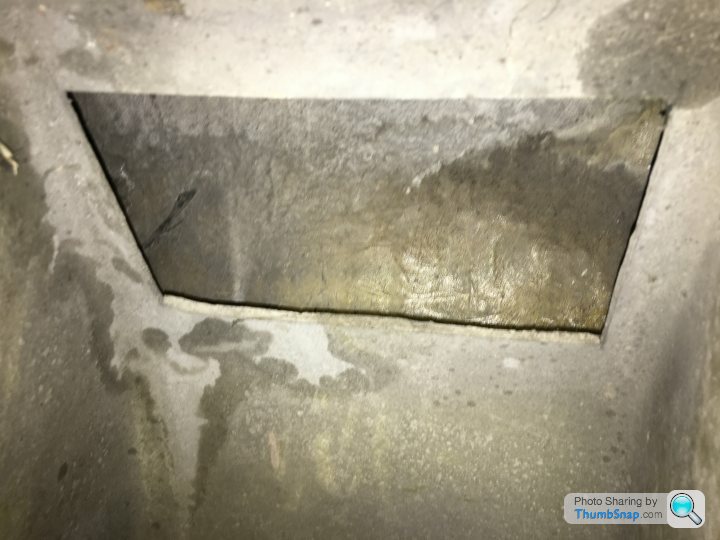
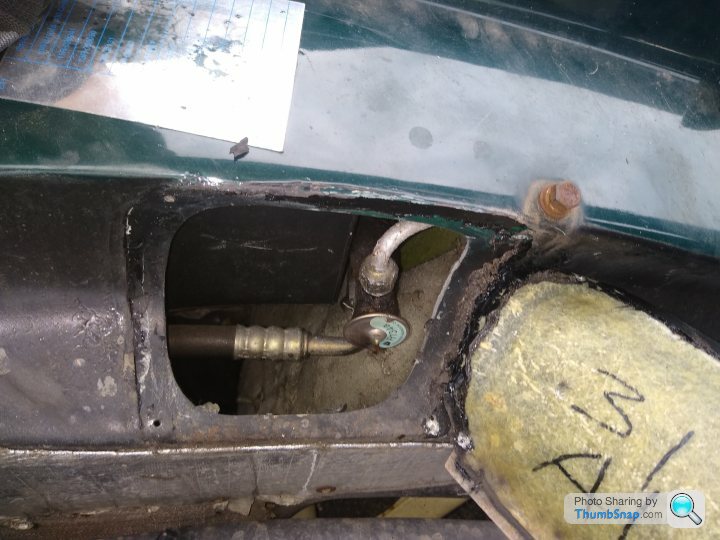
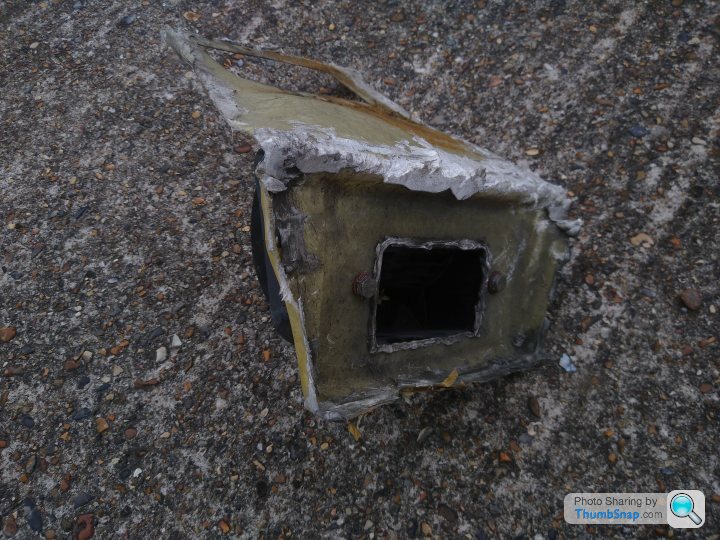
I don't think it is possible to get any ducting to that area unless you start hacking away at the fibreglass towards the right hand side of that recess. Here is a pic of the air entry point for the fan heater and the space between the back of the recess and the outer skin was only enough for me to get a thin vacuum cleaner nozzle in to pick up the drilled out rivets and debris.
Sorry I don't any better pictures to demonstrate was space you'd have to work with for your suggestion.
I understand what you mean about the hot air. I always leave the temperature setting on cold and it still clears the condensation in seconds on low.
Sorry I don't any better pictures to demonstrate was space you'd have to work with for your suggestion.
I understand what you mean about the hot air. I always leave the temperature setting on cold and it still clears the condensation in seconds on low.
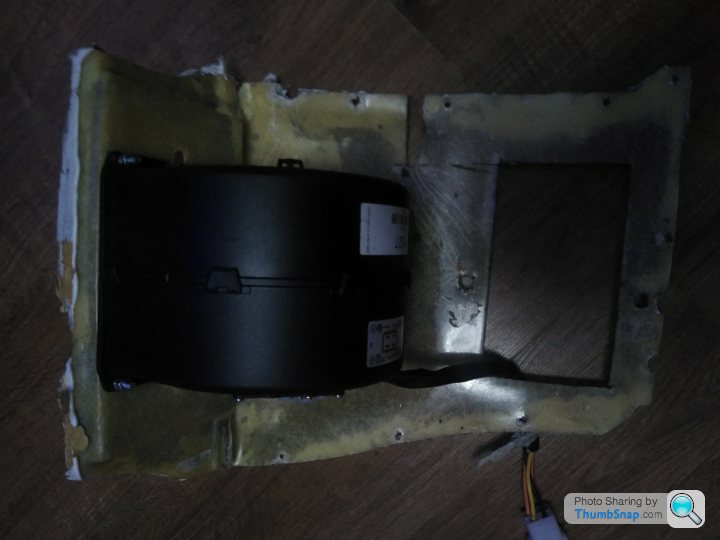
I'm so confused. I swear that these two pieces of fiberglass are one piece on mine, when I run my hand up the inside of the front piece and onto the top it is just one smooth surface without a join. I just can't split the bugger.
It's a 97 Aircon car if anyone knows if that makes a difference, but I can't see any other way that it has been fitted if there's no access to the bottom of the blower motor from here.
I got the hump and sprayed a can of lube at the bearing after being defeated so I've had to give up now because of the fumes
Mine has a big hole in the bottom of it for the Aircon flapper recirc thing so it's definitely a slightly different design.
Edited by s p a c e m a n on Saturday 5th June 17:03
Oh.. ooh.. ooooh...
Now I look at the photo it's obvious that it's still one piece, I was under the wrong impression that the 'front' piece came off to allow me to unbolt the motor from the 'top' piece.
I see a slight recess in the 'top' part, is the blower bolted to that then and the rest of it is just glued to the bottom of what I guess is the heater core box along the flat edges?
I need a bigger knife
Ta for the help, I would have ended up cutting it apart if you hadn't pointed me in the right direction 
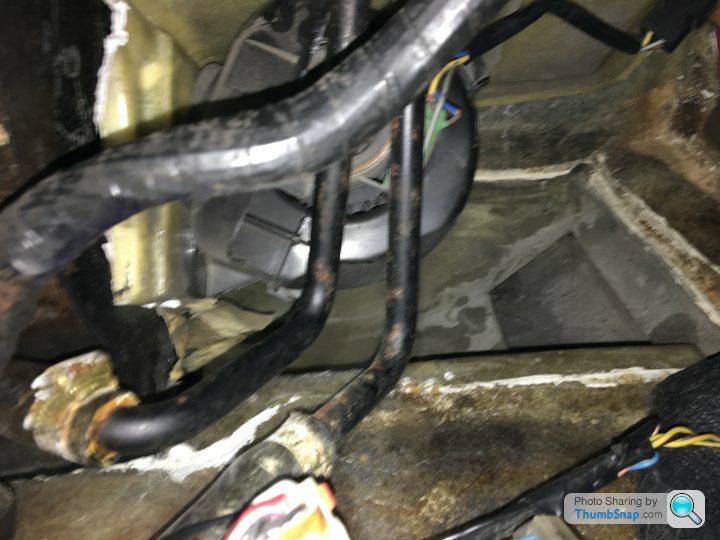
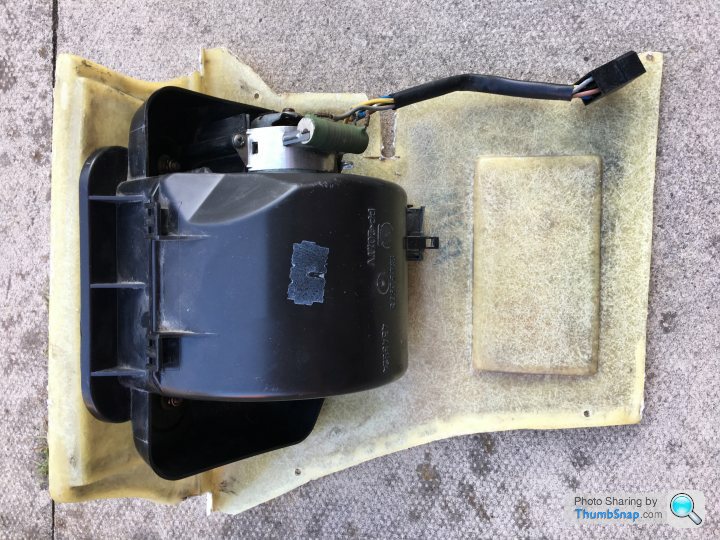
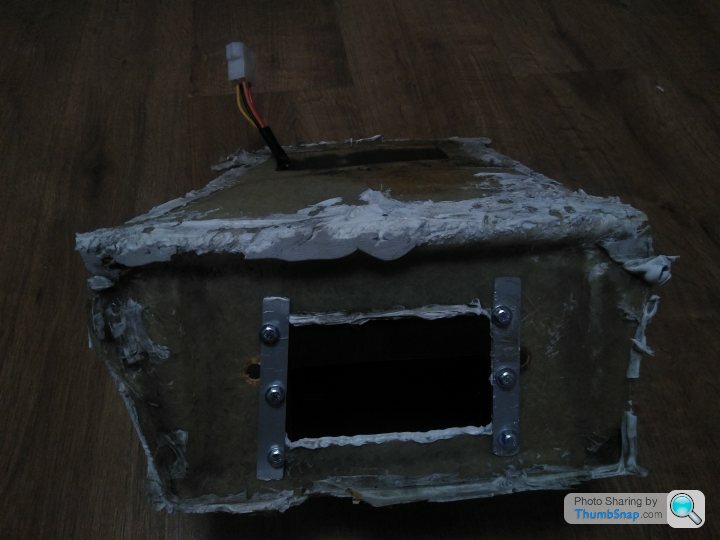
For future readers of this thread here are a couple more photos to help you realise what you're working with..
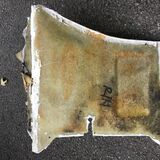
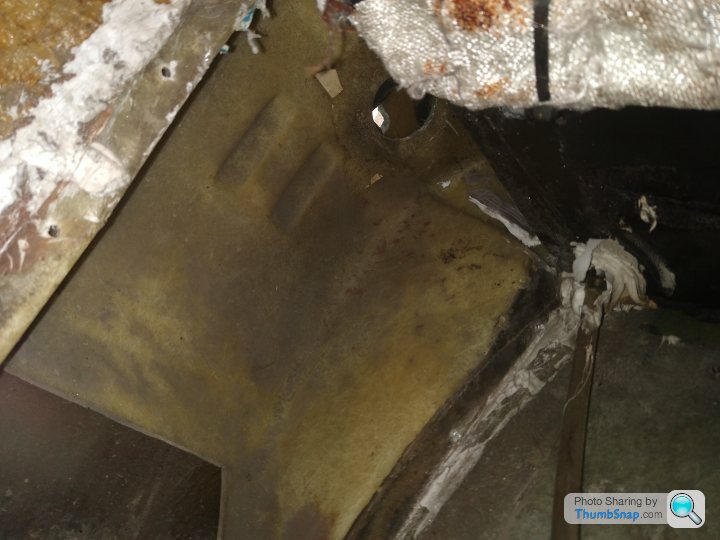
The bit that was defeating me was the top part that was stuck to the inner wing, the bit with the pieces of paper stuck to it in this photo. Looking at it now I would try to find a long flexible piece of metal, sharpen the end and feed it up the inner wing behind the motor to try and break that glue up.
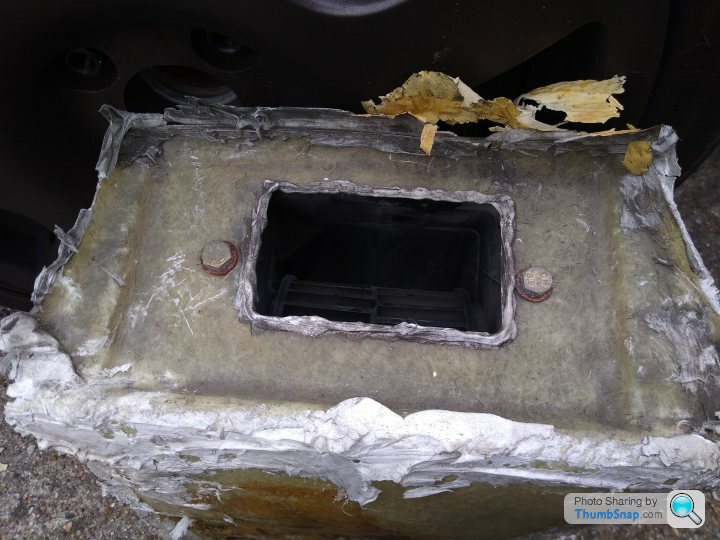
This is the recess that it came out of, that hole to the outside is the side repeater indicator in the wing. It's of no use other than to look at the condition of your heater core, you can't actually access anything from there.
Mines an Aircon car, there's an access hatch under the AFM. Again, turned out to be of no use other than as a source of light.
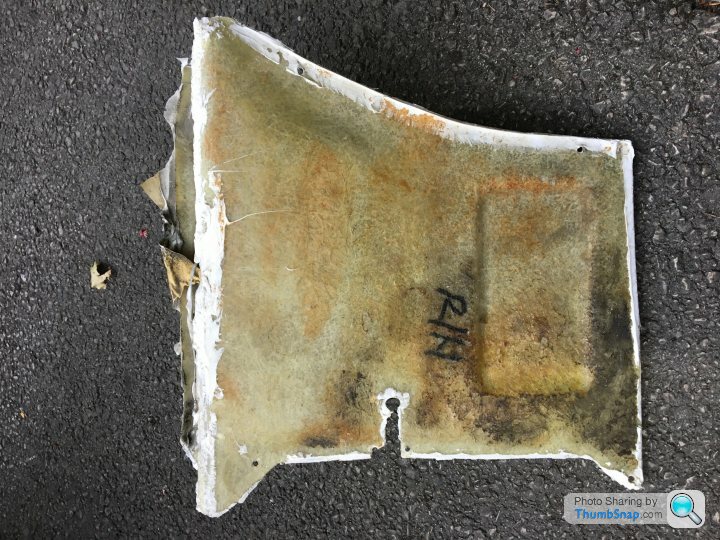
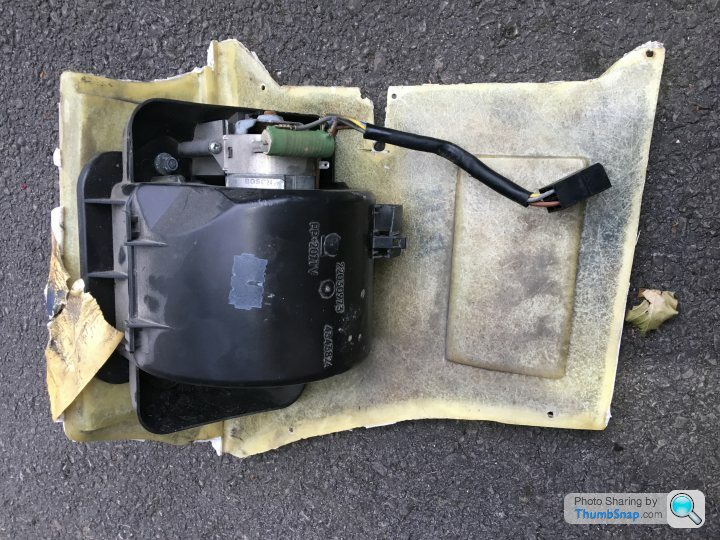
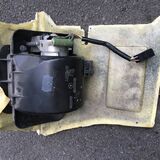
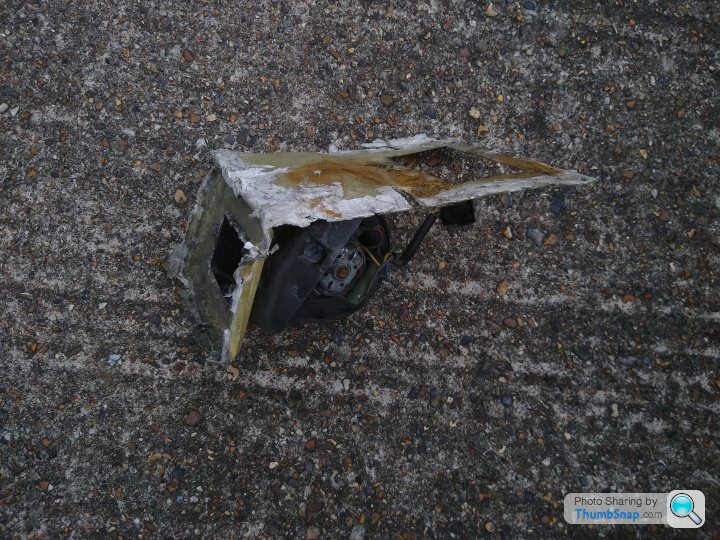
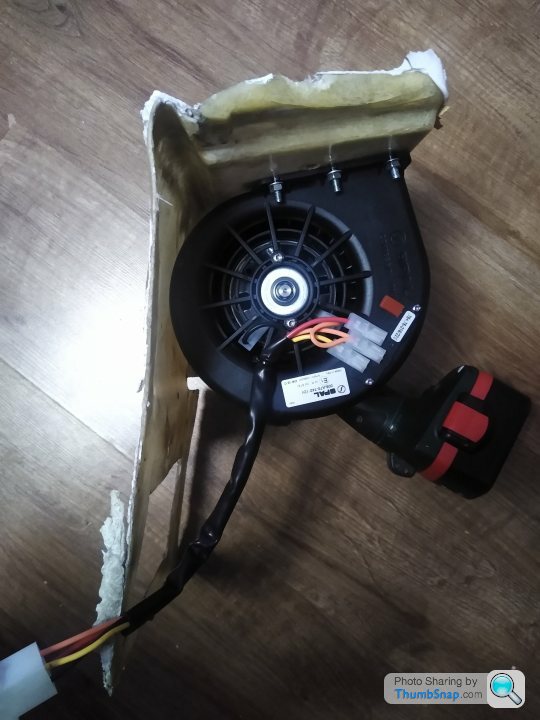
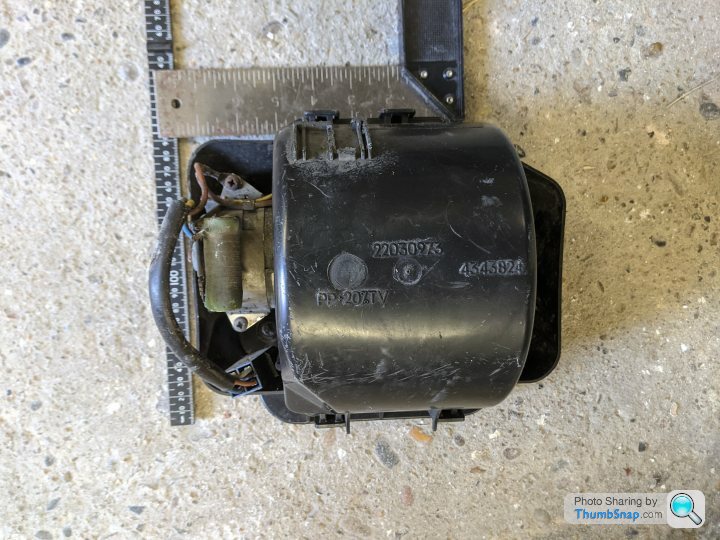
A couple more random photos of the blower motor unit and this is now probably the definitive chimaera heater blower motor thread
I would recommend removing the fuse box (one bolt on the bottom) and cut all of the cable ties for the loom. Leave the heater pipes in place. A large kitchen knife to cut around the front of the box and make sure that you're all the way through, there is a lot of mastic there and a Stanley wasn't doing it. Something long and sharp to feed up the inner wing behind the motor to break the back lot of mastic up. A pair of gloves, you'll end up full on yanking on sharp bits of fiberglass in frustration.
I used a 38 inch fan spanner as a lever bar between the A pillar and the motor and just went for it in the end. Just pulling on the fiberglass constantly had made it start to tear in a few places, if you can get this out with finesse rather than force you're a better man than me.
For future readers of this thread here are a couple more photos to help you realise what you're working with..
The bit that was defeating me was the top part that was stuck to the inner wing, the bit with the pieces of paper stuck to it in this photo. Looking at it now I would try to find a long flexible piece of metal, sharpen the end and feed it up the inner wing behind the motor to try and break that glue up.
This is the recess that it came out of, that hole to the outside is the side repeater indicator in the wing. It's of no use other than to look at the condition of your heater core, you can't actually access anything from there.
Mines an Aircon car, there's an access hatch under the AFM. Again, turned out to be of no use other than as a source of light.
A couple more random photos of the blower motor unit and this is now probably the definitive chimaera heater blower motor thread
I would recommend removing the fuse box (one bolt on the bottom) and cut all of the cable ties for the loom. Leave the heater pipes in place. A large kitchen knife to cut around the front of the box and make sure that you're all the way through, there is a lot of mastic there and a Stanley wasn't doing it. Something long and sharp to feed up the inner wing behind the motor to break the back lot of mastic up. A pair of gloves, you'll end up full on yanking on sharp bits of fiberglass in frustration.
I used a 38 inch fan spanner as a lever bar between the A pillar and the motor and just went for it in the end. Just pulling on the fiberglass constantly had made it start to tear in a few places, if you can get this out with finesse rather than force you're a better man than me.
I changed the brake booster and master cylinder on mine last year. Whilst that took longer this job has been 10x more frustrating and I haven't even refitted it yet.
The part number on the case comes back as an Opel Corsa A, which is a Nova to us normal people. Can't find one anywhere and wouldn't fit a 2nd hand one anyway. The motor is a Bosch and comes back as a Discovery 1 part, but there's no OE ones only copies available.
TVR Parts sell the motor, but the way that they've taken the photo makes me think that it's also not OE and is £90 all in. Racetech sell an entire Tuscan unit that they say fits with 'minor modification', is more powerful and looks smaller in size for £120 all in.
I've opted for the Racetech one, I figured that if there's one thing that could be improved on its the size of the unit. I'll update this thread when it gets here.

As usual life gets in the way and today was the first time that I found myself with a few hours to spare. Hats off to Racetech, the blower arrived on next day delivery and is exactly as they say, a more powerful replacement with a little modifying.
The modifying includes swapping the earth wire with a power one on the connector plug, a two second job with a little screwdriver, and drilling six holes. I used 8mm bolts, loctite and some £4 bar from B&Q for reinforcement. The output hole from the new motor is smaller than the original and doesn't line up 100% so that could probably do with some fettling but I'm short on time so I'm just keeping with TVR tolerances for the moment.
It's much smaller than the original so should be a lot easier to fit back into the hole, I'm just planning on using screws to secure it rather than rivets. Felt much more powerful than the original when I gave it a test in the footwell but I don't know how down on power the original one was.

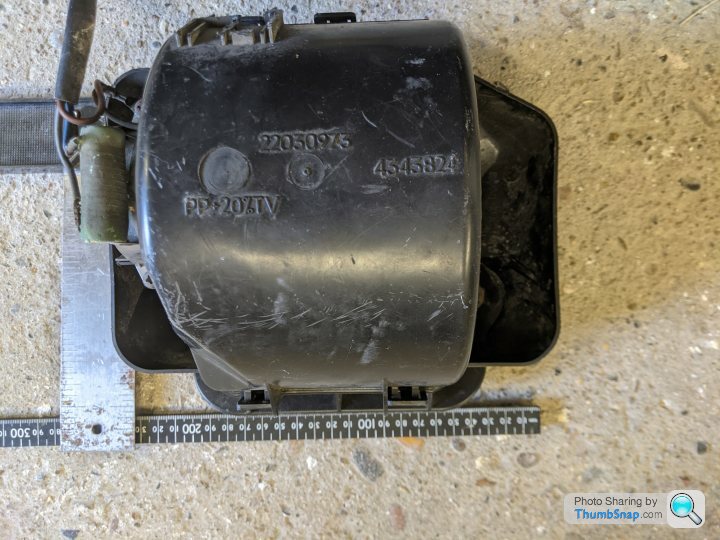
Has anyone split the housings on these as the motors are still available. I see from the pics above there are small lugs. Here's the EAN number 4059191803118, and specific vehicle numbers 90120385 / 90034828 / 90227051 / 18 08 062 / 90 227 051 / 18 08 063 it will show a variety of manufacturers.
Thie fibreglass surround is proving particularly challenging to remove compared to the one I did 20 years ago, so if I'm still not having luck tomorrow, I may resort to some brute force. Just concerned if I bugger the fan housing in the process, I'll have to go for an alternative unit.
Thie fibreglass surround is proving particularly challenging to remove compared to the one I did 20 years ago, so if I'm still not having luck tomorrow, I may resort to some brute force. Just concerned if I bugger the fan housing in the process, I'll have to go for an alternative unit.
Edited by v8sag on Thursday 6th February 12:11
Edited by v8sag on Thursday 6th February 12:21
Gassing Station | Chimaera | Top of Page | What's New | My Stuff