Dunster House Log Cabin Build
Discussion


There a plenty of videos on this topic, but I thought I'd post a written build experience. The cabin I have bought is this slightly ludicrously named one: https://dunsterhouse.co.uk/log-cabins/log-cabin-ga...
Ordering and delivery were easy. I paid my money and 3 weeks later I ended up with about 3 cubic meters of wood on the driveway.
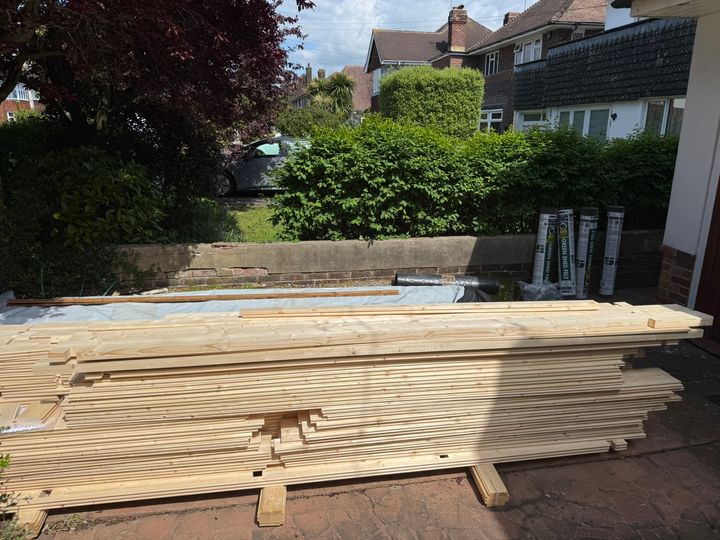
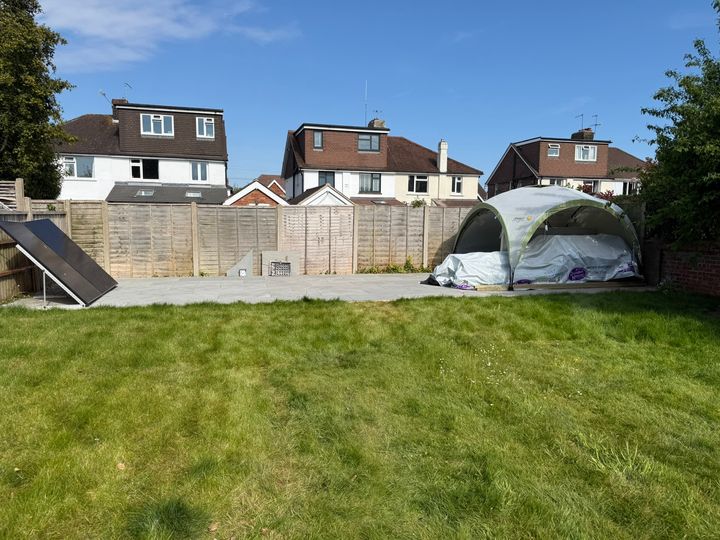
The first job was to move it all to the work site which is a patio at the foot of my garden. Just moving and restacking everything took me half a day. But it did give me the opportunity to check the inventory and stack it in the order I would need the parts. All the screws and fixings come with the kit.
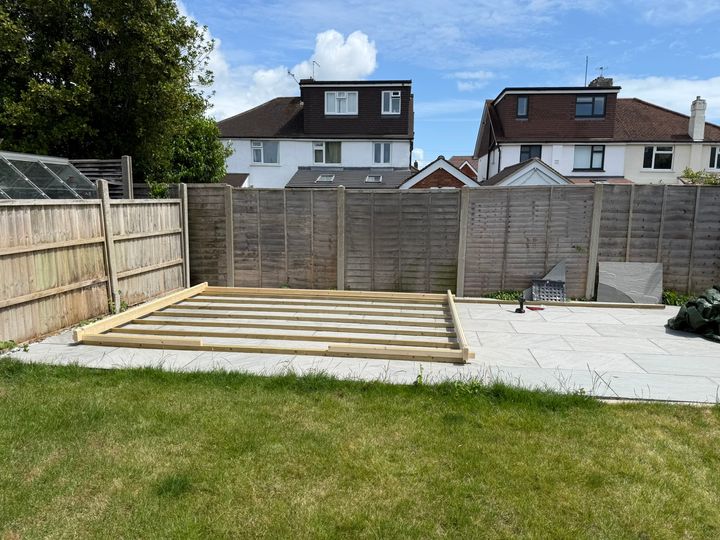
Session 1 took a couple of hours and was spent laying out the bearers, which are the pressure treated bits of wood that the cabin will rest on. On top of these you screw the bottom logs and it's really important to make sure everything is square and level at this point. As well as making sure both diagonals were the same distance apart I used a set square to check the corners too.
Tools used:
Cordless drill/driver with an extra long (160mm x3mm) drill bit.
Set square and spirit level
Tape measure and pencil
Session 2 was a full day's work spent stacking the logs of the main cabin.
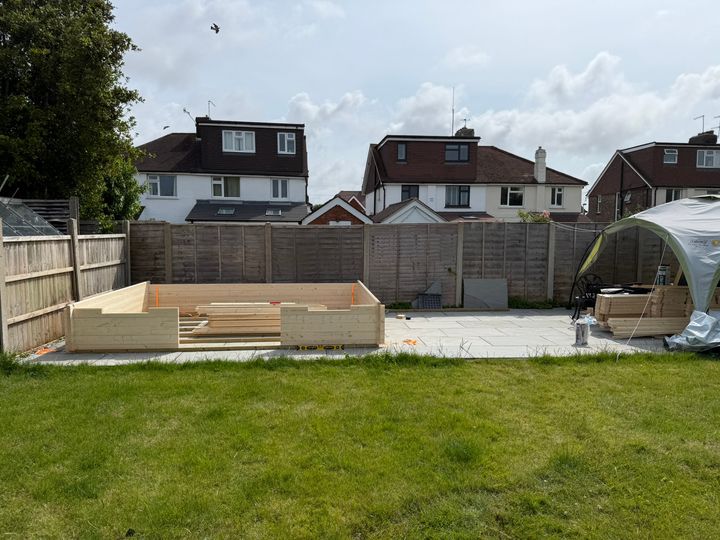
One of the difficulties was keeping the logs straight and level when they have developed a bit of a bow. The logs are kiln dried spruce, and had been left out under cover for a month so had absorbed some water but not too bad. My solution to this problem was the orange rachet straps you can see in some of the photos. This stopped seesawing of the logs as you hammer them into place with a rubber mallet and an offcut block of log. Also if the bow is horizontal you can bash the logs sideways under the tension of the straps which allows them to drop into place.
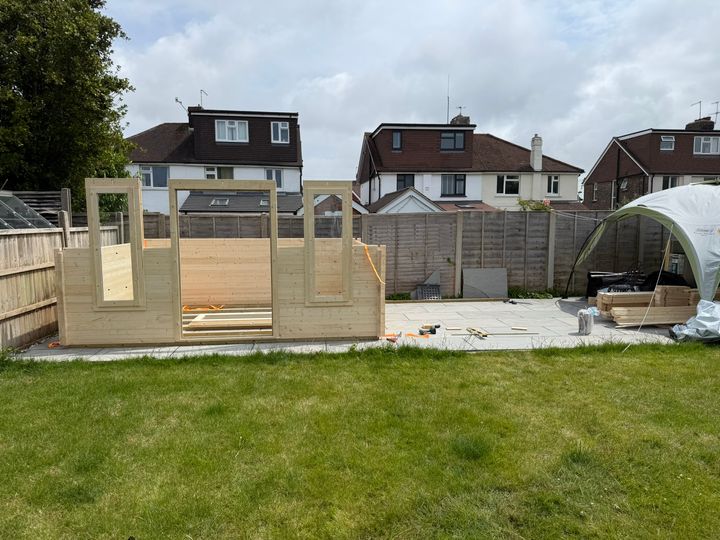
About a third of the way up you assemble the door frame and fit that and the windows.
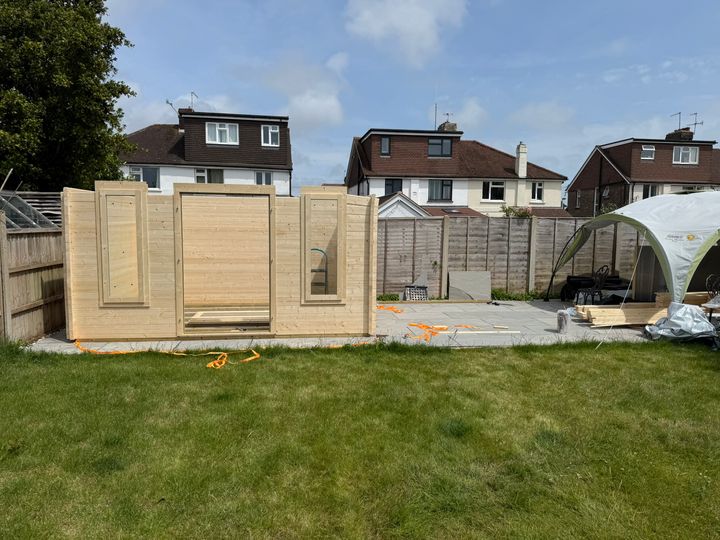
As I neared the top, the logs at the top right had developed a distinct lean outwards. I could push them in easily enough but knew it would be an issue when I needed to tie it all together with the first full width log above the door and window frames which were about 2" out.
Rachet straps again to the rescue, this time with 3 of them in series around the outside circumference of the cabin. With them holding the outer walls vertical it was then just a matter of aligning the door and window frames till it all could be teased into place with the mallet and block.
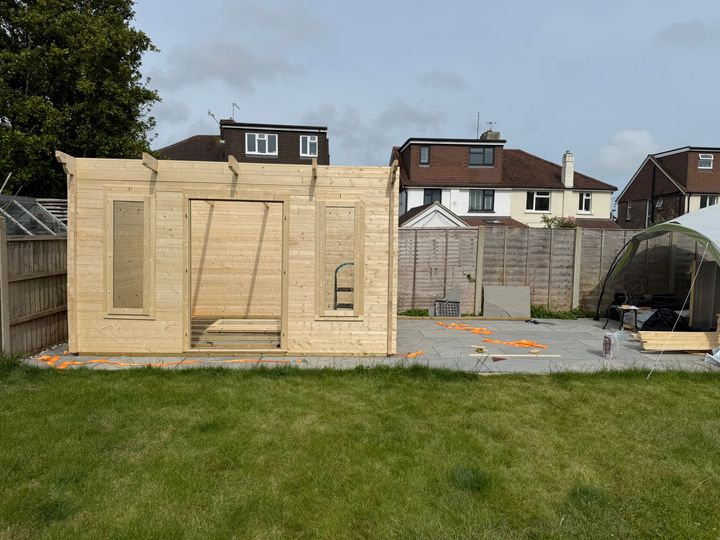
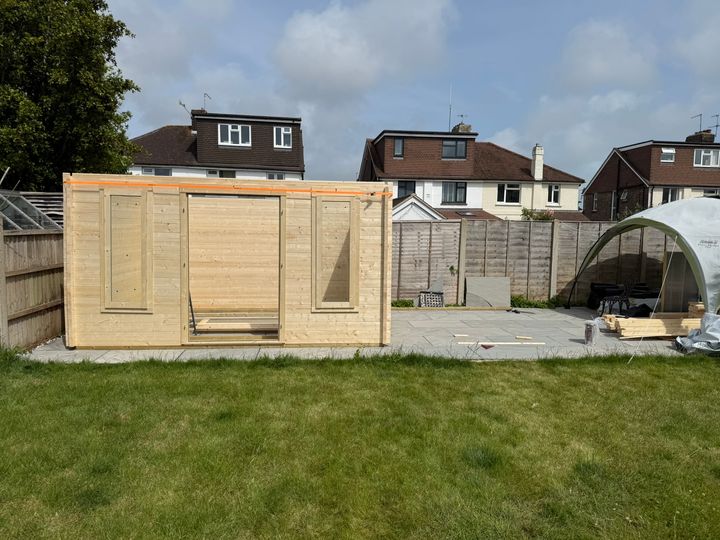
At the end of Session 2 the main cabin walls were up and the purlins (roof beams) were installed and screwed into place. I left a rachet strap in place holding each corner together to encourage it to settle.
Tools used:
Set square and spirit level
Rubber Mallet
8x 5m endless rachet straps
Cordless drill/driver with an extra long (160mm x3mm) drill bit
Step ladder
That's it so far. Next steps are the gazebo extension walls and pillars, then it's the roof and floor.
Ordering and delivery were easy. I paid my money and 3 weeks later I ended up with about 3 cubic meters of wood on the driveway.
The first job was to move it all to the work site which is a patio at the foot of my garden. Just moving and restacking everything took me half a day. But it did give me the opportunity to check the inventory and stack it in the order I would need the parts. All the screws and fixings come with the kit.
Session 1 took a couple of hours and was spent laying out the bearers, which are the pressure treated bits of wood that the cabin will rest on. On top of these you screw the bottom logs and it's really important to make sure everything is square and level at this point. As well as making sure both diagonals were the same distance apart I used a set square to check the corners too.
Tools used:
Cordless drill/driver with an extra long (160mm x3mm) drill bit.
Set square and spirit level
Tape measure and pencil
Session 2 was a full day's work spent stacking the logs of the main cabin.
One of the difficulties was keeping the logs straight and level when they have developed a bit of a bow. The logs are kiln dried spruce, and had been left out under cover for a month so had absorbed some water but not too bad. My solution to this problem was the orange rachet straps you can see in some of the photos. This stopped seesawing of the logs as you hammer them into place with a rubber mallet and an offcut block of log. Also if the bow is horizontal you can bash the logs sideways under the tension of the straps which allows them to drop into place.
About a third of the way up you assemble the door frame and fit that and the windows.
As I neared the top, the logs at the top right had developed a distinct lean outwards. I could push them in easily enough but knew it would be an issue when I needed to tie it all together with the first full width log above the door and window frames which were about 2" out.
Rachet straps again to the rescue, this time with 3 of them in series around the outside circumference of the cabin. With them holding the outer walls vertical it was then just a matter of aligning the door and window frames till it all could be teased into place with the mallet and block.
At the end of Session 2 the main cabin walls were up and the purlins (roof beams) were installed and screwed into place. I left a rachet strap in place holding each corner together to encourage it to settle.
Tools used:
Set square and spirit level
Rubber Mallet
8x 5m endless rachet straps
Cordless drill/driver with an extra long (160mm x3mm) drill bit
Step ladder
That's it so far. Next steps are the gazebo extension walls and pillars, then it's the roof and floor.
Murph7355 said:
I have one in a pile of parts in my drive 
Will be much slower progress than yours (already has been)...base bearers are laid. Decided to put rodent proof mesh on the bottom, and an putting insultation into the floor (and ultimately on the roof).
Watching with interest
Long time no see! I also have the floor insulation which looks like a pain to fit. Now the untreated timber is out in the open it's a race to get it finished, treated and painted.Will be much slower progress than yours (already has been)...base bearers are laid. Decided to put rodent proof mesh on the bottom, and an putting insultation into the floor (and ultimately on the roof).
Watching with interest
Gassing Station | Homes, Gardens and DIY | Top of Page | What's New | My Stuff