
Plastered in wall plug removal
Author
Discussion

Alpha1

Original Poster:

1,122 posts

218 months

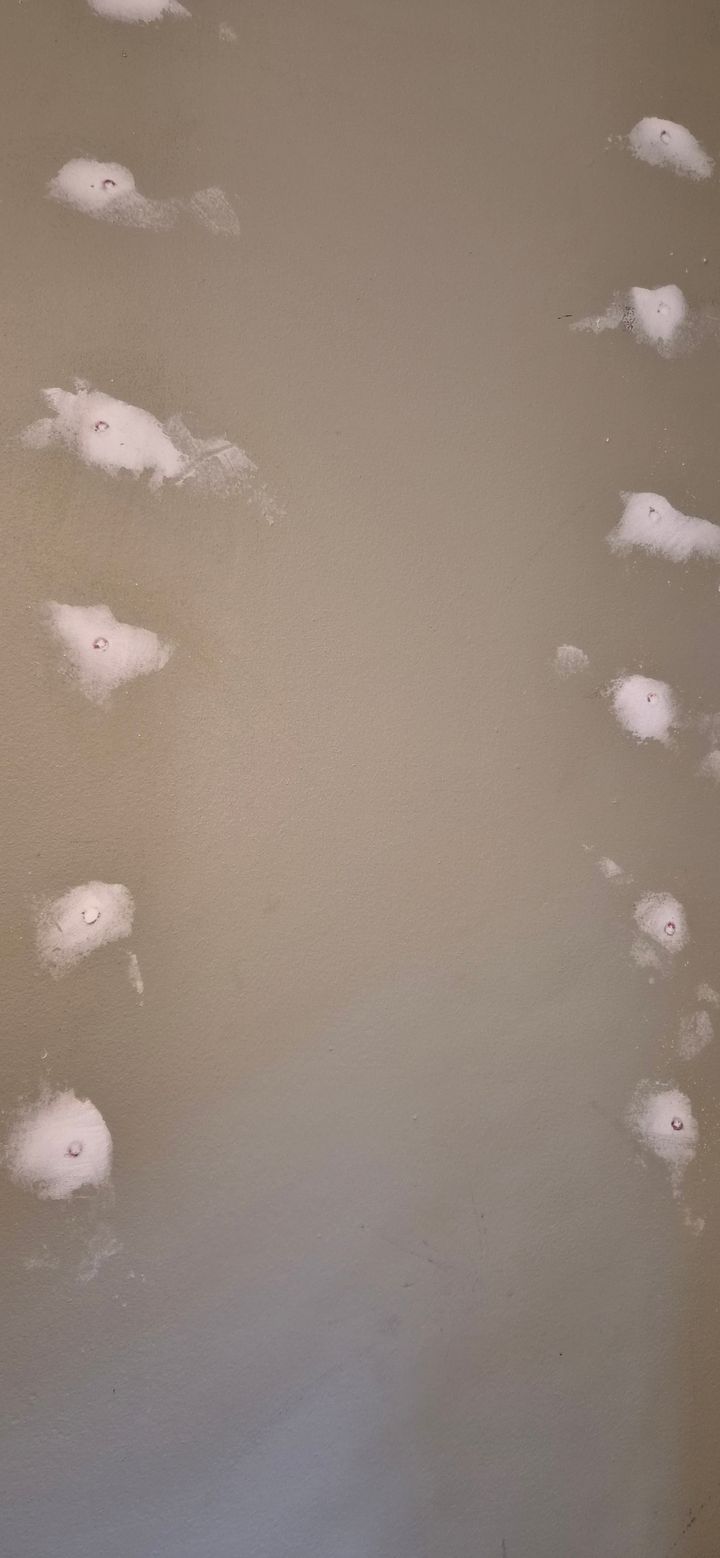
Lucky me, moved into a new (to me) house and the previous owner has plastered over every wall plug in the house. Not trimmed down and plastered, just straight filler over the top. Some have been sanded down, some not. Either way its not good enough tl be painted over.

How would PH recommend removing them? The walls are plasterboard. Drill them out? Picture below for reference. There's 50 in the study alone....


.:ian:.

3,106 posts

233 months

If theres just an air gap behind, tap them all the way in laugh


shtu

4,524 posts

176 months

My approach is,

Drive a suitably-large screw in a bit, maybe half an inch tops.
Lever them out with a claw hammer or small pry bar.

Most plugs are really easy to remove if you don't drive the screw in far enough to open the plug's wedge.

LennyM1984

1,130 posts

98 months

Buy a countersink bit and just counter sink them into the wall

silentbrown

10,888 posts

146 months

Either a pair of very fine nose pliers to grab them and pull them out, or a suitable size screwdriver/punch to push them all the way through the plasterboard?

OutInTheShed

14,561 posts

56 months

I've pulled loads out with long nose pliers.
Others I've drilled out.

ARH

2,079 posts

269 months

.:ian:. said:
If theres just an air gap behind, tap them all the way in laugh
Exactly a suitable sized punch and knock them into the cavity, will do less damage than trying to pull them out.

_Hoppers

1,693 posts

95 months

These sometimes work OK for removing wallplugs. Either this or tap them in further and filler over.


RGG

1,110 posts

47 months

Can't resist a suggestion

1) 1st choice - a wood drill bit - same diameter - plug will come straight out - no damage to surrounding area

2) put a screw in and use claw hammer to lever out - use a block of wood against surrounding area to distribute force

Griffith4ever

6,945 posts

65 months

Philips screwdriver, hammer.

Tap them all in a few more mm, re-fill, sand.