
Grumman F4F-4 Wildcat, Arma Hobby, 1:72
Discussion


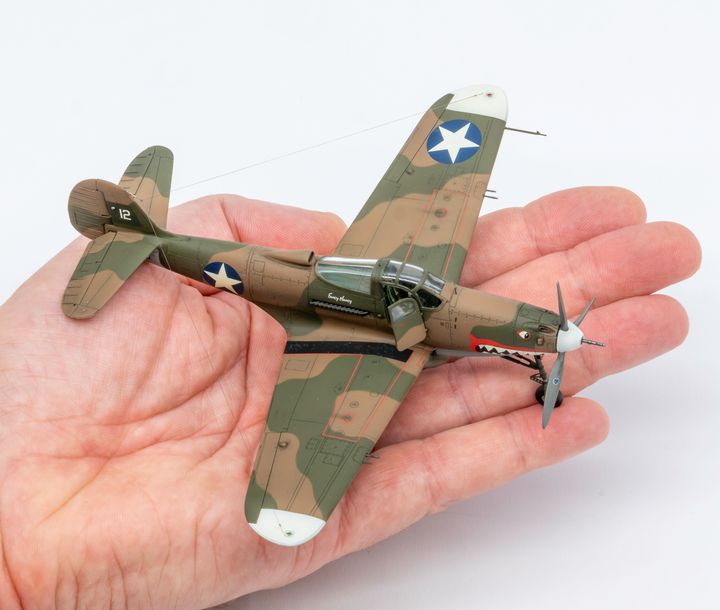
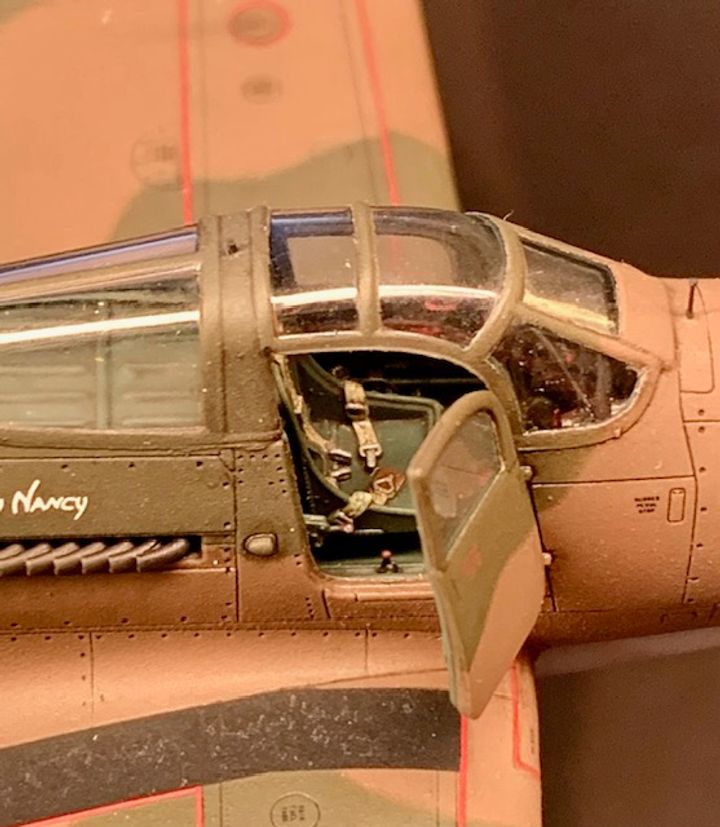
So I completed one half of this kit last week - the P400 Airacobra - over on the PH 2024 Christmas Group Build thread (yes it really took me almost 2 years to finish):
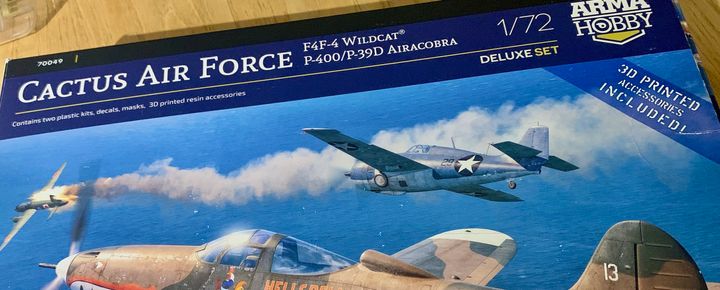
So now on to the second model, the Wildcat:
I bought the Eduard cockpit and flaps set to add to the 3D printed parts included in the kit. First job was to remove everything from the sprues:
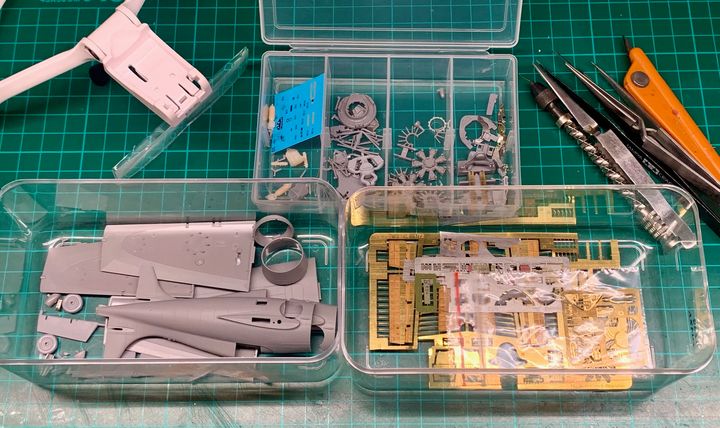
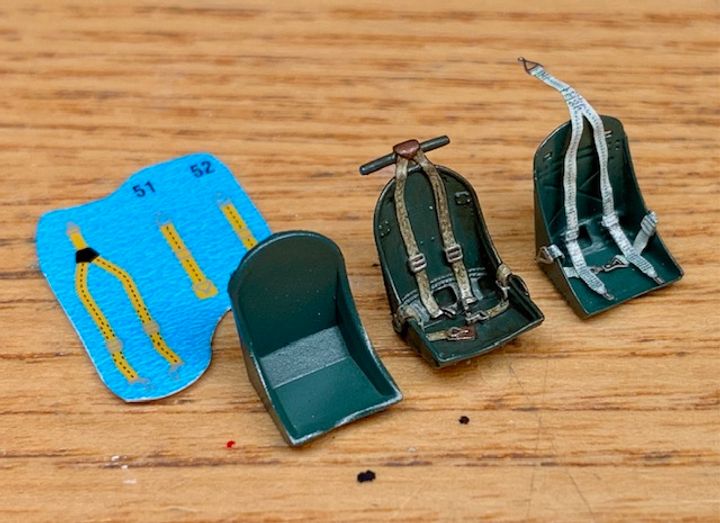
...and make a start on deciding which of the detailing options I've ended up with to use. The pre-painted photo-etch is fine as long as you can match the interior green paint. If not, it's a waste of time. Likewise removing moulded-in detail and replacing it with 2D photo-etch seems silly. I'm using a combination of media for this one, but using almost all the 3D printed parts since they are fantastically good:
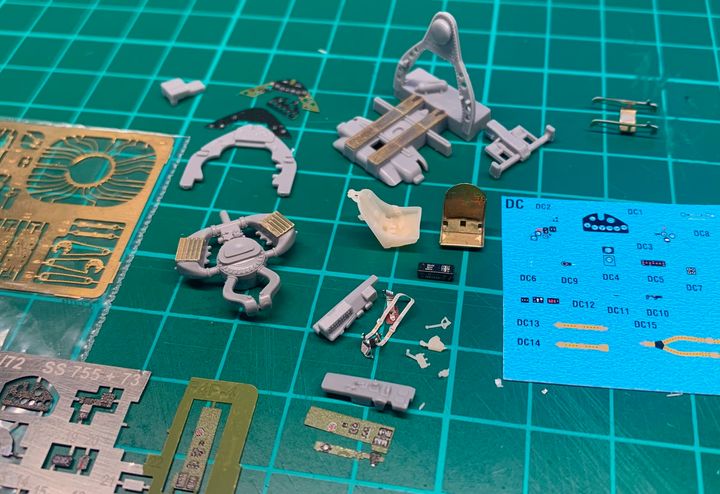
I used the printed seat on the Airacobra (middle one below), because once painted and installed it was effectively as good as a photo-etch version with separate belts:
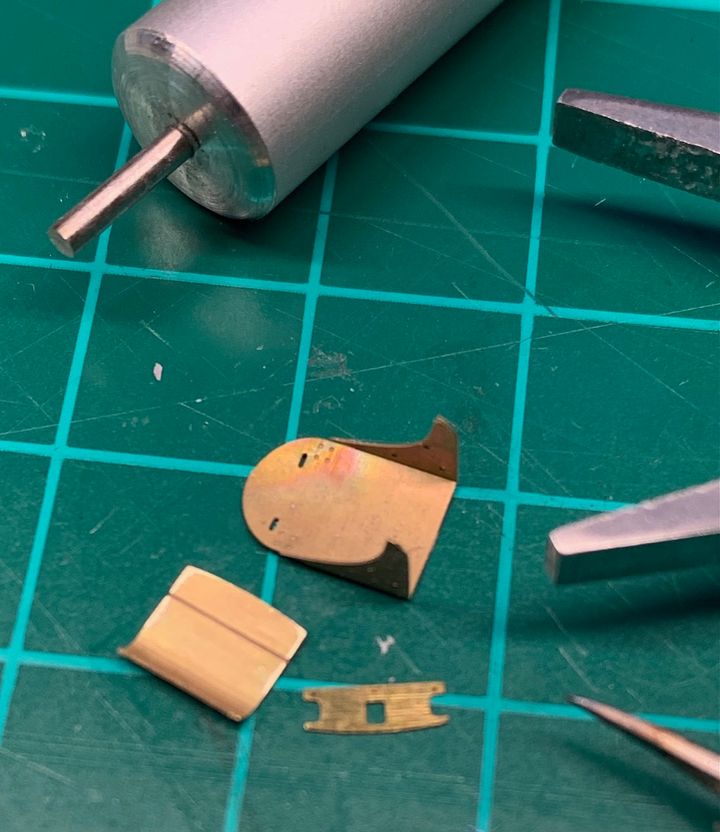
However, with the Wildcat, the belts hook over a separate rail on the rear bulkhead, so separate belts are required, hence using the brass version:
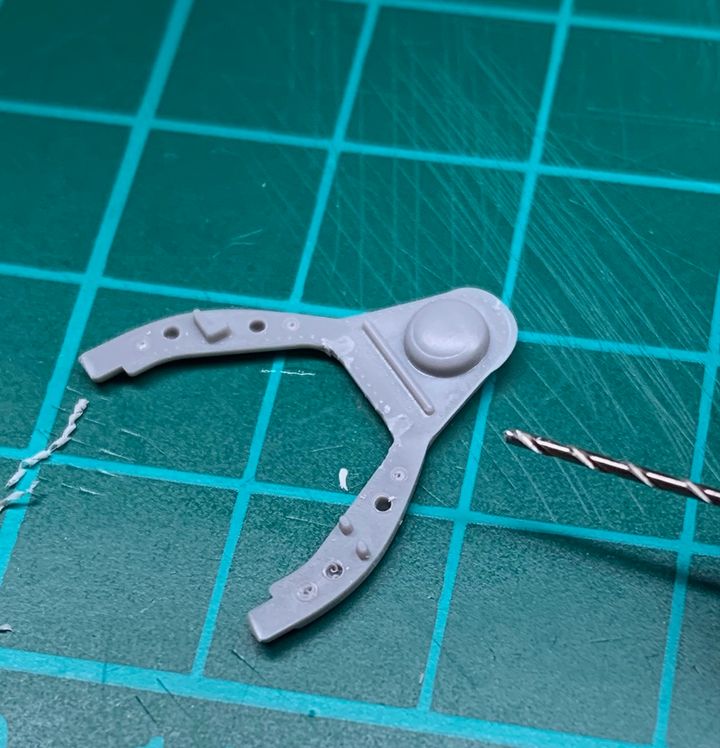
I drilled-out some holes on the bulkhead itself, which is correct according to some references I've seen:
One area that the printed parts are lacking are the u/c actuation chains and sprockets. They look great, but don't fit. I ordered some Arma Hobby photo-etch for another version of their Wildcat, which includes chains in brass. I'd not realised that the Eduard set also contained them...
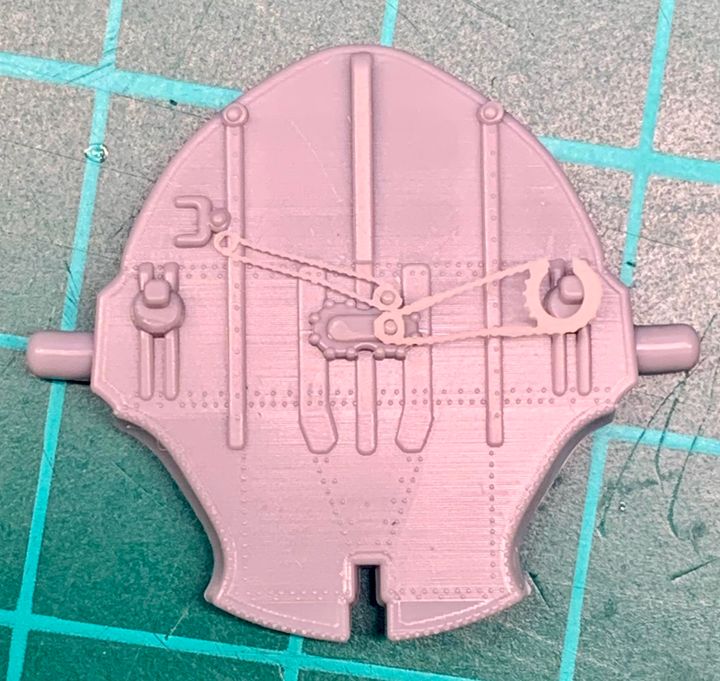
This kit really highlights how brilliant kits are these days. With 3D printing and photo-etch, combined with state-of-the-art injection-moulding techniques, a 1:72 model can easily match or even exceed the fidelity of a 1:24 kit with all the available aftermarket stuff from only a few years ago. I knew from the first time I experimented with self-designed resin prints back in 2013 that they would be a game-changer.
So now on to the second model, the Wildcat:
I bought the Eduard cockpit and flaps set to add to the 3D printed parts included in the kit. First job was to remove everything from the sprues:
...and make a start on deciding which of the detailing options I've ended up with to use. The pre-painted photo-etch is fine as long as you can match the interior green paint. If not, it's a waste of time. Likewise removing moulded-in detail and replacing it with 2D photo-etch seems silly. I'm using a combination of media for this one, but using almost all the 3D printed parts since they are fantastically good:
I used the printed seat on the Airacobra (middle one below), because once painted and installed it was effectively as good as a photo-etch version with separate belts:
However, with the Wildcat, the belts hook over a separate rail on the rear bulkhead, so separate belts are required, hence using the brass version:
I drilled-out some holes on the bulkhead itself, which is correct according to some references I've seen:
One area that the printed parts are lacking are the u/c actuation chains and sprockets. They look great, but don't fit. I ordered some Arma Hobby photo-etch for another version of their Wildcat, which includes chains in brass. I'd not realised that the Eduard set also contained them...
This kit really highlights how brilliant kits are these days. With 3D printing and photo-etch, combined with state-of-the-art injection-moulding techniques, a 1:72 model can easily match or even exceed the fidelity of a 1:24 kit with all the available aftermarket stuff from only a few years ago. I knew from the first time I experimented with self-designed resin prints back in 2013 that they would be a game-changer.
Gassing Station | Scale Models | Top of Page | What's New | My Stuff