How Are My Mergery Blendery Skills
Discussion


Nothing I shoot ever comes out simple.
The lack of dynamic range from a digital camera is still a nuisance, so I have been trying to brush up on my PS skills.
I assume you can do similar in other image manipulating software too?
Just want to inspire a few more to have a go at some post processing, so here's how I'm getting on with PS. I'm not very far advanced yet, so if I can do this anyone can......
Anyway: Exhibit A:
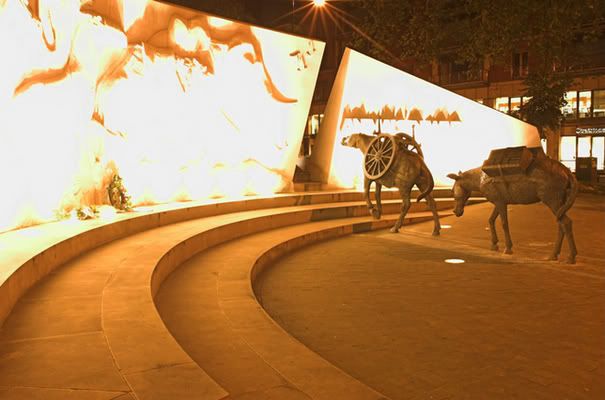
Yuck!
Exhibit B:
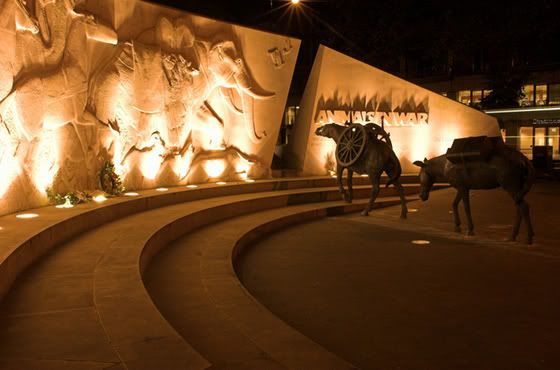
Double Yuck
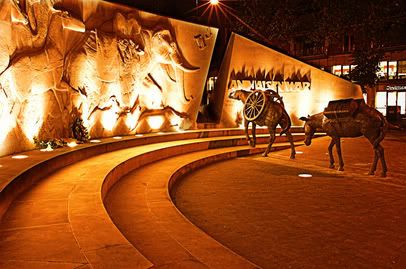
And a little bit of magic:
How's it coming on?
Oh and, the different sizes? All were uploaded to Photobucket at 700 pixels - so this just proves what other people have been finding about its random ability to chew your shots up!
The lack of dynamic range from a digital camera is still a nuisance, so I have been trying to brush up on my PS skills.
I assume you can do similar in other image manipulating software too?
Just want to inspire a few more to have a go at some post processing, so here's how I'm getting on with PS. I'm not very far advanced yet, so if I can do this anyone can......
Anyway: Exhibit A:
Yuck!
Exhibit B:
Double Yuck
And a little bit of magic:
How's it coming on?
Oh and, the different sizes? All were uploaded to Photobucket at 700 pixels - so this just proves what other people have been finding about its random ability to chew your shots up!

fergusd said:
Go on then . . . brief description of how you do it ?
Never had time to play with this kinda thing . . .
Well, I don't know how Beano500 did it, but this High Dynamic Range (HDR) stuff is something I'm currently playing around with. I use the exposure bracketing on the camera (mounted on a tripod) to take 3 snaps in quick succession thus capturing a 'light' and a 'dark' image in addition to the 'middle'/'correct' one. About 2 stops either way, but you're probably best going full manual and using histograms on each shot. I'm just lazy like that!

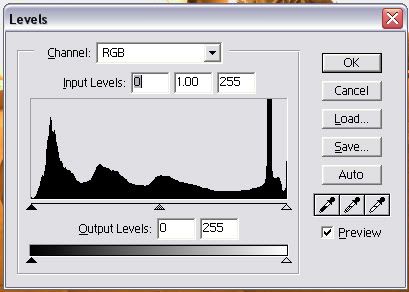
In photoshop, load the dark photo as a layer over the top of the light photo. Use the light photo as a mask over the dark photo and gaussian blur that mask at 40 (the actual amount depends on the size of the shot and your eye). I then use auto-contrast (or another of the auto ones, or you can use levels, highlights/shadows etc.) to fully stretch the dynamic range.
Using the light image as a mask over the dark image means that the dark parts of the light image are preserved and the light parts of the dark image are shown thus allowing maximum detail.
The HDR function in PS is pretty hard to use - well, I haven't worked it out. I get better results with the above method.
You can continue to improve your results by capturing more photos at different exposures and having lots of layers piled on top of each other with tweaked masks etc...
Ben
_dobbo_ said:
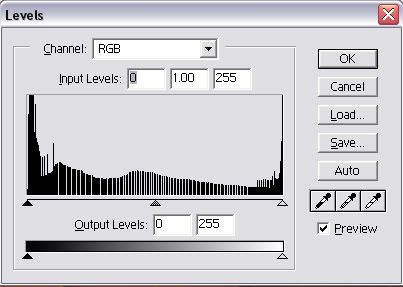
Here's an example of how i struggled this weekend - this is the best i could come up with where the sky wasn't completely blown out
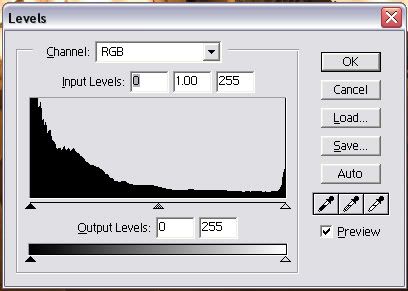
here's a sort of similar one that i managed to just about get away with, and i had slightly more sun. took a few attempts with the histogram on my 20D to get a balance though...

Gassing Station | Photography & Video | Top of Page | What's New | My Stuff