
Ouch ... outrigger shot .. some guidance please
Discussion


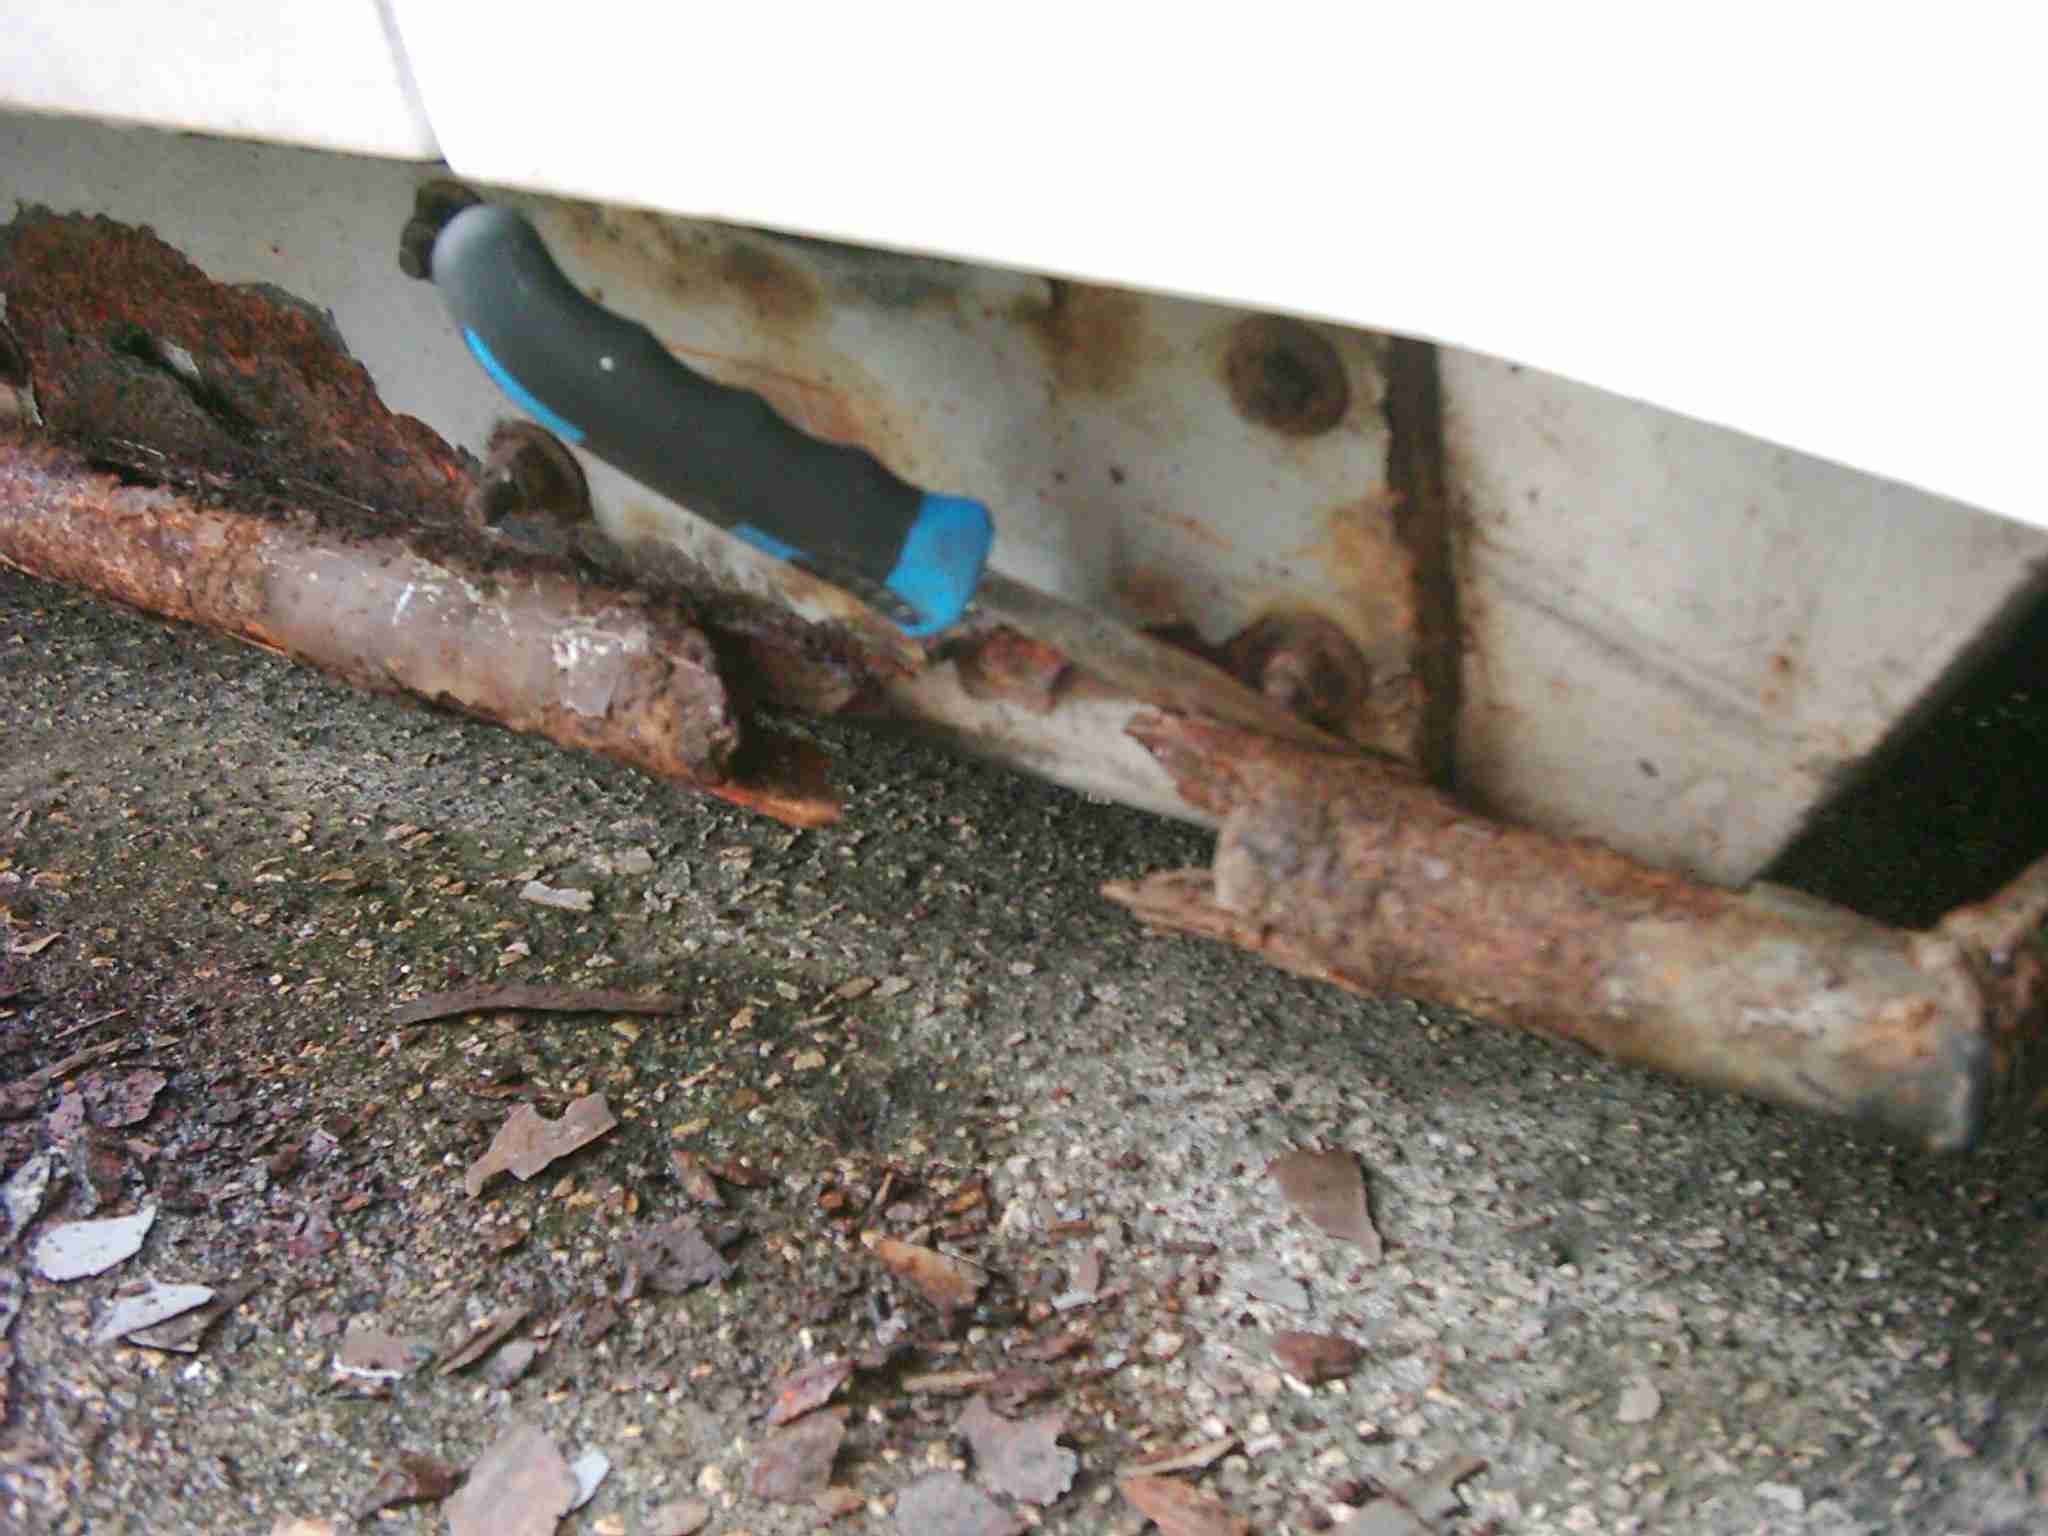
Well .. just when I thought the car was sorted, I decided to check the front pads and at the same time, poke my nose along ths front o/s outrigger. Wish I hadn't  (though, from a safety persepctive, glad I did). It was on my list to clean/paint next winter ... but it's more urgent than I expected

Hard to imagine how the car passed it's MOT last summer !!!
Here's the back end (probably OK with some TLC) :

And the centre :

And then the problem :

As I'm fairly new to Wedges and no expert when it comes to welding, can I at least assume it's a problem which can be 'easily' (ie. not too expensive) solved ?
Is it possible to get the chassis/body plate or is that something I'll need to get made ?
I assume the front-back length of the outrigger (tube) is important ? .... but as mine has broken completely, how can I now reference the overall length ?
Apart from supporting the body, what other function(s) does the outrigger perform ?
Any 'experts' in the Dorset area who could take a look (for the usual beverages
Nearside to wrestle off tomorrow ... not looking forward to that !
TIA ...
(though, from a safety persepctive, glad I did). It was on my list to clean/paint next winter ... but it's more urgent than I expected Hard to imagine how the car passed it's MOT last summer !!!
Here's the back end (probably OK with some TLC) :
And the centre :
And then the problem :
As I'm fairly new to Wedges and no expert when it comes to welding, can I at least assume it's a problem which can be 'easily' (ie. not too expensive) solved ?
Is it possible to get the chassis/body plate or is that something I'll need to get made ?
I assume the front-back length of the outrigger (tube) is important ? .... but as mine has broken completely, how can I now reference the overall length ?
Apart from supporting the body, what other function(s) does the outrigger perform ?
Any 'experts' in the Dorset area who could take a look (for the usual beverages
Nearside to wrestle off tomorrow ... not looking forward to that !
TIA ...
Don't worry too much - the outrigger mainly gives a bit of strength to the tubes running to it - so you'll find the car seems a more comfortable ride because the tube under your bum flaps around a bit more.
I have seen far worse that those - my first car just had a bunch of rust under the sill covers when I removed them when it was dismantled ;^) At least you have removable sill covers my latest car is an SE and it's body-off to get at this stuff.
It's just a matter of getting some new tube and a couple of plates and welding it up, it won't cost much.

Thanks ... seems easy enough ... if only I'd paid more attention in metalwork class and kept up my welding skills !!
Also, been thinking about how to refix the sill in such a way that it would be easier to remove next time. Mine was held in place with various pop rivets (including where the capitve bolts should have been) and liberal TVR mastic. Need to get my head inside the footwell to get some ideas of what's best. It must be possible to make more of a 'quick-release' system. I wonder what the race-versions use ?
Also, been thinking about how to refix the sill in such a way that it would be easier to remove next time. Mine was held in place with various pop rivets (including where the capitve bolts should have been) and liberal TVR mastic. Need to get my head inside the footwell to get some ideas of what's best. It must be possible to make more of a 'quick-release' system. I wonder what the race-versions use ?
I attached my sil with pop rivets and black silicon sealant, fairly eas to remove with a small drill and a knife blade, may be worth trying some dzus clip things as used for racing panels. hopefully you wont need to take it off again, but dont use hammerite its crap for chassis's, mine needed repaint after six months, now ive got the body off......
Jon
Jon
duncscz said:
Wedg1e said:
Here's one I repaired earlier... 
You don't, by chance, fancy repairing another one ?
Not unless you fancy moving about 250 miles closer You don't, by chance, fancy repairing another one ?

As I recall, materials cost for that white one was about £50... but I had trouble finding 2mm wall tube at the time, despite having a glut of steel mills on the doorstep
 The car belonged to Tony M (Uriel on PH); I think it went to Germany after he sold it. I recall that when it went for its MOT, Tony returned to find the tester had jacked the car up... by the outriggers
Fish-mouthing the ends of the transverse tubes and welding upside down are the challenges here, but it can be done.
Also worth having a fire extinguisher on hand and shield the bodywork from spatter. I never had any problems, and please dont let this scare you off, but its better to be safe - weld spatter can go a long way and if MIGing it you only have to happen upon a small patch of crap for the welder to spit.
Oh and while youre at it its an amazingly good idea to replace the fuel injection hose that runs along the sill. The pressure pipe is copper and that'll do unless its coroded badly or damaged, but I would DEFINITELY replace the return hose. You want Gates multifuel hose, about a fiver a metre and its good for 1MPa (148PSI - a good hundred PSI to spare!).
Edited by ed_crouch on Tuesday 20th April 21:37
Gassing Station | Wedges | Top of Page | What's New | My Stuff