
A splash of color (Picture heavy post)
Discussion


When I got my V8V a couple of years ago, one of my first projects was to replace the finisher panel on the door cards. My interior was spec'd out as Obsidian and Phantom Gray. Honestly, these two colors are so similar, I could barely tell there was a two-tone interior in my car. I was inspired by some of the V12V and DBS interiors which had the door finisher in alcantara, so I brought out my handy sewing machine and made new panels that matched the charcoal alcantara in the headliner.
Recently, there has been a lot of discussions on boring Obsidian Black interiors spec'd out by dealers to be "safe" and someone posted pictures of their beautiful new Morning Frost V12V with black and red interior. I was inspired again!
Not wanting to copy someone else's black and red theme, I decided to go with a navy blue color for the inserts. I also remembered seeing pictures of the DBS Ultimate Edition with the diamond quilting pattern, so I decided to try my hand at that.
Below are some of the pics of my project. Sorry for the crappy iPhone quality - I'll take better ones at a later date.
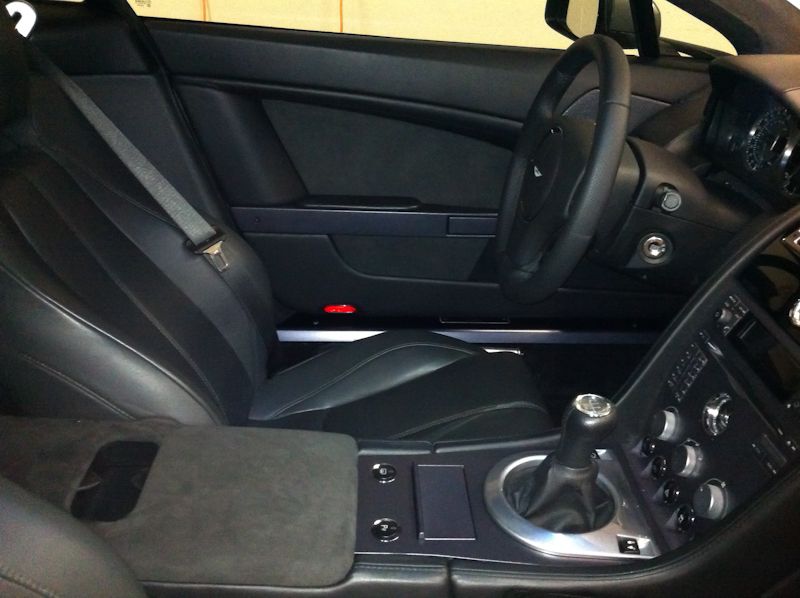
Interior after I covered the original door card finishers and center armrest in charcoal alcantara to match the headliner.
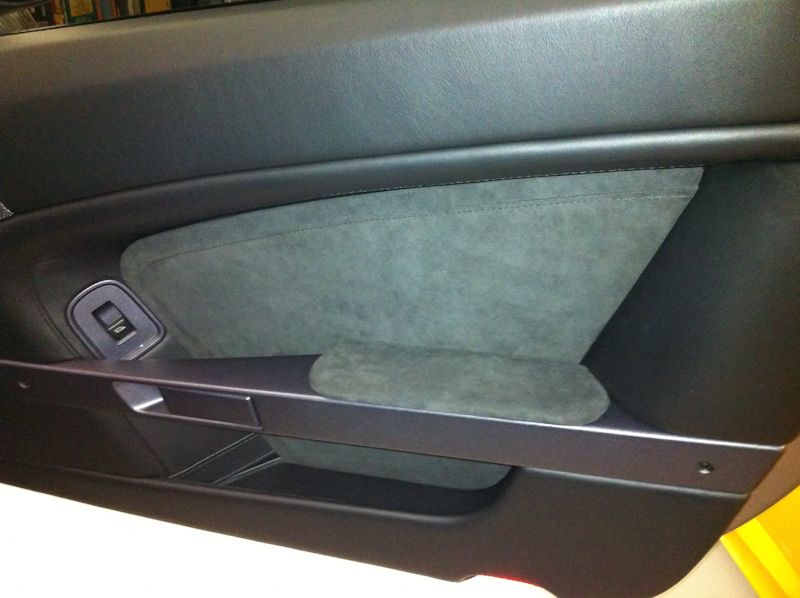
Detail of the door after my initial project a couple of years ago.
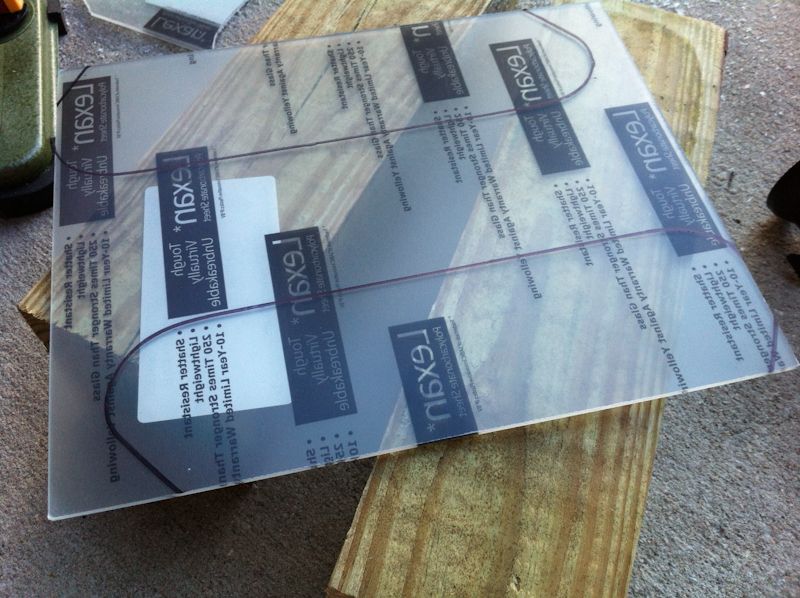
Part of my goal when making mods to my car, was to allow me to revert back to the original spec if I chose. With that in mind, I decided to make new panels for the armrests and finishers out of Lexan. Curiously, the AM parts are also made of a similar transparent polycarbonate material underneath the leather.
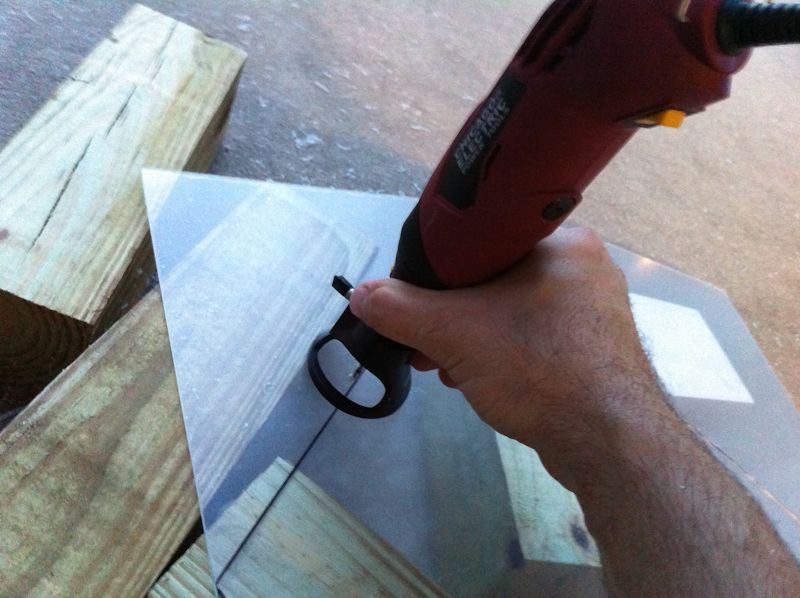
I used a rotary multi-tool with a rotary cutting bit to rough cut the parts. Then sanded the edges smooth with a belt sander.
I sandwiched and glued to sheets of Lexan to build the proper thickness.
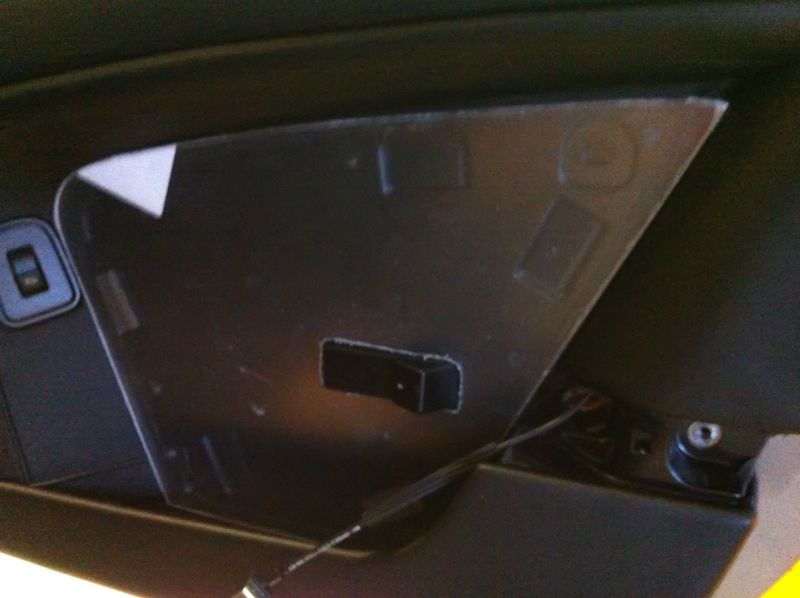
Test fit of the door finisher prior to covering in alcantara.
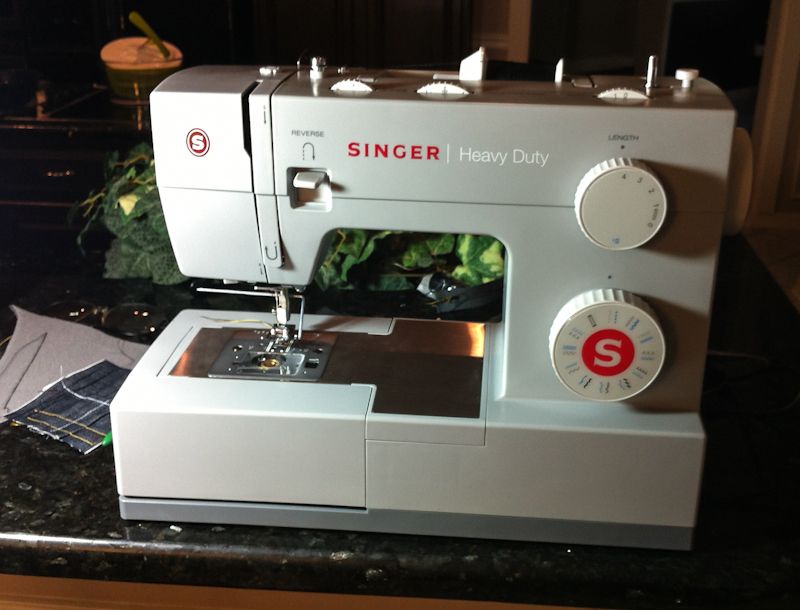
My handy-sewing machine. This little sucker is so strong it will actually sew through light pieces of wood!
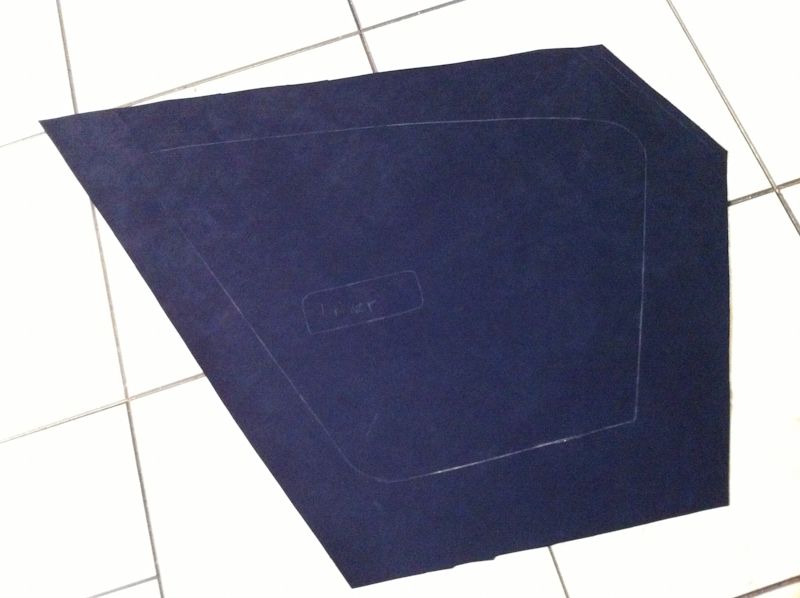
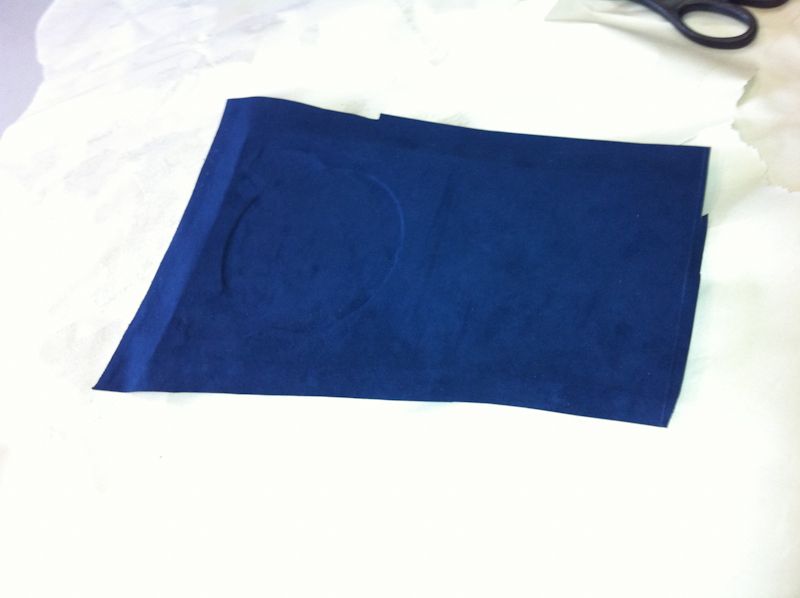
Rough template of the door finisher in navy blue alcantara.
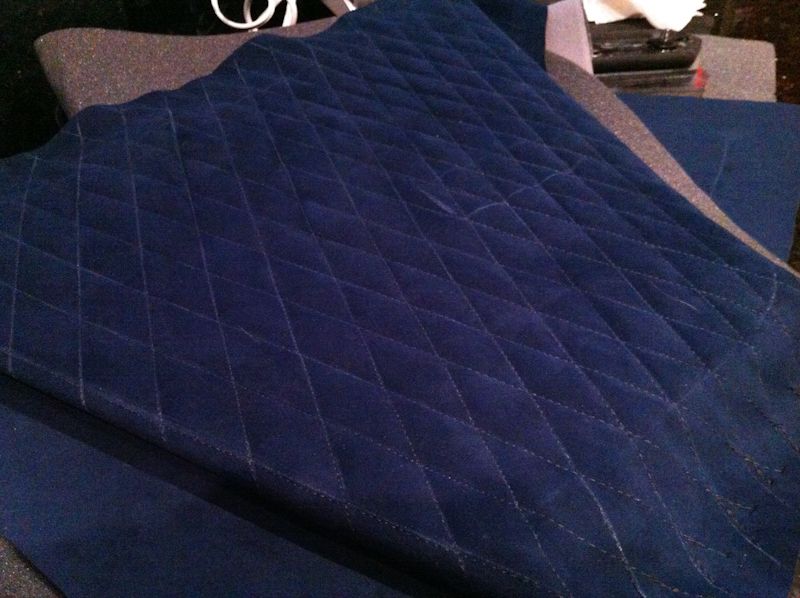
After sewing the diamond quilt pattern (chalk sewing guide lines not removed yet).
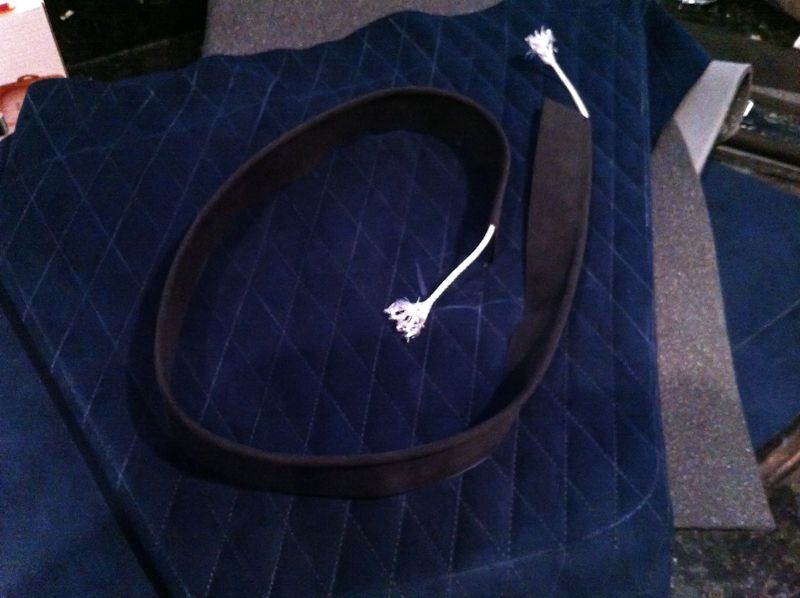
I made some piping for the top and leading edge of the finisher as a design element. I used some spare charcoal alcantara I had left over.
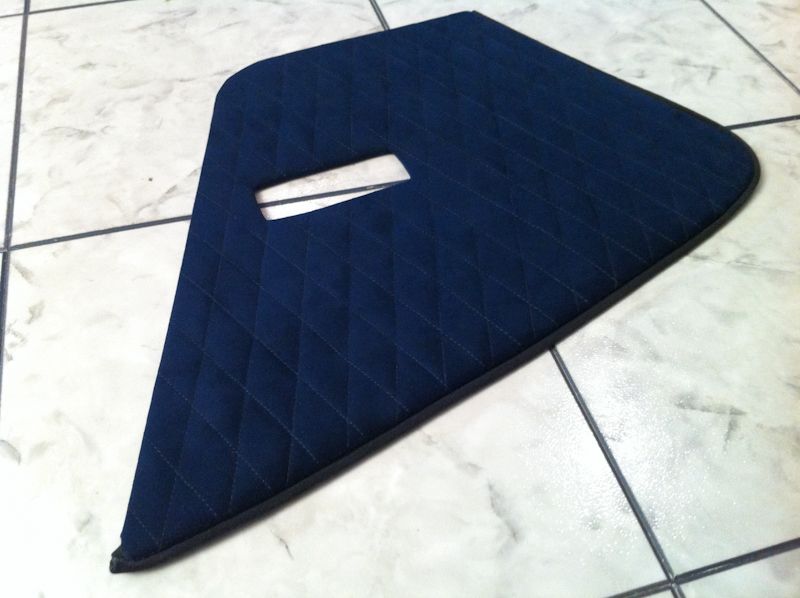
Passenger door finisher completed with quilted panel and piping.
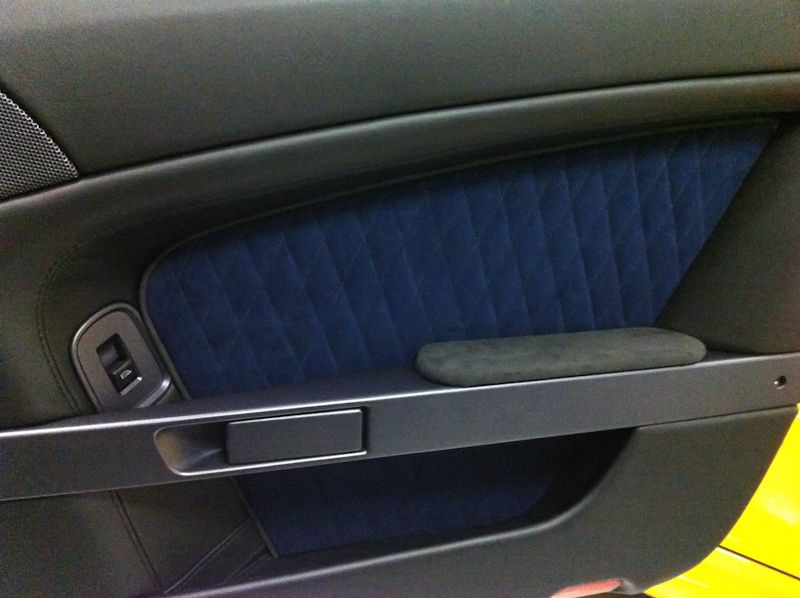
Test fit of the new finisher (old armrest).
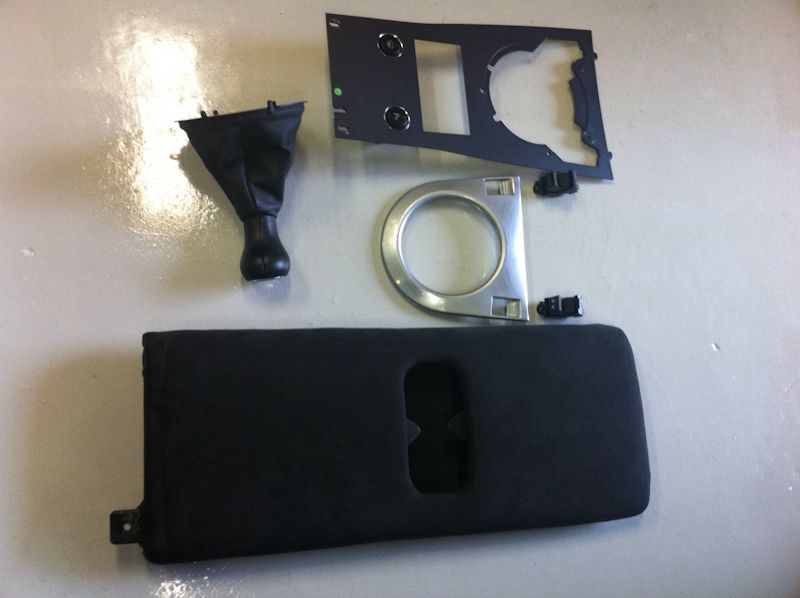
Center console pieces out of car.
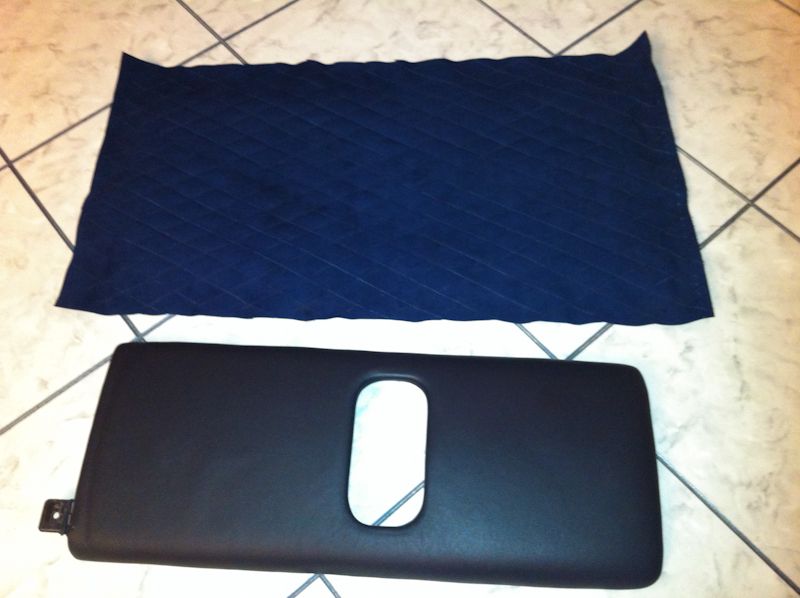
Center armrest and another alcantara piece after quilting.
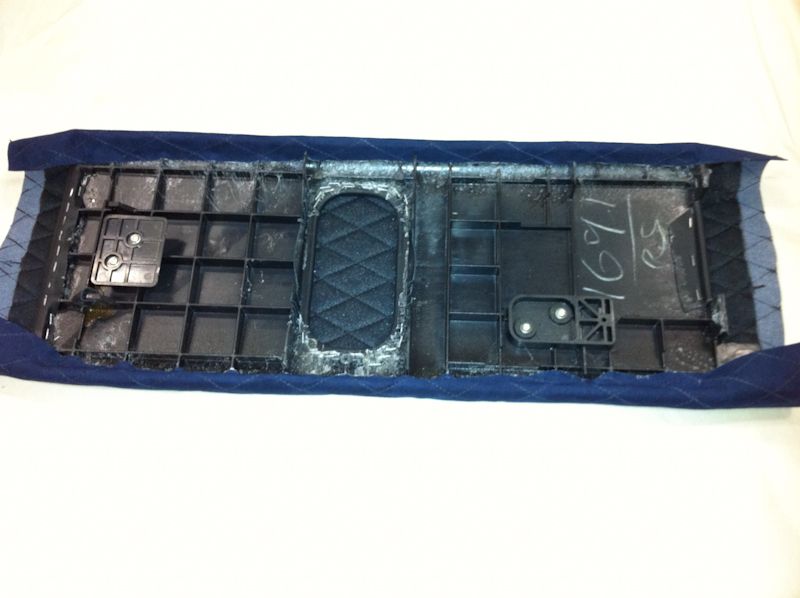
Starting to wrap the armrest.
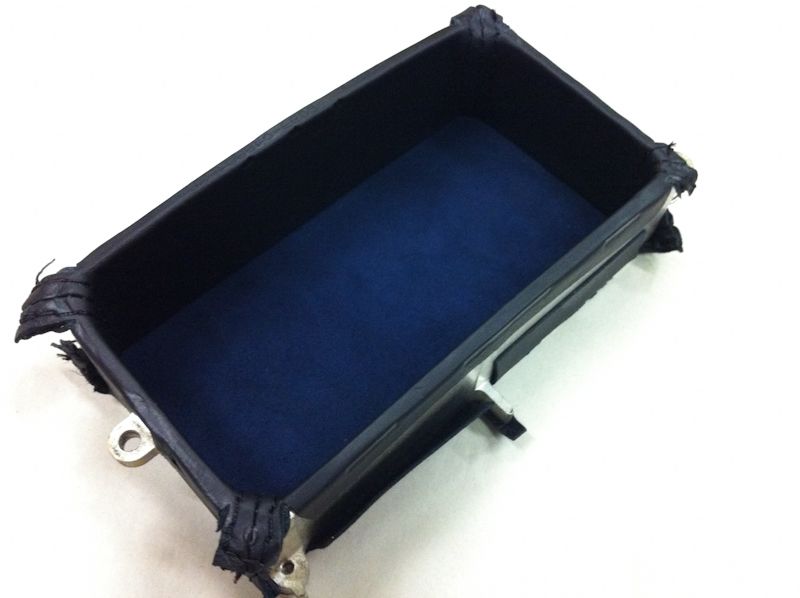
I trimmed the oddments tray in the center armrest to match.
After my last project, I placed the V-1 radar locator concealed display in the ashtray. However, I wasn't too pleased with the results because I needed to keep the ashtray lid open to see the display and then it interfered with my arm while shifting. Since no one will ever smoke in my car, I decided to remove the ashtray completely and just mount the concealed display flush on the center console surface. This way, it was easily viewable while driving, but still not visible from behind the vehicle which was my original goal. Again, drilling into the ashtray lid was not an option as that would violate my principle of being able to revert to the original spec. So, more Lexan was used to build a panel that would sit flush with where the ashtray lid used to be.
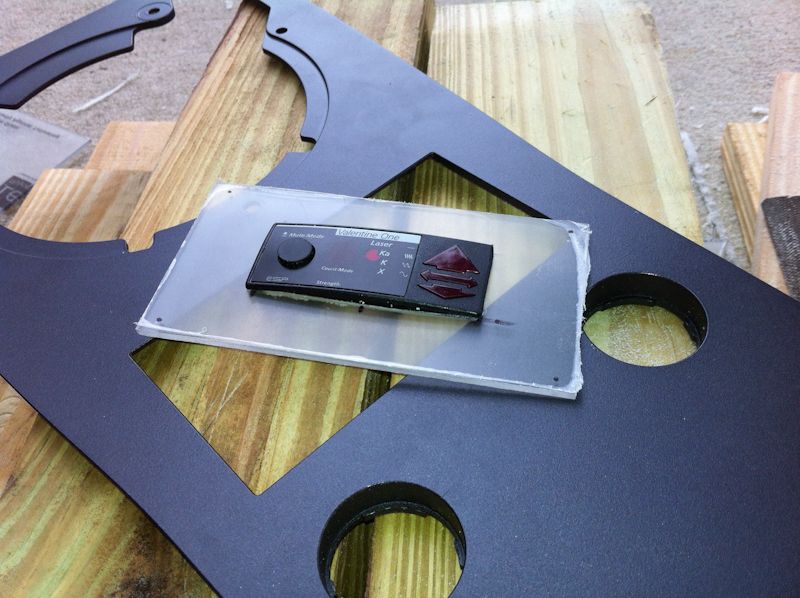
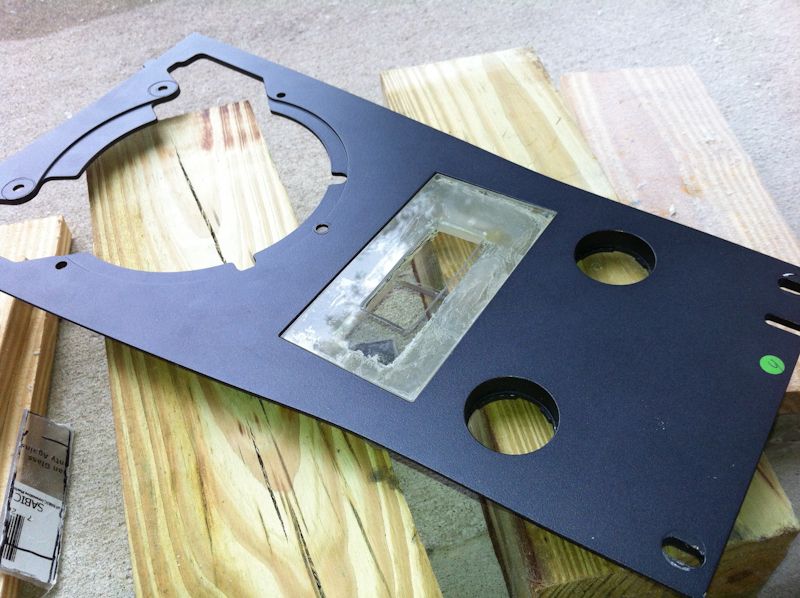
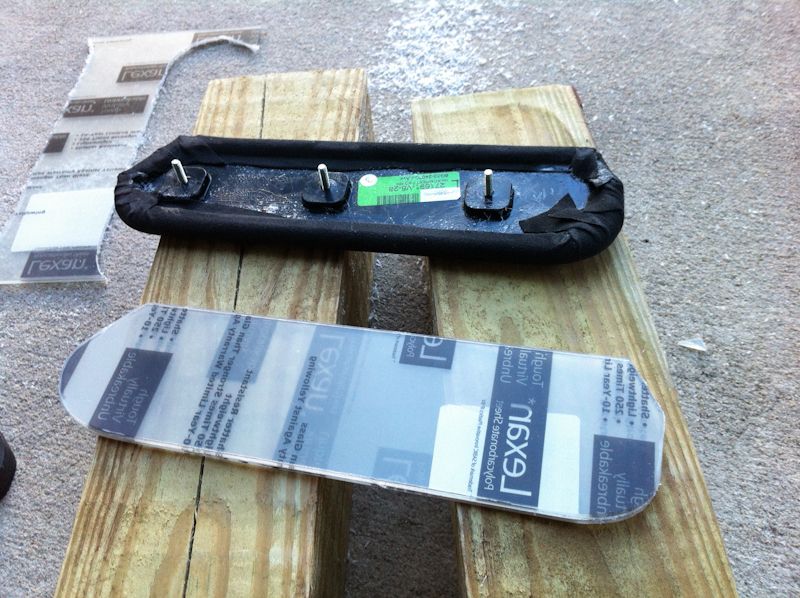
I had to make a backing plate to hold the new panel in place. The cutouts are for the concealed display's power and signal cable.
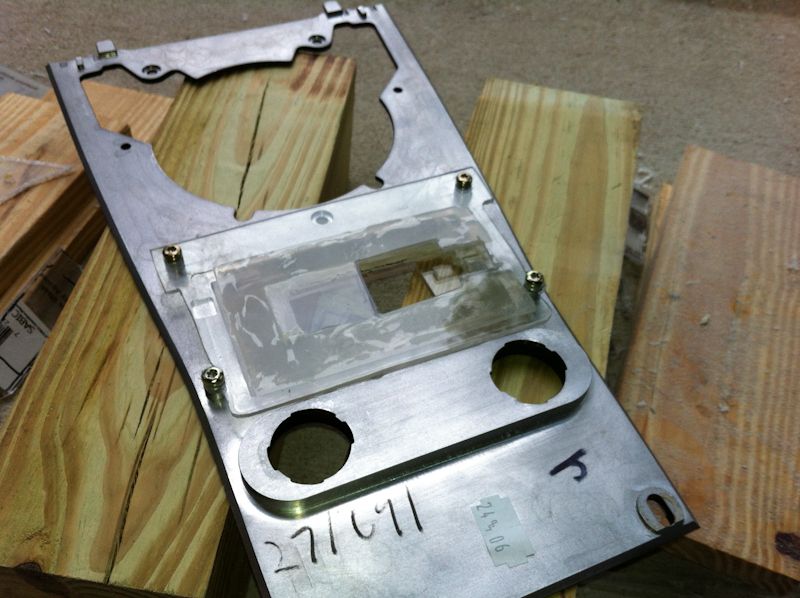
Test fit the display.
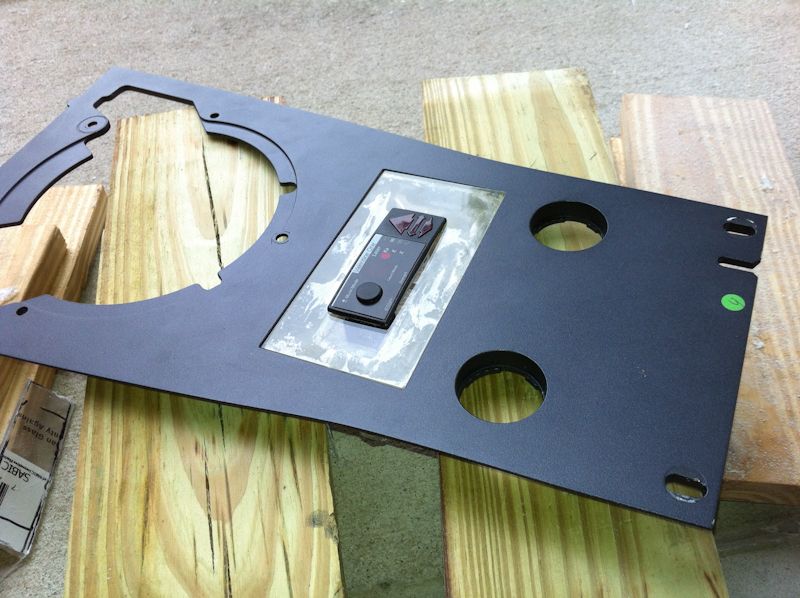
Covering the center panel in alcantara to match
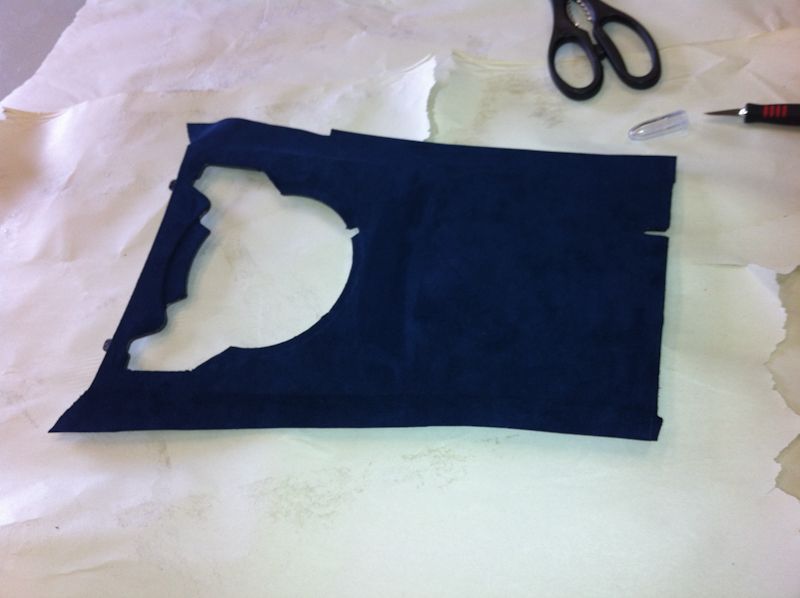
Assembled console ready to put back in car.
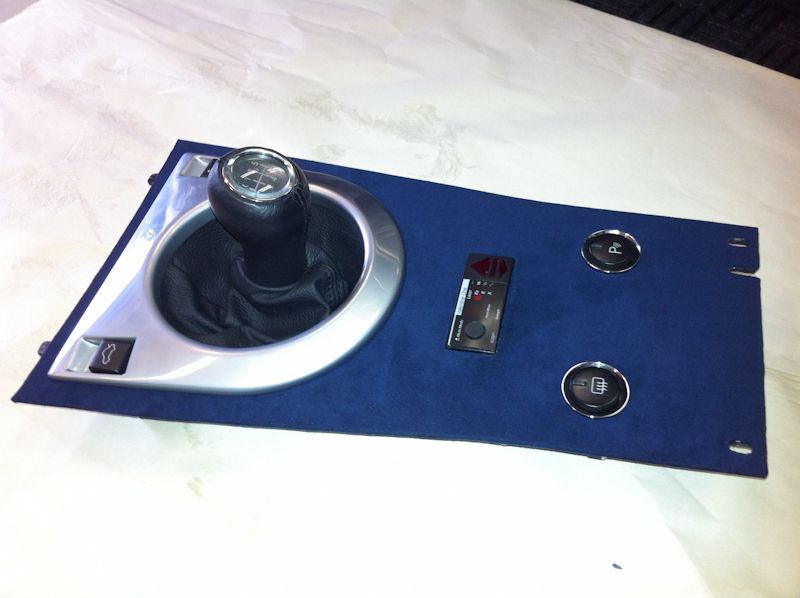
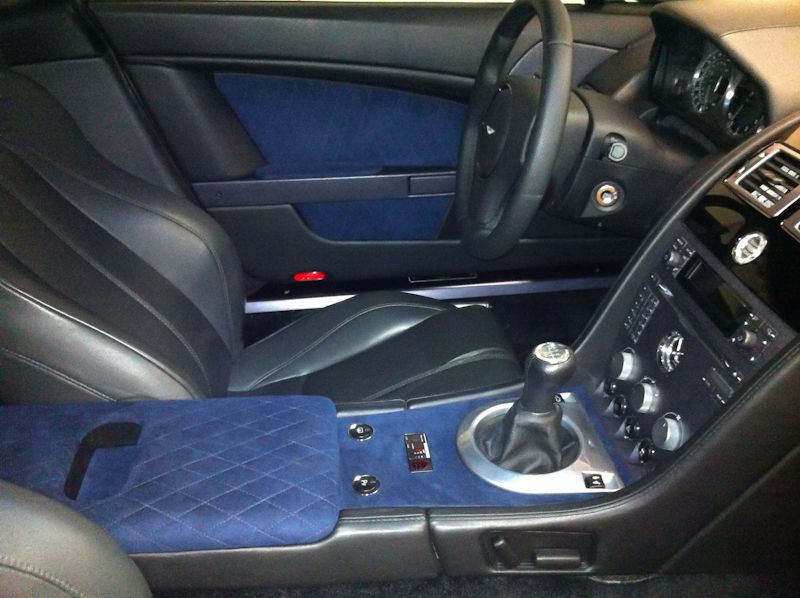
The final result.
Recently, there has been a lot of discussions on boring Obsidian Black interiors spec'd out by dealers to be "safe" and someone posted pictures of their beautiful new Morning Frost V12V with black and red interior. I was inspired again!
Not wanting to copy someone else's black and red theme, I decided to go with a navy blue color for the inserts. I also remembered seeing pictures of the DBS Ultimate Edition with the diamond quilting pattern, so I decided to try my hand at that.
Below are some of the pics of my project. Sorry for the crappy iPhone quality - I'll take better ones at a later date.
Interior after I covered the original door card finishers and center armrest in charcoal alcantara to match the headliner.
Detail of the door after my initial project a couple of years ago.
Part of my goal when making mods to my car, was to allow me to revert back to the original spec if I chose. With that in mind, I decided to make new panels for the armrests and finishers out of Lexan. Curiously, the AM parts are also made of a similar transparent polycarbonate material underneath the leather.
I used a rotary multi-tool with a rotary cutting bit to rough cut the parts. Then sanded the edges smooth with a belt sander.
I sandwiched and glued to sheets of Lexan to build the proper thickness.
Test fit of the door finisher prior to covering in alcantara.
My handy-sewing machine. This little sucker is so strong it will actually sew through light pieces of wood!
Rough template of the door finisher in navy blue alcantara.
After sewing the diamond quilt pattern (chalk sewing guide lines not removed yet).
I made some piping for the top and leading edge of the finisher as a design element. I used some spare charcoal alcantara I had left over.
Passenger door finisher completed with quilted panel and piping.
Test fit of the new finisher (old armrest).
Center console pieces out of car.
Center armrest and another alcantara piece after quilting.
Starting to wrap the armrest.
I trimmed the oddments tray in the center armrest to match.
After my last project, I placed the V-1 radar locator concealed display in the ashtray. However, I wasn't too pleased with the results because I needed to keep the ashtray lid open to see the display and then it interfered with my arm while shifting. Since no one will ever smoke in my car, I decided to remove the ashtray completely and just mount the concealed display flush on the center console surface. This way, it was easily viewable while driving, but still not visible from behind the vehicle which was my original goal. Again, drilling into the ashtray lid was not an option as that would violate my principle of being able to revert to the original spec. So, more Lexan was used to build a panel that would sit flush with where the ashtray lid used to be.
I had to make a backing plate to hold the new panel in place. The cutouts are for the concealed display's power and signal cable.
Test fit the display.
Covering the center panel in alcantara to match
Assembled console ready to put back in car.
The final result.


My first 4 years of employment from the age of 17 to 21 was as an upholsterer/trimmer .....
.....
So I have a very good idea of what goes into re-doing furnishings...... And to do diamond quilting to that standard is not easy, and takes a fair bit of time
So well done, looks like a cracking job
.....So I have a very good idea of what goes into re-doing furnishings...... And to do diamond quilting to that standard is not easy, and takes a fair bit of time
So well done, looks like a cracking job


NixP said:
Very impressive, I like that fact that you covered the centre console , as i did think when i got my car this would of looked better if it was covered in leather rather then it being plastic,
Thanx. Just FYI, the centre console that you think is plastic is actually a very nice piece of milled aluminum. Even the ashtray is made out of an aluminum extrusion. Pretty impressive really. I'm sure all the metal in the interior adds to the weight of the vehicle substantially, but it also contributes greatly to the feeling of quality compared to most car interiors. 
That is some amazing work here, KarlFranz! I have a couple of questions, since I'm planning to start a project of mine soon:
1.Did you use original Alcantara, from the company Alcantara (stupid question, but still...)
2.I can see some black backing on the back side of the alcantara on the door panels, with the diamond stitching - did you do it by yourself, or you just bought Alcantara Cover (so it comes with backing from the factory)
3.Did you use some kind of special thread and needle?
Much love!
1.Did you use original Alcantara, from the company Alcantara (stupid question, but still...)
2.I can see some black backing on the back side of the alcantara on the door panels, with the diamond stitching - did you do it by yourself, or you just bought Alcantara Cover (so it comes with backing from the factory)
3.Did you use some kind of special thread and needle?
Much love!
Valentin said:
That is some amazing work here, KarlFranz! I have a couple of questions, since I'm planning to start a project of mine soon:
1.Did you use original Alcantara, from the company Alcantara (stupid question, but still...)
2.I can see some black backing on the back side of the alcantara on the door panels, with the diamond stitching - did you do it by yourself, or you just bought Alcantara Cover (so it comes with backing from the factory)
3.Did you use some kind of special thread and needle?
Much love!
Thanx,1.Did you use original Alcantara, from the company Alcantara (stupid question, but still...)
2.I can see some black backing on the back side of the alcantara on the door panels, with the diamond stitching - did you do it by yourself, or you just bought Alcantara Cover (so it comes with backing from the factory)
3.Did you use some kind of special thread and needle?
Much love!
Yes, It is the genuine article. I purchase all my Alcantara from a company called Gulf Fabrics here in Florida which is the official distributor in the USA. Several years ago they sent me a collection of little scraps as samples of all the colors I was interested in. I used those to match the colors that Aston uses.
Alcantara comes in two grades. One is meant for seating surfaces (what I assume you call "Alcantara Cover"). It is thicker because it has a mesh reinforcement backing that gives it the strength necessary to not tear under the weight of your bum. This thickness, however, does make it stiffer and, thus, not very affective for applying around contoured surfaces. The "panel" grade is thinner and more flexible because it does not have this backing. It is the kind you will use for covering trim pieces such as door cards, arm rests, instrument panels, etc.
The black backing you see on the underside is called "sew foam" and comes in different thicknesses, usually 1/4, 1/2 and 1 inch thick. It serves to give the surface more cushion. In the case of the diamond quilting, I sewed it along with the alcantara diamond stitch pattern so that each diamond has a slight pillow effect. Without it, the result would just look like diagonal lines on a piece of fabric.
As far as thread, it all depends on what sewing machine you use. I bought a heavy-duty machine so that it could handle thicker threads. However, it still can't handle the much thicker threads that industrial machines use. Thread thickness is assigned a "V" number where the higher the number, the thicker the thread. Most domestic machines can usually handle up to a V46 or V69 thread. The one I bought handled V69, but I "forced it" using a V92. However, it did jam frequently at first. I think Aston uses around V138 for its coarse stitch option. I recommend you use nylon thread for its strength and that you buy it from a reputable dealer so the color doesn't fade with age or sun exposure.
Note that the sewing machine also needs to have a motor with enough torque to punch through the thicker fabrics used in automotive trim. This is especially true when sewing leather.
Finally, what needle you use depends on the thickness of the thread you choose and what material you are sewing into. There are charts that identify which is needed for each task. Google for them.
HTH.
Cheers.
V8Andrew said:
As usual I love what you have done to your car. Keep up the excellent work.
Thanx. Do note, however, this particular project was done around 3 years ago on my previous '07 Aston. I have done plenty on my new 2015 and you can find links and pictures here on Pistonheads and 6speedonline.Cheers.
Gassing Station | Aston Martin | Top of Page | What's New | My Stuff