Fitting mx-5 wing mirrors to tvr s
Discussion


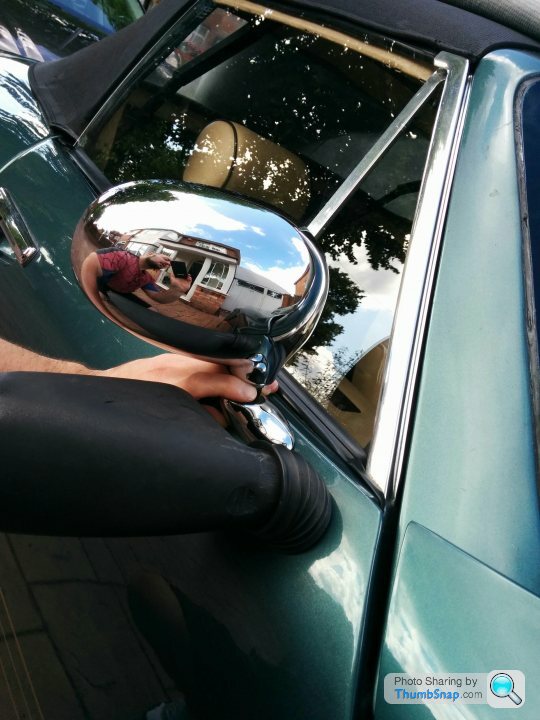
Hi guys, took some of your advice and went with the mazda mx-5 wing mirrors (cost me £100) from the mx5city website.
Strange they came without any bolts.. But yeah looks like it involves grinding out stumps off old wing mirrors? so not a job I can do myself (don't want to damage paintwork) just wondering how some of you's got on when fitting them to your car really? Any issues?
The car body shop i visited said it could damage paintwork when grinding the stumps out which may involve a door respray at £120 per side! :/ then he suggested bonding them on instead of bolts so im really unsure at this current moment.
All i know is they do look pretty sweet in chrome!
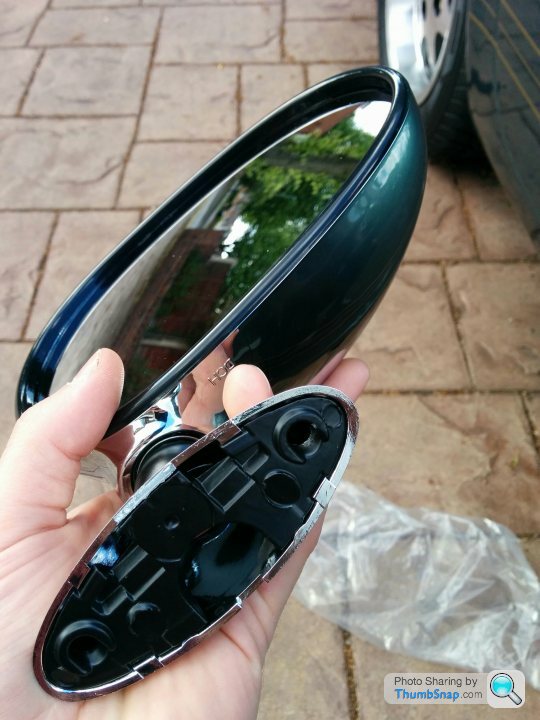
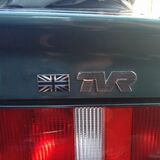
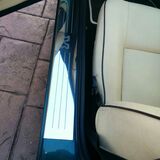
Oh and a few other bits i ordered.. Black & chrome union jack badge & Stainless steel TVR kickplates which ive already encountered an issue.. the screw directly uunder the door slightly catches the kickplate an scratches it
Strange they came without any bolts.. But yeah looks like it involves grinding out stumps off old wing mirrors? so not a job I can do myself (don't want to damage paintwork) just wondering how some of you's got on when fitting them to your car really? Any issues?
The car body shop i visited said it could damage paintwork when grinding the stumps out which may involve a door respray at £120 per side! :/ then he suggested bonding them on instead of bolts so im really unsure at this current moment.
All i know is they do look pretty sweet in chrome!
Oh and a few other bits i ordered.. Black & chrome union jack badge & Stainless steel TVR kickplates which ive already encountered an issue.. the screw directly uunder the door slightly catches the kickplate an scratches it
Paint shop are being cautious. The stump HAS to come out of you are back to the original mirrors.
I dont think anybody has found a mirror which will fit over it. See if you can find a competent friend with a small (100mm max) angle grinder. Put several layers of masking tape all round the stump, then stick layers of paper or polythene round all the area of top of door/top of wing. Cut the outer part of the boss out with the grinder leaving say 8-10mm. Then, using the grinder carefully at 90 degrees to the door, gradually grind away the rest. When you get down to door level just take it easy. You should aim to have ground a neat shallow depression the same diameter as the original boss. Any reasonably skilled man could do that.
Keep the protection on until you have done ALL the mirror mounting work. Removing the protection should mean there is just a tiny bit of the depression visible which can be touched in. Be very careful in measuring it and the bit of depression visible will be under the mirror and the touch up will not be on view.
I confess I am not absolutely sure about the chrome finish. These are a car with very little trim embellishment and the chrome might look out of place. Each to his own however.

greymrj said:
... Put several layers of masking tape all round the stump, then stick layers of paper or polythene round all the area of top of door/top of wing.....
Maybe also put gaffer tape over the masking tape as this gives you a small margin for error if the disc strays slightly off the old boss? You could also use a Dremmel around the perimeter of the old boss stump. It may take a lot longer than the angle grinder but a lot easier to control.The MX5 mirrors cover the original mirror holes perfectly, but only just. When I did mine I removed the screws securing the original mirror bases the whacked the bases through into the door as they are only loosely bonded. I then bonded an aluminium tapping plate to the inside of the door and screwed the new mirror to it. There is lots of history on this mod but the the search function is absolute sh*t at the moment and I can't find it.
Hi Guys,
I purchased a pair of aftermarket MX5 mirrors to replace the feeble excuse for mirrors that came attached to the car.
My car is Italian Red the mirrors purchased were MX5 basic red and were a pretty close match. They came attached to a standard MX5 fixing plate (lozenze shape with a small "raised lump/spike"), two fixing holes and a plastic pad.
I removed the existing mirror from its ball end which left the "barbell" shape with the ball that rotates within a socket embedded in the door.
I then very carefully cut around the ball mount (plastic)in the door until it released the "barbell".
This left a slightly raised rim of the circular plastic socket. I had still not cut into the door itself!
Carefully grind/sand away the plastic rim until flush with the door panel.
A cutter on a dremel will do the job, Masking tape around it will certainly help. You will be left with quite a deep hollow being the plastic remains still embedded in the door.
Check that the surface area is reasonable flat by offering up the mounting aluminium mounting plate attached to the mirror. You should find that the raised bump/spike sits neatly in the hollow left by the old mirror mount.
You will also see that the mounting plate and it's cover should cover most of the area that you had to remove.
The old mirror socket is imbedded in a large chunk of fibreglass and this is ideally placed to be drilled to accept a couple of stainless screws, using the plastic pad supplied with the new mirror as a template.
Just attach the mirror with a couple of S/S pan head screws (chipboard style parallel threads) they will hold really well in the fibreglass.
I did that as a temporary fix over a year ago and have just re-attached using the same fixing method. If you ensure that you attach the new mount closer to the top of the cleared area any possible over zealous removing of material will only show below the mounted mirror and is not readily visible.
I had a little bit of undercoat showing (1mm) below one of my new mirrors.
I hope this helps.
Just take it nice and easy when sanding back the socket to the door surface.
MIRROR REPLACEMENT - MK1 MX5
My original mirrors were looking unhappy with discoloured lenses and tired looking plastic. I decideed to watch mirrors on other cars as i drove around for a week or two in order to work out what fitted the TVR S best. I decided on mx5 mk1, although Audi TT also looked promising.
The big challenge was removing the ball sockets from the doors. Unlike many others here I found i had no retaining screws but just lots of fibre glass behind the sockets, which refused to budge.
So after much searching for solutions I ended up with the grinder out and chopped the sticky-out sections of the sockets off.
My next issue was finding a way of fixing the mx5 mirrors without removing the door cards .
Yes it can be done!
Familiar with the building trades I recalled a special fixing typically used for hanging heavy stuff onto skinned doors or plasterboard. So off to screwfix and pack was bought;
For each mirror you need only drill two 12mm holes and these fixings push in and crimp up with a special tool. Less than £15 including the tool and loads of spares for hanging shelves!
The final job looks like this
Gassing Station | S Series | Top of Page | What's New | My Stuff