Ducati ST Cafe Racer Build
Discussion


My best mate and I booked in to do a cafe racer rally Malle Great Mile in August from John O Groats to Lands End mainly as a reason to kick our arses into gear to build cafe racers which we've always threatened we'd do.
I've been through loads of ideas and didn't really want to do the usual BMW RT or Honda CB route and have seen a few Ducati's done by the likes of Radical so set about hunting for a bike. The ST range seems to be quite popular if you don't have the deep pockets to chop up a Panigale or 1098 so the search was on. I originally bought a ST4s and then contacted a fabricator who told me he had pretty much what I was envisaging sat in the corner of his workshop. After a quick barter a deal was done and I was the proud owner of a half finished project!


It had some trick bits already added to it
- S4R swingarm
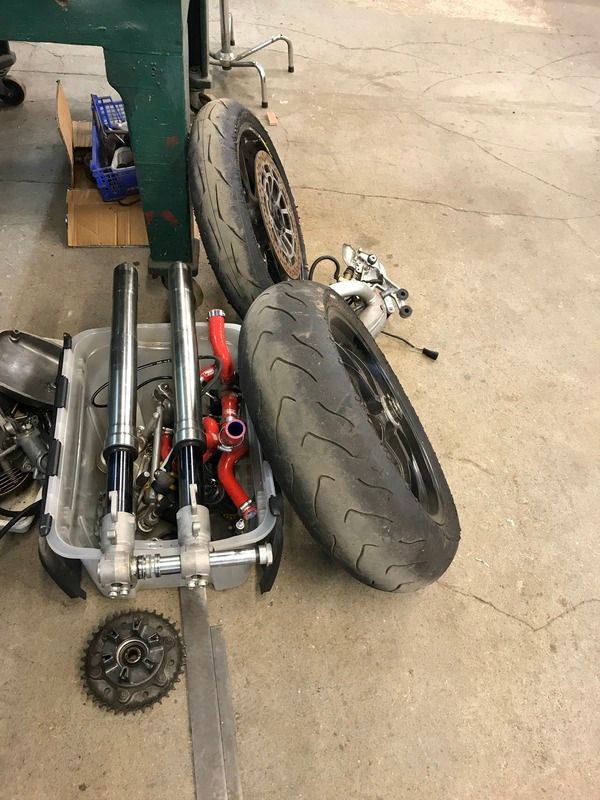
- Hypermotard SP rear wheel
- 999r magnesium front wheel
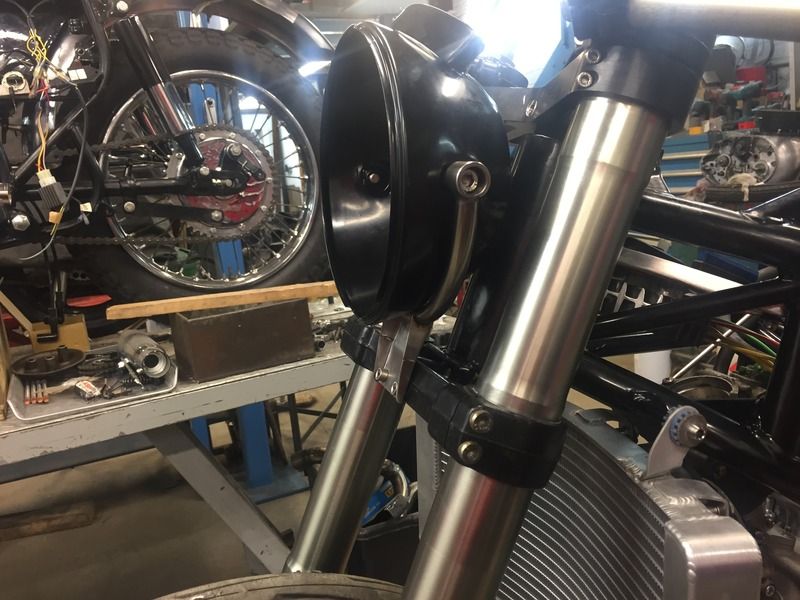
- 1098 forks
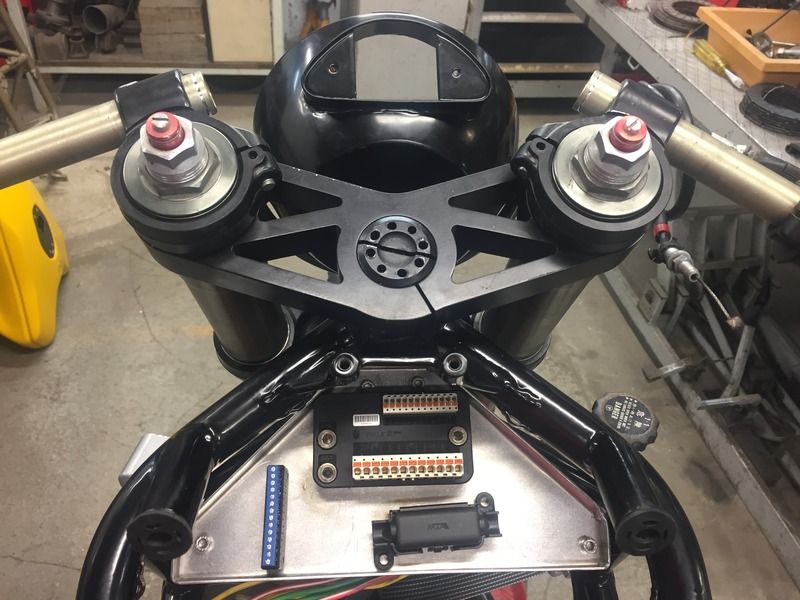
- custom top yoke
- 848 brakes
- custom forge motorsport radiator
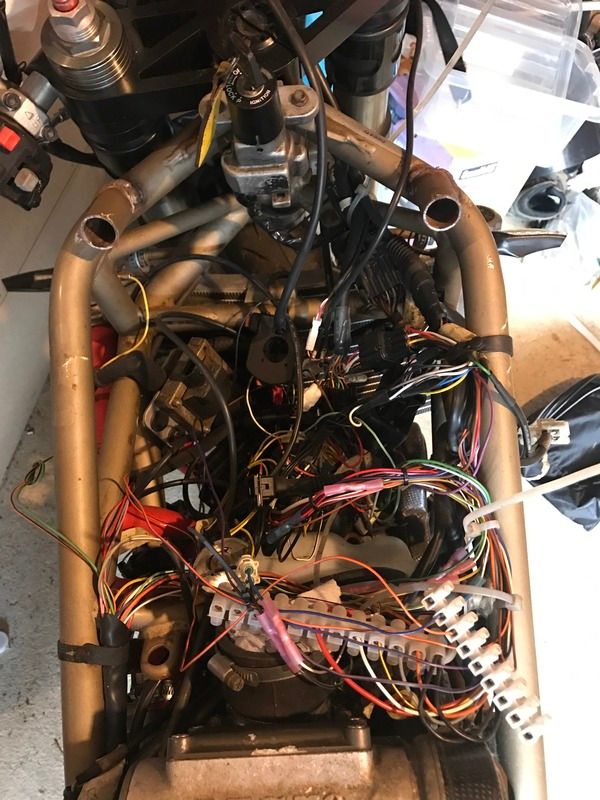
The bike had been left standing for a while and had started to corrode where it hadn't been finished and the wiring left a lot to be desired


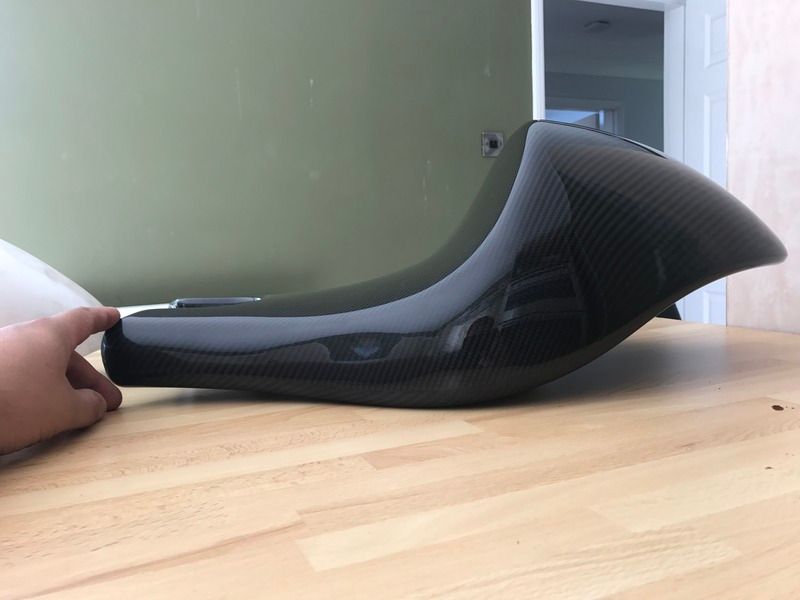
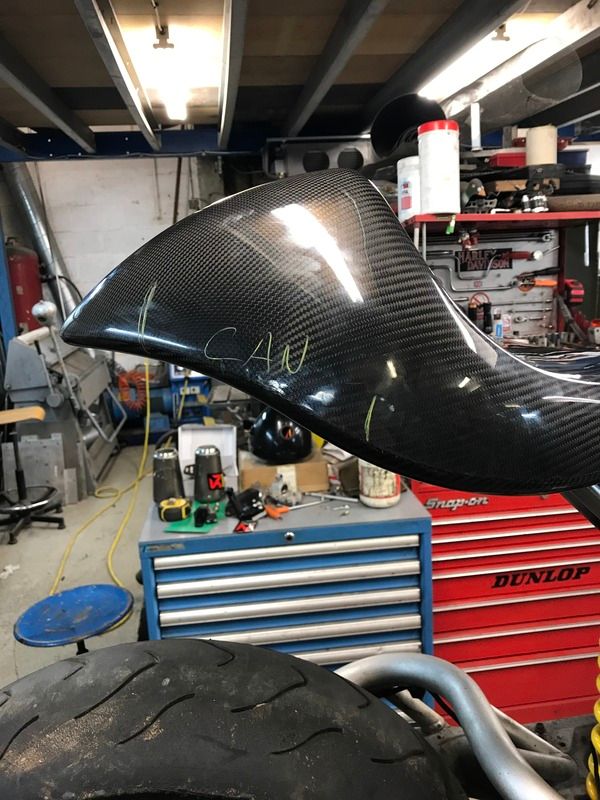
The bike already had a Radical seat unit which I originally liked but looking around there quite a few with this seat unit. Coincidentally, to help my decision, I stumbled across a carbon seat unit from a Norton Domiracer
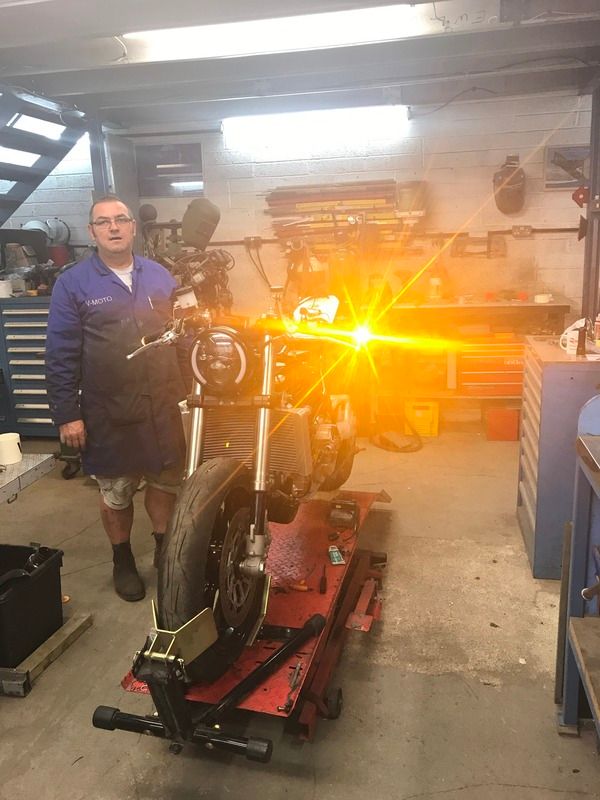
I am no good with fabrication and was recommended to go and visit Viv Cowley at V-Moto just outside Oxford. After speaking with Viv about his time spent as an engineer with the Le Mans winning TWR Jaguar team and then with the Bloodhound SSC project and Kenny Roberts Proton Motogp Team I knew he was the guy to help me get this bike sorted. And that's when things started to escalate!!!
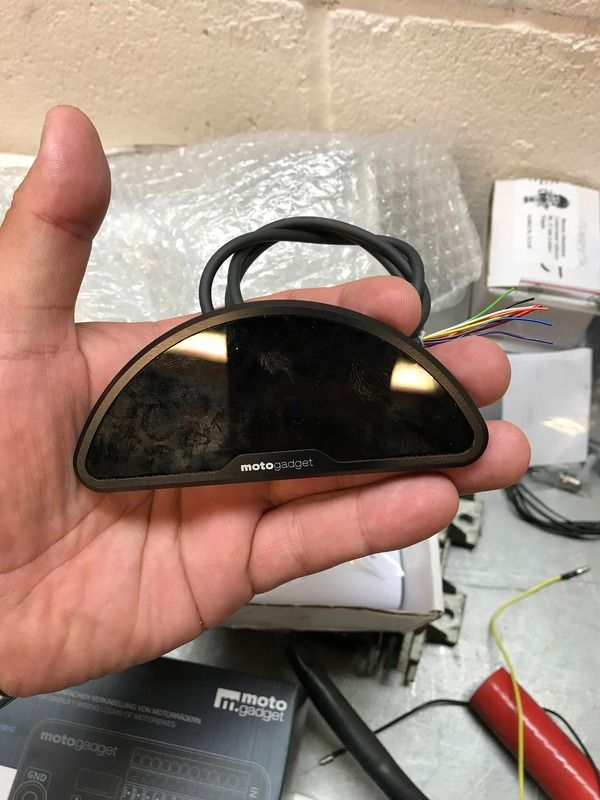
I wanted to have a really clean look to the bike and it soon became apparent that sorting the electrics is a big part of that so I spent a small fortune with motogadget getting parts that will be both reliable and compact and I've got Richard from wiring4bikes completely rewiring it. Being ex military and aerospace his attention to detail is second to none and a Ducati wiring loom is relatively straight forward for him. The loom has been with him for a week and should be back tomorrow to hook up to the bike. With the Motogadget parts I've been able to get rid of the ignition barrel and it will now run keyless ignition controlled either by a fob or via bluetooth on my phone!
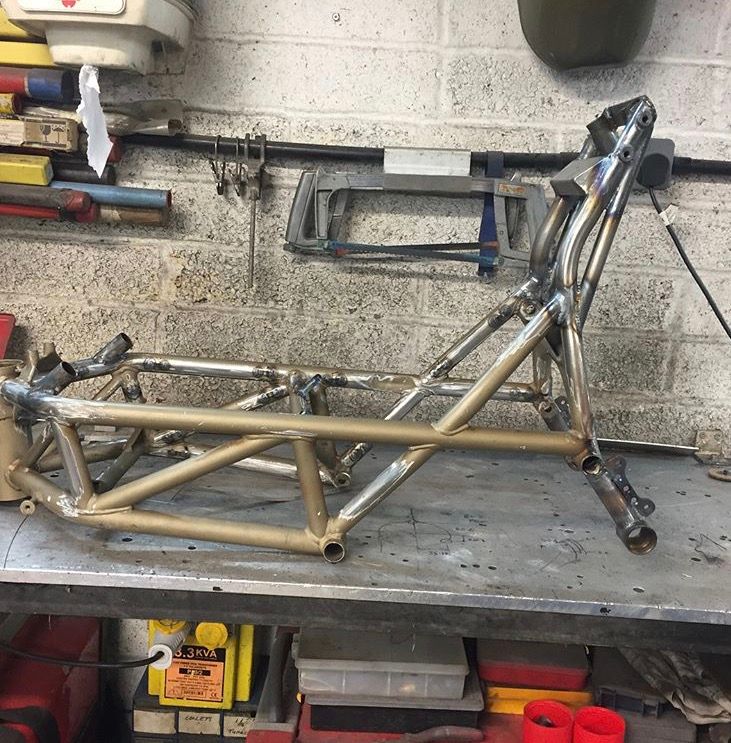
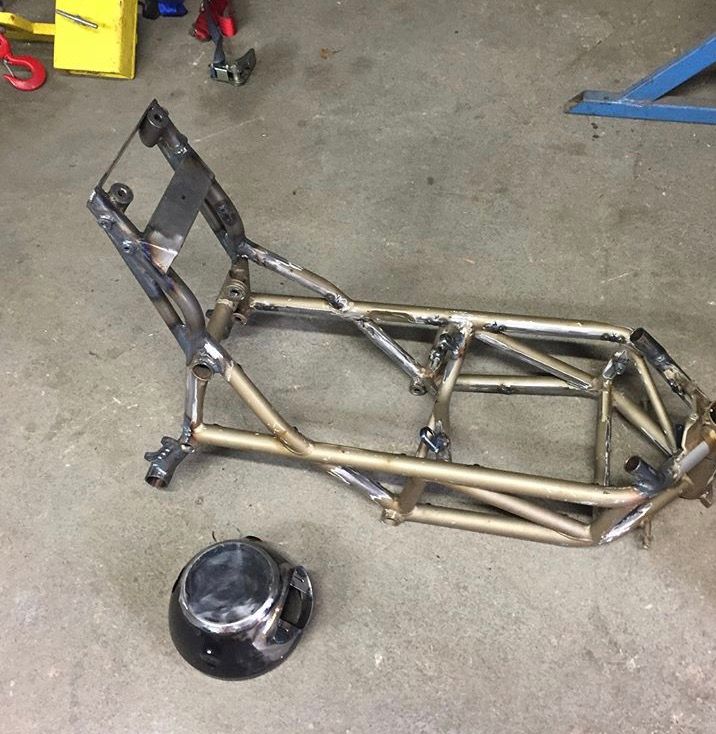
So we then stripped the bike completely so Viv could work his magic with the frame

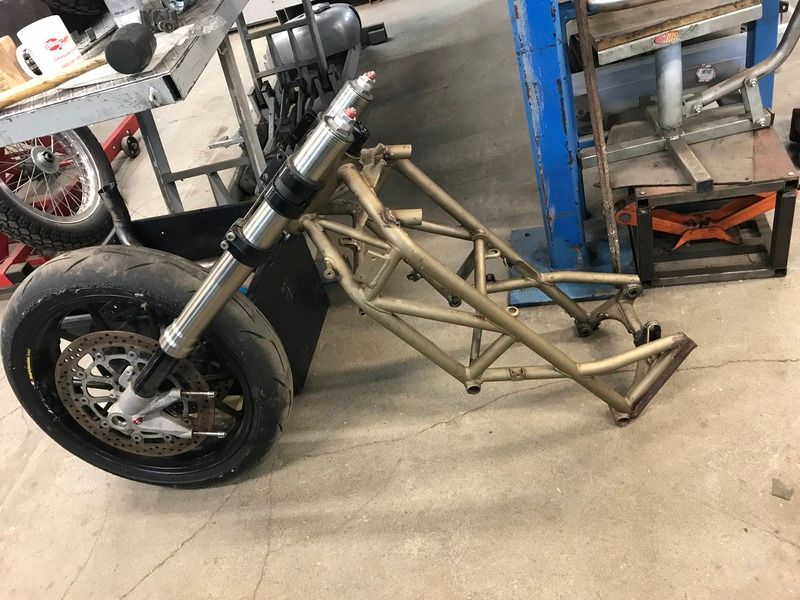


Viv has put little tabs on the back of the tubes for the loom to follow, de lugged, making mounts for the S4r swingarm so I can use conventional rearsets, re built the subframe, re located the battery and ecu and made space for the motogadget stuff to be hidden away
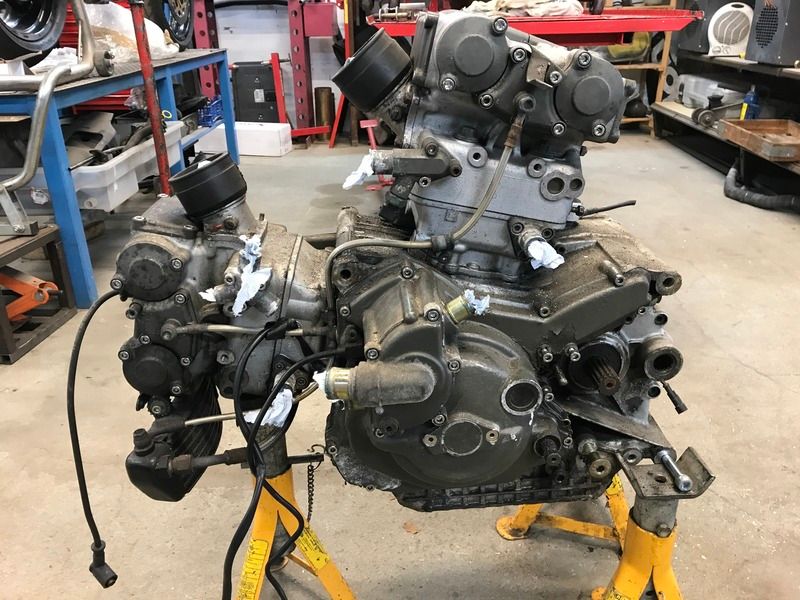
Whilst the engine was out we also took the opportunity to clean it up

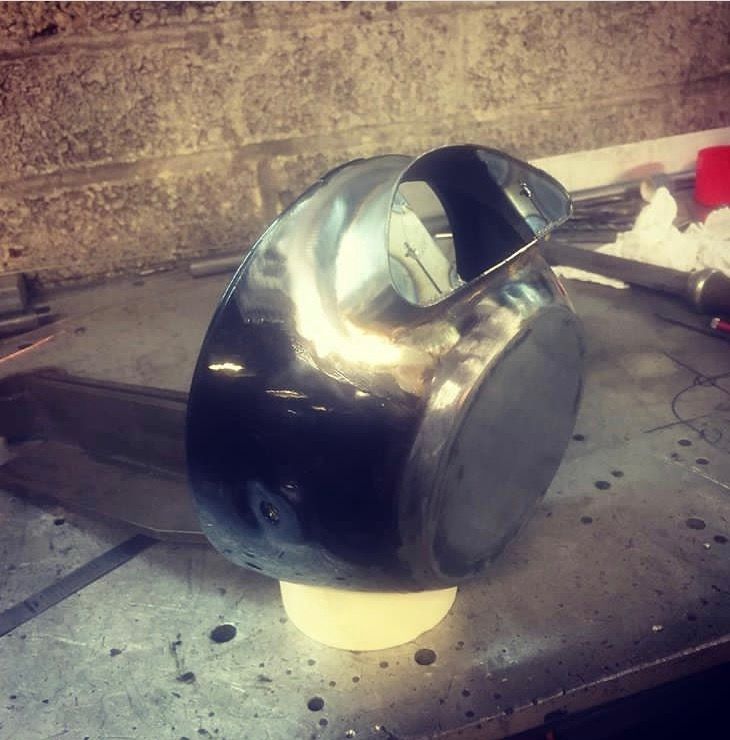
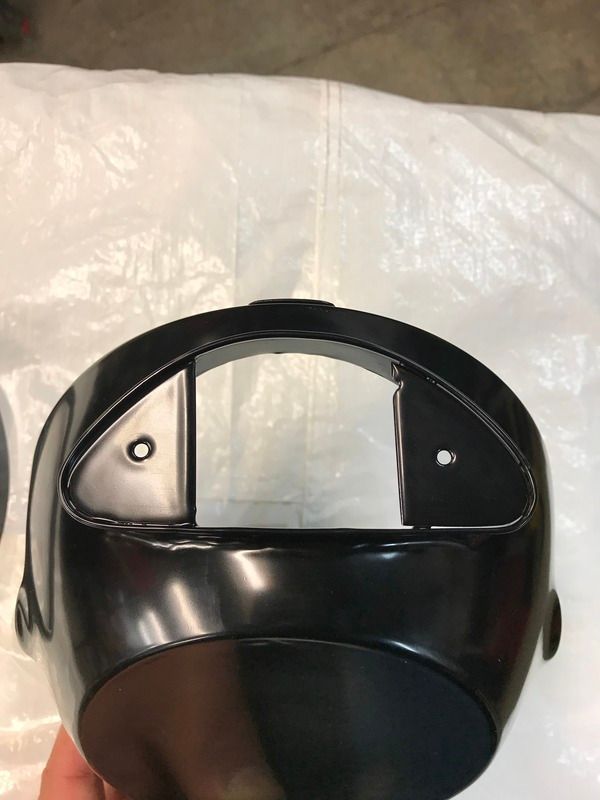
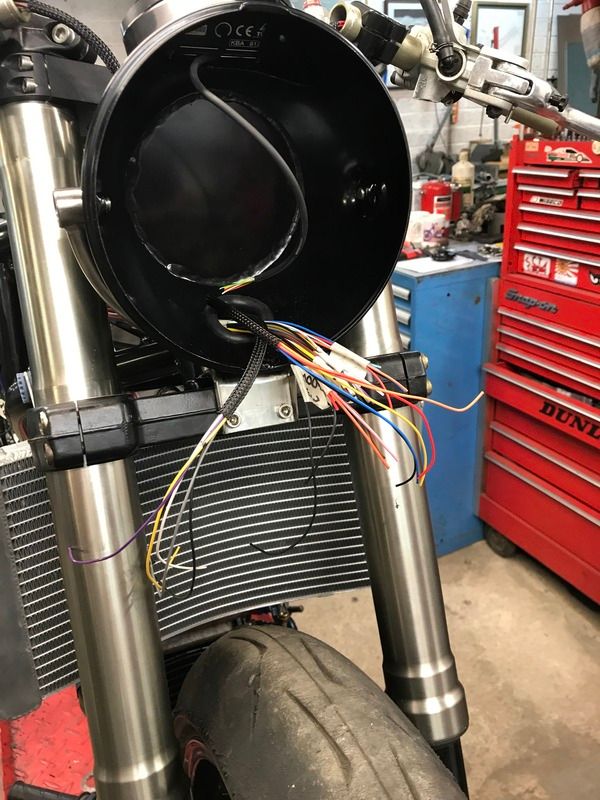
To fit the motogadget dash the headlight bowl has been reworked so we can house it there so the yokes aren't cluttered

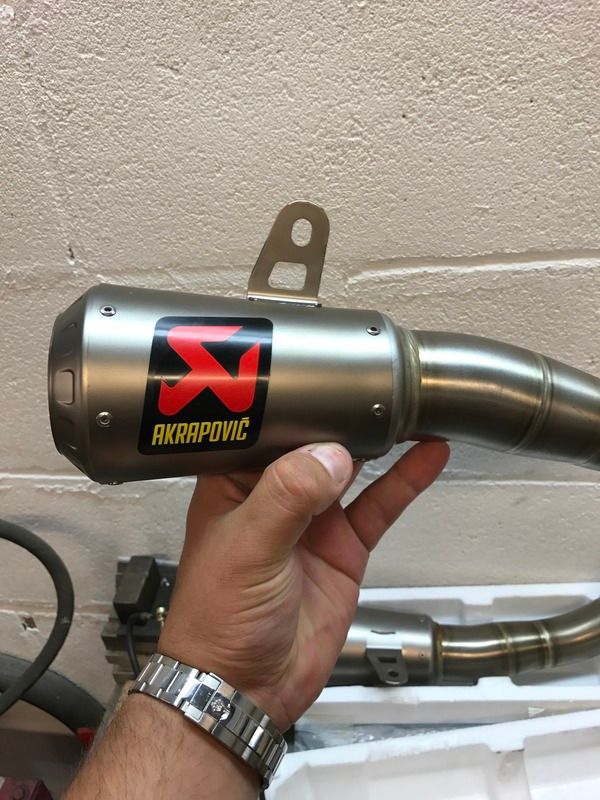
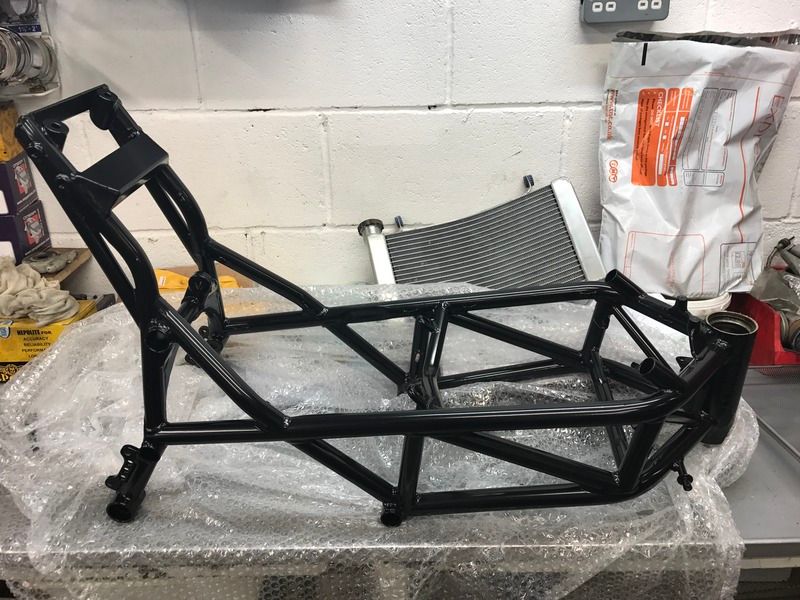
The frame was powder coated yesterday now its back to be built back up ready for a new exhaust system to be made for which I already have the end cans
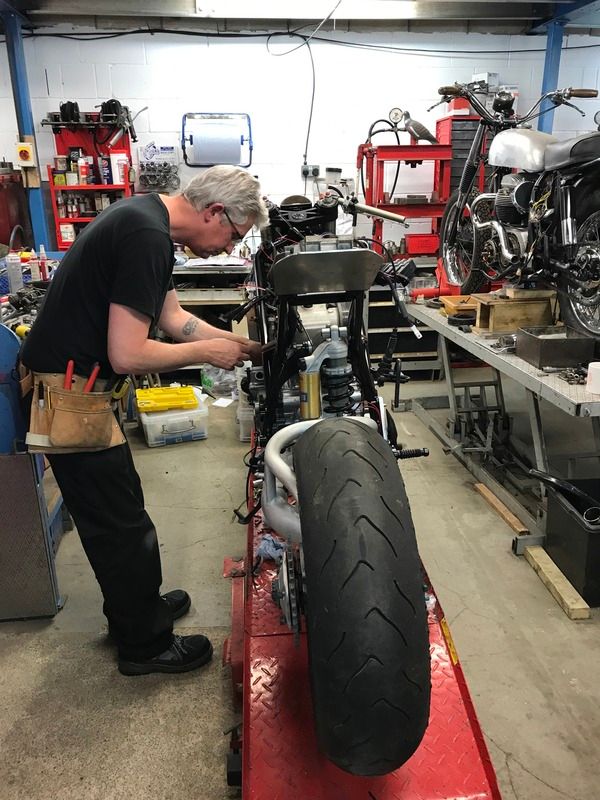
The frame and headlight bowl came back last night so today we started to build it back up
Before
After

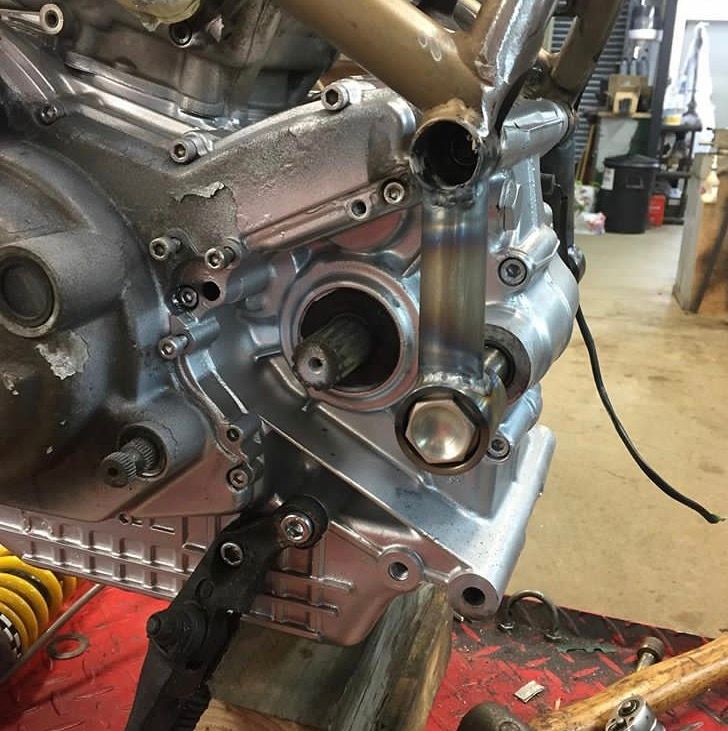
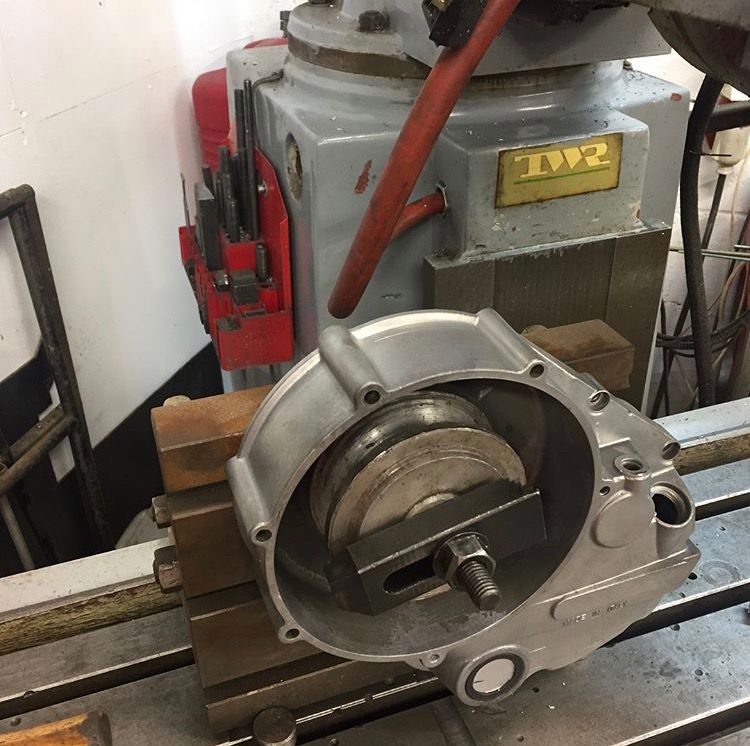
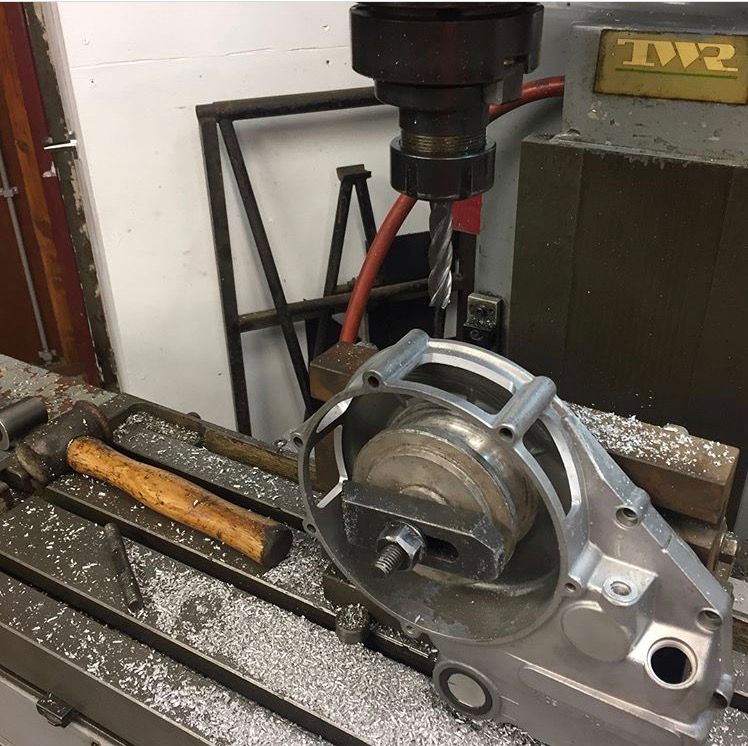
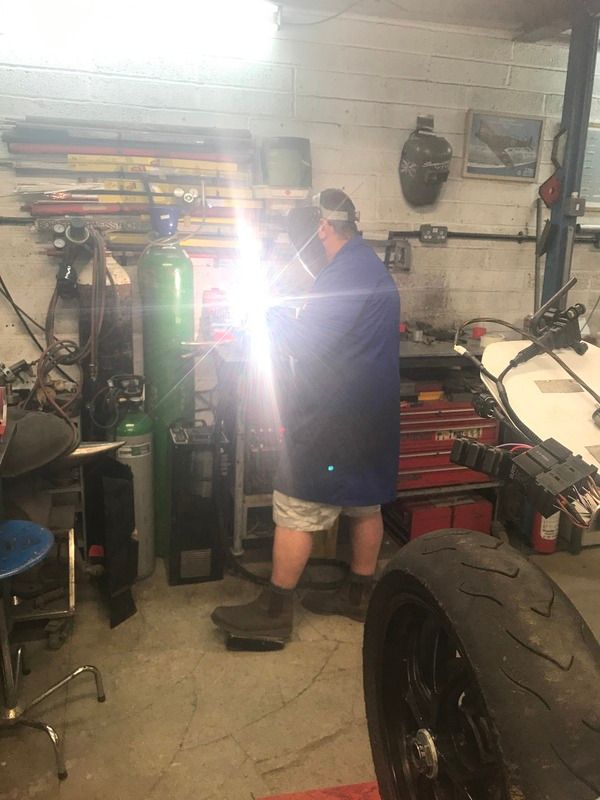
Whilst the frame was away Viv got on with venting the clutch case


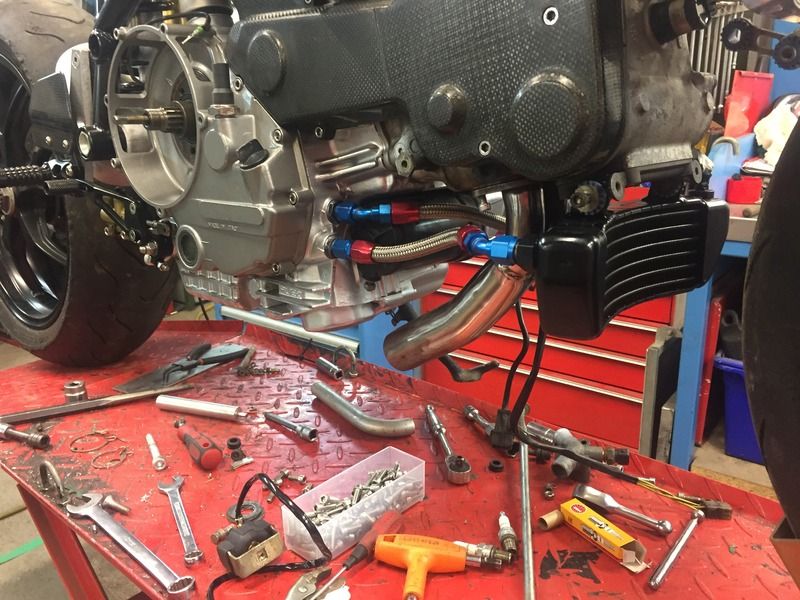
And started working on replacing the rubber hoses with rigid ones with Wiggins clips
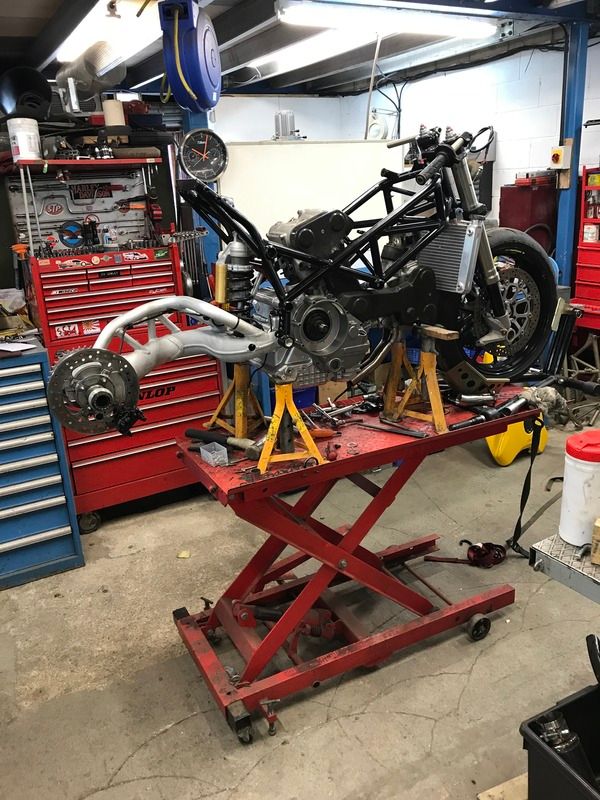
So today we started building the bike back up. Now the frame is all powder coated it made the swingarm look a bit sorry so we got that all cleaned up with a bit of vapour blasting and some elbow grease and got it back in the bike. We also swapped out the standard ST4 shock for an Ohlins one from a 996.


New oil lines fitted
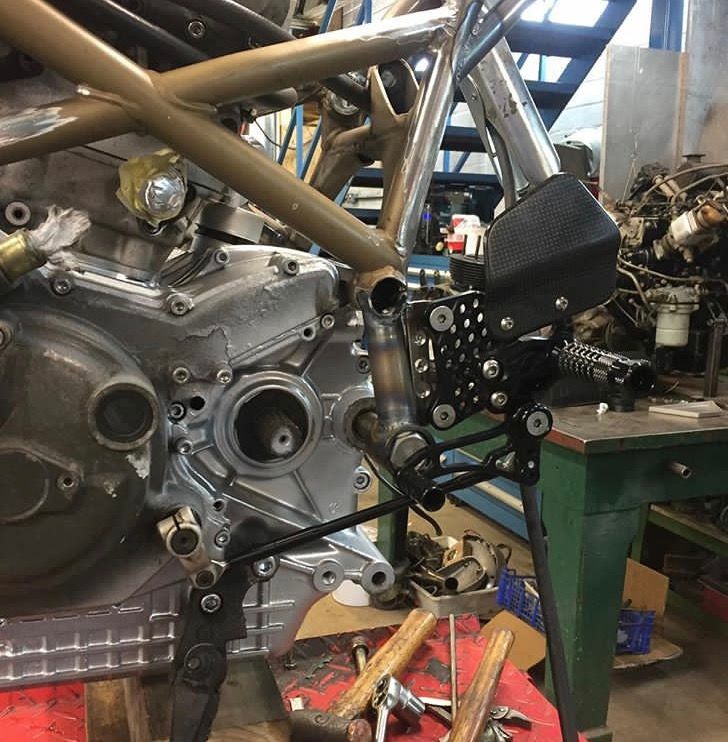
Trial fitting of Gilles rearsets - these need to go back about 40mm

Motogadget components laid out ready for final fitting and connecting tomorrow
Headlight bowl fitted to custom bracket ready for wiring tomorrow
Starting to mark up rough placements for the custom exhaust system
The bike is booked for dyno on Friday and the Malle Great Mile is only two weeks away so no time to waste. I'll keep this thread updated but for those interested we're documenting the build on instagram look for the v_motoltd account
I've been through loads of ideas and didn't really want to do the usual BMW RT or Honda CB route and have seen a few Ducati's done by the likes of Radical so set about hunting for a bike. The ST range seems to be quite popular if you don't have the deep pockets to chop up a Panigale or 1098 so the search was on. I originally bought a ST4s and then contacted a fabricator who told me he had pretty much what I was envisaging sat in the corner of his workshop. After a quick barter a deal was done and I was the proud owner of a half finished project!


It had some trick bits already added to it
- S4R swingarm
- Hypermotard SP rear wheel
- 999r magnesium front wheel
- 1098 forks
- custom top yoke
- 848 brakes
- custom forge motorsport radiator
The bike had been left standing for a while and had started to corrode where it hadn't been finished and the wiring left a lot to be desired


The bike already had a Radical seat unit which I originally liked but looking around there quite a few with this seat unit. Coincidentally, to help my decision, I stumbled across a carbon seat unit from a Norton Domiracer

I am no good with fabrication and was recommended to go and visit Viv Cowley at V-Moto just outside Oxford. After speaking with Viv about his time spent as an engineer with the Le Mans winning TWR Jaguar team and then with the Bloodhound SSC project and Kenny Roberts Proton Motogp Team I knew he was the guy to help me get this bike sorted. And that's when things started to escalate!!!
I wanted to have a really clean look to the bike and it soon became apparent that sorting the electrics is a big part of that so I spent a small fortune with motogadget getting parts that will be both reliable and compact and I've got Richard from wiring4bikes completely rewiring it. Being ex military and aerospace his attention to detail is second to none and a Ducati wiring loom is relatively straight forward for him. The loom has been with him for a week and should be back tomorrow to hook up to the bike. With the Motogadget parts I've been able to get rid of the ignition barrel and it will now run keyless ignition controlled either by a fob or via bluetooth on my phone!
So we then stripped the bike completely so Viv could work his magic with the frame


Viv has put little tabs on the back of the tubes for the loom to follow, de lugged, making mounts for the S4r swingarm so I can use conventional rearsets, re built the subframe, re located the battery and ecu and made space for the motogadget stuff to be hidden away


Whilst the engine was out we also took the opportunity to clean it up

To fit the motogadget dash the headlight bowl has been reworked so we can house it there so the yokes aren't cluttered


The frame was powder coated yesterday now its back to be built back up ready for a new exhaust system to be made for which I already have the end cans

The frame and headlight bowl came back last night so today we started to build it back up
Before

After


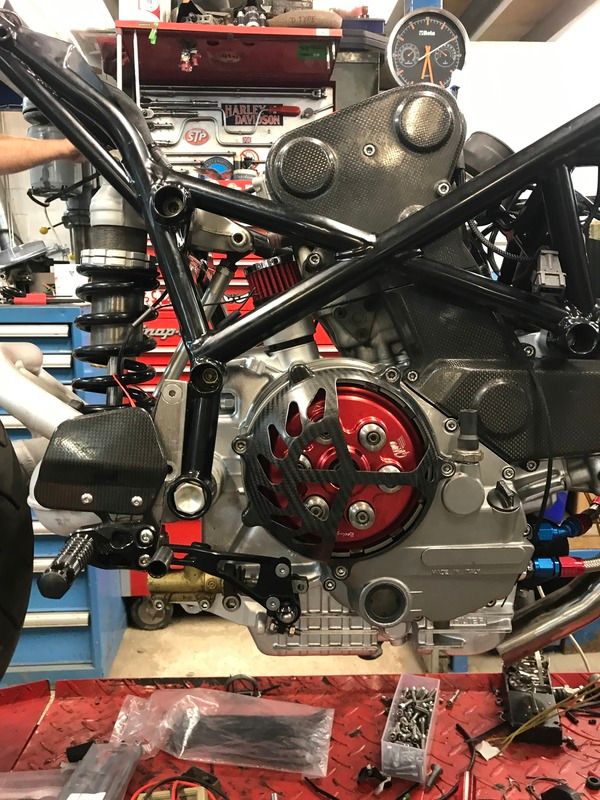
Whilst the frame was away Viv got on with venting the clutch case


And started working on replacing the rubber hoses with rigid ones with Wiggins clips

So today we started building the bike back up. Now the frame is all powder coated it made the swingarm look a bit sorry so we got that all cleaned up with a bit of vapour blasting and some elbow grease and got it back in the bike. We also swapped out the standard ST4 shock for an Ohlins one from a 996.


New oil lines fitted

Trial fitting of Gilles rearsets - these need to go back about 40mm

Motogadget components laid out ready for final fitting and connecting tomorrow

Headlight bowl fitted to custom bracket ready for wiring tomorrow

Starting to mark up rough placements for the custom exhaust system

The bike is booked for dyno on Friday and the Malle Great Mile is only two weeks away so no time to waste. I'll keep this thread updated but for those interested we're documenting the build on instagram look for the v_motoltd account
Today was mainly lots of stuff that takes time but you don't see the progress until its' all done i.e electrics!!
Richard from wiring4bikes has made a completely new loom for the bike and today was attaching it to all the component pieces:
this is what was removed from the original loom

this is some work in progress

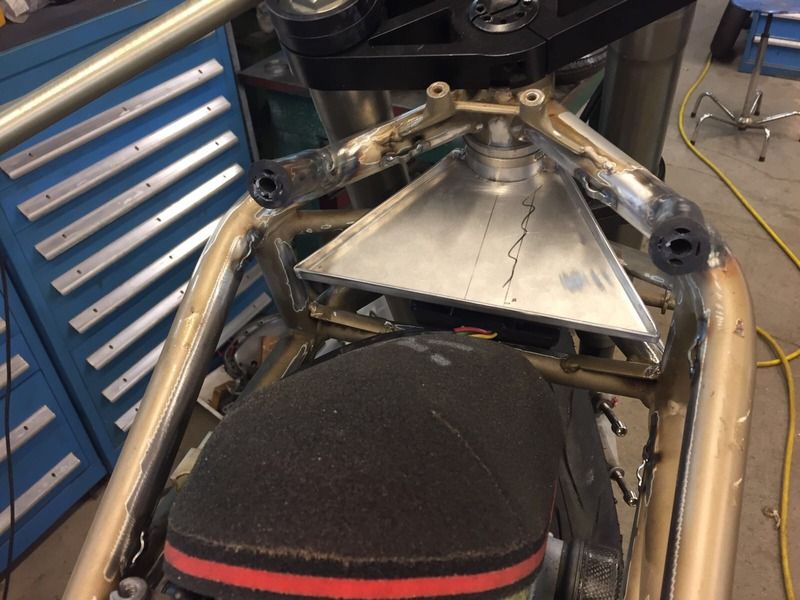
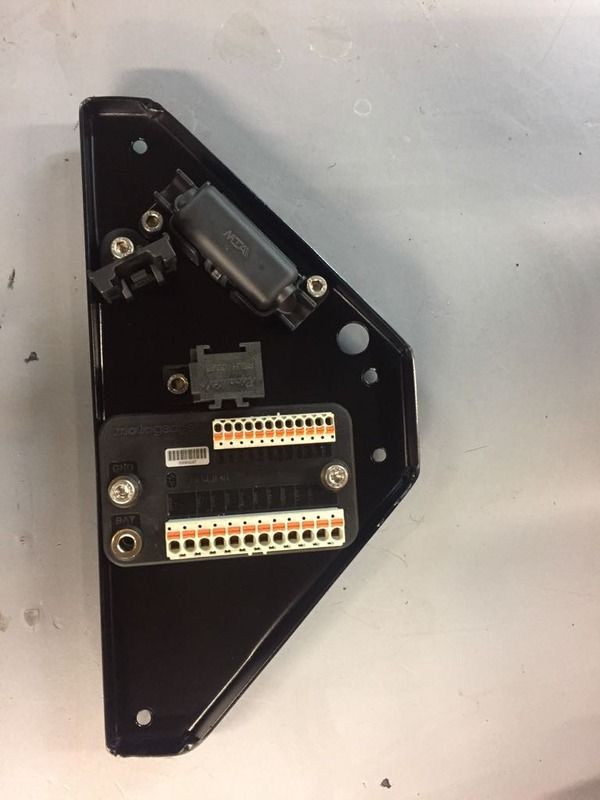
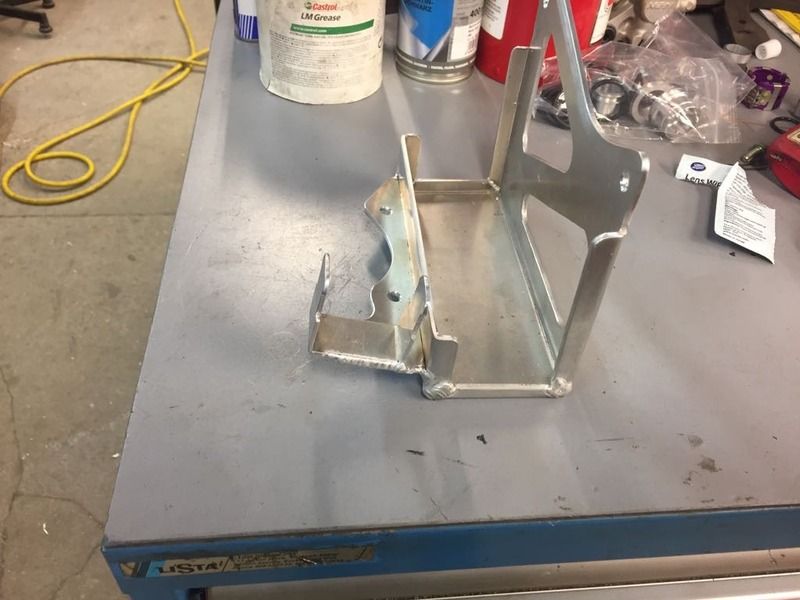
Richard finalised where he wanted the Motogadget components attached to in the dedicated tray Viv made and Viv set about drilling the holes for it all to be fixed to and made the bracket for the bottom before painting
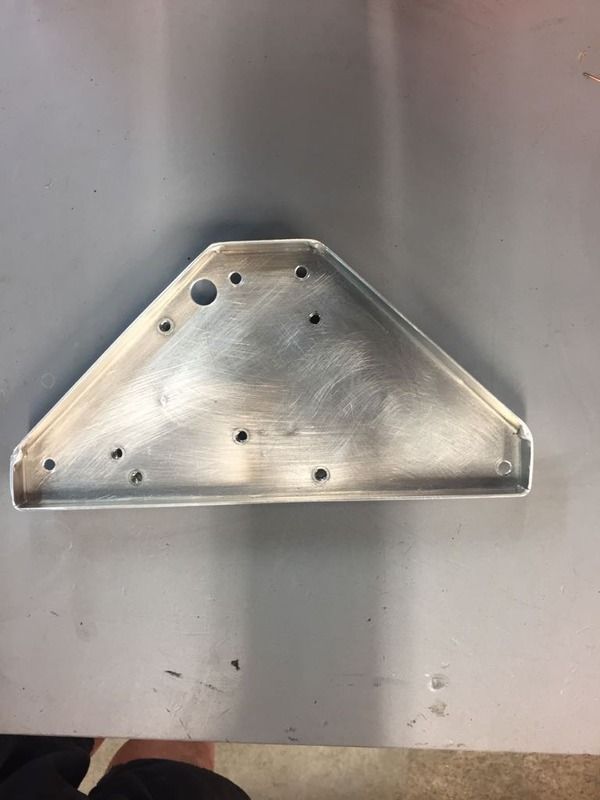
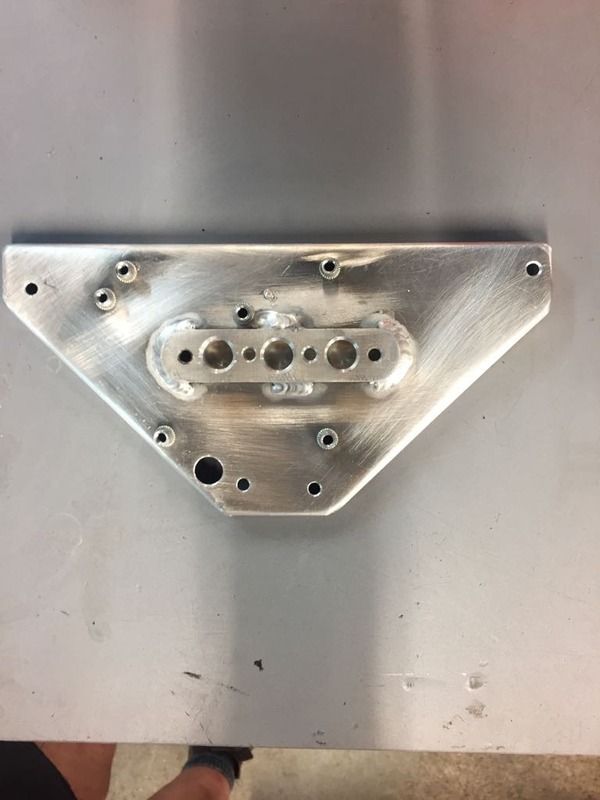
Viv also made the tray for the battery to sit in the 'V'

I left them to it and popped back later in the day. Again visually not much to see but lots of progress had been made!
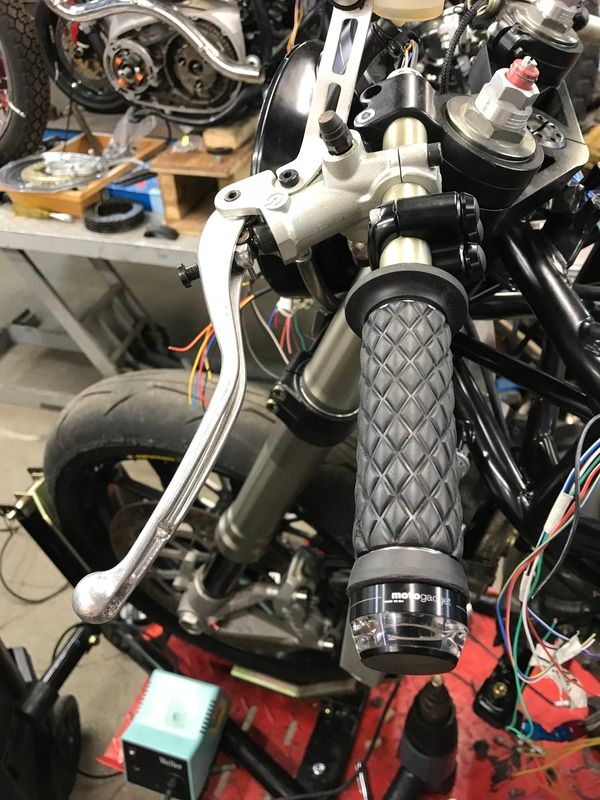
The standard switchgear has been removed and Motone switches commonly used on custom Harleys have been used instead. The Biltwell grips have been fitted along with the Motogadget M.Blaze bar end indicators

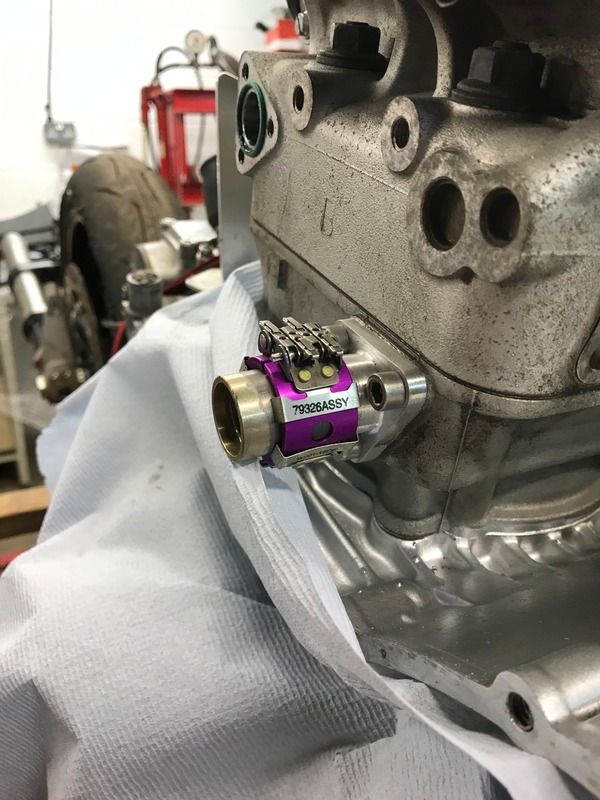
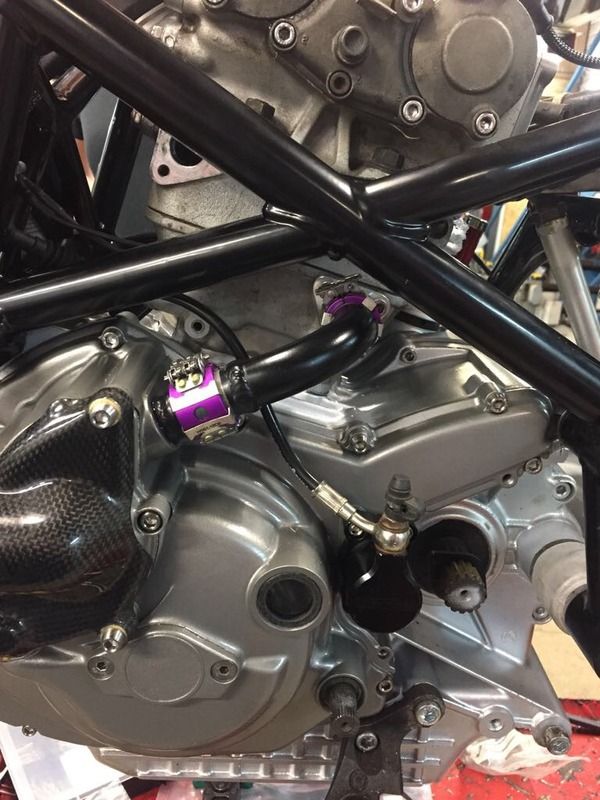
The new clutch and crankcase breather are now on too
Tomorrow the electrics will be finished as will the exhaust & water pipes. Then we cross our fingers as we hit the starter button ready for dyno on Friday
Richard from wiring4bikes has made a completely new loom for the bike and today was attaching it to all the component pieces:
this is what was removed from the original loom

this is some work in progress


Richard finalised where he wanted the Motogadget components attached to in the dedicated tray Viv made and Viv set about drilling the holes for it all to be fixed to and made the bracket for the bottom before painting


Viv also made the tray for the battery to sit in the 'V'


I left them to it and popped back later in the day. Again visually not much to see but lots of progress had been made!

The standard switchgear has been removed and Motone switches commonly used on custom Harleys have been used instead. The Biltwell grips have been fitted along with the Motogadget M.Blaze bar end indicators


The new clutch and crankcase breather are now on too

Tomorrow the electrics will be finished as will the exhaust & water pipes. Then we cross our fingers as we hit the starter button ready for dyno on Friday
Edited by magpie21 on Wednesday 16th August 21:06
TwoStrokeNut said:
Nice! There's some lovely work there!
I love the edgy lines of the 999/749 tank, at least I think that's what it is?
I do prefer the air-cooled though. All of those fins and much cleaner pipework.
I guess that's why the Sport Classics are so expense these days.
Yeah its a 999/749 tank although that will be getting modified too I love the edgy lines of the 999/749 tank, at least I think that's what it is?
I do prefer the air-cooled though. All of those fins and much cleaner pipework.
I guess that's why the Sport Classics are so expense these days.

Agreed on the pipework but we wanted to do something different with the water lines so its not a major issue
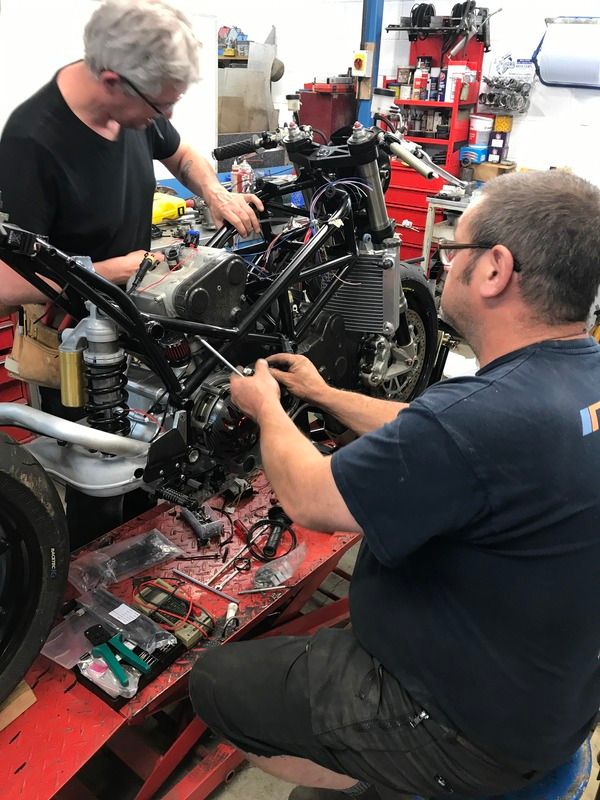
Things are starting to take shape now, Richard has finished the electrics and we now have power


Viv has also fitted the Domino QA throttle

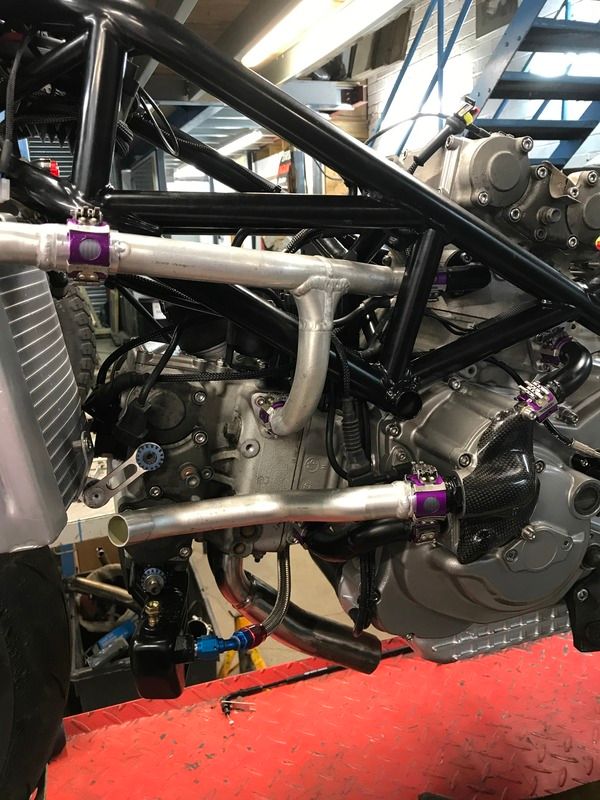
And then got on with the aluminium pipework which is replacing the rubber hoses. He's using Wiggins clips from aerospace applications for a watertight fit

Over the weekend the pipework will be finished and the custom exhaust made. We're also modifying the tank ready to go to paint on Monday


Viv has also fitted the Domino QA throttle

And then got on with the aluminium pipework which is replacing the rubber hoses. He's using Wiggins clips from aerospace applications for a watertight fit


Over the weekend the pipework will be finished and the custom exhaust made. We're also modifying the tank ready to go to paint on Monday
anonymous said:
[redacted]
I asked the same question when Viv suggested it. There is a rubber mount inside the wiggins clip so they aren't rigid. You can wobble the pipe by hand so no worries with vibration. If it can handle the vibration from an aircraft engine I'm sure it can cope with my little duke 


Gassing Station | Biker Banter | Top of Page | What's New | My Stuff