Door Trim Removal
Discussion


I'm currently at the 'stripping out' stage of re-carpeting my '97 400. I'm trying to remove the trim so as to be able to get the fibreglass card out to recarpet it (driver's side first). But I'm confused. I've managed to remove the three 10mm nuts from inside the door (who's idea of a joke was that!?). The 'bible' claims I also have to remove a self tapper from the ash tray. My car doesn't have an ash tray! Despite removal of the three nuts and some careful pulling, the panel appears still firmly attached. Also, the bible says that the fibreglass card on which the carpet is glued has a number of self tappers. I've managed to cut away most of the carpet, except for about half an inch around the edges, but there appear to be no screws.
I'd be grateful for the advice of those who've succeeded with this task, please!
I'd be grateful for the advice of those who've succeeded with this task, please!
The self tappers are there.
Its just that the heads are buried within the carpet pile so they are very well hidden.
I ran a magnet along the carpet edge to find them, if you don't have a magnet run your finger along the carpet edge until you find the screw heads.
Obviously be careful, screw heads can be sharp!
Its just that the heads are buried within the carpet pile so they are very well hidden.
I ran a magnet along the carpet edge to find them, if you don't have a magnet run your finger along the carpet edge until you find the screw heads.
Obviously be careful, screw heads can be sharp!

Thanks Guys. Unfortunately, having stripped off most of the carpet from the door card and with the fibreglass panel exposed, there still doesn't seem to be any of these self tapping screws (unless they're hidden on the very edges)! The door trim is held fast in the vicinity of the cigarette lighter. When everything has been undone, does the whole lot lift off, pull away, slide forward or what? Again, grateful for any thoughts.
Alcantara... Much better than carpet!!

There is also a screw behind the reflector thing...
When re-fitting take care!... I used a ratchet spanner on the nut's including the top nut... only to find that when it drew the stud thru, you could not get the spanner back off as it was too close to the glass!.. the main problem here was the thing was only reversable by taking it of (which I could not do).. and putting it on the other way!!... So hours spent with a sharp pointy thing clicking it backwards until I got it off again!!!.. good job I didn't get the nut tight before realising this!!!
From memory you should have one more nut to find.
There are 4 of the buggers in there before you can get the panel off.
The fourth one will only be found if you dislocate your elbow though and insert it way up towards the end of the door panel.
I think it is where the back edge of the moulding ends (further along than the cigarette lighter)
Best of luck.
Lastly when you replace the panel make sure that you use wing nuts to make subsiquent removal easier.
Cheer
Allan

I had to remove my driver trimm last year.
Heres the details
http://www.pistonheads.co.uk/gassing/topic.asp?h=0...
Hope it helps.
Heres the details
http://www.pistonheads.co.uk/gassing/topic.asp?h=0...
Hope it helps.


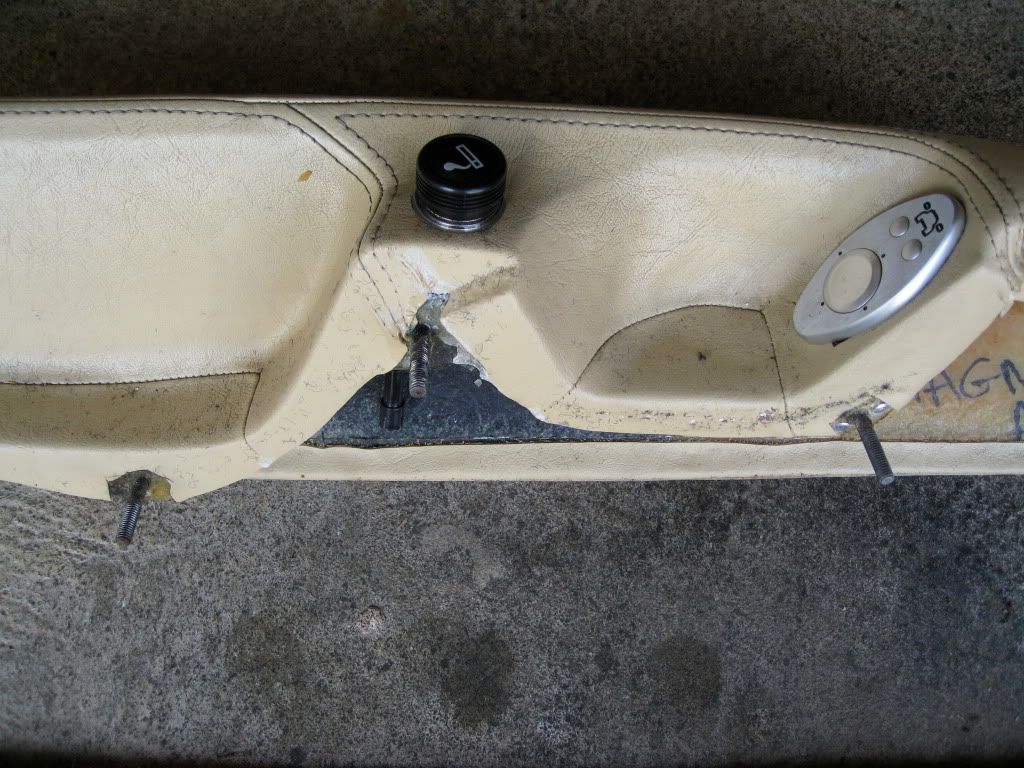
Yes, there were four bolts! After lots of yanking and pulling and about twenty minutes of being almost up to my armpit through the speaker hole I finally found the illusive last bolt, just under the lighter. Off popped the panel and then four self tappers on the card - as advertised. Now, do I use the extra metre of carpet I ordered with the Coverdale set or do I look for vinyl or leather of a matching colour? Decisions!
And next the struggle with the centre cosole ..........
And next the struggle with the centre cosole ..........
Gassing Station | Chimaera | Top of Page | What's New | My Stuff