Saab Viggen - Special Hobby, 1:72
Discussion


I’ve always liked the Viggen, but never built a model of one. I really like the shape, and the splinter camo. I wasn’t going to start this one until the Vulcan was finished, but since it might never get finished at this rate, I thought I’d open the box. It was originally a Tarangus kit, new-tooled in 2018, and re-boxed by Special Hobby in 2021. I picked it up at Telford last year. Since I had a load of Hannants vouchers from the competition, I got some resin aftermarket stuff (not sure about the “Quick and Easy” title…), a Master Model pitot tube and some canopy masks:

First thing was to wash the parts in detergent. Never used to bother, but you need all the help you can get when getting paint to stick.
First thing was to wash the parts in detergent. Never used to bother, but you need all the help you can get when getting paint to stick.

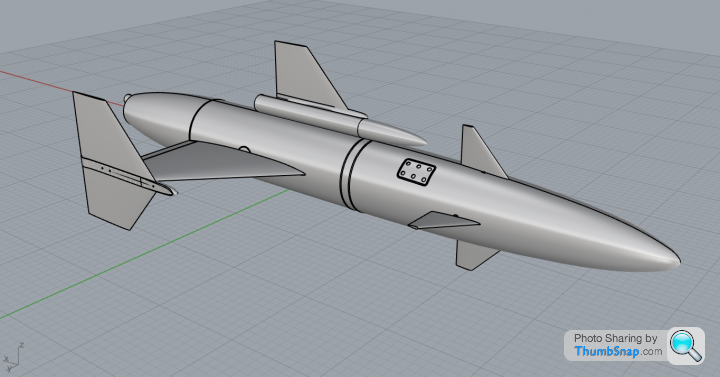
Someone on Scalemates contacted me for dimensions and photos of my Maestro Model Conversions Rb04E attack missile, kit K4821. These missiles were being used on the Viggen and other a/c.
His plan was to model these in 3D and to make them in resin. The result can be found below. In case you would like to add these to your Viggen I can send you his contact details. With the 3D model you could cast your own in 1/72. There is also a scan of the decals.
His plan was to model these in 3D and to make them in resin. The result can be found below. In case you would like to add these to your Viggen I can send you his contact details. With the 3D model you could cast your own in 1/72. There is also a scan of the decals.
alleggeria said:
Someone on Scalemates contacted me for dimensions and photos of my Maestro Model Conversions Rb04E attack missile, kit K4821. These missiles were being used on the Viggen and other a/c.
His plan was to model these in 3D and to make them in resin. The result can be found below. In case you would like to add these to your Viggen I can send you his contact details. With the 3D model you could cast your own in 1/72. There is also a scan of the decals.
Thanks - I saw some resin versions of those at Hannants - £16 a pair which seemed a bit steep. Plan is to see how it turns out, and if it’s good I might load it with a few weapons.His plan was to model these in 3D and to make them in resin. The result can be found below. In case you would like to add these to your Viggen I can send you his contact details. With the 3D model you could cast your own in 1/72. There is also a scan of the decals.
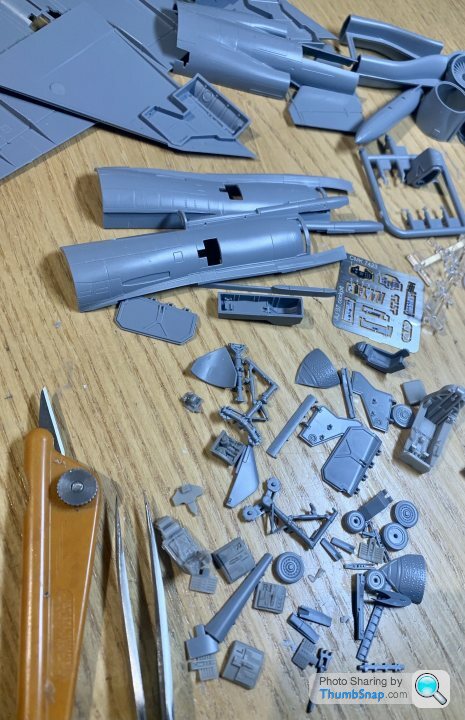
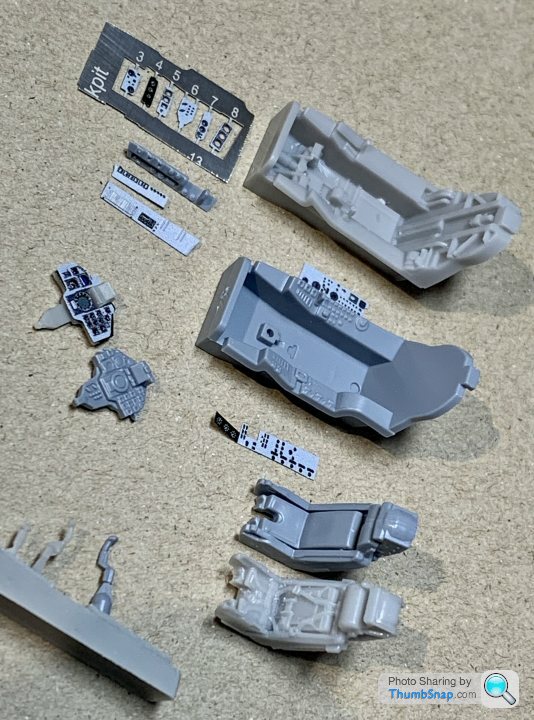
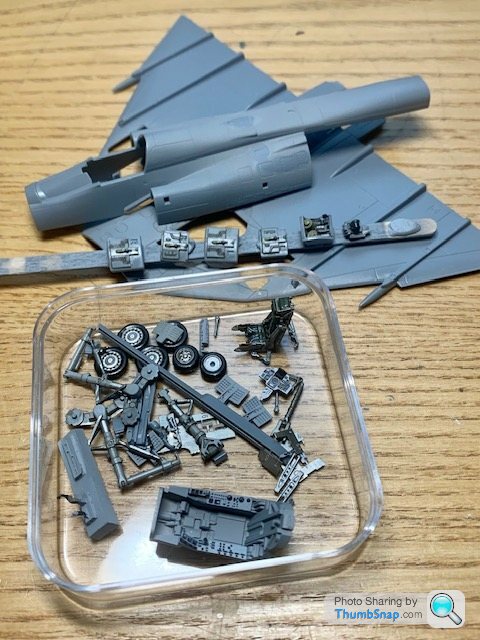
Made a start on cutting stuff out, the resin seems to be a direct replacement for the plastic once the casting blocks are sawn off:
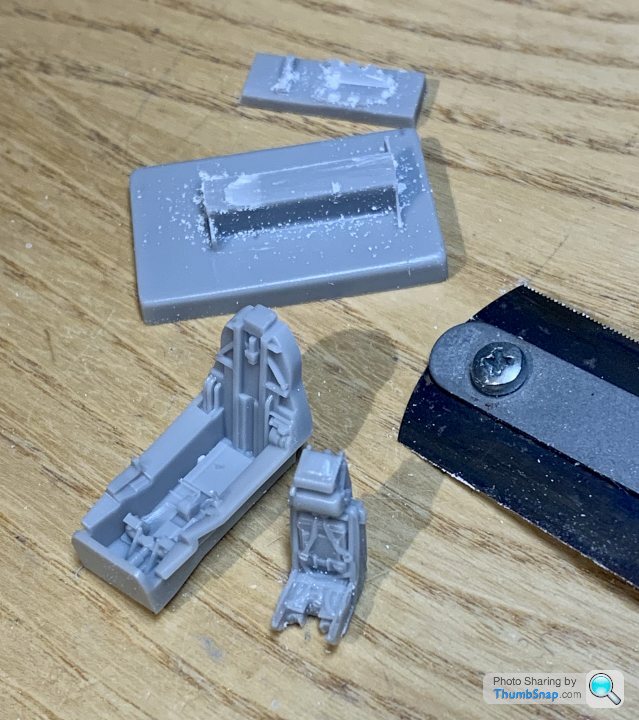
Shame the harness isn’t separate - I might scrape it off and replace with photo-etch.
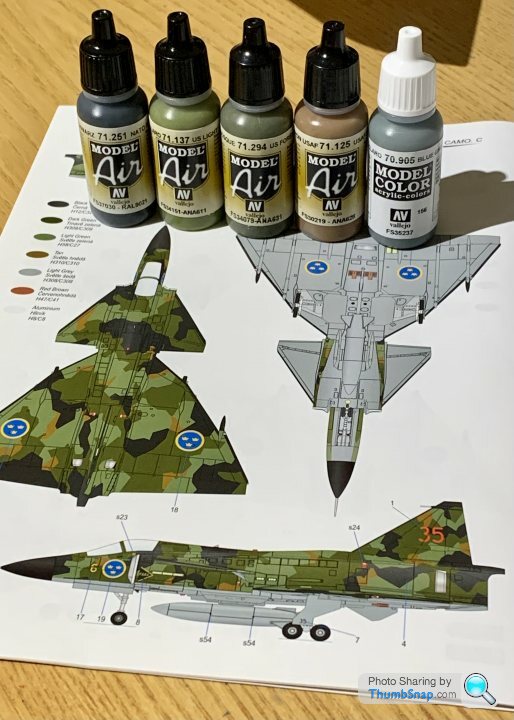
Also got the paint. Reference was a random find on the internet. They look in the right ballpark, but time will tell:
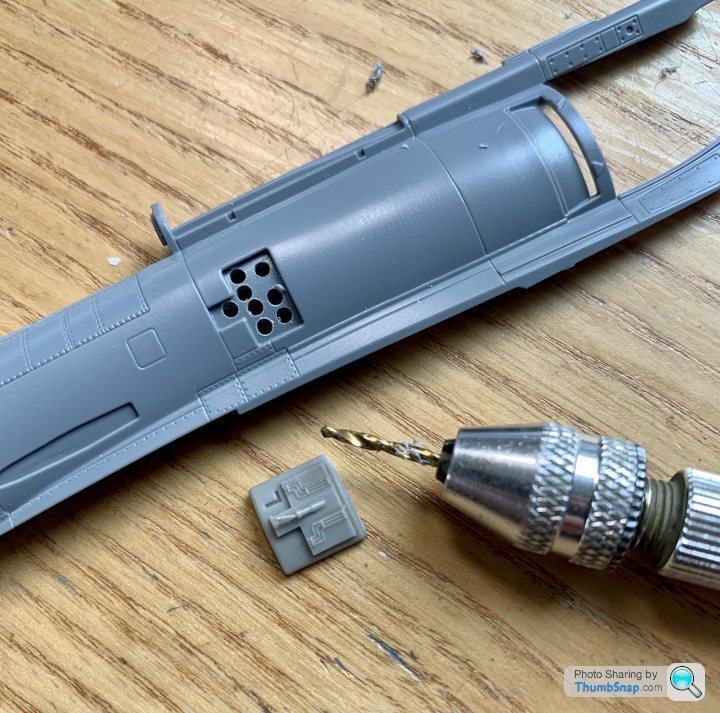
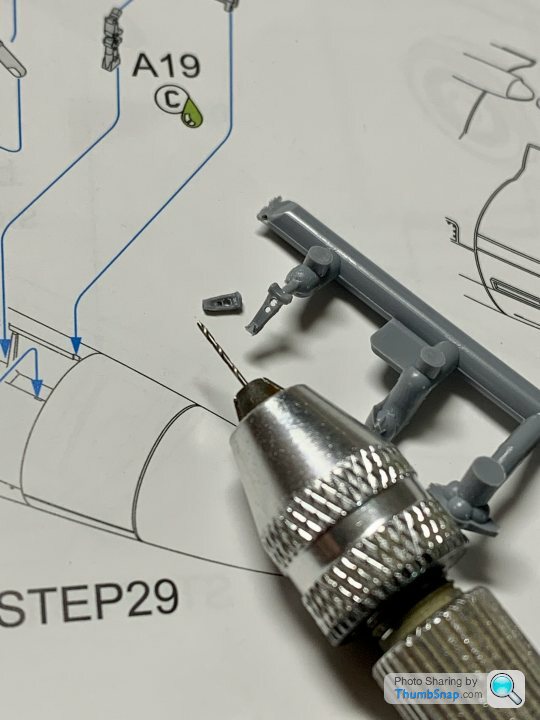
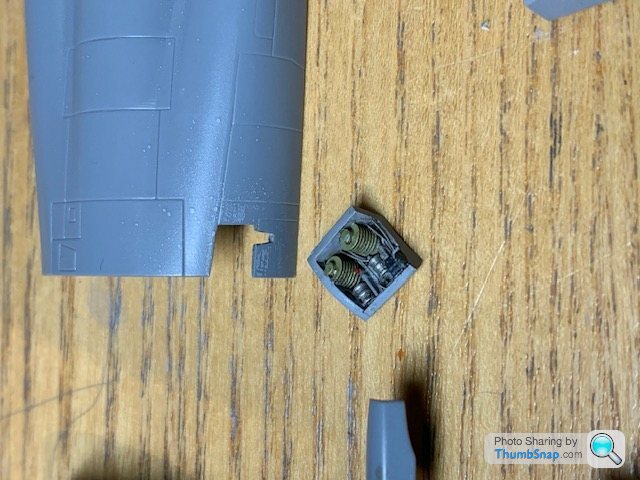
Drilled out the air intake recesses to suit the resin items:
Here’s one temporarily assembled. It’ll need a steel pin to represent the jack:
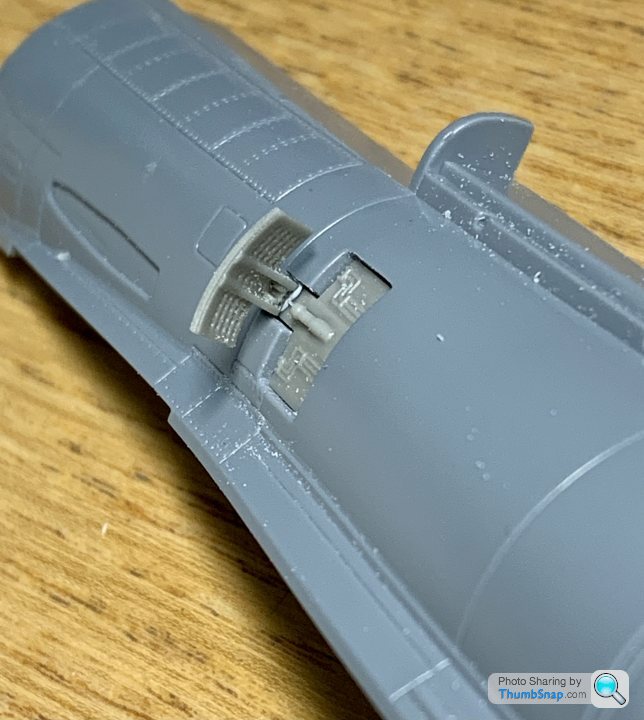
All four done, plus cleaned up the brakes themselves. Looks like an SR-71 here, which is apt, because I think the Viggen was the only known aircraft to get a radar lock on one:
Also the resin RAT and it’s compartment:
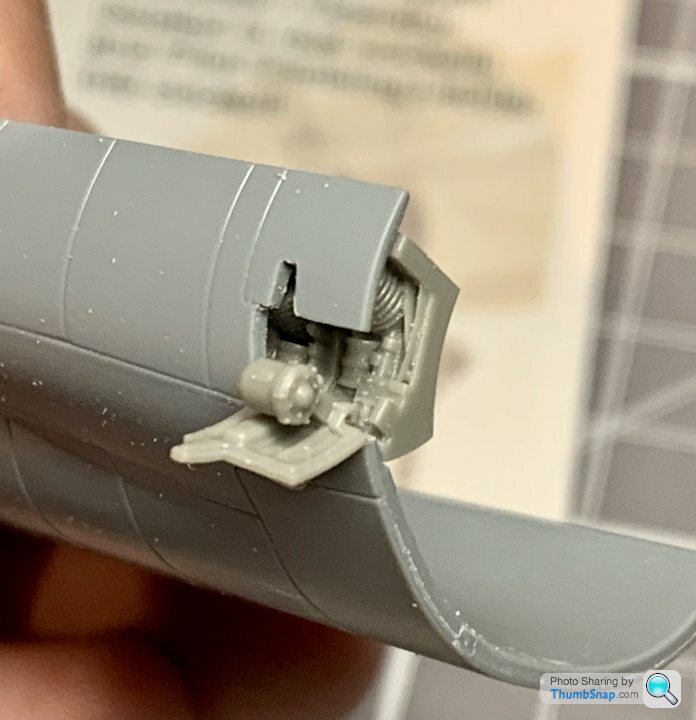
Here’s one temporarily assembled. It’ll need a steel pin to represent the jack:
All four done, plus cleaned up the brakes themselves. Looks like an SR-71 here, which is apt, because I think the Viggen was the only known aircraft to get a radar lock on one:
Also the resin RAT and it’s compartment:
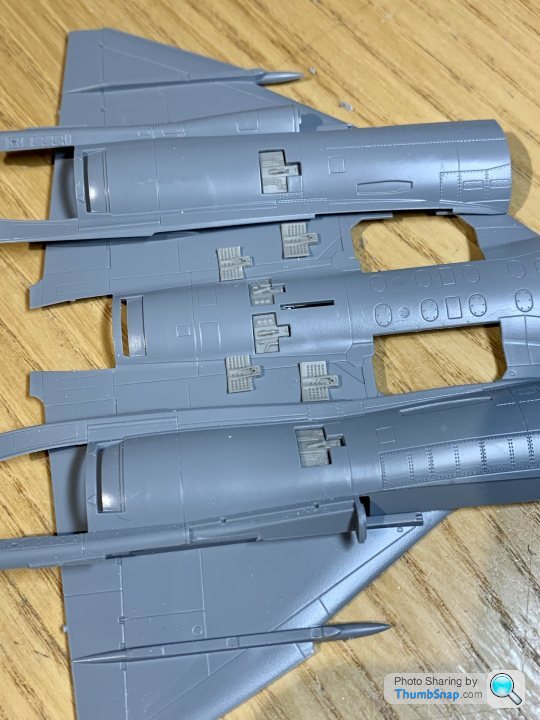
Did some parts clean-up this evening. Some really nice detail, especially the undercarriage which is beautifully represented:
How they’ve broken down the fit of the airframe is…interesting, I guess partly due to the multitude of undercuts and curved surfaces, and the option of single or double cockpits.
How they’ve broken down the fit of the airframe is…interesting, I guess partly due to the multitude of undercuts and curved surfaces, and the option of single or double cockpits.
mcdjl said:
I've got this one in my stash though it will be built in a simpler paint scheme. I also robbed the second cockpit for a mistercraft Drakken which was not as good ... Though did get built after I bought them to years ago.
It’s the complicated camo that I like about this one. I only ever built a Revell Draken and Matchbox Tunnan a very, very long time ago.Drilled out the lightening holes in the scissor links for the u/c legs:
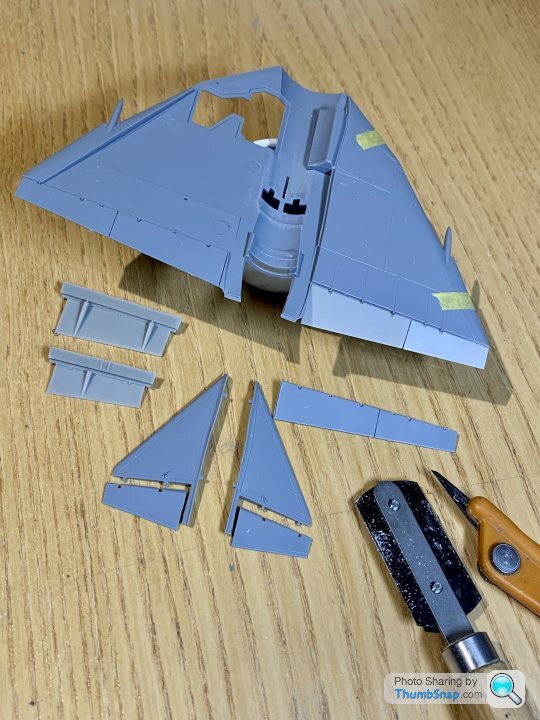
And made a start on removing the original main wing control surfaces, to replace with drooped resin items. Not often you see photos with them drooped, but it adds a bit of interest:
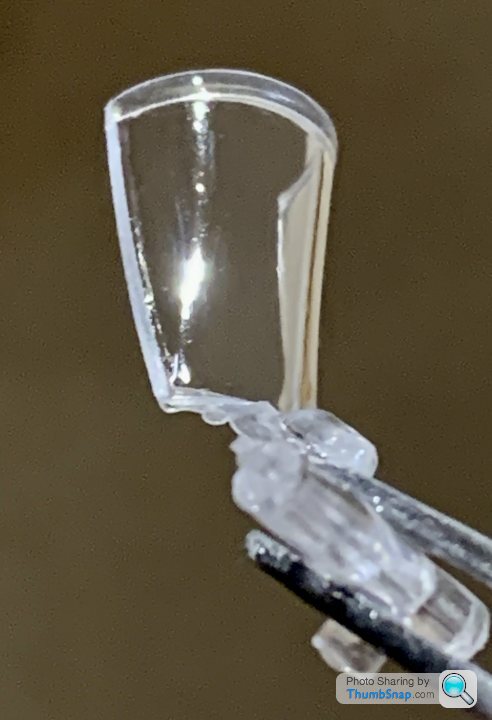
Also thinned the windscreen frame a bit:

And dipped in Klear to add some bling:
And made a start on removing the original main wing control surfaces, to replace with drooped resin items. Not often you see photos with them drooped, but it adds a bit of interest:
Also thinned the windscreen frame a bit:
And dipped in Klear to add some bling:
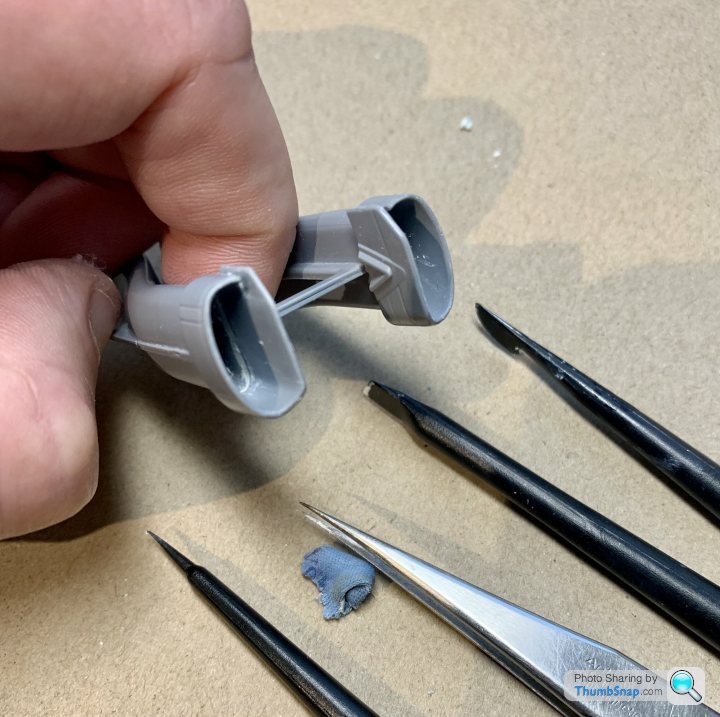
Decided to deviate from the instructions and glue the intakes to the bifurcated ducts now:
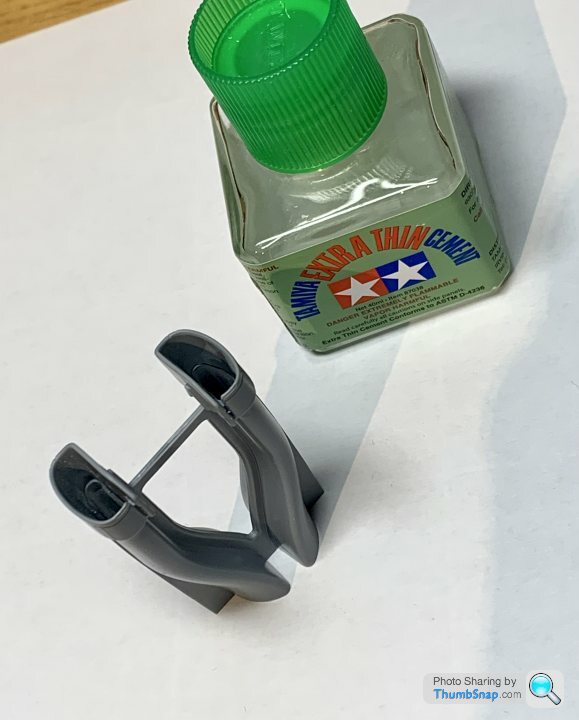
This will make smoothing the internal joins much easier.
Temporarily taped the airframe together:

Certainly looks like a Viggen.
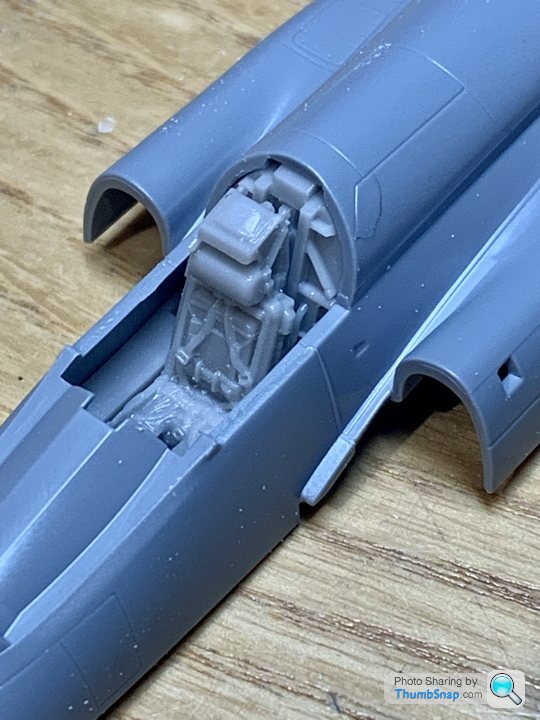
The cockpit: trouble with photo-etch for this kind of thing is that it’s a bit 2-dimensional. The kit panels have some depth to the features. Problem is the resin tub is far better detailed, but has flat side panels (where the p/e fits). May have to make a hybrid. The resin seat is ‘ok’, but separate belts always look better, so not much to choose between that and the original:
This will make smoothing the internal joins much easier.
Temporarily taped the airframe together:
Certainly looks like a Viggen.
The cockpit: trouble with photo-etch for this kind of thing is that it’s a bit 2-dimensional. The kit panels have some depth to the features. Problem is the resin tub is far better detailed, but has flat side panels (where the p/e fits). May have to make a hybrid. The resin seat is ‘ok’, but separate belts always look better, so not much to choose between that and the original:
Siko said:
Looking good and really enjoying your updates too - keep them coming mate.
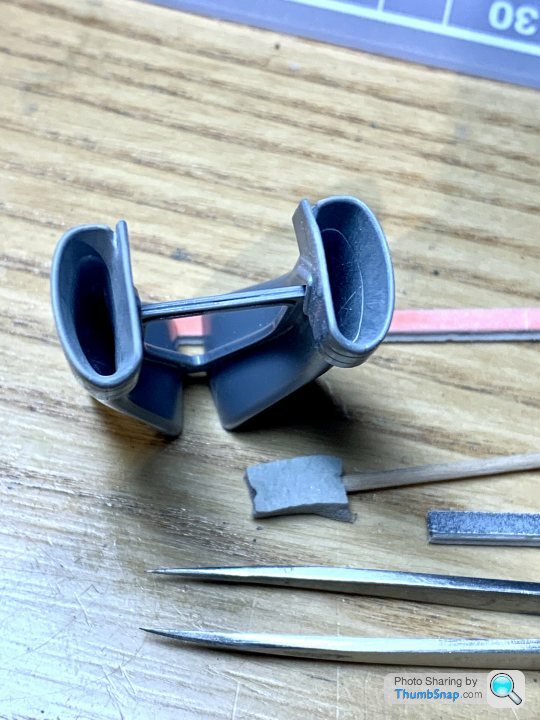
Thanks - slow progress; I’m splitting modelling time between this and the crappy Airfix Vulcan to try and at least finish it to some standard.Continued with the intake ducts - flatting the filler with a variety of sanding sticks, and sponges:
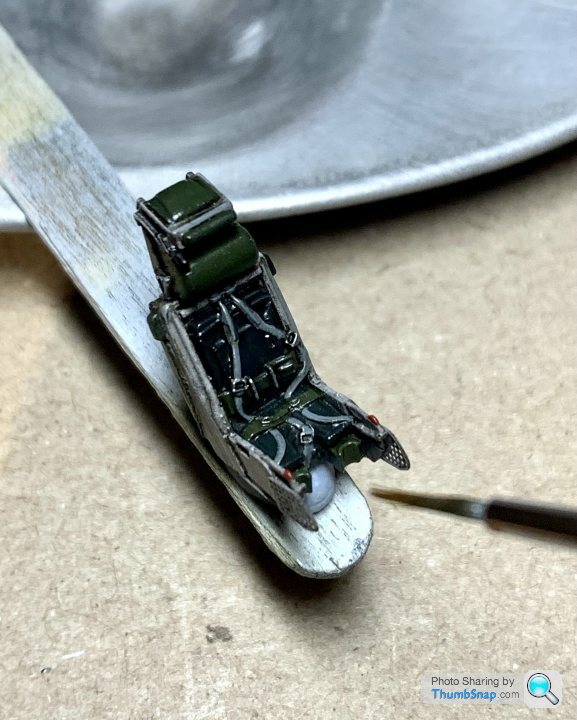
Bit more progress on the cockpit - the resin seat seemed to be missing a head pad, so I made one out of plastic rod and secured with PVA:
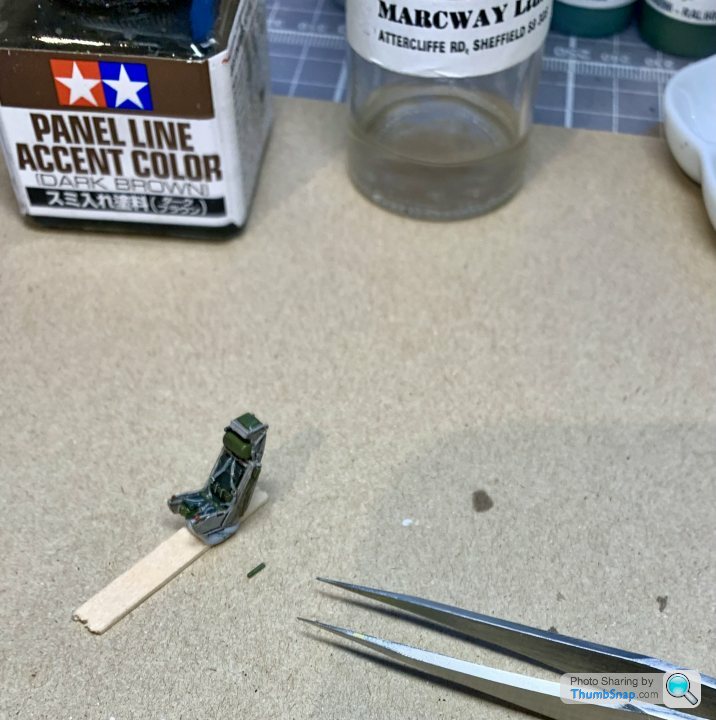
Currently working on the dark wash after detail painting:
Also made a start on the wheels - the masks I bought didn’t fit, so had to modify them. The main wheels aren’t bad, but the nose wheels still need work:
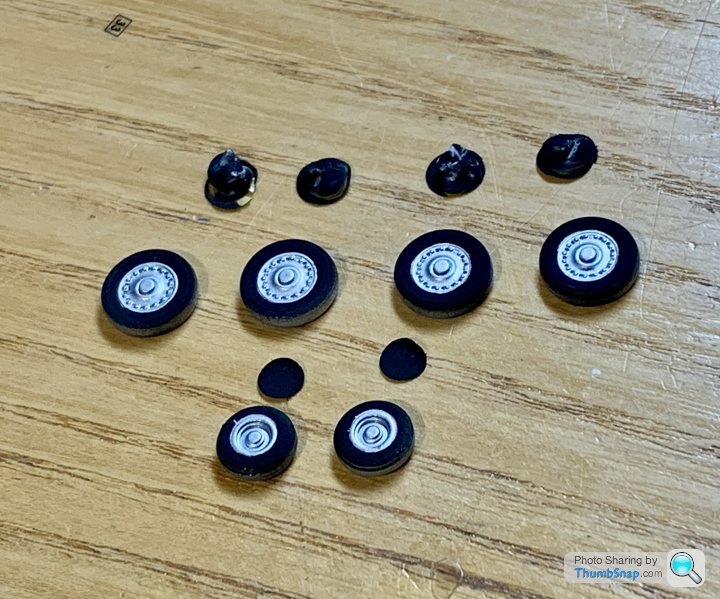
I’ll brush paint the rest of the tyres once both hubs are done.
Currently working on the dark wash after detail painting:
Also made a start on the wheels - the masks I bought didn’t fit, so had to modify them. The main wheels aren’t bad, but the nose wheels still need work:
I’ll brush paint the rest of the tyres once both hubs are done.
So a year since the last post...sums up my current modelling apathy. The family and I went up to Shetland a few weeks ago to see what was what up there, and we stayed at a friend's guesthouse. He happens to be a ace modeller, and his modelling den is something to behold - overlooking Bluemull Sound and Linga. This had a positive effect, and on returing home, I've made another start on the four models I've got in-progress (far too many in hindsight).
Anyway - detailled and painted the airbrake apertures:
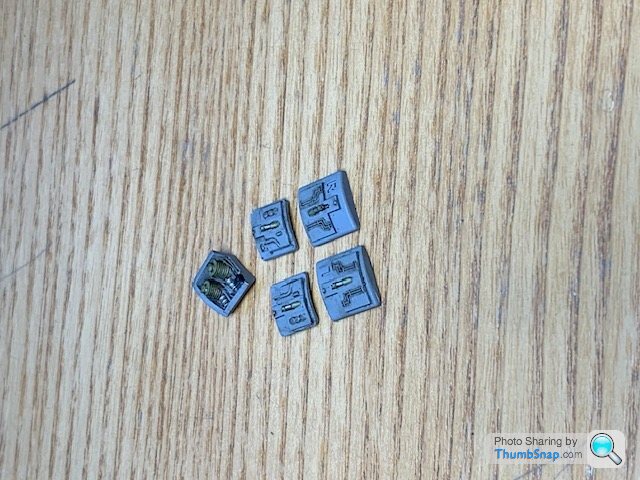
Also the RAT housing:
Fitted:
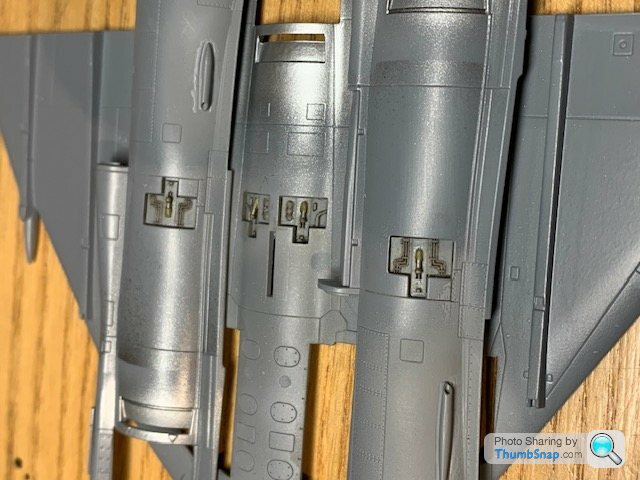
Some more detail bits finished:
Some of the air outlets needed fettling once fitted to the fuselage:
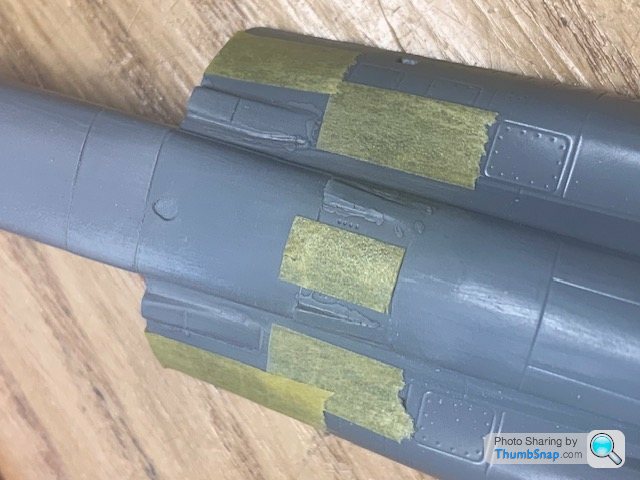

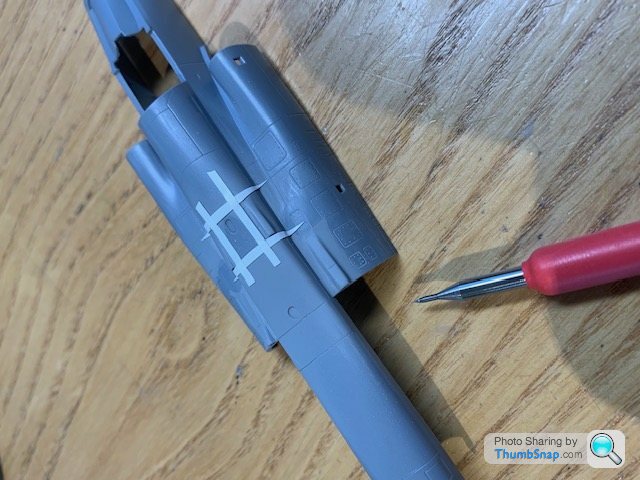
The intakes were a pain in the arse to get smooth (much like the Vulcan TBH), but various fillers and sanding implements got them something like:

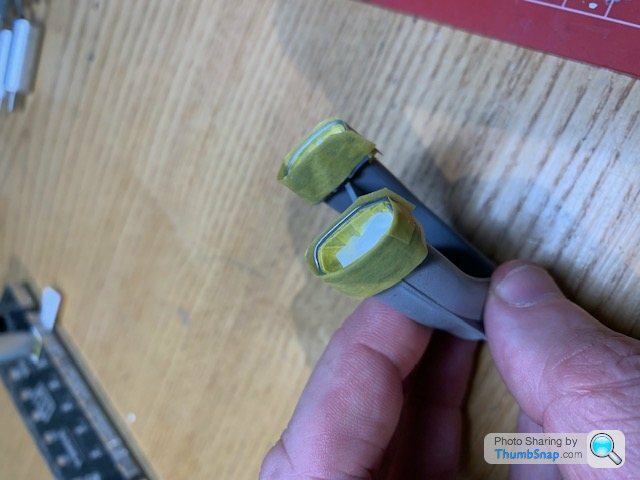
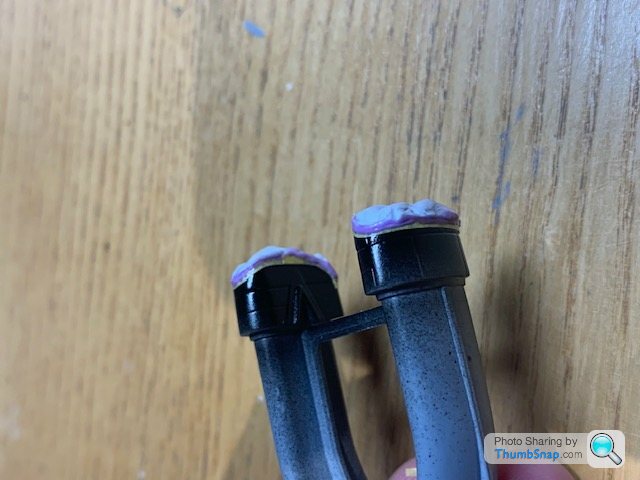
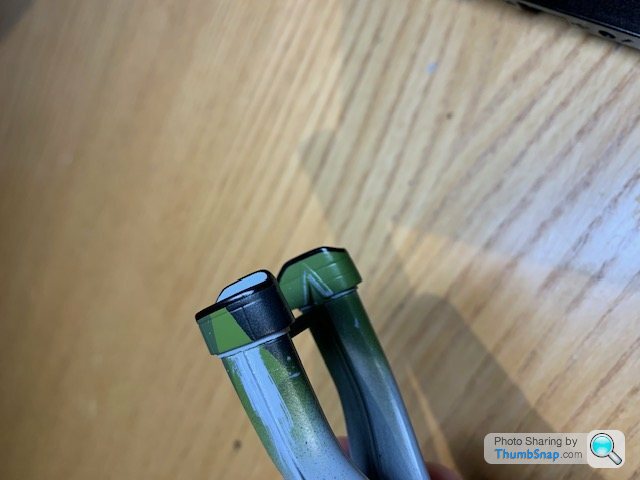
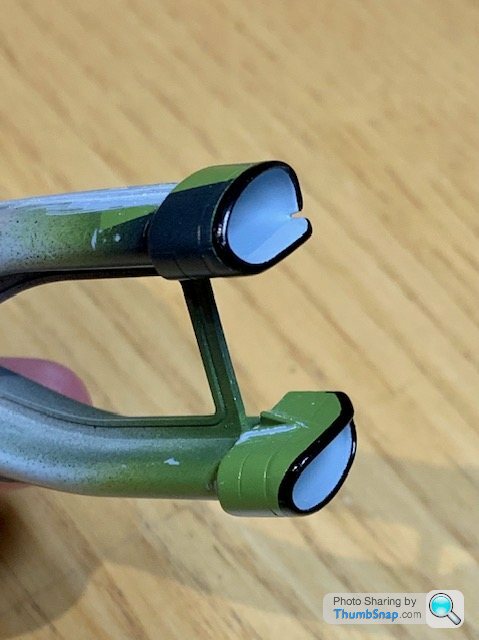
I've opted for the splinter camo, and there are some pretty inaccesible areas around the intakes, which I assume will make painting and masking very difficult. This particularly applies to the black intake lips, so I painted the whole intake sub-assembly first, with the intention of masking the apertures and inaccessible bits and blending the camo up to the pre-painted parts (not sure why there's a jagged line on one of the images, it's not there in reality):
Time will tell how this one will turn out. I've got a sense of dread whenever I pick up the Tamiya cement these days, which isn't how it shoud be!
Anyway - detailled and painted the airbrake apertures:
Also the RAT housing:
Fitted:
Some more detail bits finished:
Some of the air outlets needed fettling once fitted to the fuselage:
The intakes were a pain in the arse to get smooth (much like the Vulcan TBH), but various fillers and sanding implements got them something like:
I've opted for the splinter camo, and there are some pretty inaccesible areas around the intakes, which I assume will make painting and masking very difficult. This particularly applies to the black intake lips, so I painted the whole intake sub-assembly first, with the intention of masking the apertures and inaccessible bits and blending the camo up to the pre-painted parts (not sure why there's a jagged line on one of the images, it's not there in reality):
Time will tell how this one will turn out. I've got a sense of dread whenever I pick up the Tamiya cement these days, which isn't how it shoud be!
Gassing Station | Scale Models | Top of Page | What's New | My Stuff