Terry's tale. (S3 resto ++)
Discussion


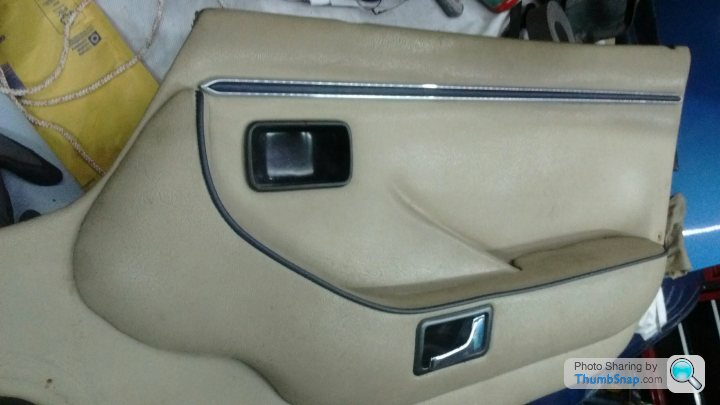
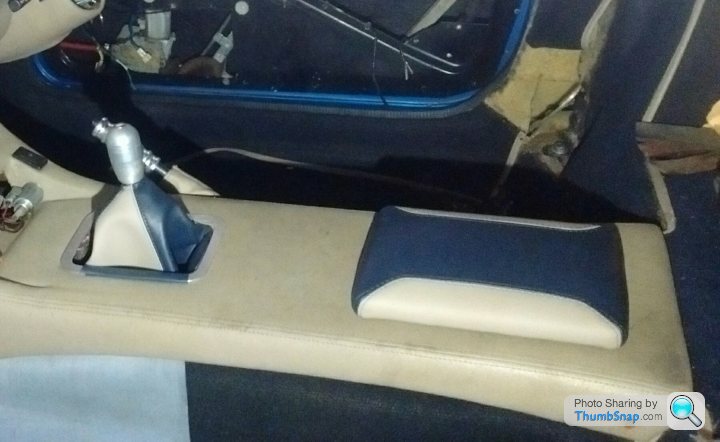
As far as the insert was required, I thought about wood..
Nar, as there's no wood trim on my car.
Doeskin insert, as per the door vinyl..
Nar, it would get lost, too bland.
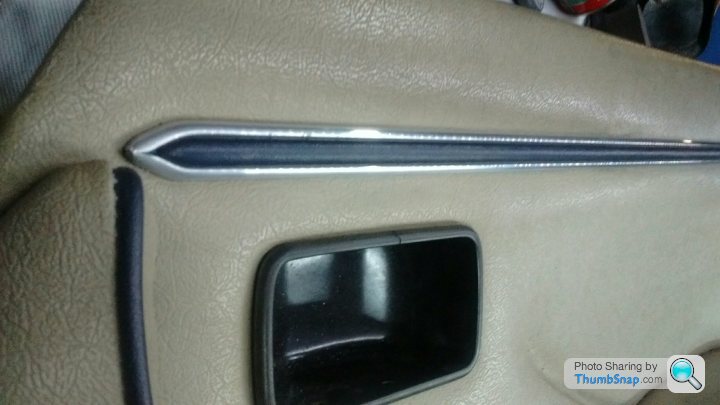
So I settled on blue vinyl to match the blue armrest piping.
All I have done is, use neoprene foam tape as the backing, then cut a long strip of vinyl, glue it to the foam, and fold it down into the aluminium folded edges.
I think it looks okay..
There is one more to do of course, but it's getting cold out there in the garage !!
T.
Nar, as there's no wood trim on my car.
Doeskin insert, as per the door vinyl..
Nar, it would get lost, too bland.
So I settled on blue vinyl to match the blue armrest piping.
All I have done is, use neoprene foam tape as the backing, then cut a long strip of vinyl, glue it to the foam, and fold it down into the aluminium folded edges.
I think it looks okay..
There is one more to do of course, but it's getting cold out there in the garage !!
T.
Hi Mick (& all)...
Well, I've finished our ensuite bathroom refit... Err, well it will be tomorrow !
My garage being used as the workshop/dumping ground for the new 'stuff', tools, old stuff, boxes etc etc. The 'S' being safely located on the top bunk of the lift.
But next week after the clear out, it will be coming back down... Or not !
As I have all the parts to hand, to weld up the exhaust pipework from the Jag manifolds to the Tvr silencer, so it'll stay up above for now.
So that was February...
Although I did do 'some' Tvr related work in January.
More about that next....
T.
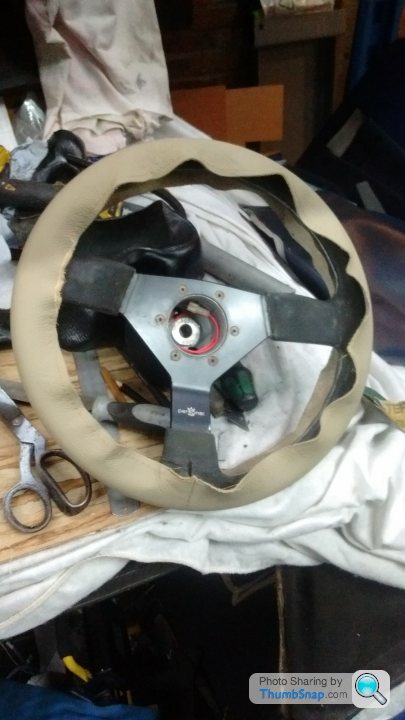
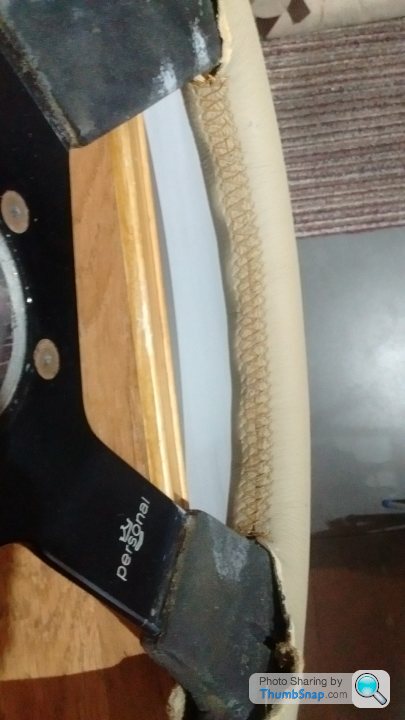
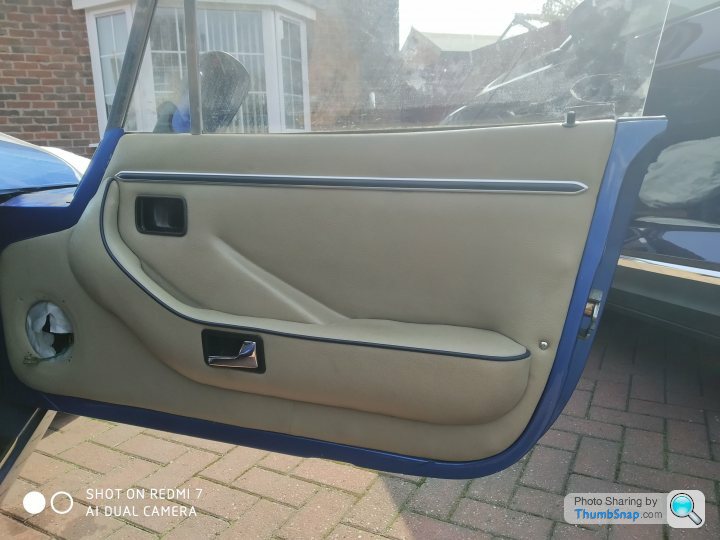
Another bit of progress was made in Jan, being as a mate (retired upholsterer) had made me a couple of interior pieces to my spec.
Not yet final fixed, but you get the idea.
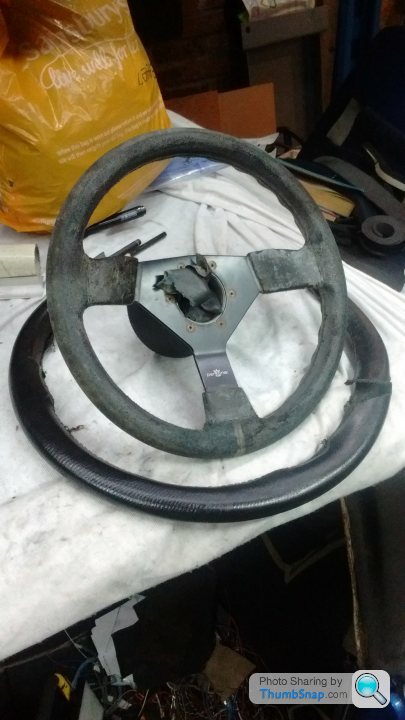
Plus, not being one to shy away from learning a new skill, I asked my mate if he would cut and sew a new leather cover for my steering wheel... And I would do the rest !
[url]
 |https://thumbsnap.com/ducLaIWM[/url]
I've just got the infill bits to do around the spokes, and that'll be another (unplanned) job done.
T.
Not yet final fixed, but you get the idea.
Plus, not being one to shy away from learning a new skill, I asked my mate if he would cut and sew a new leather cover for my steering wheel... And I would do the rest !
[url]
|https://thumbsnap.com/ducLaIWM[/url]I've just got the infill bits to do around the spokes, and that'll be another (unplanned) job done.
T.
Edited by Blue 30 on Tuesday 25th February 19:50
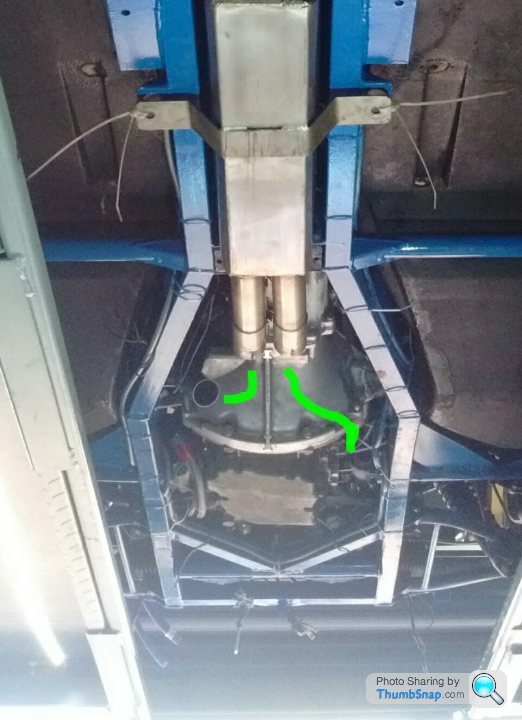
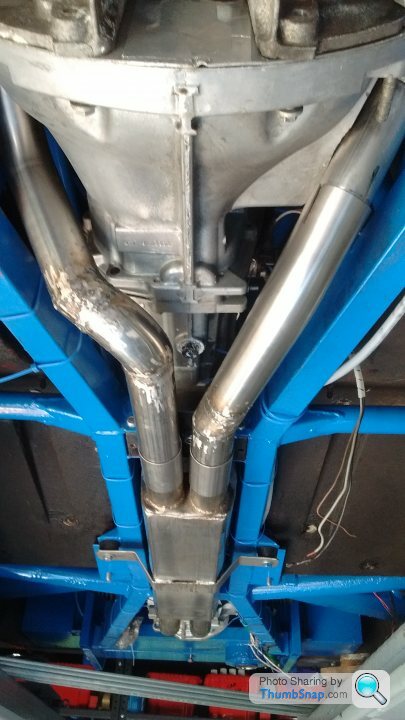
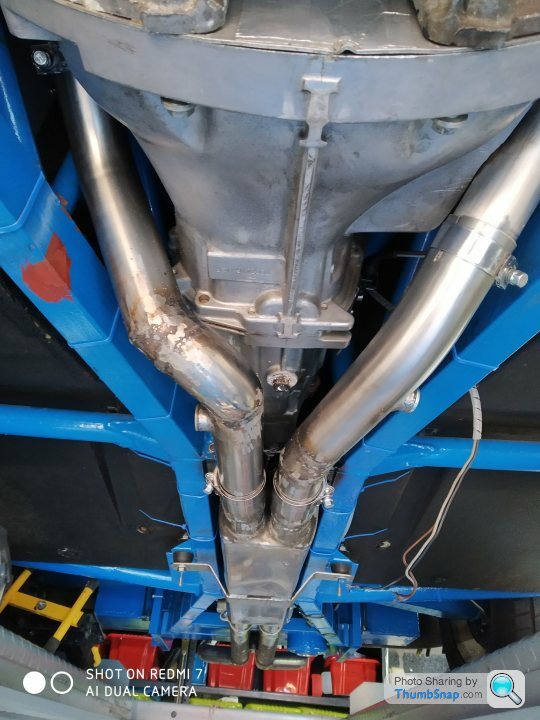
Welding stainless steel isn't so easy with a Mig welder (and me holding the torch).
But both exhaust banks are now joined up with the silencer. Just a bit more tidying up to do, then clamp em down. And add the tail end of course.
Oh, that's after I have fitted the prop shaft, and anything else located above the exhaust !
T.
But both exhaust banks are now joined up with the silencer. Just a bit more tidying up to do, then clamp em down. And add the tail end of course.
Oh, that's after I have fitted the prop shaft, and anything else located above the exhaust !
T.
I was going to say, because of the current virtual lockdown I might as well slow down. Mmmm, better not, as I will be dismantling it again 
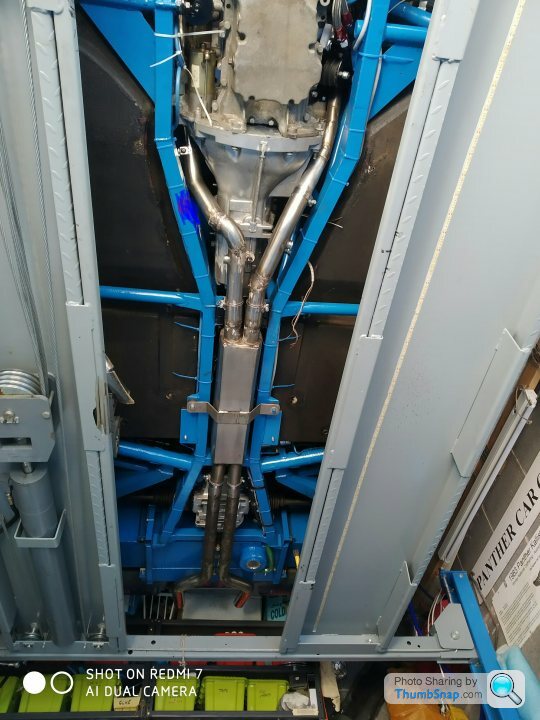
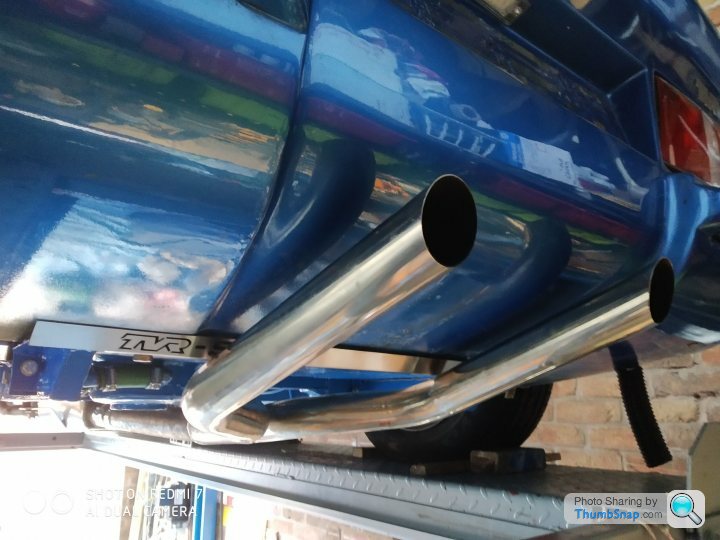
Here is the exhaust system fully in situ.
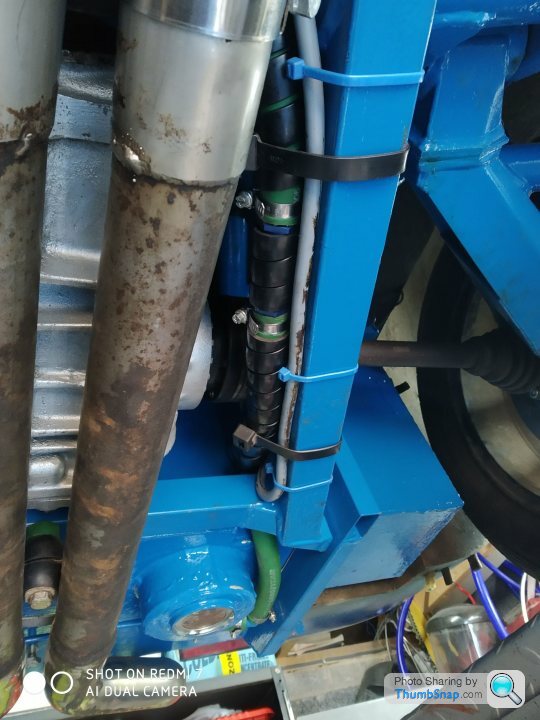
And the tank - pump fuel pipe, securely clipped in place including an inline filter (its in hiding) plus a spiral covering just to add a bit more heat protection.
I have been doing more work, such as finding out the s/steel rear trim panel I bought at least a year ago (that's the one that hides the tank support). And drilling through the new tank support to fix it into place.
I have added fuel, and run the pump manually. No leaks, and it holds a good head of pressure at the injector rail.
I would have fired up the engine for the first time, but I wanted to connect my PC to check all of the 'live' ecu info. But guess who has lost his connector lead adaptor. Drrrr. A new one is now on its way ! And will be sanitised √
So hopefully the ignition key will be turned within 7 days or so.
Its at that point I will call it 'a car' again.
Although in truth the resto continues....
Here is the exhaust system fully in situ.
And the tank - pump fuel pipe, securely clipped in place including an inline filter (its in hiding) plus a spiral covering just to add a bit more heat protection.
I have been doing more work, such as finding out the s/steel rear trim panel I bought at least a year ago (that's the one that hides the tank support). And drilling through the new tank support to fix it into place.
I have added fuel, and run the pump manually. No leaks, and it holds a good head of pressure at the injector rail.
I would have fired up the engine for the first time, but I wanted to connect my PC to check all of the 'live' ecu info. But guess who has lost his connector lead adaptor. Drrrr. A new one is now on its way ! And will be sanitised √
So hopefully the ignition key will be turned within 7 days or so.
Its at that point I will call it 'a car' again.
Although in truth the resto continues....
Re - My exhaust system.
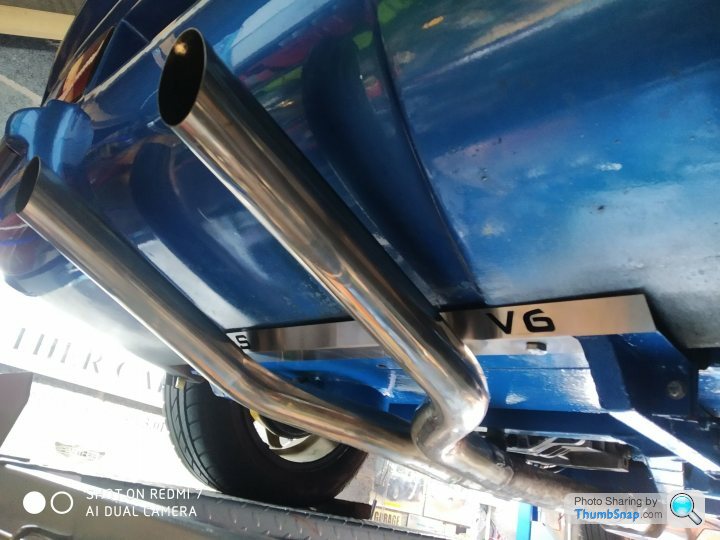
Sorry, I have no idea what it is in brand terms or where it came from. When I bought the car it was already fitted, it's not too old but had seen its share of service due to the evident minor dents and scratches. I sold the 'J' pipes a while back, and the rest is what you can see above. My car is 89/90 which I think would have originally had the closely grouped twin tail pipes, but on my system they are the separated design.
T.

Cheers guys.
It's getting towards that time where I'll have to wear my surgical gloves when doing the 'must keep clean' jobs.
Sorry Mick, I'll have to pass on that offer. But I don't mind sending you my still smokin, one careful owned upholstery needle.
There are a few YouTube videos on sewing a steering wheel cover.
T.
Today & Sunday...
Today i got the car out of the garage. Cleared out all of the accumulated cr*p from the interior ready to soak/wash wet vac the carpets tomorrow, as I want to take advantage of the dry warmish weather.
If time allows tomorrow, I want to save the Emerald supplied preloaded ecu map to my PC (as a safety net). Then Monday I want do do a few of my own mapping changes.
So (to answer your question) I plan to (hopefully) start the engine for the first time on Tuesday. But as there is no water in the cooling system at the moment, after a vroom vroom, I will turn it off, and carry on with the resto. I don't want to get bogged down with engine tuning just yet when there's plenty of other work to be getting on with.... Afterall its not going anywhere, just yet !!
Cheers.
T.
Edited by Blue 30 on Sunday 5th April 22:38
And for once in my life, I'm ahead of myself....
Today Monday, after doing as many ECU based checks as I thought required, then saving the Emerald preloaded base map to my PC (as a safety net), there was nothing else to do other than turn the ignition key....
Ah ha, it runs, revs up, seems to be on x6 cylinders, so that'll do.. Turn it off.
Only it won't !!
Run to the battery master 'kill' switch, turn that off, and the engine stops.. Phew !
No probs, I'll sort that out later. (its bound to be a back feed).
Oh, I like the engine sound it makes
T.
As I suspected, the continuous running issue was a back feed. The ign switched +12v to the ECU just doesn't like being in the same ignition supplied circuit as the +12v as sent to the warning lights, especially the alternator charging ignition warning light. Some of which I had changed to Led, so you could say it was my own fault.
Anyway it's all fixed now. The engine both starts and stops on the key.
Lots of ECU map tuning to do. But I'm leaving that until later. As next I want to tidy up all of the new wiring looms (engine bay & behind the dash), then start on getting the interior back in situ. Including getting the door electrical features to work as they should (I'm adding remote central locking).
So that's my car aerobic exercise done for today
I hope this weather holds as it's great to work outside for a change. But it also means I've got some slabs to lay
T.
Hi guys....
A little help required please.
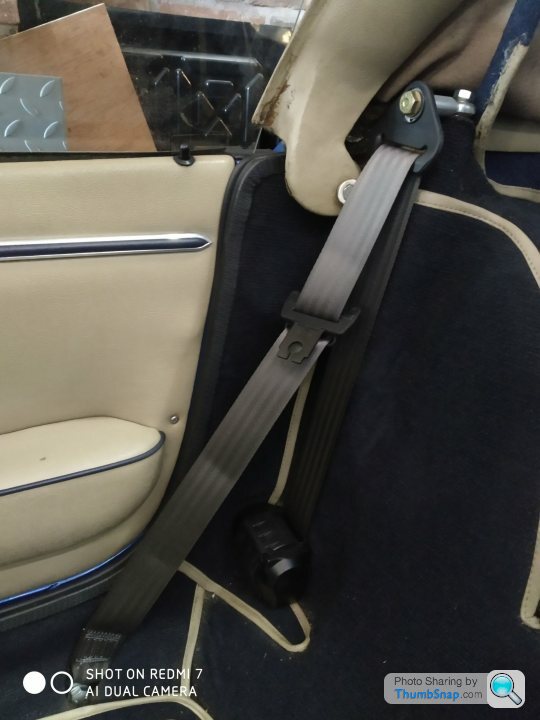
I'm ready to close up the driver's door, refit the card etc. All the electrical things work, as does the door locking mechanism.
My question is regarding the fit of the door. I have read, and understand how the hinges fit, work, and adjust.
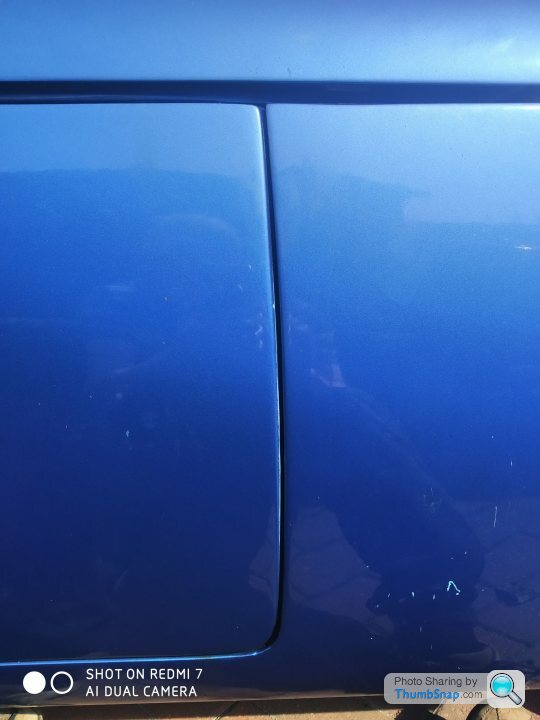
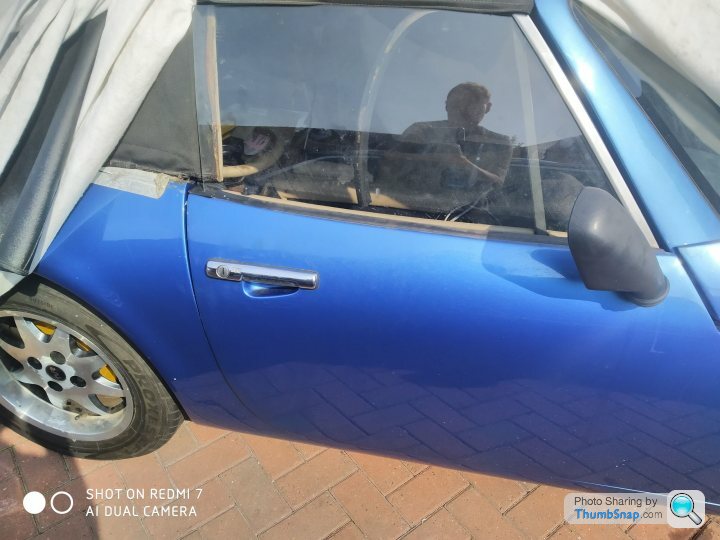
See my attached photos, all of the door gaps are good and equal, and there is only a tiny bit of lift on the hinges. But the door appears to low at the top/back, about 10mm lower than the rear side panel (where the velcro normally is).
Is yours the same as mine, or is it level away ?
T.


A little help required please.
I'm ready to close up the driver's door, refit the card etc. All the electrical things work, as does the door locking mechanism.
My question is regarding the fit of the door. I have read, and understand how the hinges fit, work, and adjust.
See my attached photos, all of the door gaps are good and equal, and there is only a tiny bit of lift on the hinges. But the door appears to low at the top/back, about 10mm lower than the rear side panel (where the velcro normally is).
Is yours the same as mine, or is it level away ?
T.
And a little bit of help required please...
My grey handbook has this 'S' logo on it...
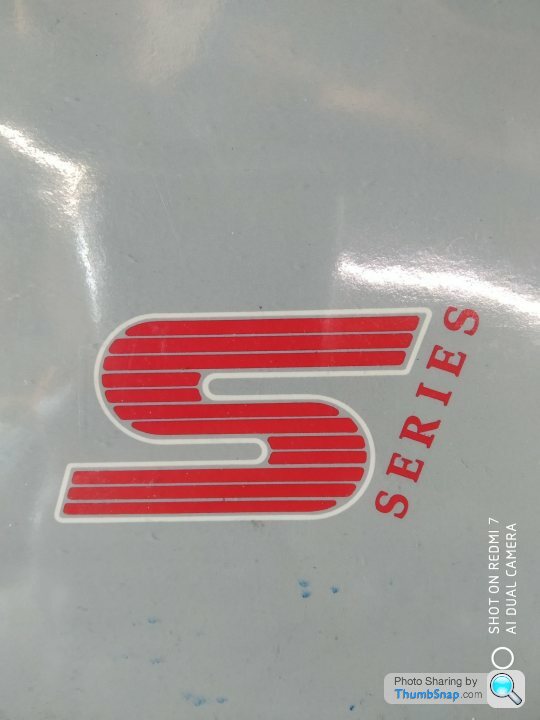
I have also seen images of S's with a coach line and that S logo...

Not being an expert on the S history, I have to guess that maybe the coach line and logo were a customer option.
My early S3 does not have it, but I would like to include it once my resto is completed.
The image above is S3C.
Question... Does anybody have a good image of the S3 logo, so that I can get a printshop to make me a couple... That's unless you know of supplier ?
TIA.
T.
My grey handbook has this 'S' logo on it...
I have also seen images of S's with a coach line and that S logo...
Not being an expert on the S history, I have to guess that maybe the coach line and logo were a customer option.
My early S3 does not have it, but I would like to include it once my resto is completed.
The image above is S3C.
Question... Does anybody have a good image of the S3 logo, so that I can get a printshop to make me a couple... That's unless you know of supplier ?
TIA.
T.
Gassing Station | S Series | Top of Page | What's New | My Stuff