Fiesta RS Turbo Restoration
Discussion


Scottish Greg said:
TROOPER88 said:
One big difference.......
Your paying a garage to do all the work for you; that was not my intention. The idea is I do as much as I can possibly do myself. That way not only do I learn a lot but the finished article should feel that little bit more special. I have even had to buy the tools such as engine crane and stand.
Thanks for all the positive comments. I will pop to bodyshop on Saturday; fingers crossed the Hillman is finished.....
Well, as i work away for 6 months of the year, the car would never be finished. Plus i dont have the facilities. No matter how its done, everyones car is special to them.Your paying a garage to do all the work for you; that was not my intention. The idea is I do as much as I can possibly do myself. That way not only do I learn a lot but the finished article should feel that little bit more special. I have even had to buy the tools such as engine crane and stand.
Thanks for all the positive comments. I will pop to bodyshop on Saturday; fingers crossed the Hillman is finished.....
How much has your fiesta cost you so far in total?
Cheers
UPDATE........!
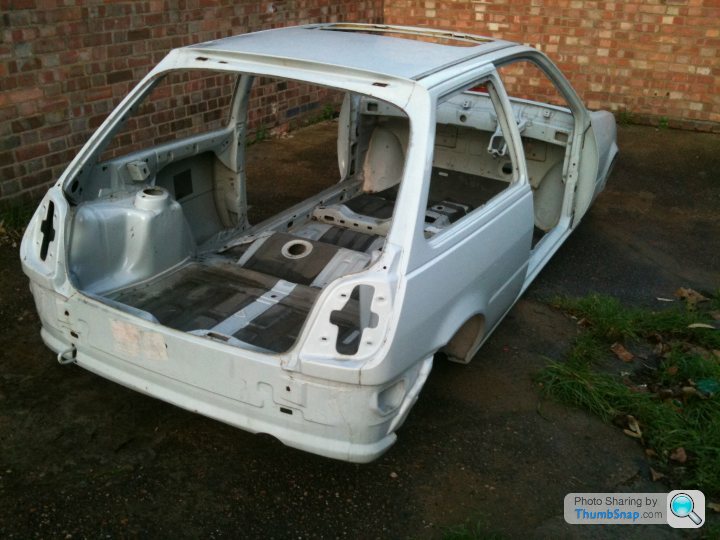
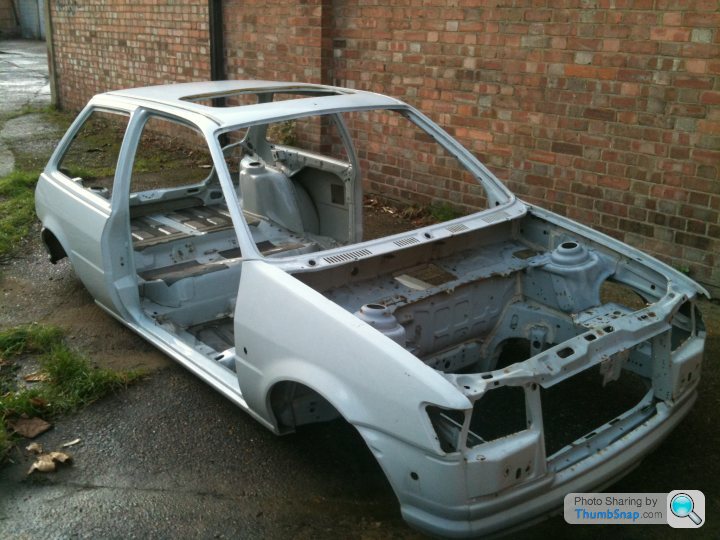
Whilst I was waiting for the bodyshop to take mine in for the welding to begin, a friend of a friend discovered a NEW UN-USED MK 3 FIESTA SHELL!!
I purchased it and it was dropped to me on Saturday. It has never been used although does need a light sand blast before painting as at some time it must have been stored outdoors as there is surface rust in places.
It will be going to the bosyshop in the next couple of weeks. I spent the weekend removing the rolling gear from my shell onto the new one.
I could have spent a fortune getting mine welded; which was the plan, but it would never be a patch on a new shell!
I will take some pictures when it is on the was to paint and during....
Cheers
The RS is still waiting to go to the bodyshop. They have the keys for the garage where I keep it and as soon as they are ready they will get cracking.
The door hinges have not been welded on yet; thats a job for the bodyshop.
I found the shell on the Fiesta RS Turbo website. Not to sure on its history but I know it is ultra rare.
The door hinges have not been welded on yet; thats a job for the bodyshop.
I found the shell on the Fiesta RS Turbo website. Not to sure on its history but I know it is ultra rare.
I know, I know you all think I have abandoned the project!!
I moved into a new house last December and the builders are constructing a new double garage that will be finished in a few weeks.
The shell has just come back from the bodyshop where they welded on brand new Ford door hinges (not an easy task) and cut threads in quite a few places they were missing (Rear seat belts and rear seats etc)
Over the next week or so I am going to start preparing the shell and all plastic. I have been advised to use 800 grit paper on everything. I will be buying a large compressor in the next week or two so that when the garage is finished I am ready to begin painiting. I think the bodyshop advised me to prep everything, then give it all a coat of matt black before priming and top coat. I think I will be using water based paint before finishing with a clear lacquer.
I am really excited about doing all this and learning as I go,
I will add pictures throughout!
Hi
I have been spending quite a few hours preparing the shell for paint. The garage will be complete in about 3-4 weeks.
I now own a professional air compressor and all the bits I will need for a top quality job.
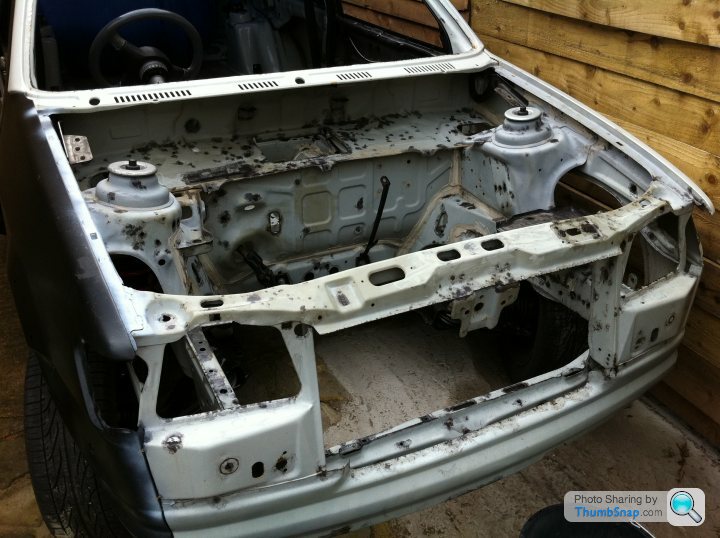
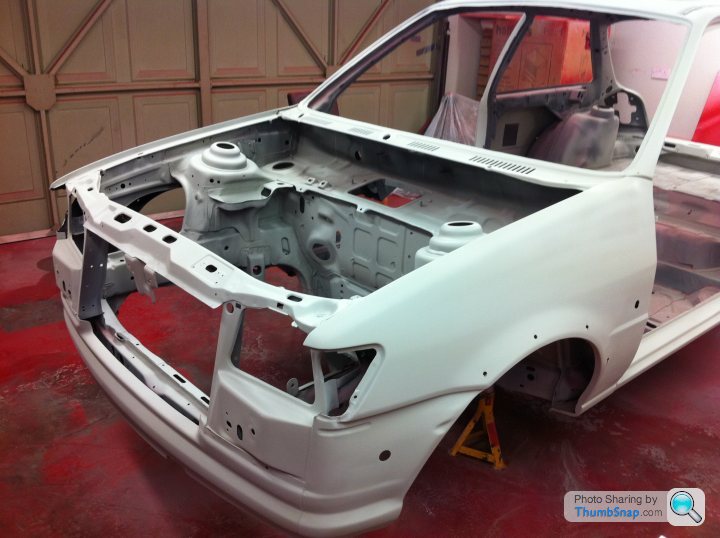
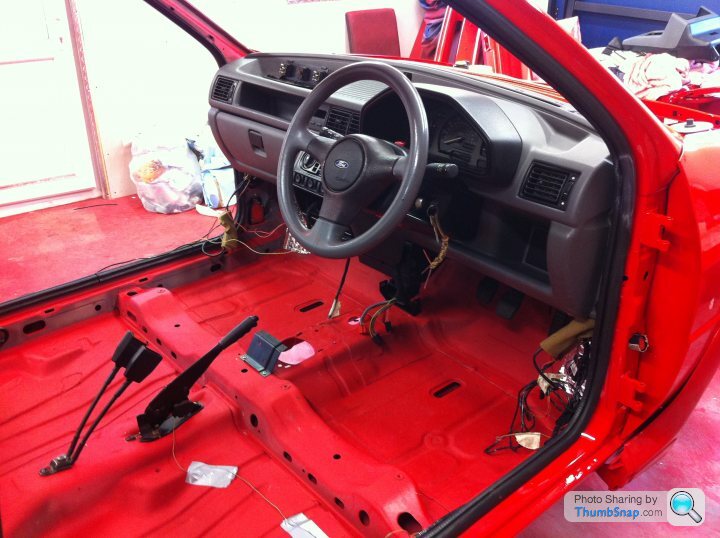
You will see in the pictures that I have sanded and treated a lot of the surface rust in and around the engine bay, slam panel and foot wells. I have also prepared the bumpers and all plastic for paint.
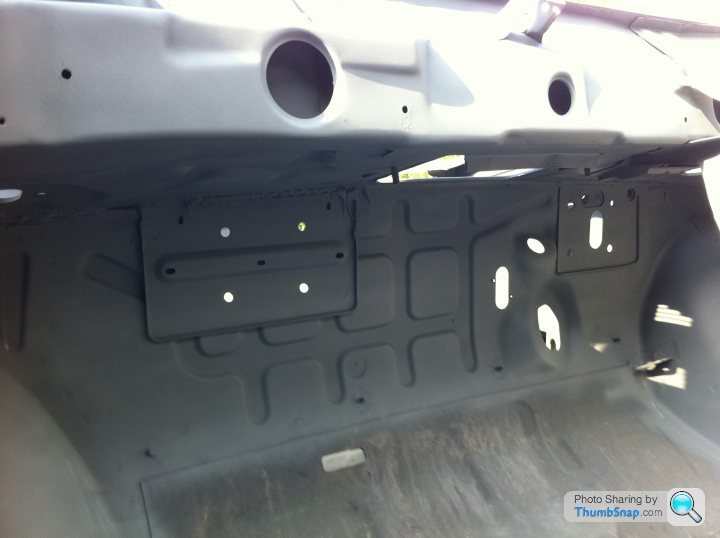
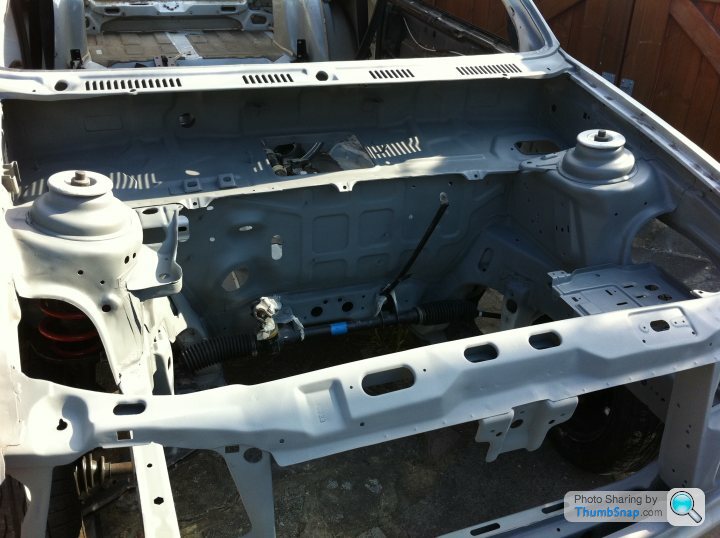
I will finish all the treating and zinc priming of the surface rust on the shell over the next few weeks.
Let me know what you think of the progress, some before and after pics:
Engine bay before:
Slam panel before:
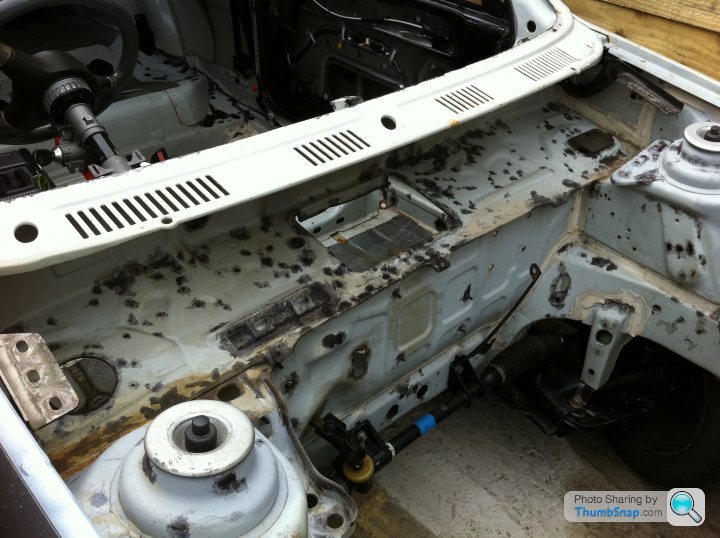
Foot well and dash before:

Foot well treated, prepared and zinc primed:
Engine bay treated, prepared and zinc primed:
Let me know what you think
I have been spending quite a few hours preparing the shell for paint. The garage will be complete in about 3-4 weeks.
I now own a professional air compressor and all the bits I will need for a top quality job.
You will see in the pictures that I have sanded and treated a lot of the surface rust in and around the engine bay, slam panel and foot wells. I have also prepared the bumpers and all plastic for paint.
I will finish all the treating and zinc priming of the surface rust on the shell over the next few weeks.
Let me know what you think of the progress, some before and after pics:
Engine bay before:
Slam panel before:
Foot well and dash before:
Foot well treated, prepared and zinc primed:
Engine bay treated, prepared and zinc primed:
Let me know what you think
Edited by TROOPER88 on Friday 1st July 19:00
Hi
Work has commenced!!!
We had a lovely double garage built which was completed a couple of weeks ago. I pushed the Fiesta into the garage and layed the boot lid, bonnet, bumpers, doors and bodykit out in order to begin the huge job of the body work.
I began about a week ago and o boy is it a lot of work!!
I can now see how a body shop would charge so much for a full on respray such as this. I began by getting the panels (not the shell; thats next week!) ready for primer.
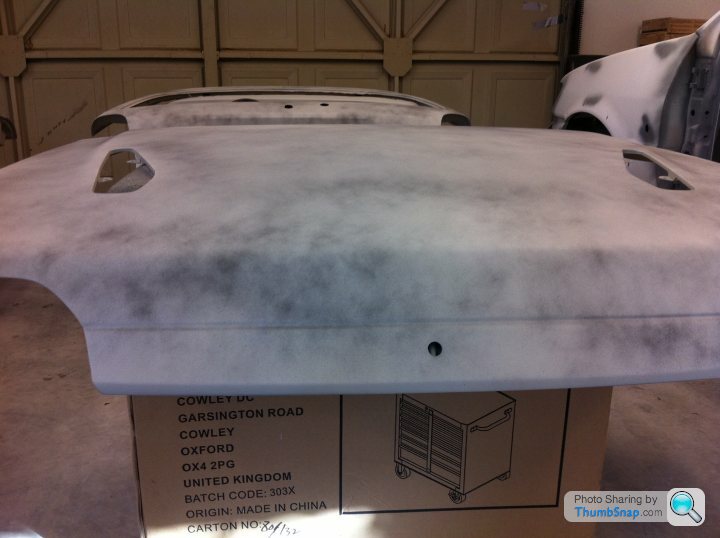
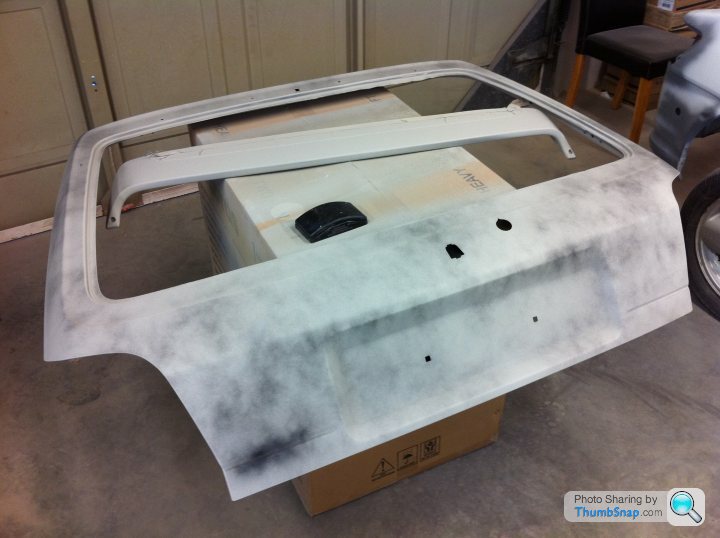
On went 3 coats of 2k primer followed by a guide coat:
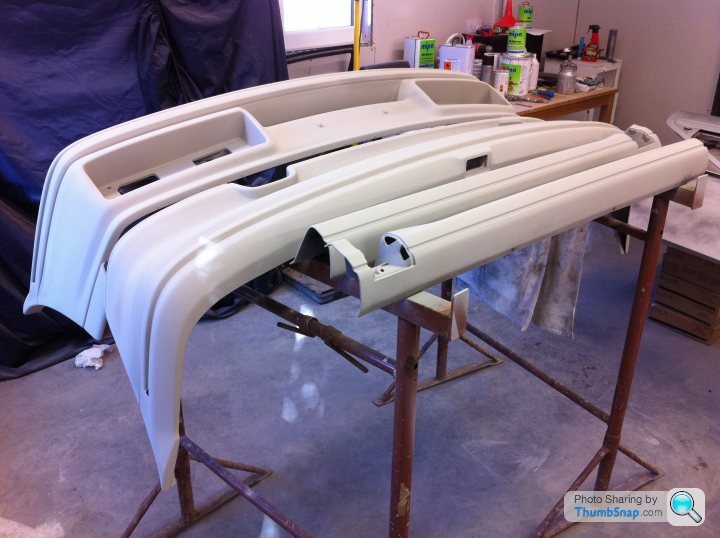
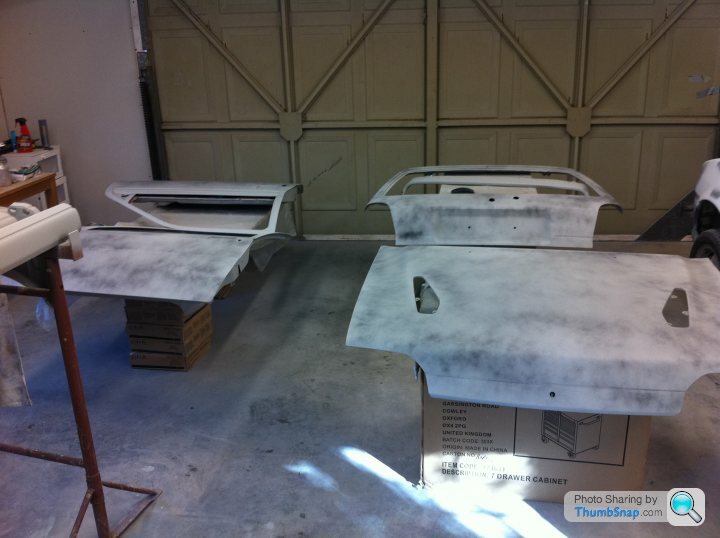
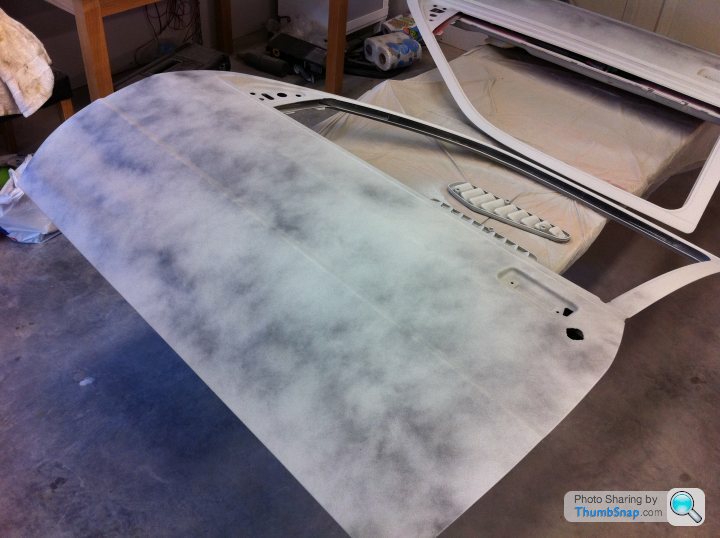
To give you an idea of how much work is involved, it has taken the best part of a day just to wet sand the bonnet, the boot lid and the bumpers!!
To prep and prime the doors alone would be more than a day if you have to strip the doors first!!
Tomorrow I will finally paint all of the above in Ford 2k Radiant Red. I will then begin the shell next week.
Once painted it will all be left for a month to allow the paint to fully harden before I flat and polish it.
I think your thoughts and comments may be useful to motivate me as this is 100's of hours of work!!
Cheers
Work has commenced!!!
We had a lovely double garage built which was completed a couple of weeks ago. I pushed the Fiesta into the garage and layed the boot lid, bonnet, bumpers, doors and bodykit out in order to begin the huge job of the body work.
I began about a week ago and o boy is it a lot of work!!
I can now see how a body shop would charge so much for a full on respray such as this. I began by getting the panels (not the shell; thats next week!) ready for primer.
On went 3 coats of 2k primer followed by a guide coat:
To give you an idea of how much work is involved, it has taken the best part of a day just to wet sand the bonnet, the boot lid and the bumpers!!
To prep and prime the doors alone would be more than a day if you have to strip the doors first!!
Tomorrow I will finally paint all of the above in Ford 2k Radiant Red. I will then begin the shell next week.
Once painted it will all be left for a month to allow the paint to fully harden before I flat and polish it.
I think your thoughts and comments may be useful to motivate me as this is 100's of hours of work!!
Cheers
Wing Commander said:
I will be following this closely as I am in a similar situation. I have recently got a new garage (just moving into a new house) so I will have extra space for potentially painting the bits myself.
You might have mentioned it before, but what spray and prep equipment will you be using?
Definitely keep us posted on every stage of the progress! I for one will always be reading how you are getting on...
Thanks for your comments.You might have mentioned it before, but what spray and prep equipment will you be using?
Definitely keep us posted on every stage of the progress! I for one will always be reading how you are getting on...
What do you mean by what prep equipment am I using??
Cheers
Wing Commander said:
I suppose I was wondering if you had any compressor and air tools or if you were rubbing down by hand etc. Also, are you making your garage into a spray booth or have you made it so it's super clean anyway seeing a it's new?
As I say, I'm probably going to be in your position in a few months and am wondering what things I should buy! :-)
Will be making the garage as clean as possible. The walls and ceiling have been insulated and boarded but wont be painted until the car has been sprayed (spraying is very messy).As I say, I'm probably going to be in your position in a few months and am wondering what things I should buy! :-)
I purchased a second hand 150 litre Ingersoll Rand air compressor but unfortunately it stopped working shortly after beginning the priming!
I had to purchase a new replacement which I will be using today.
Since I sanded all the panels yesterday I am hoping this morning all I have to do is wet the floor, degrease the panels, go over them with a tack cloth and then give them 2-3 coats of paint.
I will add some pics later if the colour goes on ok!
Started painting this morning.
I have just purchased a cheap air line water filter as there is water droplets on some of the panels.
I do not know whether they will sand out when dry or if I will have to rub down and apply paint again.
The pictures make everything look a lot better than it actually is because you can not see the water blisters.
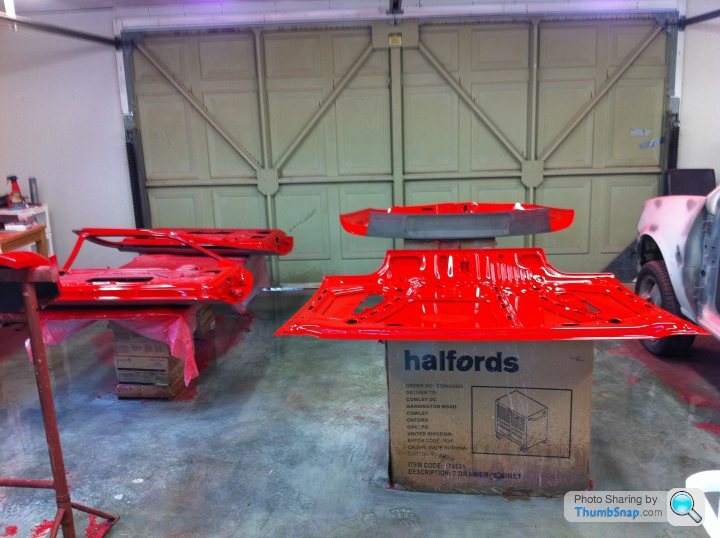
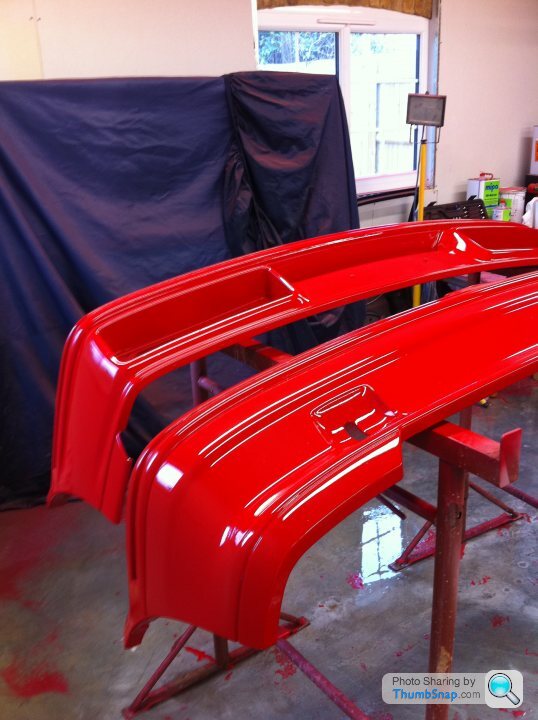
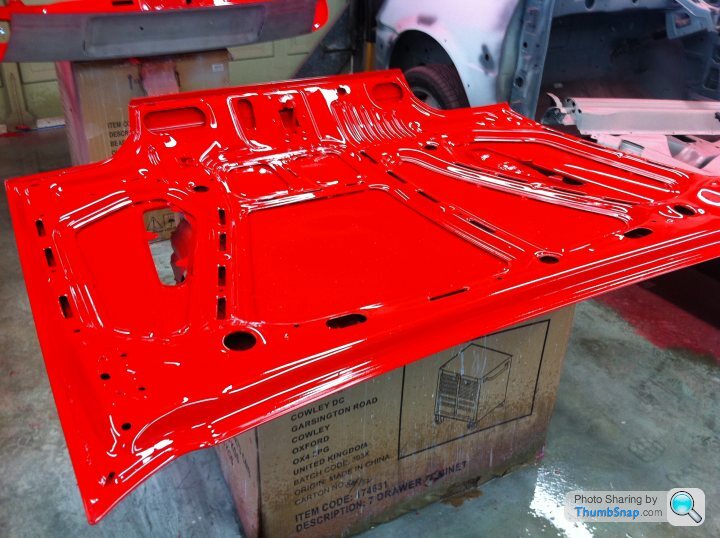
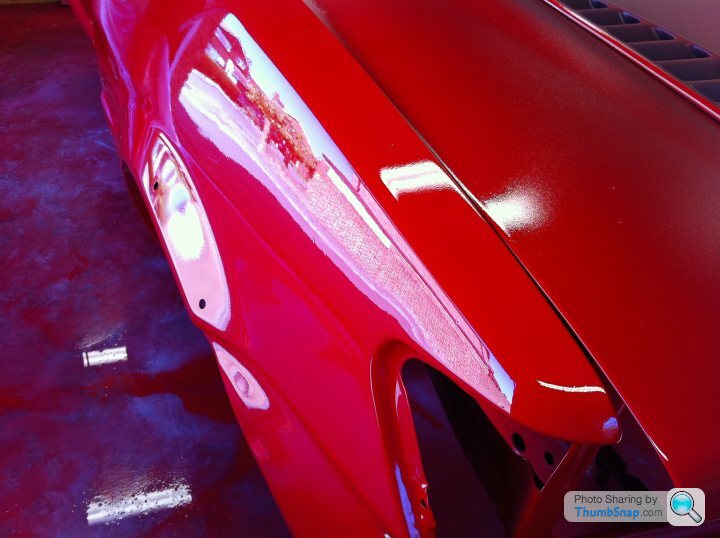
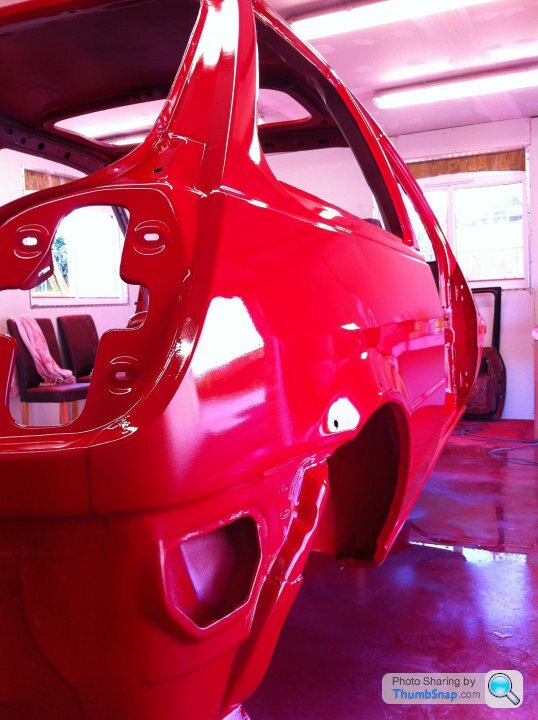
Still painting.
Have done all panels inc doors, boot lid, bonnet, bumpers and body kit.
The shell is next but due to it being a 'fixed' object I think it will be easier (I hope!!).
A couple pics of the paint. Everything will be sanded and polished in due course.
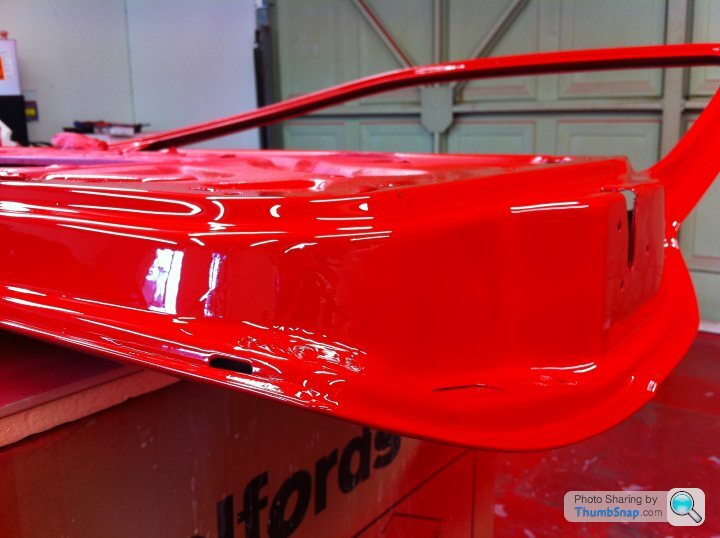
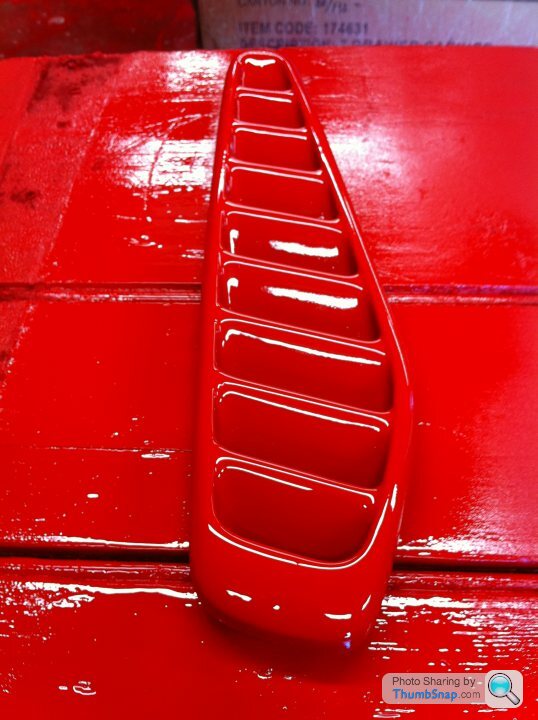
Look forward to hearing your thoughts.
Have done all panels inc doors, boot lid, bonnet, bumpers and body kit.
The shell is next but due to it being a 'fixed' object I think it will be easier (I hope!!).
A couple pics of the paint. Everything will be sanded and polished in due course.
Look forward to hearing your thoughts.
matc said:
Just read the whole thread, great job you're doing; although I can't help but think that if you've gone to this much trouble why you wouldn't get it all painted profesionally in a booth?
I'm not knocking your painting skills at all, but by your own admission you've already had some problems. If I'd put in a few years of work I would want it perfect.
Thanks for the comments.I'm not knocking your painting skills at all, but by your own admission you've already had some problems. If I'd put in a few years of work I would want it perfect.
With all due respect if, as you say you have read the full post you will have read that I am learing as I go which is one of the aims of the project; to pick up as many new skills as I can.
If as you suggest I get a paint shop to do the bodywork why draw the line there?
Why not get a garage to fit the clutch?
Why not get the engine fitted by a mechanic?
Why not get an auto electrician to refit the loom?
I will get a good result on every part of the project (with a bit of luck....) inc the paint (see above pictures).
As I and many have seen you can pay for a garage to do a full restoration for you but I really do not see the point not to mention the cost.
When this is finished I can stand back and say 'I did that'.
One of the members on here (Scottish Greg I think) paid a garage to do his restoration. I would estimate it has cost him way over 10k. I was quoted 5k just for the paint.
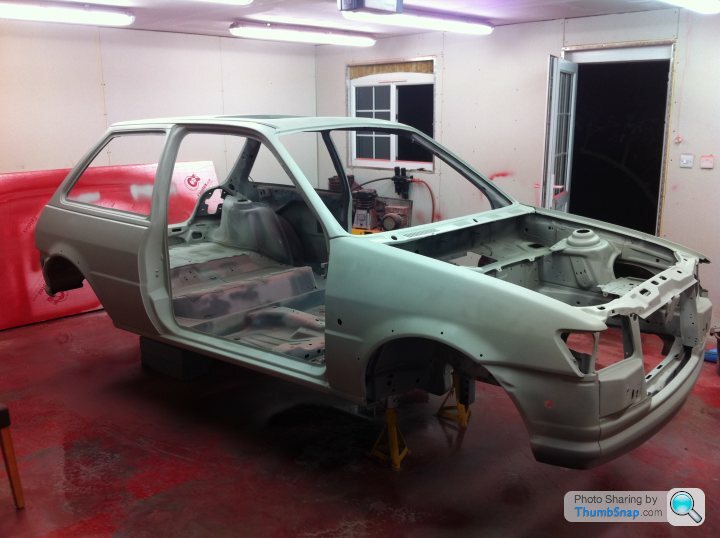
I primed the shell yesterday and have been painting the floor today (this and working full time 8 hour shifts). I came in from the garage after priming at 10pm last night....
I will of course keep this post updated with regular pics!!
Thanks
Thank you for all the comments; it does help!!
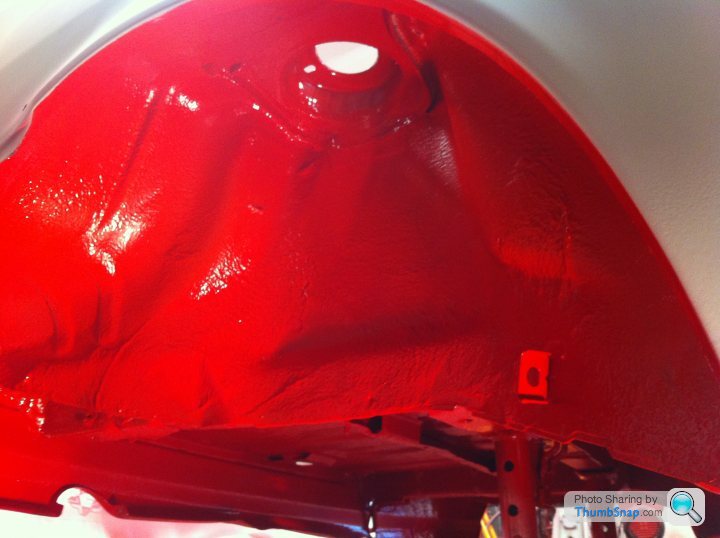
Below is the primed shell (3 coats of 2 pack primer) and a pic of the first of the arches to have Hammerite painted on.
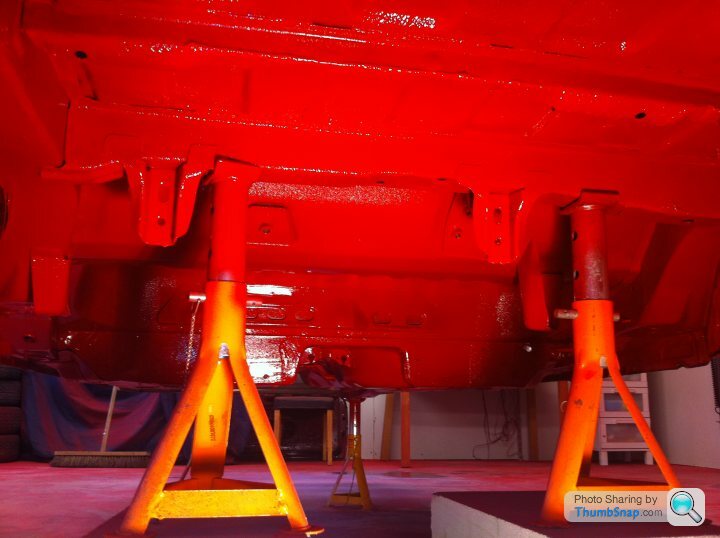
The floor has also been done and will try and get some pics later. The underseal on the floor has again been hand painted with Hammerite whilst the transmission tunnel and other smooth floor areas has been sprayed in 2 pack.
I am trying not to be to critical with the floor because at the end of the day it is just the floor.
Cheers
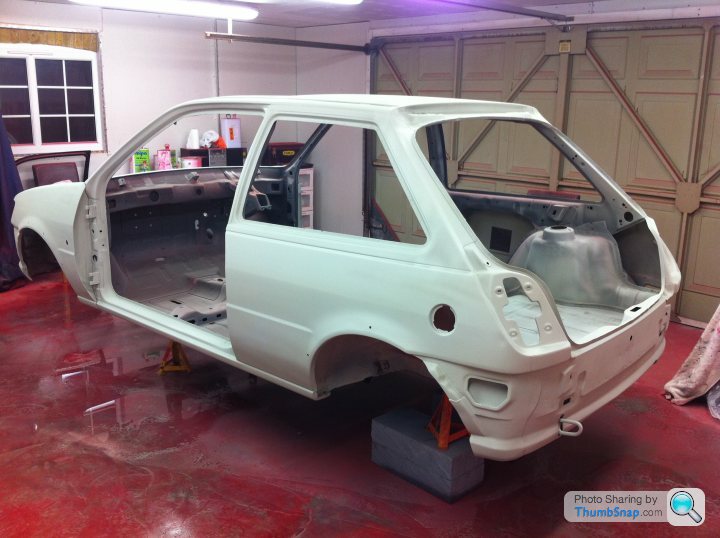
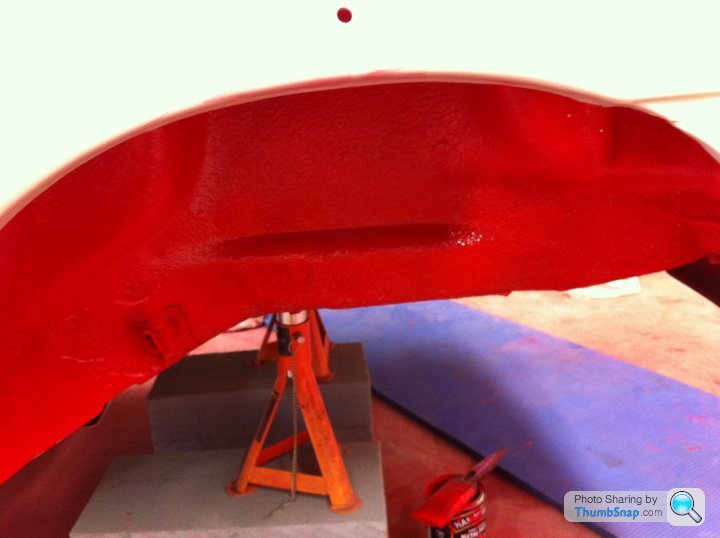
Below is the primed shell (3 coats of 2 pack primer) and a pic of the first of the arches to have Hammerite painted on.
The floor has also been done and will try and get some pics later. The underseal on the floor has again been hand painted with Hammerite whilst the transmission tunnel and other smooth floor areas has been sprayed in 2 pack.
I am trying not to be to critical with the floor because at the end of the day it is just the floor.
Cheers
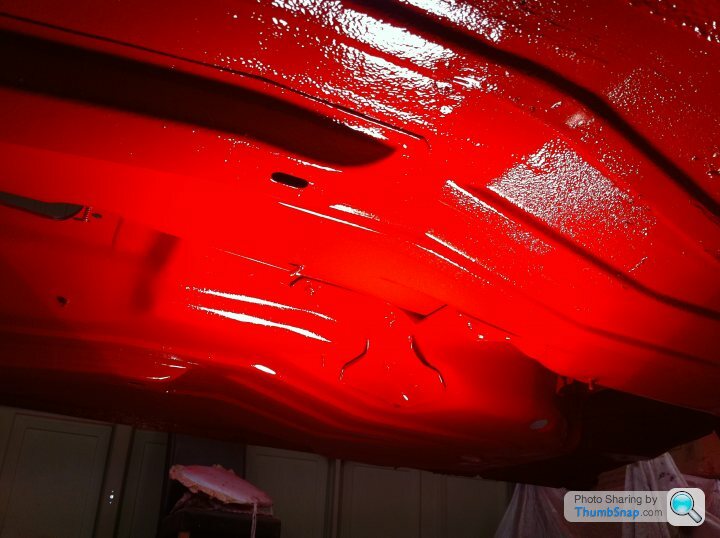
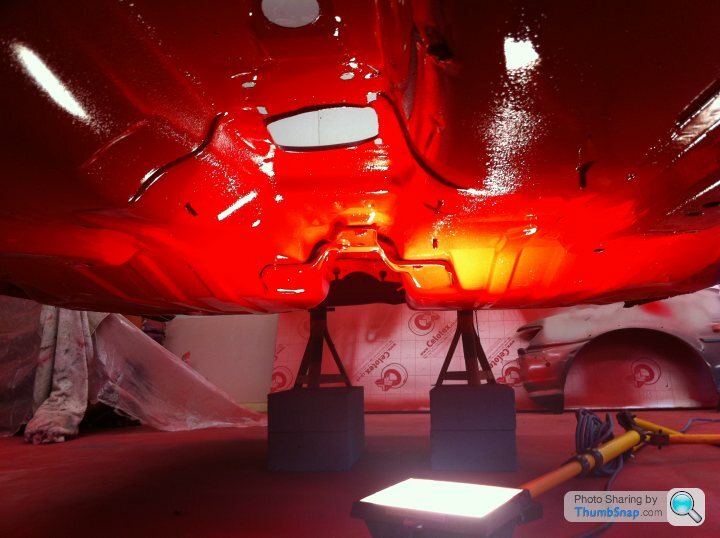
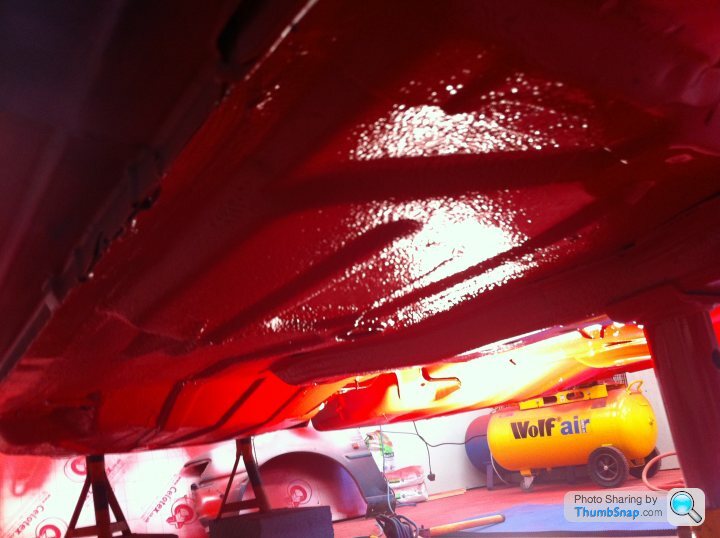
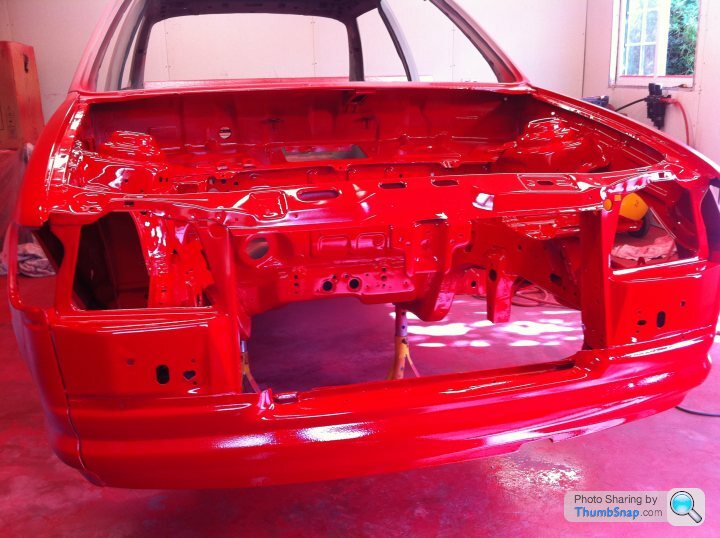
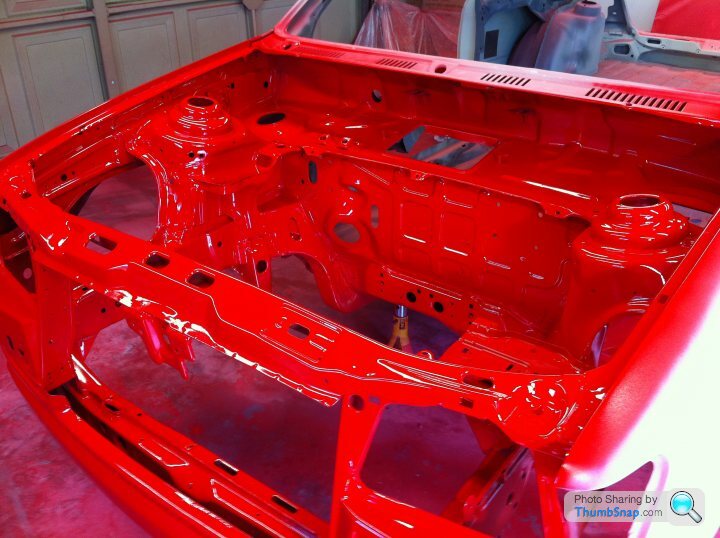
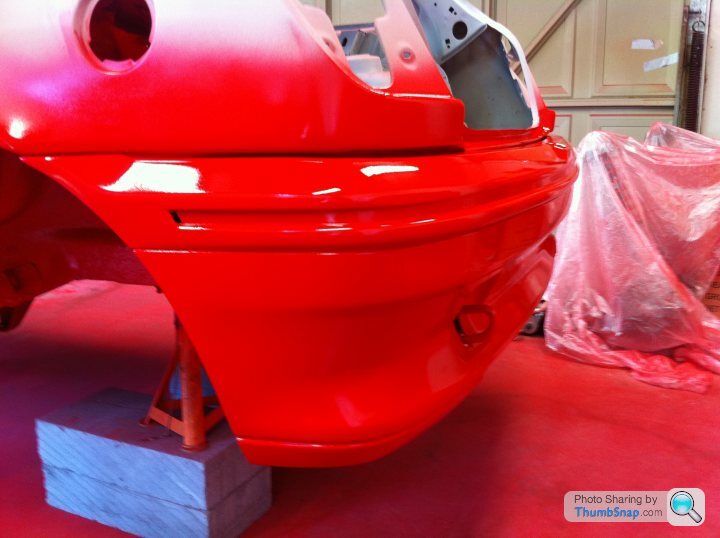
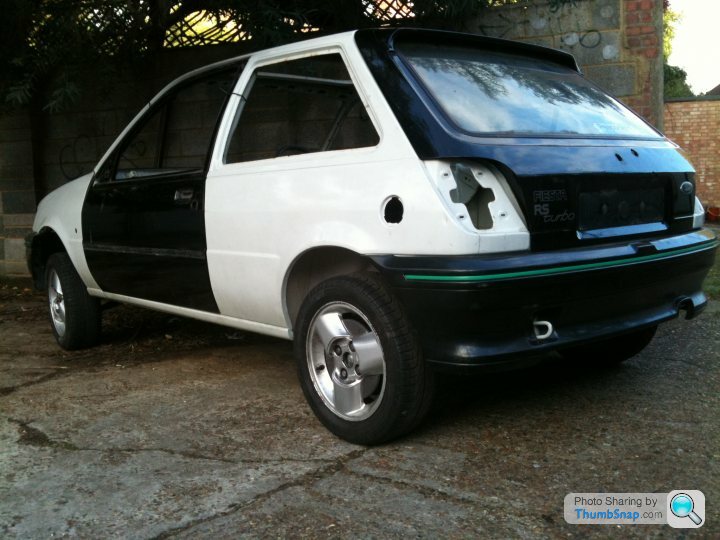
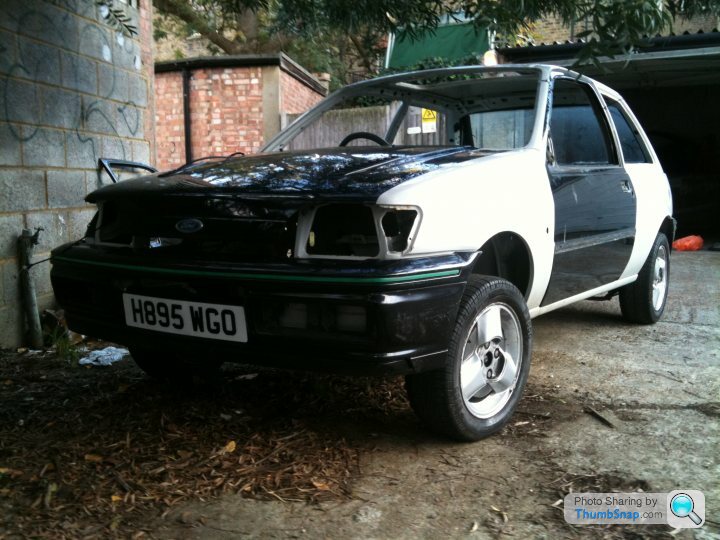
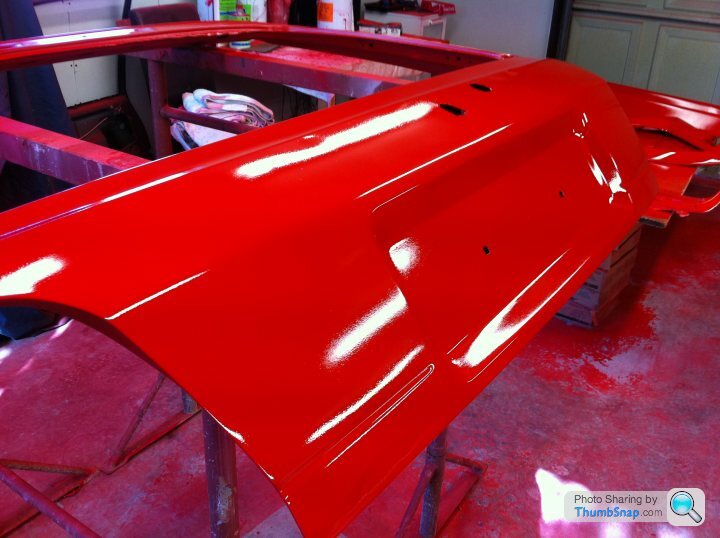
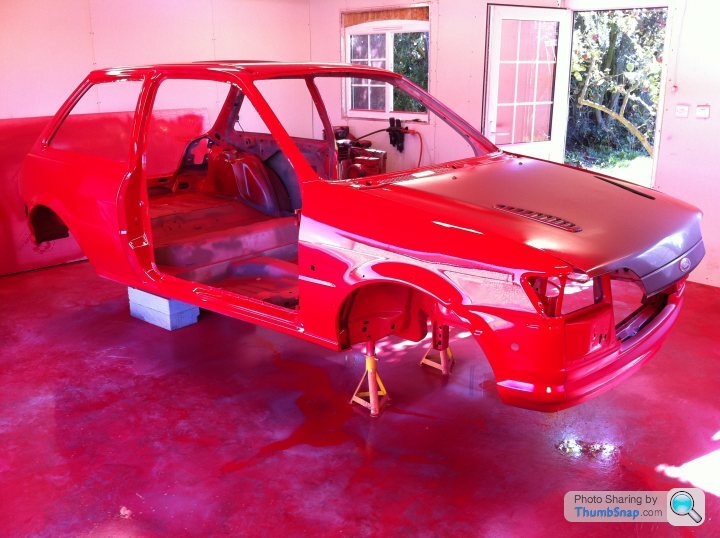
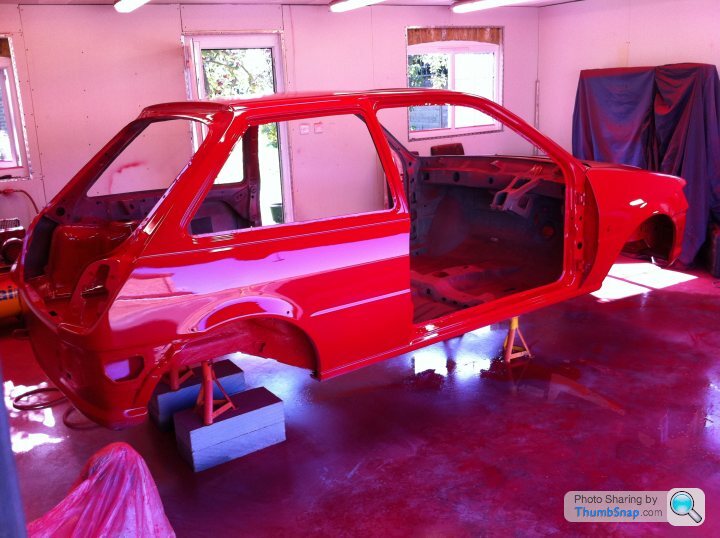
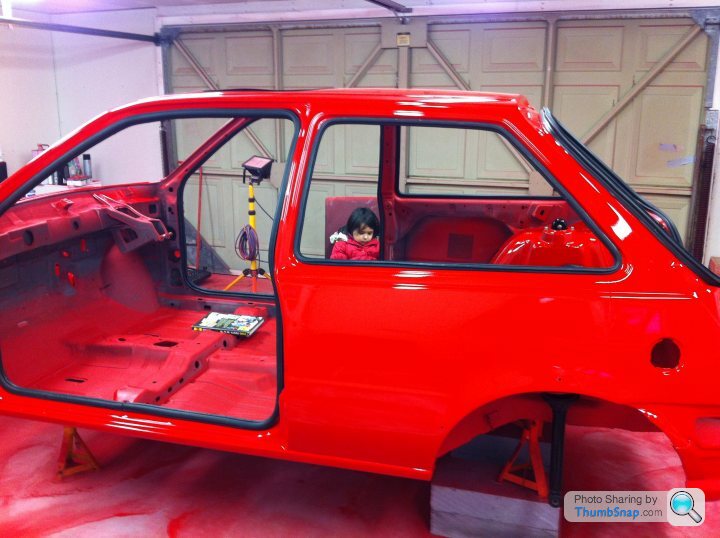
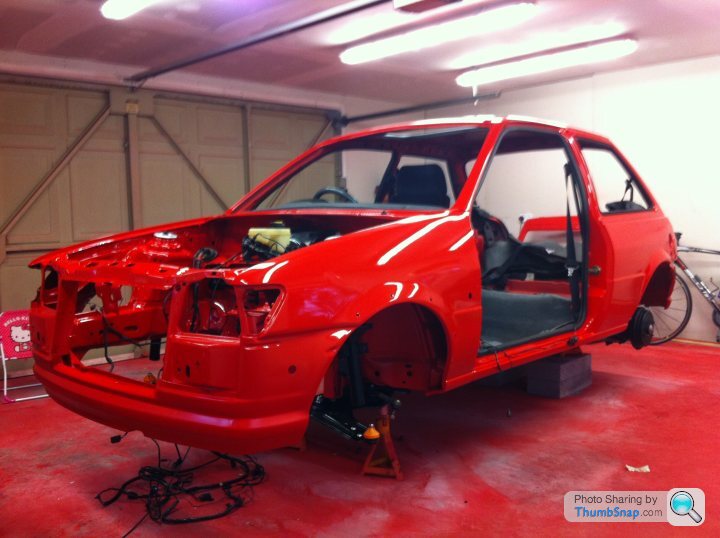
PAINTED SHELL!!!!
Spent all day yesterday sanding and getting the shell ready for paint!
Started 08:30 this Morning and at first there appeared to be the same paint issue as I had early on. I carried on regardless and although I am very happy with the finish, there are a few areas I will have to attend to in a day or so including a couple runs.
When totally hard it will be wet sanded to remove the majority of the orange peel that you can see before polishing!
What do you think???? (It does look better in the pictures than it really is but I am generally happy for now).
Hi
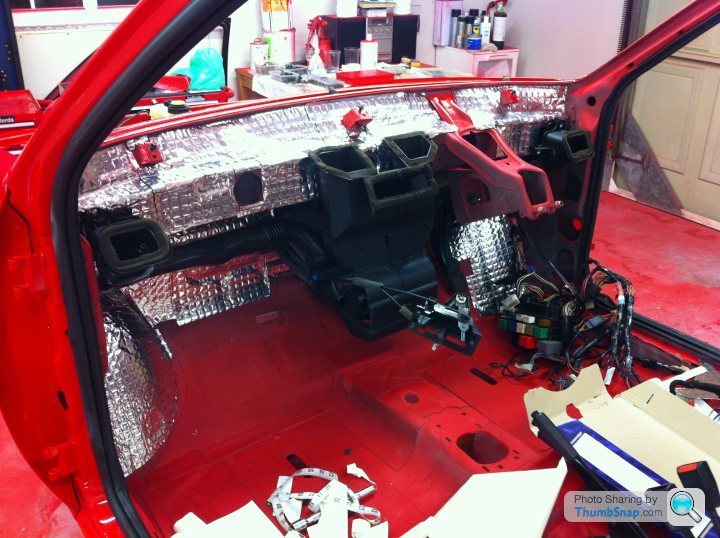
I have been spending a couple of hours a day on the Fiesta and I believe it is coming together well.
I am making a fair few trips to the Ford main dealer for various parts. Have a look through the pics and you will see my progress.
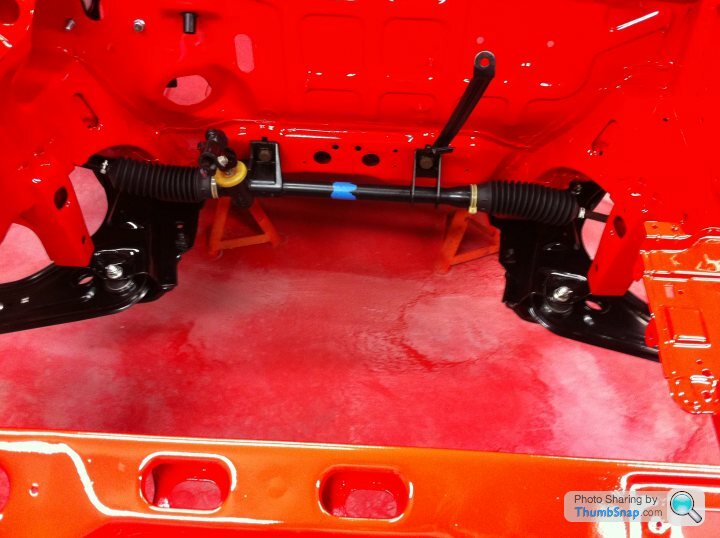
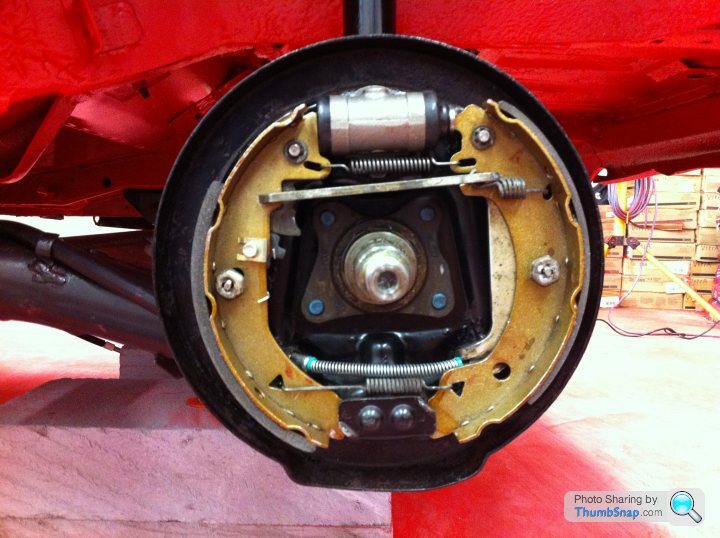
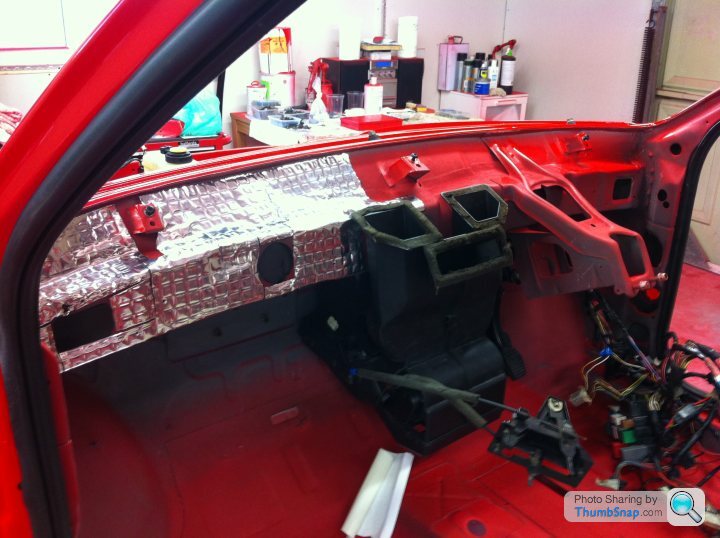
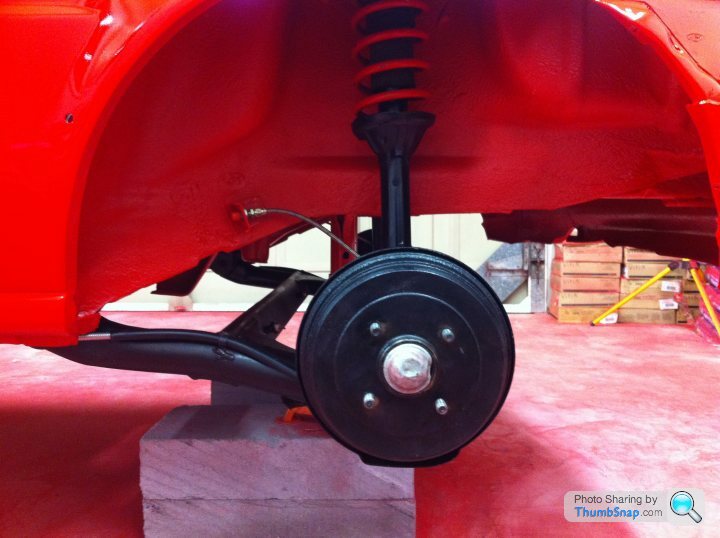
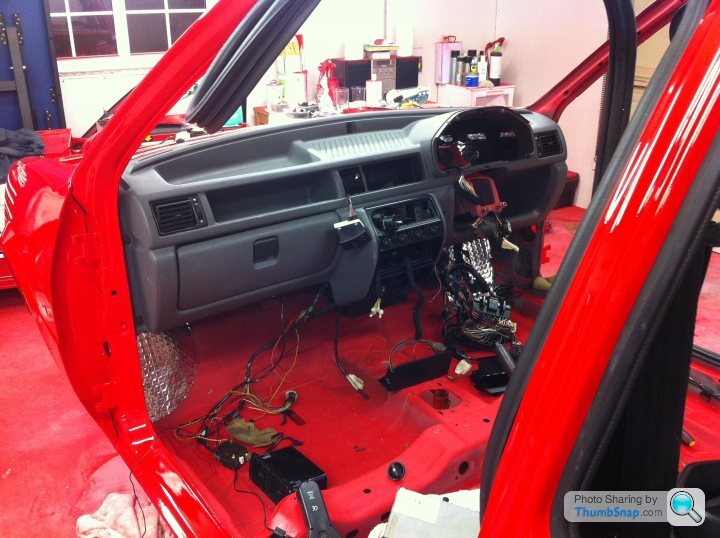
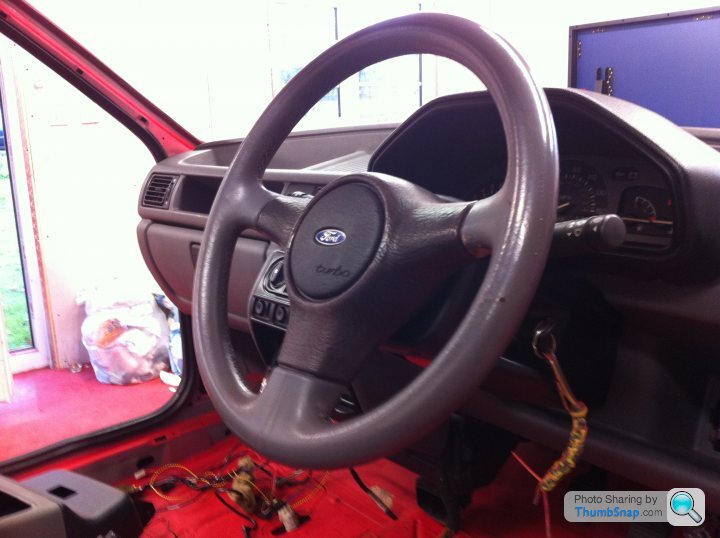
The rear axel (all new bolts) and suspension is in as well as rebuilt rear brakes (new cylinders, shoe kit, new handbrake cable and clips), new front wishbones, refurbished wishbone carriers, refurbished steering rack with new track rod ends, steering column in with new bushes, front suspension in with new bearings and rubber mounts, rear lights in, dashboard in on new sound deadening (silent coat, carpet and drivers seat temporarily in, seat belts in, front brake stabiliser bar in (new collars, spring and clevis pin), brake servo, master cylinder and refurbished brake valves in.
Please let me hear your comments.......

I have been spending a couple of hours a day on the Fiesta and I believe it is coming together well.
I am making a fair few trips to the Ford main dealer for various parts. Have a look through the pics and you will see my progress.
The rear axel (all new bolts) and suspension is in as well as rebuilt rear brakes (new cylinders, shoe kit, new handbrake cable and clips), new front wishbones, refurbished wishbone carriers, refurbished steering rack with new track rod ends, steering column in with new bushes, front suspension in with new bearings and rubber mounts, rear lights in, dashboard in on new sound deadening (silent coat, carpet and drivers seat temporarily in, seat belts in, front brake stabiliser bar in (new collars, spring and clevis pin), brake servo, master cylinder and refurbished brake valves in.
Please let me hear your comments.......


Gassing Station | Ford | Top of Page | What's New | My Stuff